Free Crochet Witch Doll Amigurumi Pattern for Halloween Decorations

Crochet a charming witch doll amigurumi with this free pattern that helps you add personality and fun to your handmade collection effortlessly.
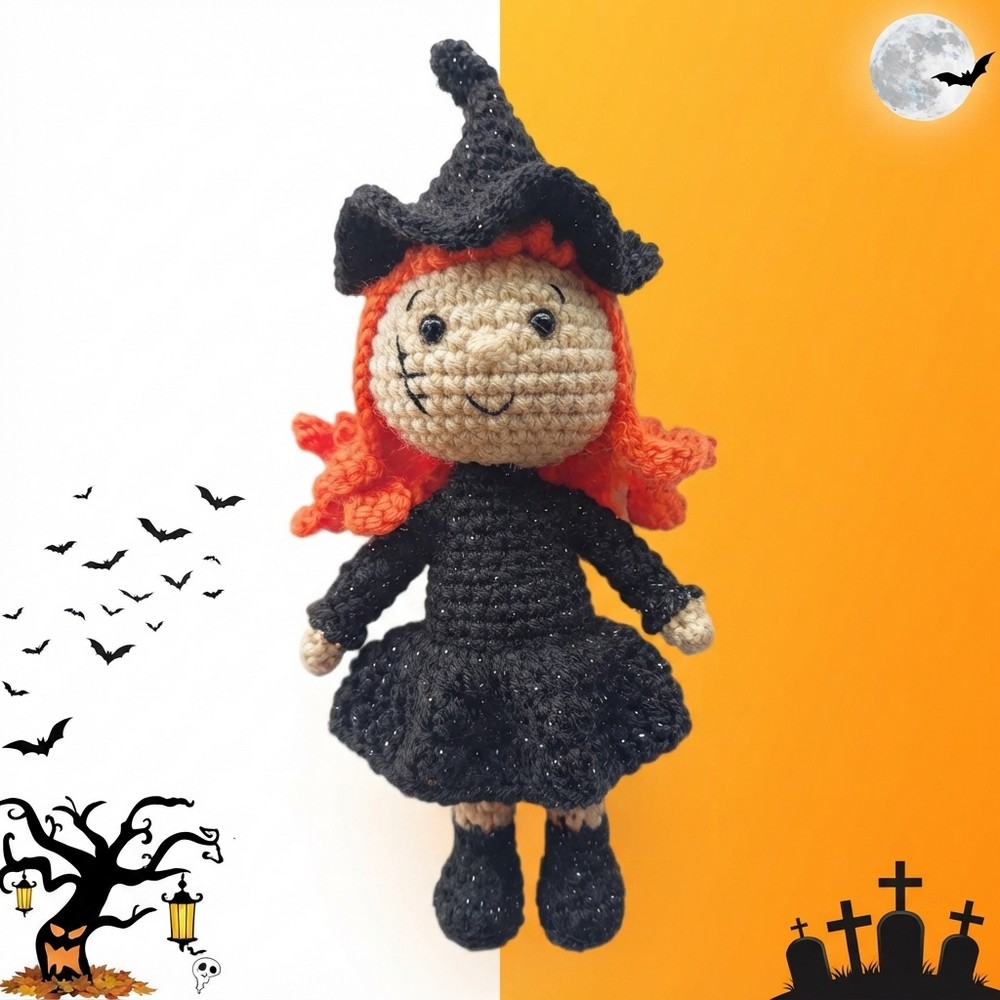
Amigurumi is a popular crochet technique for creating small, stuffed toys that are both adorable and collectible. Among these delightful creations is the free crochet Witch Doll Amigurumi Pattern, generously offered by Needle Cuddle in a clear and engaging video tutorial. This charming witch doll stands approximately 8 inches tall and showcases the playful artistry of crochet in a way that’s both accessible and fun.
Adorable Free Crochet Witch Doll Amigurumi Pattern for Kids
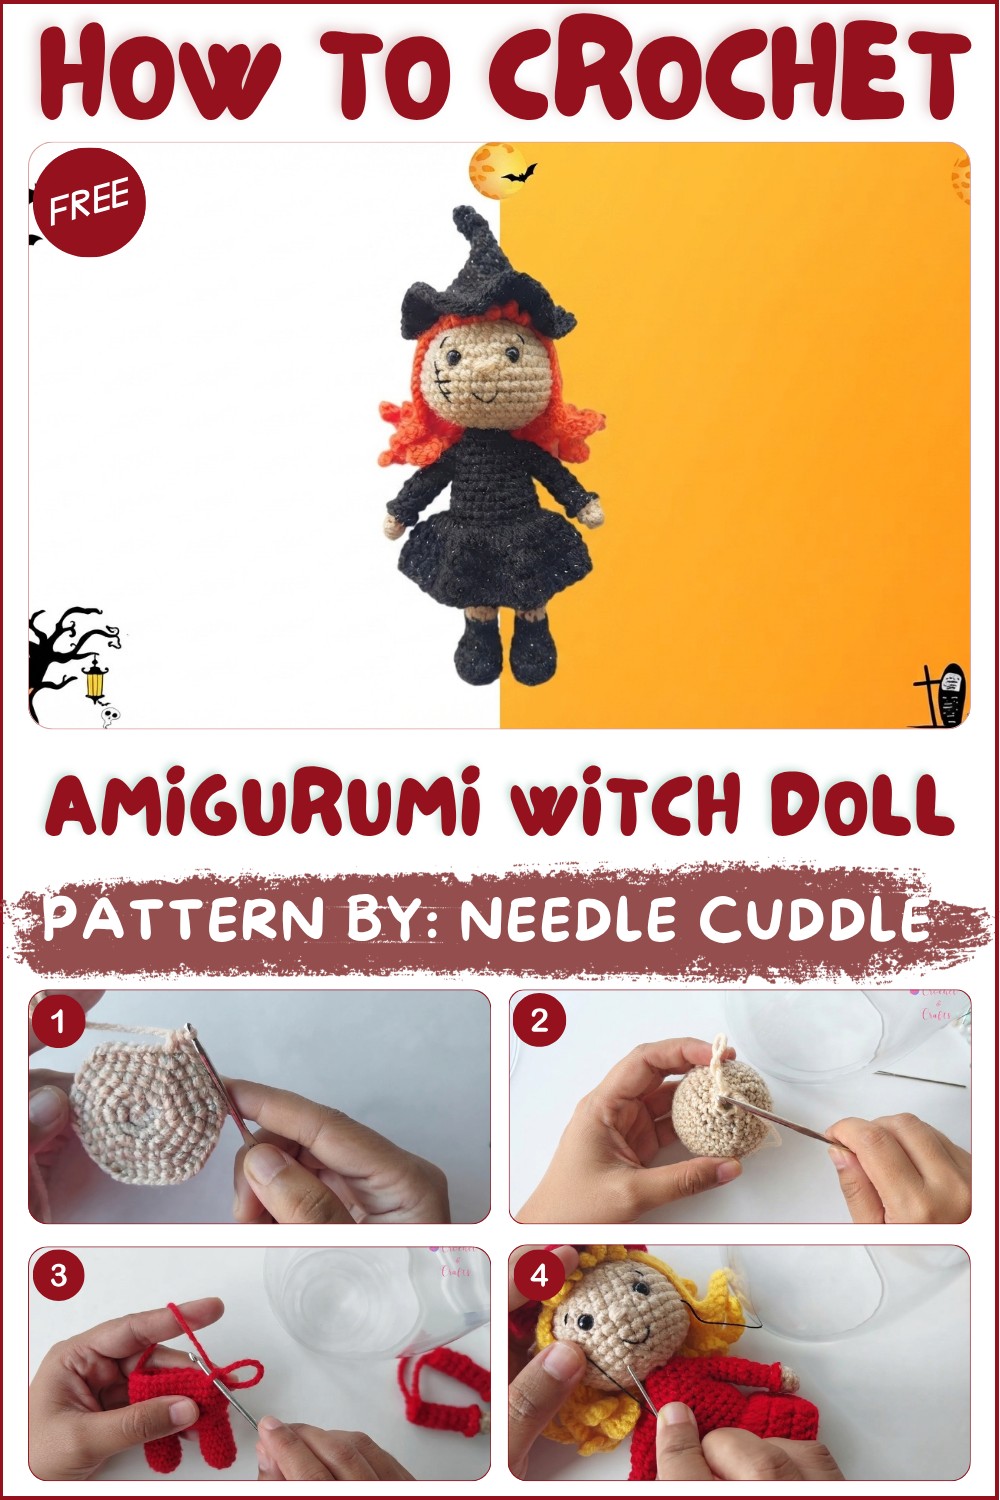
The doll’s striking design breaks away from traditional dark witch colors by featuring a vibrant red dress, hat, and shoes, contrasted beautifully with sunshine-yellow hair. Safety eyes placed perfectly between the ninth and tenth row add a touch of personality and warmth to the doll’s face, enhancing her overall appeal. The texture is soft yet firm, thanks to tight, consistent stitching, giving the doll a sturdy but cuddly feel. Her rounded head and pointed witch hat create a distinctive silhouette that is both whimsical and inviting.
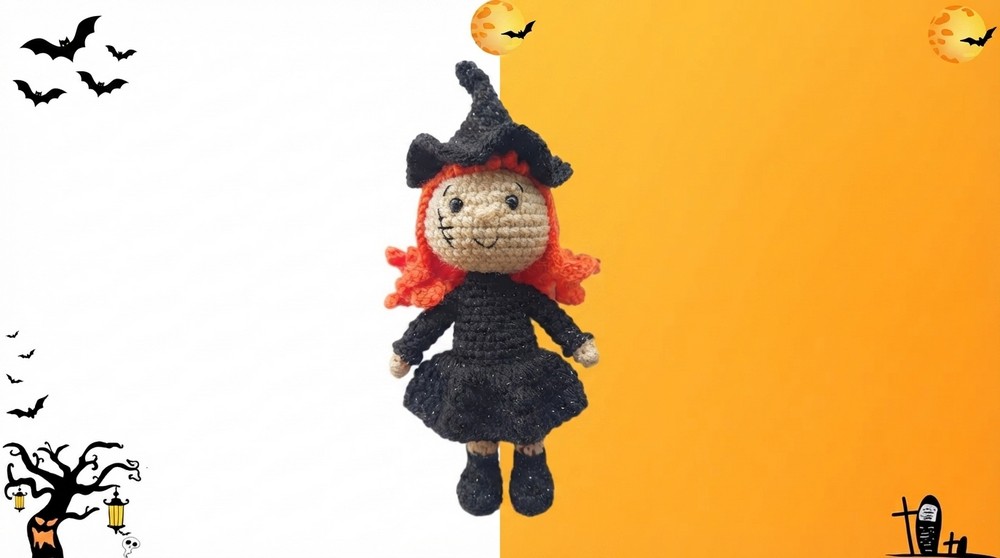
Perfect for gifting, this witch doll makes a thoughtful present for children, crocheters, or anyone who loves unique handmade decor. It’s an ideal companion for Halloween celebrations or as an endearing everyday decoration that adds a magical touch to shelves, desks, or cozy corners. The project also encourages skill development in crochet techniques like working in rounds, color changes, and sewing parts together, making it suitable for a wide range of skill levels.
With Needle Cuddle’s helpful guidance, this free crochet Witch Doll Amigurumi Pattern offers a delightful blend of creativity and craftsmanship, resulting in a lovable doll that brings charm and joy wherever she goes.
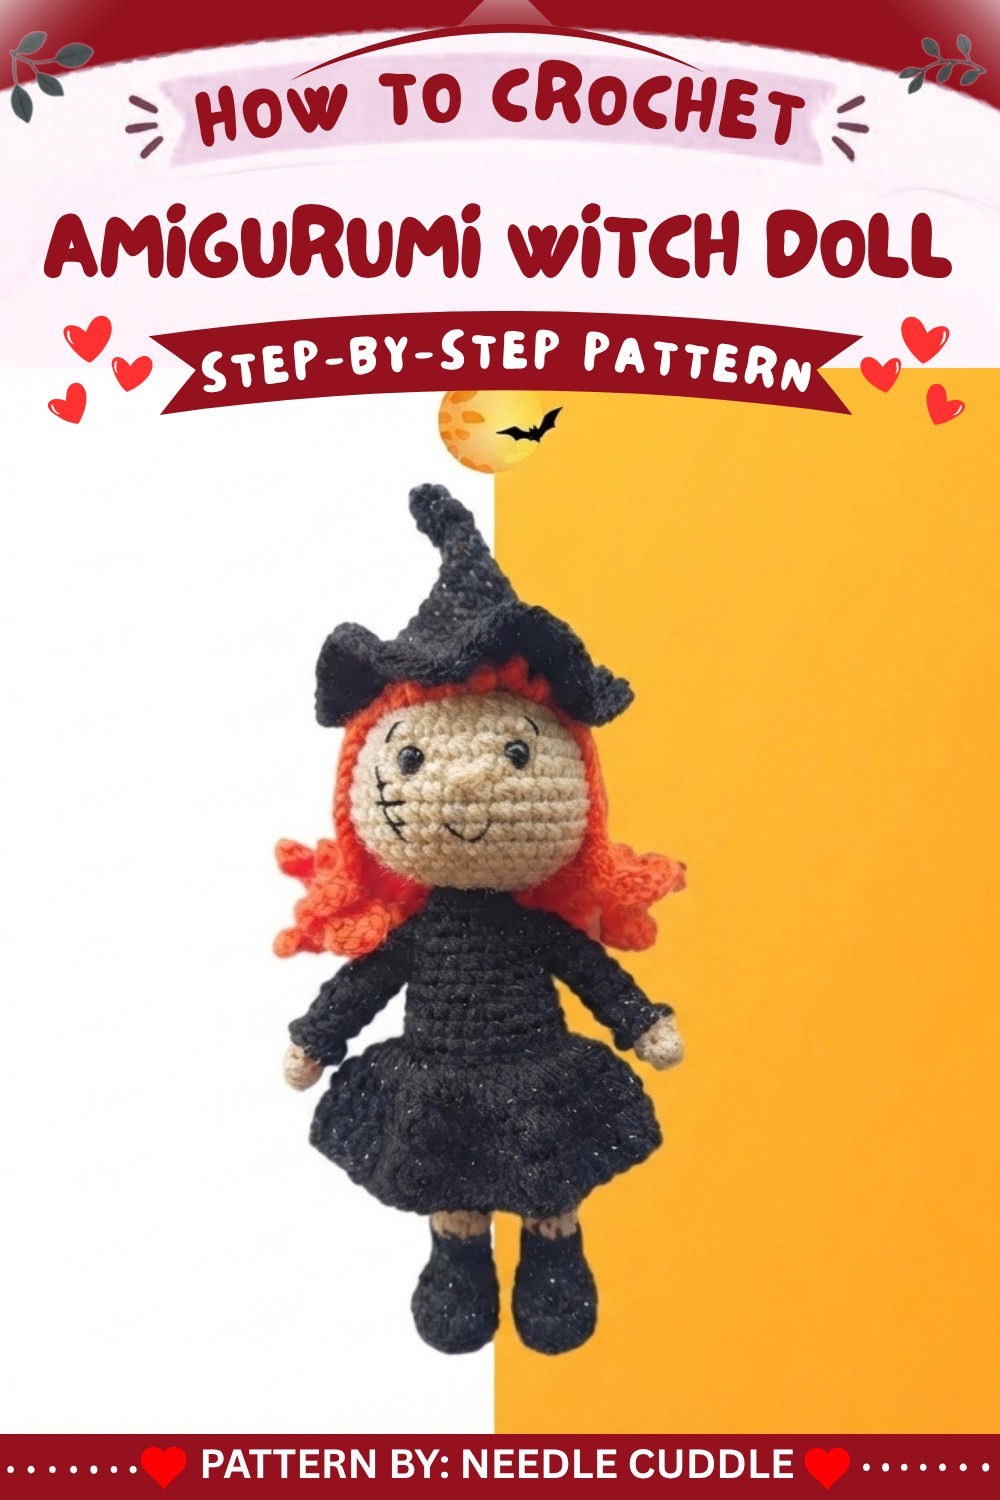
Amigurumi Witch Pattern
This detailed, step-by-step pattern guides you through making an adorable Amigurumi Witch, closely following the video instructions for every increase, decrease, and round. The witch features a classic amigurumi construction for the head and body, dainty legs and arms, a flared skirt, and expressive embroidered face details—perfect for Halloween or magical gifts.
Pattern Basic Points
Construction Overview
- The witch is crocheted in separate pieces: head, two legs, body (continued from legs), arms, and skirt.
- The process uses classic amigurumi increases and decreases.
- The body and skirt are worked using both front and back loops for neat joins and elegant transitions.
- Small details such as facial embroidery and skirt ruffles bring the witch to life.
Special Notes
- Use a stitch marker to keep track of rounds, especially important for small parts.
- Placement of safety eyes is crucial; follow video guidance for proper spacing.
- Be sure to stuff the head and body firmly for structure.
- Embroider facial details after assembly for cleaner finishing.
Skill Level
Confident Beginner to Intermediate
You’ll need a basic knowledge of amigurumi, including working in a round, increasing, decreasing, color changes, and simple embroidery.
Materials
- Yarn: 4-ply in three colors (skin, dress, and accent)
- Crochet hook: Appropriately sized for your yarn (usually 2-2.5mm for amigurumi with 4-ply)
- Scissors
- Tapestry needle
- Stitch marker
- Sewing pins
- Safety eyes
- Polyester fiberfill
- Black sewing thread (for facial features)
Measurements / Sizing
- Finished size: Varies by yarn and hook; typically about 15–18 cm (6–7 inches) tall.
- Choose yarn and hook accordingly if you want to adjust the size.
Gauge
- Gauge is not critical, but stitches should be tight enough that stuffing does not show.
Stitch Abbreviations
- ch: chain
- sl st: slip stitch
- sc: single crochet
- inc: increase (2 sc in same stitch)
- dec: invisible decrease (crochet 2 together)
- BLO: back loops only
- FLO: front loops only
- dc: double crochet
- st(s): stitch(es)
- MR: magic ring
Special Stitches
- Magic Ring (MR): Form a loop, work stitches in center, then tighten.
- Invisible Decrease (dec): Take next two front loops, yarn over, pull up loop, yarn over, pull through two.
Pattern Instructions
Head
- Row 1: MR, 6 sc in ring (6).
- Row 2: inc in each st (12).
- Row 3: (1 sc, inc) × 6 (18).
- Row 4: (2 sc, inc) × 6 (24).
- Row 5: (3 sc, inc) × 6 (30).
- Row 6: (4 sc, inc) × 6 (36).
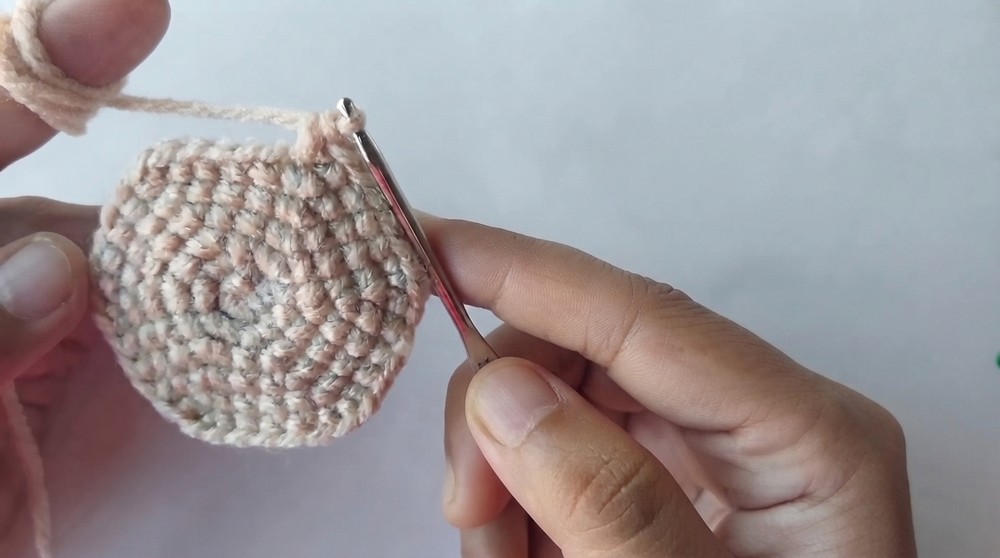
- After Row 6, confirm you have 36 sc.
- Rows 7–13: sc in each st (36).
- Insert safety eyes between Rounds 9 and 10, with a 5-stitch gap between them.
- Row 14: (4 sc, dec) × 6 (30).
- Row 15: (3 sc, dec) × 6 (24).
- Row 16: (2 sc, dec) × 6 (18).
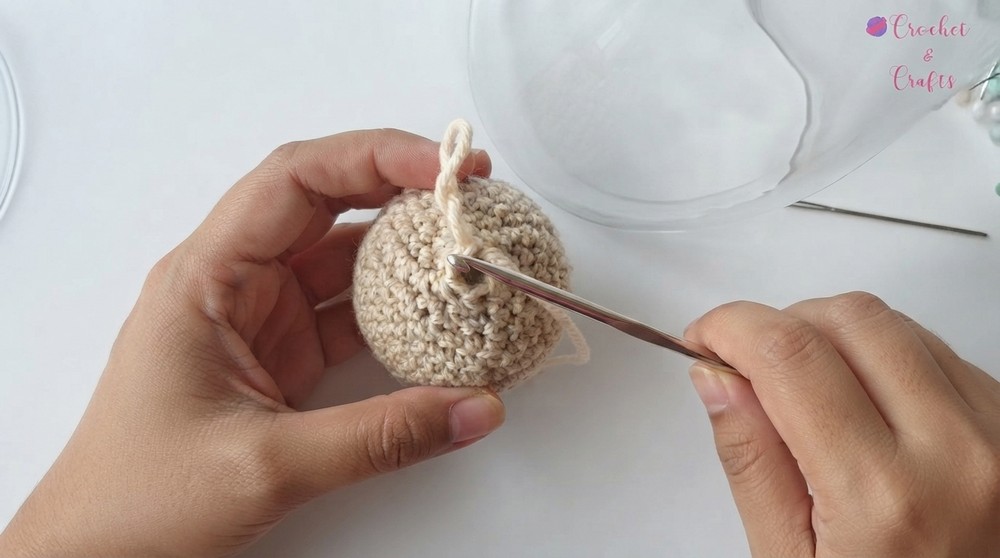
- Row 17: (1 sc, dec) × 6 (12).
- Row 18: dec × 6 (6).
- Finish off. Stuff firmly before closing the final round.
- Leave a long tail for sewing.
Legs (Make 2)
- Row 1: MR, 4 sc (4).
- Row 2: (1 sc, inc) × 2 (6).
- Row 3: sc in each st (6).
- At end of Row 3, change color as desired (e.g., to represent shoes or socks).
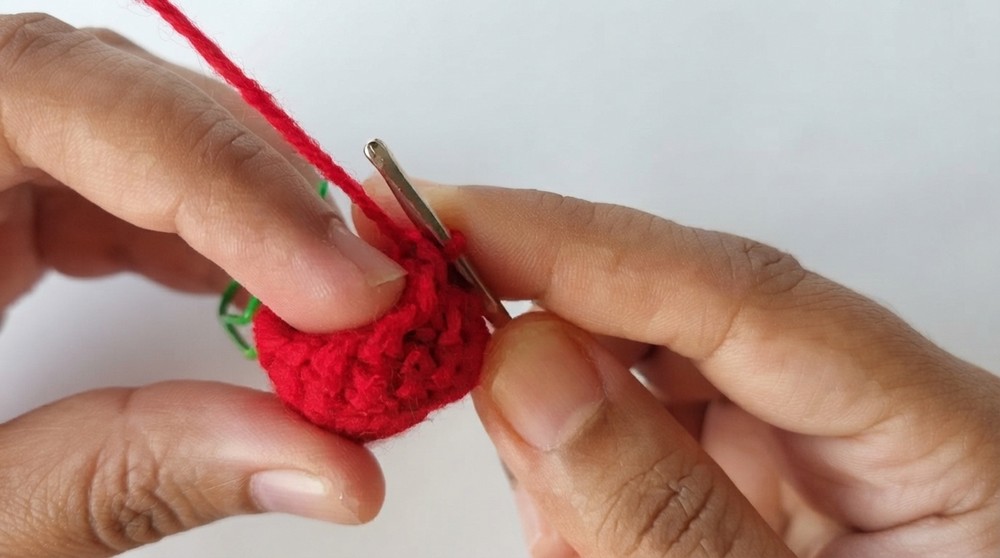
- At end of Row 3, change color as desired (e.g., to represent shoes or socks).
- Row 4: BLO sc in each st (6).
- Rows 5–10: sc in each st (6).
- Finish off leg; stuff lightly.
- Row 4 (FLO decorative edge):
- Go back to Row 4 and, in the front loops, work slip stitches around for a decorative shoe/sock edge.
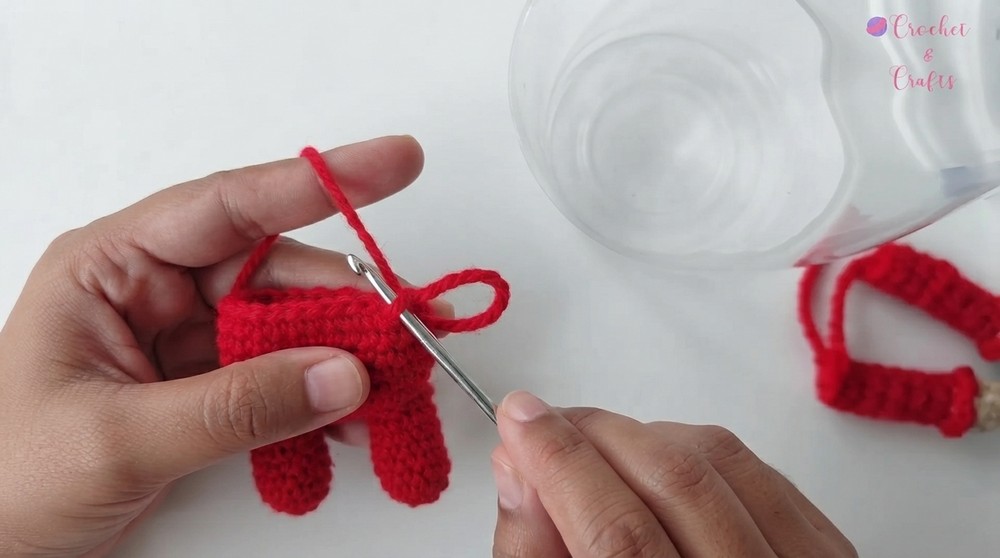
- Go back to Row 4 and, in the front loops, work slip stitches around for a decorative shoe/sock edge.
Body & Skirt Connection
Joining Legs & Working Torso:
- With both legs complete, join with a chain and begin working around both, forming a round (see video timestamp for joining method).
- Continue working around legs and join to form the body.
Suggested Generic Joining Steps:
- Ch 2 after leg 2, sc in all sts around leg 1, sc in chs, sc around leg 2, sc in chs (or follow your preferred method for joined legs).
Torso Rounds:
- Work even in sc, increasing as necessary to reach a total of 24 sc around.
- Rows 16–19: sc in each st (24 per row).
- Row 20: BLO sc in each st (24).
- Rows 21–23: sc in each st (24).
- Row 24: (2 sc, dec) × 6 (18).
Arms (Implied, join at Row 25)
- (Pattern implied by construction; make 2 small tubes.)
- Example:
- Row 1: MR, 4 sc.
- Row 2: inc around (8).
- Rows 3–7: sc in each st (8).
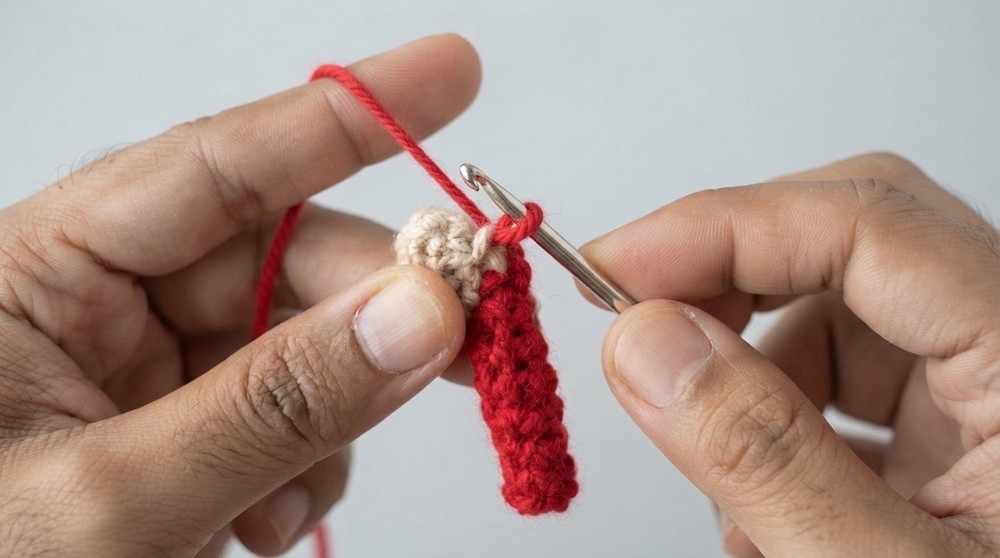
- Fasten off; stuff lightly. Attach in next step.
- Example:
Connecting Body & Hands
- Row 25: As you single crochet around, connect both hands/arms to the torso, distributing stitches evenly. (18 sc around body plus arm stitches joined as you go.)
Neck/Shoulders
- Row 26: 24 sc around body and top of arms.
- Rows 27–30: Work decreasing rounds to shape:
- Reduce to match head size so the neck fits inside the head opening for sewing.
Skirt
- Attach yarn to the FLO from Row 20 (body), at the waist.
- Row 1: (inc dc in each st) around (48 dc).
- Rows 2–3: dc in each st around (48 per row).
Finishing
- Sew head to body, aligning the openings and distributing stitches evenly.
- Embroider nose, eyebrows, and mouth with black sewing thread, referencing the video for placement.
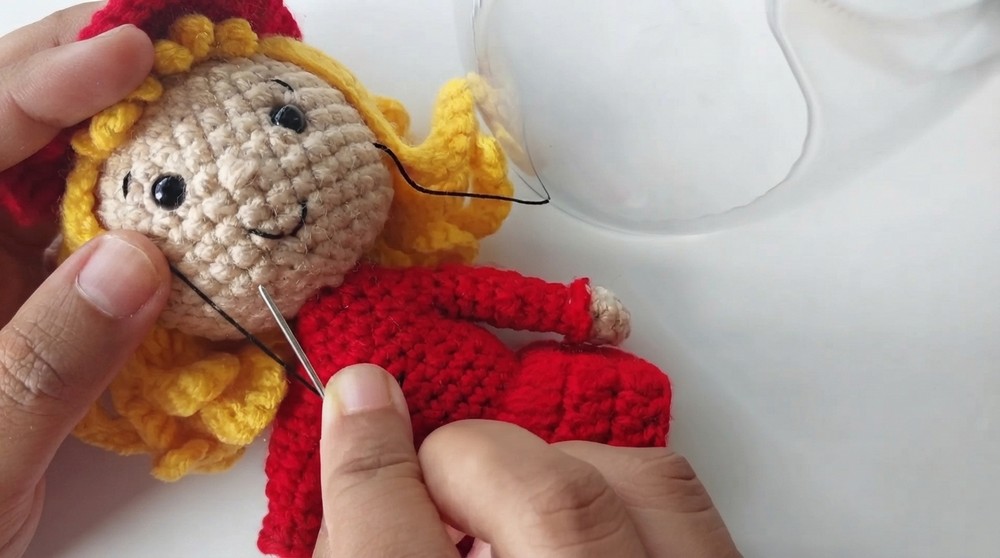
Assembly & Finished Size
- Stuff each piece as you go.
- Join in this order: legs, torso, arms while working, then sew on head.
- Attach skirt, embroider face as last step.
- Finished witch stands about 6–7 in (15–18 cm) tall.
Conclusion
Your amigurumi witch is ready! This pattern, guided precisely by the video, ensures neat joins, charming details, and a solid structure, perfect for playful decor, seasonal gifts, or your amigurumi collection. Adjust colors, embellish the dress, or add a hat for even more personality.
https://www.youtube.com/watch?v=tOyUDUCR2og