How to Crochet Mouse Pattern Free for Soft Toys Creativity

Fix your pet’s toy needs with the Free Crochet Mouse Pattern and make a tiny, soft mouse that is simple to crochet and lots of fun.
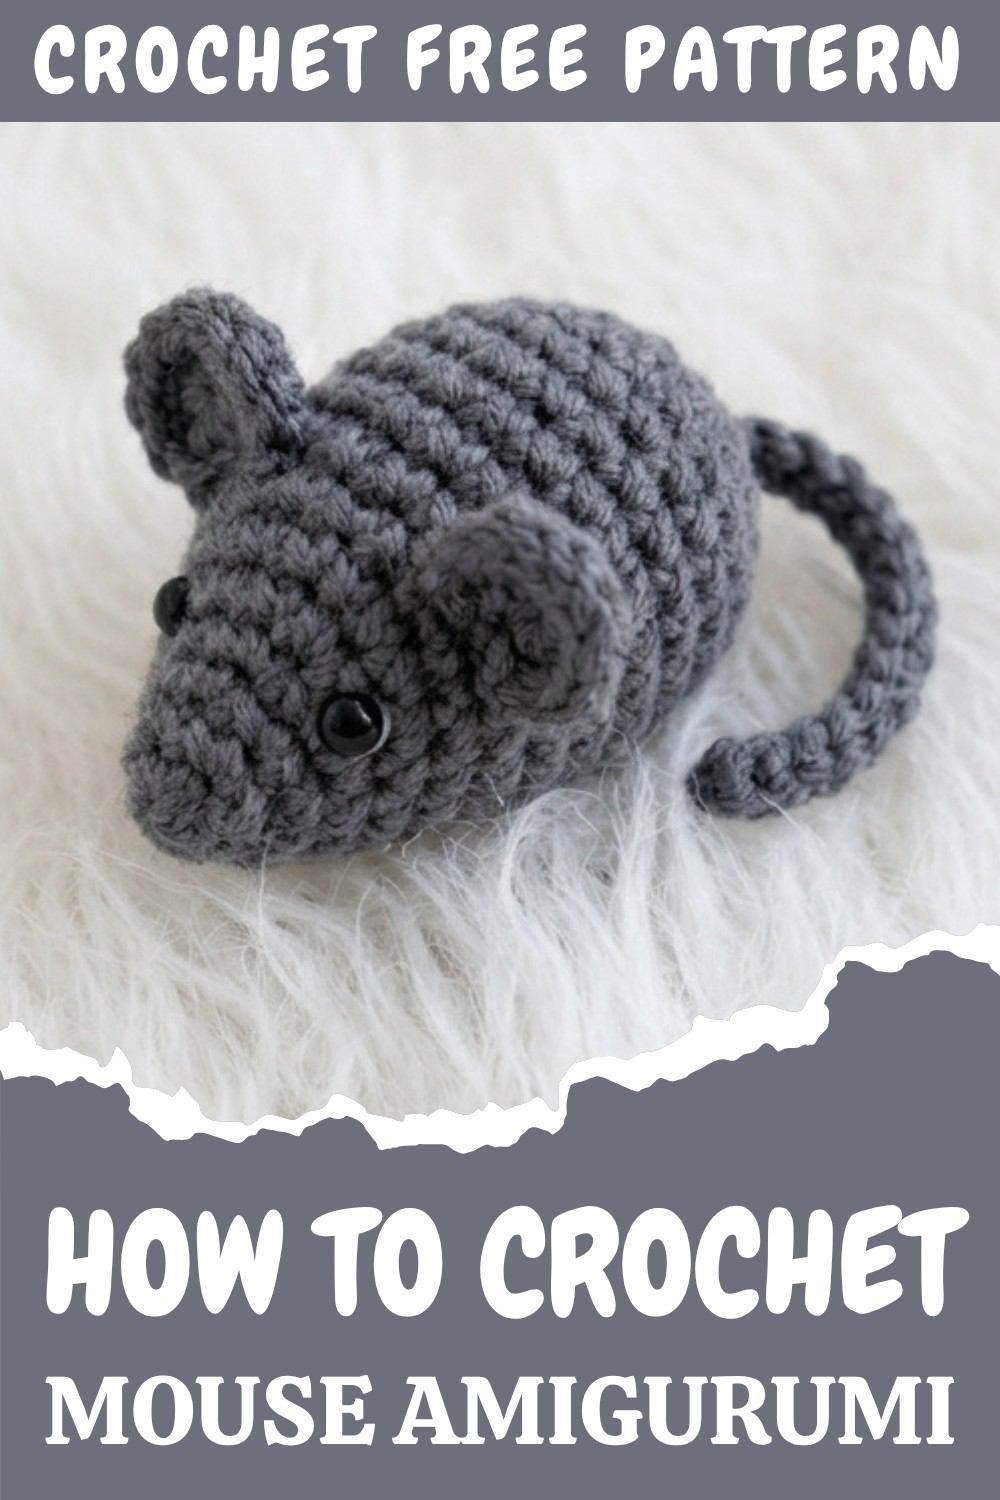
Have you ever wanted to crochet a fun and whimsical project that is quick, easy, and utterly adorable? This crochet mouse pattern is a delightful creation that will add a touch of handmade charm wherever you use it. Whether you’re crocheting a toy for your playful cat or creating unique décor for a shelf, this tiny mouse is packed with personality. With its simple, minimalist design, you can let your creativity shine by experimenting with colors—from soft neutrals for a classic look to bolder hues for something quirky and eye-catching.
Creative Crochet Mouse Pattern Perfect for Gifts and Decor
Why This Pattern is Beginner-Friendly
This pattern uses the magic ring technique to create a seamless start for the rounded shape, followed by rows of easy half double crochet stitches (HDC) to give the mouse its compact and sturdy structure. The process is beginner-friendly yet engaging for crocheters of all skill levels, allowing you to practice foundational techniques such as increasing and decreasing stitches. You’ll also learn how to shape tiny ears, add a cute tail using a simple chain, and embroider or sew on eyes to give your mouse a playful expression.
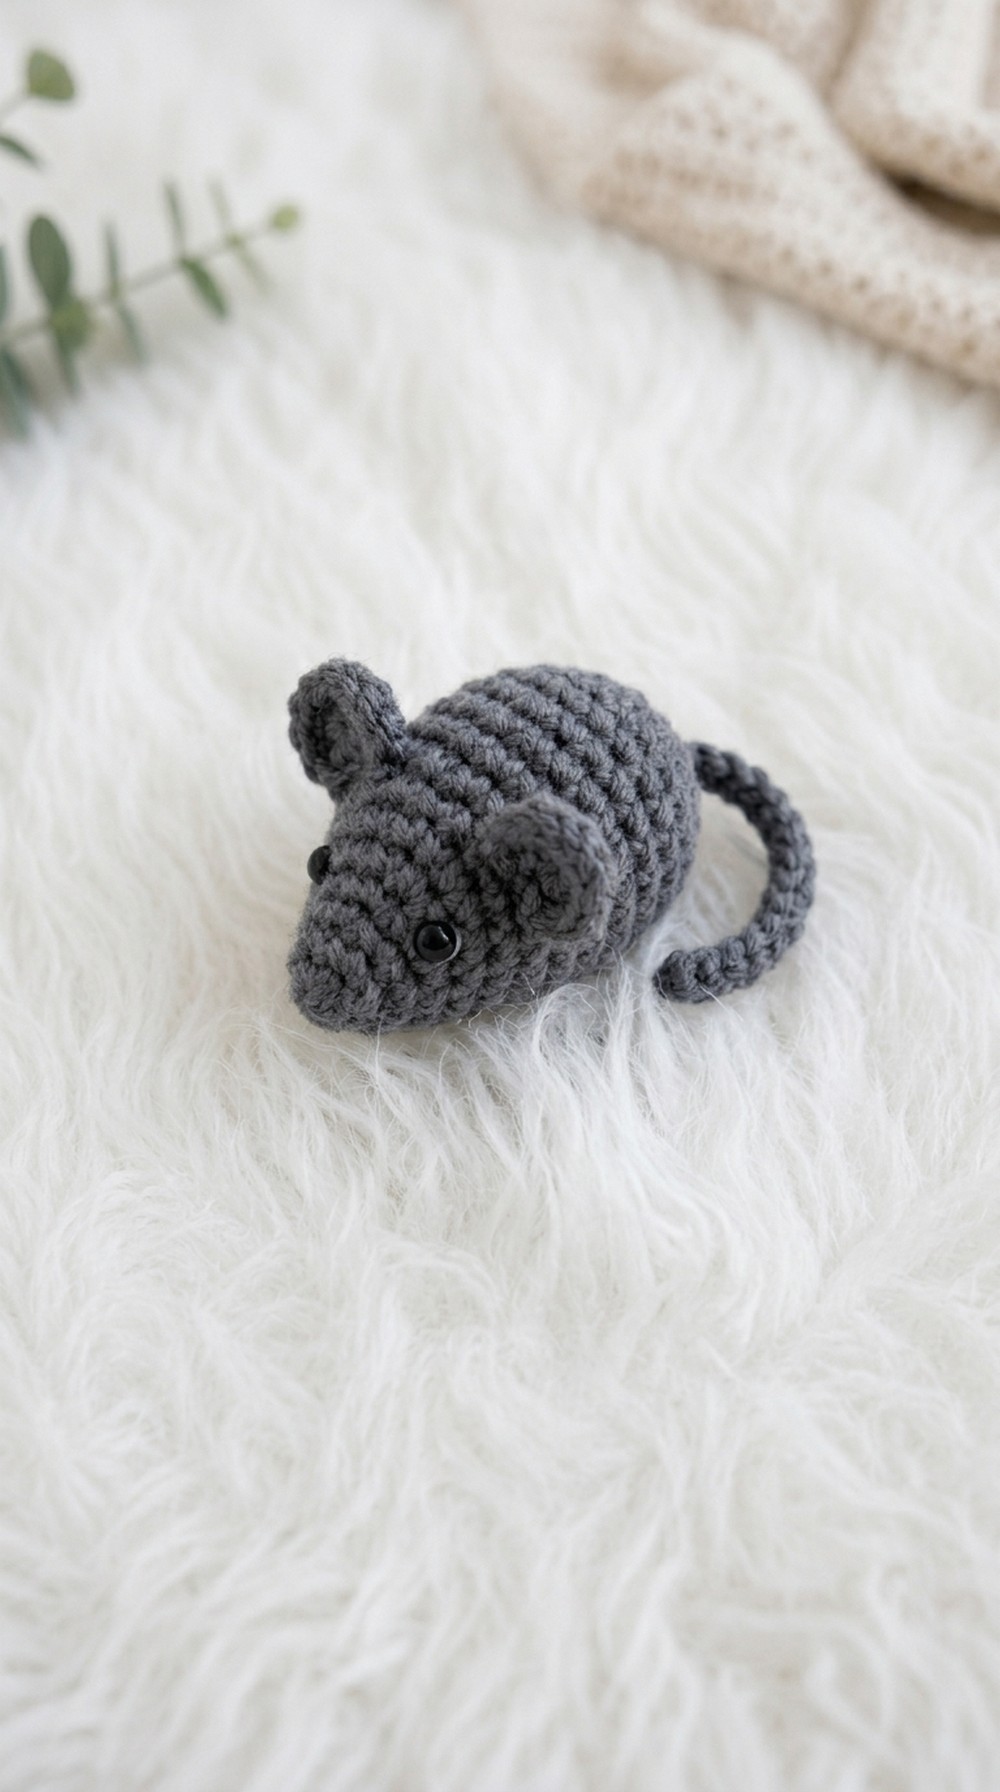
Once finished, this little crochet mouse pattern is a versatile creation. It can serve as a toy for your cat (especially if you add a bell or catnip), a fun gift for children, or even a cute keychain or bag charm. With its small size and quick completion time, it’s the perfect project to crochet in a single evening.
Crochet Pattern: Small Mouse Toy for Cats
Are you ready to make a small and adorable crocheted mouse? This pattern is perfect if you’re looking to create a fun and interactive toy for your cat or a cute decorative piece. Designed with simplicity in mind, this mouse pattern uses a combination of versatile stitches such as half double crochet and simple embroidery techniques for eyes. You can even add a bell or extra embellishments to make it even more entertaining for pets. Whether you’re a beginner or an experienced crocheter, this project is quick, easy, and full of charm.
Let’s get started and bring your tiny mouse friend to life!
Skill Level & Terminology
Skill Level: Beginner to Intermediate
Terminology: US Crochet Terminology (adjust instructions for UK terminology if required).
Materials & Tools
- Yarn: A small amount of yarn in your desired color for the body, usually light or dark grey tone.
- Hook: Crochet hook, 3.0 mm or 3.5 mm.
- Eyes: Black embroidery thread or two small beads.
- Stuffing Material: Polyfill or cotton for stuffing.
- Optional Extras: Bell (for cat toys) or other embellishments.
- Additional Tools:
- Tapestry needle for sewing ears.
- Scissors.
- Stitch markers (to mark the end of each row).
Gauge
Gauge is not critical for this project. However, your stitches should be tight enough to prevent the stuffing from showing through.
Abbreviations List
- MR: Magic Ring
- SC: Single Crochet (insert hook, yarn over, pull up a loop, yarn over, pull through both loops)
- HDC: Half Double Crochet (yarn over, insert hook, yarn over, pull up a loop, yarn over, pull through all three loops)
- Ch: Chain
- Sl St: Slip Stitch (insert hook, yarn over, pull through both loops on hook)
- Inc: Increase (make two stitches in the same stitch)
- Dec: Decrease (combine two stitches into one)
Stitch names are followed by detailed explanations so that both new and experienced crocheters can follow along with ease.
Special Stitch Instructions
Magic Ring (MR):
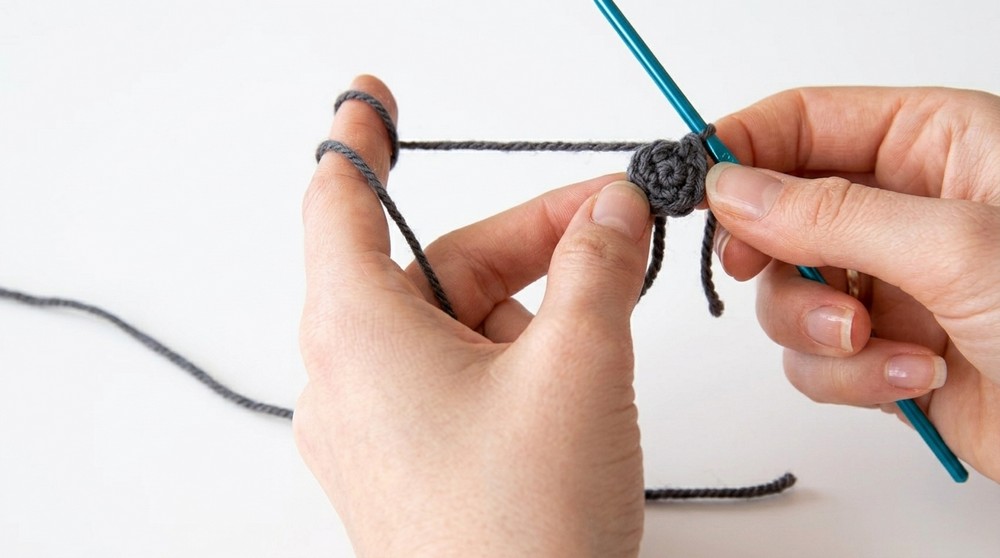
A circular foundation used to start crocheting in rounds. Wrap yarn around your fingers to form a loop. Insert hook through the loop, grab the working yarn, and pull it through. Secure by making the first stitch around the ring.
HDC Work:
Half double crochet stitches are the foundation of this pattern. These create a neat and compact structure, perfect for a toy that is both sturdy and cute.
Finished Size
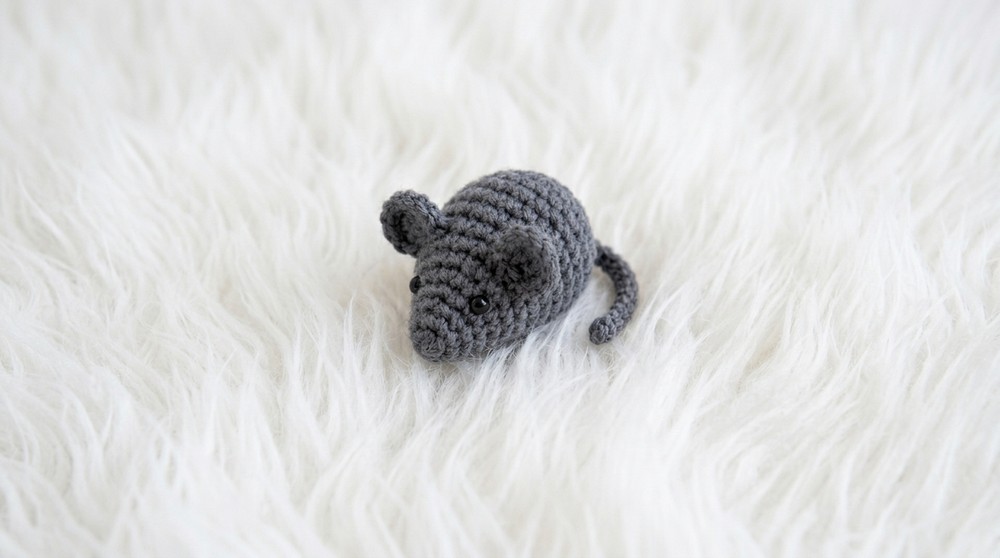
The completed mouse is small and compact, approximately 3 inches (7.5 cm) long without the tail.
The Pattern Itself
Step 1: Begin the Magic Ring and Start the Body
Round 1:
- Create a MR, Ch 1, then work 4 HDC into the ring.
- Tighten the ring and join to the first HDC with a Sl St to close the round.
- Place a stitch marker at the end of the round to track stitches.
Note: At the beginning, the magic ring will feel a bit tight, but don’t worry. This forms the base structure of the mouse.
Step 2: Gradual Increase
Round 2:
- Work Inc in each stitch around (2 HDC in each stitch). You’ll have 8 HDC at the end of this round.
Round 3:
- Work 1 HDC in each stitch around. Keep the stitch count at 8 HDC.
Tip: Use your stitch marker and move it up at the end of each row to track progress easily.
Step 3: Build the Body
Round 4:
- Work in the sequence: 1 Inc, 1 HDC all around. You’ll finish with 12 HDC.
Round 5:
- Work 1 HDC in each stitch around. Keep the stitch count at 12 HDC.
Round 6:
- Repeat the sequence: 1 Inc, 2 HDC around. You’ll finish with 16 HDC.
At this stage, your work will start forming the body. You can slightly stuff the base to see its shape.
Step 4: Shaping the Head
Round 7:
- Continue in the pattern: 2 HDC, 3 HDC all around. Finish with 20 HDC.
Rounds 8-11:
- Work 1 HDC in each stitch around for 4 rows.
After finishing these rows, your mouse’s body will be complete. Use your stuffing material to fill the body, ensuring it is firm but not overly tight.
Step 5: Closing the Body
Round 12:
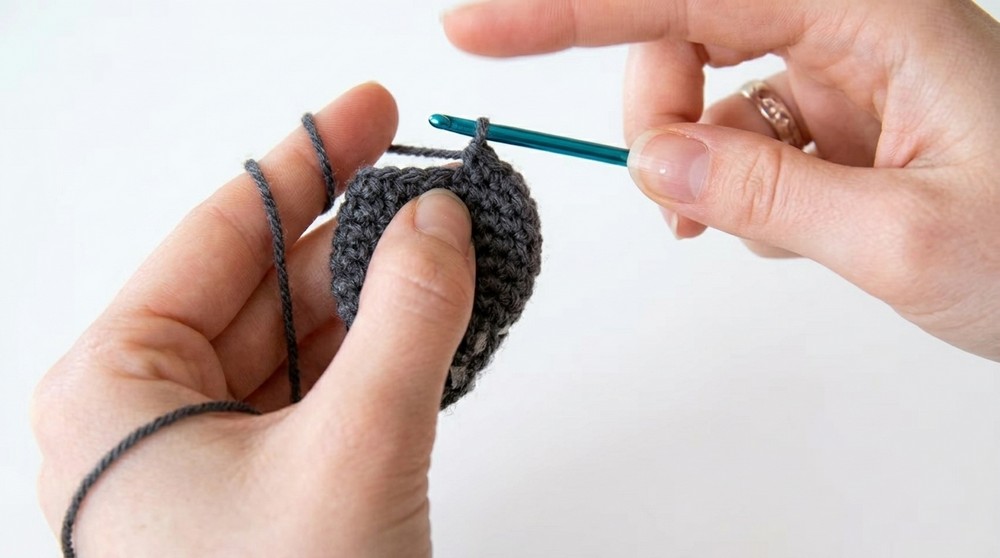
- Begin decreasing to close the body. Work Dec, 1 HDC all around.
Round 13:
- Work Dec in every stitch to form a tight closure.
- Leave a long tail and use a tapestry needle to weave through the last stitches. Pull tight to completely close the hole.
Step 6: Add the Tail
- Use the remaining long tail to Ch 20-40 (depending on your desired tail length).
- Fasten off and weave in the end.
Tip: A longer tail can be more playful for cats if you’re making this as a toy.
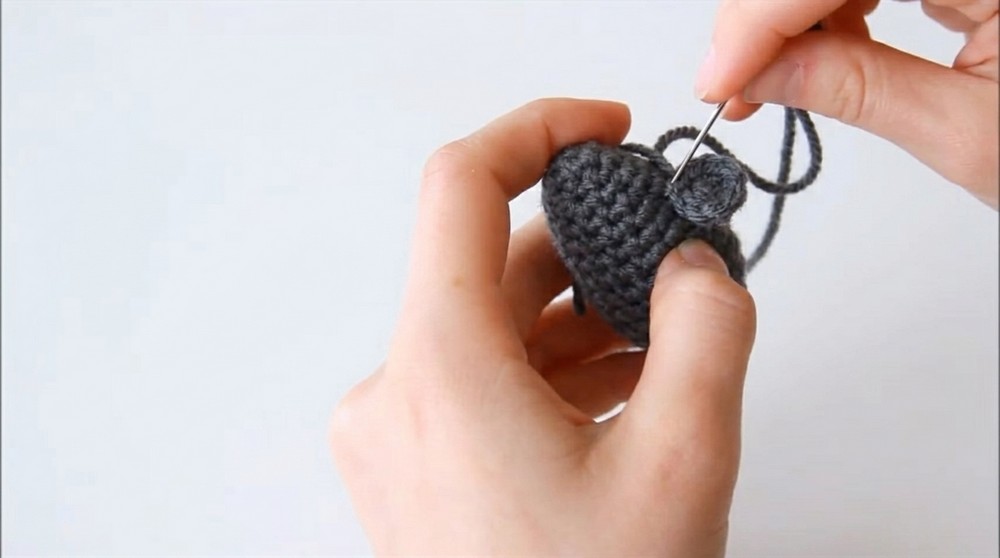
Step 7: Make the Ears
Ears Pattern:
- Start with a MR and Ch 2.
- Work 4 HDC into the ring. Join with a Sl St to close. Leave a long yarn tail for sewing.
- Pull the magic ring tight to form a small circular ear.
- Make two of these ears and sew them evenly onto the head of the mouse.
Step 8: Add the Eyes
Using black thread or beads, stitch or sew the eyes onto the face. Adjust the placement to give your mouse a cute, expressive look.
Assembly & Finishing
- Stuffing: Ensure the mouse is firmly stuffed. This is important for shape and durability.
- Weaving Ends: Weave in all loose ends and trim any excess yarn.
- Bell Option: If making this as a toy, consider adding a small enclosed bell inside the stuffing before closing.
What You’ll Learn in This Pattern
- How to use a magic ring for a clean and seamless start for circular projects.
- Basic shaping techniques like increases and decreases to form a rounded body.
- Working half double crochet stitches for a sturdy yet flexible structure.
- Techniques for finishing and decorating with stuffing, sewing, and embellishments.
Other Projects You Can Create With This Pattern
This mouse pattern can be adapted for other fun projects:
- Mini Christmas decorations or ornaments.
- Baby rattles (by adding a rattle insert inside).
- Keychains or bag charms using smaller yarn.
- Stuffed toys in larger sizes by using thicker yarn.
Why You’ll Love This Pattern
- It’s perfect for beginners while offering creative flexibility.
- Great for gifting or personal use.
- Can be customized with colors, embellishments, and stuffing options.

![[NO-SEW] Mini Crochet Duck Keychain Easy Amigurumi Tutorial (9)](https://claireabellemakes.com/wp-content/uploads/2026/07/NO-SEW-Mini-Crochet-Duck-Keychain-Easy-Amigurumi-Tutorial-9-768x768.jpg)