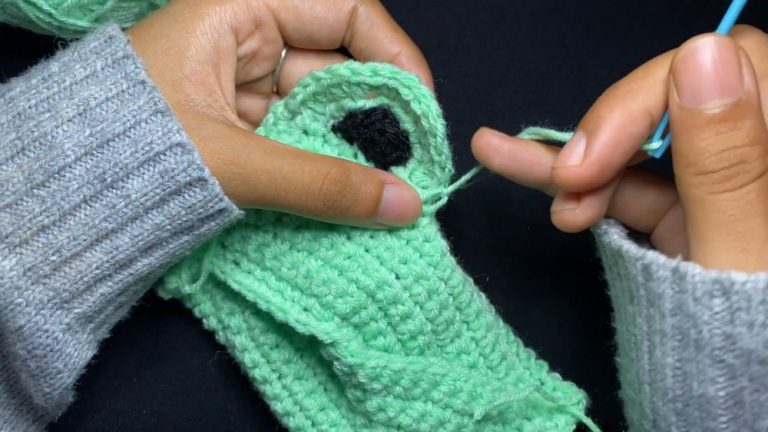
Crochet Teddy Bear Sticker Pattern + Free Tutorial for Beginners

Upgrade your denim jacket by adding this cute teddy bear applique from a free crochet pattern designed just for patches.
Adding a small, cute decoration that brings joy to everyday items or gifts is a wonderful way to express warmth and creativity. A special thanks to Chinki’z Crochet Paradise for sharing such clear and simple instructions that anyone can follow with ease. This adorable bear design can be used to brighten up notebooks, backpacks, phone covers, or even as a sweet gift embellishment that shows thoughtfulness with a personal touch.
Crochet Teddy Bear Sticker Pattern Guide for Craft Lovers
Made using basic stitches worked in rounds and rows, this sticker pattern is easy to create by building simple shapes that come together beautifully. The method involves stacking and joining different parts, such as the head, body, ears, and paws, to form a small, cuddly figure. Its compact size and sturdy shape make it perfect for adding charm without being bulky.
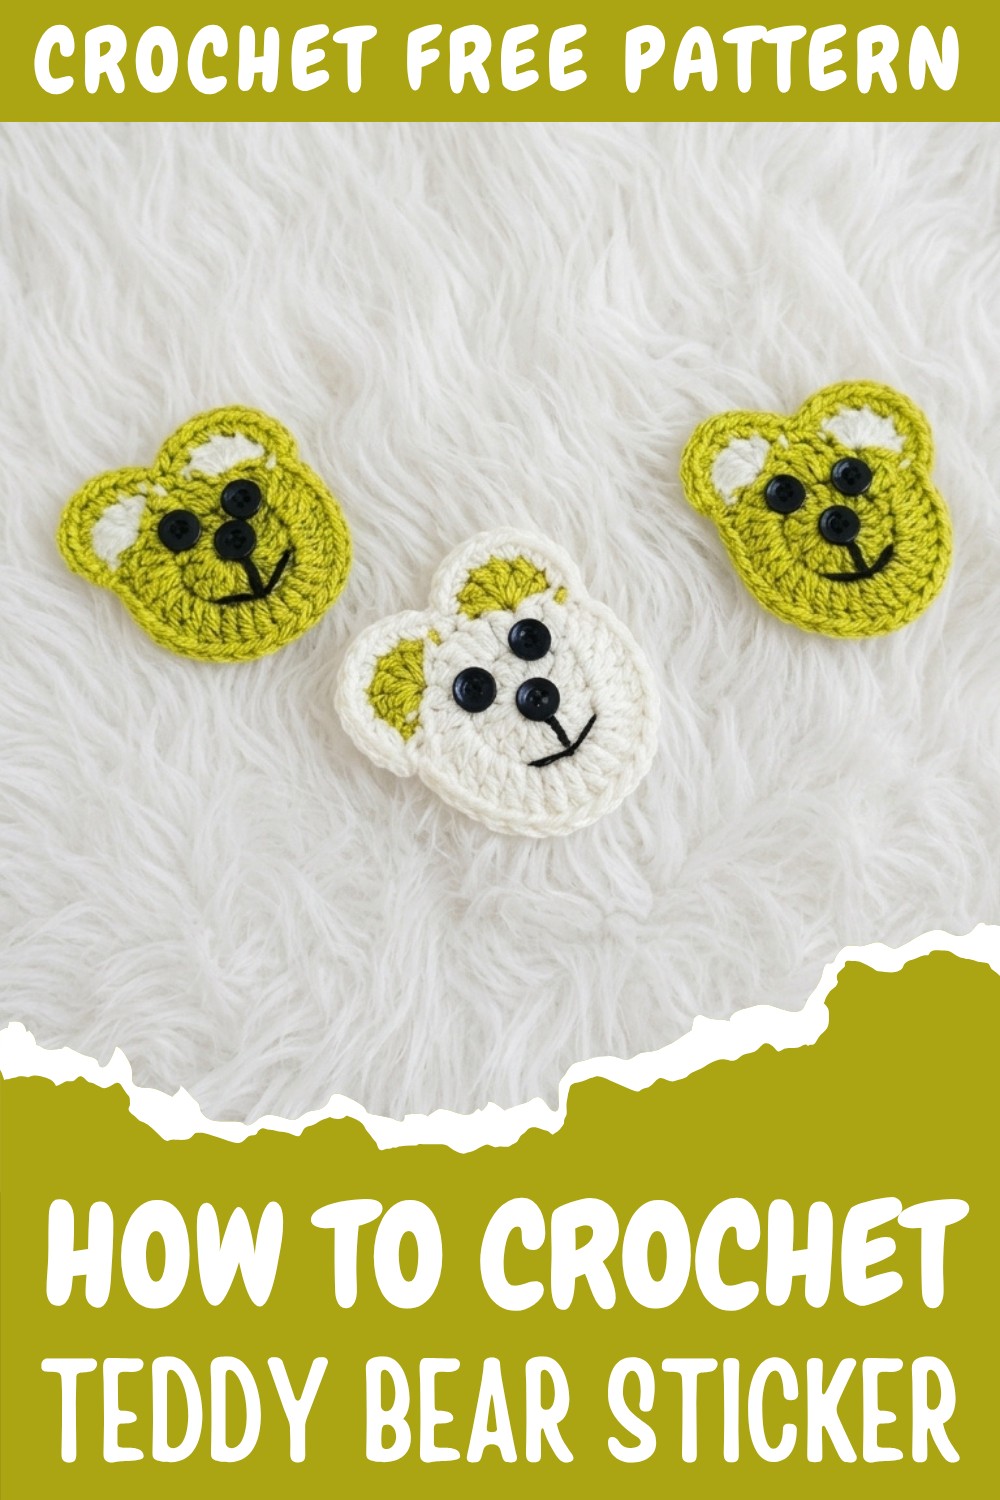
What makes this design especially attractive is its friendly expression and smooth outlines that capture the essence of a teddy bear in minimal yet effective detail. Using soft yarn in natural bear colors enhances the warmth and approachability of the final piece. Because it is lightweight and flat, it works well as a patch or decoration that can be sewn or glued onto various surfaces.
By following the clear guidance from the video, even those new to making such items can enjoy creating a delightful piece that brings smiles. This pattern combines simplicity and appeal, making it a best choice for anyone looking to add a touch of sweetness to their belongings or gifts.
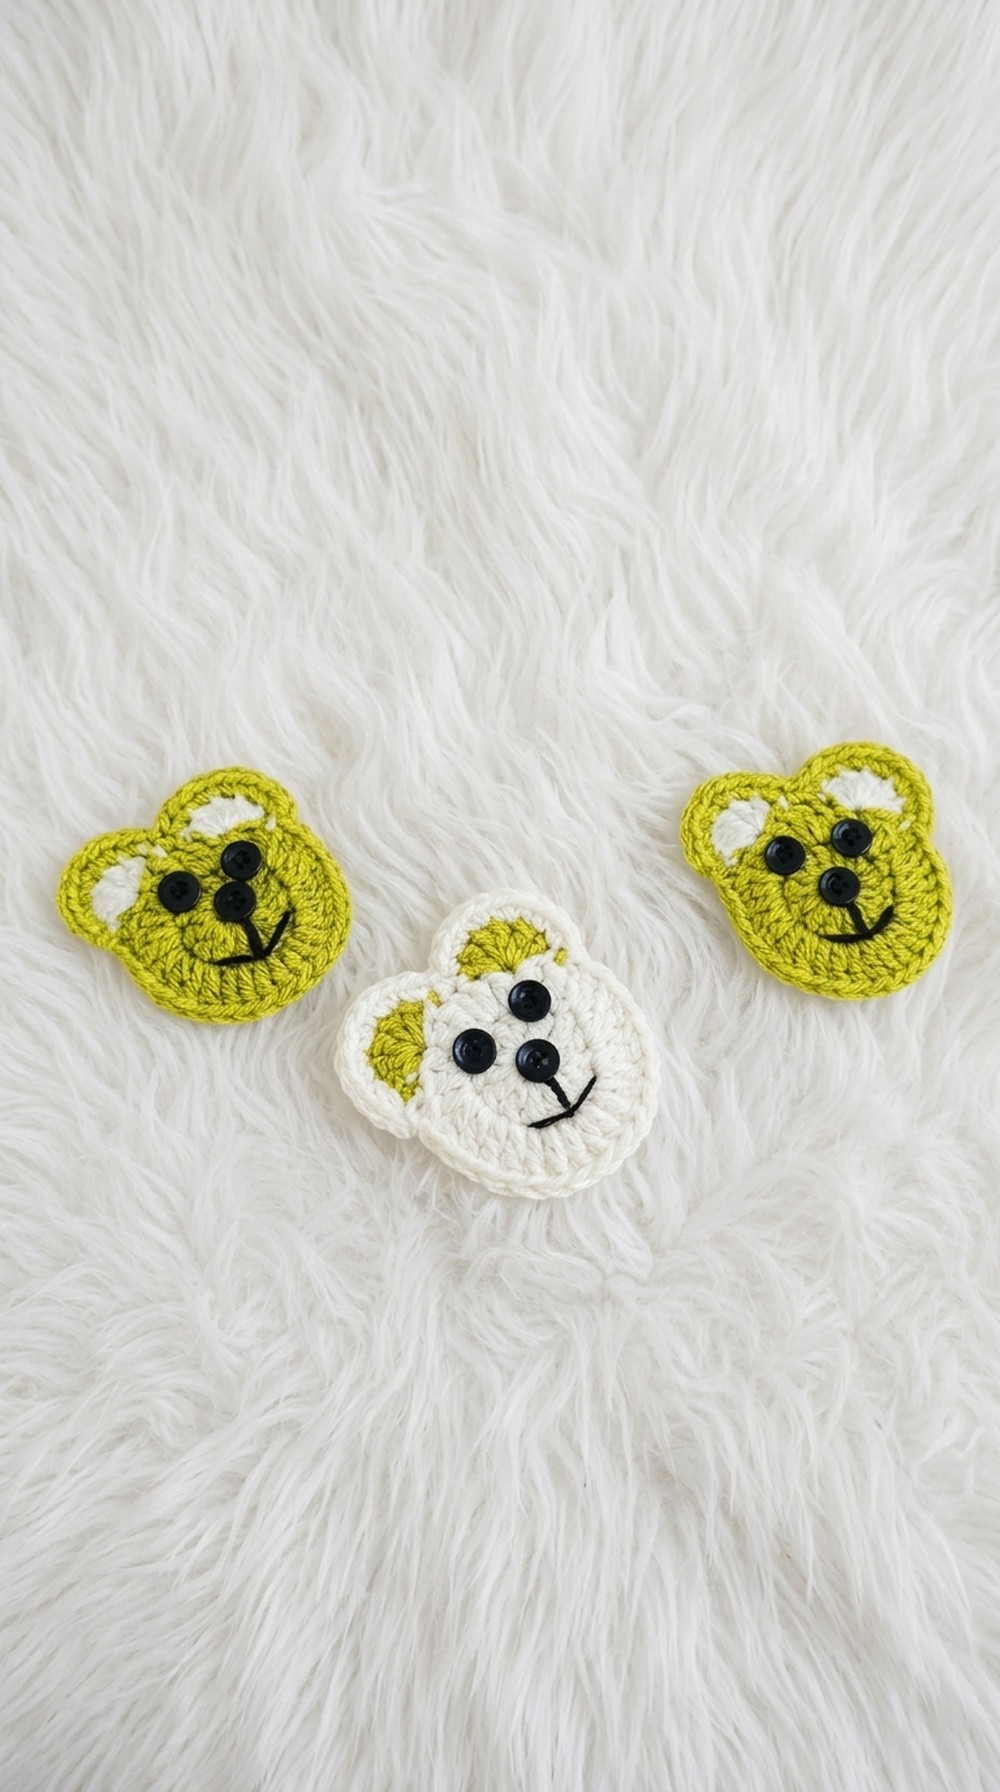
Teddy Bear Pocket/Sticker Crochet Pattern
This pattern will guide you through making a charming teddy bear-inspired pocket or sticker. Perfect as a decorative item to personalize your accessories or to serve as a functional pocket when attached to clothing or bags, this project is cute and beginner-friendly. You’ll work with basic stitches and simple embroidery to create the adorable teddy bear design.
Skill Level
Beginner: This is an easy pattern suitable for those familiar with foundational stitches like chains, single crochet, and double crochet. Minimal embroidery is involved for finishing details, and the round design ensures no complex shaping is required.
Materials Needed
- Yarn: Ganga Powder Happiness (or any similar thick yarn). You’ll need one shade for the base and a contrasting color for the ears.
- Hook: 4 mm crochet hook.
- Extras:
- Two buttons (for the bear’s eyes).
- Needle and thread (to sew buttons in place).
Special Stitches Used
- Slip Knot: Used at the beginning to start your project.
- Double Crochet (dc): A versatile stitch forming the base and ears.
- Single Crochet (sc): Used for the border to create a neat, finished edge.
- Shell Stitch: A decorative stitch made up of five double crochet stitches in one stitch or space, creating the bear’s ear shape.
- Buttonhole Stitch (Embroidery): Used for creating the bear’s nose and mouth shape seamlessly.
Stitch Abbreviations
- ch: Chain
- sl st: Slip stitch
- dc: Double crochet
- sc: Single crochet
Useful Tips
- Ensure a consistent tension to make your teddy bear pocket look neat.
- Use a stitch marker to mark the first stitch of each round if you struggle to keep track.
- When creating the ears, take care to space them evenly for symmetrical placement. Placing a stitch marker where you’ll begin each ear might help with positioning.
- Sew the buttons securely if the piece will be handled or used by small children to prevent choking hazards.
Step-by-Step Pattern
Base Round
- Create a slip knot, then ch 4.
- Join the chain with a sl st to form a ring.
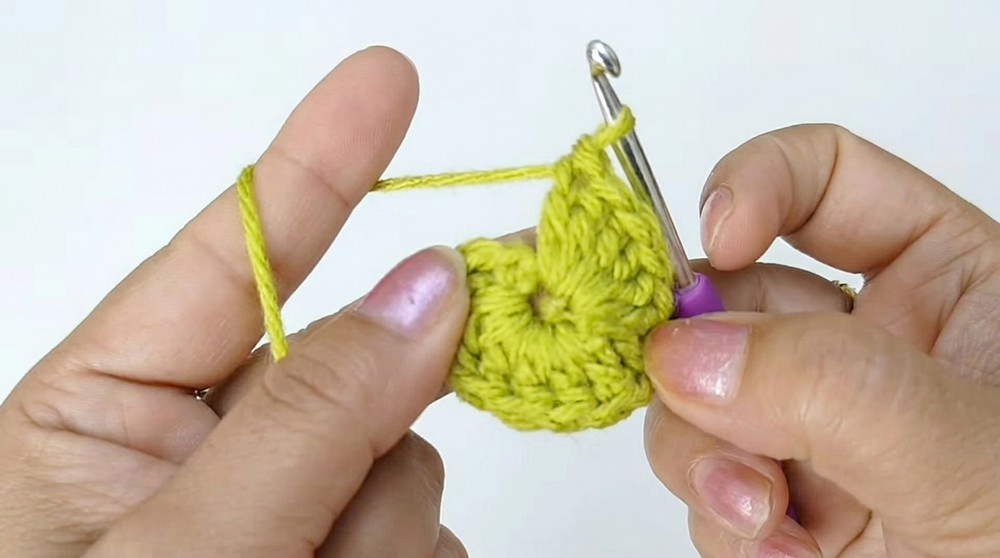
- Work 13 dc into the center of the ring. After the last dc, ch 3 to count as a dc, then sl st to the top of the starting ch-3 to join. {14 stitches including the starting chain}
Second Round
- Ch 3. This counts as the first dc.
- Work 2 dc into each stitch of the previous round.
- When you reach the end, include 2 dc in the chain space from the first round for consistency. {28 stitches total}
- Sl st to join the round. Ensure the circle lies flat as you work; adjust tension if needed.
Ear Details
- Attach a contrasting color yarn to the edge of the circle.
- Skip one st, and into the following stitch, work a shell of 5 dc. This completes the first ear.
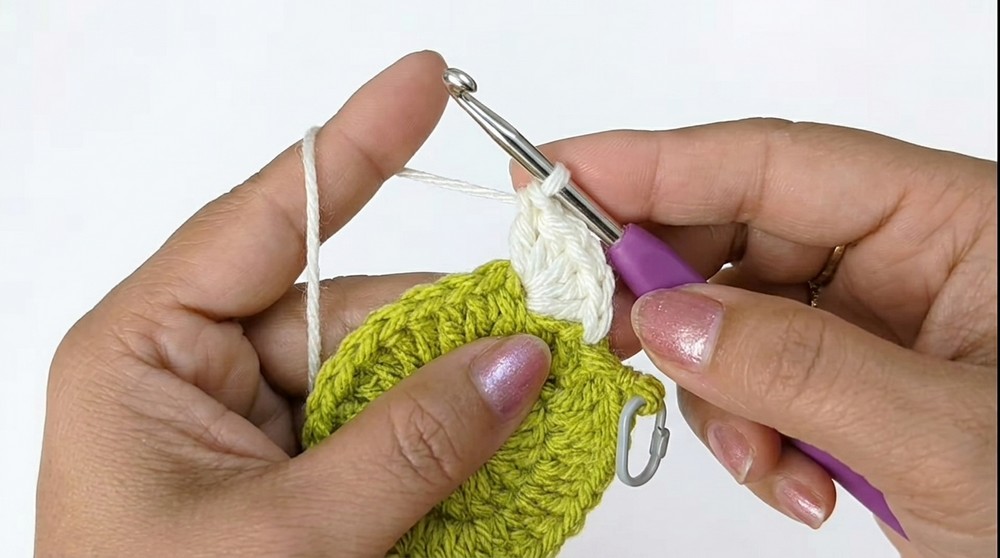
- Skip one st and sl st into the next stitch to secure the ear.
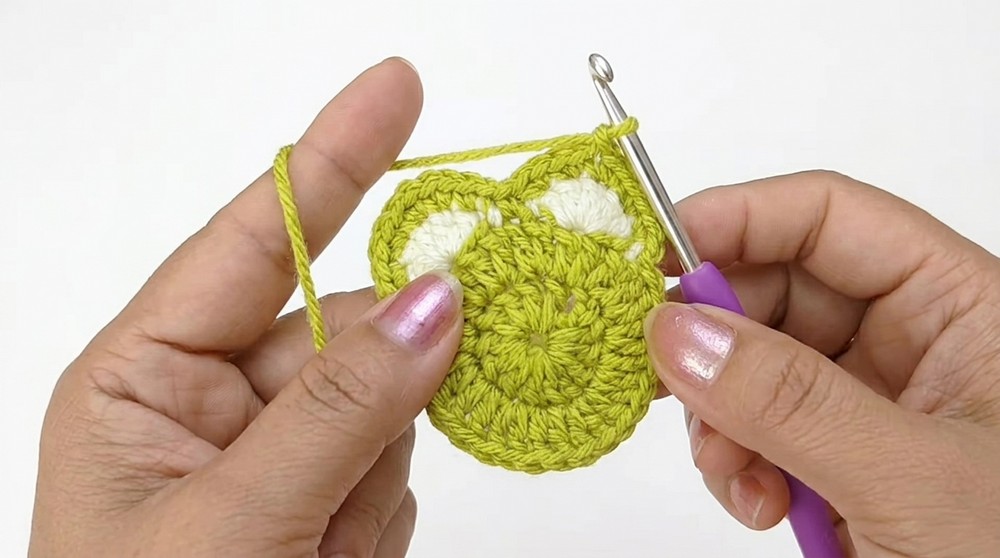
- Move to the opposite side of the circle for the second ear. Skip one st, and work a shell of 5 dc into the next available stitch.
- Skip one st and sl st into the next stitch to finish the second ear. This creates two symmetrical shell-shaped ears.
Border
- Rejoin the main color yarn to the edge of the circle.
- Work 2 sc into every stitch around the edge of the circle to form a neat border.
- When working between the ears, include 1 sc into the center gap to make a smooth transition.
- Finish the border with a sl st to join back to the starting point.
Finishing Details
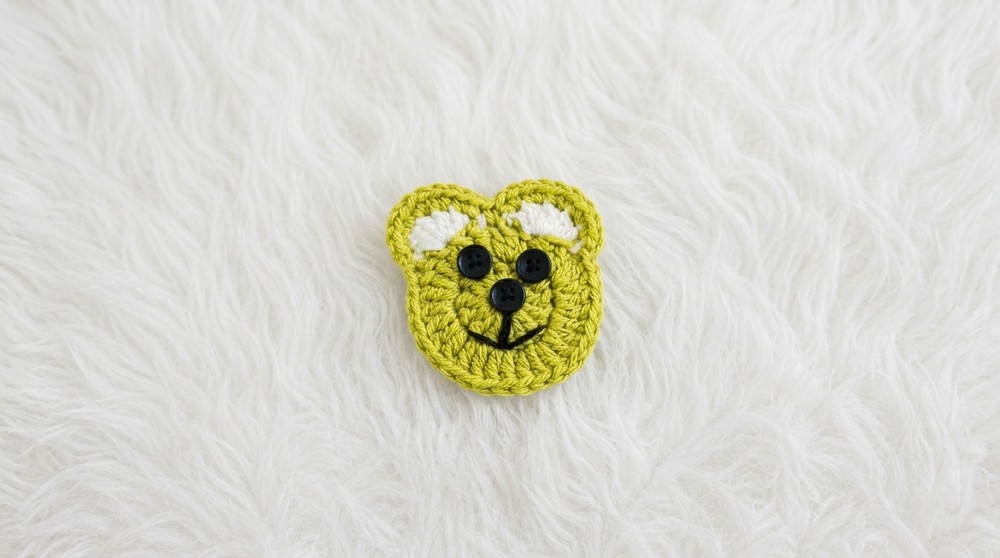
- Eyes:
- Use the needle and thread to securely attach two buttons on the red circle where the teddy bear’s eyes should be. Position them symmetrically below the ears, leaving a small gap between them.
- Double-knot the thread and trim any excess for a clean finish.
- Nose and Mouth:
- Using a thin thread or an appropriate yarn color, embroider a nose in the shape of an upside-down triangle near the center of the circle.
- Use a buttonhole stitch or small overlapping stitches to fill in the nose and make it more defined.
- Extend two lines downwards from the nose to create a smile or mouth. Use consistent stitches to ensure a clean design.
Assembly and Sizing
When complete, the teddy bear pocket/sticker measures approximately 4 to 5 inches in diameter (exact size may vary depending on your tension and yarn weight).
- To use this as a decorative sticker, simply sew or attach the completed piece to your desired item, like a tote bag, pillow, or piece of clothing.
- To use this as a pocket, sew the bottom half of the bear to your chosen surface, leaving the top open to store small items like accessories or notes.
Conclusion
The teddy bear pocket or sticker is not only a beginner-friendly project but also a cute and versatile design. Whether you use it as a pocket or as a decorative patch, it adds a handmade charm to your belongings. This project is also perfect for gifting, creating adorable additions to personal items or homemade craft projects. Experiment with colors for unique variations and enjoy the process of crafting something delightful!