Crochet Daisy Backpack Free Pattern for Boho Style
Add a touch of charm with this Free Crochet Daisy Backpack Pattern, helping you stitch a stylish and practical bag ideal for daily use or fun outings.
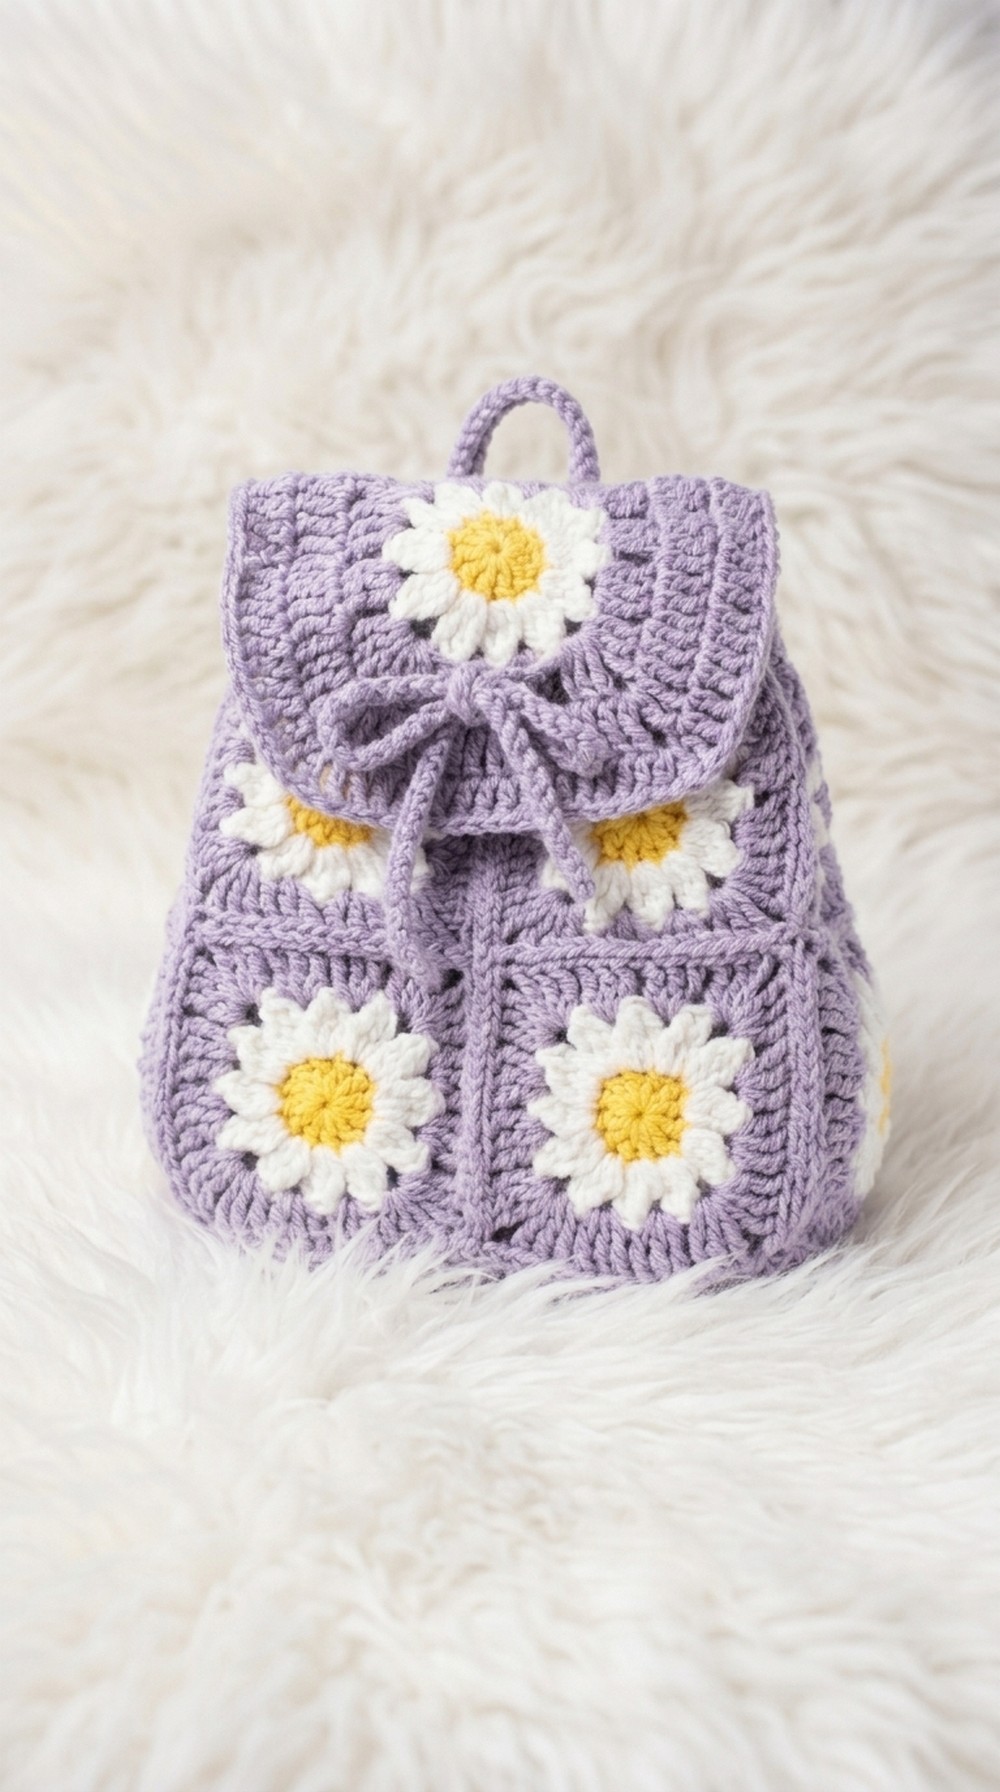
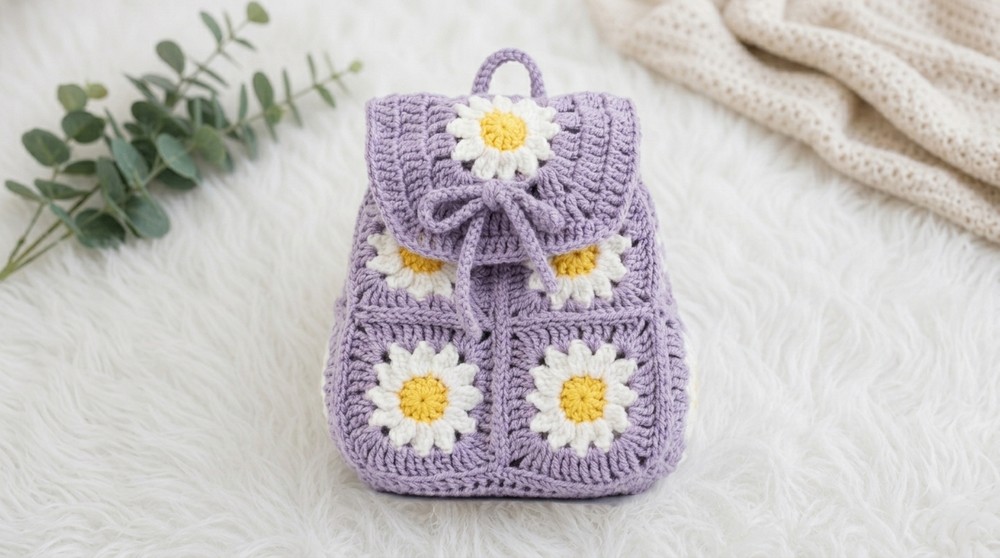
If you want a delightful accessory that adds a touch of spring to your wardrobe, the Free Crochet Daisy Backpack pattern is a fantastic choice. This crochet backpack features cheerful daisy motifs crocheted onto a soft yet sturdy body, creating a playful texture that’s both stylish and functional. Its rounded form makes it compact and perfect for carrying everyday essentials with a whimsical twist.
Beginner Friendly Free Crochet Daisy Backpack Pattern
Ideal for crocheters with some experience who enjoy working with motifs and basic shaping, this project can be customized in size—from a small kids’ backpack to a trendy mini bag for adults. The construction mainly uses simple stitches like single and double crochet, combined with attaching daisy appliqués to create that standout floral detail. Choosing a lightweight, durable yarn such as cotton or a cotton blend helps highlight the stitch texture while ensuring the bag holds its shape without being too heavy.
Inspired by the sunny, uplifting beauty of daisies, this design captures their cheerful spirit in yarn form. The yarn’s smoothness and breathability perfectly complement the textured petals, making the backpack both comfortable to wear and visually appealing. This makes it a thoughtful handmade gift for birthdays, springtime events, or anyone who appreciates nature-inspired fashion.
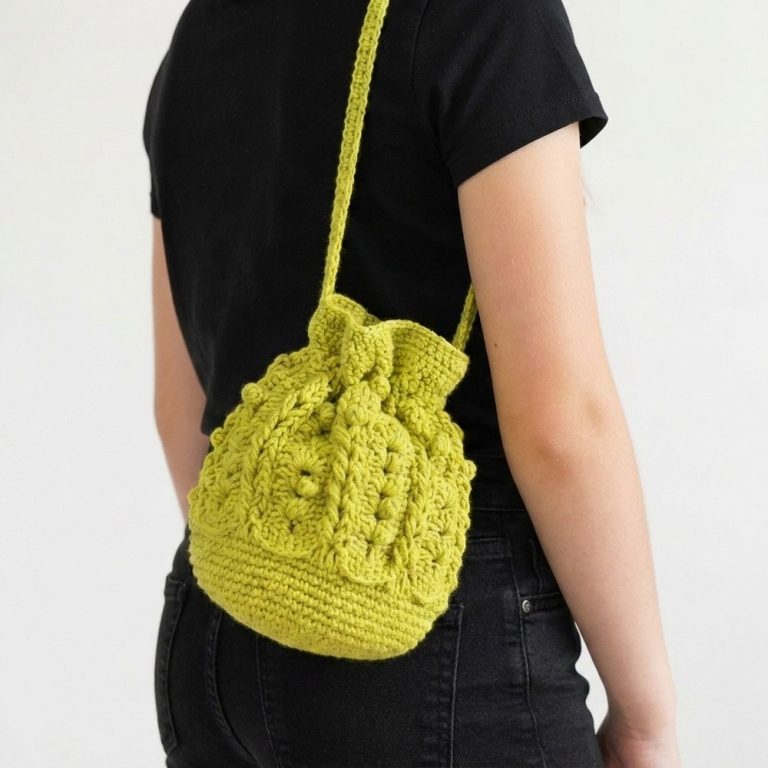
Crochet Daisy Granny Square Backpack Pattern
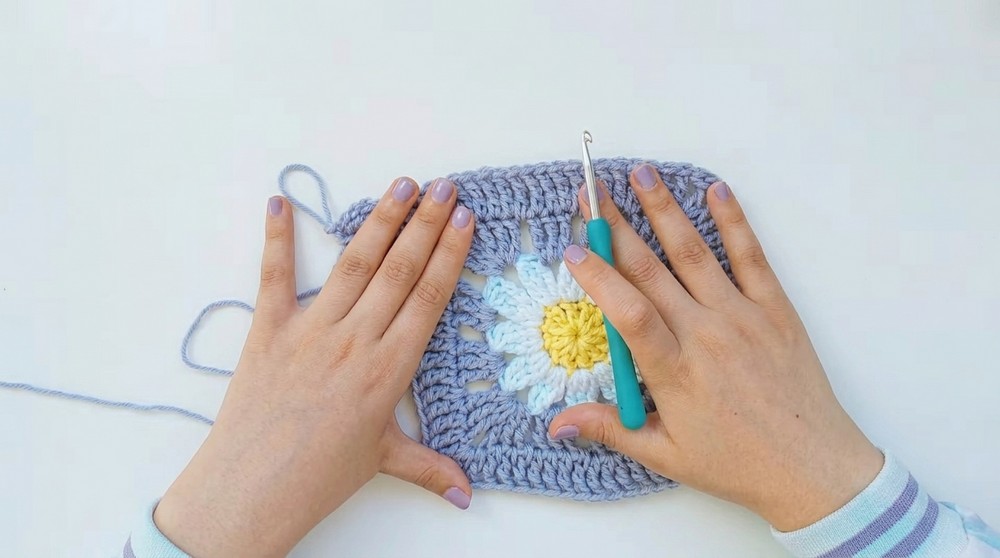
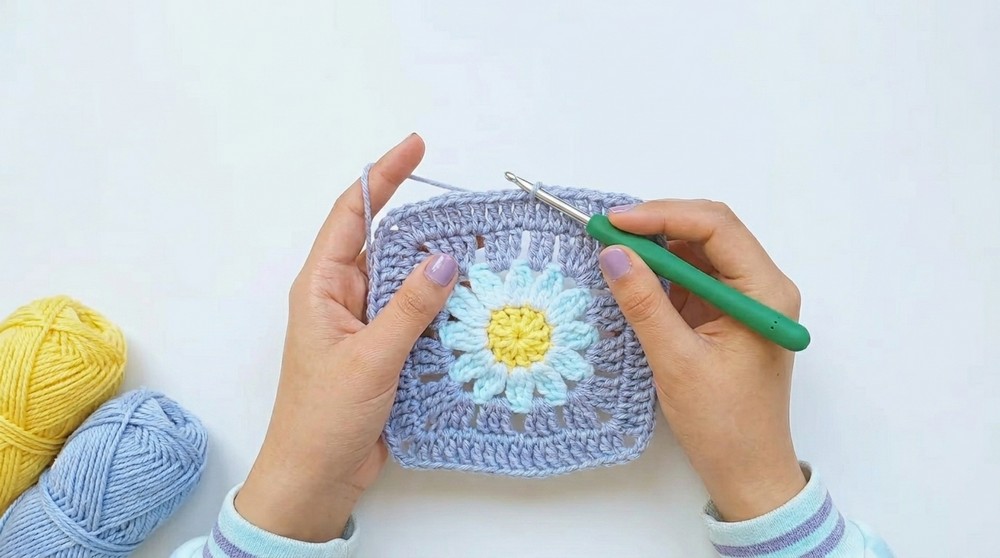
This delightfully charming children’s backpack is constructed entirely from crochet Daisy Granny Squares. Each panel—front, back, sides, and bottom—is assembled from these versatile granny squares. The pattern yields a fun and sturdy bag, perfect for children or teens, and easily customized by color choice and strap length.
The design includes a larger square for the flap or “cup,” and all pieces are joined and edged to create a functional and stylish accessory.
Pattern Notes
- Entire project uses the daisy granny square as its central motif.
- All squares are worked flat, then seamed to create the backpack structure.
- The strap is crocheted separately and sewn on during final assembly.
- The pattern uses DK/light worsted weight yarn and a 4–5 mm hook.
- The “daisy” motif uses cluster triples and traditional granny techniques.
- The bottom is made with rows of half double crochets; straps are worked in BLO for texture and stretch.
- The cover/flap is made with extra rounds for appropriate size.
- Gauge is not critical, but try to match finished measurements for best results.
Skill Level
Upper Beginner to Intermediate
Skills: Magic ring, clusters, triple crochet, color changes, seaming squares, basic assembly.
Materials
- DK/Light Worsted Weight Yarn (category #3)
- Main color(s) for squares and bag assembly
- Yellow for daisy centers
- White or chosen contrast for petals
- Green or other background colors for square borders
- 4 or 5 mm crochet hook
- Scissors
- Yarn needle
- Tape measure
Measurements / Sizing
- Each finished granny square: ~8×8 cm (adjust by hook/yarn if needed)
- Bag (assembled): roughly 22 cm wide x 26 cm tall x 10 cm deep
- Strap: ~65–80 cm (customize as needed)
- Large flap square: ~12–14 cm
- Bottom panel: 24 ch wide, 11 rows tall, ~10 cm (check before assembly)
Gauge
Gauge is not critical, but all your squares should be the same size for neat seaming.
Stitch Abbreviations (US Terms)
- ch = chain
- sl st = slip stitch
- sc = single crochet
- hdc = half double crochet
- dc = double crochet
- tr = triple (treble) crochet
- cl = cluster (see special stitches)
- st(s) = stitch(es)
- sp = space
Special Stitches
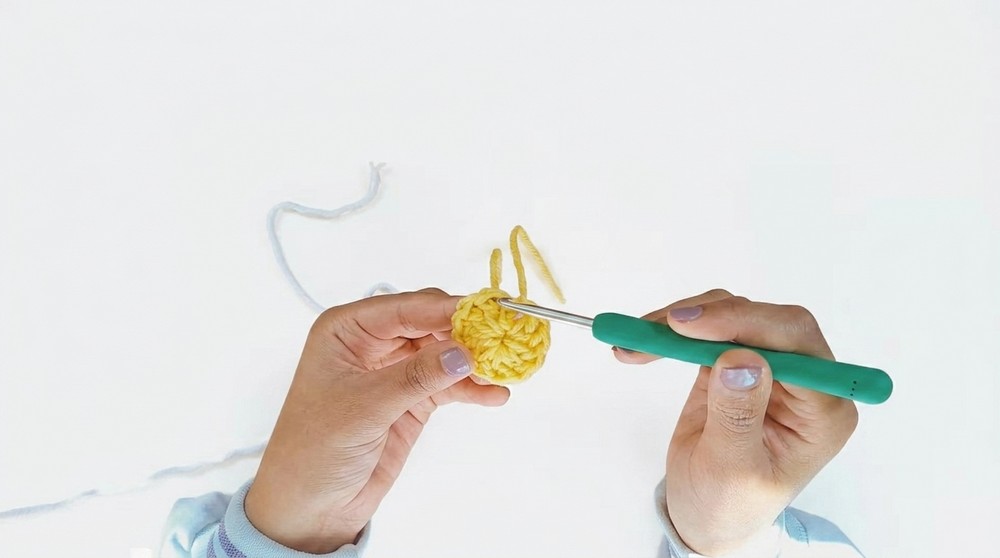
Cluster Triple (Petal):
Yarn over twice, insert into indicated st/sp, yo & pull up, yo & pull through 2, yo & pull through 2, stop; repeat in same sp (number indicated); then yo and pull through all loops on hook.
3-tr Cluster:
Yarn over twice, draw up a loop, (yo, pull through 2) twice; repeat into same sp 3 times total with all loops left on hook; yo, pull through all loops on hook.
The Crochet Pattern
DAISY GRANNY SQUARE (make 12) – For panels
Rnd 1: Daisy Center
With yellow (or center color):
- Ch 4, sl st in first ch to form a ring.
- Ch 3 (counts as dc), 11 dc in ring (12 sts total).
- Sl st to top of beg ch-3 to join.
- Fasten off yellow.
Rnd 2: Petals
Join petal color (e.g., white) in any dc:
- Ch 4 (counts as first tr), (Cluster Petal): Yarn over twice, insert hook in same st, pull up a loop, yo, pull through 2, pull through 2 (repeat for 2 more tr in same st); you’ll have 3 loops. Yo, pull through all loops on hook—first petal complete.
- In each of next 11 dc, work a 3-tr cluster (as above).
- Sl st to close.
- Fasten off petal color.
Rnd 3: Background/Square Formation
Join background color in any petal space:
- Ch 4 (counts as first tr), 2 tr in same sp.
- Ch 2, 3 tr in next sp; ch 2, 3 tr in next sp; ch 3, 3 tr in same sp (corner made).
- Repeat [3 tr in next 2 sp, (ch 3, 3 tr in next sp)] around, for 4 corners.
- Where not at a corner, separate groups with ch 2.
- Join with sl st to top of beg ch-4.
- Fasten off or continue as needed.
Note: You may add a sc or dc border in main color for joining and neatness if desired.
FLAP (COVER) SQUARE – (Make 1, Larger)
Work as above, but after Rnd 3,
- Work two more rounds in pattern (3 tr, ch 2 between, ch 3 at corners) to enlarge the square, matching cover dimensions to bag width.
BOTTOM PANEL
- Ch 24.
- Row 1: Hdc in 2nd ch from hook and each across. (23 hdc)
- Row 2–11: Ch 1, turn. Hdc in each st (23). Make sure piece measures 10 cm deep.
- Fasten off, leave a tail for sewing.
STRAPS
- Ch 5.
- Row 1: Hdc in 2nd ch from hook and each across (4 hdc).
- Row 2+: Ch 1, turn. Hdc BLO in each st for 65–80 cm or desired length.
- Fasten off, leave long tails for sewing.
- Make a second strap if desired for double-strap version.
ASSEMBLY & BAG CONSTRUCTION
- Create the Panels:
- Make 12 granny squares—assemble in sets of 6 for front and back, sets of 2 for each side.
- Sew squares together using whipstitch or preferred method, matching motif direction.
- Sew Bag Body:
- Sew side panels to front, then to back.
- Sew bottom panel to four panels’ base edges.
- Attach Flap:
- Sew the largest square along the back top edge (wrong side to wrong side, flap will cover bag opening).
- Edging:
- Work sc evenly around the opening; do 6 rounds for firmness and shape.
- Attach Straps:
- Sew straps securely to back panel bases and upper side (or as backpack/hobo).
- Finishing Touches:
- Weave in all ends, block lightly if needed.
- Add buttons, toggles, or magnetic clasps as desired.
- (Optional: Add lining for durability.)
Finished Size
- Approx. 22 cm wide × 26 cm tall × 10 cm deep
- Flap covers the opening; straps adjustable in length.
Quick Overview for Beginners
- Granny Squares: Make 12 “Daisy Granny Squares” in 3 colors.
- Panels: Join 6 squares for front, 6 for back, 2 for each side.
- Bottom: Rectangle; hdc rows.
- Flap: One large granny made with extra rounds.
- Assembly: Whipstitch squares and bottom together; sc edge around opening.
- Straps: Crochet in BLO for flexibility; attach.
- Finishing: Add closures, weave in ends, block as needed.
Tips for Success
- Use bright, contrasting colors for petals and backgrounds for a cheerful look.
- Make sure all squares are the same size before joining.
- Join squares on the wrong side for a flat finish.
- Secure all joins and straps well—kids’ bags get lots of wear!
- Add a sturdy lining for extra strength if desired.
- Customize with tassels, buttons, or patches.