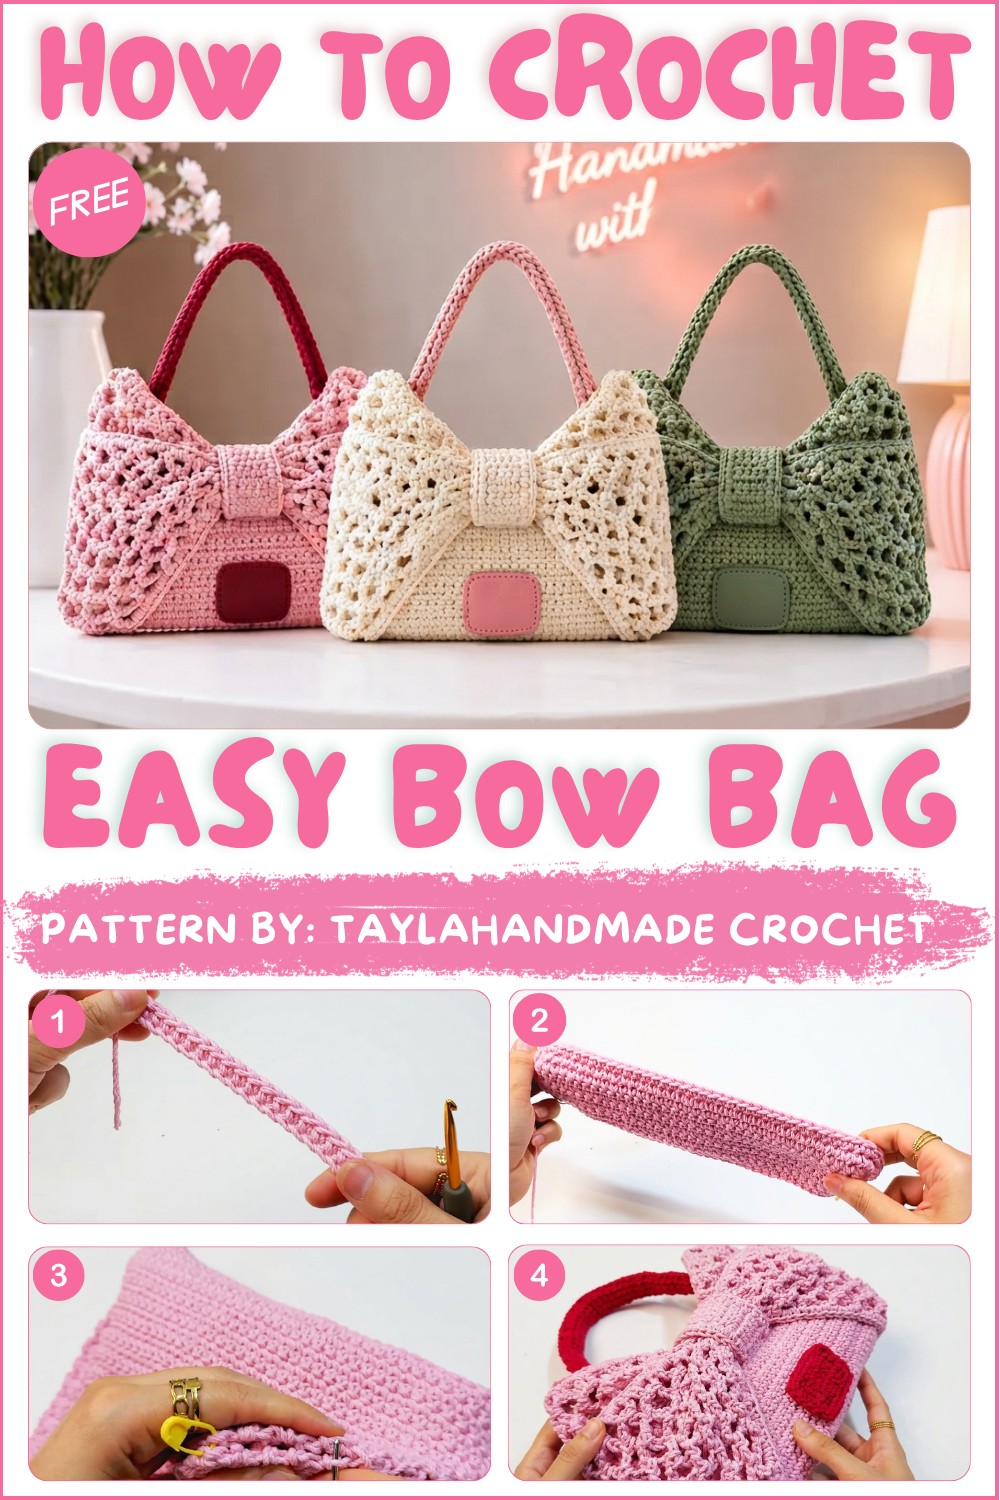
Cute Crochet Bow Bag Pattern Free & Easy Tutorial

Add charm to your accessory collection with this Free Crochet Bow Bag Pattern to carry your essentials easily while showcasing a stylish and elegant design.
Looking for a fun and rewarding crochet project? The Free Crochet Bow Bag Pattern presents a charming way to create a stylish accessory that’s both functional and decorative. Shared by the talented Tayla Handmade Crochet, this pattern guides you through making a beautifully textured bow bag that stands out with its unique design and handmade appeal. Whether crocheted for personal use or as a thoughtful gift, this project offers great potential to brighten wardrobes and special occasions alike.
Free Crochet Bow Bag Pattern with Detailed Tutorial
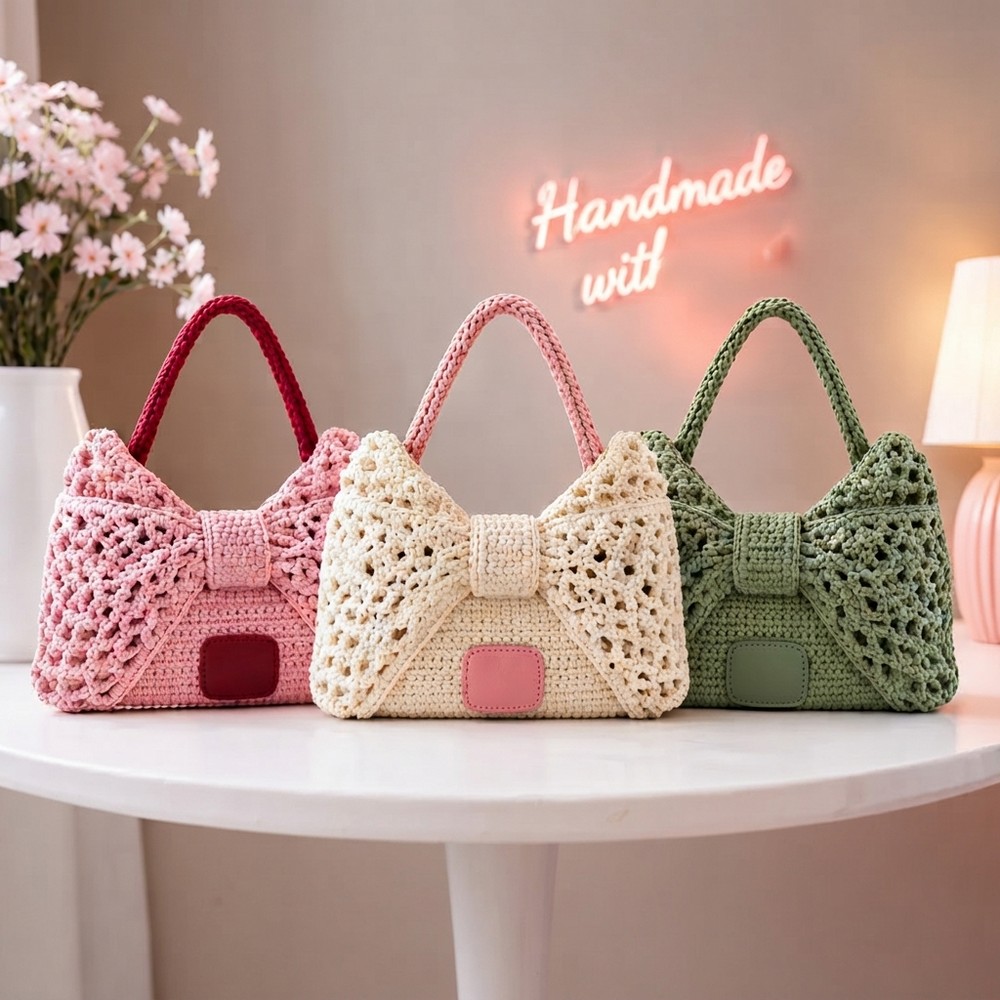
This bow bag is made using cotton macramé cord and simple single crochet stitches, resulting in a sturdy yet soft texture. The overall shape features a sleek rectangle with gently rounded edges, providing ample space for everyday essentials without appearing bulky. The oversized bows attached on both sides serve as the bag’s standout design element, adding an elegant and playful flair that draws the eye.
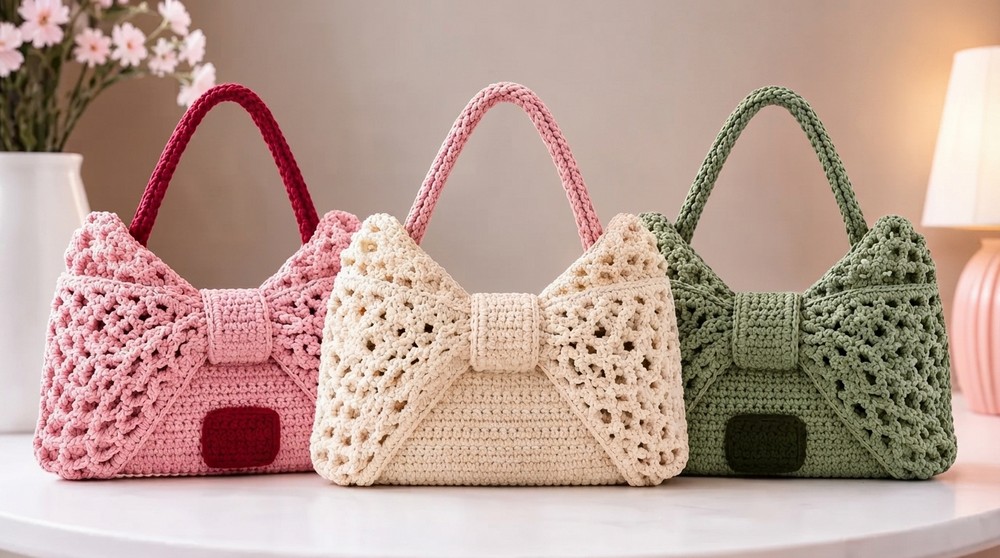
Beyond its appealing style, the bag boasts practical features such as a magnetic snap closure, which keeps belongings secure, and a strong crocheted handle for comfortable carrying. Neat edging and meticulous stitch work contribute to a polished, professional finish that reflects careful craftsmanship.
Perfect for casual outings or special events, the Free Crochet Bow Bag enhances any ensemble with a touch of handmade charm. The blend of beauty, function, and creativity makes this project enjoyable for crocheters of all skill levels. With clear step-by-step guidance from Tayla Handmade Crochet, the crocheting process becomes just as delightful as the finished piece itself.
Bow Bag Crochet Pattern
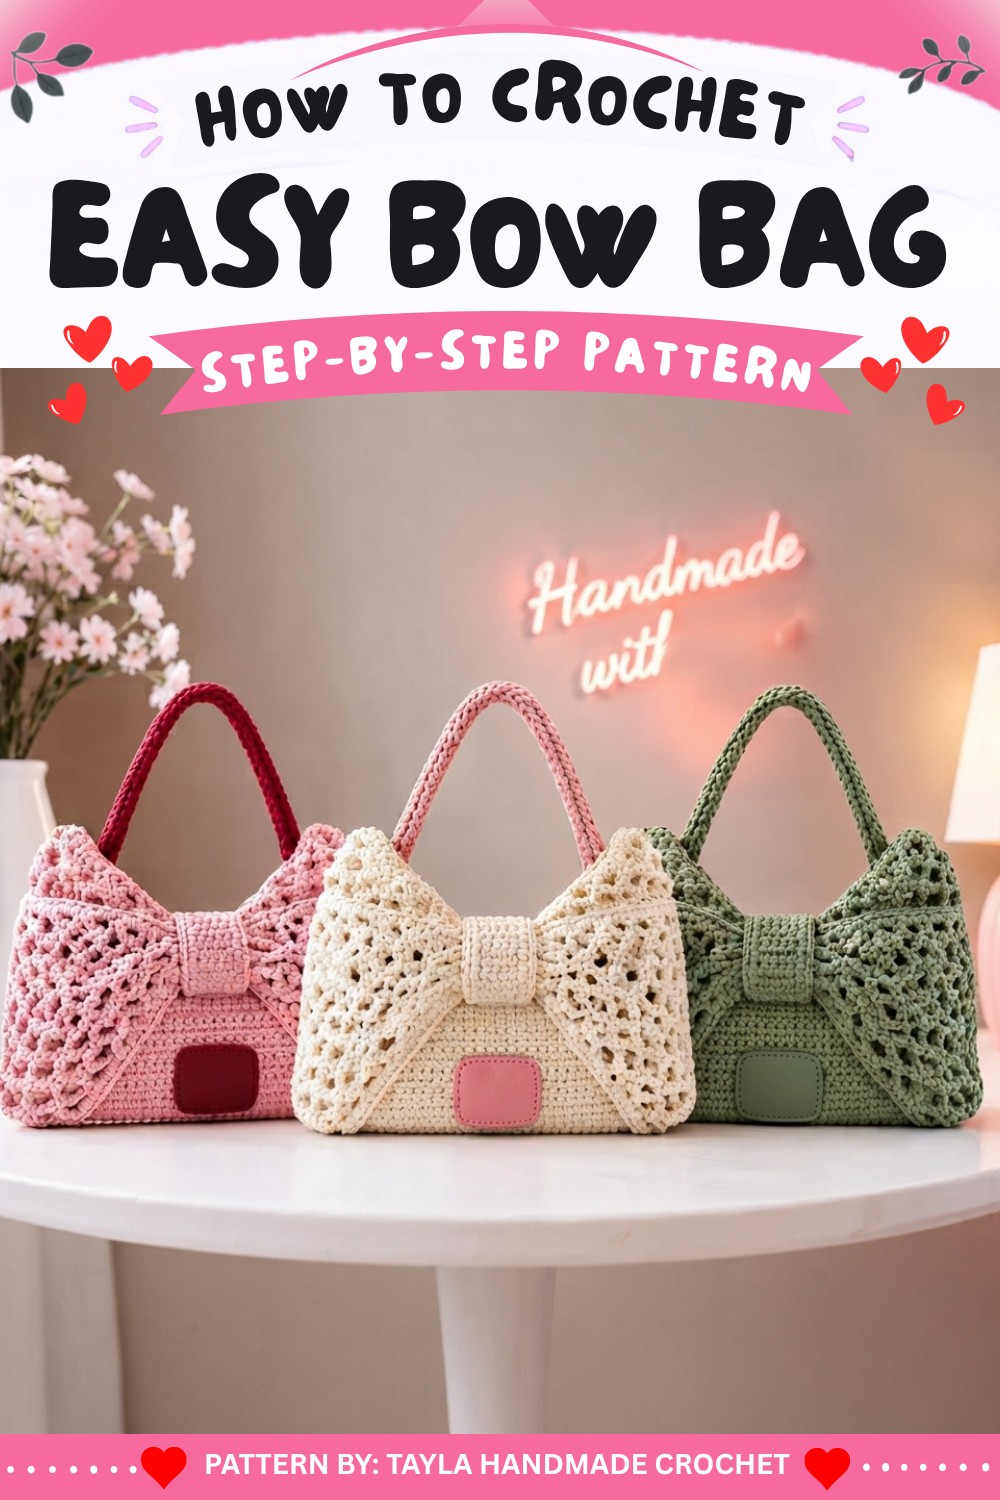
Welcome to a step-by-step, beginner-friendly crochet pattern for a charming bow bag. Using cotton macra cord and simple stitches, you will create a sturdy, elegant bag perfect for everyday or special occasions. The following instructions walk you through foundation, shaping, assembly, and decorative bow embellishments for a polished finish.
Pattern Basic Points
- Rectangular base: Simple rows of single crochet form the structure.
- Built-in sides: Worked directly from the base for seamless construction.
- Structured shaping: Single crochet decreases gently taper the bag.
- Three-piece bow: Two lacy bow panels joined and cinched with a central strip for easy sewing.
- Sturdy handle: Constructed from chain and loop work for durability.
- Professional details: Magnetic snap closure and decorative ribbon are added for function and style.
Special Notes
- Macra cord is non-stretchy and stitches work up dense. Maintain a neat, even tension for the best results.
- Stitch markers are essential for tracking placement, especially when working in the round or at critical shaping points.
- Take care with symmetry: Build both sides and bows evenly for a balanced finished piece.
- Customize handle length before finalizing for crossbody, shoulder bag, or hand-bag styles.
Skill Level
Beginner – Confident Beginner
Skills practiced:
- Single crochet and chain stitch
- Working into chain spaces
- Single crochet decreases (sc2tog)
- Sewing seams with yarn needle
- Construction of simple lace
Materials
- Yarn: 3mm cotton macra cord
- Hook: 4mm (for foundation and main body), 3mm (for some details)
- Notions: Magnetic snap closure, stitch markers, darning/yarn needle, scissors, optional open ring for attaching handle, ribbon (optional)
Measurements / Sizing
- Base/Foundation chain: 36 stitches
- Bag Height: Follows row instructions; adjustable by working more/less rows
- Handle: ~64cm before joining (adjustable)
- Bow: Two panels, each worked to same size (see bow instructions)
Gauge
Gauge is not critical. Maintain single crochet stitches tight enough for structure but flexible for assembly and neat edges.
Stitch Abbreviations
- ch: chain
- sc: single crochet
- st(s): stitch(es)
- sl st: slip stitch
- sc2tog: single crochet two together (decrease)
Special Stitches
- Single Crochet Decrease (sc2tog): Insert hook into next stitch, yarn over and pull up a loop, insert into following st, yarn over and pull up a loop (3 loops on hook), yarn over and pull through all loops.
Pattern Instructions
BASE
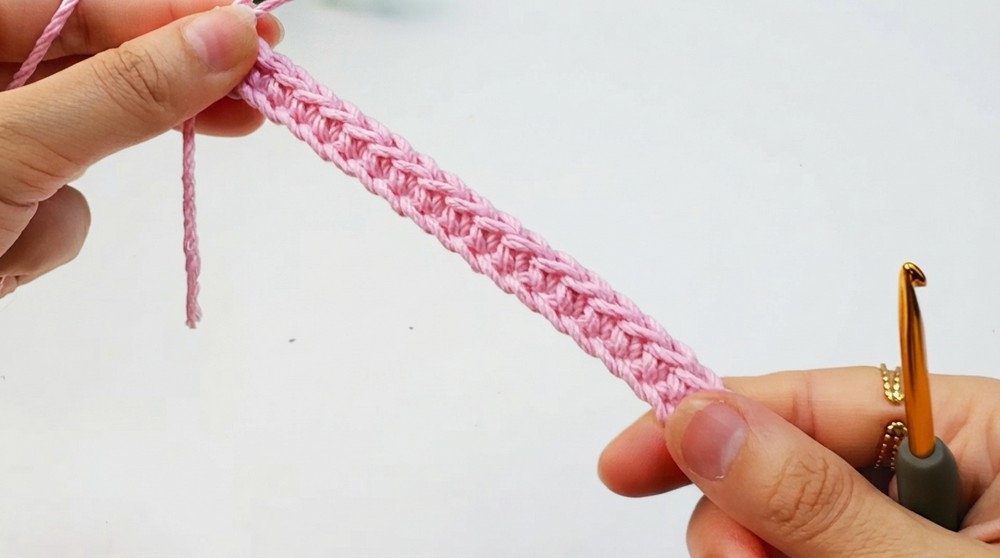
- Foundation row:
- Using 4mm hook, ch 36.
- Ch 1 (counts as turning chain).
- Row 1:
- Starting in 2nd ch from hook, sc in each ch across. (36 sc)
- Rows 2–8:
- Ch 1, turn.
- Sc in each st across. (36 sc per row)
- At the end of Row 8, you have a rectangle.
WORKING AROUND THE BASE
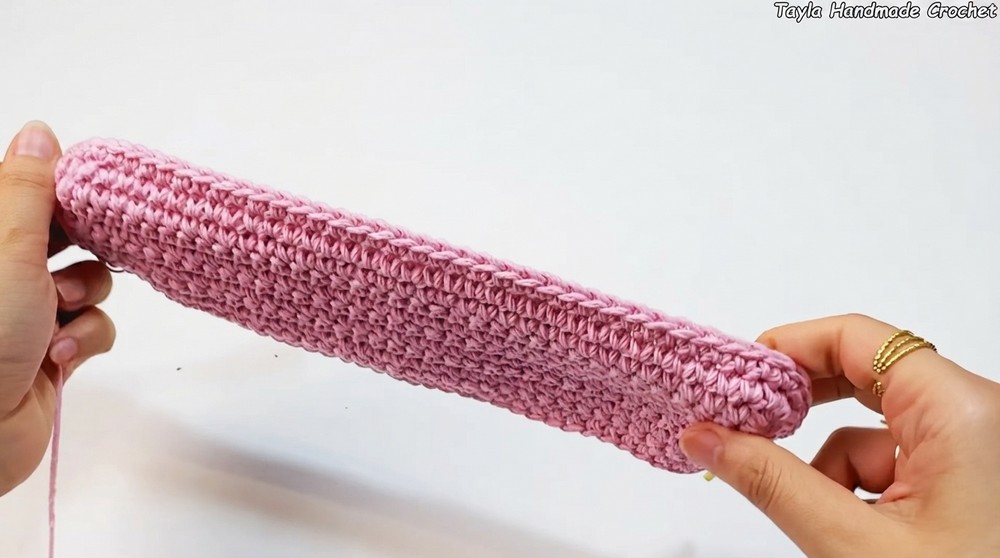
- Work border:
- Do NOT turn; continue to sc around entire base.
- Short side 1: 8 sc along first short side, place a stitch marker in first st.
- Long side 1: Sc in corner st, place marker, sc evenly across the next 36 sts, place marker at end.
- Short side 2: 8 sc along second short side, place marker at end.
- Long side 2: 36 sc evenly along remaining long side to reach starting point.
- Join as necessary. Fasten off, leaving tail to weave.
BAG BODY
- Row setup:
- On a short edge, count 8 sts; divide into two groups of 4. Join yarn at center between, ch 1, sc in same st.
- Sc in next 4 sts, remove marker when reached.
- Sc across 36 sts along long side.
- On second short side, sc in only the first 4 sts.
- (44 sts per row.)
- Row 2:
- Ch 1, turn. Sc in each st across. (44 sc)
- Row 3:
- Ch 1, turn.
- Sc2tog (decrease) over first two sts,
- Sc in next 40 sts,
- Sc2tog over last two sts. (42 sc)
BODY DECREASES
- Continue pattern:
- Alternate one decrease row followed by two straight sc rows:
- Decrease row: ch1, turn, sc2tog, sc across row, sc2tog at end.
- Straight rows: ch1, turn, sc in each st across.
- Repeat this sequence. On the last section, decrease as follows:
- Row 21:
- Turn without chaining. Sc2tog, sc in next 5 sts, sl st in last st.
- Row 22:
- Skip sl st from previous row. Sc2tog, sc in next 4 sts.
- Row 23:
- Turn without chaining. Sc in each of next 3 sts, sc2tog.
- Row 24:
- Turn without chaining. Sc2tog, sc in each of next 2 sts.
- Ch1, fasten off.
- Row 21:
- Repeat the exact same structure on the opposite side. Both sides should be finished identically.
- Alternate one decrease row followed by two straight sc rows:
ASSEMBLY
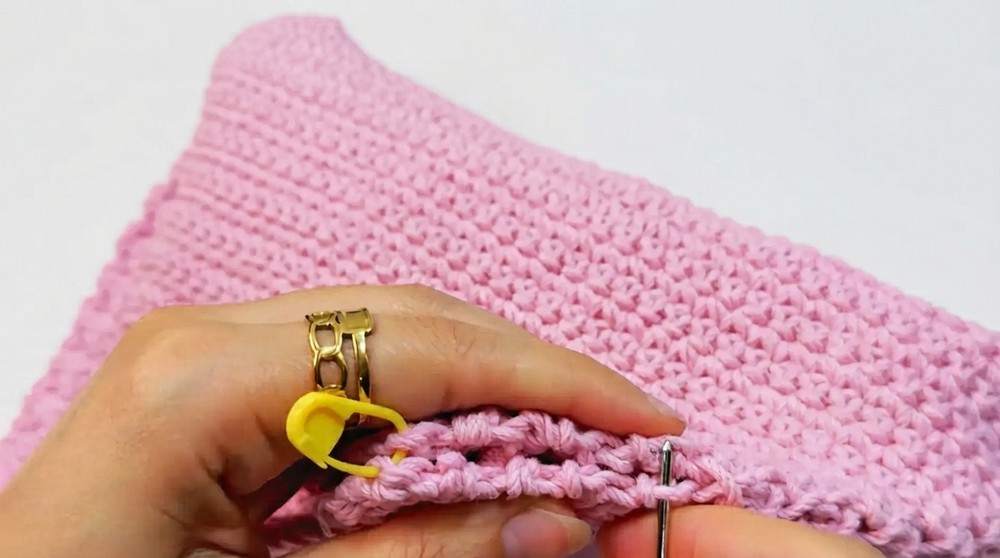
- Sew Bag Sides:
- Fold bag to align sides.
- Using a yarn needle and working from the bottom upwards, sew sides together with neat, tight stitches for a professional join. Repeat on other side.
EDGE FINISHING
- Even edging:
- With hook, work one sc in every st around the bag opening to make a clean, stable edge.
CLOSURE
- Add magnetic snap:
- Center snap closure on opening, align, and secure per package instructions.
BOW (Make 2 Panels + Center Strip)
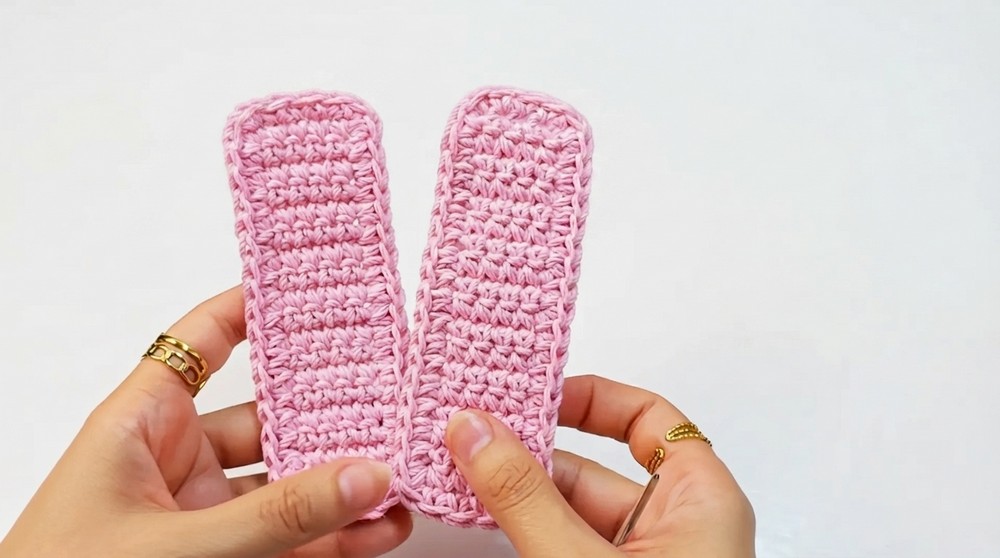
Bow Center Strip:
- Ch 5, ch 1, turn.
- Sc in each st across.
- Work in rows back and forth until you have 18 rows.
- Sc evenly around entire piece for a neat edge.
- Fasten off.
Bow Sides (x2):
- Row 1: Ch 25, ch 1.
- Sc in second ch from hook, ch 5, skip next 3 sts, sc in next st. Repeat across.
- Rows 2/3:
- Row 2: Ch 6, turn, sc in first ch sp, ch 5, sc in next ch sp; repeat. End: ch 3, dc in last st.
- Row 3: Turn, sc in first st, ch 5, skip ch sp, sc in next ch sp; repeat. End: sc in last st.
- Repeat rows 2 and 3 continuously to form bow lacy pattern, making sure both sides are identical.
- Work border: ch 2, sc into first ch sp, ch 3, sc in next, repeating across row/around.
- On long edges, alternate: 2 sc in first sp, 1 sc in next, repeat along entire side.
- Work evenly around all sides with this edging.
- Align both panels and sew together securely at center.
Attach Bow:
- Position bow at center of bag.
- Sew center strip tightly to cinch the bow in place. Securely sew ends on inside.
- Repeat for the other side of bag for a double-bow bag.
HANDLE
- Sturdy Handle:
- Ch 5, insert hook into 2nd ch, pull up a loop, repeat for each chain (5 loops on hook).
- Yarn over, pull through first loop, yarn over, pull through next two loops, repeat until one loop remains.
- Yarn over, insert into next front loop, pull up a loop, repeat for each st to end up with 5 loops, repeat process.
- Continue to desired handle length (~64cm).
- Fold handle in half, sew ends together and attach with ring if using.
FINAL FINISHING
- (Optional) Personal Label/Logo:
- Create a small square, sew as desired.
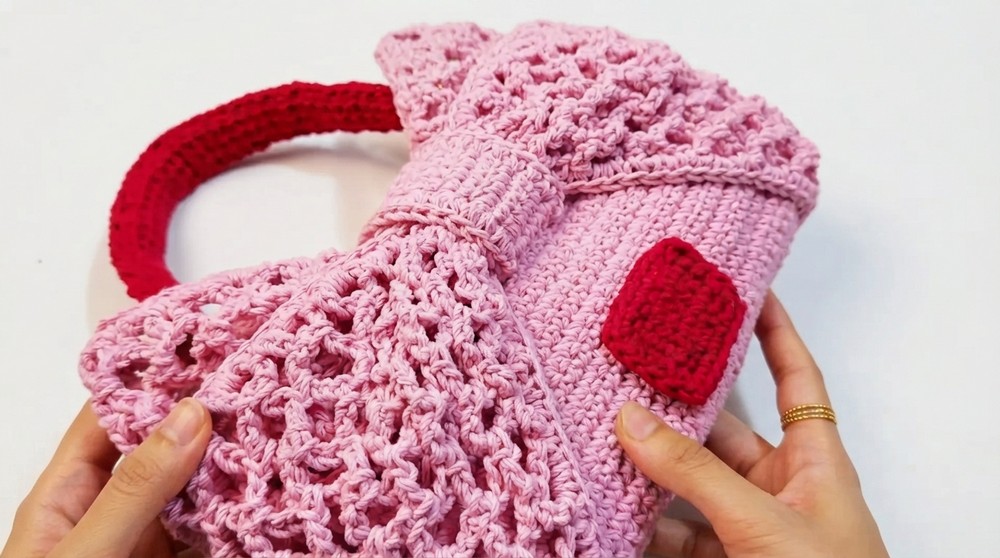
Assembly & Finished Size
- Ensure all ends are woven in.
- Attach handle with open ring at sides if desired.
- Sew bow and optional label for final touch.
- Standard bag is a small-to-medium shoulder or hand bag, easily resized.
Conclusion
Congratulations! You’ve completed a modern bow bag with a crisp finish and creative details. From foundation to bow assembly, every step ensures both functional structure and charming style. Use your finished bag for special occasions or everyday use and enjoy the compliments sure to come your way.