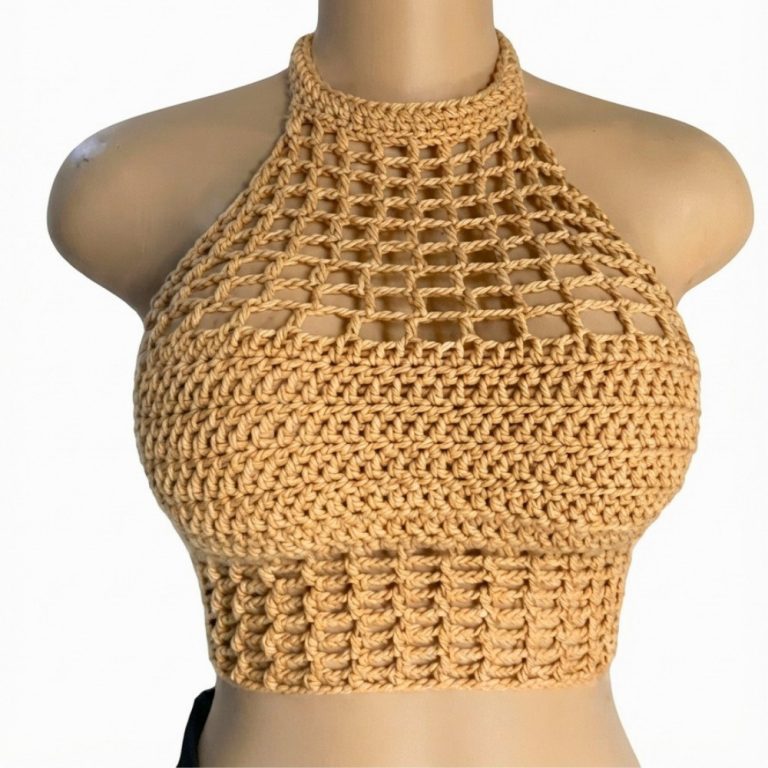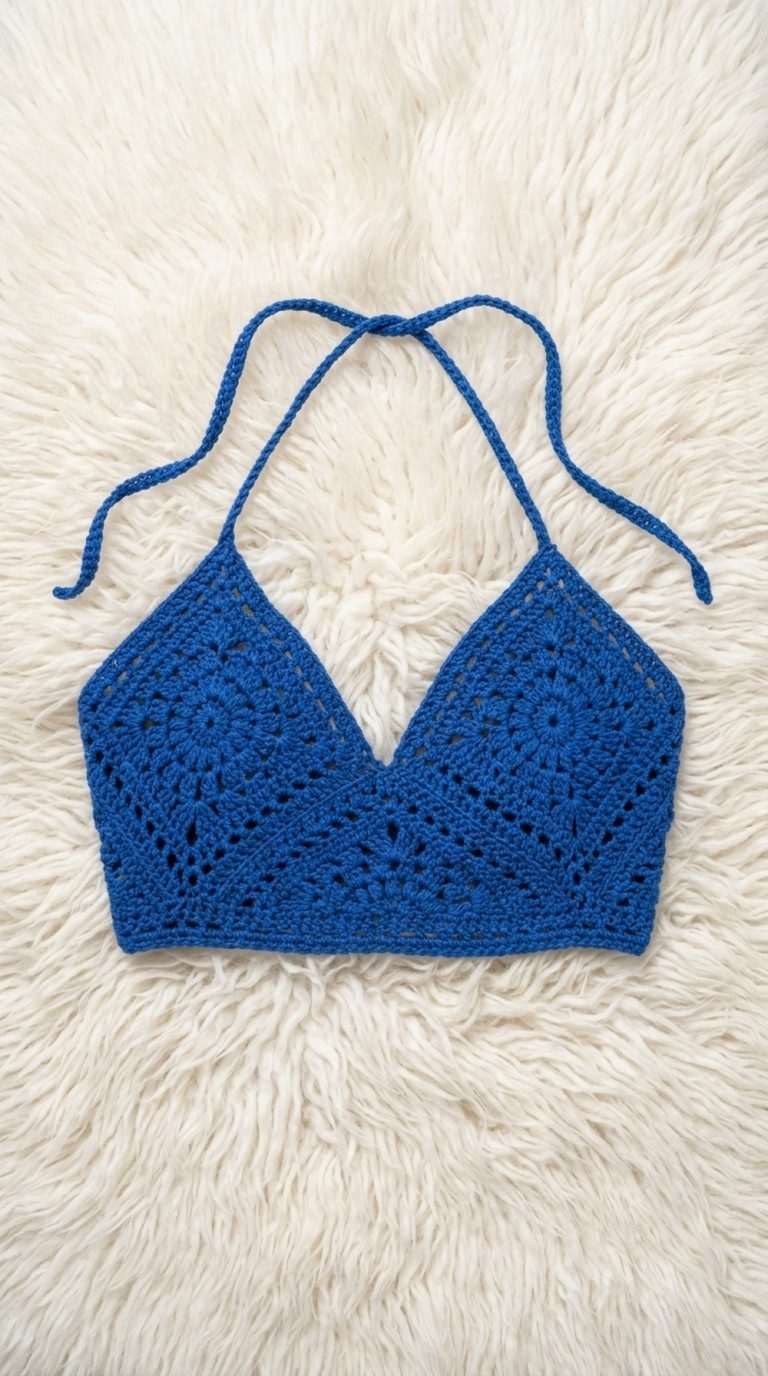
Stylish Free Crochet Top Pattern with Step by Step Instructions

Add fresh style to your wardrobe with this Free Crochet Top Pattern, combining comfort and elegance for everyday wear or layered outfits.
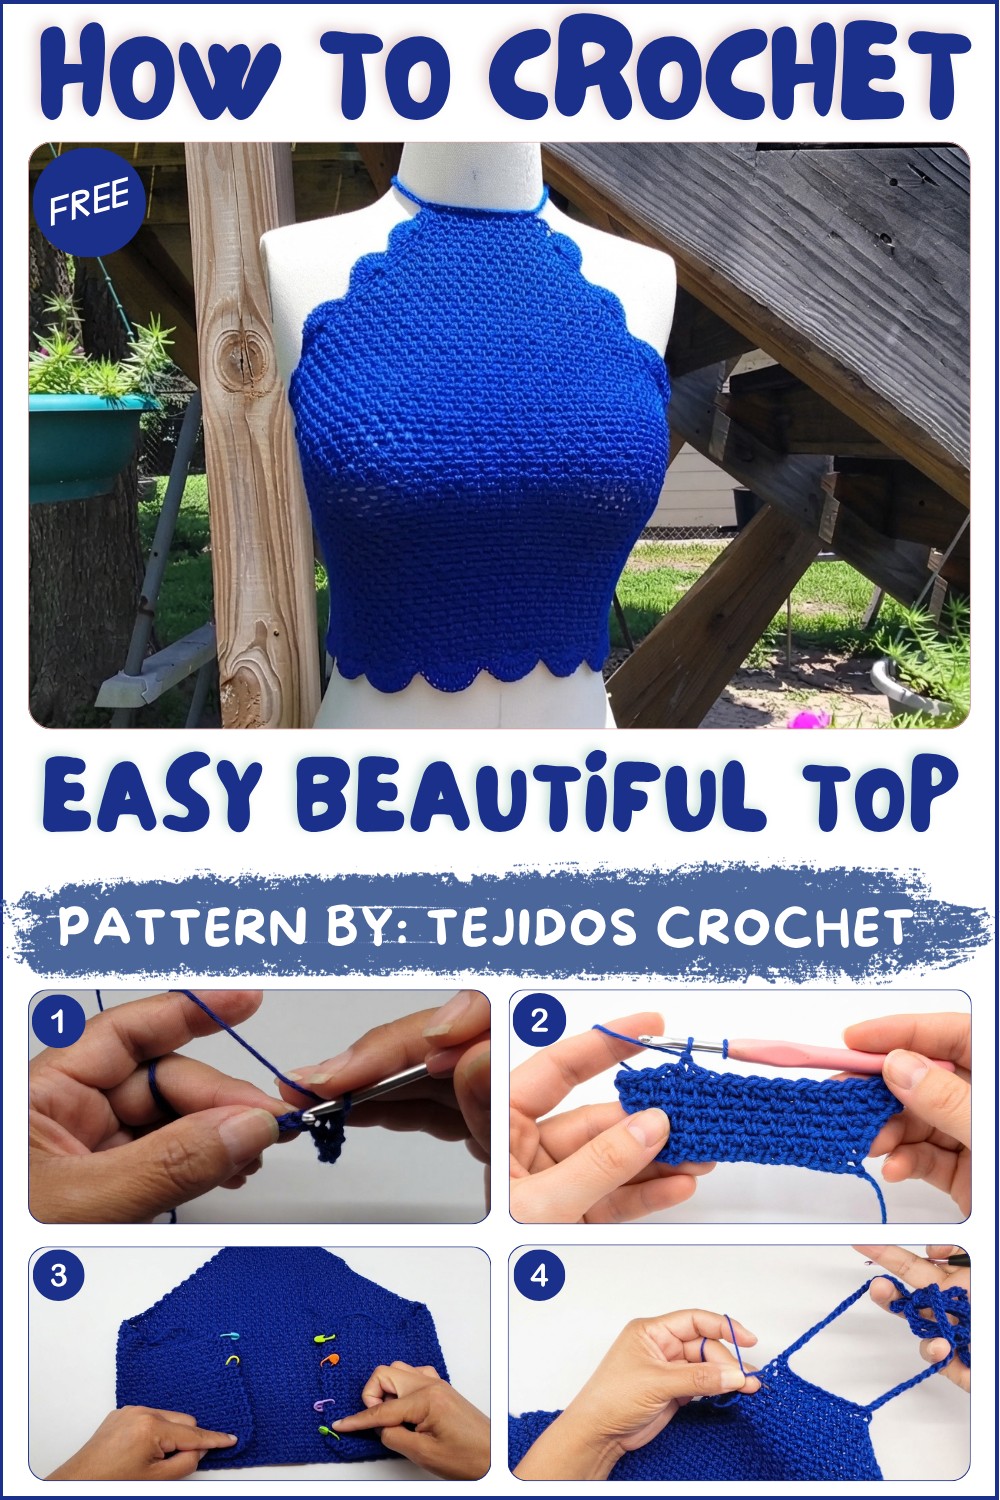
Creating handmade clothing brings a special touch to your wardrobe. The Free crochet top Pattern from Tejidos Crochet offers a fantastic way to crochet a stylish and comfortable piece that stands out for its delicate design and wearability. This beautifully crocheted garment is perfect for warm weather and makes a thoughtful gift for loved ones who appreciate handmade fashion.
Lacy Free Crochet Top Pattern for a Fresh Look
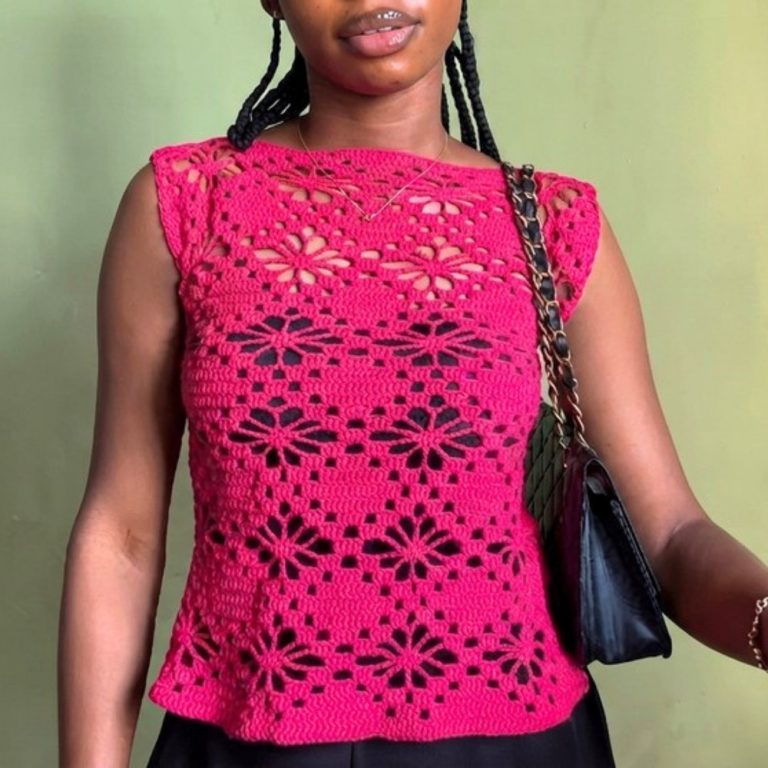
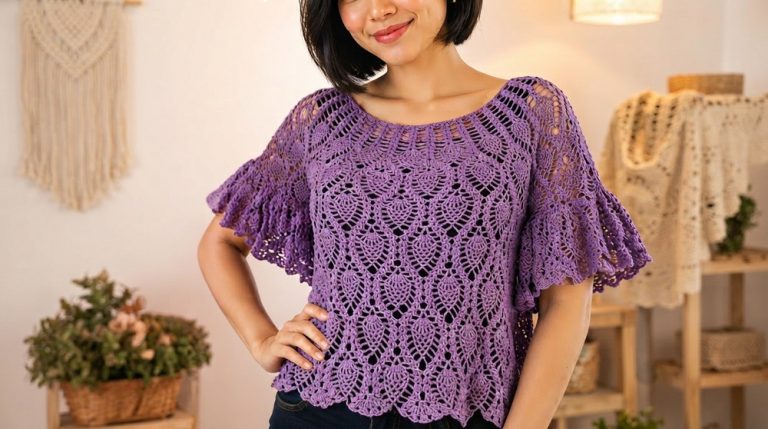
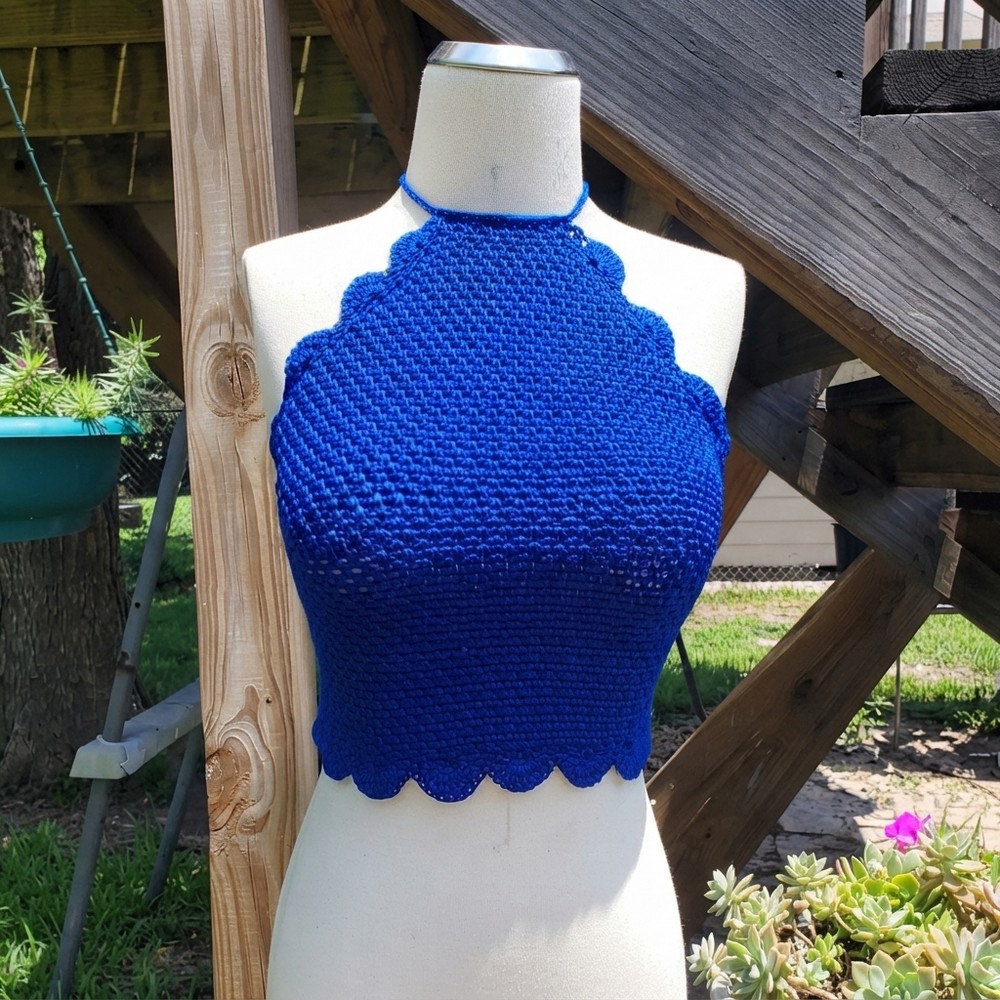
This summer essential features an airy, lightweight texture that combines comfort with elegance. Its design showcases an open, lacy pattern that gives it a breezy feel, ideal for layering or wearing on its own. The flattering shape gently hugs the body, with neat, even stitches that speak to the careful attention embedded in each row. The simple but charming style makes this top a versatile addition to any wardrobe.
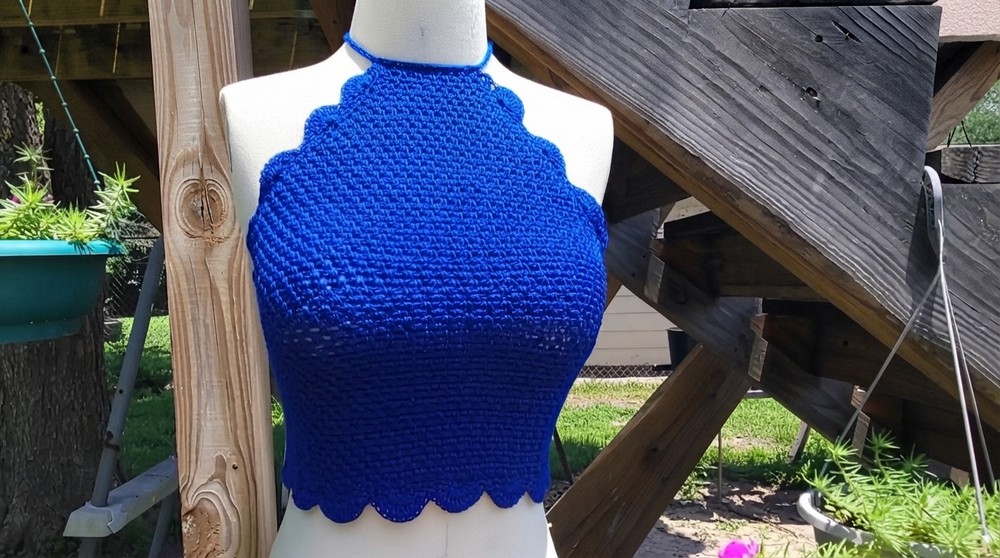
Beyond its fashion appeal, this project offers an enjoyable crocheting experience. It uses basic techniques, making it suitable for beginners and experienced makers alike. The breathability of the stitch pattern ensures the piece can be worn in a variety of climates, making it practical as well as pretty.
This creation also shines as a decorative and wearable piece, offering both style and function. The standout feature is the elegant pattern that adds texture and visual interest without bulky weight. Handmade with love and shared by the inspiring Tejidos Crochet channel, this project encourages creativity while offering a rewarding finished garment that blends beauty with everyday use.
Beautiful Crochet Top with Fan Border – Complete Pattern
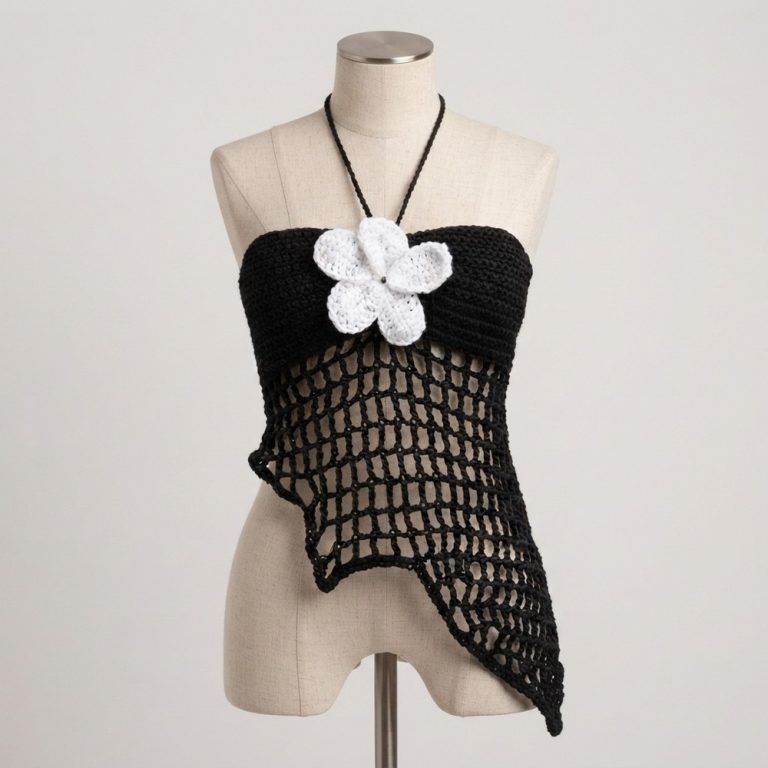
This pattern is written to be easy to follow, flexible for any size, and features a delicate repeated eyelet texture and an elegant fan border. With clear instructions for modifying size, construction, and finishing, this project is perfect for beginners or those seeking a practical yet beautiful garment project.
Pattern Basic Points
Construction
- Worked flat from the bottom up in rows.
- Chain and repeat are multiples of 2.
- Increases are made at both edges to shape the bust.
- Chains are added for underbust ties (back) and halter/neck ties.
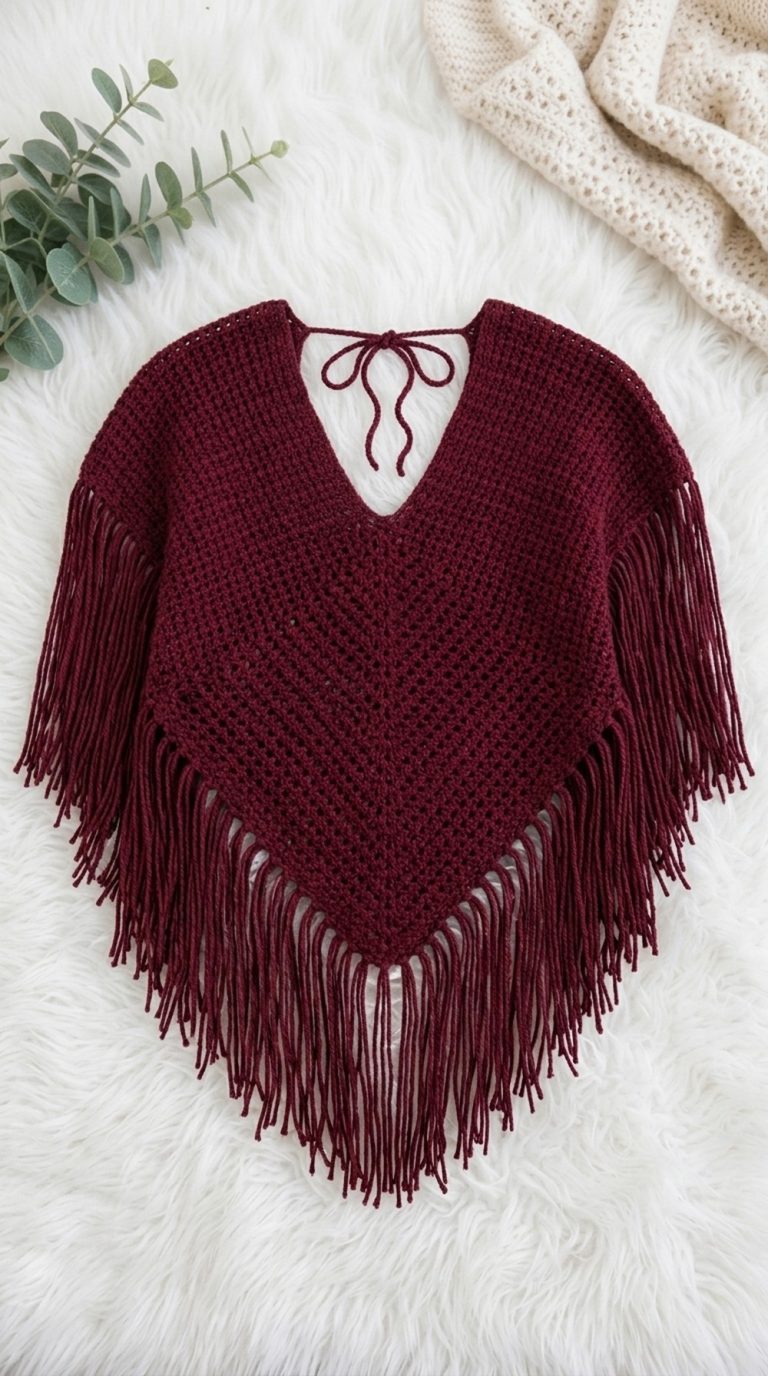
- Finished with a decorative fan (shell) crochet border all around.
Crocheting Steps
- Chain foundation and establish pattern in rows.
- Gradually increase at both sides for shaping.
- Add chains for underbust fit and neckline ties.
- Finish with fan stitch border worked around all raw edges.
Special Notes
- Size Adjustments: Easy to adjust for any size—foundation chain and number of rows determine fit.
- Stitch Count: Always keep chains in even numbers for eyelet row pattern.
- Fan Border: Corners require 3 single crochets to turn smoothly.
- Try On: Try the piece as you go for a tailored fit.
Skill Level
Beginner to Advanced Beginner
You only need to know basic stitches and techniques:
- Chains, single crochet, double crochet, slip stitch, and working in the round for the border.
- No previous garment experience required.
Materials
- Worsted or DK acrylic yarn (Sample used approx. 150g for a Small; adjust for other sizes).
- Crochet hook 4mm (or size needed for yarn & gauge).
- Tapestry needle.
- Scissors.
- Stitch markers.
Measurements / Sizing
- Fully customizable.
- For a Small: Start with 14 cm chain foundation (~18 chains in sample video); final width under bust: 40 cm; chain ties: 10 cm for sides, 35 cm for neck.
- For other sizes: Adjust starting chain, increases, and length as desired.
Example of portions to measure:
- Underbust width: e.g., 40 cm for Small.
- Cup height: ~13 cm for Small (length from bottom to bust).
- Back ties: 10 cm chains on each end.
- Neck ties: 35 cm each.
Schematic:
(Rectangle for bust, increases at each end, ties added, border worked around.)
Gauge
- Sample used 4mm hook and medium acrylic yarn.
- Foundation should measure according to your preferred starting depth (e.g., 14 cm for Small).
- Stitch pattern is forgiving—aim for firm but flexible fabric.
Stitch Abbreviations
- ch – chain
- sc – single crochet
- dc – double crochet
- sl st – slip stitch
- st(s) – stitch(es)
- sp(s) – space(s)
Special Stitches
- Eyelet pattern: sc, ch 1, skip 1; worked in base and every pattern row.
- Increase: 2 sc in same st at beginning and end of rows when instructed.
- Fan (Shell) Stitch: 9 dc in same st.
- Corner Turn: 3 sc in same st.
Pattern Instructions
A. Bust Piece
1. Foundation & Eyelet Row
- Chain as many ch as needed for 14 cm width (for Small, multiples of 2—sample is 18 ch).
- Make sure foundation is multiple of 2 and meets your measurement.
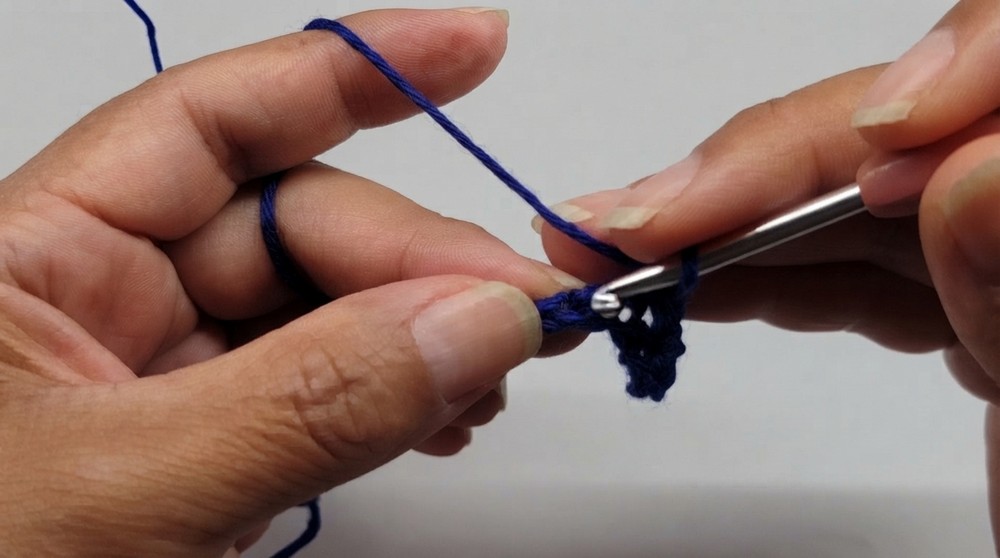
2. Row 1 (Eyelet Pattern Setup):
- Skip 1st ch.
- *In 2nd ch, sc.
- ch 1, skip next ch, sc in next ch.*
- Repeat from * to * to end.
3. Row 2 (and all eyelet rows):
- ch 1, turn.
- sc in 1st st.
- *In next ch sp, sc.
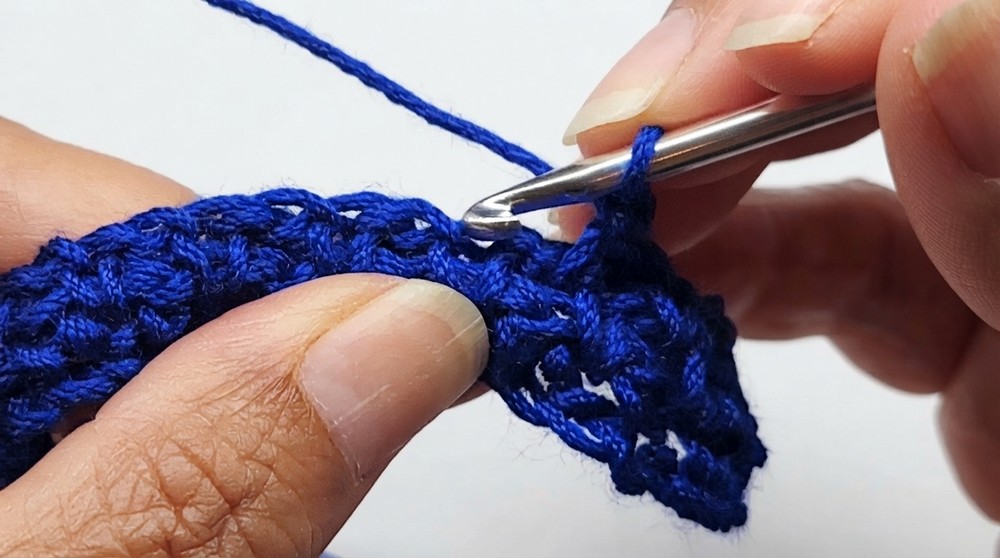
- ch 1, skip next st, sc in next ch sp.*
- Continue across, always placing sc in previous row’s ch sp and ch 1 in between.
- Last st: sc in final st.
4. Continue eyelet pattern:
- Repeat Row 2 until your piece measures 14 cm (height), or your desired cup depth.
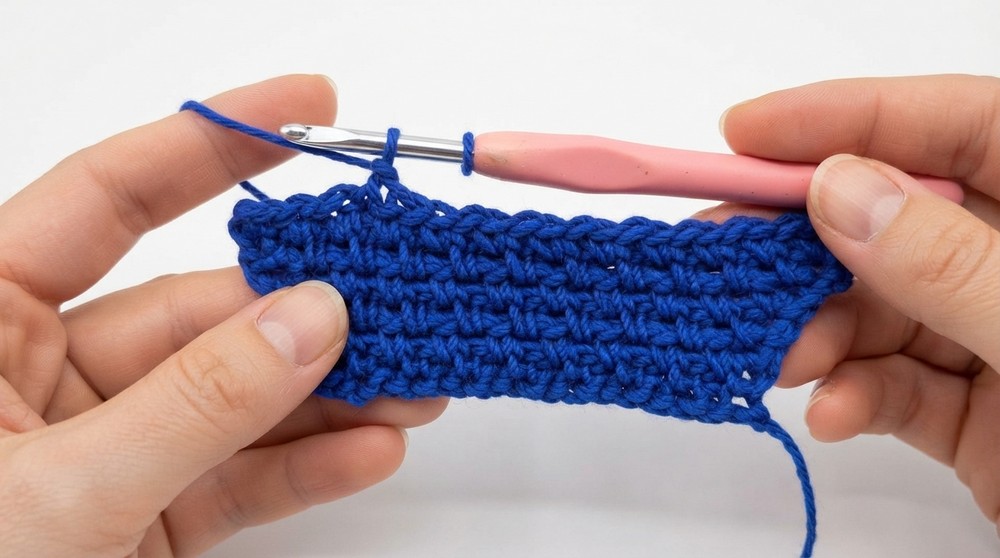
5. Edge Increases (Bust Shaping):
- Row A: Increase Row:
- ch 1, turn.
- In 1st st: 2 sc (increase).
- Continue eyelet pattern across to last st.
- In last st: 2 sc (increase).
- Row B: Eyelet Row (no increases):
- ch 1, turn, work standard eyelet pattern across.
- Alternate Increase and Eyelet rows:
- Repeat until your piece measures total width needed for underbust or bust line (e.g., 40 cm for Small).
Tip: Use stitch markers to help keep track of side increases.
- Fasten off, weave in ends.
B. Side Ties (Back Ties)
- At each side edge, attach yarn.
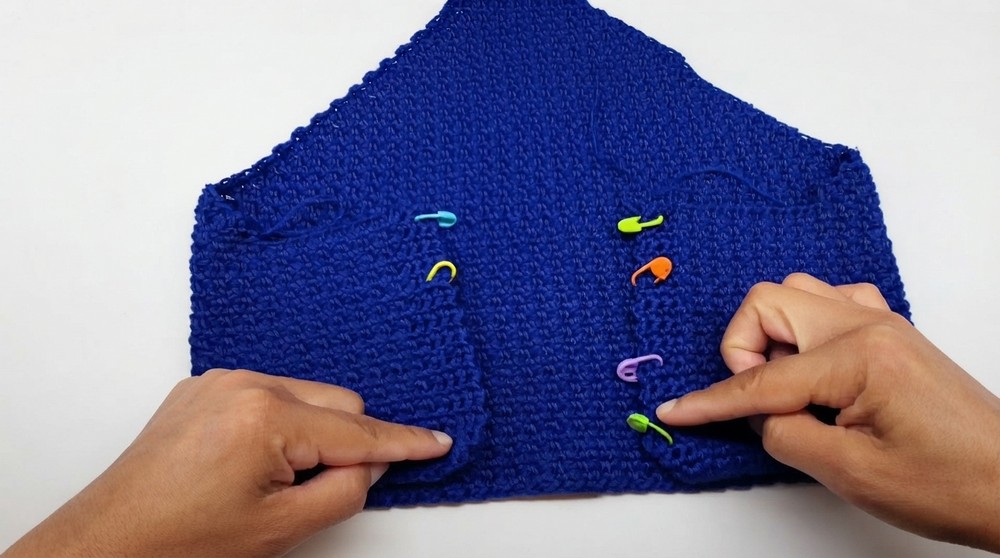
- ch for 10 cm (18 ch in video for Small).
- Attach to side with sc.
- Continue working standard eyelet pattern across body to opposite side.
- On that side, create matching chain for 10 cm (same number of ch as first tie).
- Fasten off.
C. Continue Seamlessly Into Side Eyelet Rows
- After creating side ties, work 1–2 establishing rows of eyelet pattern to secure the ties and create even sides.
- Be sure to treat the tie chains as extensions, maintaining eyelet pattern. Skip 1 ch, sc in next, ch 1, etc., across all chains and main body.
D. Neck Ties (Upper Edge)
- At upper edge, attach yarn at one neckline point.
- ch 35 cm (sample: 55 ch = 35 cm).
- Return working sl st in each ch.
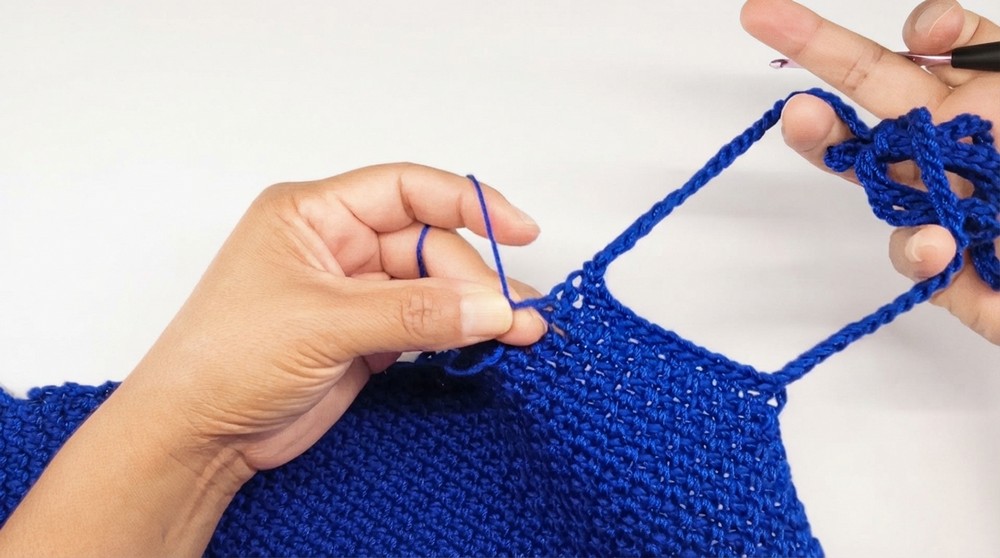
- Attach neatly at opposite upper corner; repeat for second tie.
- Fasten off, weave in ends.
(from Part 2)
E. Border – Fan/Stitch Shell Edging
1. Work All-Around Single Crochet Border
- Attach yarn at any upper corner.
- ch 1.
- Work sc in every stitch and every small space around entire top edge, sides, bottom, and all tie chains.
- At each corner, work 3 sc into the same st for turning.
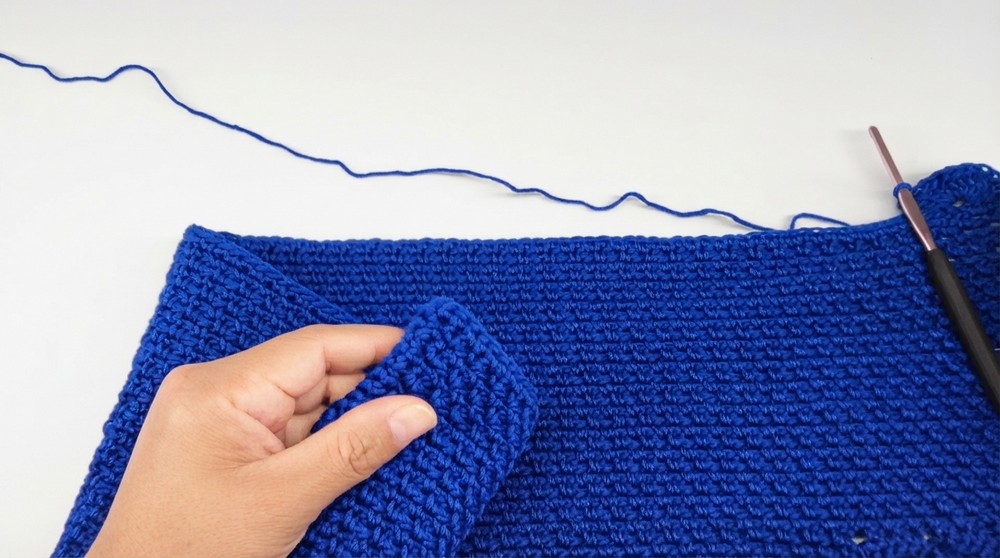
2. Fancy Fan Edge (Shell Border) – On Lower and Side Edges
- Begin at any lower edge point.
- ch 1, sc in first st.
- *Skip 3 sts, in next st work 9 dc (fan stitch),
- Skip next 3 sts, sc in next st.*
- Repeat from * to * all around bottom edge (and optionally sides, if desired), adjusting as needed near corners.
- In corners and last spaces, if needed, place last fan so the border remains even, and ends with sc at edge or corner.
3. Finishing
- Insert all ends with tapestry needle.
- Gently block, if desired, for shaping.
Assembly & Finished Size
- Thread ties through top and back sections as shown in the tutorial.
- Try the top on and adjust as needed—ties are meant to be long for flexibility.
- The piece should lay flat, with edging fanning lightly and neck/back ties knotting comfortably.
Conclusion
Through this pattern, you’ve mastered shaping, creating intricate edges, and working with ties for a truly custom fit. The skills learned here are transferable to many other garment projects, and the result is a practical, stylish addition to your handmade wardrobe. Remember, with careful measuring and patience, you can alter this for any size, yarn, or personal taste.