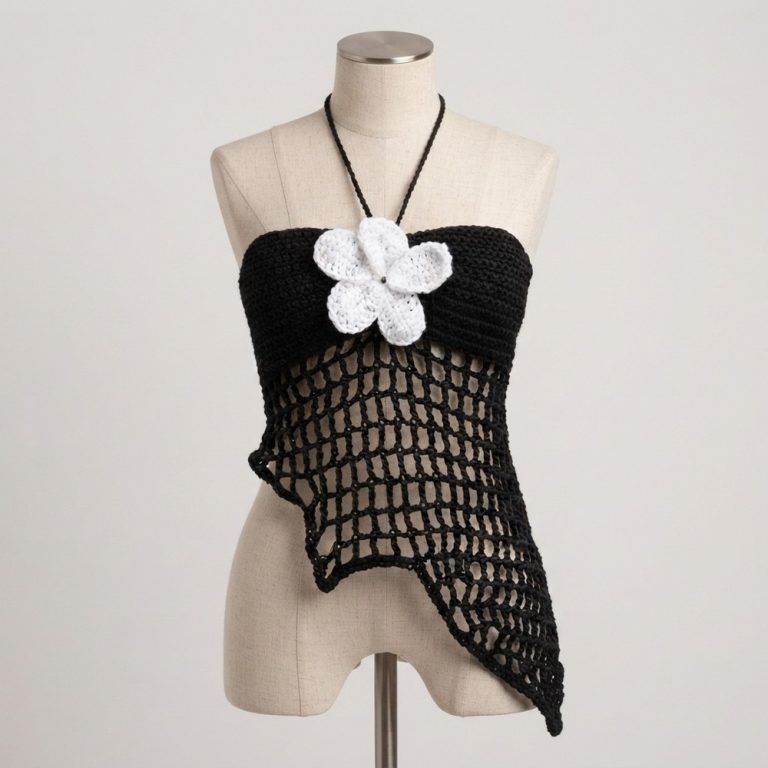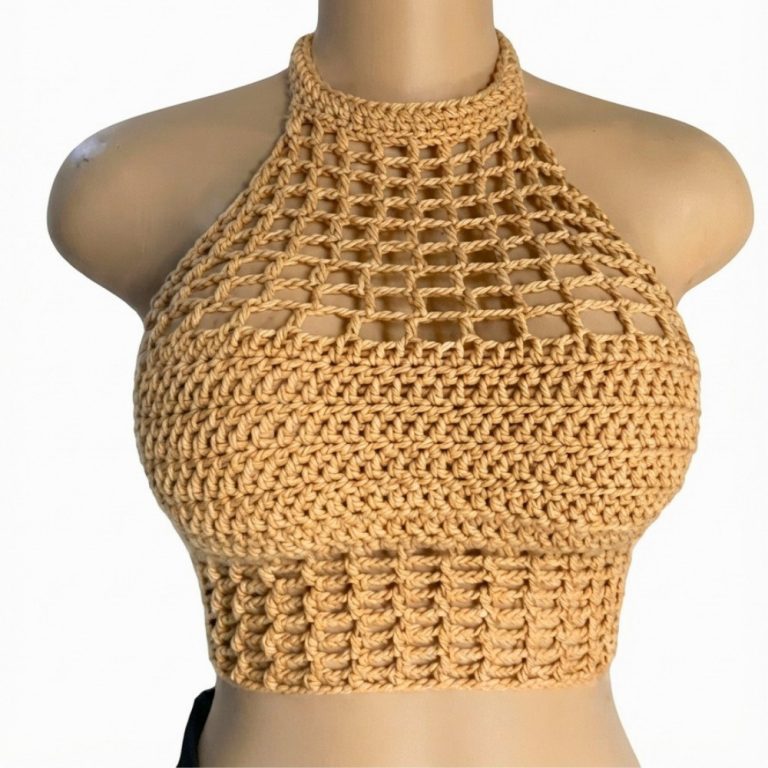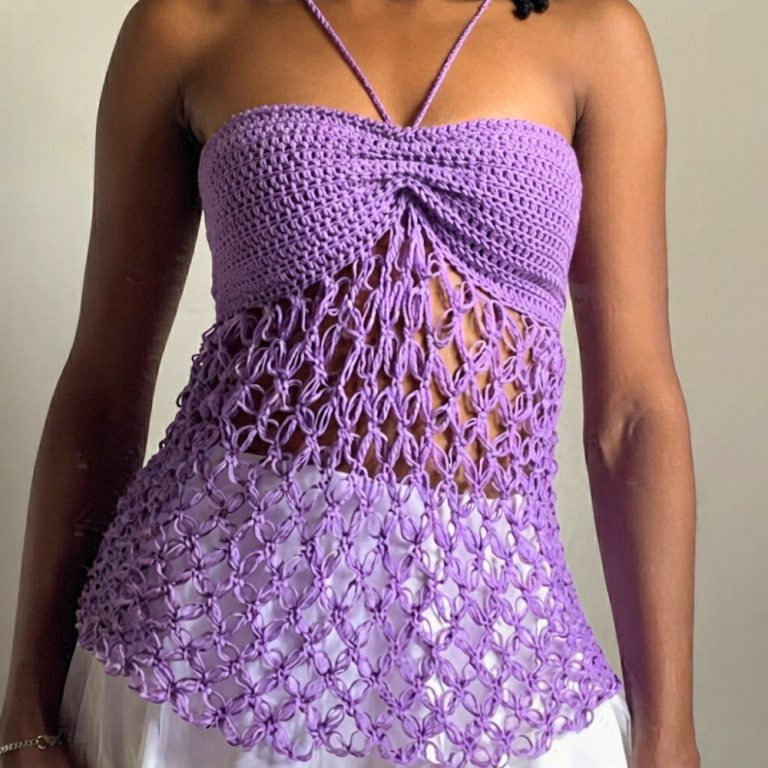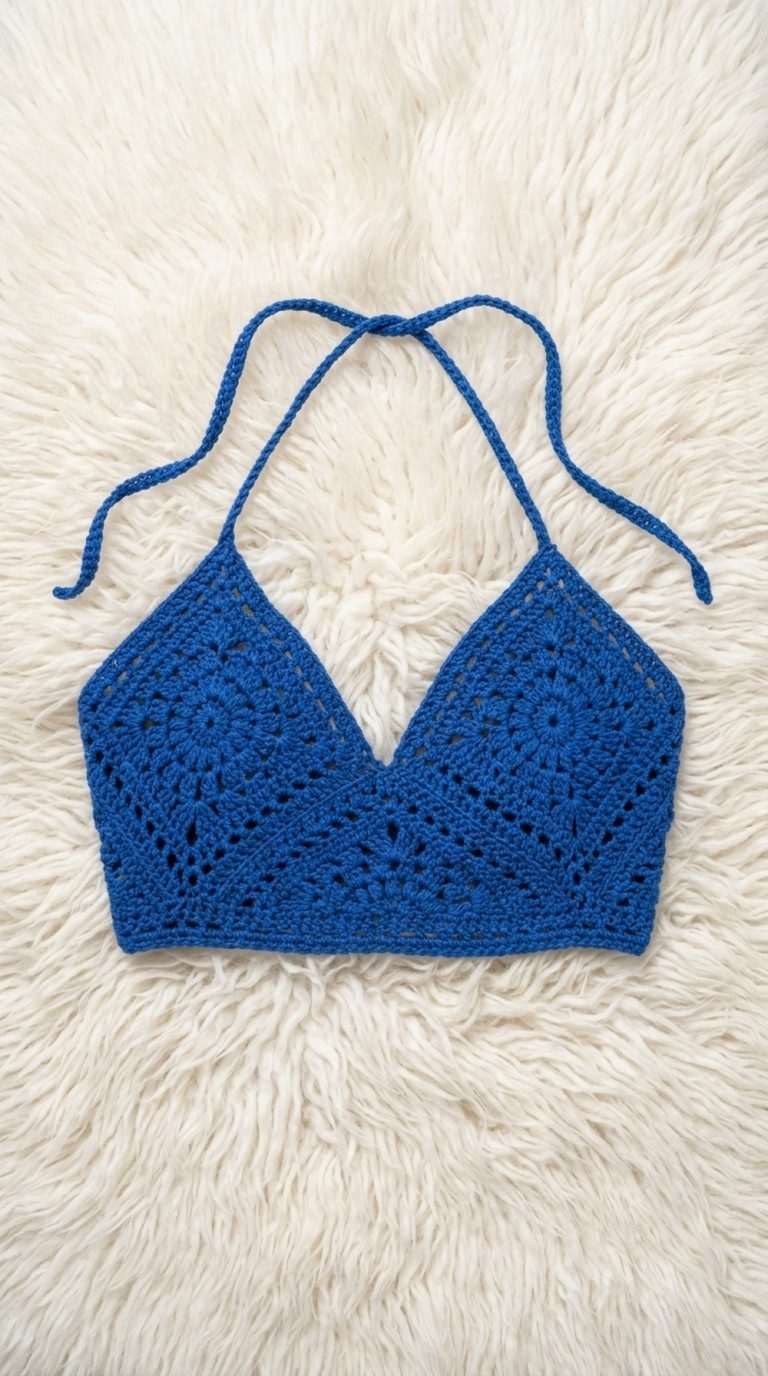
Chic Free Crochet Cowl Neck Top Pattern to Wear Anywhere

Stay cozy and stylish with this free crochet cowl neck top pattern offering a fashionable addition to your wardrobe that’s perfect for any season.
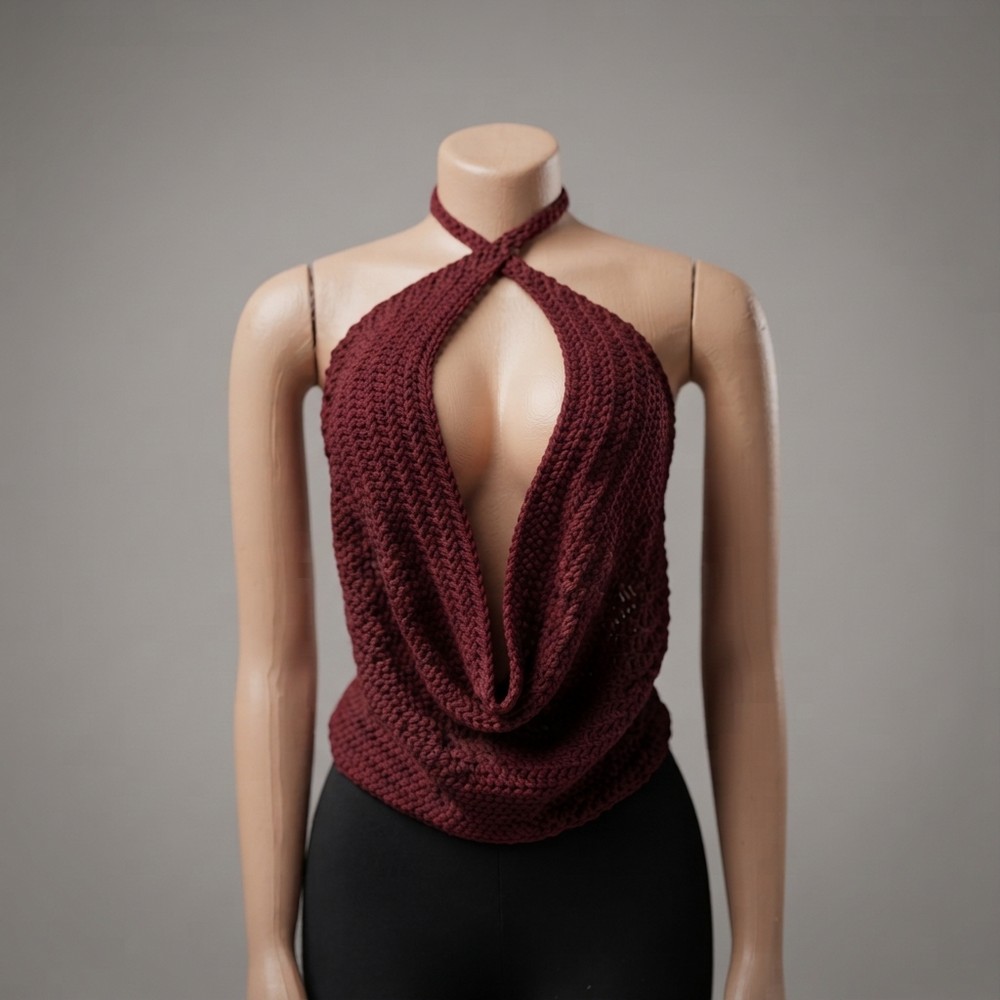
Creating your own stylish and elegant clothing can be a deeply satisfying experience, and the cowl neck top showcased by CBH Academy is a perfect example of modern crochet beauty. This design is incredibly versatile and has a timeless allure, making it ideal for both everyday wear and special occasions.
Free Crochet Cowl Neck Top Pattern That’s Beginner-Friendly
The way the top drapes effortlessly around the neckline gives it an undeniable elegance, while its simplicity allows it to be crocheted even by those new to crocheting. The secret to its beauty lies in the clever construction, the flowing neckline of cowl adds sophistication, while the overall shape flatters different body types with ease.
About Channel!
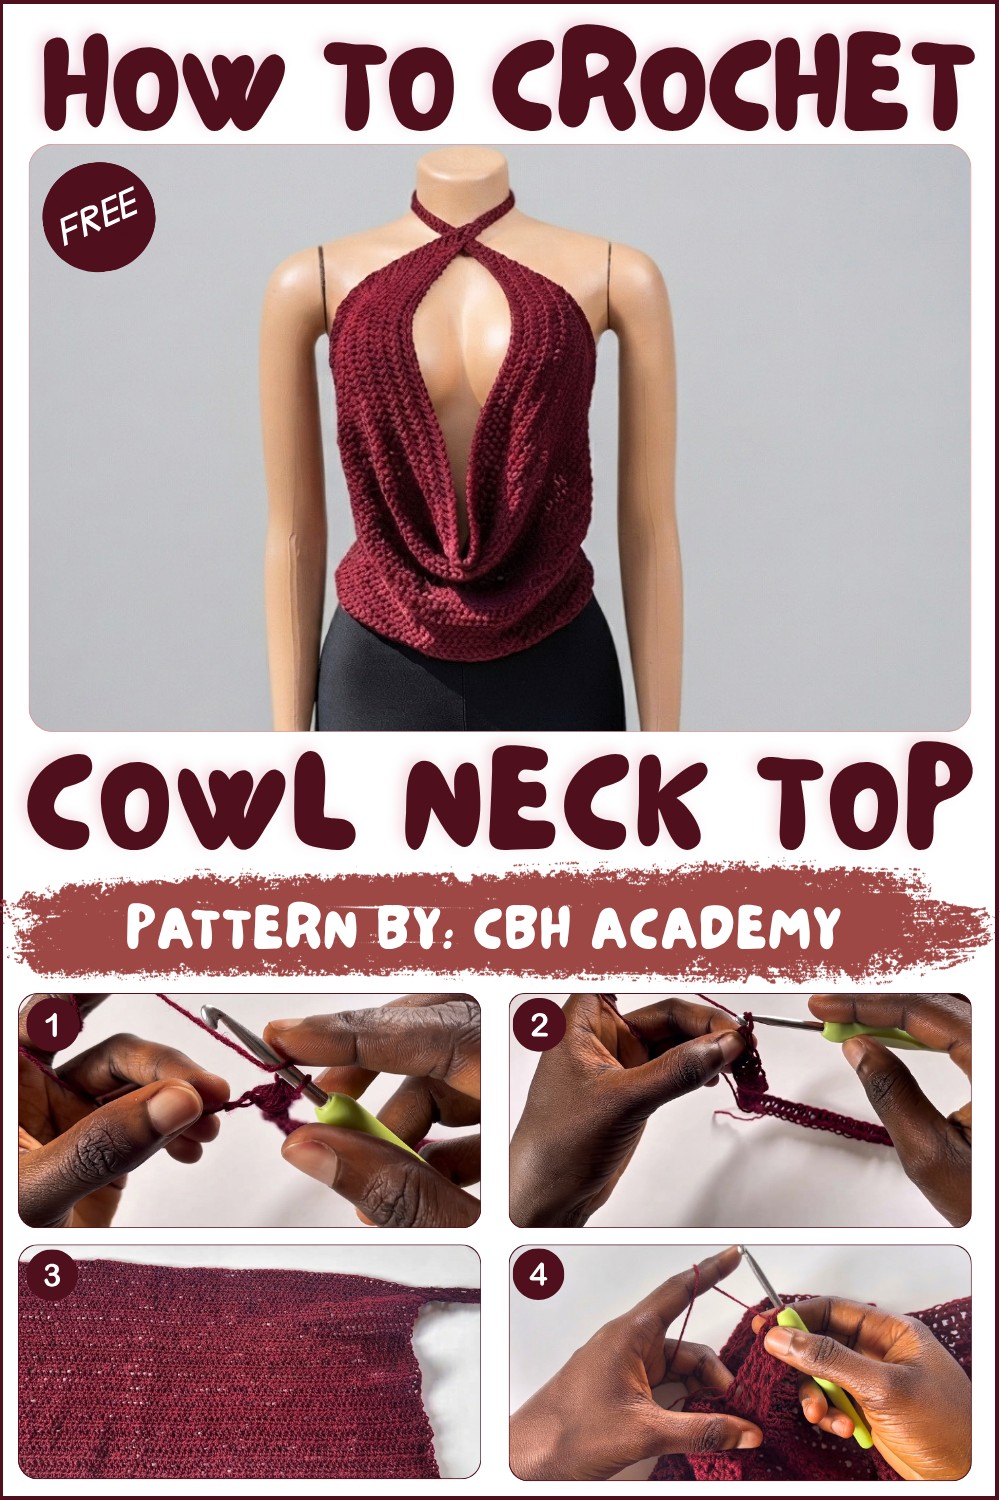
CBH Academy has gained a loyal following by offering detailed yet simplified tutorials that inspire creativity in both beginners and advanced crocheters alike. The cowl neck top highlights why their channel stands out, it turns a seemingly ordinary pattern into a truly stunning piece that’s practical, fashionable, and easy to create, ensuring your crocheting journey is enjoyable and rewarding.
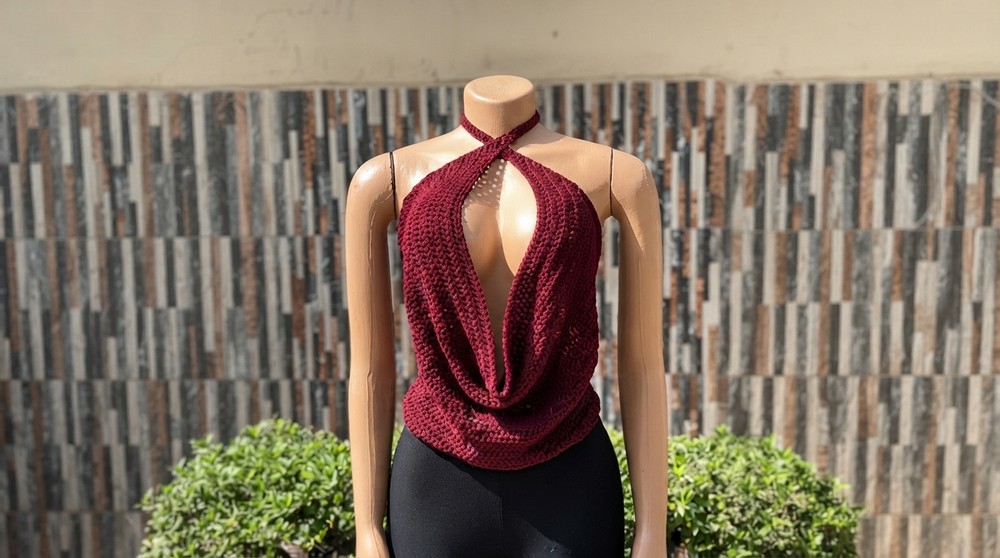
The top is crocheted using a rectangular base and features a unique stitch pattern that creates a breathable yet structured look. Its standout element is the cowl neck, which naturally folds and adds volume, making the design stylish and comfortable to wear. The straps used in the design give it a modern and adjustable feel, allowing the wearer to customize the fit to their liking.
Whether styled with high-waisted jeans for a casual chic vibe or layered under a jacket for cooler weather, this top easily adapts to various outfits. Its light, breezy design is perfect for summer, while the cozy neckline makes it suitable for layering during colder months.
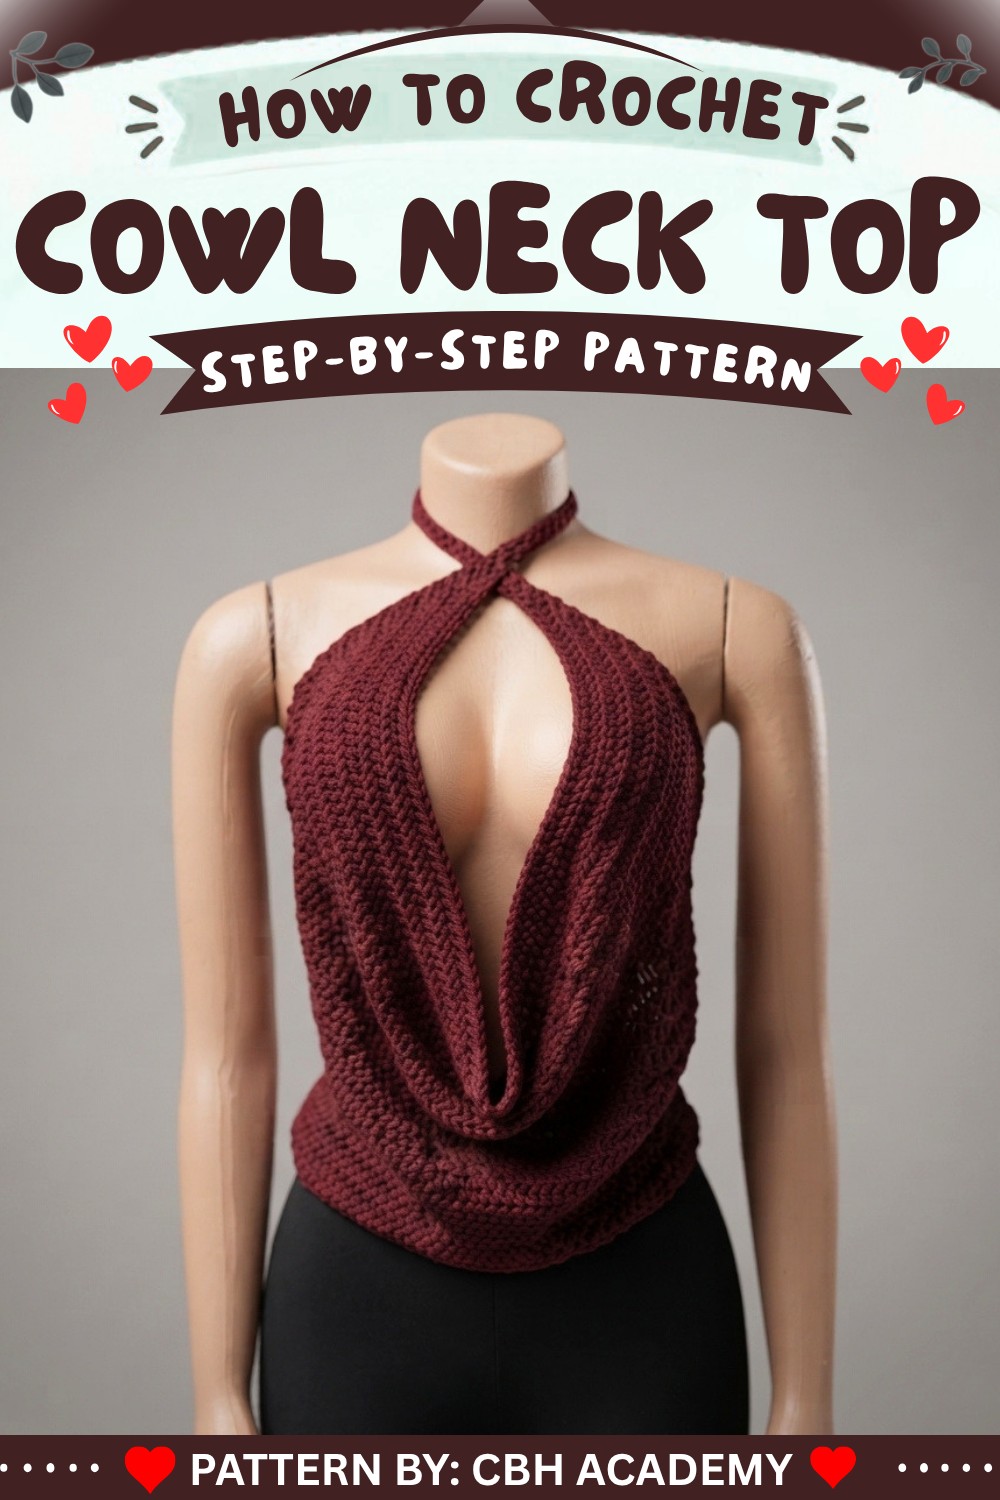
Cowl Neck Top Crochet Pattern
This cowl neck top is lightweight, drapey, and simple to crochet. It’s made with a rectangular base that forms the main body, complemented by double crochet straps at the neck and back. The design is tailored to allow easy adjustments for various sizes and preferences, making it versatile for all body types. The top is created with a lightweight yarn and incorporates drape, giving it elegant coverage suitable for casual or semi-formal occasions.
Skill Level
Beginner
This pattern is perfect for beginners due to its simplicity and repetitive nature. Key techniques include chaining, half double crochet, working in back bumps for clean edges, and basic strap construction using double crochet stitches.
Materials
- Yarn: Lightweight polyester or acrylic yarn (yay regular lightweight yarn was used in the example).
- Crochet Hook: 4.5 mm crochet hook.
- Tools:
- Stitch markers.
- Scissors.
- Darning or tapestry needle.
- Measuring tape.
- Optional Accessories: Sewing needle and matching thread for finishing touches.
Stitch Abbreviations
- ch: Chain
- hdc: Half Double Crochet
- dc: Double Crochet
- sl st: Slip Stitch
Special Stitches
Working into the Back Bumps of Chains
Instead of crocheting into the front loops of the foundation chain, this pattern works into the back bumps of the chain for neat and professional edges. To do this, flip the chain over and insert the hook into the back bump of each chain for a clean finish.
Half Double Crochet (hdc)
Yarn over, insert the hook into the stitch, yarn over, pull through the stitch (you will have three loops on the hook). Yarn over again, and pull through all three loops on the hook.
Double Crochet (dc)
Yarn over, insert the hook into the stitch, yarn over, pull through (three loops on the hook). Yarn over again, pull through the first two loops. Yarn over once more and pull through the last two loops on the hook.
Useful Tips
- Draping: To create the desired drape, ensure the foundation chain is loose enough and larger than your underbust measurement. This allows the front portion to flow elegantly.
- Neat Edges: For a polished finish, work into the back bumps of the chain. It may be slower, but the clean edge is worth the effort.
- Modifying Length: Add or subtract rows to adjust the height of the rectangle according to your preferences.
- Straps: Experiment with strap lengths and widths for customization.
Pattern Instructions
Step 1: Foundation Chain
- Create a slip knot and place it on your hook.
- Chain the desired length, ensuring it is larger than your underbust measurement. For reference:
- 100 chains worked loosely using lightweight yarn and a 4.5 mm hook was used in the example.
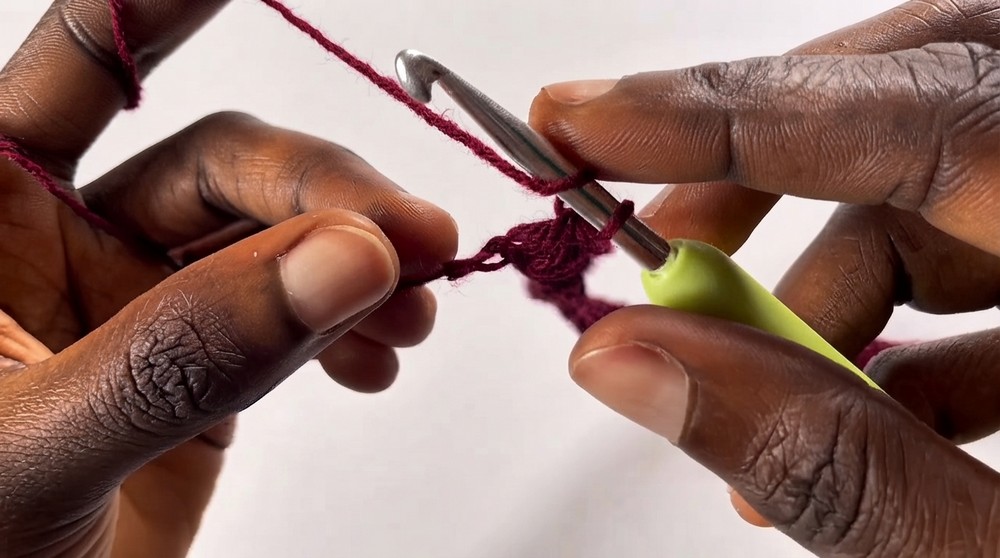
- The chain measured 27 inches without stretch.
- 100 chains worked loosely using lightweight yarn and a 4.5 mm hook was used in the example.
- If unsure about the measurement, use your underbust circumference plus 12 additional inches for elegant draping.
Step 2: Row 1 – Base Pattern
- Add 1 extra chain to the foundation chain for turning.
- Work a Half Double Crochet (hdc) into the second chain from the hook, working into the back bump of the chain.
- Continue working hdc stitches into each chain across. You will have 100 hdc stitches in total.
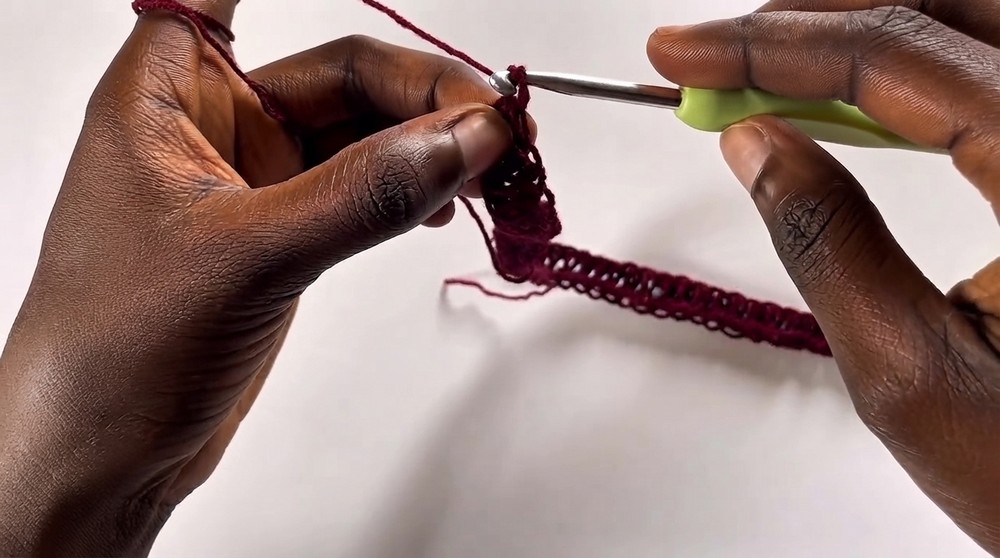
Note: If you prefer tighter coverage, use single crochet (sc) instead. Keep in mind that this will require more rows for the same drape effect.
Step 3: Row 2 – Begin Repeating Pattern
- Chain 1, turn your work.
- Work 1 hdc into the first stitch.
- Place a stitch marker into the first hdc if you are a beginner to avoid missing stitches.
- Continue with 1 hdc in each stitch across, maintaining the stitch count from Row 1 (e.g., 100 hdc).
Step 4: Repeating Rows
Repeat the instructions for Row 2 until you reach your desired number of rows:
- 39 rows were worked in the example, measuring approximately 13.5 inches in length.
- Adjust the row count for shorter or longer lengths. For crop tops, work fewer rows. For longer tops, add rows until you achieve the desired coverage.
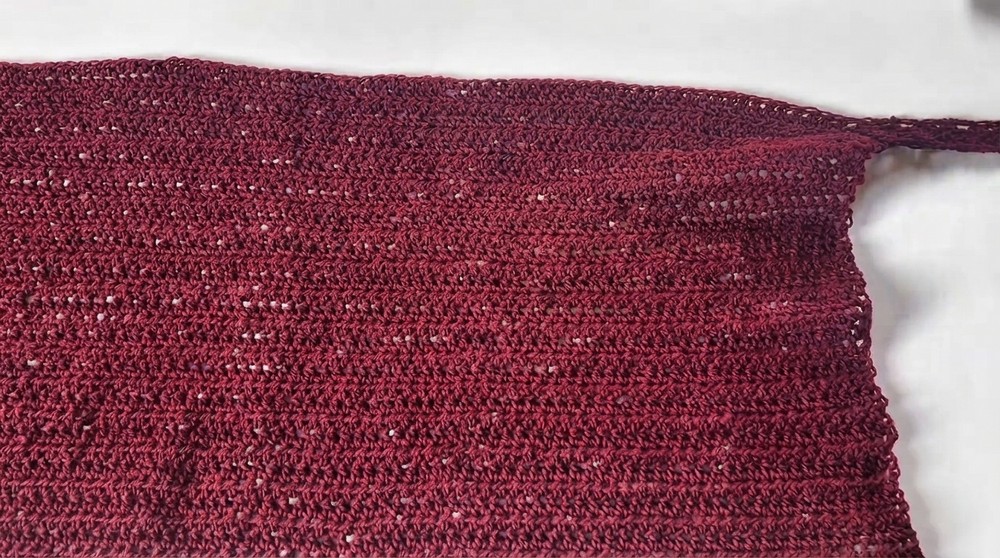
Step 5: Straps
Neck Strap
- Attach the yarn to the top edge of the rectangle (last row).
- Chain 3, which counts as the first stitch.
- Work 1 dc into each of the next 3 stitches, resulting in 4 dc total for the strap.
Neck Strap Repeating Rows:
- Chain 3, turn your work.
- Skip the first stitch (as the chain counts as 1 stitch), work 1 dc into the next 3 stitches.
- Maintain a stitch count of 4 dc per row.
- Continue for 30 rows, or adjust the length based on preference.
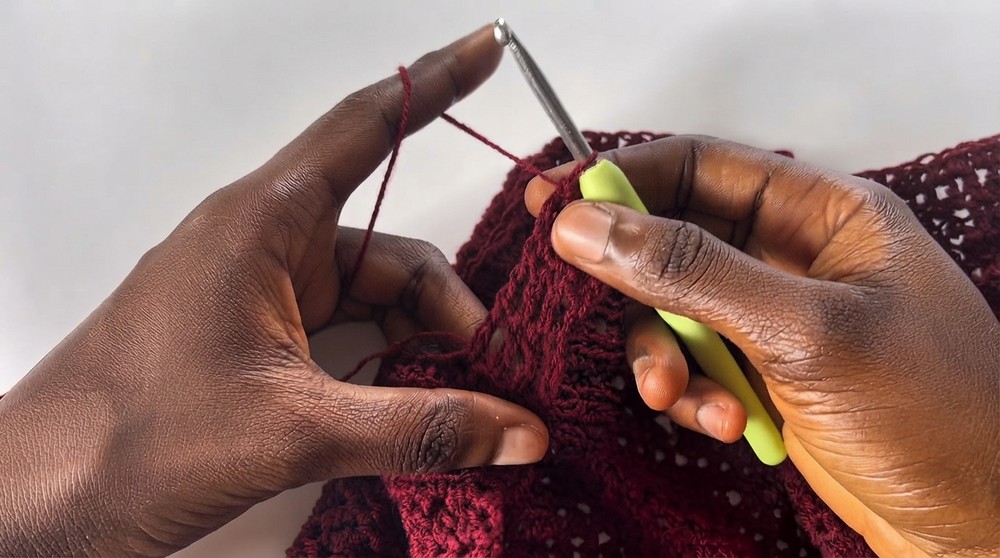
Back Strap
- Attach the yarn to the first row on the side edge of the rectangle.
- Chain 3 (counts as the first stitch).
- Work 2 dc stitches per row along the height of the rectangle:
- 1 dc into the body of the stitch.
- 1 dc into the actual row stitch itself.
- Repeat this across 6 rows to create a thicker strap.
Back Strap Repeating Rows:
- Chain 3, turn your work.
- Skip the first stitch (as the chain counts as 1 stitch), work 1 dc into each of the next 5 stitches.
- Maintain a stitch count of 6 dc per row.
- Continue for 30 rows, or adjust the length based on preference.
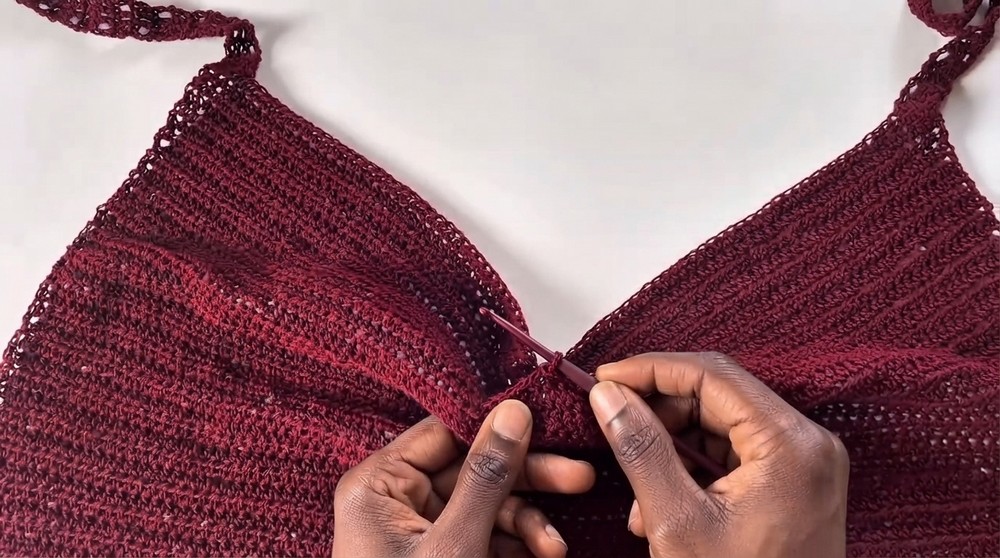
Finishing Straps
Once straps are complete:
- Chain 1, cut the yarn.
- Use a tapestry needle to weave in all loose ends for both the neck and back straps.
Assembly and Sizing
- Rectangle Formation: Ensure the body of the top is flat and measures to your desired dimensions:
- Example dimensions: 13.5 inches in length and 27.5–28 inches in width.
- Drape: When worn, allow the excess fabric to drape naturally at the chest to create the signature cowl effect.
- Adjust Straps: Ensure the neck strap fits securely and the back strap ties snugly for proper hold and aesthetic balance.
Conclusion
This lightweight cowl neck top is a simple yet elegant crochet project, ideal for beginners looking to create a garment. The rectangular base allows for easy construction, while the addition of straps ensures a comfortable fit. With its adjustable drape, the top can be customized for various lengths and styles to suit your needs.