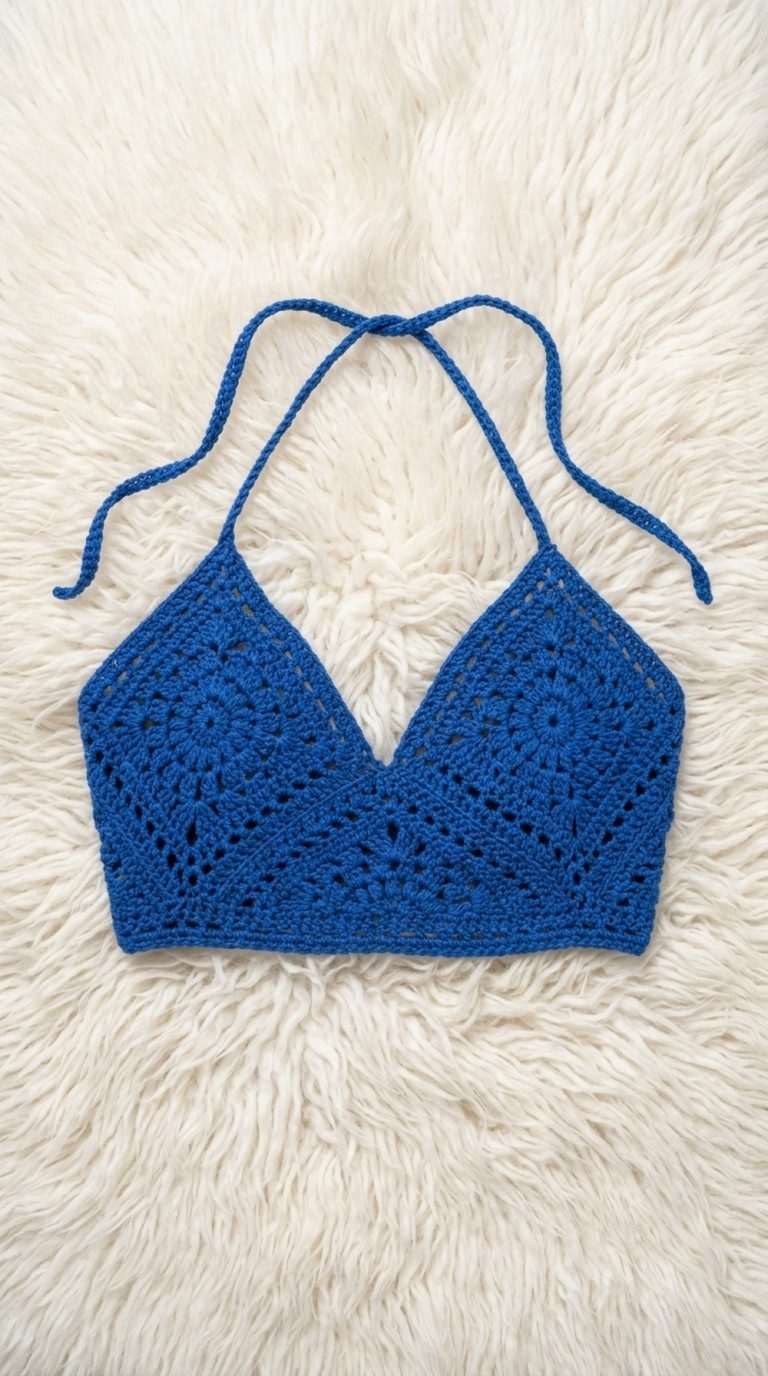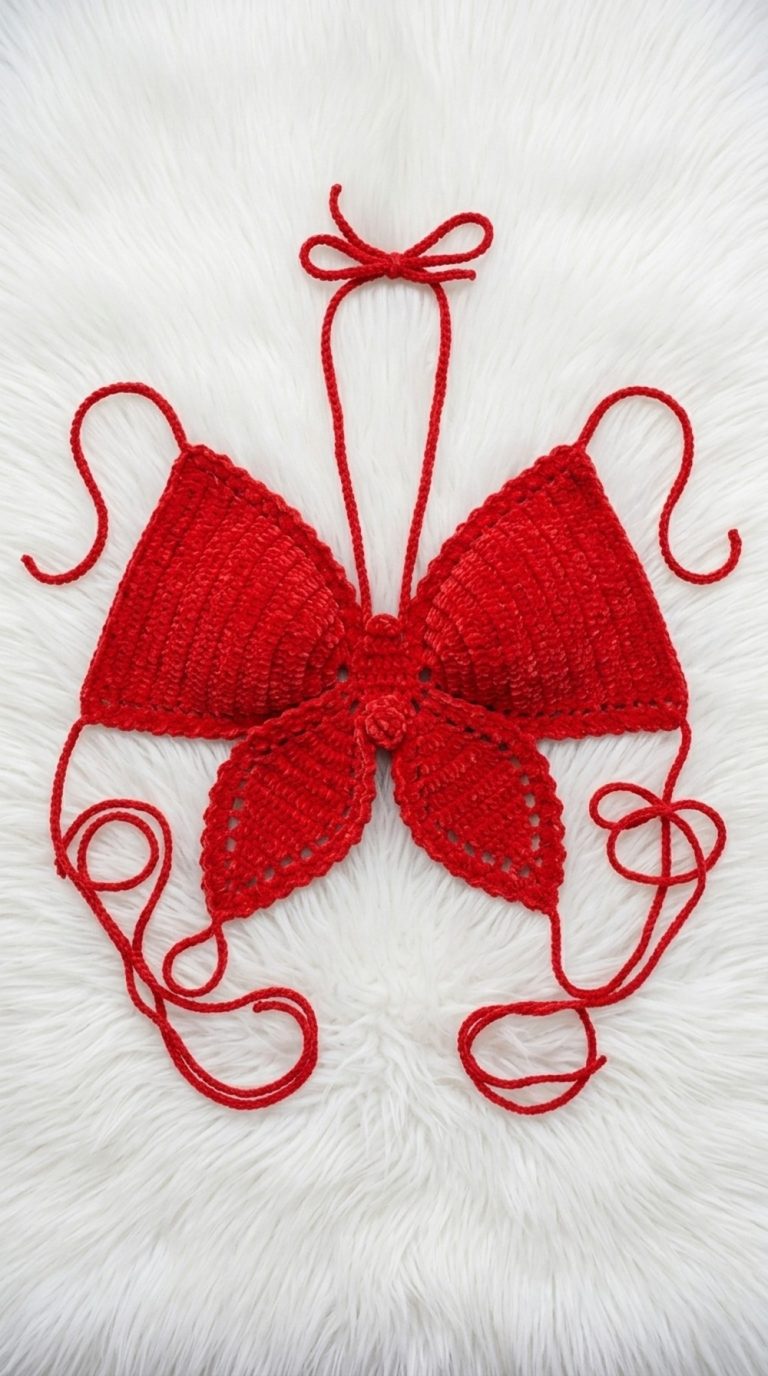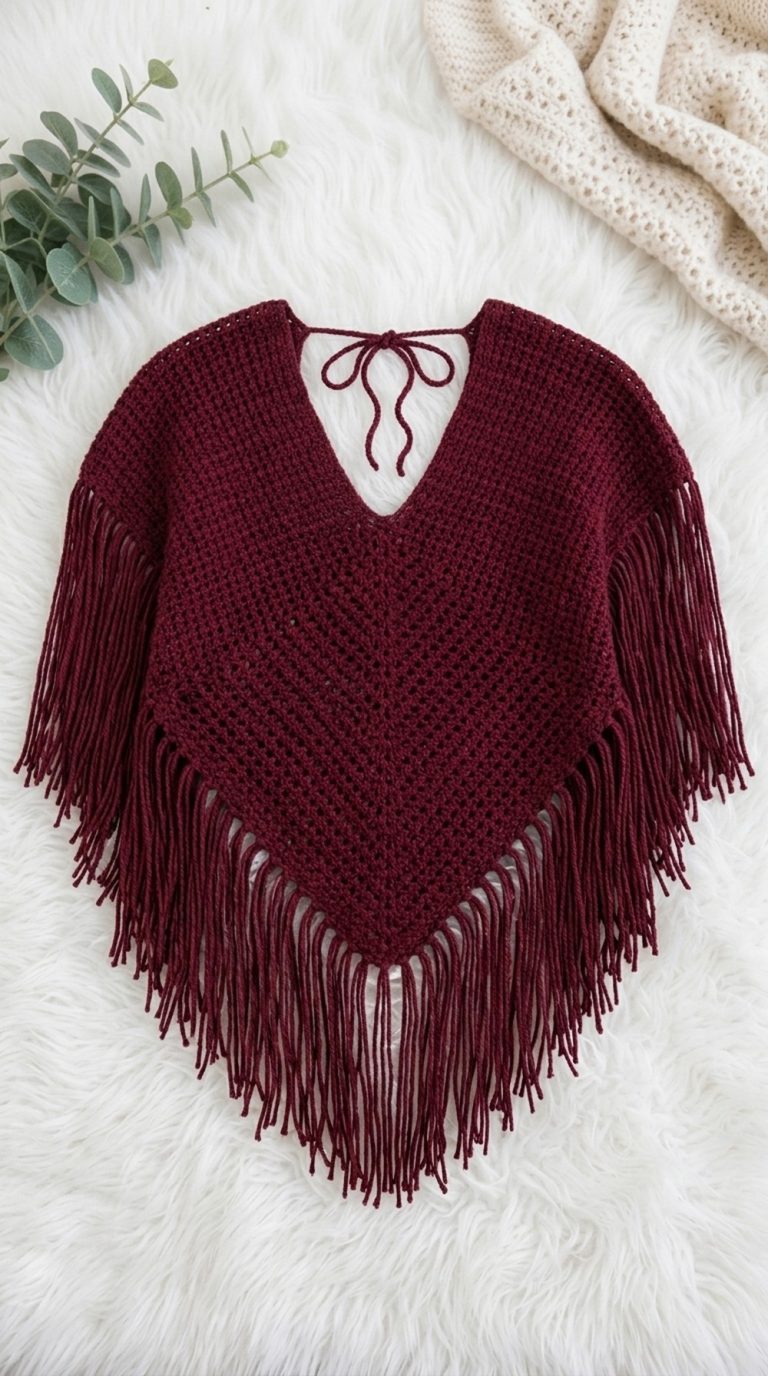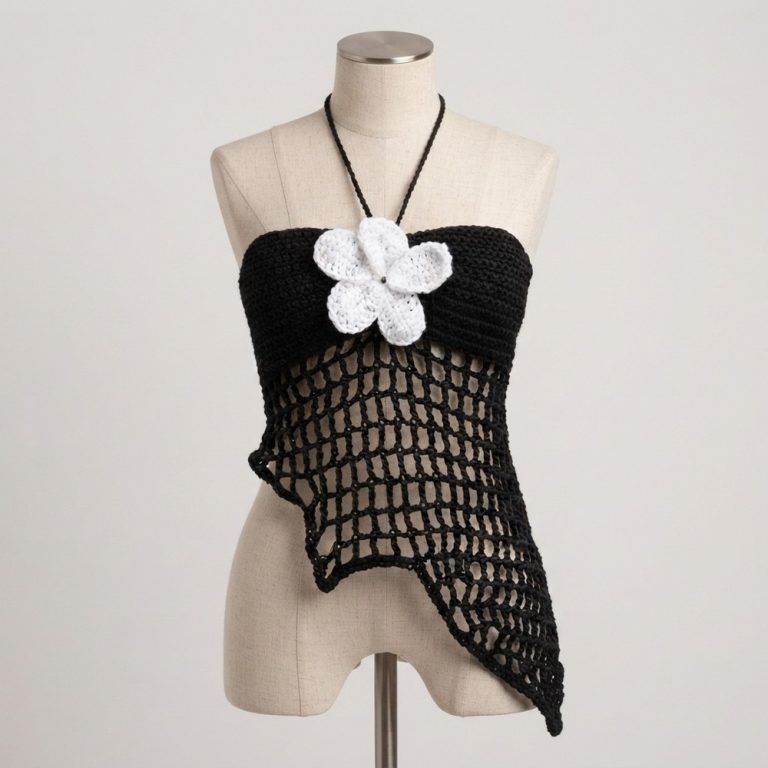
Beginner Friendly Crochet Mesh Halter Top – Free Pattern

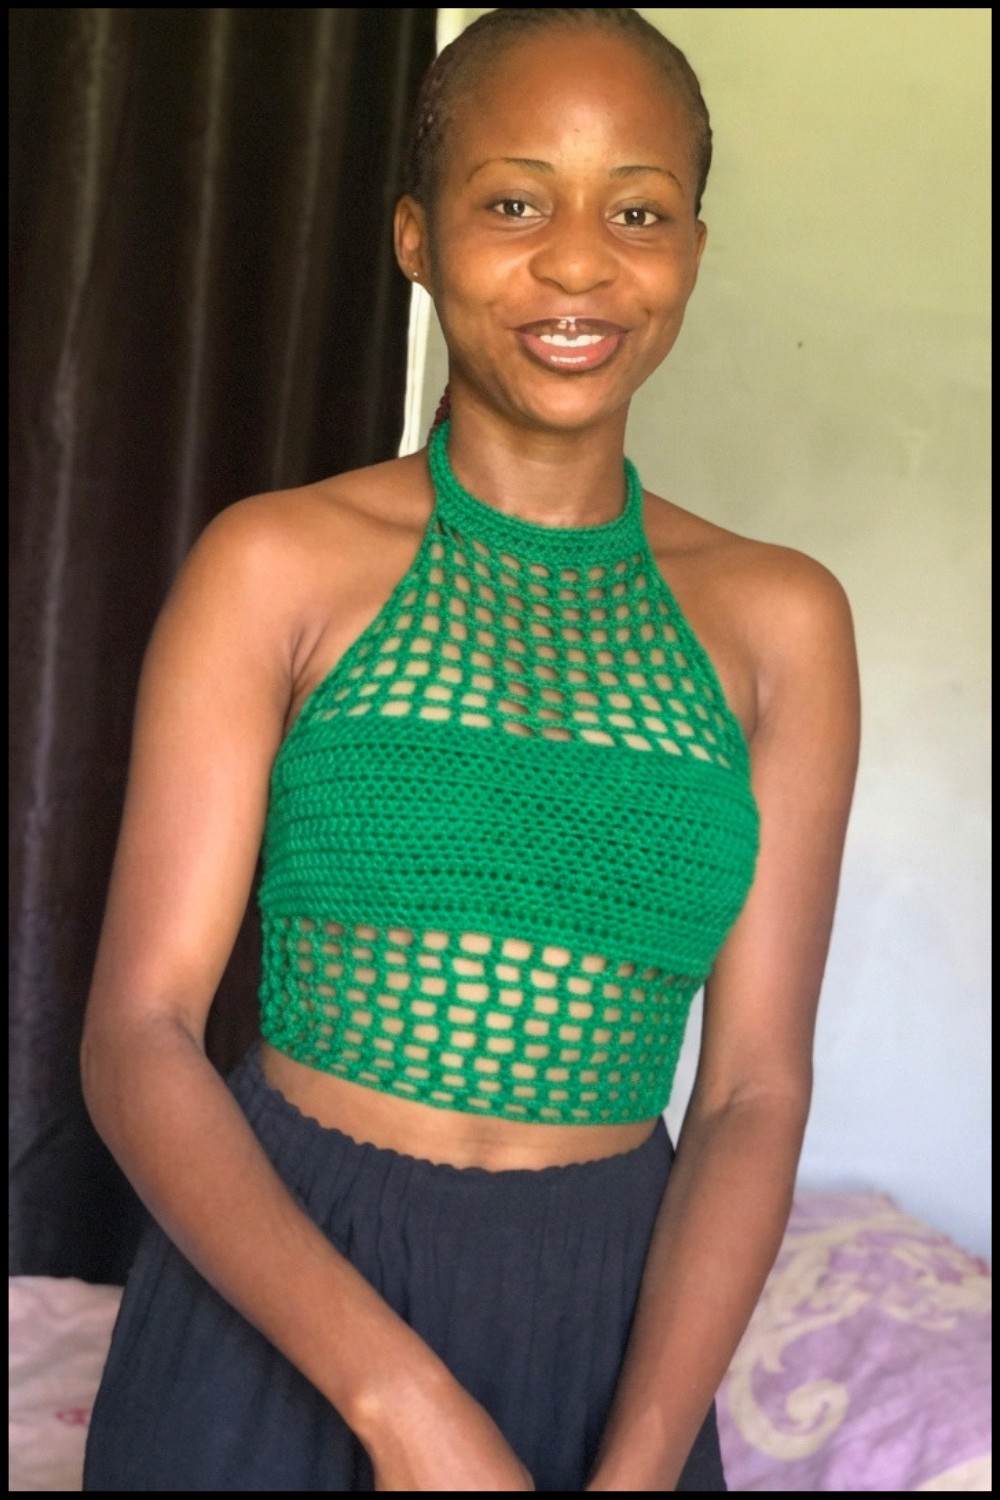
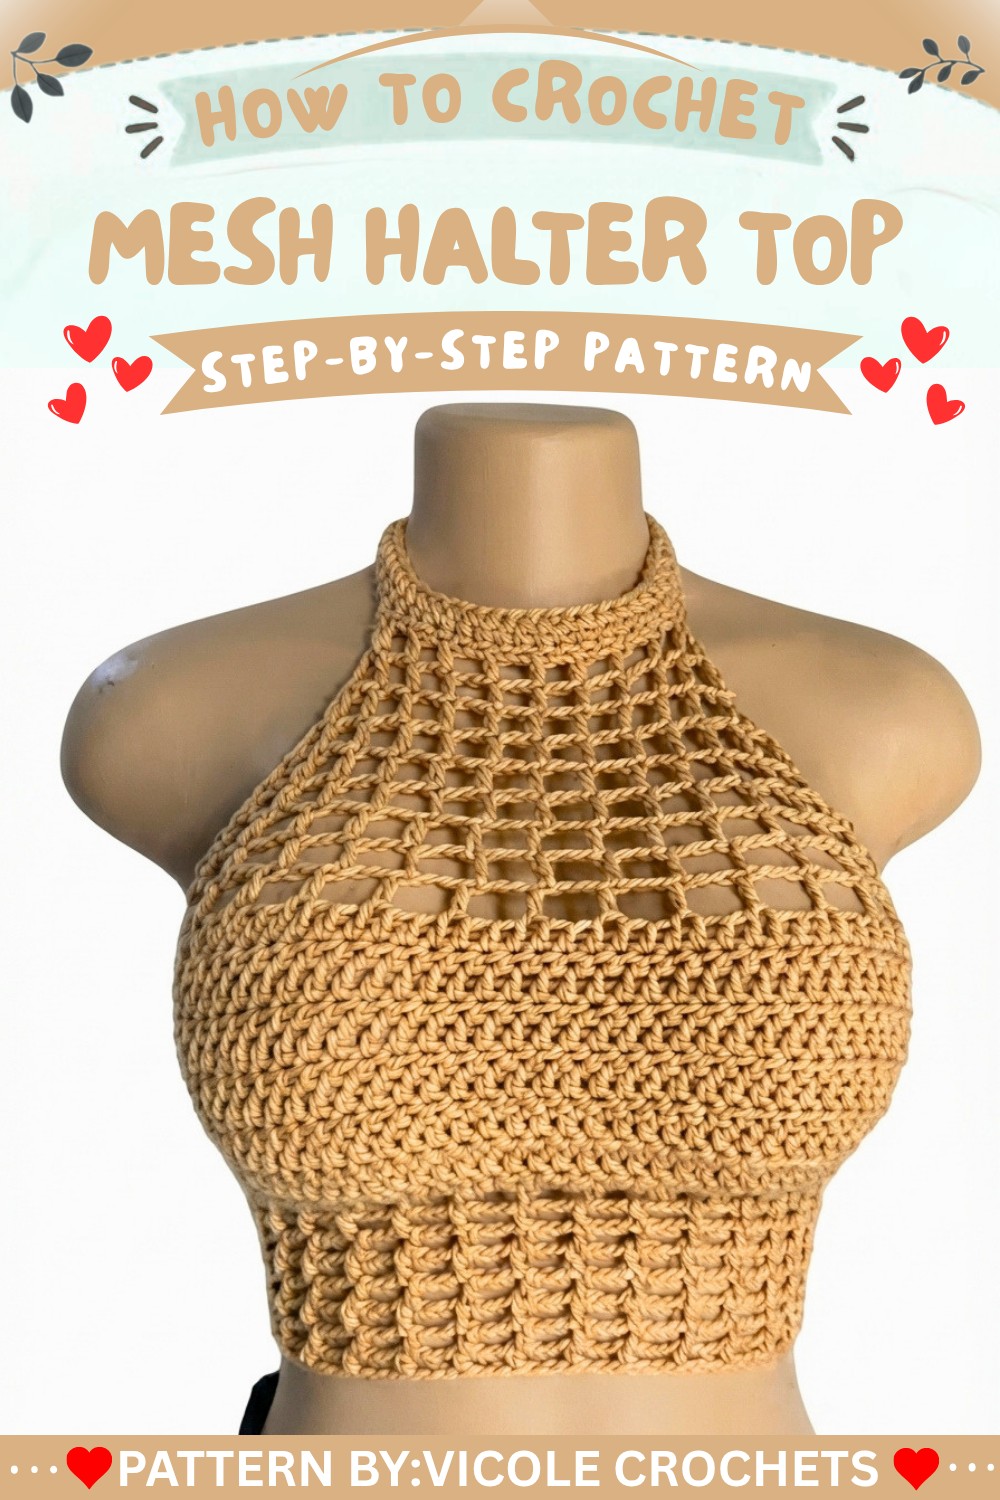
Show off your creativity in style using this free crochet mesh halter top pattern, a fun and breezy project to make your summer wardrobe pop.
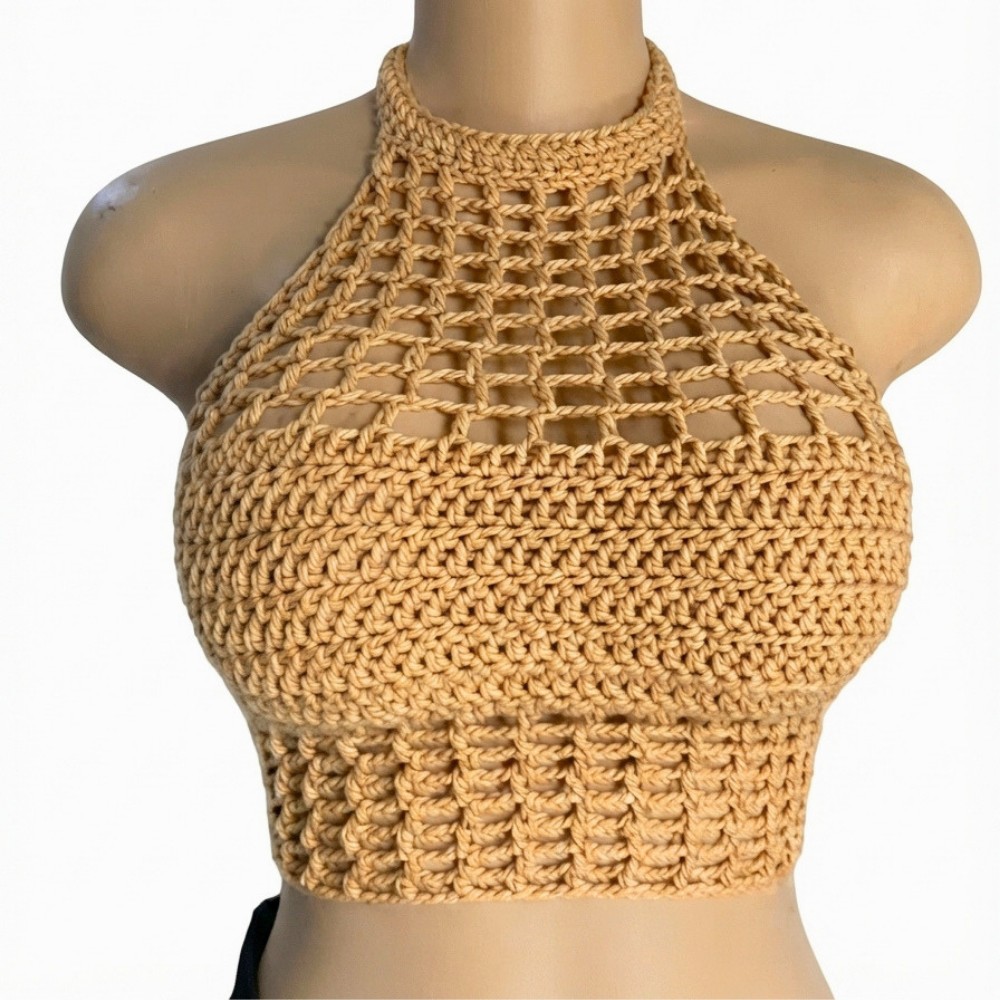
Vicole Crochets offers a wonderful and easy-to-follow guide for creating a lightweight summer top that is both fashionable and comfortable. This crochet top features an open, mesh-like design that allows air to circulate, making it perfect for hot days. Its simple yet attractive texture, created with basic stitches, forms a breathable and delicate pattern that adds a fresh, stylish look to any outfit. Whether you wear it to the beach, a casual outing, or as a layering piece over a tank or swimsuit, it brings a light and elegant touch.
Quick and Easy Free Crochet Mesh Halter Top Pattern
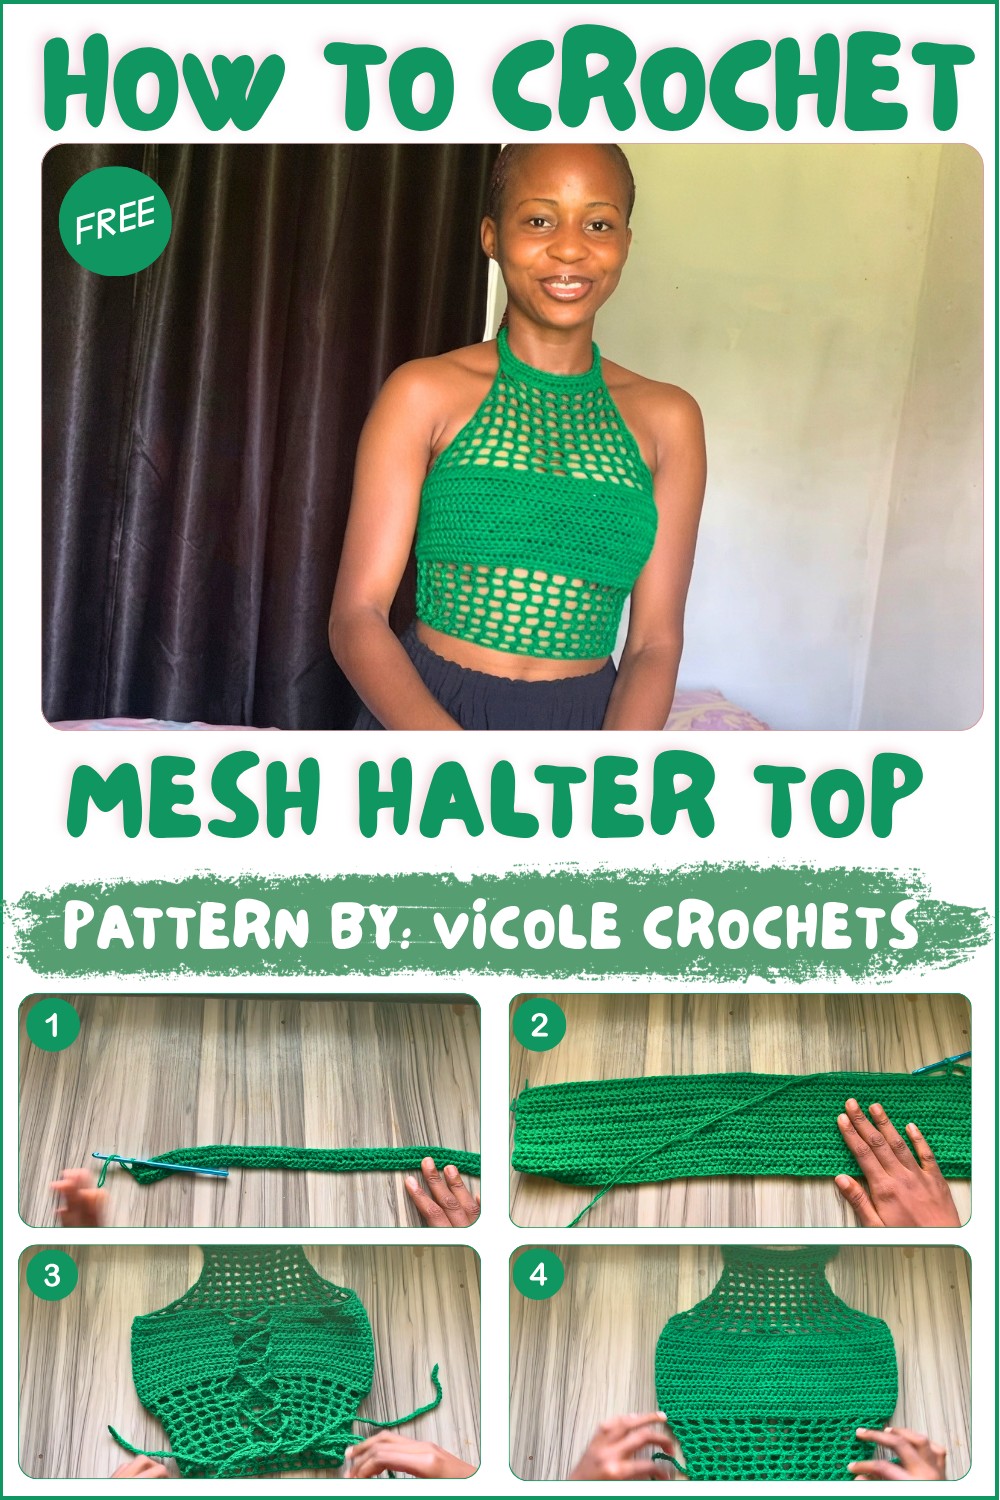
The pattern includes helpful tips on measuring to get the right fit, especially around the bust and the adjustable crisscross tie-back that provides both support and style. The halter shape of the top enhances your silhouette while keeping the garment airy and soft against the skin.
This easy-to-make, breathable top is a great addition to your summer wardrobe, combining beauty and practicality. With Vicole Crochets’ clear instructions, you can confidently create a chic, comfortable garment that’s perfect for warm weather and many casual occasions.
Crisscross Mesh Back Top Crochet Pattern
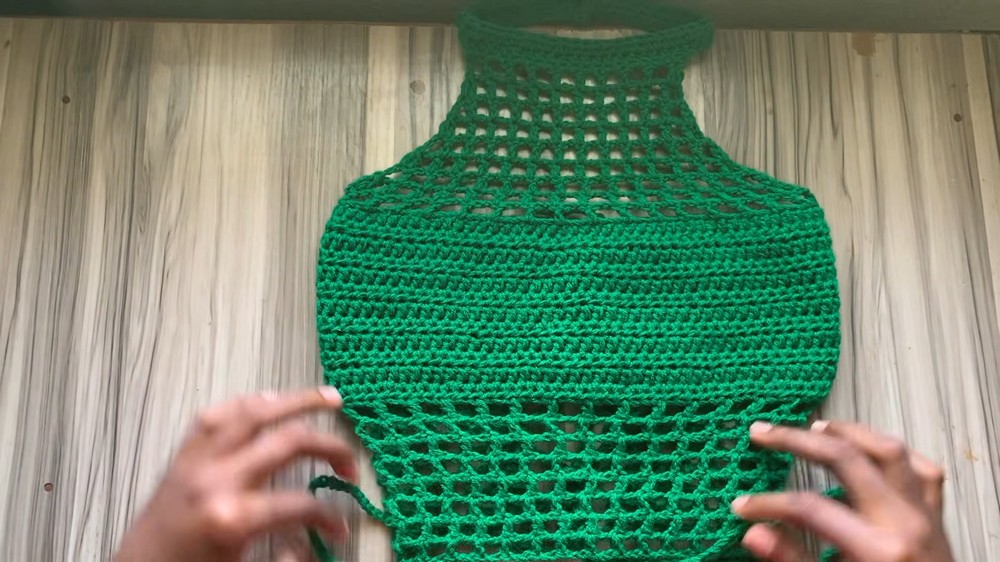
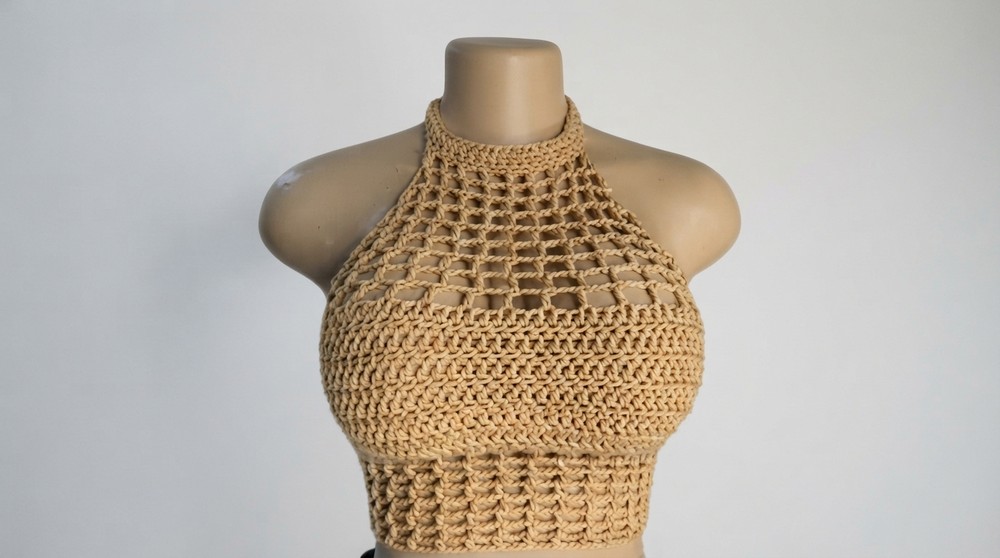
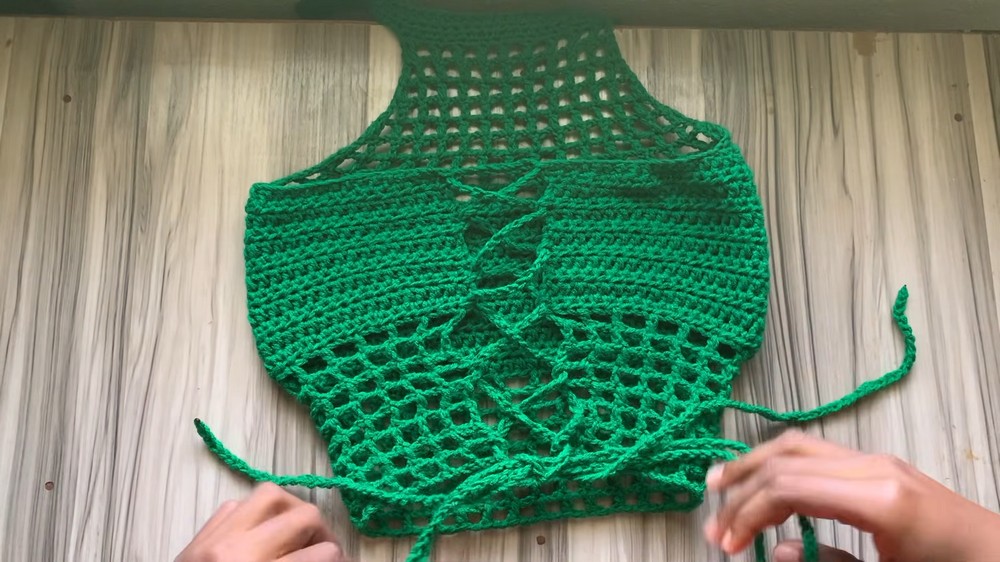
This crochet top combines practical shaping with playful, open mesh and a crisscross lace-up back. Made with beginner-friendly stitches, this piece features a half double crochet bust section, a mesh lower body, a buttoned neck strap, and long ties for custom back lacing. The clean silhouette and flexible construction make it a fashionable choice for hot days and casual occasions. The top is also adaptable for various sizes, ensuring a personal fit and plenty of opportunity for creative styling.
Pattern Basic Points
Construction Highlights
- Bust Coverage: Built using half double crochet rows to provide structure and modesty at the upper chest.
- Airy Mesh Body: Lower body worked in rows of mesh stitch formed by chains and double crochets for breathability and visual texture.
- Crisscross Back: Features a functional lace-up back with extra-long chains, allowing for adjustable fit and a stylish detail.
- Buttoned Neck Strap: A simple extension built on the upper edge, secured with a button for easy wear.
- Minimal Seaming: Primarily worked in one piece, with finishing focused on assembling the strap and weaving ties.
Special Notes
- Sizing: Measure your bust and adjust your foundation chain. Leave space for the mesh crisscross at the back—do not wrap the chain all the way around your bust.
- Fit: For a tailored look, check strap placement and tie length as you work. The mesh rows, chain numbers, and strap length can all be adjusted.
- Consistency: Maintain even tension, especially in mesh sections for neat, consistent holes.
- Finishing: Weaving in ends and proper button placement help ensure both comfort and durability.
Skill Level
Beginner-Friendly
The pattern uses basic stitches (half double crochet, double crochet, chain, slip stitch, single crochet, and simple decreases), making it suitable for newcomers. Attentiveness to stitch counts and following decrease instructions will be helpful.
Materials
- 2 balls of medium-weight yarn (or your preferred yarn for desired drape)
- 5 mm crochet hook
- Stitch markers
- Scissors
- Measuring tape
- Darning needle
- Button (for neck strap closure; size as desired)
Measurements / Sizing
- Foundation Chain: Custom (sample uses 79 chains; chain should fit bust measurement, leaving several inches unworked for crisscross back).
- Bust Panel: Height determined by number of half double crochet rows, adjusted to your bust coverage preference (sample uses 12 rows).
- Mesh Body: Length determined by number of mesh stitch rows (sample: 8 rows, can be increased/decreased).
- Strap: Chain 15 for neck strap; work two rows for width to accommodate the button.
- Crisscross Tie: Chain approximately 350 (or to desired length for back lacing and tying).
Gauge (and Stitch Pattern if applicable)
- Gauge: Adjustable, as this is a made-to-measure pattern. For bust panel, 12 rows of half double crochet should cover upper bust in chosen yarn/hook; for mesh, check width and adjust stitch count if necessary.
- Main Stitch Patterns:
- Bust panel: Half double crochet rows.
- Body mesh: [dc, ch 2, sk 2] mesh in rows.
- Strap: Half double crochet rows.
Stitch Abbreviations
| Abbreviation | Description |
|---|---|
| ch | chain |
| sc | single crochet |
| hdc | half double crochet |
| dc | double crochet |
| sl st | slip stitch |
| sk | skip |
| st | stitch |
| rep | repeat |
Special Stitches
Double Crochet Decrease (dc2tog)
- Yarn over, insert hook in next stitch, yarn over and pull up a loop (three loops on hook).
- Yarn over, pull through two loops (two loops left on hook).
- Yarn over, insert hook in next stitch (or chain), yarn over and pull up a loop (four loops on hook).
- Yarn over, pull through two loops (three left on hook).
- Yarn over, pull through remaining three loops.
Pattern Instructions
Bust Panel
- Foundation Row:
- Make a slip knot.
- Using measuring tape, chain enough to reach around the bust, leaving a gap at the back for the crisscross (sample: 79 ch).
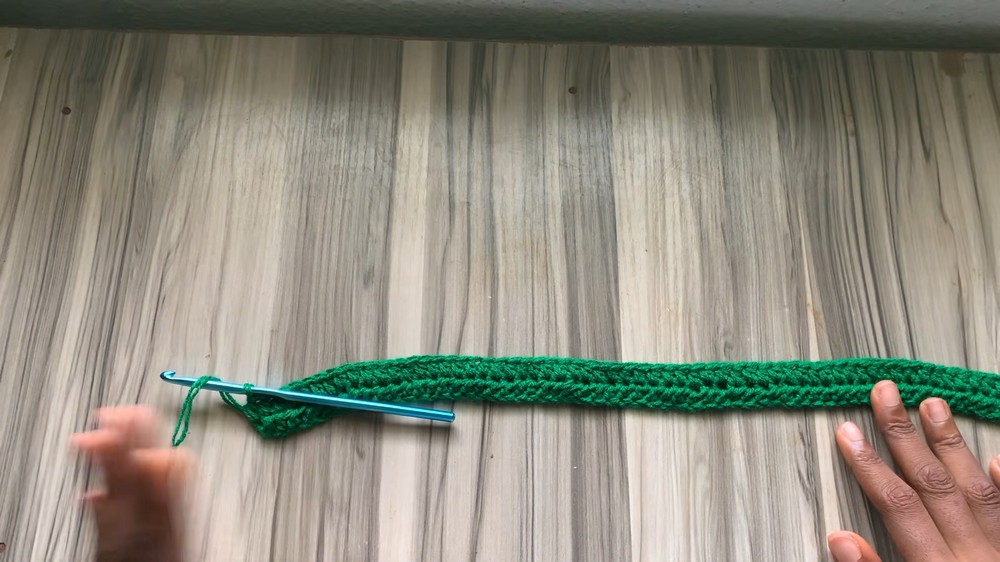
- Row 1:
- Skip the first ch (counts as turning ch).
- Hdc in the 2nd ch from hook and in every ch across.
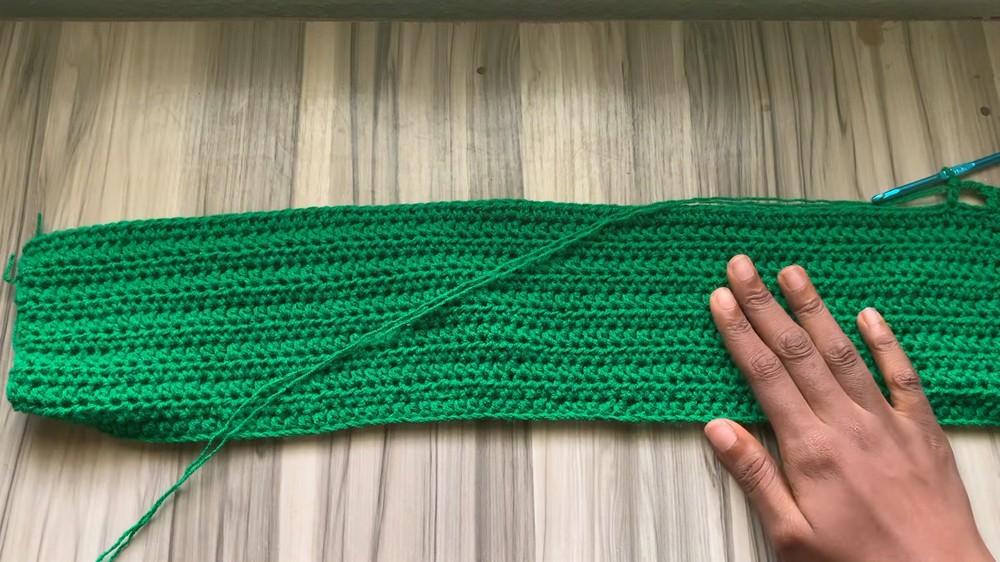
- Rows 2–12:
- Ch 1, turn.
- Hdc in each st across.
- Continue for 12 rows total (or desired height for bust coverage).
Mesh Section
- Row 1 of Mesh:
- Ch 5 (counts as dc + ch 2), turn.
- Sk 2 sts, dc in next st, ch 2.
- Repeat from * to * until end of row.
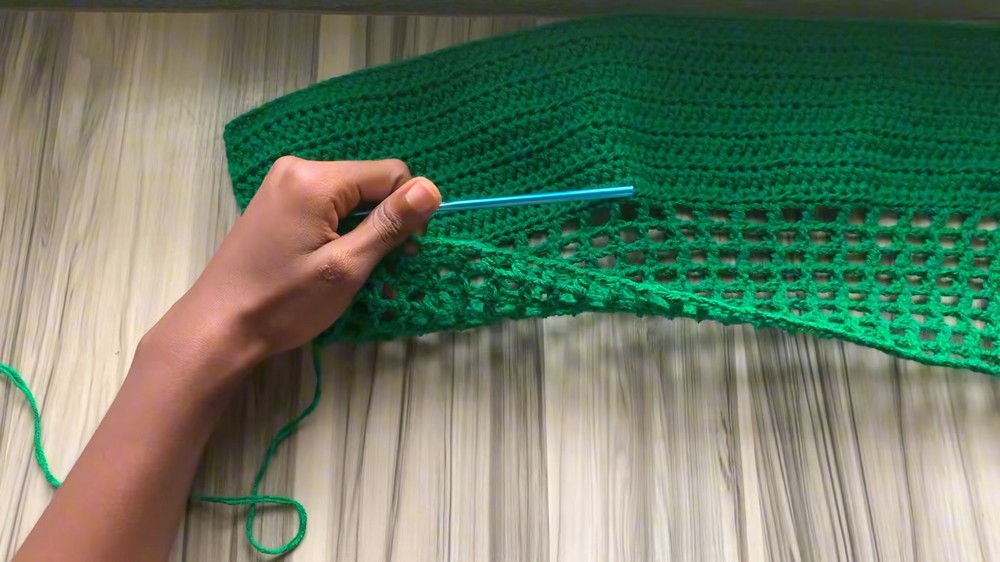
- Mesh Row 2:
- Ch 5, turn.
- Dc in top of next dc, ch 2.
- Repeat to end, placing final dc in third ch of starting ch 5 from the previous row.
- Repeat:
- Work a total of 8 mesh rows, or as many as needed for your desired body length.
Neckline Shaping (Decreasing Mesh)
- Mark each edge (wearer’s left and right, underarm to neckline) with stitch markers for the neck shaping.
- Attach yarn at marked edge.
- Row 1 of Decrease:
- Ch 3 (for decrease), sk 2 sts, dc in next dc, ch 2, dc, ch 2, continue mesh across as usual.
- Subsequent Decreased Rows:
- Continue to ch 3 at the start of each row (instead of ch 5), working mesh as previous, and decrease at each end.
- For the last stitch, finish with a double crochet decrease (dc2tog): work half of dc in last dc, half in third ch of previous edge turning chain, finish decrease.
- Repeat for 9 rows, or as many as needed for comfortable halter strap width.
Strap
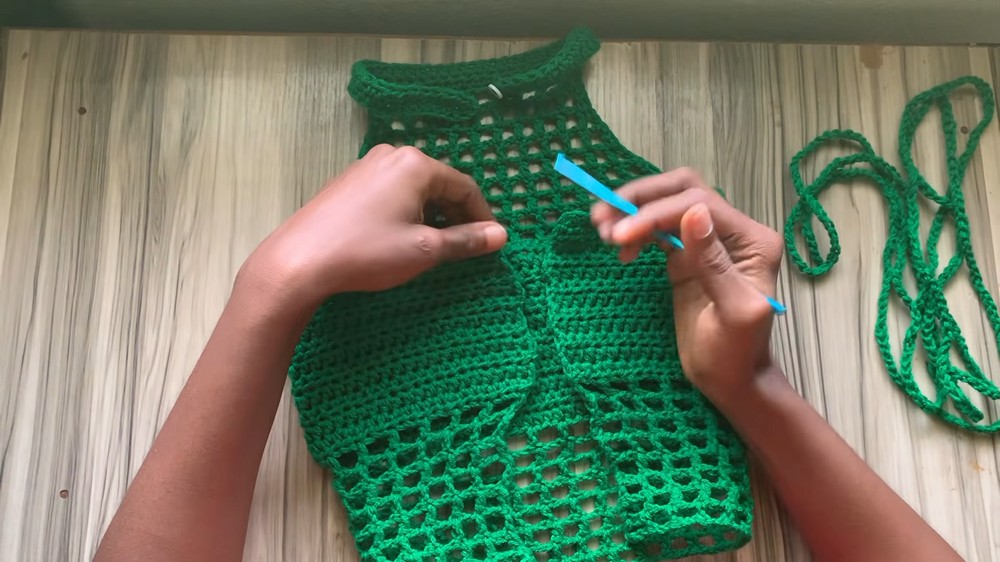
- At neckline corner, attach yarn with a slip knot.
- Chain 15.
- Return down length with hdc in each chain.
- Ch 1, turn, hdc back the other way.
- Fasten off and weave in end.
- Sew or crochet a button onto the body at appropriate spot to secure strap when worn.
Finishing & Assembly
- Weave in all ends using darning needle.
- Try on the top to determine crisscross tie placement.
- Crisscross Tie:
- Chain 350 for a long adjustable tie.
- Weave through mesh holes at the back, starting at the bottom and lacing up through each side, spacing as you prefer (sample skips three mesh holes per lacing segment).
- Leave enough at the top to tie a bow or a knot for secure hold.
- Button Attachment:
- Place button on the halter section, ensuring it lines up neatly with the buttonhole made from the chain strap.
- Adjust tension of mesh and crisscross ties as preferred for both fit and appearance.
Conclusion
The Crisscross Mesh Back Top is an accessible project combining classic and modern crochet techniques for a customized summer essential. The pattern’s block-and-mesh construction offers support where needed and an airy, flexible middle and back for comfort. Simple (but neat) finishing and thoughtful construction details ensure that the garment flatters a range of sizes and can be revisited in different yarns or mesh lengths for endless variation in your collection of handmade warm-weather garments.