Beginner Friendly Free Crochet Sports Bralette Pattern Instructions

Grab your yarn and start crocheting a stylish and supportive sports bralette today using our free pattern that guarantees comfort and a perfect fit every time.
Stepping into summer with a handmade piece that’s both trendy and comfortable. The free crochet sports bralette pattern makes this possible, delivering a stylish garment that fits smoothly and breathes with you. Whether you’re doing light workouts, heading to a music festival, or just enjoying a sunny day, this bralette offers an ideal balance of support and freedom.
Learn to Crochet Free Sports Bralette Pattern Easily at Home
Perfect for pairing with high-waisted shorts, flowing skirts, or layering under loose tops, it complements a variety of looks. Its versatility means you can wear it to casual outings or beach trips, adding a fresh and sporty vibe to your wardrobe without sacrificing comfort.
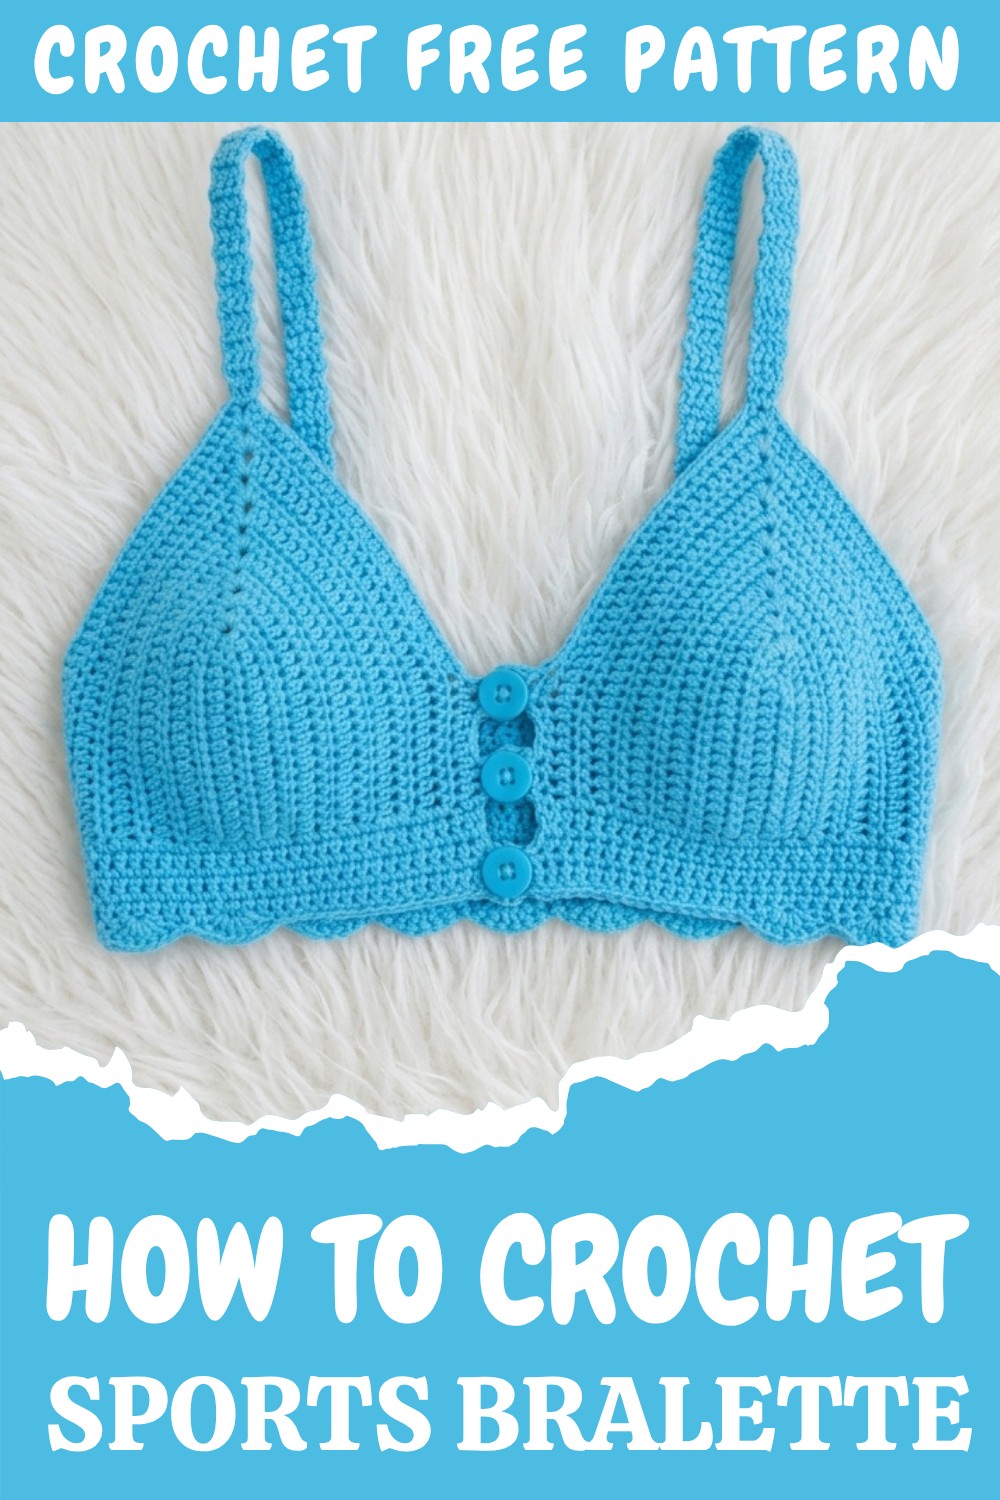
The beauty of this crochet bralette lies in its unique texture, delicate yet striking stitches that create a soft, tactile design element. Thoughtfully designed straps and a snug band provide gentle shaping, marrying practicality with elegance. The minimalist silhouette feels modern but timeless, making it a standout in any collection.
Create a genuinely special piece that’s both functional and fashionable, the free crochet sports bralette pattern is an exciting project. It celebrates handmade craftsmanship and suits warm weather perfectly, encouraging creativity while keeping you comfortable all season long.
Crochet Sports Bralette Pattern
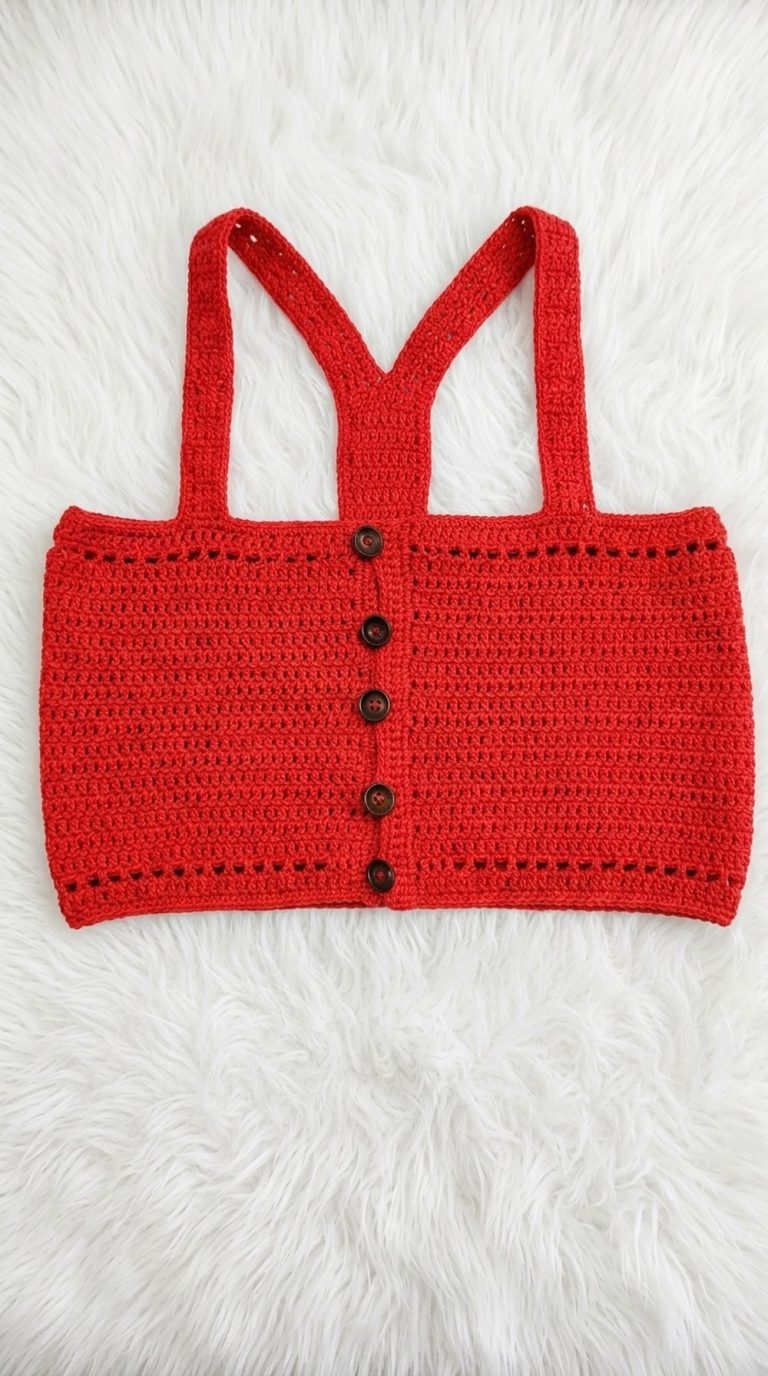
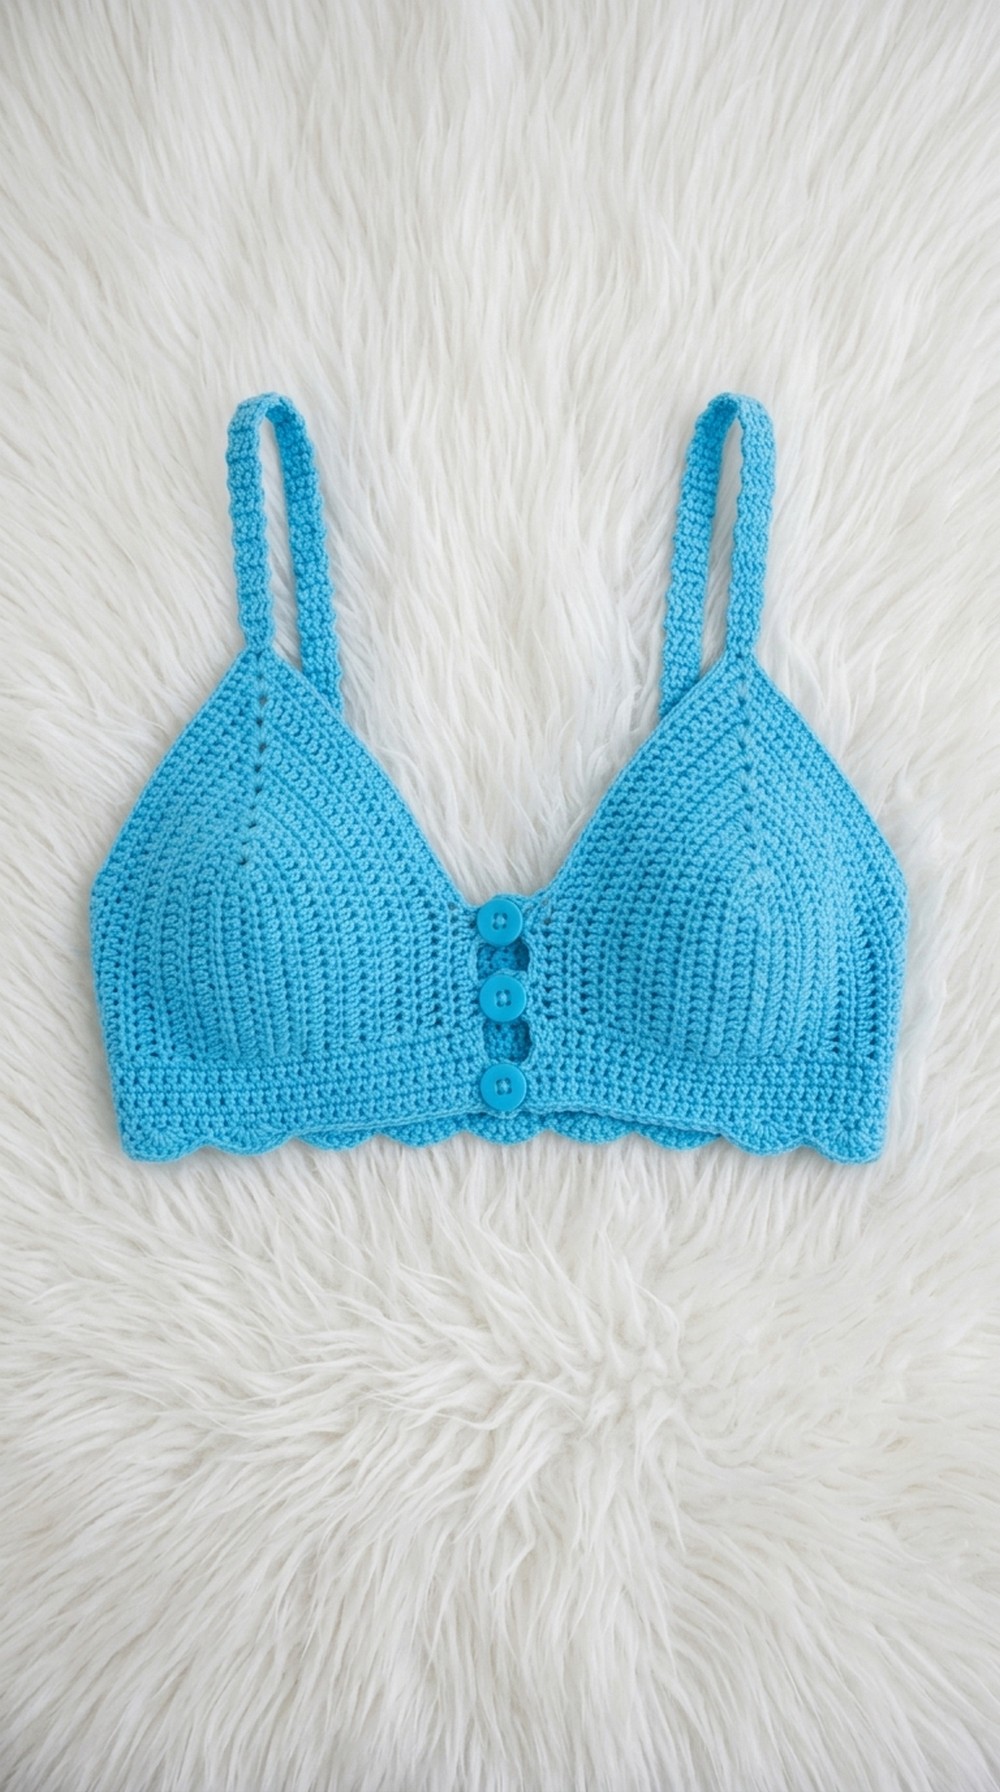
This Crochet Sports Bralette is a stylish, snug-fitting, and adjustable top featuring front buttons, ensuring a perfect fit for any size. It is designed with two panels for the front and back, complemented by straps and clean edges. This bralette is both functional and fashionable, making it a great addition to your wardrobe.
Skill Level
Intermediate – This pattern involves basic stitches (SC, HDC), foundation chains, buttonholes, and attaching straps.
Materials
- Yarn: Alize Cotton Gold (Color Sky Blue).
- Crochet Hook: 3 mm.
- Additional Tools:
- Tape measure (for determining fit).
- Scissors or yarn cutter.
- Yarn needle (for weaving in ends).
- 5 buttons of appropriate size.
- Stitch markers.
Stitch Abbreviation.
These abbreviations are use for the help of beginners that they can understand the pattern easily .
- Ch: Chain
- SC: Single Crochet
- HDC: Half Double Crochet
- Sl St: Slip Stitch
Special Stitches
Buttonholes
Buttonholes are created using chains to form loops, followed by single crochets to reinforce the chain space. Adjust the chain length to fit your button size.
Useful Tips
- Measure your bust circumference and adjust the foundation chain accordingly to ensure the bralette fits snugly without being too tight.
- Add or reduce rows for the front and back panels based on your measurements.
- Use stitch markers to identify where the straps and buttons will attach for even placement.
- Reinforce edges with single crochet rows for a polished look and additional strength.
Pattern Instructions
The pattern is divided into several sections, starting with the front panel, back panel, straps, and finally, button attachments and finishing touches. Follow the steps carefully for a well-fitted bralette.
Front Panel
Foundation Chain:
- Measure the distance across your front bust, from the right side to the left side.
- Chain a length based on your measurement. For example, the sample uses 16 chains.
Row 1:
- Skip the first chain and begin working:
- HDC in each stitch across. (15 HDC total if starting with 16 chains)
Row 2:
- Step 1: Chain 1, turn your work.
- Step 2: Work HDC in each stitch across.
- Step 3: Create an increase at the center (found by folding your row):
- In the center stitch, work 2 HDC, Ch 1, and another 2 HDC in the same stitch.
- Step 4: Continue HDC in each stitch until the end of the row.
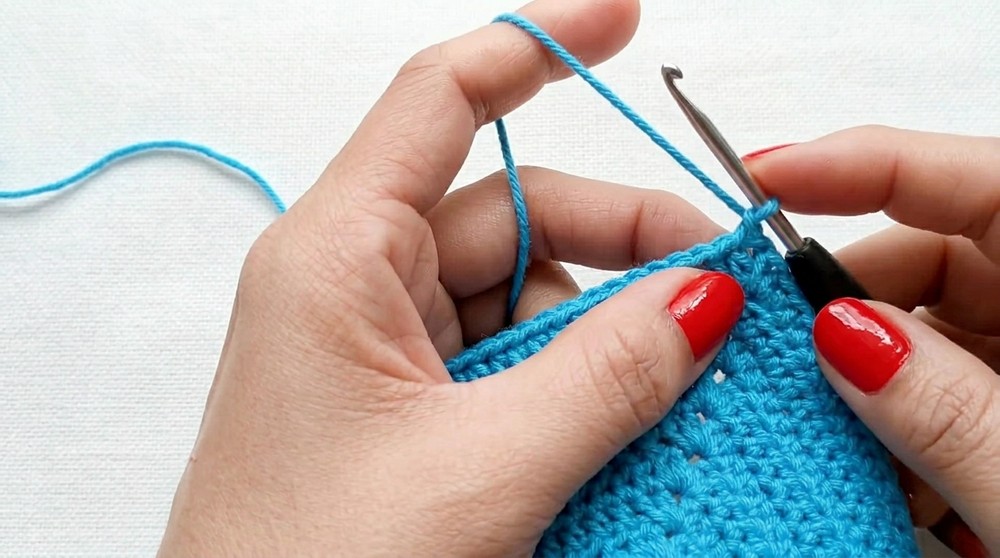
Rows 3–12:
- Repeat Row 2, ensuring you add increases (2 HDC, chain 1, 2 HDC in the same stitch) in the chain 1 space from the previous row.
- Stop after completing 12 rows, or adjust according to your size.
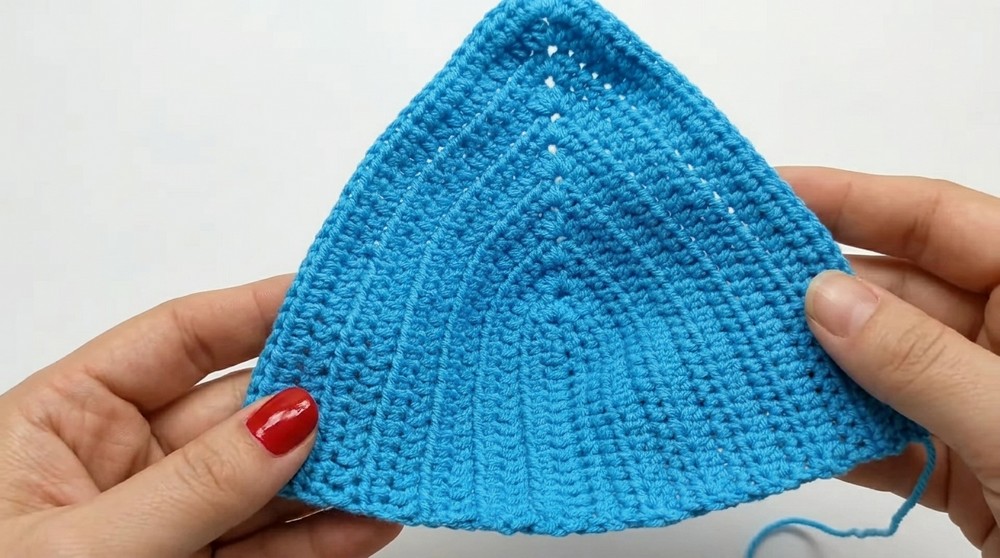
Back Panel
Foundation Chain:
- Measure your back width. For the example, the back width is 40 cm, but this is adjusted for elasticity, reducing by 2–3 cm.
- Chain a length based on your adjusted measurement.
Rows 1–Desired Length:
- Work 3 SC across each row:
- Chain 1, turn your work, and work 3 SC evenly across.
- Repeat this process until the back panel reaches the required length.
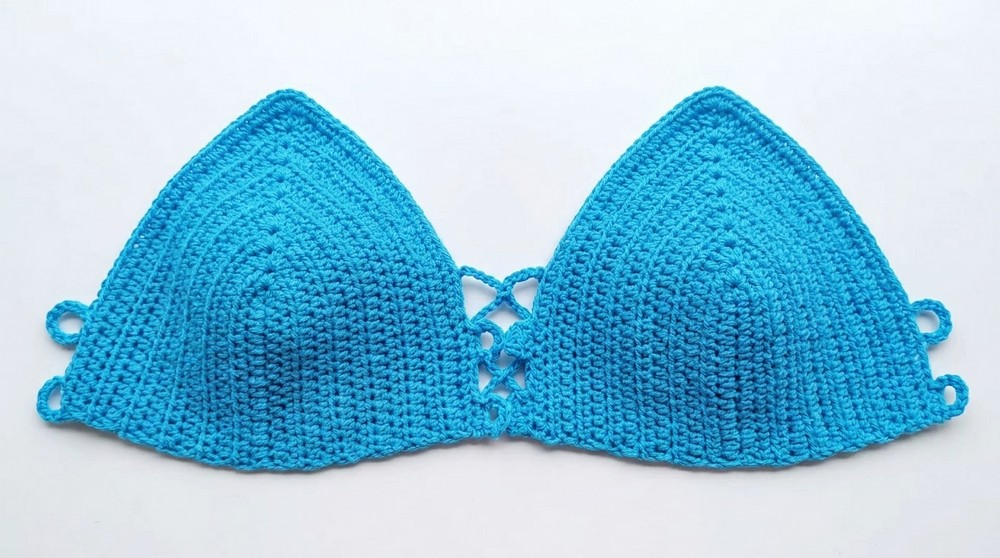
- For the sample size, reduce the length slightly to account for stretch.
Button Side and Edging
- At the edge of the front panel, mark the side for button loops.
- Work 7 rows of SC and finish with clean edges for stability.
Buttonholes:
- Identify the side for buttonholes.
- Work buttonholes:
- Chain 5, skip 1 stitch, and SC into the next stitch.
- Reinforce the chain loop with 5 SC worked into it during the next row.
- Repeat to create the required 5 buttonholes, ensuring even spacing.
Attaching Buttons
- On the opposite edge of the front panel, use your yarn needle to sew on the buttons, aligning them with the button loops.
Straps
First Strap:
- Locate the upper corner of the front panel; this is where your first strap begins.
- Chain 1 and work:
- 3 SC across.
- Repeat SC rows, chaining 1 at the beginning of each row, until the strap reaches your desired length.
Second Strap:
- Attach yarn to the opposite corner of the front panel.
- Work the same number of rows of 3 SC as the first strap to ensure symmetry.
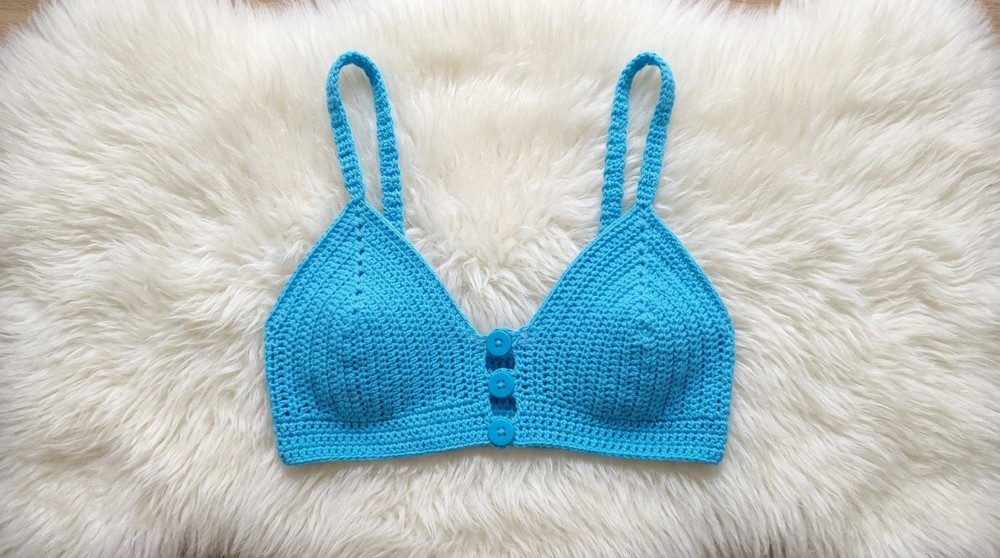
Connecting Straps to the Back Panel
- Fold the straps and align them to the correct positions of the back panel (use stitch markers for guidance).
- Join the straps to the back panel using slip stitches:
- Insert your hook through the last stitch of the strap and the designated stitch on the back panel.
- Slip stitch to secure.
- Use SC or slip stitch to reinforce the join and ensure durability.
Final Edge Cleanup
- Work single crochet stitches along all raw edges and around the entire bralette to create polished edges.
- Reinforce any remaining loose yarn ends by weaving them in securely with the yarn needle.
Conclusion
The Crochet Sports Bralette is a simple yet functional project that allows for complete customization in size and color. Its design, featuring front buttons and adjustable straps, makes it a comfortable and stylish addition to your crochet collection. Experiment with bold colors or neutral tones to personalize the project.