Crochet Horse Applique Free Pattern + Tutorial For Beginners

Give a pony fan something personal with this Free Crochet Horse Applique Pattern that suits a riding tote or a patchwork cushion for their bedroom.
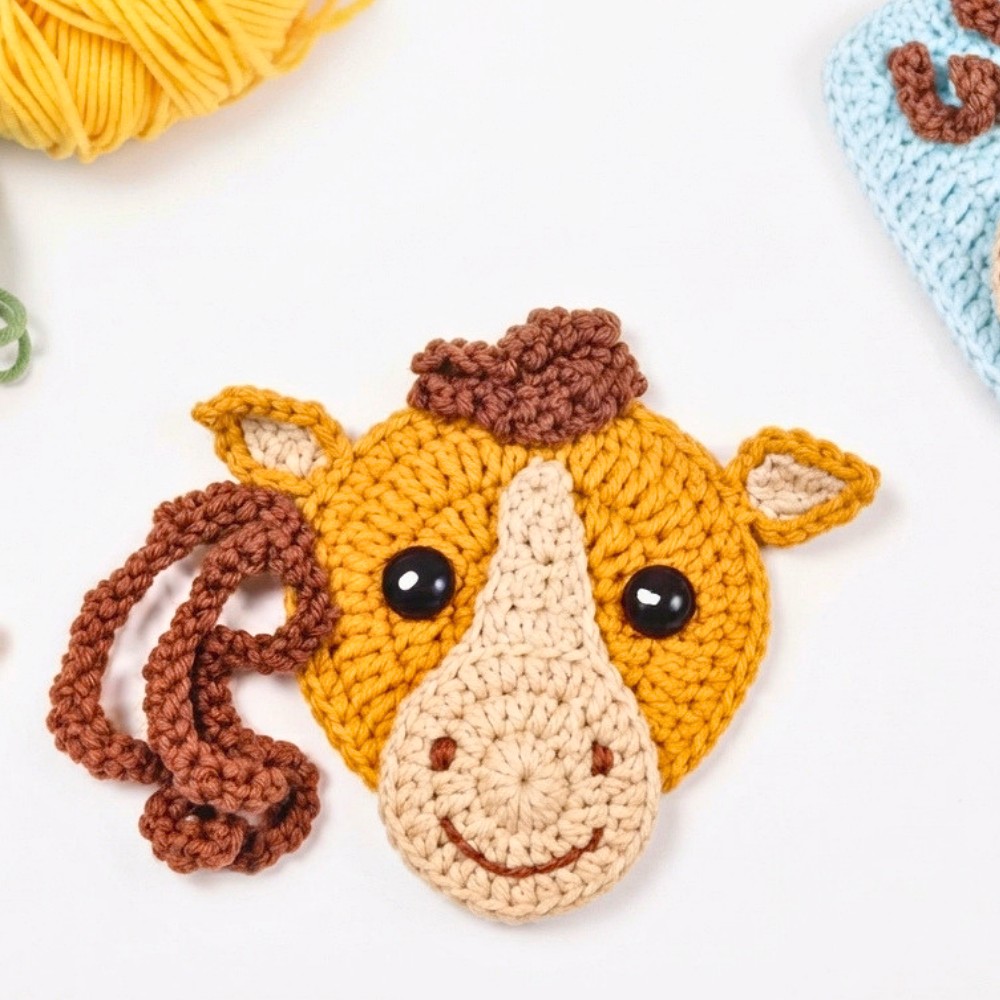
Horse lovers often have one favorite animal in mind, right down to the color of its mane. A Horse Applique gives you room to borrow those colors for a personal present. The head, muzzle, ear, and eye build the face, while the hair along the top gives it a shape that still reads clearly when you see it across the room. Set aside this Free Crochet Pattern when you want a gift that nods to a particular pony or riding club.
Horse Applique for Pony Fans | Free Crochet Pattern
Meet Guadalupe
Fans of farm animals can browse Guada crochet for Guadalupe’s cow and bull projects. The pair shows how related figures can still have their own features. Those designs may appeal to crocheters who like planning a matching set for a friend or building a collection one animal at a time.
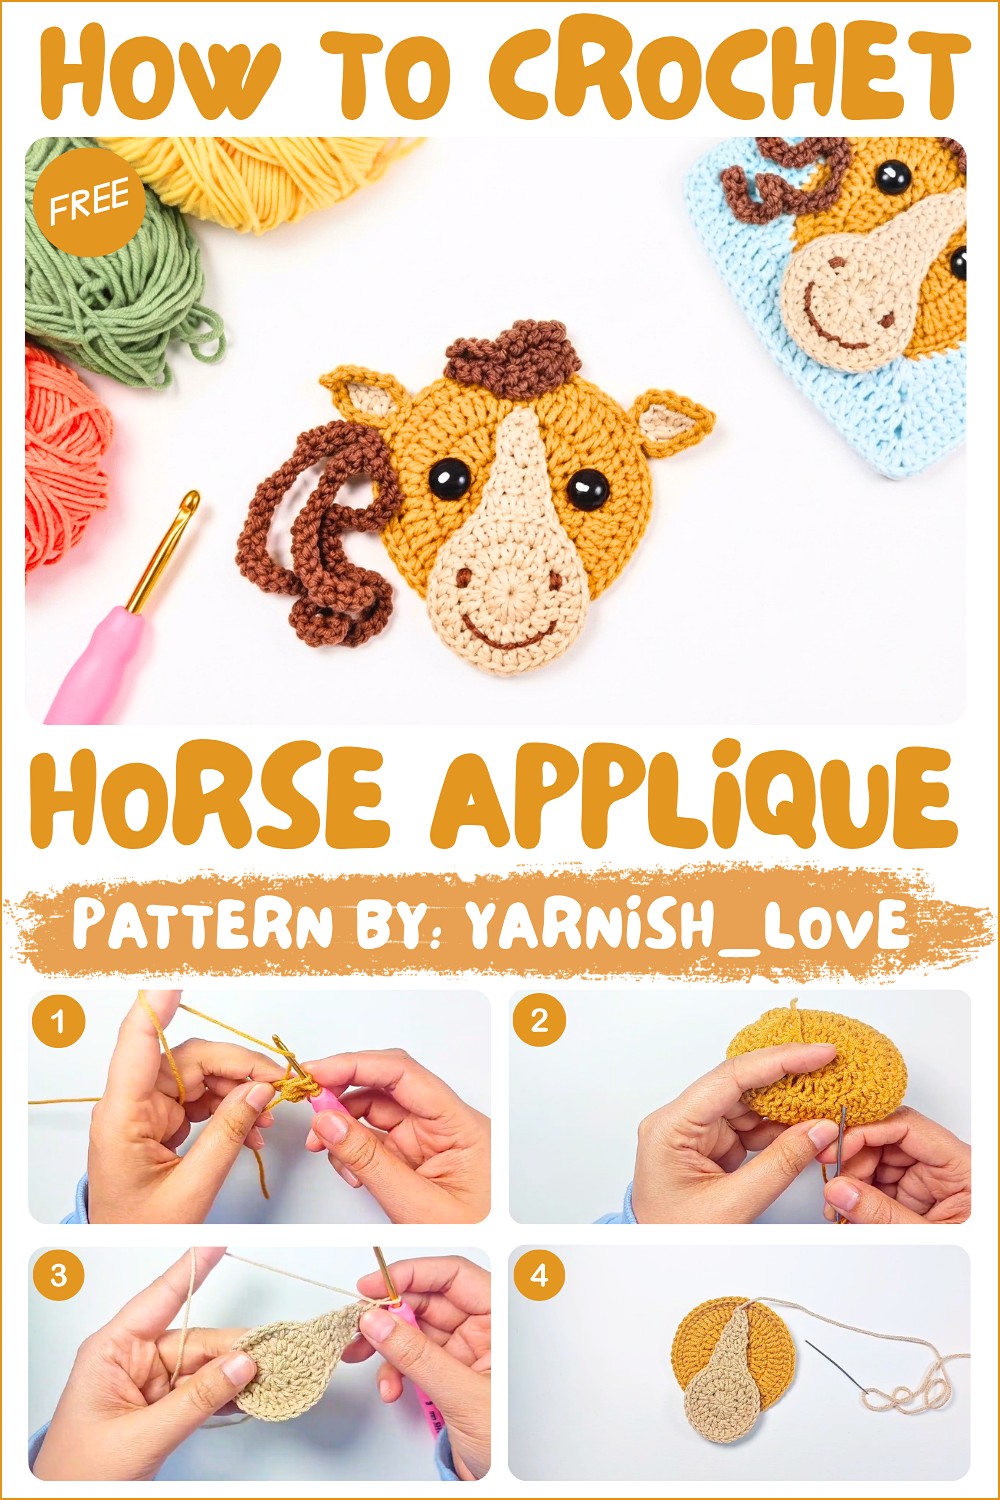
Borrow a detail from a favorite horse to turn the patch into a small portrait. For a chestnut horse, a warm brown face and a deeper mane give the features some definition. Cream and gray work together for a lighter look. Tiny choices affect the expression, too. Before the sections are attached, moving the muzzle slightly or checking where the eye sits helps you decide how the face will look from the front.
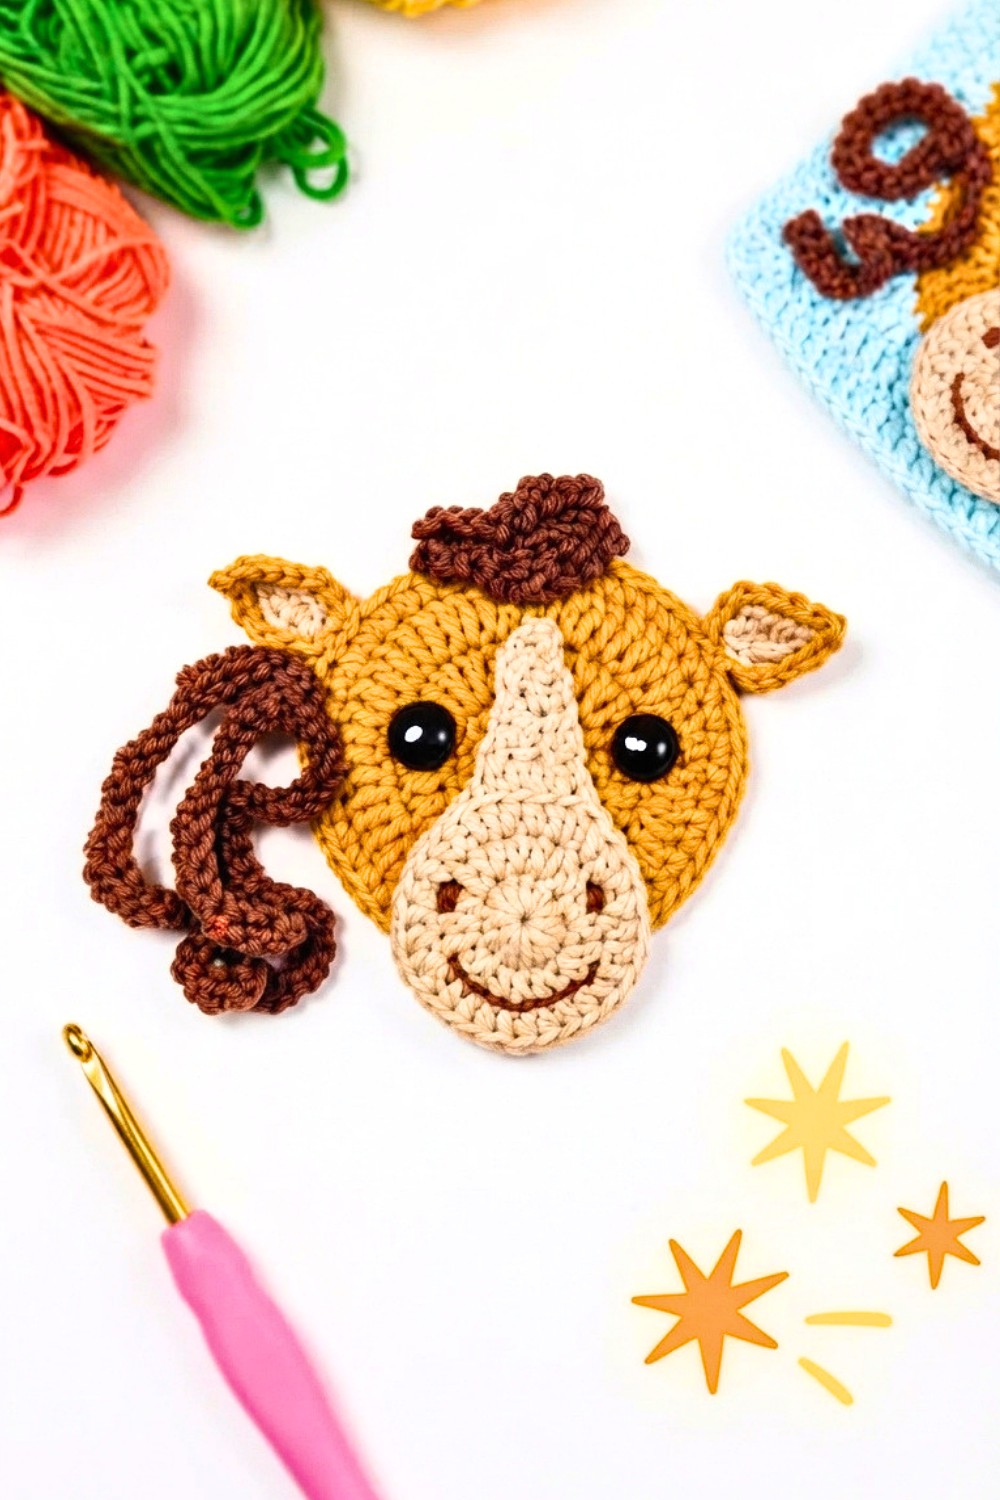
For a rider, place the finished piece on a cloth tote that holds spare gloves or a water bottle. For someone who keeps horse books by the bed, sew it onto a reading cushion in a color already used in the room. It also works on one corner of a blanket where the hair and longer muzzle can sit clear of the border. The little portrait can remind someone of their time at the stable long after the gift is opened.
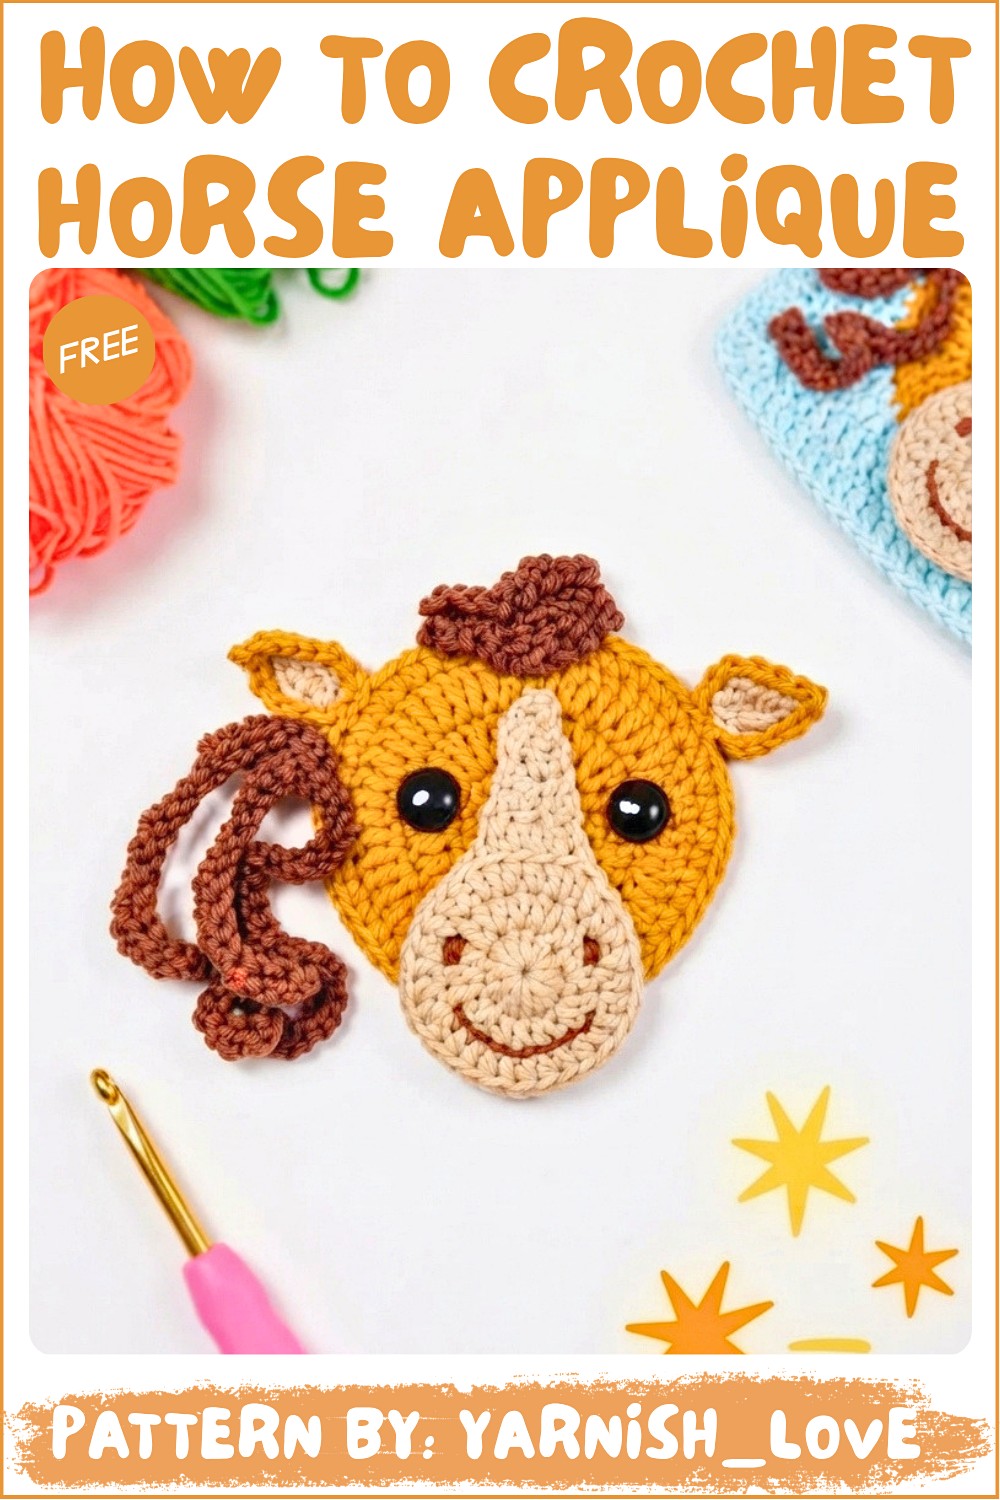
Crochet Horse Appliqué Pattern
This crochet horse appliqué creates a beautifully detailed embellishment that can be used in various projects, such as decorating blankets, clothing, or bags. The simple yet charming design brings a playful and elegant touch to any piece. By following these detailed instructions, you’ll achieve a well-structured horse appliqué complete with all its key features: the head, muzzle, ear, hair, and eye.
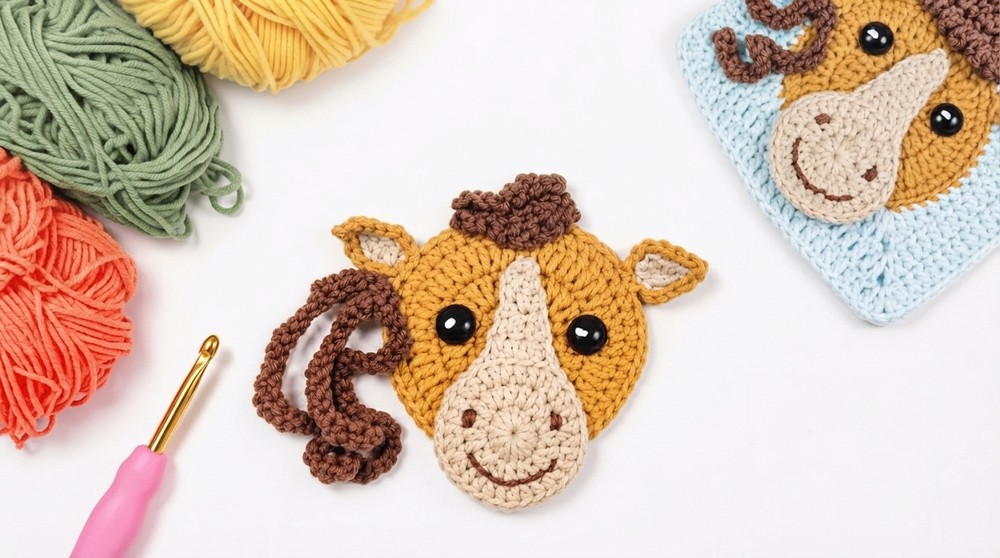
Skill Level
Intermediate – This pattern involves working in the round, basic shaping, creating textured effects using back loops only (BLO), and assembling multiple pieces. Familiarity with fundamental crochet stitches such as single crochet (SC), half double crochet (HDC), double crochet (DC), and slip stitches (SL ST) is required.
Materials
- Yarn: Fine cotton yarn in these colors:
- Main head color (brown, beige, or white).
- Contrasting color for the muzzle.
- Accent colors for the hair and eye.
- Hook: 3 mm crochet hook (use 2 mm for the eye).
- Accessories:
- Stitch marker (optional, to track rounds).
- Yarn needle (for sewing pieces).
- Scissors.
Stitch Abbreviations
- ch = chain
- sc = single crochet
- hdc = half double crochet
- dc = double crochet
- sl st = slip stitch
- BLO = back loop only
- inc = increase (work 2 stitches in the same space)
- dec = decrease (crochet two stitches together)
Useful Tips
- Yarn Tension: Maintain consistent tension for all pieces to ensure uniformity in the appliqué.
- Magic Ring: Always pull the magic ring tightly to eliminate gaps at the center of your rounds.
- Back Loops Only (BLO): Using BLO helps create texture and shape, as needed for parts like the muzzle. Pay close attention to where this is required.
- Assembly Notes: Pin each piece in place before sewing, ensuring elements are positioned accurately for a symmetrical and polished outcome.
- Customization: Colors can be adjusted to create a personalized look or to match your project’s theme.
Step-by-Step Pattern Instructions
1. Horse Head
- Round 1:
- Create a magic ring.
- Ch 3, work 12 dc into the ring.
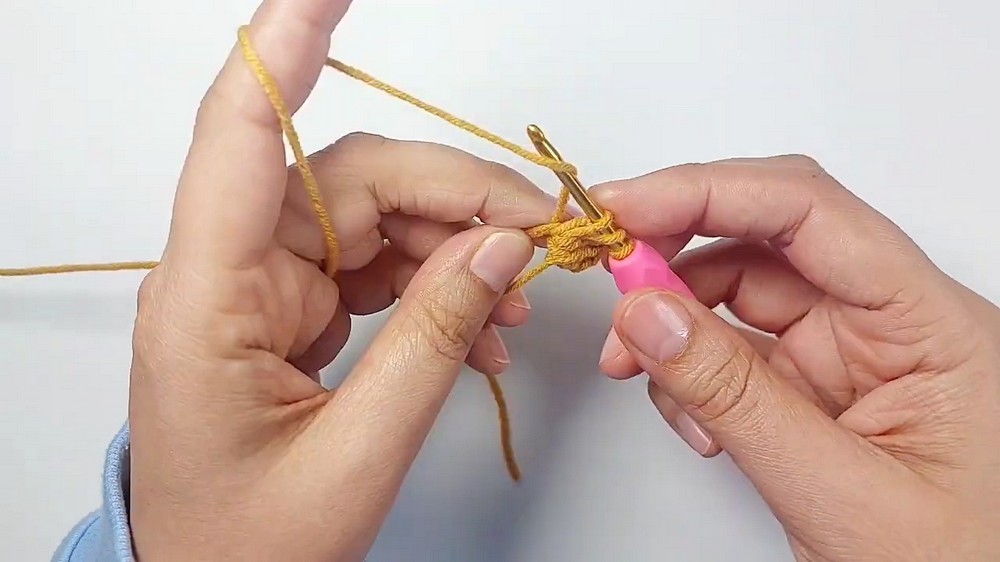
- Pull the ring tight and sl st to the first dc to join.
- Round 2:
- Ch 1, work 1 sc in the same stitch (counts as an initial dc).
- Ch 1, then work 1 dc in the same stitch.
- Work 2 dc in each remaining stitch around (24 stitches total).
- Sl st to join at the top of the first dc.
- Round 3:
- Ch 1, work 1 sc in the first stitch, ch 1, then 1 dc in the same stitch.
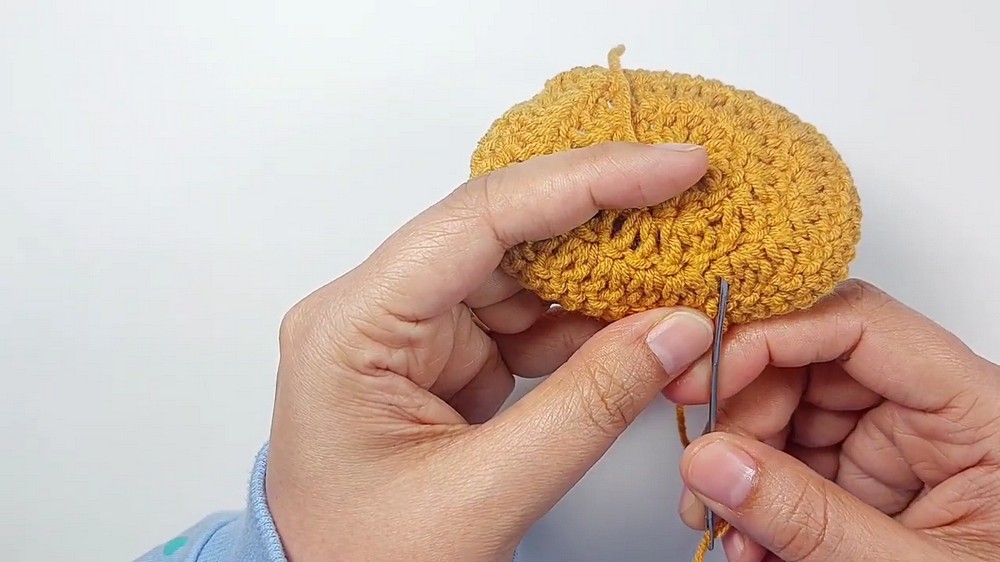
- Work 2 dc in the next stitch, then work 2 dc in every remaining stitch around (48 stitches total).
- Sl st to join.
- Round 4:
- Ch 1, work 1 sc in each stitch around (48 stitches total).
- Fasten off.
2. Crochet Muzzle
- Round 1:
- Create a magic ring.
- Ch 2, then work 10 hdc into the ring.
- Pull the ring tight and sl st to the first hdc to close the round.
- Round 2:
- Ch 1, work 1 sc in the same stitch, then 1 hdc in the same stitch.
- Work 2 hdc in each stitch around (20 stitches total).
- Sl st to join.
- Round 3:
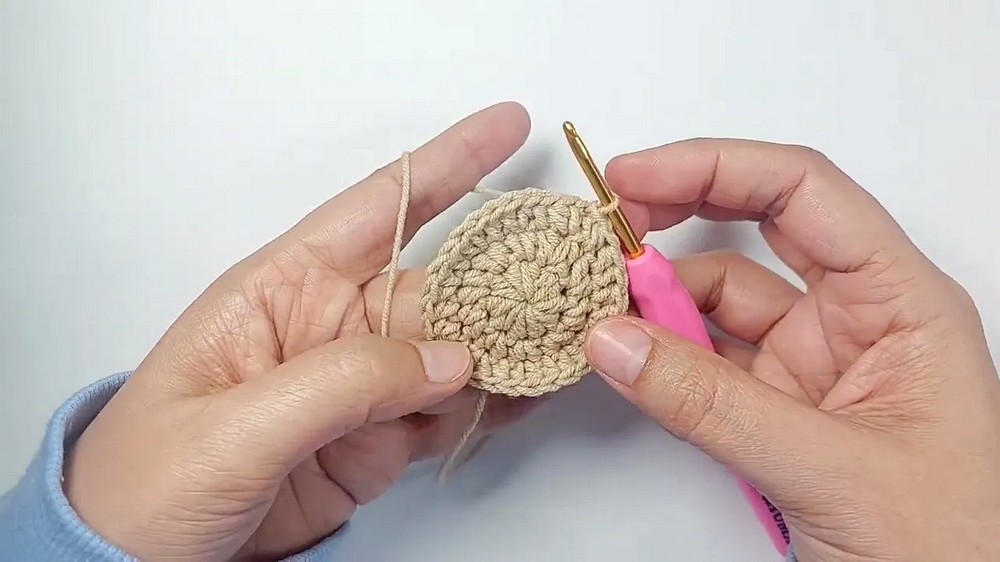
- Ch 1, work 1 sc in the same stitch, then 1 hdc in the same stitch.
- Repeat the pattern: 2 hdc in the next stitch, then 1 hdc in the following stitch, alternating around (30 stitches total).
- Sl st to finish the round.
- Shape:
- Slip stitch into the BLO of the next stitch.
- Following the specific increase and decrease sequence, create rows in back loops only (BLO) to sculpt the muzzle’s shape.
- Refer closely to the video for the precise pattern.
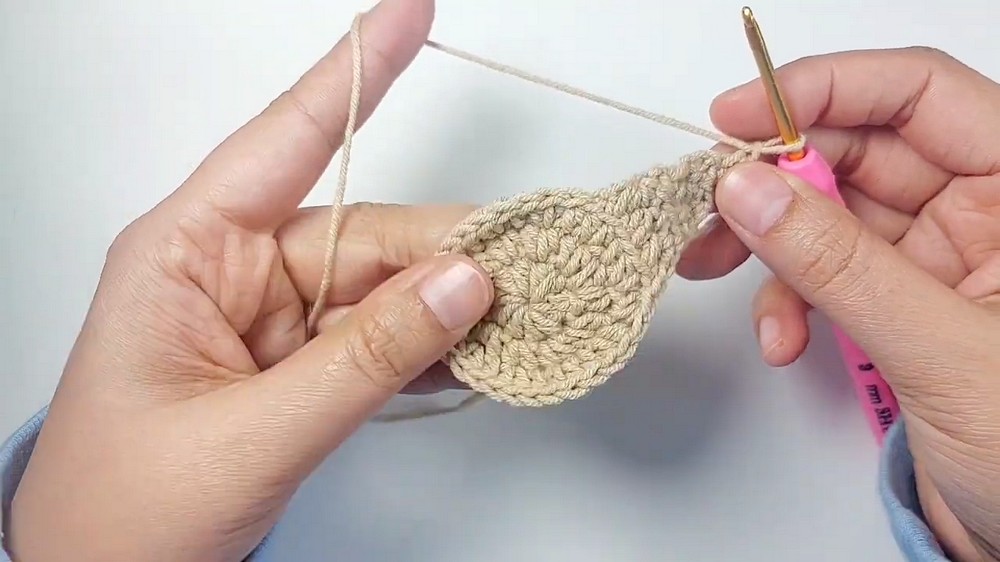
3. Ear
- Make a slip knot.
- Ch 5, skip the first chain, then work as follows:
- 1 sc in the next stitch, 1 sc in the next stitch, and sl st in the remaining stitches along the chain.
- Ch 1, turn, and work back down the chain:
- Slip stitches and single crochets in the appropriate manner to form a pointed ear shape.
Repeat for the second ear if needed.
4. Hair
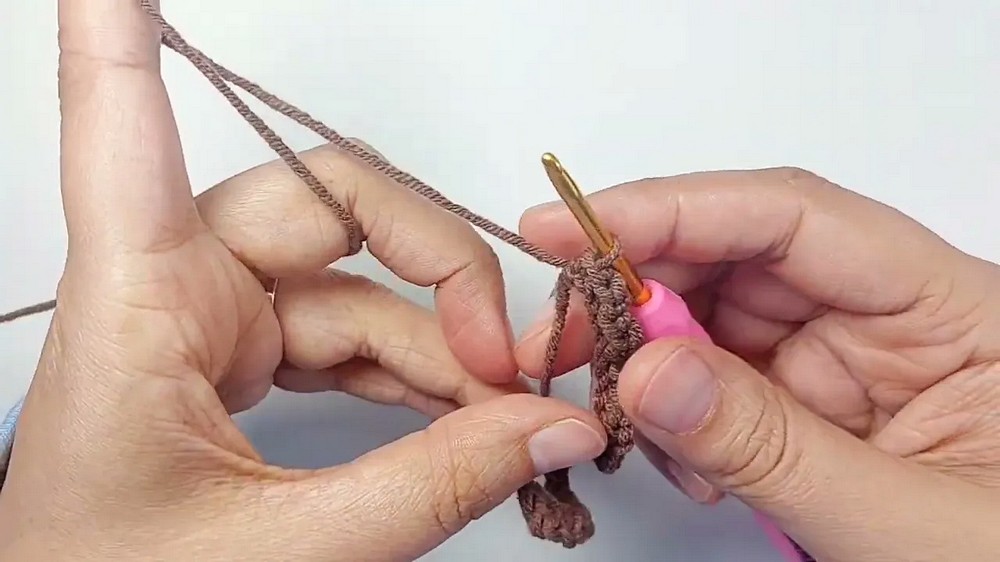
Short Hair Sections:
- Ch 7, skip the first chain, and work 1 sc in the back bumps of each chain (6 SC total).
- To create fringe, ch 3, then sl st into the front loop of the next stitch. Repeat this fringe-making sequence until you reach the end of the row.
Long Hair Sections:
- Ch 21, then work as follows:
- Sl st into the second chain, ch 1, and repeat this sequence until the end of the chain.
You can make as many short and long pieces as desired and attach them to the head for the completed hairstyle.
5. Eye
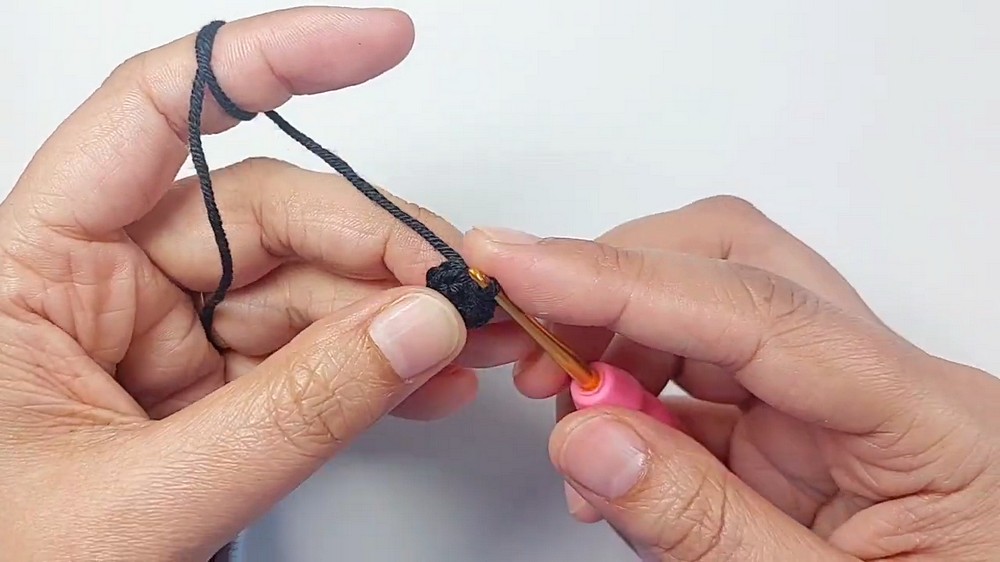
- Switch to the 2 mm crochet hook.
- Create a magic ring.
- Ch 1, then work 6 sc into the ring. Pull the ring tightly closed and sl st to finish.
6. Assembly
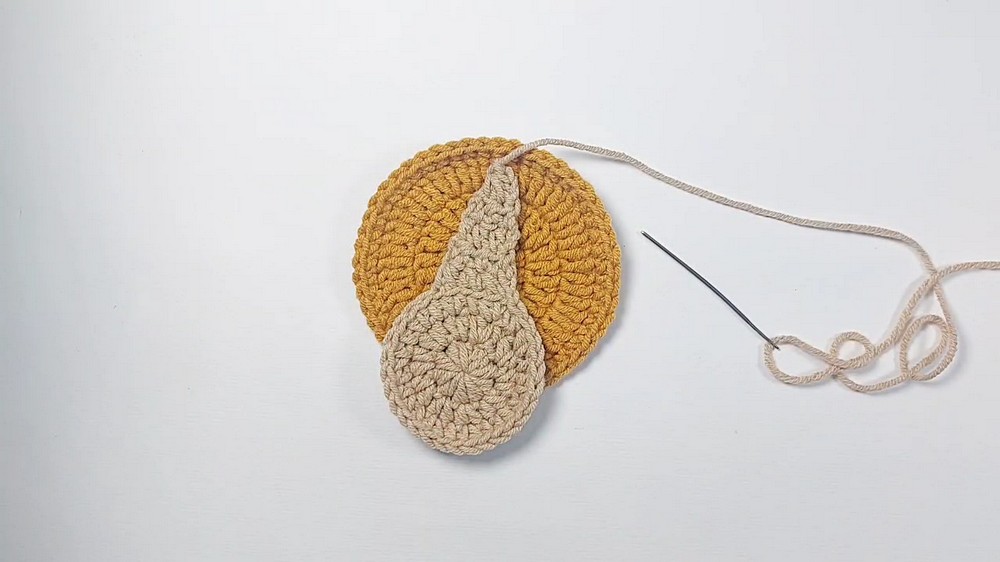
- Begin by positioning the head as the foundational piece. Sew or glue the other parts onto the head in the following order:
- Muzzle: Place and stitch the muzzle at the lower center of the head.
- Ears: Attach the ears near the top of the head, slightly tilted for a natural look.
- Hair: Sew or glue the shorter hair sections at the very top of the head to create a mane-like texture. Add the longer hair sections to form the flowing part of the mane.
- Eye: Position the eye slightly above and behind the muzzle. Secure tightly.
- Muzzle: Place and stitch the muzzle at the lower center of the head.
- For Granny Squares: If incorporating the appliqué onto a granny square, use the back loops of the head’s final round to attach it securely, leaving the front loops intact for better aesthetics.
Customization Options
- Colors and Yarn: Experiment with yarn types and colors to create different breeds of horses or whimsical, fantastical creatures.
- Hair Styles: Add braids, beads, or curls to the mane for added flair.
- Additional Features: Incorporate small flowers, ribbons, or embroidered details to give your horse extra character.
Conclusion
This crochet horse appliqué pattern offers a delightful crafting experience that results in a playful and detailed design. From shaping the head to adding textured hair and detailed features, every step allows you to bring your creativity into play. Use your finished horse appliqué as a standalone decoration or add it as a unique touch to larger projects!