How to Crochet New Year’s Mini Sock (Free Pattern!) | Tutorial

Celebrate the New Year with charm using this free crochet mini sock pattern, adding a playful and personal touch to your festive decorations effortlessly.
The holiday season brings a desire to create something meaningful and charming. The free crochet New Year’s mini SOCK pattern offered by Iryna Tsokalo Crochet fits beautifully into this festive spirit. This petite sock reflects warmth and simplicity, making it a refined addition to holiday decorations.
Free Crochet New Year’s Mini Sock Pattern You’ll Love
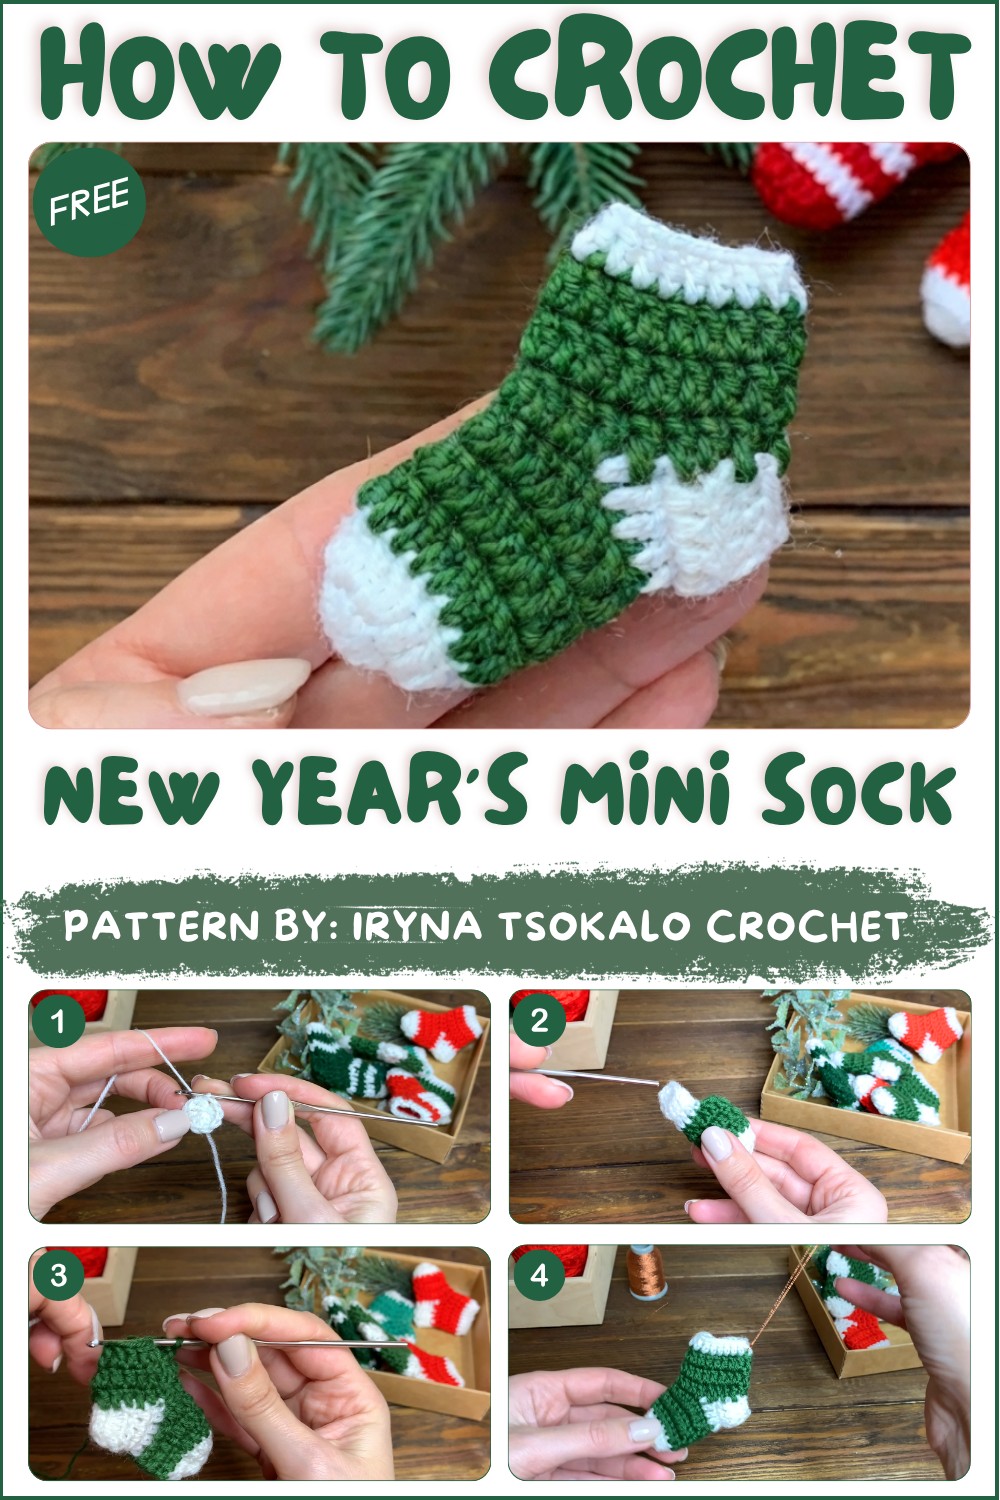
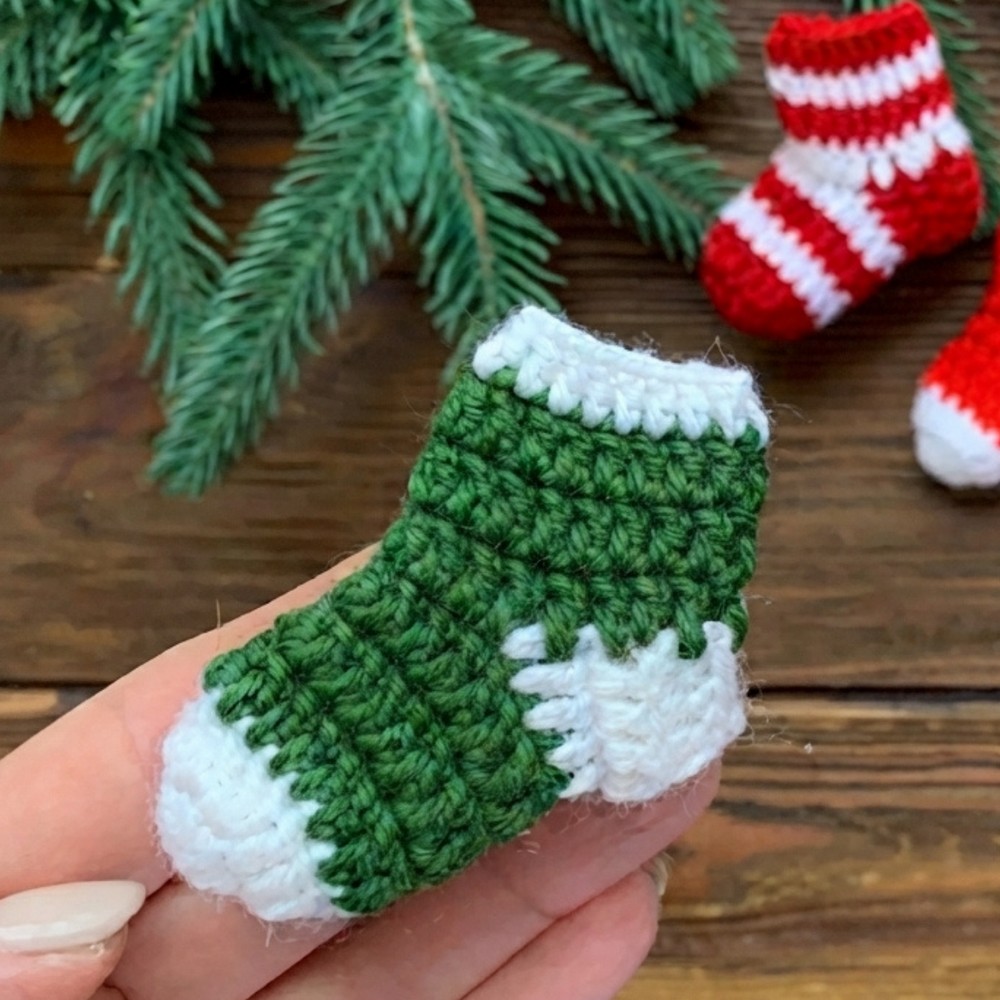
Delicately sized, the mini sock features a classic style with understated elegance. Its soft tones and neat design evoke cozy memories of winter gatherings. Beyond serving as a lovely ornament for Christmas trees or wreaths, it also adds a thoughtful touch when attached to gifts, enhancing the overall presentation.
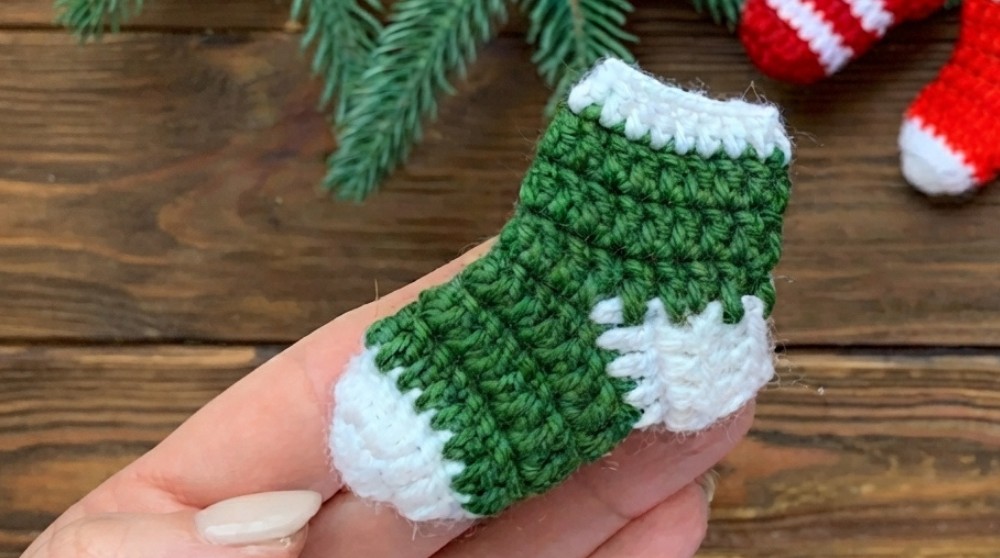
This little sock holds a special appeal thanks to its versatility and subtle charm. It is a wonderful choice for gifting, offering a personal and heartfelt sentiment. Its small scale allows it to blend effortlessly with various holiday décor, bringing a warm and inviting atmosphere to any space.
For those seeking a festive project that is quick, meaningful, and stylish, the free crochet New Year’s mini SOCK pattern from Iryna Tsokalo Crochet is an excellent option. Take a moment to look at the full instructions and create a heartfelt addition to your seasonal arrangements.
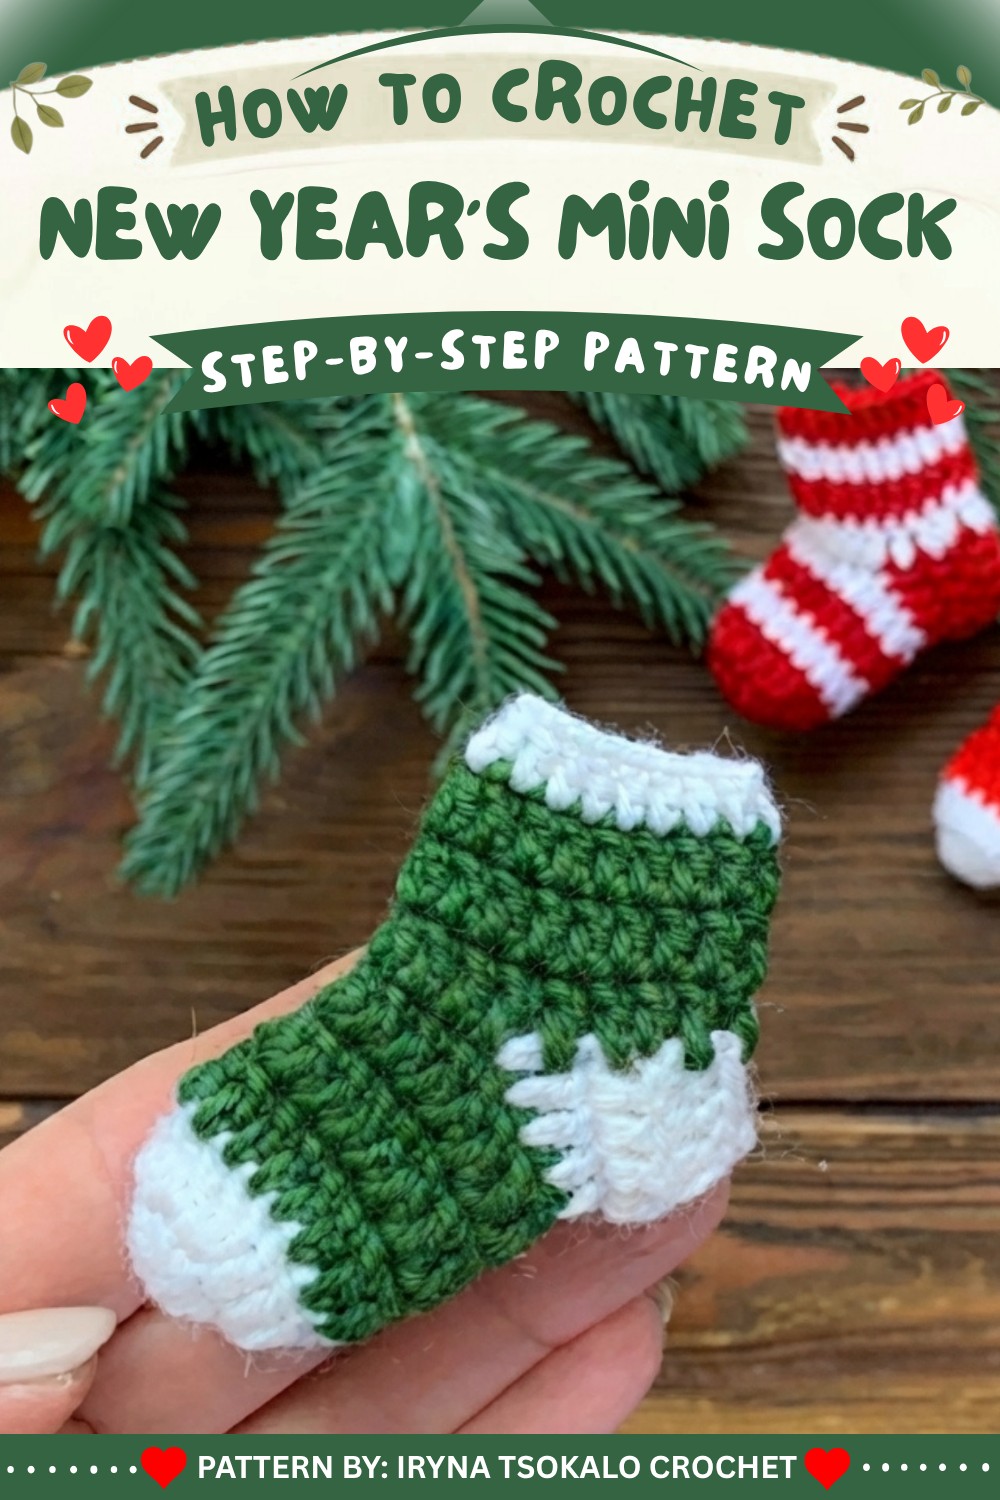
Mini Christmas Stocking Crochet Pattern
Celebrate the holiday season with a charming handmade touch by creating your own mini Christmas stocking. This pattern is perfect for decorations, gift card holders, advent calendars, or festive ornaments. The simple, classic shaping is ideal for using up yarn scraps and makes a satisfying quick project. Whether added to your own decor or given as a gift, this mini stocking brings warmth and coziness to your holiday crafting.
Skill Level & Terminology
- Skill Level: Beginner
This project is suitable for those comfortable with basic crochet stitches and working in both rounds and rows. - Terminology: US (United States) crochet terms are used throughout.
Materials & Tools
- Yarn: Worsted or DK weight; approximately 100g/250m total. Use two colors (main and contrasting) as desired for body, heel, and cuff.
- Hook: 2.1 mm crochet hook
- Notions:
- Yarn needle (for weaving in ends)
- Scissors
- Optional: Stitch markers (helpful for counting rounds)
Gauge
- Gauge: With 2.1mm hook and selected yarn, 10 DC = approx. 2 inches (5 cm).
- Gauge is not critical for this project, but size may vary based on your tension and yarn.
Abbreviations (US Terms)
| Abbreviation | Meaning |
|---|---|
| ch | Chain |
| dc | Double Crochet |
| sl st | Slip Stitch |
| st(s) | Stitch(es) |
| MR | Magic Ring |
| BLO | Back Loop Only |
| FL/BL | Front/Back Loop |
Special Stitch Instructions
- Magic Ring (MR): Make a ring with the yarn, insert hook, pull yarn through to create the first loop, begin chains and stitches inside the ring.
- Double Crochet (dc): Yarn over, insert hook in stitch, yarn over, pull up a loop (3 loops on hook), yarn over, pull through 2 loops, yarn over, pull through last 2 loops.
- Joining with Slip Stitch (sl st): Insert hook into stitch, yarn over, pull through both stitch and loop on hook.
- Working in Rows and Rounds: Note the heel is formed in rows (back and forth), while toe, body, and leg are worked in the round.
Finished Size
- Length: Approximately 9–12 cm (3.5–5 inches) from toe to top, depending on yarn and tension.
- Width: 4–5 cm (1.5–2 inches) at widest point.
The Pattern Itself
1. Toe
- Round 1:
- Begin with a magic ring (MR).
- Ch 2 (counts as first dc).
- Work 9 dc into the ring.
- Join with a sl st to the top of the starting ch-2.
- [10 stitches total]
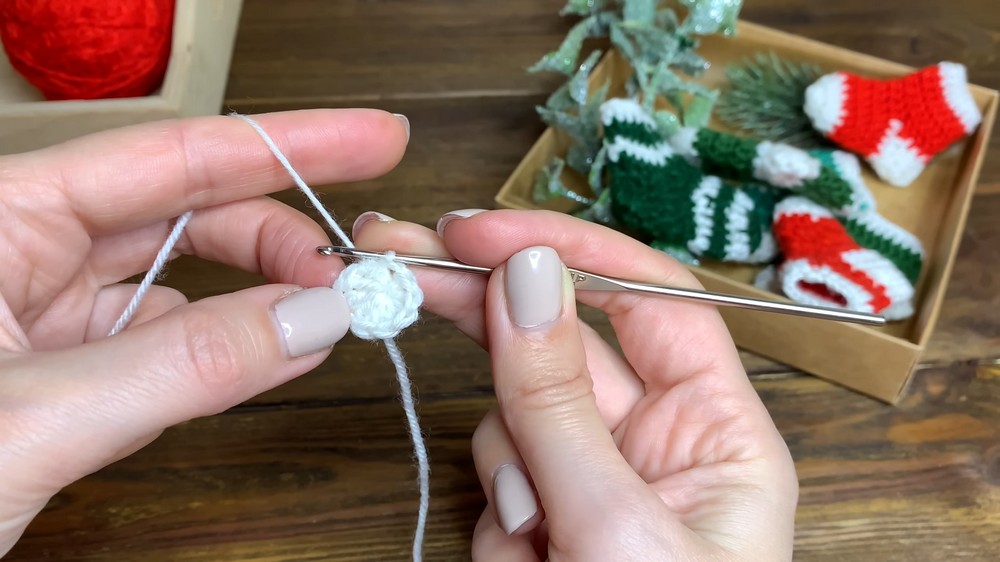
- Round 2:
- Ch 2.
- [2 dc in next st, 1 dc in following st]—repeat around.
- Join with sl st.
- [16 stitches total]
2. Body
- Rounds 3–5:
- Ch 2 at beginning of each round.
- Work 1 dc in each st around (no increases).
- Join with sl st at end of each round.
- [16 stitches per round]
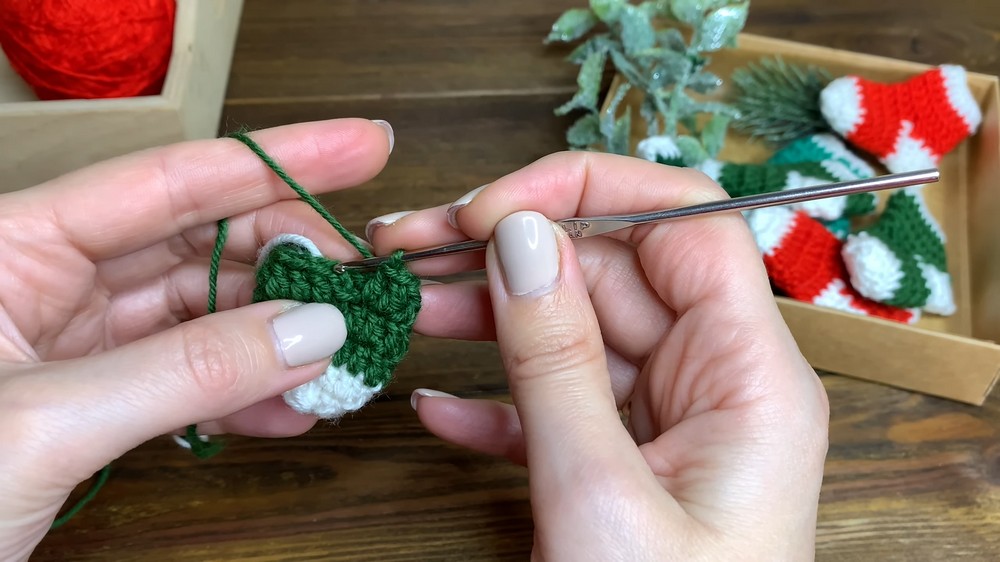
Tip: At this stage, your stocking should curve gently as the toe transitions to the foot/body.
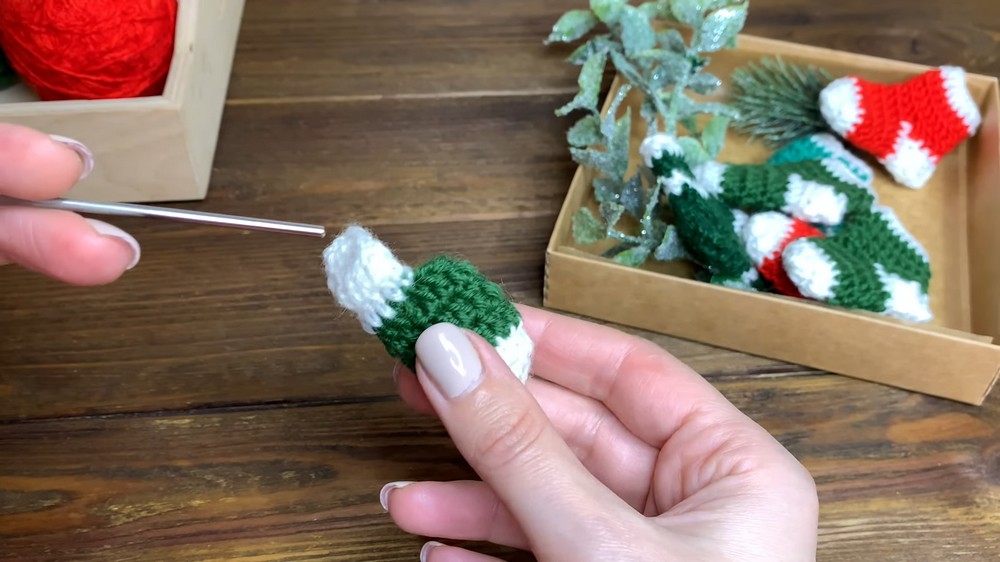
3. Heel
- Heel rows are worked back and forth in rows (not in the round).
- Optional: Join a second (contrasting) color for the heel.
- Row 6:
- Attach yarn at heel position (start in any stitch).
- Ch 2, work 1 dc in next 9 sts.
- Turn.
- [10 dc]
- Row 7:
- Ch 2, 1 dc in each st across.
- Turn.
- [10 dc]
- Row 8:
- Ch 2, 1 dc in each st across.
- Do not fasten off after final row.
- [10 dc]
- Heel Assembly:
- Fold the heel in half lengthwise so that edges meet.
- Using the working yarn, sl st across the sides (through the inner/back loops of each side) to close the heel.
- Fasten off and weave in the heel ends.
Tip: Keep slip stitches loose across the heel seam for easy assembly and a clean finish. Now your heel will look like a small pocket at the stocking’s back.
4. Leg & Cuff
- Return to round work by rejoining main or alternate color at the side of heel opening.
- Round 9:
- Ch 2.
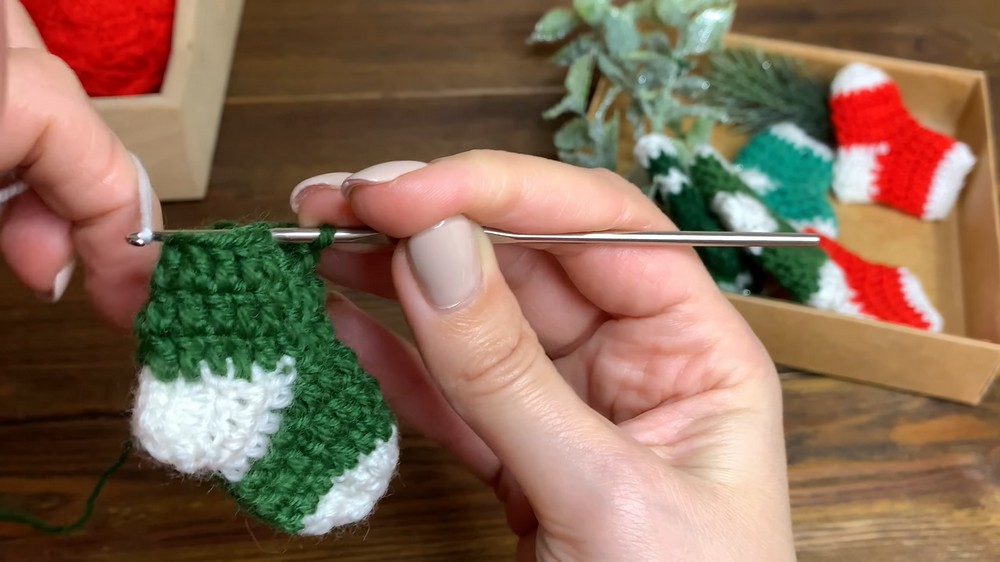
- Work 18 dc evenly around the opening (placing stitches along both body and heel seam as needed).
- Join with sl st.
- [18 stitches]
- Ch 2.
- Rounds 10–12:
- Ch 2 at start of each round.
- 1 dc in each st around.
- Join with sl st at end of each round.
- [18 stitches per round]
- Cuff:
- Switch colors (contrasting or main color as you desire).
- Ch 2.
- Work 1 dc in each st around.
- Join with sl st. Repeat for 1–2 additional rows for desired cuff length.
- [Maintain 18 stitches per round.]
- Fasten off and use the yarn needle to weave in all ends.
Tip: Cuff can be made fluffy by using a fuzzy yarn (like eyelash or faux fur) for this section, or kept smooth in solid color.
Assembly & Finishing
- Finishing the Stocking:
- Weave in any loose ends using a yarn needle.
- Shape stocking gently by hand.
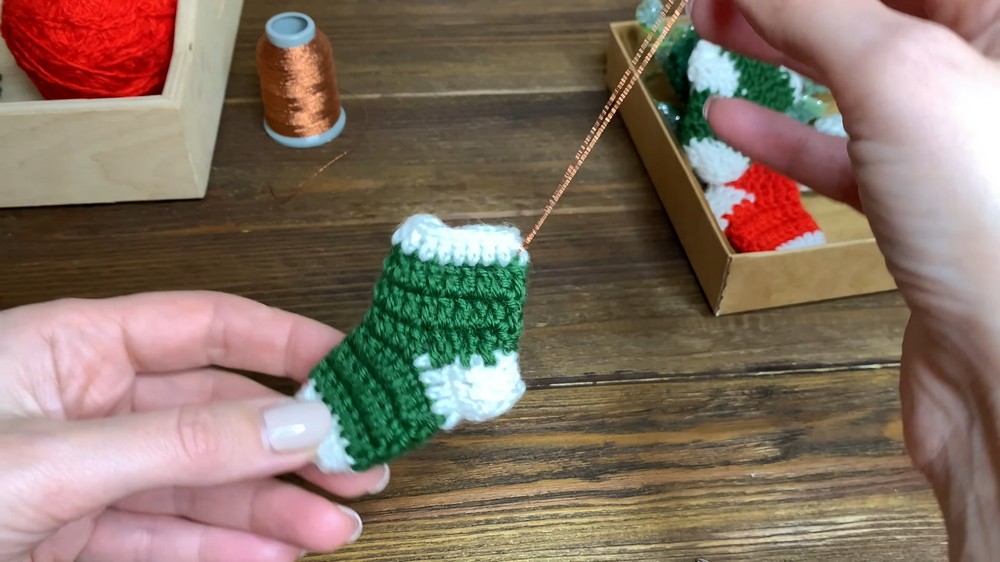
- If desired, attach a small chain or loop (using yarn or ribbon) at the cuff’s side or back for hanging.
- Optionally, embellish with tiny bows, buttons, charms, or embroidery for extra holiday flair.
Conclusion
Congratulations! Your mini Christmas stocking is complete. With its classic shaping, contrasting heel, and neat cuff, this project is perfect for both decorating and gifting. The clear structure makes it easy to customize—adjust the size, colors, or cuff style as desired. Make several in differing colors for a coordinated set or string together for a festive garland!
Pattern Corrections & Tips
Pattern Corrections:
- Always join rounds to the actual first dc (not the turning chain) for a neater seam.
- You may want to mark your first stitch of each round for easier counting and joining, especially if you’re a beginner.
Helpful Tips:
- When working the heel, ensure you start back-and-forth rows on the correct side to avoid twisting the stocking.
- If your stitches appear too tight or too loose, adjust your hook size accordingly.
- For a larger or smaller stocking, increase or decrease the number of rounds in the leg or cuff.
This mini stocking is a sweet, versatile project that will brighten any seasonal display with handmade charm. Whether adorning a mantelpiece, hanging on a tree, or topping a small gift, it is sure to bring a smile.