Free Crochet Bucket Hat Pattern & Easy Tutorial

Stay stylish and protected under the sun with this free crochet bucket hat pattern, offering a lightweight, breathable accessory for any sunny day adventure.
When looking for a stylish yet practical accessory, few items combine fashion and functionality quite like a well-made bucket hat. The free crochet Bucket Hat Pattern offers an approachable and charming project perfect for crochet enthusiasts of all levels. Iryna Tsokalo Crochet provides a clear and easy-to-follow tutorial that makes creating this trendy hat both enjoyable and rewarding.
Free Crochet Bucket Hat Pattern – Beginner Friendly Tutorial
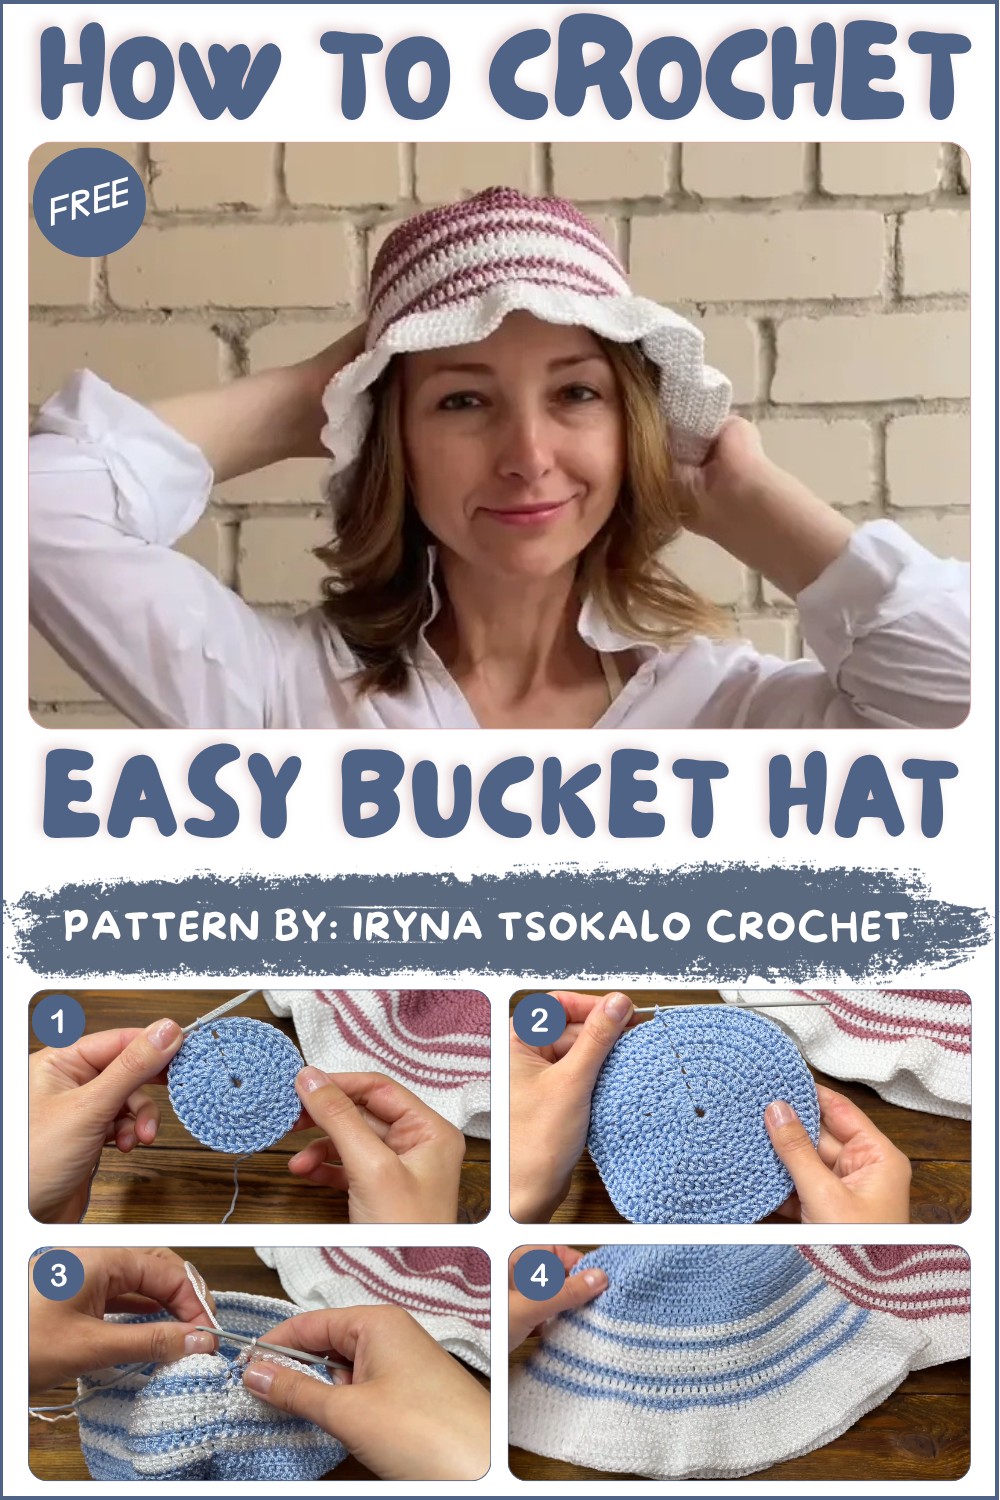
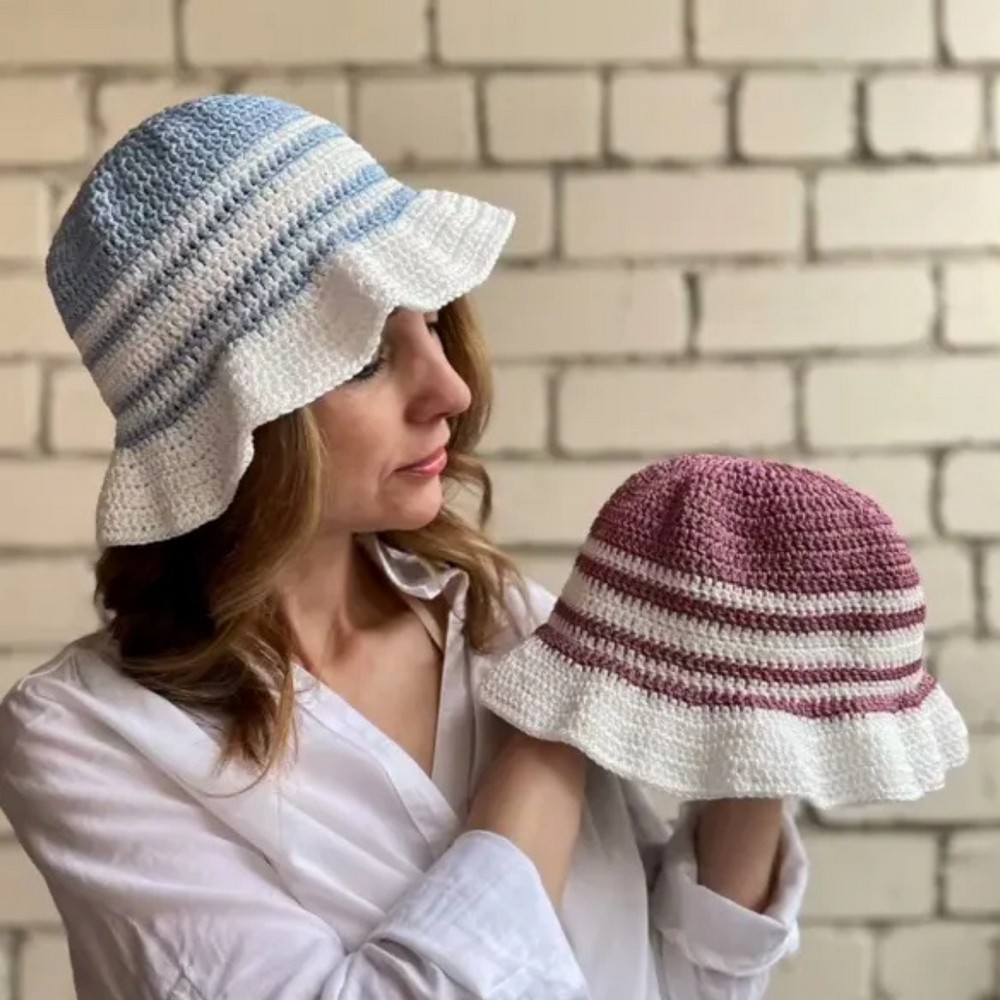
This bucket hat design features a classic round shape with a gently sloping brim, providing sun protection while maintaining a casual, laid-back vibe. The texture is soft yet sturdy, highlighting the natural appeal of crocheted stitches that create a slightly ribbed, tactile surface. Its versatile style complements both summer outfits and cooler weather ensembles, becoming a must-have accessory throughout the year.
Beyond personal use, this handmade hat has excellent gifting potential. It suits birthdays, holidays, or special occasions where a thoughtful, handcrafted gift stands out. The finished piece becomes a delightful statement to brighten any wardrobe, showcasing the unique charm that comes with handmade items.
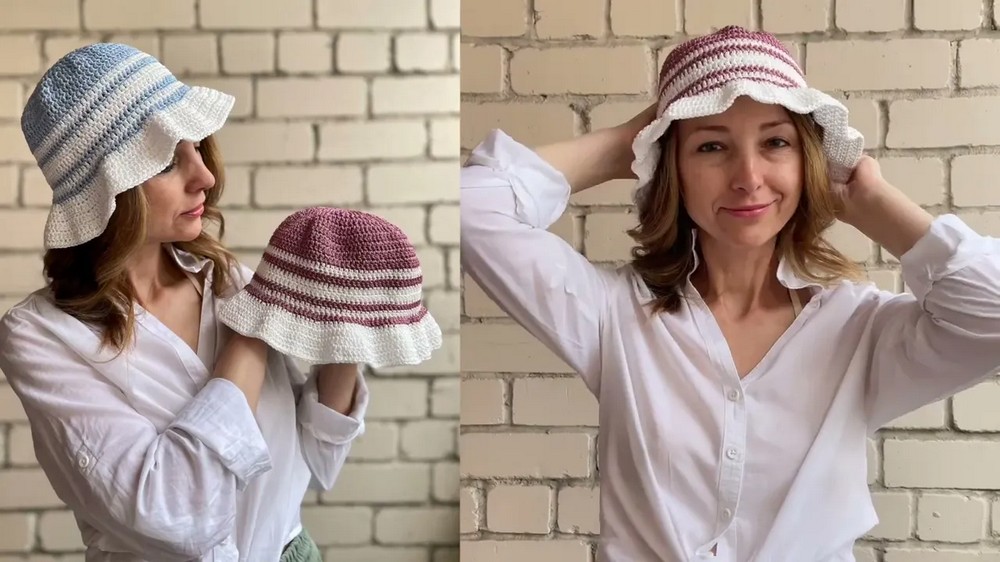
The free crochet Bucket Hat Pattern delivers a fun way to combine creativity with practicality. Its clean lines, comfortable fit, and subtle detailing make it a memorable addition for anyone seeking handmade style with an easygoing feel. For those who appreciate projects that balance fashion and function, this pattern presents a wonderful opportunity to crochet something truly special.
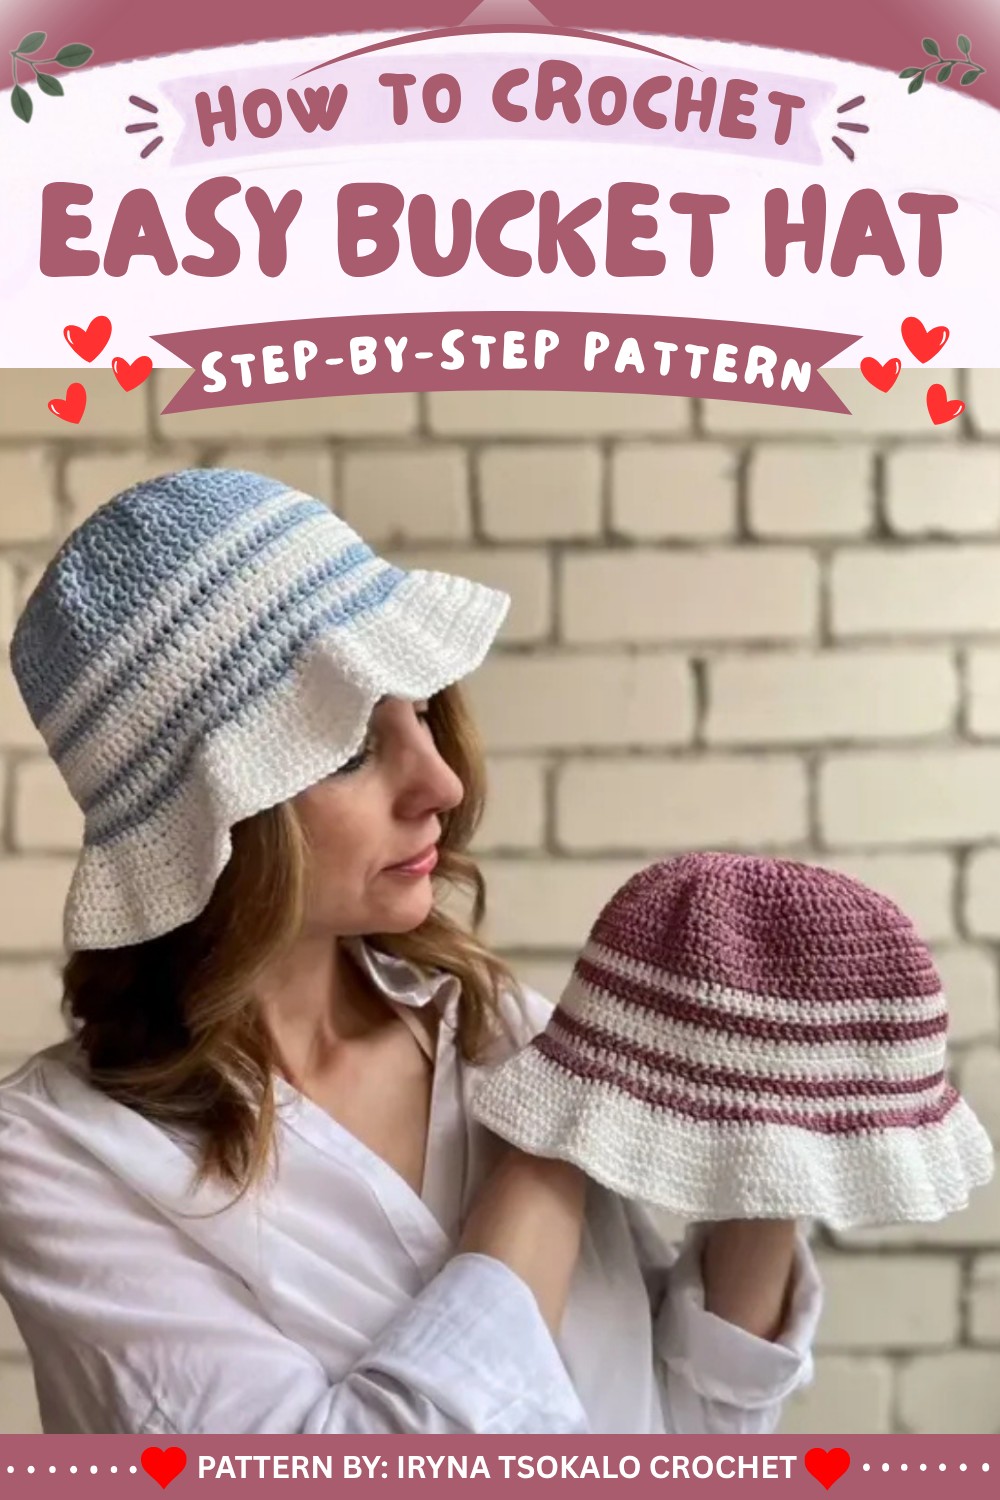
Crochet Bucket Hat Pattern
This bucket hat patterns a blend of modern appeal and classic structure, resulting in a versatile headpiece suitable for all seasons. Ideal for beginners eager to improve skills or intermediates seeking a quick project, this pattern utilizes approachable stitches and clear increases for a smooth, polished finish. Made with durable macramé-style yarn, the result is a sun-ready accessory with texture and staying power—a staple for your wardrobe or a special handmade gift.
Skill Level & Terminology
- Skill Level: Confident Beginner
You should be comfortable working in the round, managing increases, and keeping stitch counts accurate. - Terminology: US Crochet Terms
All instructions are written using standard US crochet abbreviations.
Materials & Tools
- Main Yarn: YarnArt Macrame, 100% polyester, 90g/130m (approx. 2 balls depending on tension and desired brim length)
- Hook: 3.0 mm crochet hook
- Accessories: Tapestry/yarn needle (for weaving in ends), scissors, stitch markers (optional, for tracking first stitch of round)
- Blocking: Damp cloth and hat form or bowl (strongly recommended for shaped finish)
Gauge
- Gauge: 16 double crochets and 8 rounds = 10 cm (4 inches) in double crochet in the round.
- To check your gauge: Crochet a flat circle through Round 4. It should measure approximately 9–10 cm (3.5–4”) across. Adjust your hook size if needed.
Abbreviations List
| Abbreviation | Definition |
|---|---|
| ch | Chain |
| dc | Double Crochet |
| sc | Single Crochet |
| st(s) | Stitch(es) |
| sl st | Slip Stitch |
| MR | Magic Ring |
| inc | Increase |
| rep | Repeat |
| rnd | Round |
Special Stitch Instructions
- Magic Ring (MR): Make a loop, insert hook and pull up a loop, ch 1, work the required stitches into the center. Pull tail to close tightly.
- Double Crochet (dc): Yarn over, insert hook into indicated stitch, yarn over, pull up a loop (3 loops on hook), yarn over and draw through 2 loops, yarn over and draw through final 2 loops.
- Single Crochet (sc): Insert hook into stitch, yarn over, pull up loop (2 loops on hook), yarn over and draw through both loops.
Finished Size
- Circumference (head opening): 56 cm (22”)
- Brim depth: Approx. 6–7 cm (2.5”)
- Total height: Approx. 16–18 cm (6–7”)
Sizes can be slightly adjusted by hook size or an additional/incomplete round at the crown.
The Pattern Itself
The Bottom (Crown)
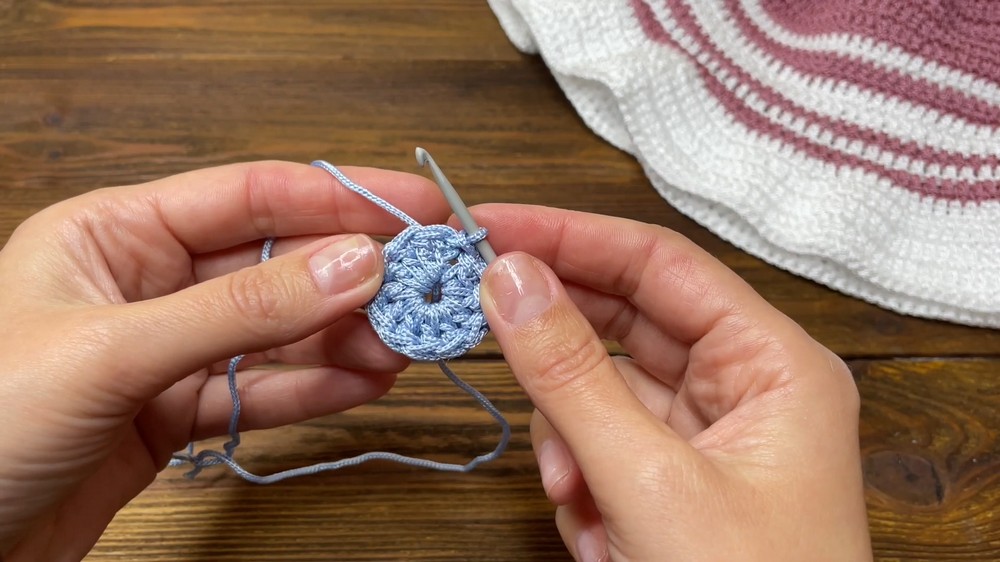
- Round 1:
- Start with a magic ring.
- Ch 2 (counts as the first dc).
- Work 11 dc into the ring (for a total of 12 dc).
- Join with a sl st to the top of first dc.
- Round 2:
- Ch 2.
- Work 2 dc in each st around (24 dc).
- Join with a sl st.
- Round 3:
- Ch 2.
- [1 dc in next st, 2 dc in following st]—repeat around (36 dc).
- Join with a sl st.
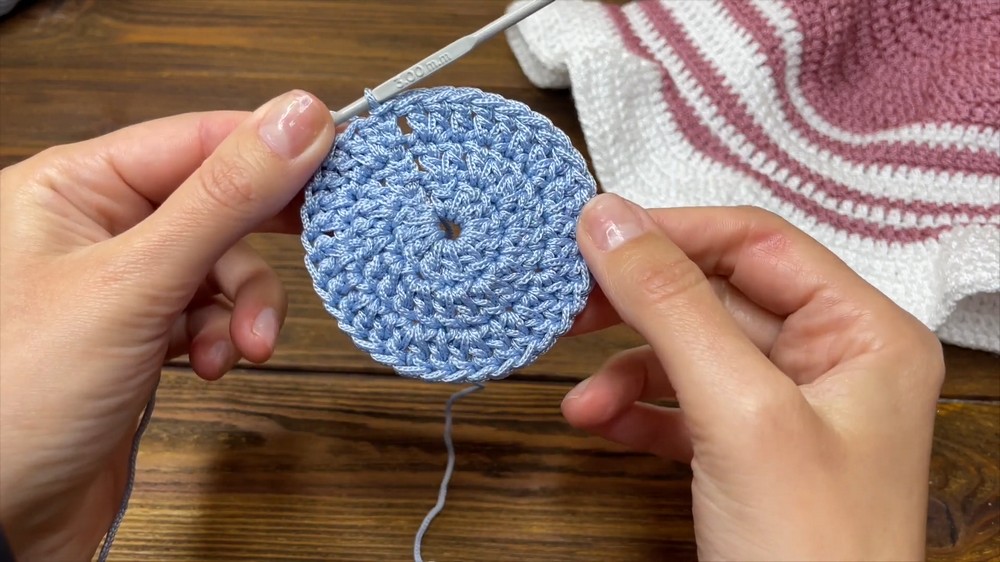
- Round 4:
- Ch 2.
- [1 dc in each of next 2 sts, 2 dc in next st]—repeat around (48 dc).
- Join with a sl st.
- Round 5:
- Ch 2.
- [1 dc in each of next 3 sts, 2 dc in next st]—repeat around (64 dc).
- Join with a sl st.
- Round 6:
- Ch 2.
- [1 dc in each of next 3 sts, 2 dc in next st]—repeat around (Your round total should be 85 dc).
- Join with a sl st.
- Round 7:
- Ch 2.
- [1 dc in each of next 5 sts, 2 dc in next st]—repeat around (99 dc).
- Join with a sl st.
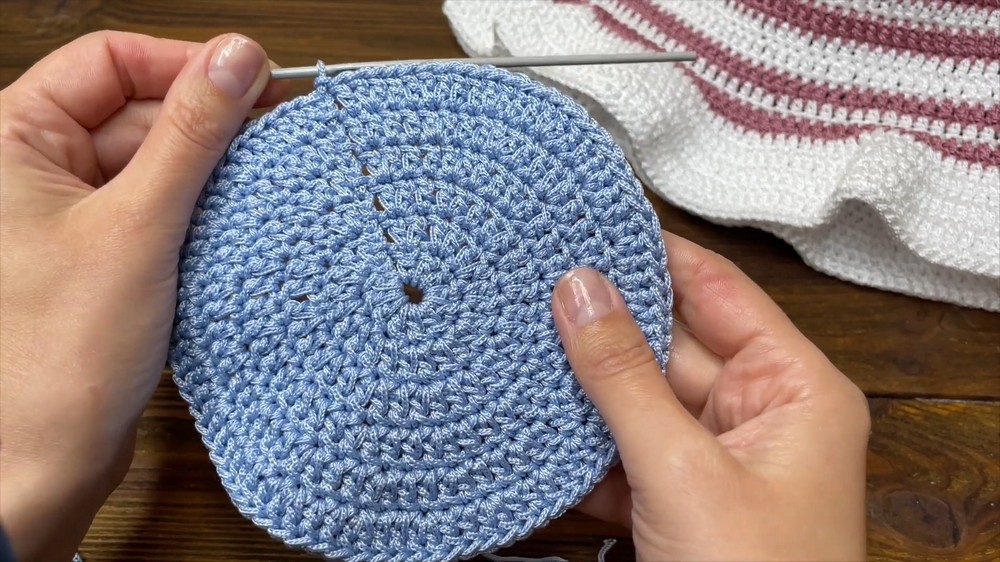
At this point, your flat circle (hat crown) should be roughly 17 cm (6.6 inches) in diameter.
The Middle (Body)
Rounds 8–16 (9 rounds total):
- For each round:
- Ch 2.
- 1 dc in each st around (99 dc per round).
- Join with a sl st.
- Repeat for 9 rounds or until the sides are the desired height.
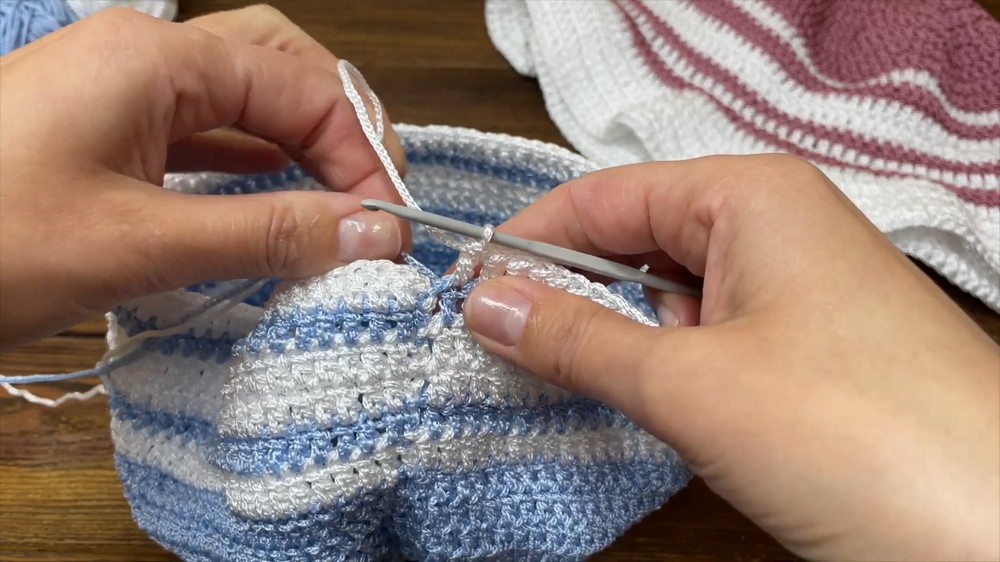
The sides (“body”) of the hat are now established, forming the classic vertical shape of the bucket hat.
The Trim (Brim)
- Round 17:
- Ch 2.
- [1 dc in each of next 4 sts, 2 dc in next st]—repeat around for a gentle brim increase.
- Join with a sl st.
- Round 18:
- Ch 2.
- [1 dc in each of next 5 sts, 2 dc in next st]—repeat around.
- Join with a sl st.
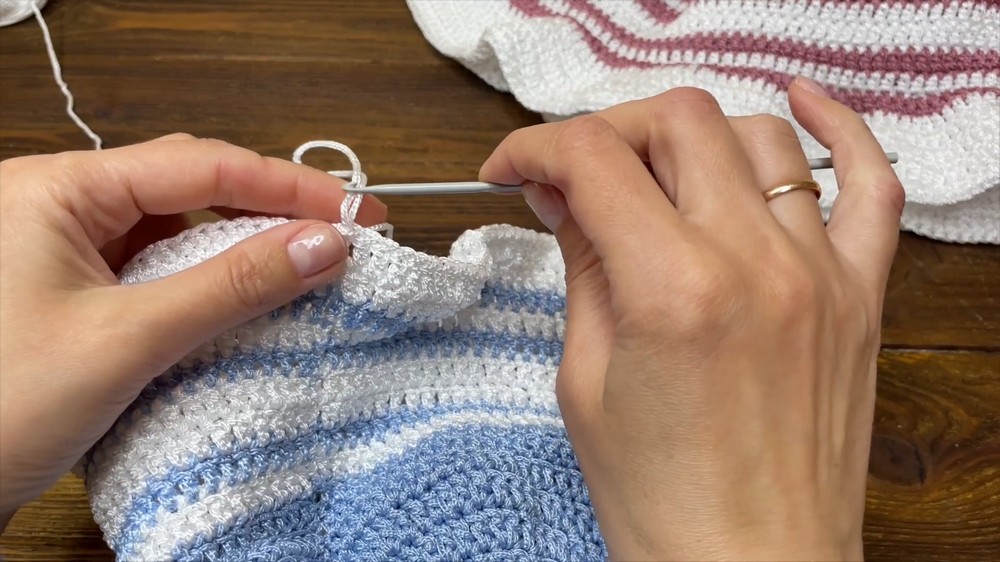
- Round 19:
- Ch 2.
- [1 dc in each of next 6 sts, 2 dc in next st]—repeat around.
- Join with a sl st.
- Round 20:
- Ch 2.
- [1 dc in each of next 7 sts, 2 dc in next st]—repeat around.
- Join with a sl st.
- Round 21:
- Ch 2.
- 1 dc in each st around (no increases).
- Join with a sl st.
- Round 22:
- Ch 1 (does not count as a stitch).
- 1 sc in each st around (work evenly and with even tension for a firm edge).
- Join with sl st to complete.
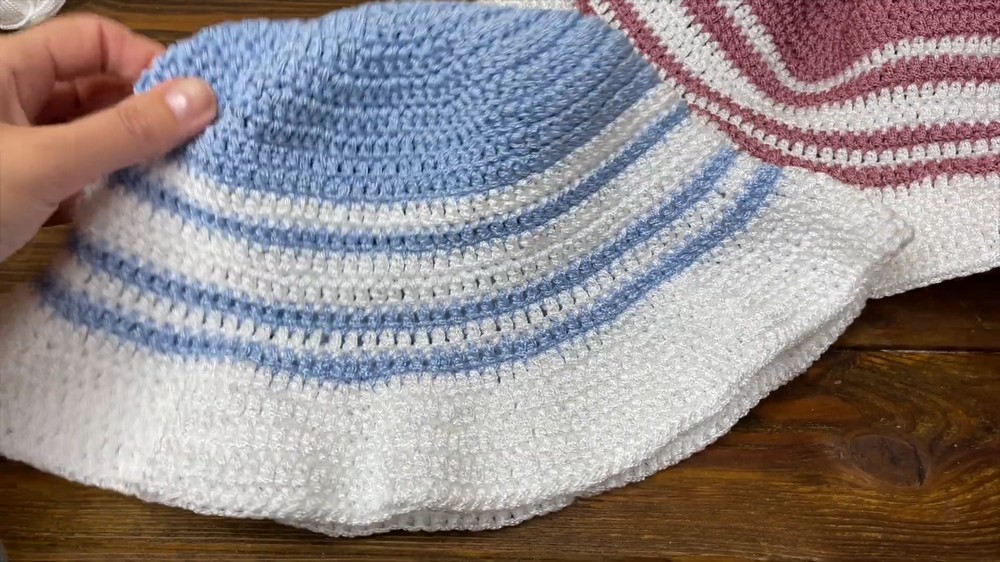
The brim should now have a neat, slight flare; you may steam block at this point for structured shaping.
Assembly & Finishing
- Weave in all ends securely using a tapestry needle.
- Block your hat if needed: Mist with water or use a damp cloth and shape over an upturned bowl; let dry fully.
- Optional: For extra polish, run a round of slip stitches around the very edge of the brim for extra firmness.
Conclusion
Congratulations on completing your crochet bucket hat! This modern, structured project brings together practical skills and everyday style. With durable macramé yarn and clear increases, you’ve crafted a piece that is as robust as it is fashionable. Feel free to experiment with stripe patterns or color blocks to make your hat uniquely yours.
Pattern Corrections & Tips
- Correction: Always join rounds to the top of the first double crochet (not the starting chain) for a neater seam.
- Tip 1: For a wider or narrower brim, you can add or omit increase rounds to suit your taste.
- Tip 2: Use a stitch marker in your first stitch of each round, especially if new to working in the round.
- Tip 3: If your tension is tight (the fabric is stiff), try going up a hook size for greater comfort.
- Tip 4: If you wish to make your hat machine washable, ensure your yarn selection and blocking method are suitable.