Crochet Christmas Tree Appliqué Pattern Free and Easy Tutorial

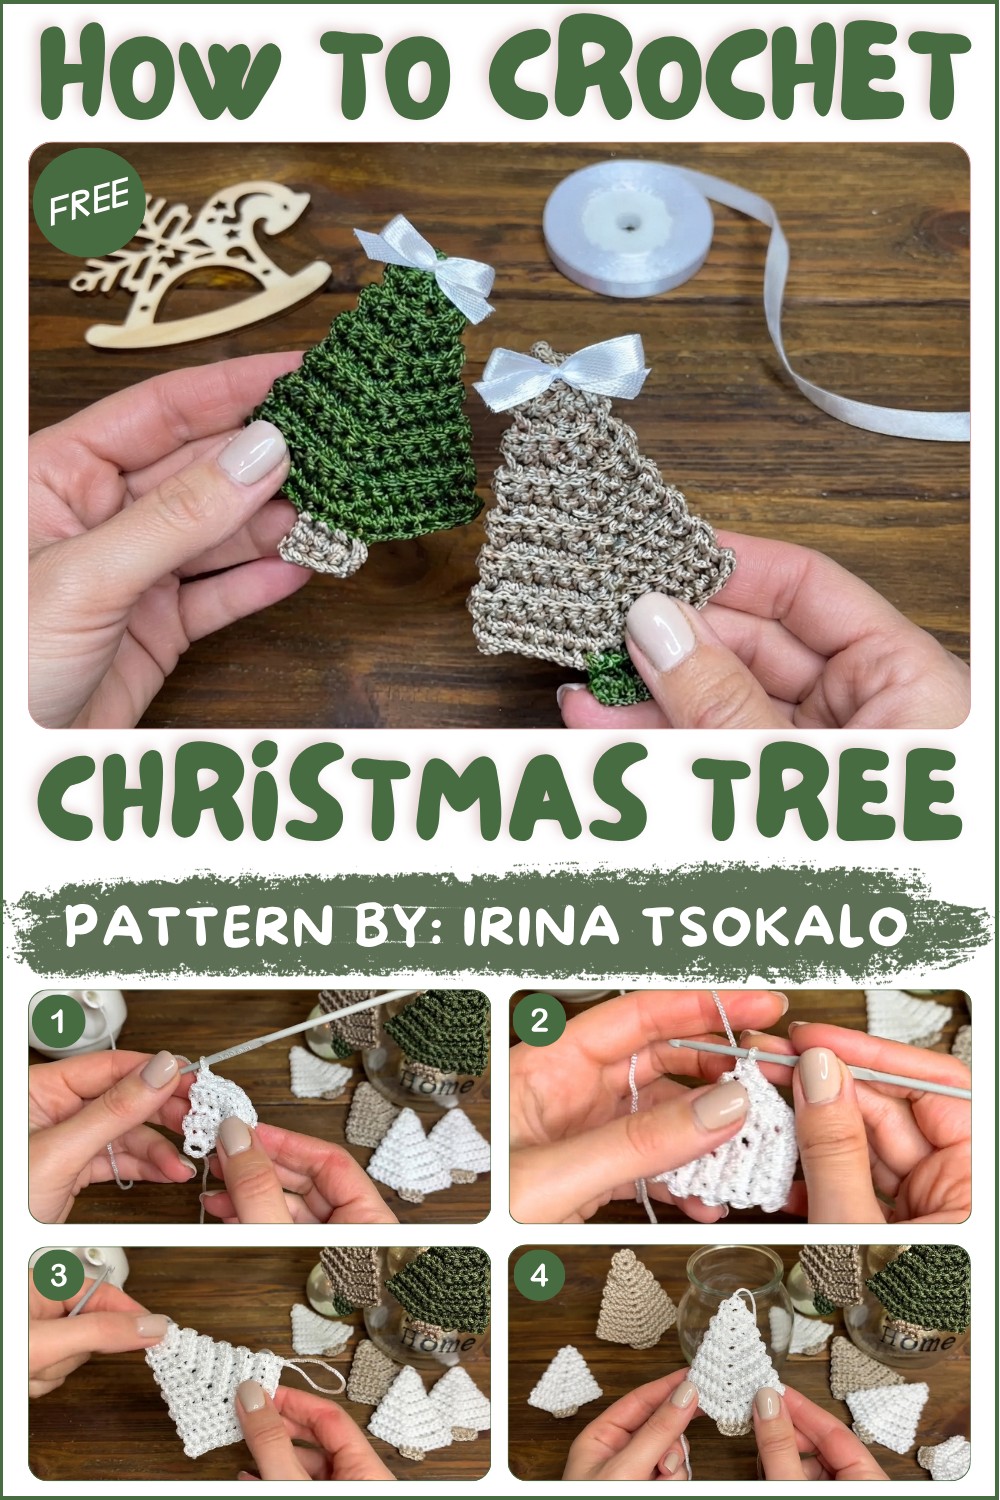
Decorate your holiday space with this free crochet Christmas tree pattern, offering a festive and creative way to add handmade joy to your celebrations.
If you’re looking for a quick and charming crochet project to add some festive cheer, this delightful little Christmas tree is just the thing. The free crochet Christmas tree pattern is ideal for creating a cute ornament or a cozy holiday decoration that doesn’t require blocking, making it super easy to finish and hang right away. Thanks to the wonderful tutorial by Irina Tsokalo, you can follow along step-by-step and enjoy crafting this project with thick yarn and simple stitches, bringing a warm, handmade feel to your Christmas celebrations.
Free Crochet Christmas Tree Pattern for Handmade Decorations
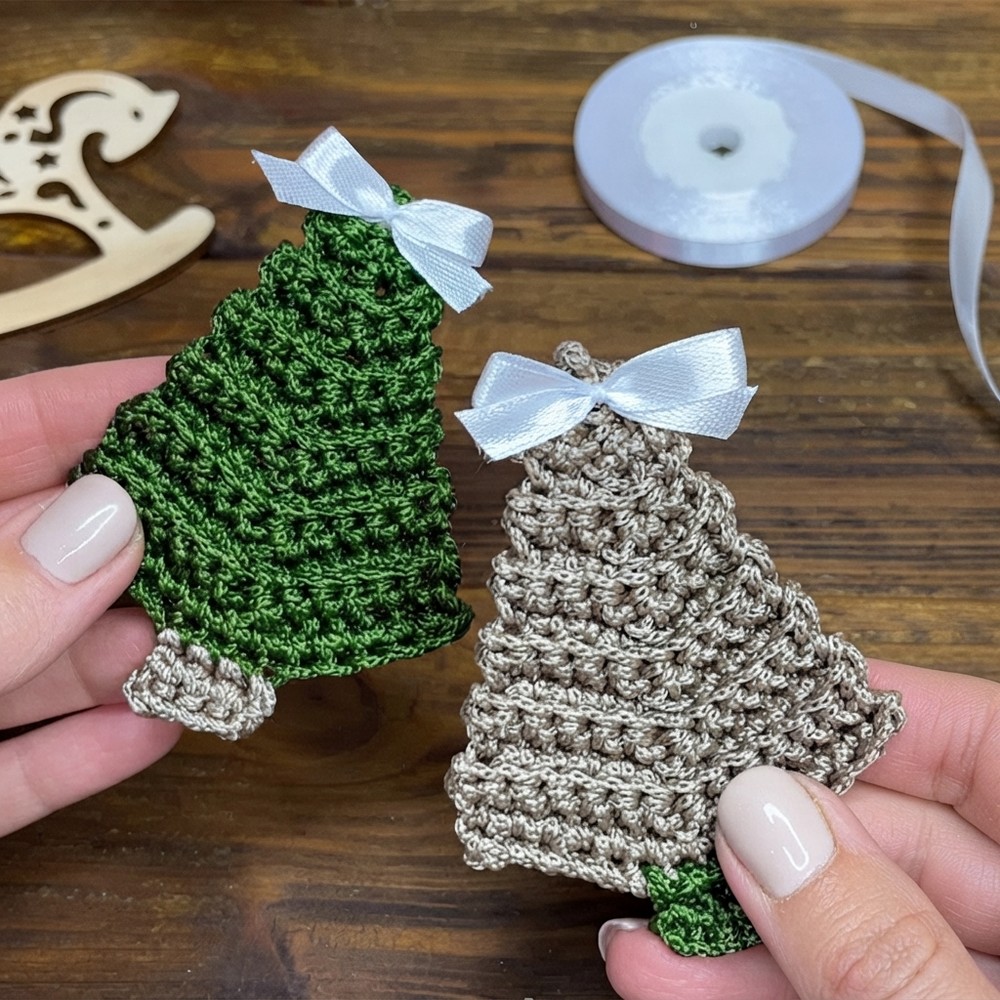
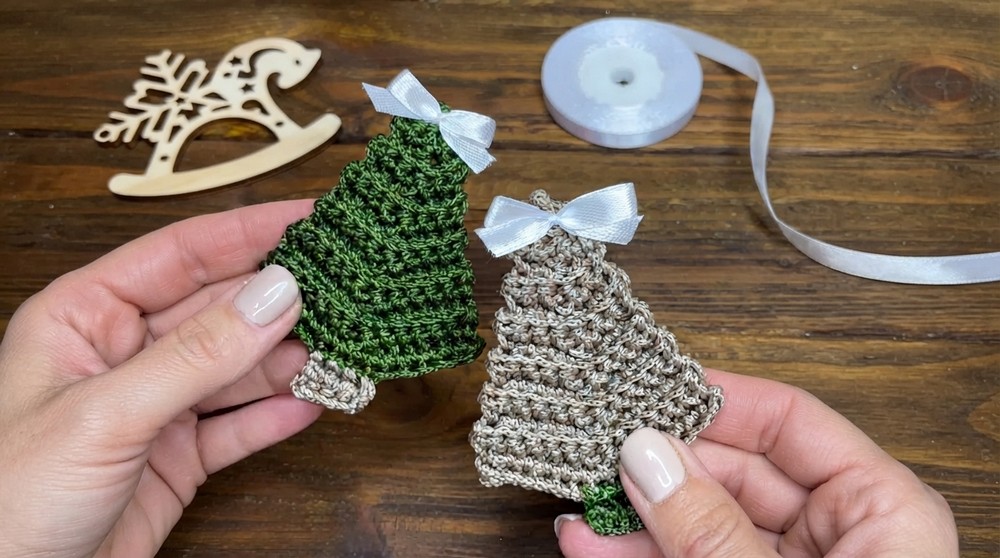
This adorable crochet Christmas tree features a classic conical shape with a textured stitch pattern that gives it a soft yet structured look. Its compact size is perfect for hanging on your Christmas tree or gifting as a sweet handmade token to friends and family. The texture comes from careful single crochet stitches worked behind the back loop, creating subtle ridges that add dimension and visual interest. The tree’s style is simple and traditional, with a contrasting trunk that beautifully highlights the green body, making it instantly recognizable and heartwarming.
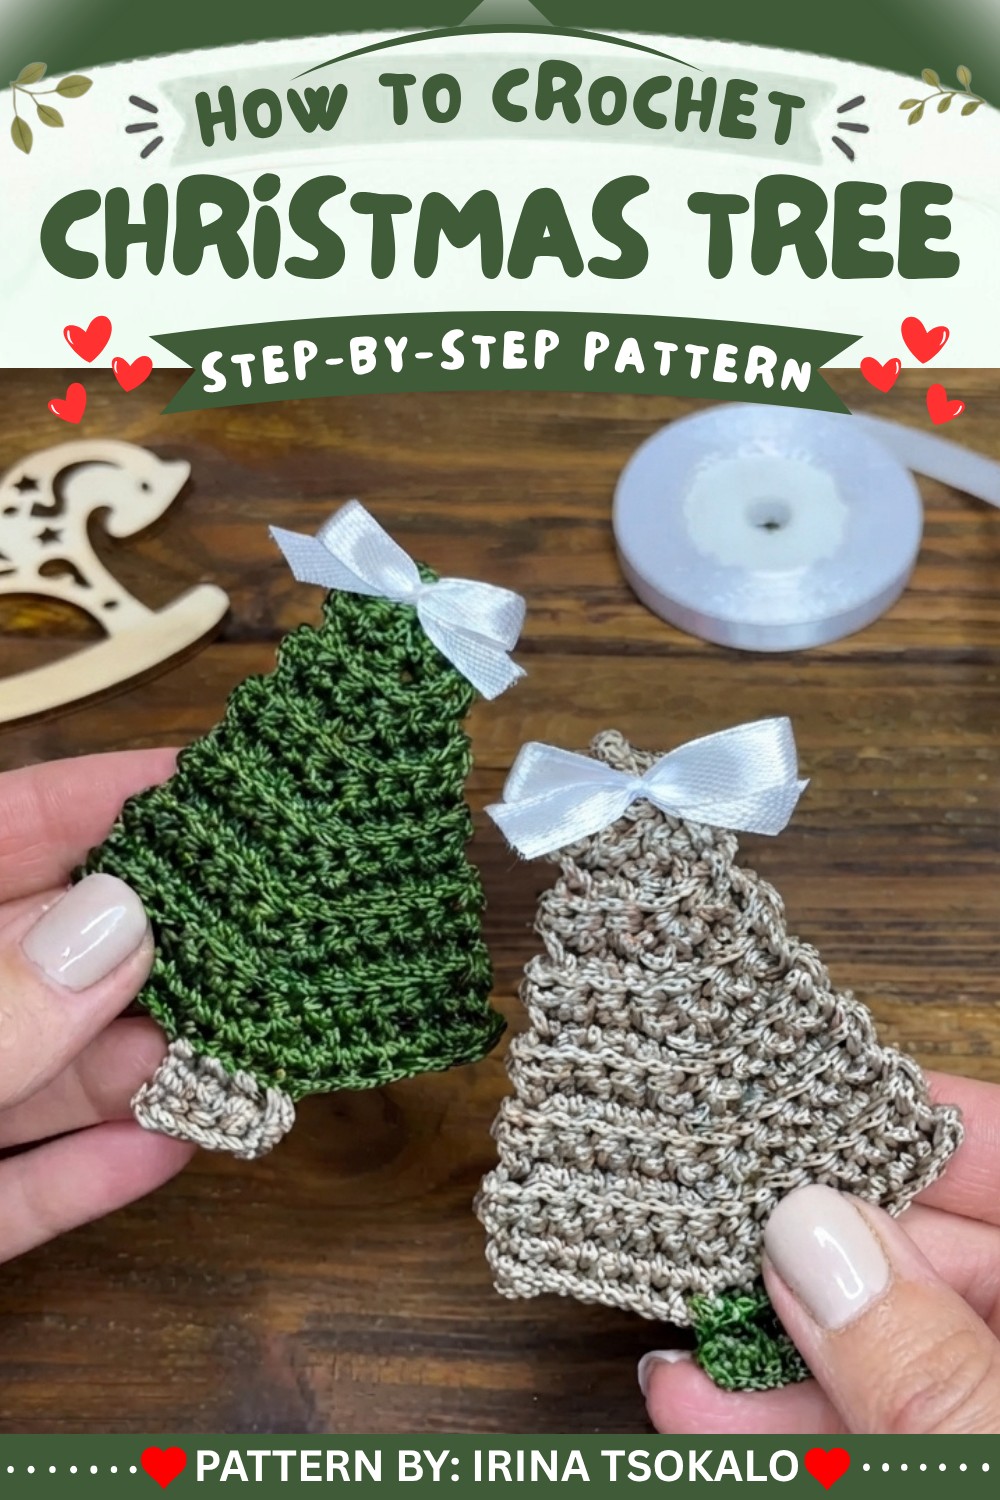
Designed to be beginner-friendly, this project primarily uses single crochet stitches worked in rounds with increases to shape the tree. Clear instructions make it easy to follow, even if you’re new to amigurumi or crochet ornaments. This crochet Christmas tree is not just festive, it’s also a lovely gift idea, a charming decoration for your home, or a collectible piece for those who love handmade holiday crafts. Its simplicity and versatility encourage creativity, whether you add embellishments or use it as-is for a cozy holiday touch.
Simple Crochet Christmas Tree Ornament Pattern
Today, I’ll share a quick and easy step-by-step pattern for a simple Christmas tree made entirely with single crochet. It’s the perfect project for using thicker yarn and doesn’t require blocking—so you can hang it up right away as a festive decoration. Follow along as we create the tree shape and its trunk, ready to brighten your holiday!
Pattern Highlights
- Super Quick Construction: Fast, flat single crochet rows for tree shaping.
- No Blocking Needed: Thick yarn keeps the tree crisp, eliminating the need for extra finishing.
- Minimal Shaping: Simple increases and cluster stitches define the “branches” and tree silhouette.
- Easy Hanging: Ready to hang immediately on your Christmas tree or anywhere festive.
- Contrasting Trunk: Adds realism and a pop of color to your ornament.
Notes
- Pattern uses US crochet terms.
- Rows are worked back and forth; all stitches are single crochet (sc), except for the trunk which uses half double crochet (hdc).
- Always work into the back loop only for extra defined ridges and texture.
- Thick yarn recommended: results in a firmer, more structured ornament.
- No blocking or stiffening required.
- The tree is finished by hiding ends; a loop can be added for hanging.
Skill Level
Beginner to Confident Beginner
- Basic row shaping (increases)
- Working in back loop only
- Simple trunk addition
Materials
- Thick yarn (for tree, e.g., yarn weight of 90–130 grams per meter—choose green or festive color)
- Contrasting color yarn (for trunk, e.g., brown)
- 3 mm crochet hook
- Yarn needle
- Scissors
Measurements / Sizing
- Finished ornament: approximately 8–10 cm tall, 6–7 cm wide (will vary with yarn thickness and tension)
- Trunk: spans 4 stitches at the tree base, about 1 cm tall
Gauge
Gauge is not critical. Aim for sturdy fabric with defined ridges; ornament should hold its shape without blocking.
Stitch Abbreviations
| Abbreviation | Stitch |
|---|---|
| ch | Chain stitch |
| sc | Single crochet |
| hdc | Half double crochet |
| BLO | Back loop only |
Special Stitches
- Back Loop Only (BLO):
Insert hook into the back loop of each stitch only for all rows. - Cluster Increase:
Three single crochet worked into one stitch to create the tree’s “branch clusters” and shape.
Written Pattern
Tree Body
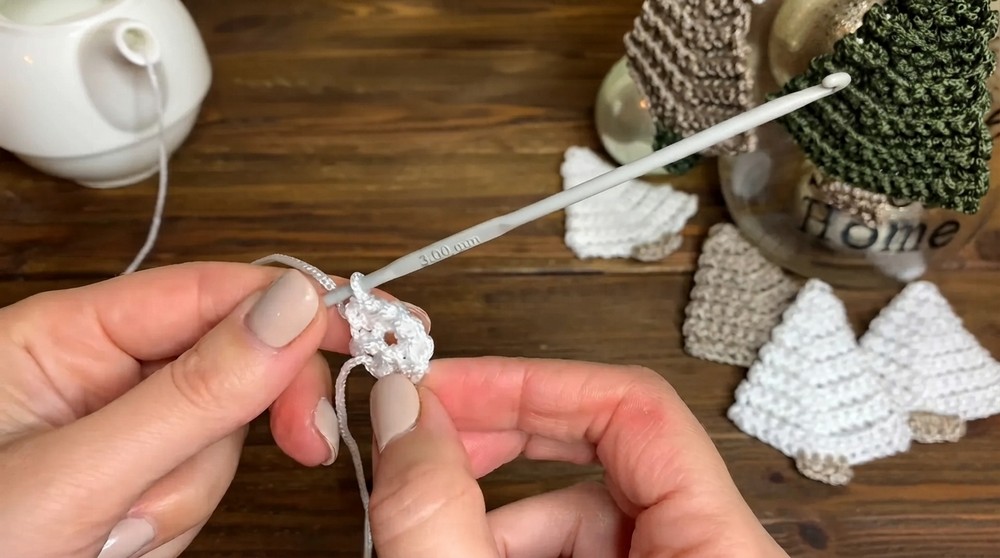
Row 1 (3 stitches):
- Start with a slip knot (amigurumi loop).
- Ch 1.
- Work 3 sc into the ring.
- Tighten the loop to close.
Row 2 (5 stitches):
- Ch 1 (turning chain).
- Turn your work.
- All stitches are worked in the back loop only.
- 1 sc in first stitch BLO.
- In second stitch: 3 sc BLO (cluster increase).
- 1 sc BLO in last stitch.
- Total: 5 sc.
Row 3 (5 stitches):
- Ch 1.
- Turn.
- 1 sc in each stitch BLO across the row.
- Total: 5 sc.
Row 4 (7 stitches):
- Ch 1.
- Turn.
- 1 sc BLO in first 2 stitches.
- In third stitch: 3 sc BLO (cluster increase).
- 1 sc BLO in last 2 stitches.
- Total: 7 sc.
Row 5 (7 stitches):
- Ch 1.
- Turn.
- 1 sc BLO in each stitch across the row.
- Total: 7 sc.
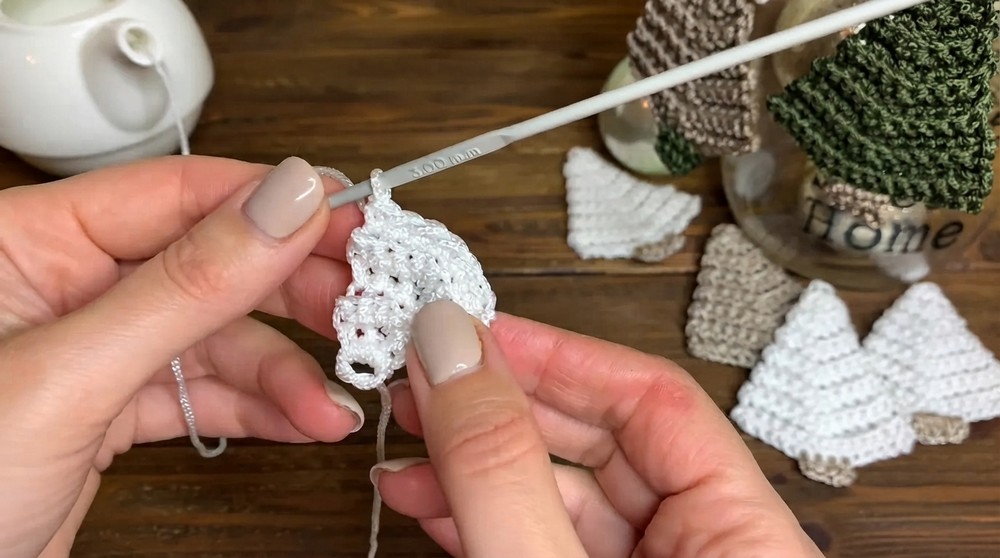
Row 6 (9 stitches):
- Ch 1.
- Turn.
- 1 sc BLO in first 3 stitches.
- In fourth stitch: 3 sc BLO (cluster increase).
- 1 sc BLO in last 3 stitches.
- Total: 9 sc.
Row 7 (9 stitches):
- Ch 1.
- Turn.
- 1 sc BLO in each stitch across the row.
- Total: 9 sc.
Row 8 (11 stitches):
- Ch 1.
- Turn.
- 1 sc BLO in first 4 stitches.
- In fifth stitch: 3 sc BLO (cluster increase).
- 1 sc BLO in last 4 stitches.
- Total: 11 sc.
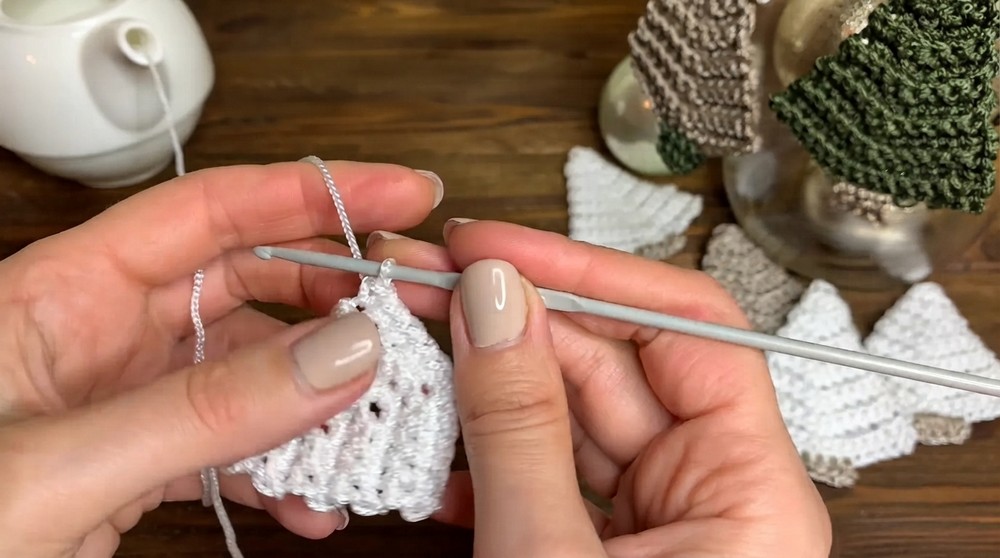
Row 9 (11 stitches):
- Ch 1.
- Turn.
- 1 sc BLO in each stitch across the row.
- Total: 11 sc.
Row 10 (13 stitches):
- Ch 1.
- Turn.
- 1 sc BLO in first 5 stitches.
- In sixth stitch: 3 sc BLO (cluster increase).
- 1 sc BLO in last 5 stitches.
- Total: 13 sc.
Row 11 (13 stitches):
- Ch 1.
- Turn.
- 1 sc BLO in each stitch across the row.
- Total: 13 sc.
Row 12 (15 stitches):
- Ch 1.
- Turn.
- 1 sc BLO in first 6 stitches.
- In seventh stitch: 3 sc BLO (cluster increase).
- 1 sc BLO in last 6 stitches.
- Total: 15 sc.
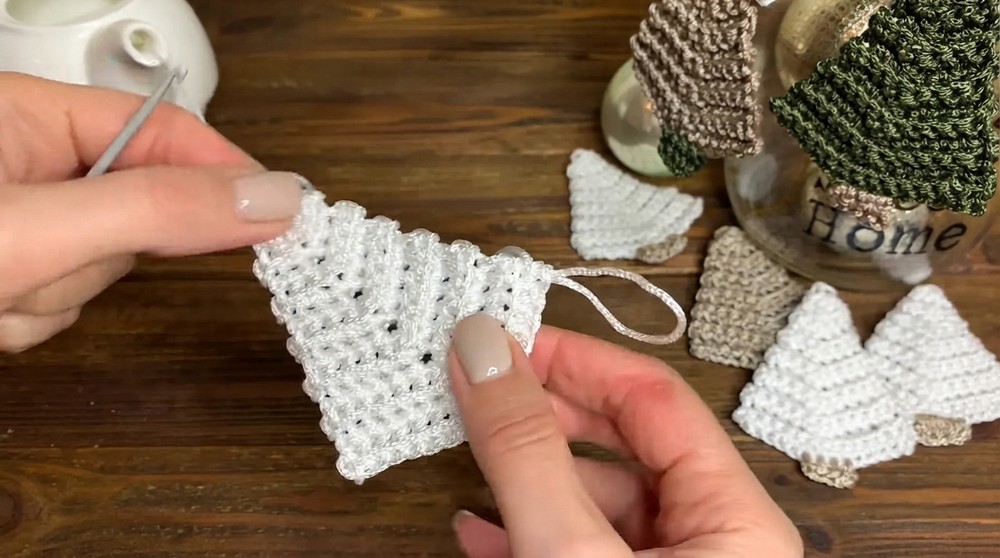
Row 13 (15 stitches):
- Ch 1.
- Turn.
- 1 sc BLO in each stitch across the row.
- Total: 15 sc.
Finish off:
Cut your thread, pull the loop larger, and weave in the ends securely.
Tree Trunk
Using contrasting color yarn:
- Attach new yarn at the center bottom of the tree (choose the 4 central stitches).
- Ch 2 (counts as first hdc).
- Work 1 hdc in each of the next 3 stitches (total 4 hdc).
- Fasten off and weave in ends.
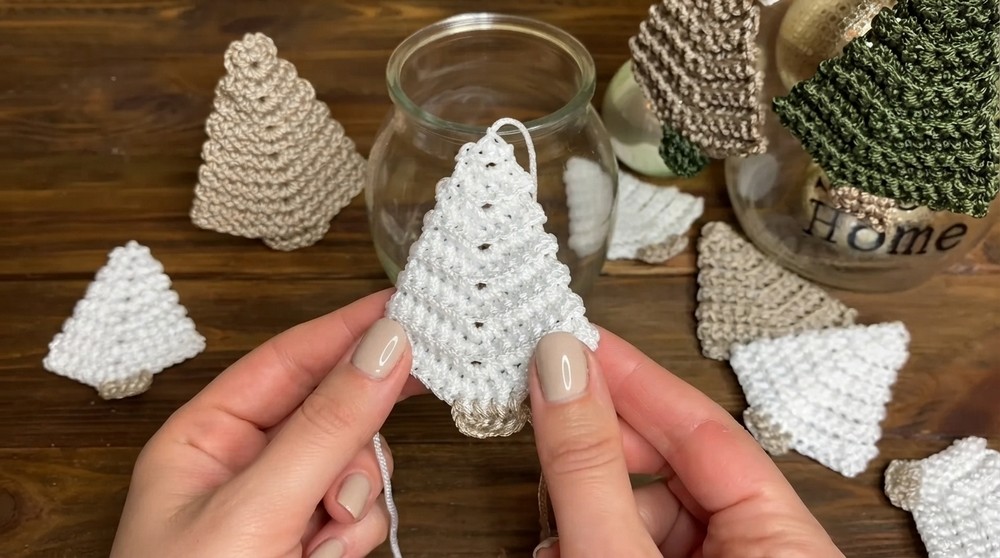
Assembly & Finished Size
- Weave in all ends neatly on the back of the tree.
- Ornament measures approximately 8–10 cm tall.
- If you’d like to hang it: Attach a loop of yarn at the top, or thread through with a needle.
Conclusion
Your simple crochet Christmas tree ornament is finished and ready to hang on your holiday tree. The thick yarn gives it shape and texture, eliminating the need for blocking, and the quick row repeats make it ideal for beginners or for whipping up multiple decorations in a short time.