Free Crochet Rose Hair Clip Pattern With Easy Tutorial

Sweep stray strands aside and pin a crochet rose above your ear for a neat finish that looks just as pretty with a soft braid as it does with a low bun.
Loose strands near your face can undo a neat hairstyle halfway through the day. You can pin them back with a crochet rose clip and keep the flower in view above your ear. The rose shape draws your eye to the center of the clip, where the curved layers give the flower its depth. With your hair half up, position the clip at the join so the rose is easy to see from the back.
Rose Hair Clip to Crochet for a Half-Up Look
Meet the Crochet Designer
Small wearable projects are one part of the channel’s crochet collection, which also includes miniature figures and other accessories. The rose clip is a good place to start browsing for floral ideas. You can find more pieces for your hair accessory drawer and compare other clip styles at Örgü Hikayem.
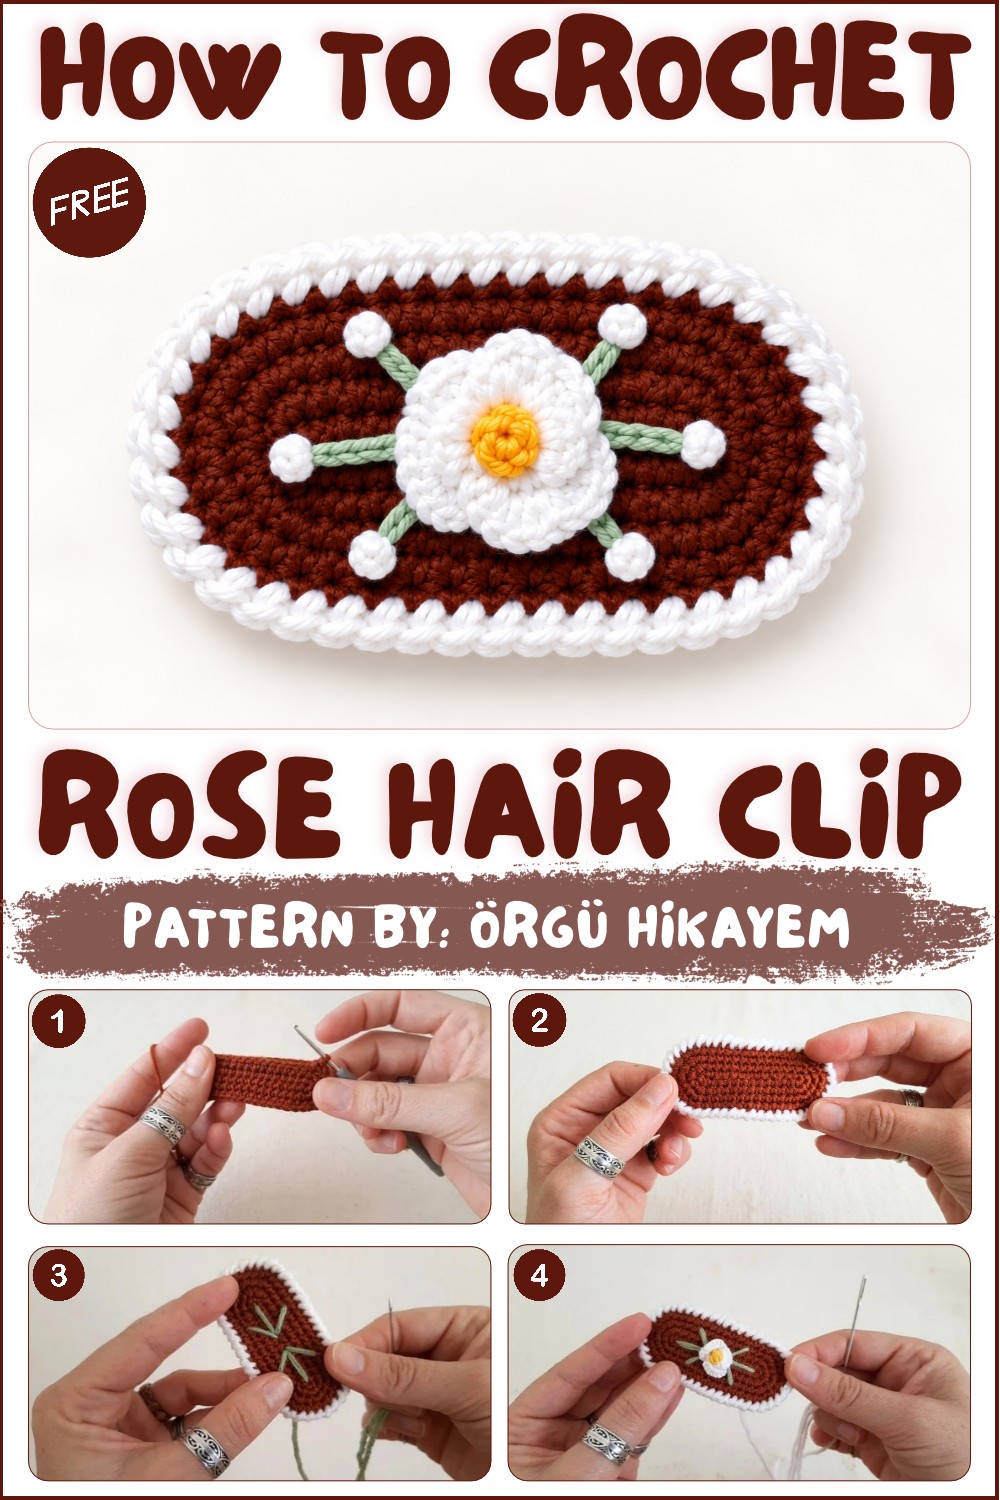
Color can change the mood of this piece more than you might expect. Dusty pink pairs well with linen and light denim, while a deep berry shade suits a dark coat or a dress in a solid color. For a softer result, choose a shade close to your hair color so the raised stitches catch the light as you move.
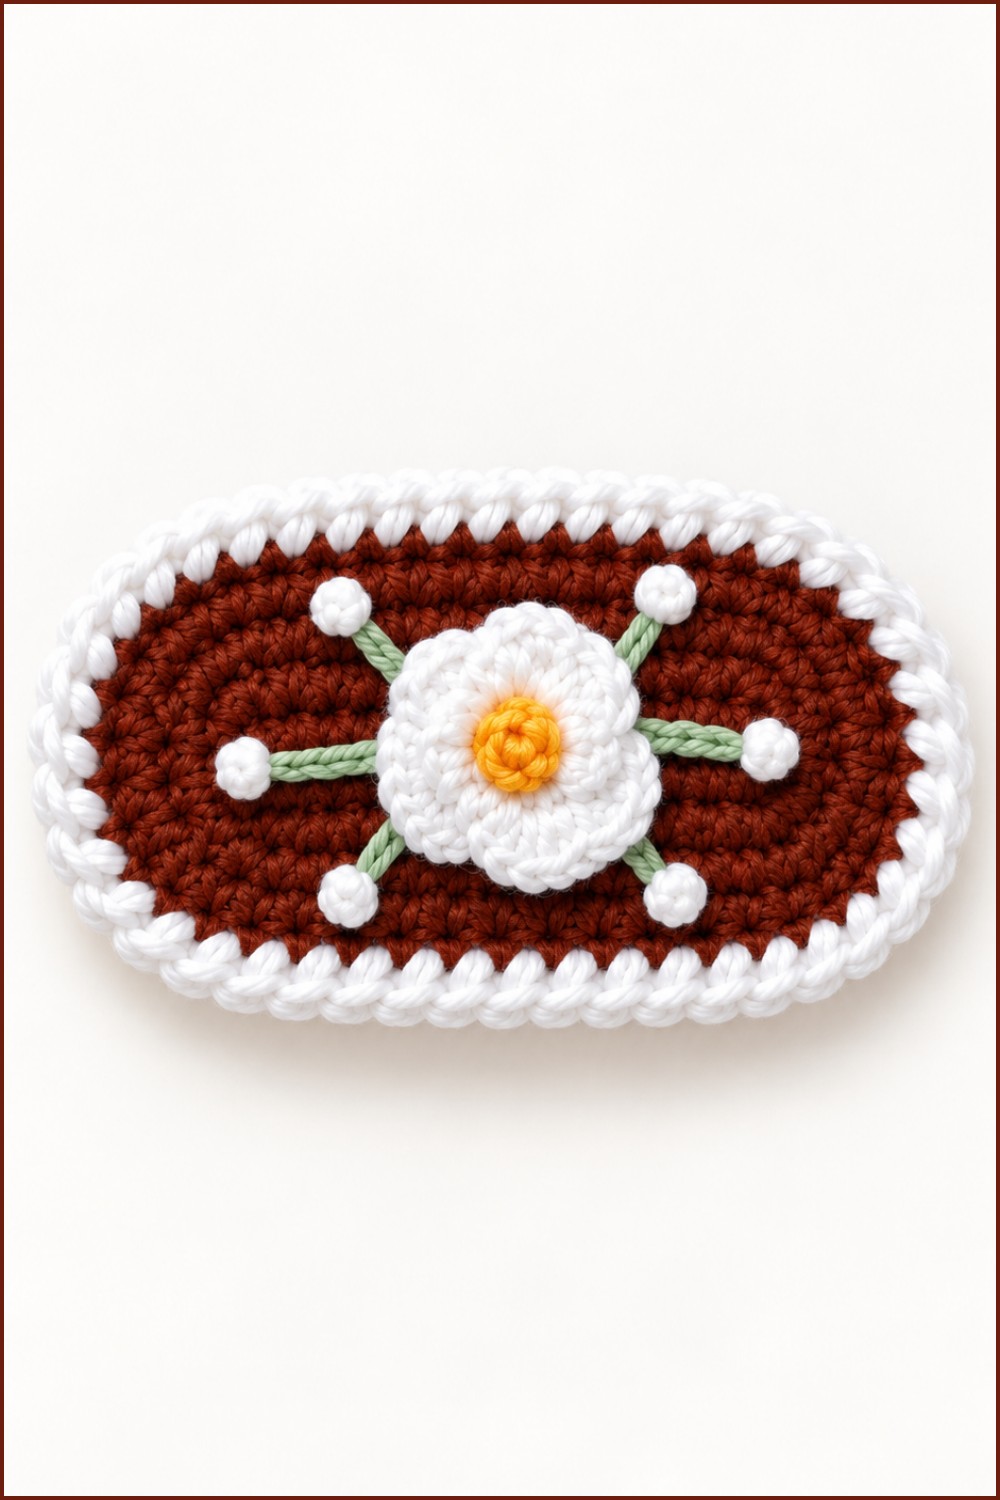
When choosing where to place the clip, slide it into a small section of hair and turn it until the rose faces outward. That little adjustment keeps the flower visible in photos.
This rose is also a thoughtful choice for someone who likes flowers and wears hair accessories often. Tuck it into a birthday card or pin it to a strip of sturdy paper before wrapping it so the petals stay in shape.
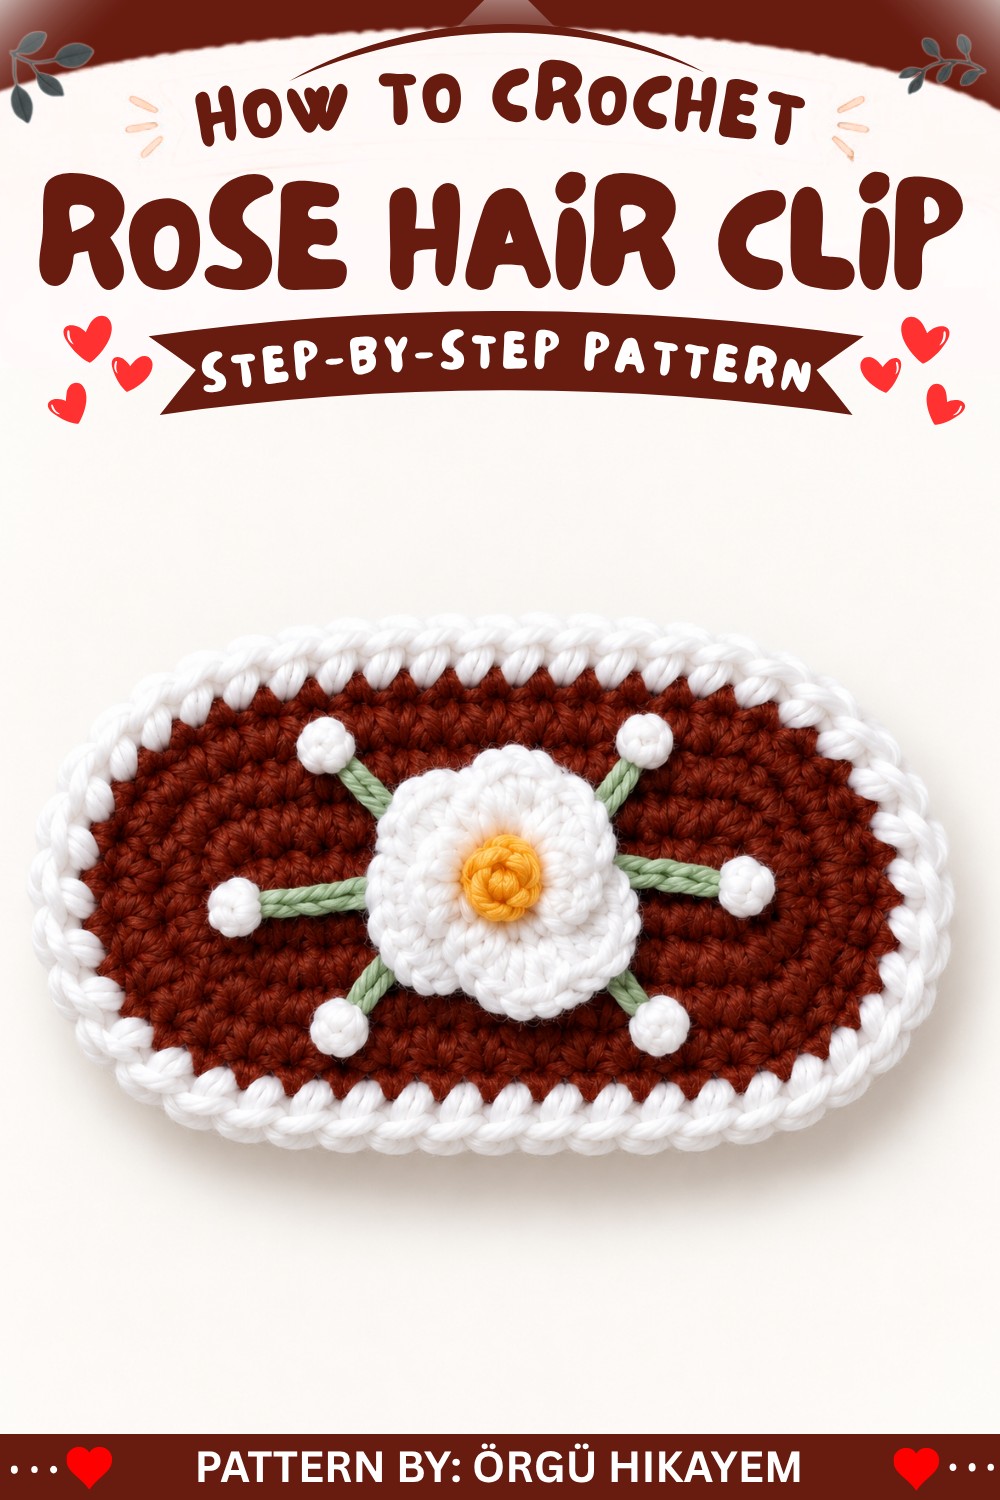
Crochet Floral Hair Clip Pattern
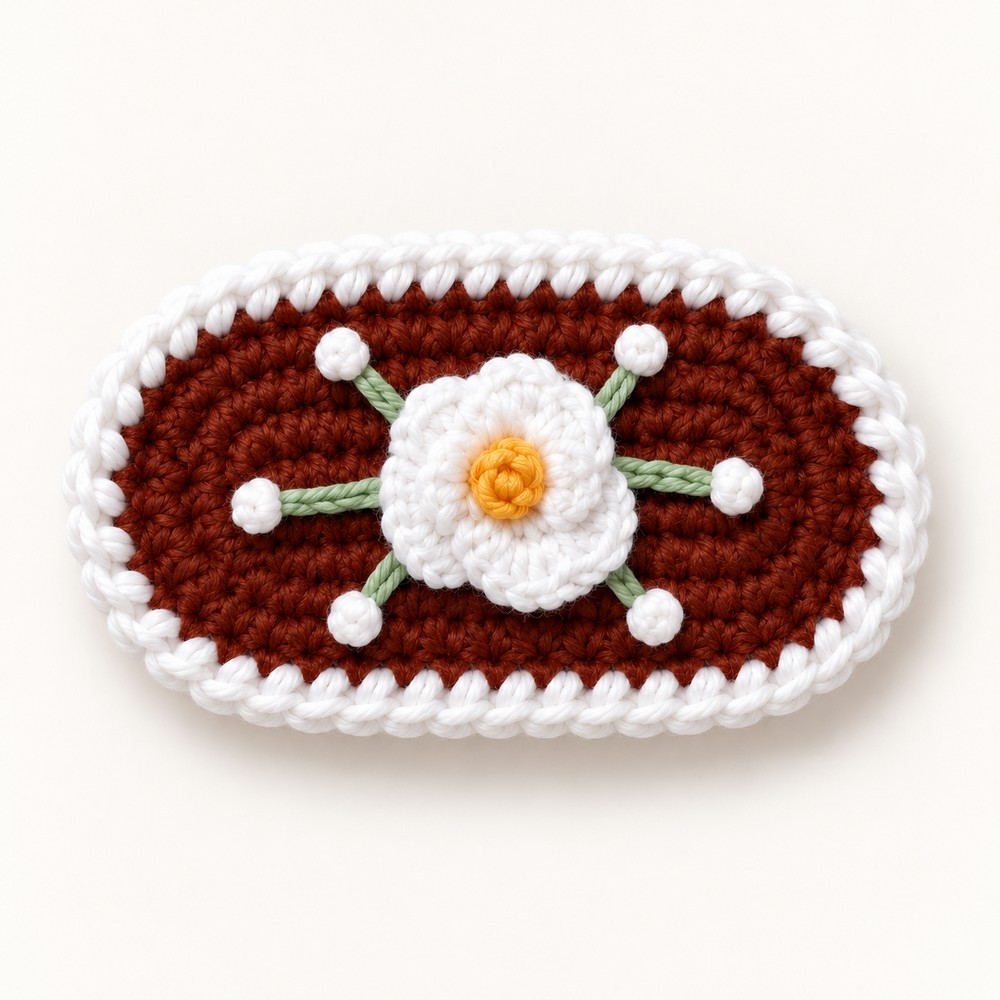
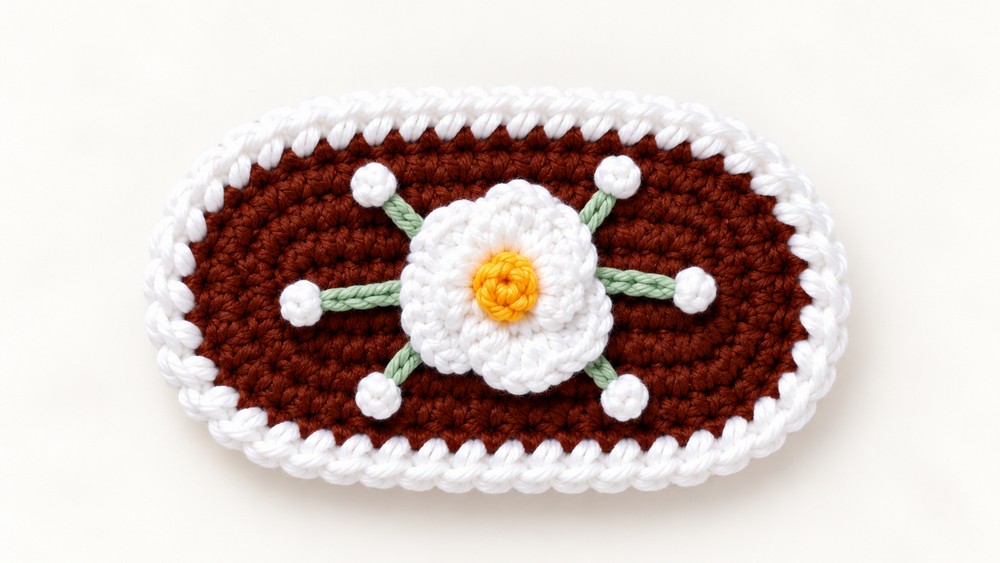
Enhance your accessories collection with this crochet floral hair clip, crafted to fit a 6 cm snap clip. This delicate design features a crocheted base, finished with a reverse single crochet border, and completed with embroidered flowers and leaves. The combination of crochet and embroidery makes this an elegant and versatile accessory for any occasion.
Skill Level
Intermediate
This pattern is suitable for crocheters familiar with working flat crochet stitches, reverse single crochet (crab stitch), and basic hand embroidery techniques. Experience with crafting small, neat designs and working with finer yarns will be helpful.
Materials
You will need the following to create this floral hair clip:
- Yarn: Cotton yarn in brown (base color) and lighter accent colors for the border and floral embroidery features (such as pastel shades or contrasting hues).
- Tools: 2 mm crochet hook, tapestry/embroidery needle (for stitching designs and assembly).
- Extras:
- 6 cm metal snap hair clip
- A piece of felt (for the backing to secure and stabilize the clip).
Stitch Abbreviations
- ch = chain stitch
- sc = single crochet
- st = stitch(es)
- inc = increase (2 sc in the same stitch)
- rev sc = reverse single crochet (crab stitch)
Useful Tips
- Tension Control: Work with consistent tension to avoid curling or warping of the base. If your stitches are too tight, the base may not lie flat, so adjust as needed.
- Embroidery: Keep your embroidery stitches even and secure for a refined appearance. Practice the French knot and chain-petal technique on scrap fabric if you’re new to these methods.
- Attaching the Clip: Use strong, clear fabric glue or precise stitching to securely attach the crochet piece to the felt and snap clip. This stabilizes the piece and ensures durability.
- Border Work: The reverse single crochet can feel unusual at first, but it creates a beautiful twisted decorative edge. Practice this stitch slowly for accuracy.
Pattern Instructions
The pattern is divided into three sections: creating the crocheted base, adding a decorative border, and embroidering the floral design. Finally, the finished crochet piece is assembled with the snap clip and backing.
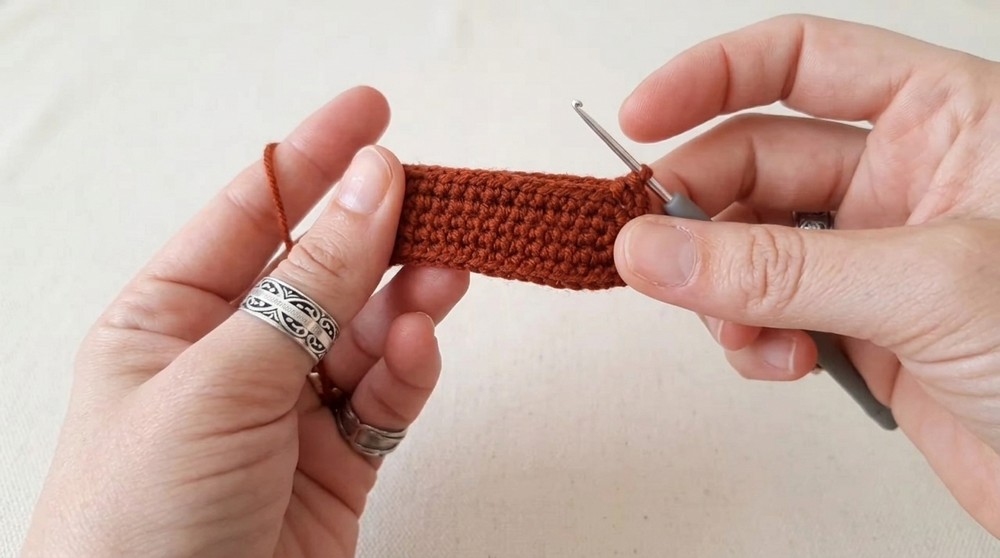
Base (Brown)
Foundation
- Ch 14. This forms the foundation chain.
Row 1
- Starting from the second chain from the hook, work 12 sc.
- At the last chain, work 3 sc in the same stitch to create a rounded edge.
- Turn the work and crochet 11 sc on the other side of the chain.
- In the final stitch, work 1 inc (2 sc in the same stitch).
- (Total: 28 sc around the base.)
Row 2
- Start with 1 inc in the first stitch.
- Work 11 sc along the straight edge.
- At the rounded end, work 3 inc in a row (1 inc in each of the next 3 stitches).
- Crochet 11 sc along the opposite side.
- Finish with 2 inc at the other rounded edge.
- (Total: 34 sc around the base.)
Row 3
- Work 1 sc, 1 inc in the first two stitches.
- Crochet 12 sc along the straight edge.
- At the rounded end, alternate 1 inc, 1 sc three times to create the curve.
- Work 12 sc along the opposite side.
- End with 1 sc, 1 inc, 1 sc to finish the rounded edge.
- (Total: 42 sc around the base.)
Row 4
- Begin with 2 sc, 1 inc in the first three stitches.
- Work 13 sc along the straight edge.
- At the rounded end, follow the pattern: 1 inc, 2 sc, 1 inc, 2 sc, 1 inc.
- Work 13 sc on the opposite side.
- Finish the round with 1 inc, 2 sc, 1 inc.
- (Total: 50 sc around the base.)
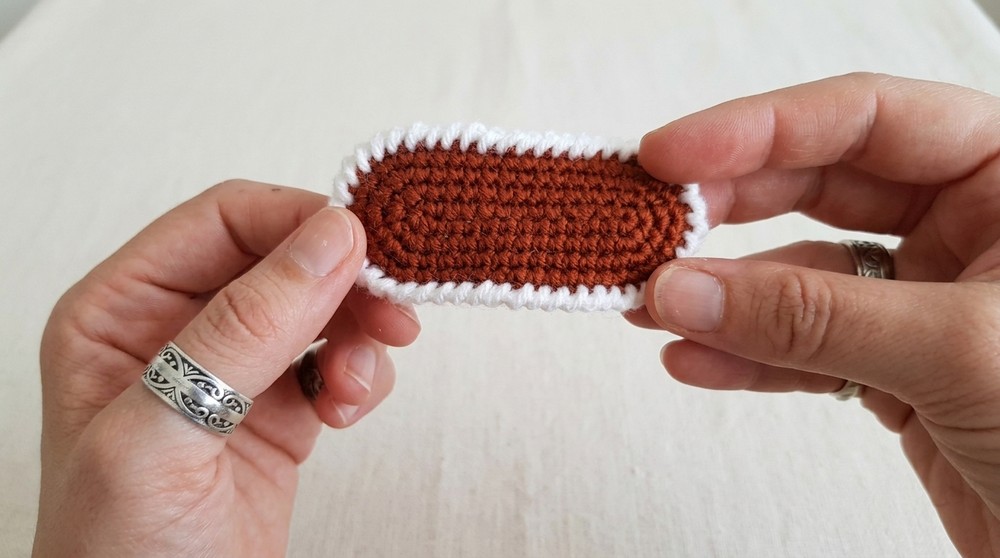
Border (Contrasting Accent Color)
To create a decorative outline for the piece:
- Attach the accent yarn to any stitch of the edge.
- Work a rev sc (crab stitch) around the entire edge:
- Insert the hook into the previous stitch (moving backward rather than forward).
- Yarn over and pull the loop through the stitch.
- Yarn over again and pull through both loops on the hook.
- Continue the rev sc stitch until the edge is fully outlined.
- Join with a sl st into the first rev sc and fasten off.
Floral Embroidery & Decoration
Use contrasting yarns and an embroidery needle to decorate the crocheted base.
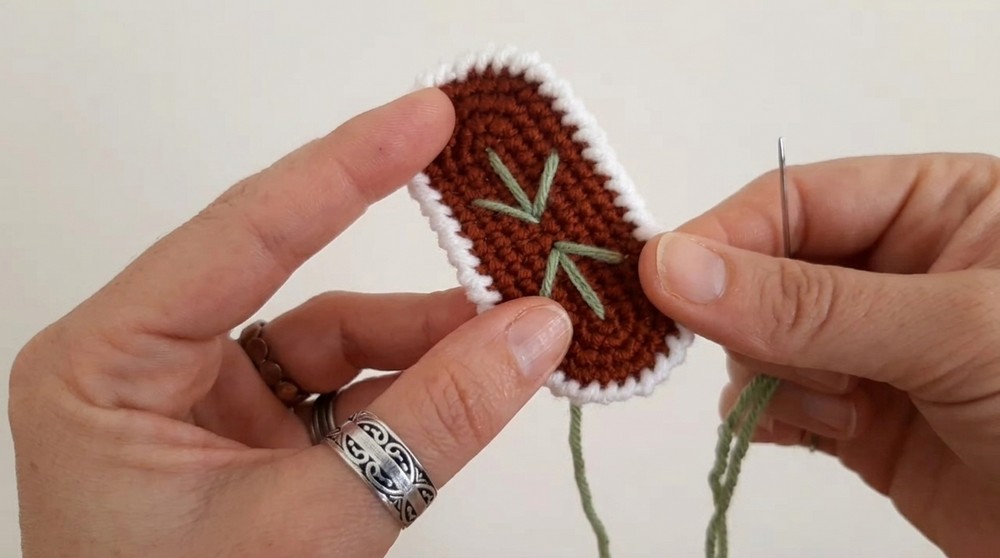
Step 1: Leaf/Stem Embroidery
- Using a light-colored yarn, embroider simple stem and leaf patterns.
- Start in the center of the base and work outward to create stems branching toward the edges.
- Add leaves by stitching small V-shaped outlines along the stems.
Step 2: Center Bud
- For the center point, use the French knot method:
- Wrap the thread around the needle 8 times.
- Insert the needle back into the base near the insertion point and pull snugly to form a raised knot.
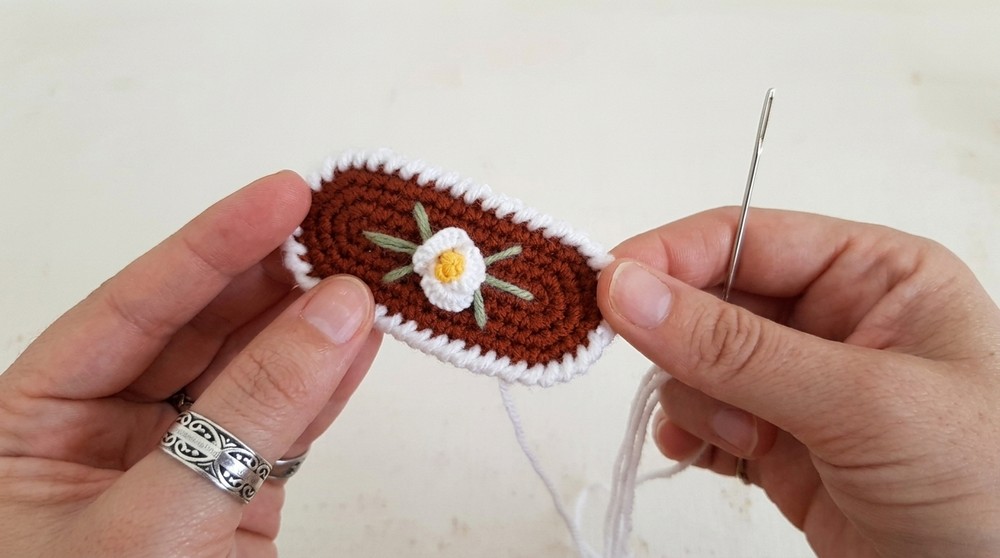
Step 3: Rose Petals (Chain Technique)
- Use a long embroidery needle and contrasting yarn for the petals.
- To create petals:
- Wrap the yarn around the needle 10-13 times (depending on petal size).
- Anchor the needle near the center of the bud to form each loop.
Final Assembly
- Trace the crochet base onto the felt and cut out a matching piece.
- Apply fabric glue around the edge of the crochet base and adhere it to the felt backing.
- Position the 6 cm snap hair clip on the felt backing and sew or glue it securely.
- Allow the glue to dry completely before using the hair clip.
Conclusion
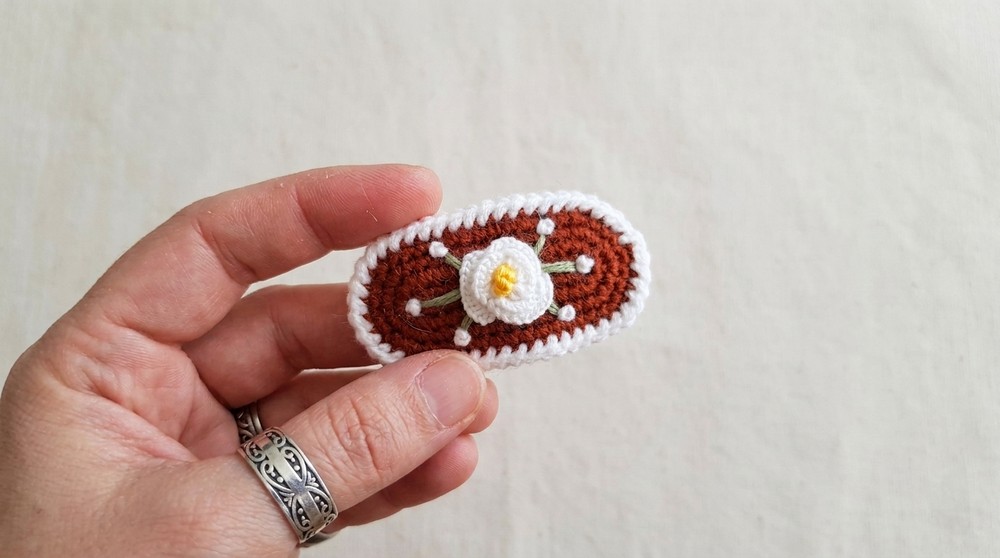
This floral crochet hair clip brings together the beauty of delicate crochet work and hand embroidery to create a unique accessory. The crab stitch border adds an elegant finishing touch, while the floral embroidery gives the clip a stylish and feminine appeal. With its size and design versatility, this project is perfect for handmade gifts or personal use, offering endless possibilities for customization with different colors and embellishments.