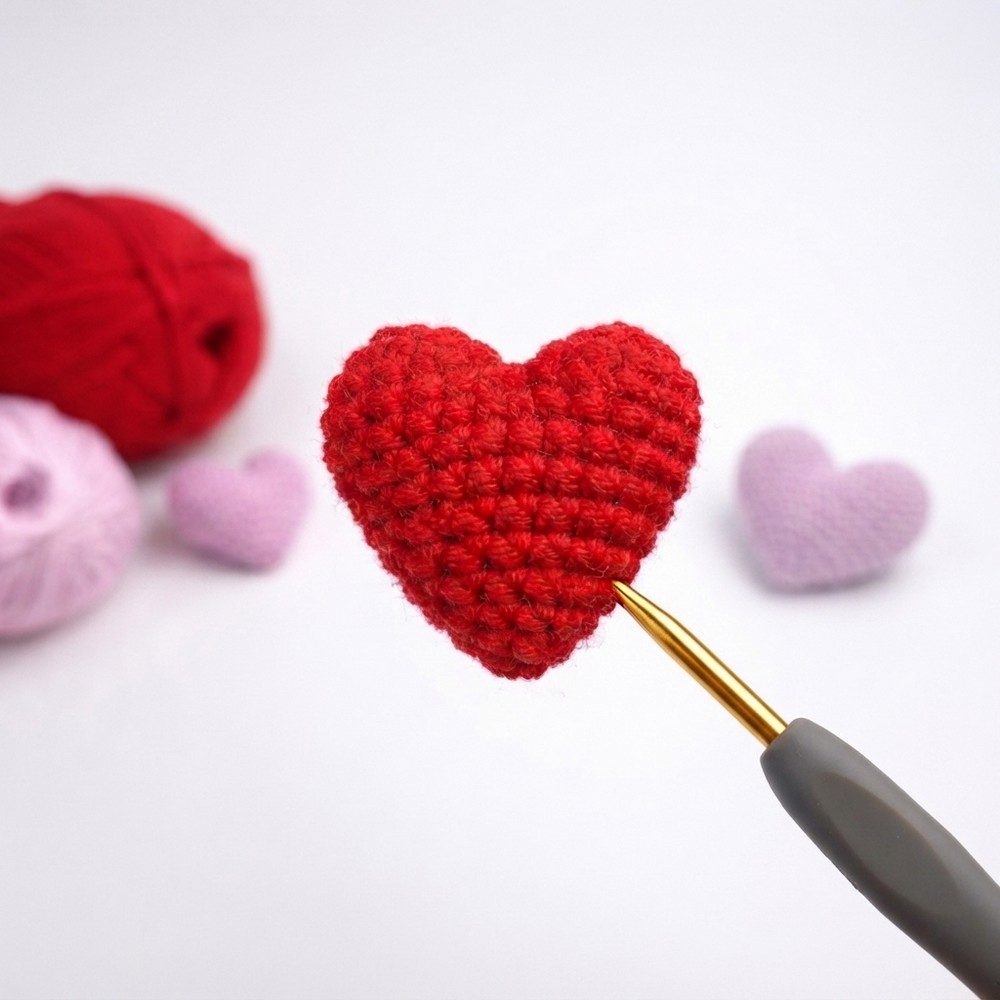
Free Heart Crochet Pattern with Beginner Friendly Guide

Add a lovely touch to your projects using a free crochet heart pattern that combines simplicity with delightful charm for all skill levels.
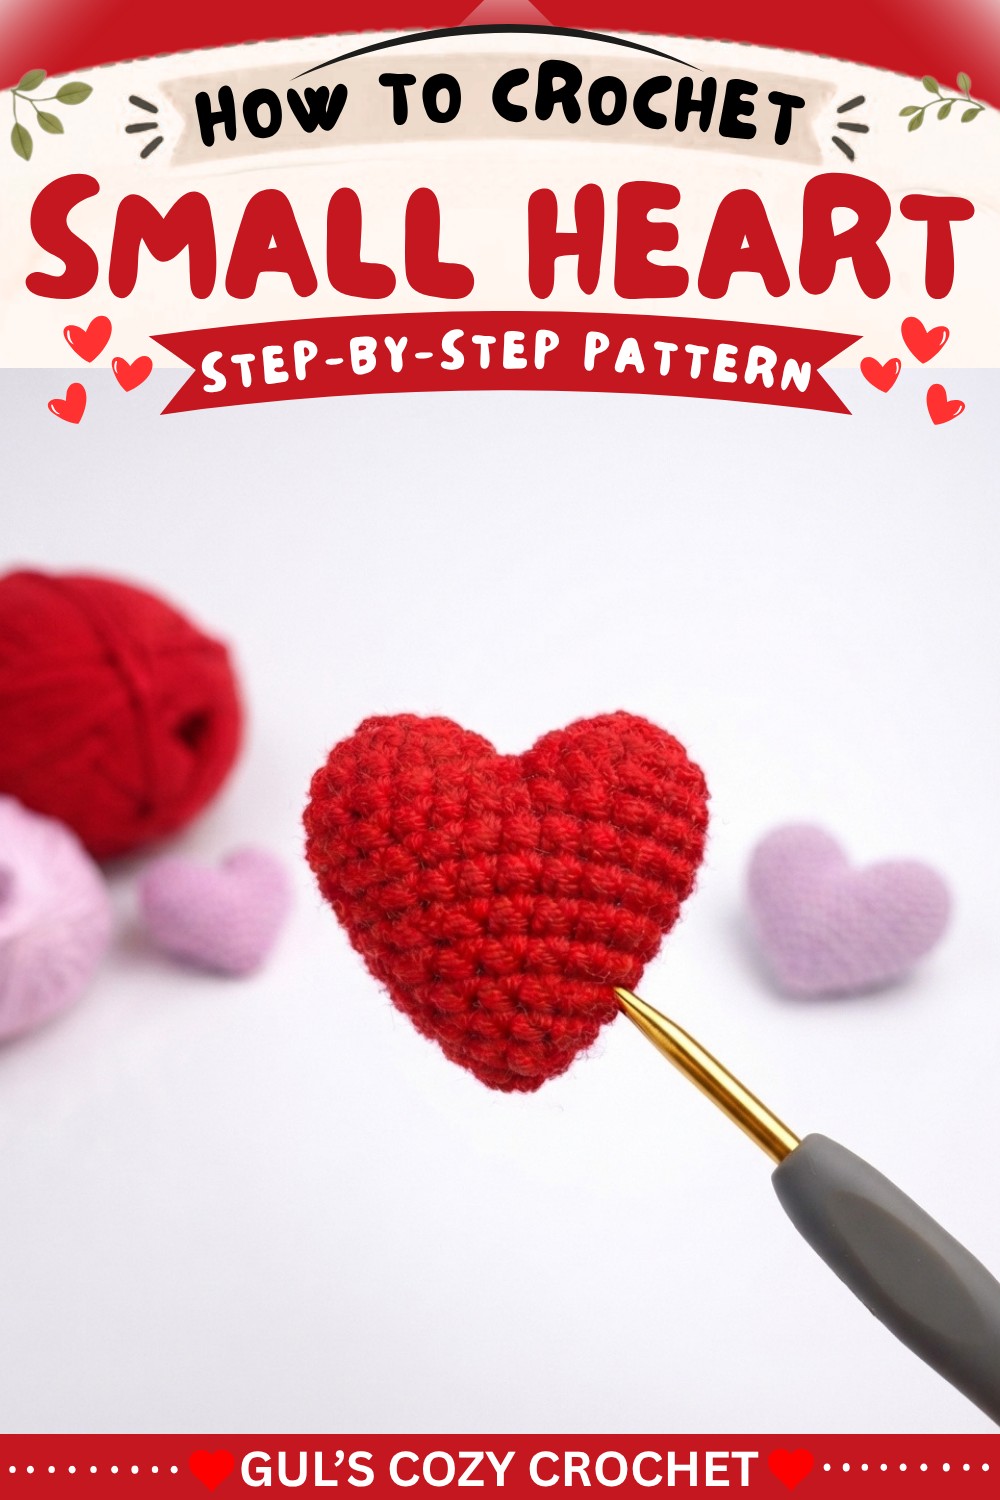
Small, cozy heart can bring a whole lot of warmth and happiness into your daily life. The free crochet Heart Pattern from Gul’s Cozy Crochet creates just that—a charming little heart that fits perfectly in the palm of your hand. Made with soft yarn and smooth stitches, this heart show off a gentle curve and a neat shape that look lovely in any color. Whether you hang one from your keys, attach it to a backpack, or gift it to someone special, these sweet hearts add a touch of love wherever they go.
How to Crochet Heart with Free Pattern
The appeal of this tiny heart lies in its simple beauty and versatility. Its small size makes it easy to display in many ways: as an ornament, a bag charm, or a tiny decoration on a shelf or desk. The soft texture invites you to touch and hold it, making it not only pretty to look at but also comforting to keep close. This heart work equally well as cute little gifts that show someone you care.
This delightful pattern comes from the creative mind at Gul’s Cozy Crochet. Designed with all skill levels in mind, the free crochet Heart Pattern is straightforward and clear, so even beginners will enjoy making it. The instructions help you craft smooth, even stitches, resulting in a polished and professional-looking heart. Plus, you get to choose your favorite yarn colors to make each heart truly yours.
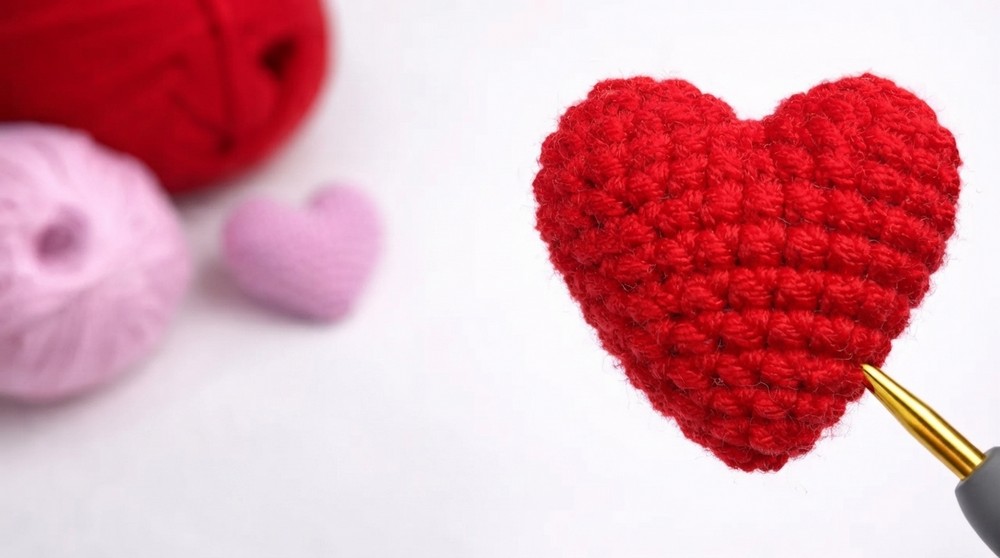
Making a tiny crochet heart is a quick and rewarding project. It uses just a small amount of yarn, perfect for using leftover scraps or trying out new colors. This crochet heart brighten your space or your loved ones’ day, offering a handmade touch filled with care and creativity.
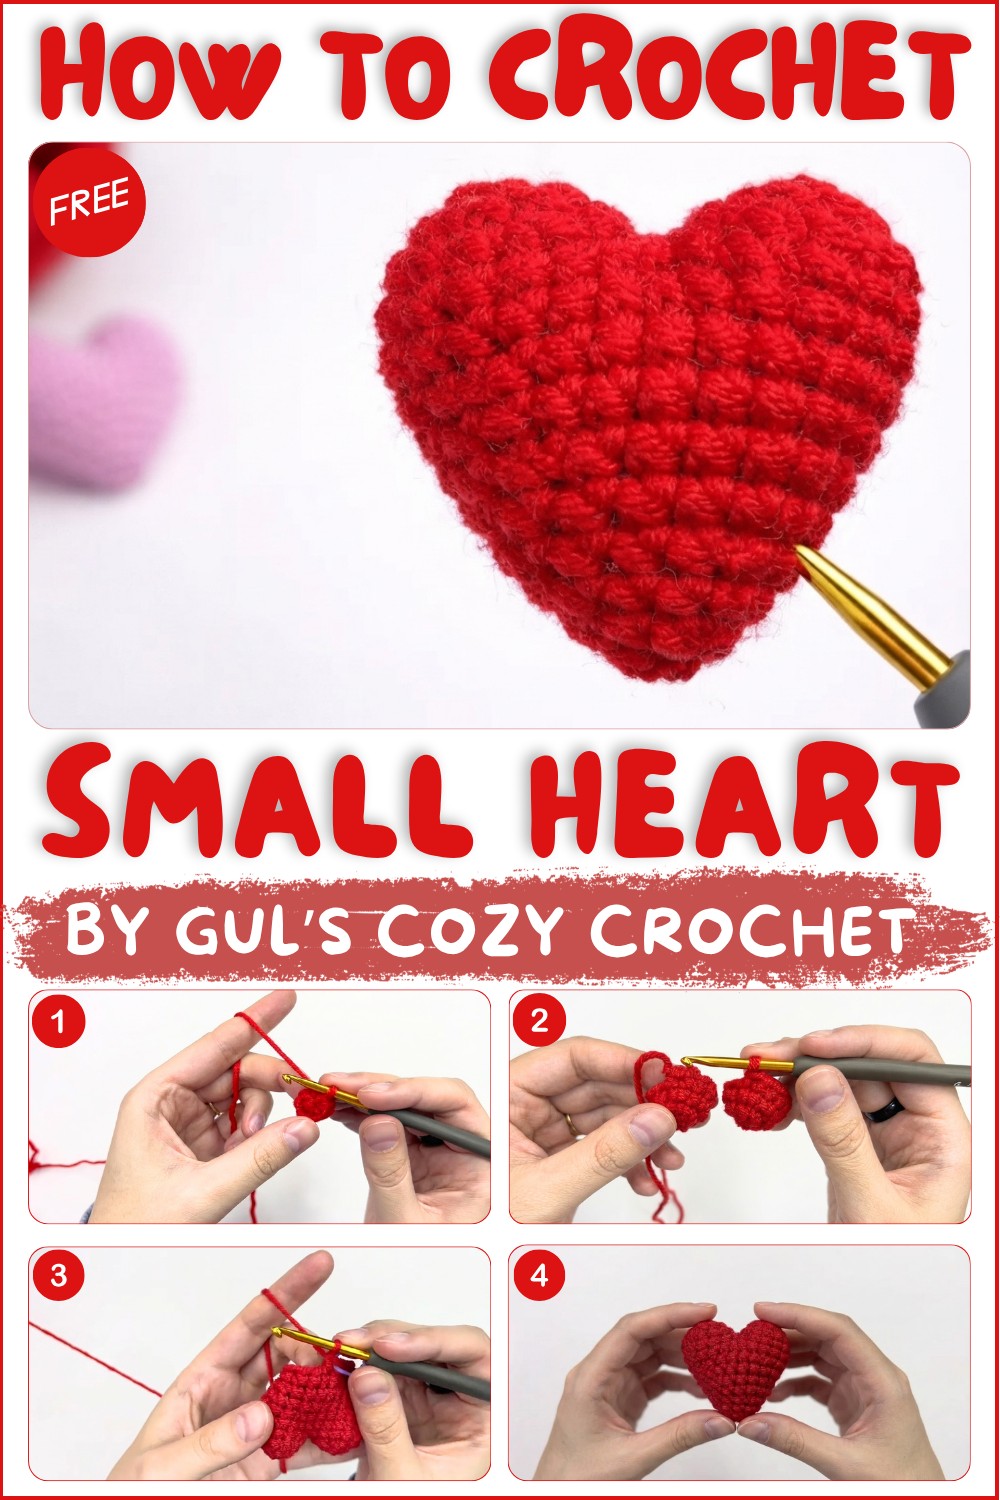
Crochet Stuffed Heart Free Pattern – Step-by-Step Detailed Instructions
This detailed crochet pattern guides you through creating a stuffed heart shape worked in the round. The heart is made by crocheting two top lobes separately, joining them together, and then working around and decreasing to shape the bottom point. The final product is a plush heart perfect as a gift, ornament, or decoration. This beginner-friendly project combines simple stitches with shaping techniques to develop your crochet skills.
Skill Level & Terminology
- Skill Level: Beginner to Intermediate
- Terminology: US crochet terms used.
Materials & Tools
- Medium weight yarn (e.g., worsted weight cotton or acrylic yarn).
- Crochet hook: 3.5 mm recommended for standard size, 2.5 mm for smaller hearts.
- Fiberfill stuffing to fill the heart.
- Yarn needle for sewing and finishing.
- Scissors.
Gauge
Gauge is flexible, but for reference:
- 6 single crochet (sc) stitches over a magic ring round result in approximately 2 inches (5 cm) diameter lobes with a 3.5 mm hook, creating an overall heart about 4–5 inches (10–12.5 cm) wide when completed.
Abbreviations List
| Abbreviation | Meaning |
|---|---|
| ch | Chain |
| sc | Single crochet |
| inc | Increase (2 sc in one stitch) |
| dec | Decrease (single crochet 2 stitches together) |
| sl st | Slip stitch |
Special Stitch Instructions
- Magic Ring: A loop adjustable to start crocheting in the round tightly without a hole.
- Increase (inc): Work two single crochet stitches in the same stitch to increase stitch count.
- Decrease (dec): Crochet two stitches together by inserting hooks in two stitches, pulling loops, and finishing as one stitch to decrease stitch count.
Finished Size
- Using a 3.5 mm hook, the finished stuffed heart measures approximately 4 to 5 inches (10 to 12.5 cm) wide and 4 inches (10 cm) tall.
The Pattern Itself
Creating the Top Pieces (Make Two)
Round 1
- Create a magic ring.
- Work 6 single crochets (sc) into the magic ring.
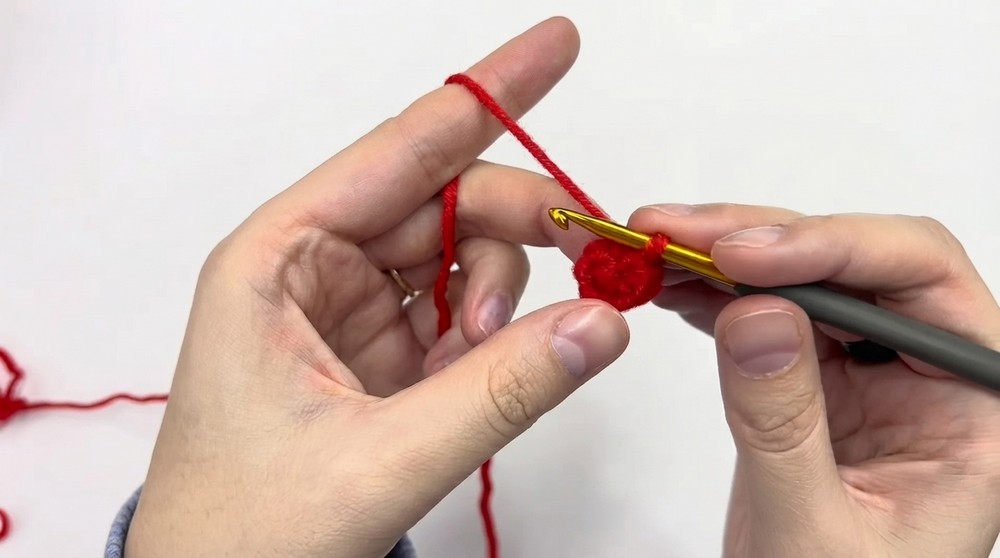
Completion Note:
This round forms the foundational loop forming one lobe of the heart. The tight magic ring prevents holes and starts the piece neatly.
Round 2
- Work 1 increase (inc) in every stitch around: two single crochets in each of the 6 stitches, resulting in 12 stitches total.
Completion Note:
Doubling stitches gives the lobe more width, helping it shape and fill out.
Round 3
- Work 1 single crochet (sc) in each stitch around (12 stitches total).
Completion Note:
This round builds height and solidifies the shape without increasing stitch count, maintaining smooth edges.
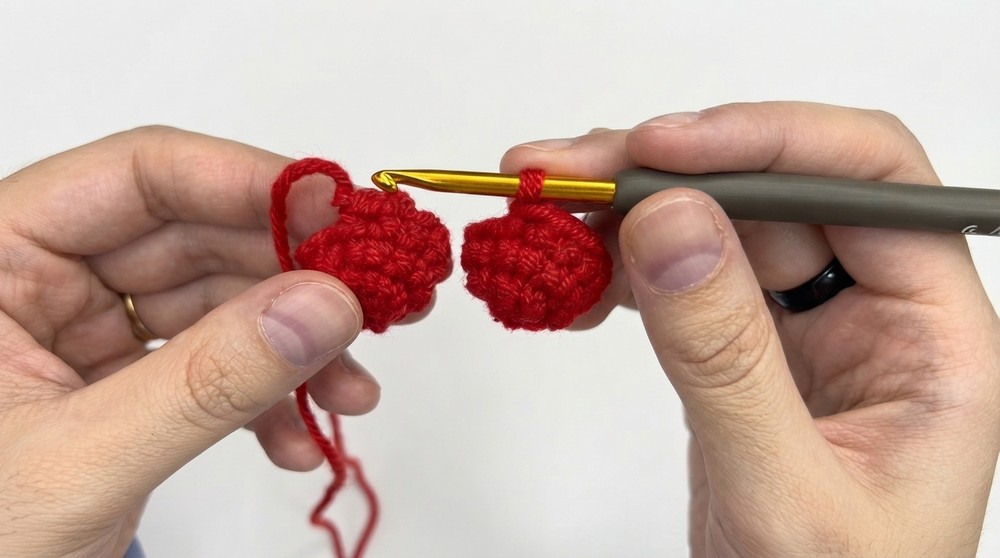
Fasten Off
- For the first piece only, fasten off, leaving a long tail to use later for sewing.
- For the second piece, keep yarn attached for joining in the next step.
Joining the Pieces
Round 4
- Join the two pieces by inserting your hook into the last stitch of the first piece.
- Work 12 single crochets (sc) evenly around the first piece’s edge.
- Without fastening off, continue to work 12 single crochets (sc) evenly around the second piece’s edge.
- Total stitch count: 24 stitches.
Completion Note:
Joining creates a circular shape from the two lobes, with a wider stitch base to continue shaping the bottom of the heart.
Gap Closing
- Using the yarn tail from the first piece, sew the small gaps between the joined pieces closed with a yarn needle to maintain a clean seam and shaping.
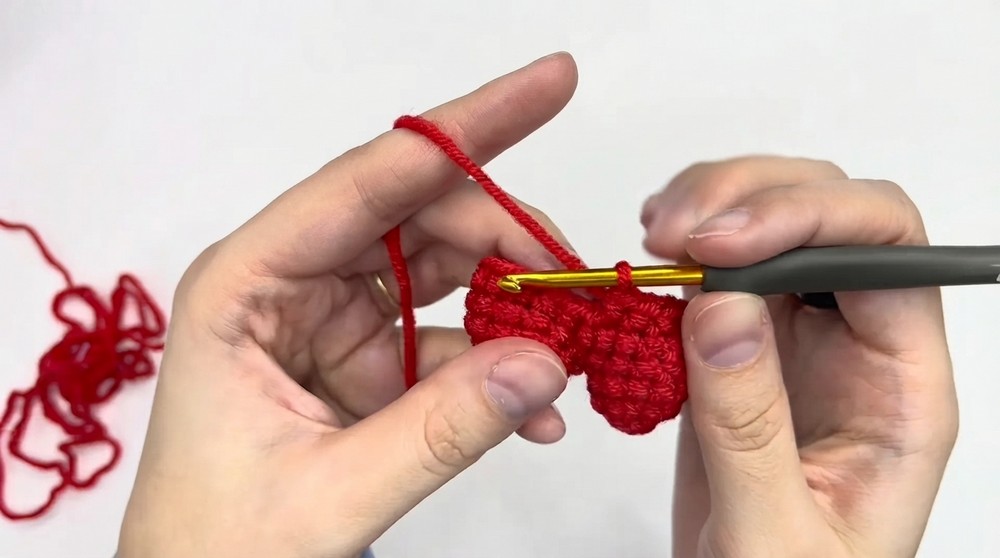
Completion Note:
Closing gaps provides a smooth transition between lobes, improving the heart’s silhouette.
Shaping the Heart
Round 5
- Work 1 single crochet (sc) in each of the 24 stitches.
Round 6
- Repeat 4 times:
- Work 1 sc in each of the first two stitches, then 1 decrease (dec) over the next two stitches.
- Total stitches after round: 20 stitches.
Completion Note:
This round begins decreasing the circumference, gradually forming the bottom taper of the heart.
Round 7
- Work 1 single crochet (sc) in each stitch around (20 stitches).
Round 8
- Repeat 4 times:
- Work 1 sc in each of the first three stitches, then 1 decrease (dec) over the next two stitches.
- Total stitches after round: 16 stitches.
Round 9
- Work 1 single crochet (sc) in each stitch around (16 stitches).
Round 10
- Repeat 4 times:
- Work 1 sc, then 1 decrease (dec), then 1 sc.
- Total stitches after round: 12 stitches.
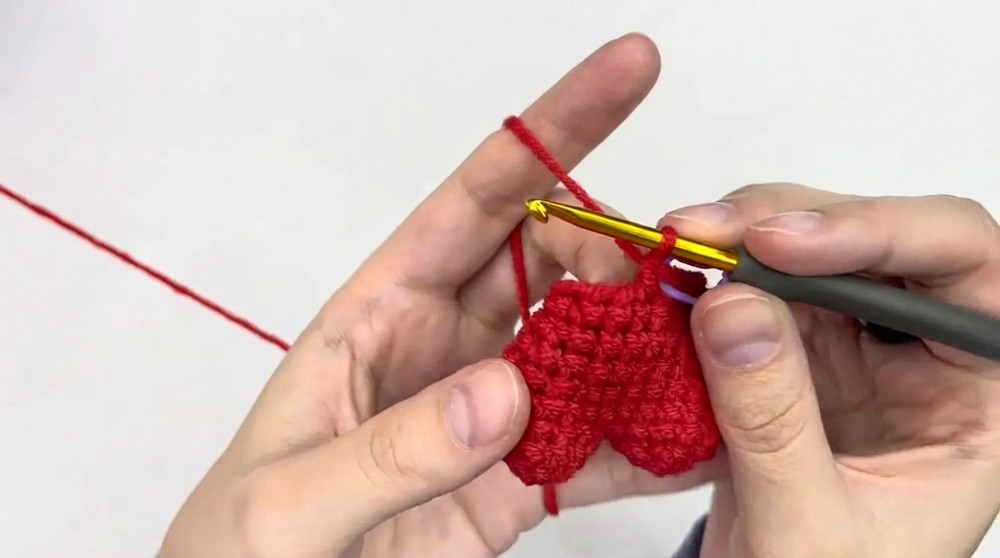
Stuffing
- Begin filling the heart with fiberfill stuffing to give it plumpness and structure.
Round 11
- Work 1 single crochet (sc) around (12 stitches).
Round 12
- Repeat 4 times:
- Work 1 sc, then 1 decrease (dec).
- Total stitches after round: 8 stitches.
Completion Note:
Continued decreases close the tapered bottom, refining the heart shape and preparing for final closure.
Finishing
- Work 1 slip stitch (sl st) to finish the last round neatly.
- Fasten off, leaving a long tail for sewing the opening shut.
- Add any additional fiberfill stuffing if necessary to fully plump the heart.
- Using a yarn needle, sew the opening closed securely.
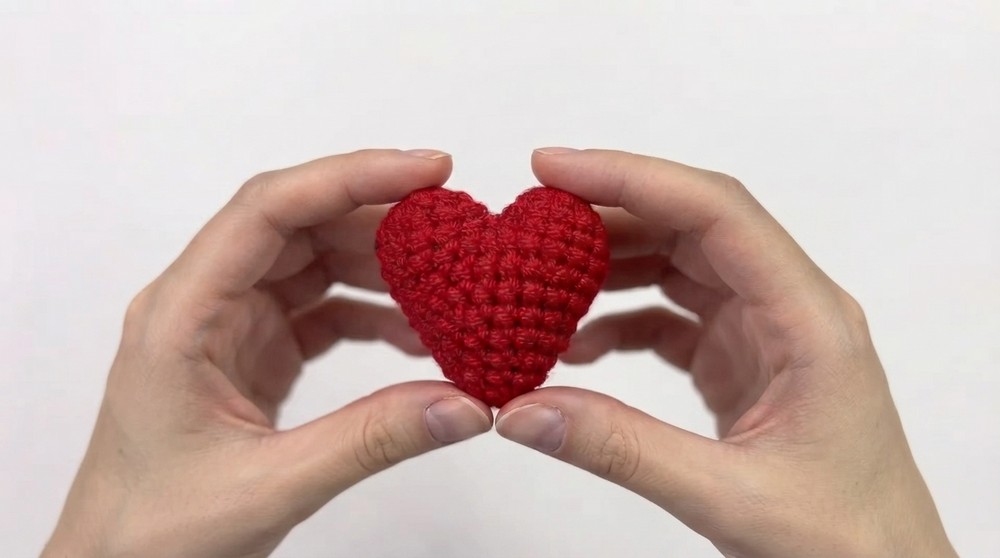
Completion Note:
Final finishing steps seal your heart, ensure stuffing stays in place, and give a polished professional look.
Assembly & Finishing
- After sewing the opening, weave in all loose ends for a tidy finish.
- Optionally, lightly block or shape your heart with gentle steam or pinning to enhance the form.
- Use this heart as an ornament, gift, or sewn onto items for decoration.
Pattern Overview & Tips
To start this project, you make two identical magic ring circles forming the lobes of the heart, joined by slip stitches and extended rounds. The decreases carefully contour the heart’s pointed bottom. The main stitches used throughout are single crochet (sc), increases (inc) by working two sc in one stitch, and decreases (dec) via sc2tog to shape.
Consistent tension is essential for a smooth finish and symmetrical heart. Using fiberfill stuffing after most decreases ensures proper shaping and firmness. This project is ideal for beginner to intermediate crocheters looking to expand skills with shaping and joining small pieces in amigurumi-style crochet.