Crochet Butterfly For Keychain – Free Pattern & Easy Tutorial

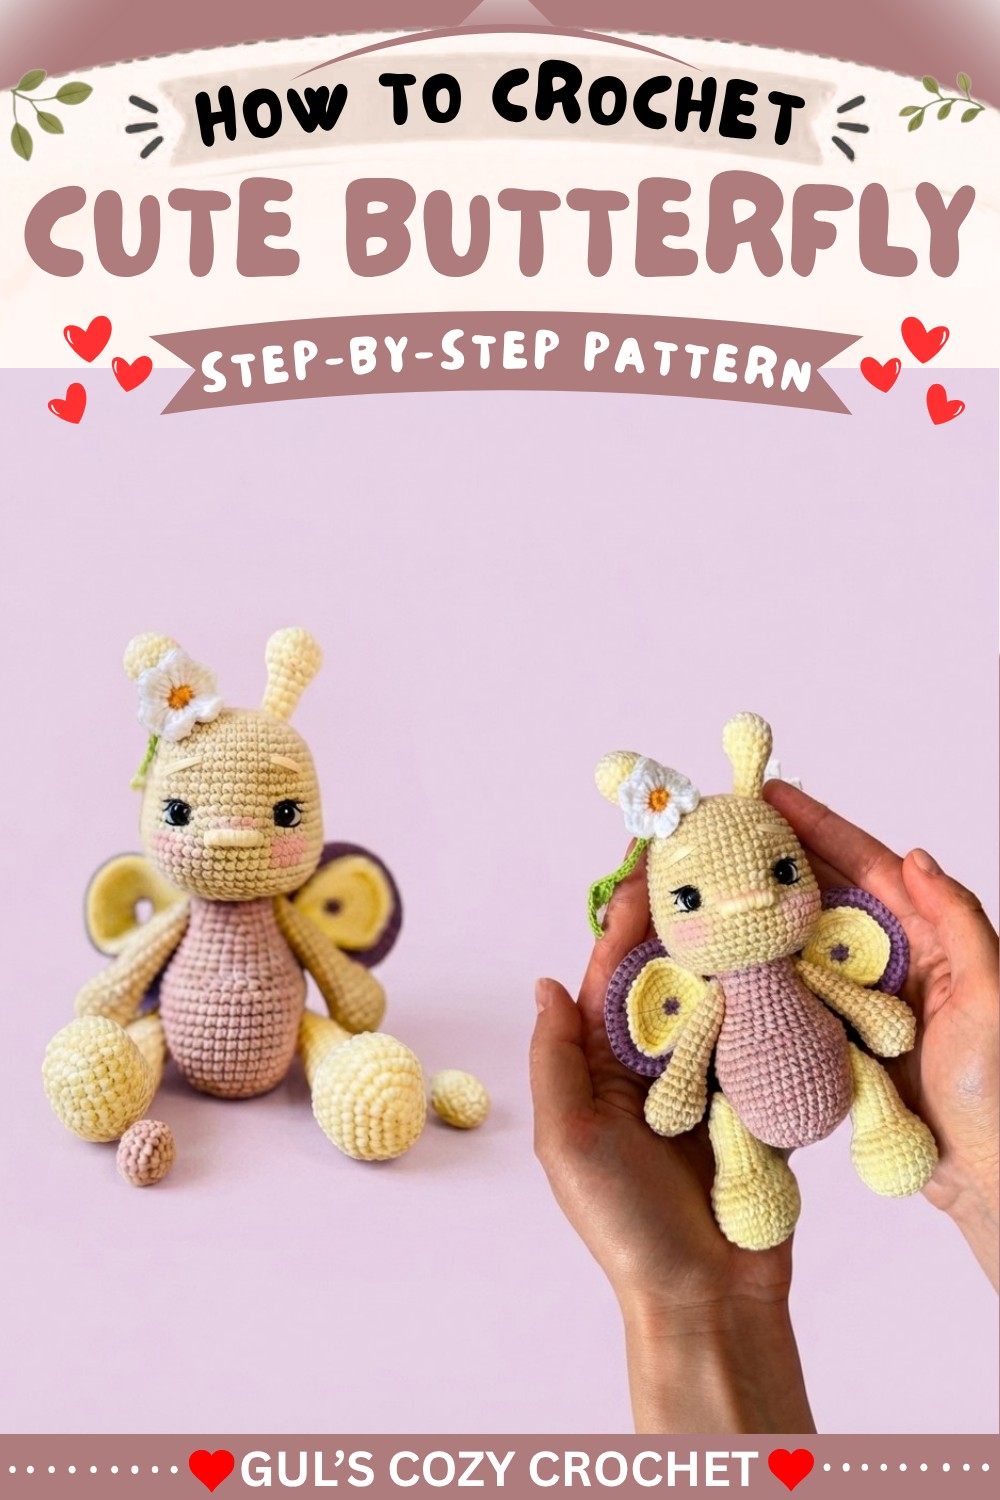
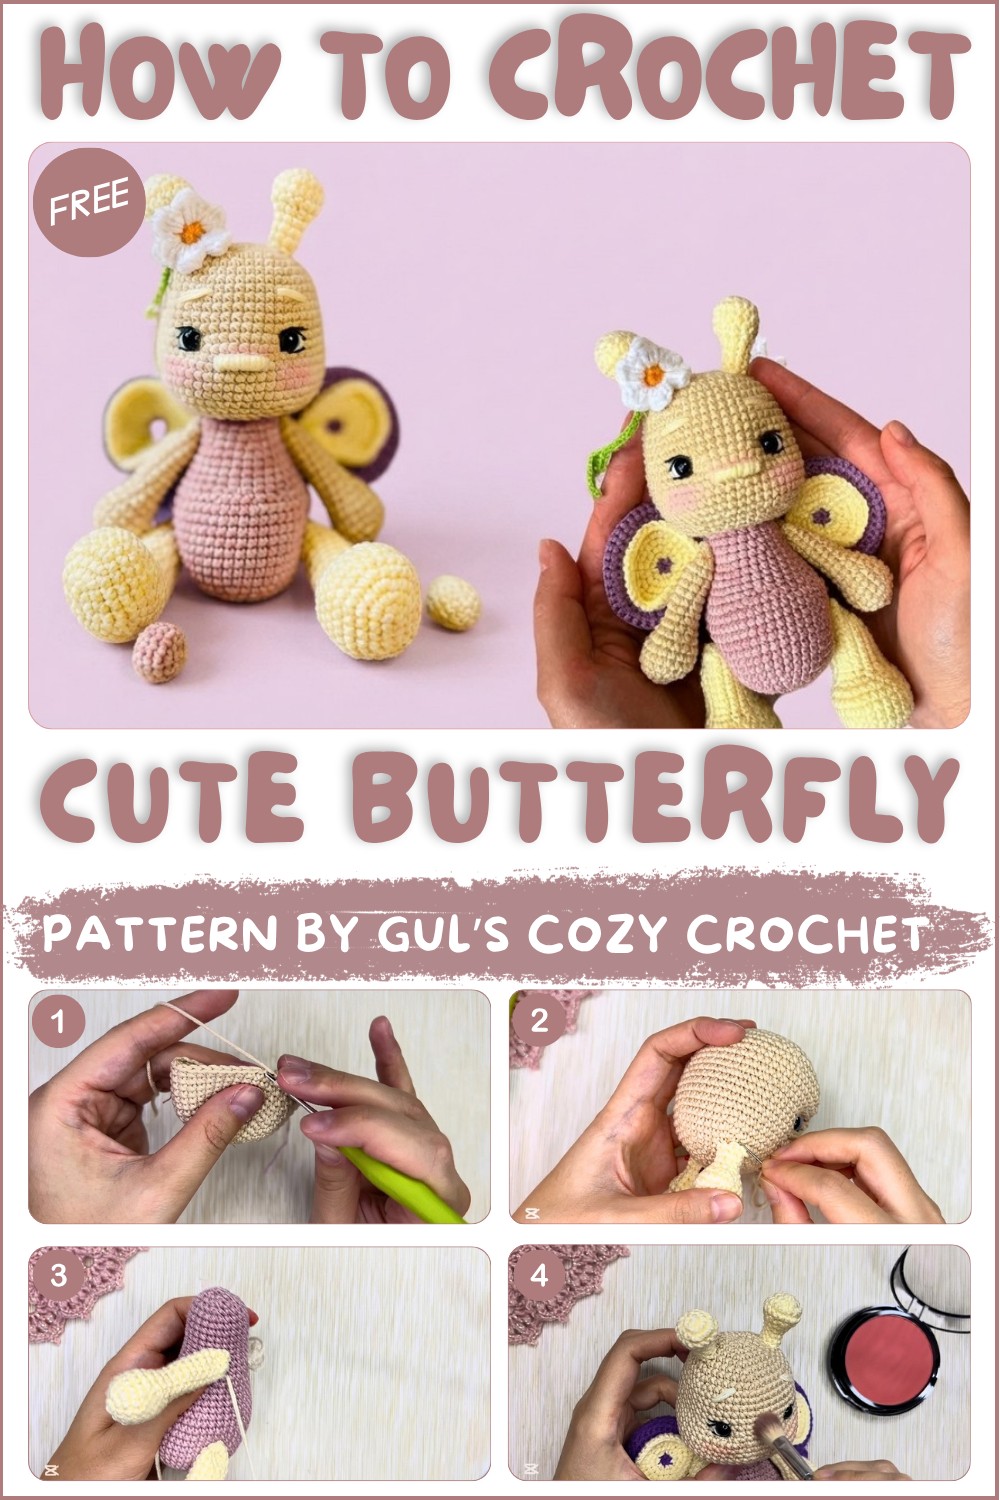
Add elegance to your projects with this Free Crochet Butterfly Pattern, featuring easy instructions to crochet beautiful butterflies for décor or gifts.
When I first found the Free Crochet Butterfly Pattern, I was excited to try making something simple but pretty. This small butterfly is easy to make and looks really nice. It has soft, curved wings with a light, lacy texture that reminds you of real butterflies. The pretty stitch details give it a classic and lovely look that anyone can enjoy.
Free Mini Butterfly Crochet Pattern – Adorable Applique
This butterfly can be used in many ways. You can sew it on hats, bags, or scarves to make them special. It also looks great as decoration around the house, like on cushions or curtains. I’ve even seen people use these butterflies as little gifts that show care and attention.
If you want help making it, the YouTube channel “Gul’s Cozy Crochet” that shares this Free Crochet Butterfly Pattern is very helpful. The channel has clear videos that show every step slowly, so beginners can easily follow along and finish the project.
The butterfly’s design stands out because of its soft wing shapes and pretty stitches that make it look light and delicate. It’s a simple project that feels nice to make and works well to decorate or gift. If you want a small and lovely handmade piece, this crochet butterfly is a great project to try.
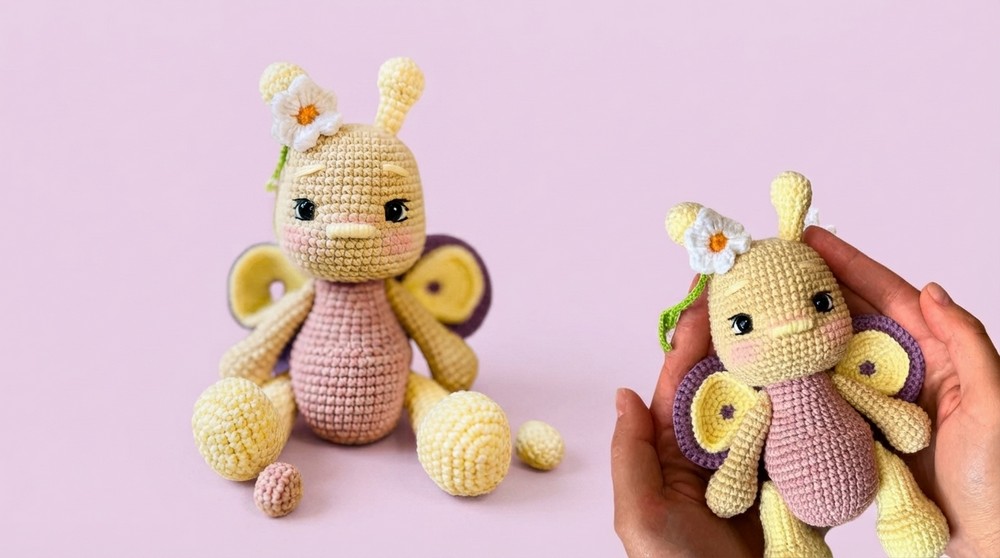
Crochet Butterfly Head and Antennae Pattern – Detailed Instructions
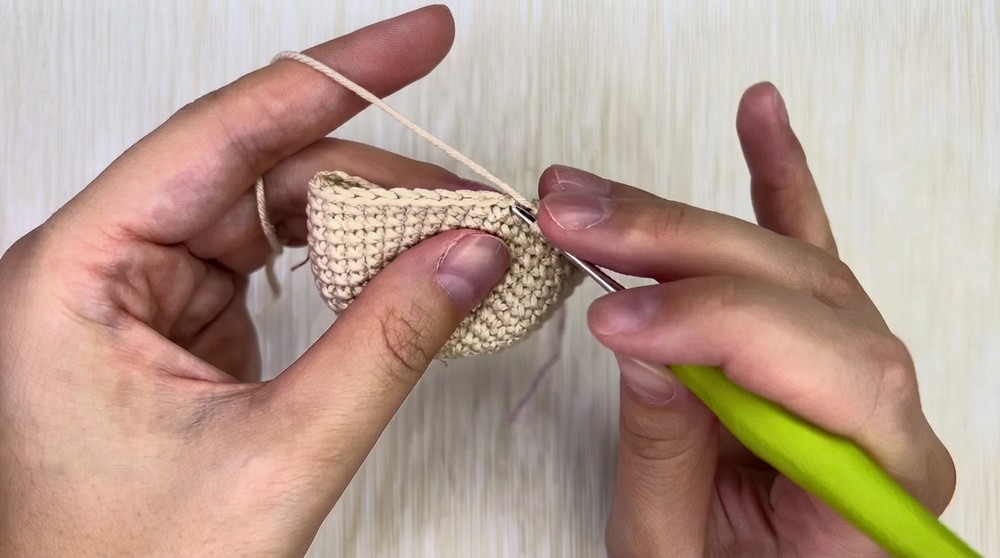
This pattern guides you through crocheting a detailed butterfly head and its delicate antennae, suitable for amigurumi or butterfly-themed projects. The head is constructed in rounds, starting from a magic ring base and working through increases, rounds of single crochet, decreases, and finishing techniques like working in back loops only. The antennae follow a similar round-by-round refining shape pattern culminating in slender appendages.
Skill Level & Terminology
- Skill Level: Intermediate Beginner – familiarity with crochet in rounds, increases, decreases, and basic shaping techniques required.
- Terminology: US crochet terms are used exclusively throughout this pattern.
Materials & Tools
- Light or medium weight yarn in your preferred color for the butterfly head and antennae
- Crochet hook compatible with yarn weight (suggested 2.75mm – 3.5mm)
- Stitch marker to track round starts (optional but recommended)
- Plastic safety eyes or embroidered eyes
- Fiberfill or toy stuffing
- Yarn needle for weaving in ends and sewing parts together
- Scissors
Gauge
For best fit and shaping, crochet tightly so that stitches do not allow stuffing to show. Gauge is approximately 16 sc x 20 rows = 4 inches (10 cm) in single crochet using suggested hook and yarn. Adjust hook size if necessary to achieve a firm fabric.
Abbreviations List
| Abbreviation | Meaning |
|---|---|
| ch | Chain |
| sc | Single crochet |
| inc | Increase (2 sc in 1 st) |
| dec | Decrease (sc 2 sts together) |
| BLO | Back loop only |
| st | Stitch |
| sl st | Slip stitch |
| MR | Magic ring |
Special Stitch Instructions
- Magic Ring (MR): Adjustable ring that creates a tight, closed center for working in rounds.
- Increase (inc): Work 2 single crochets into the same stitch to add stitches evenly distributed.
- Decrease (dec): Crochet 2 stitches together to reduce stitch count and shape the piece.
- Working in Back Loops Only (BLO): Insert hook only into the back loop of the stitch for texture and shaping.
Finished Size
The completed butterfly head measures approximately 2.5 inches (6.5 cm) in diameter unstuffed, slightly larger when firmly stuffed. Antennae length is adjustable but typically around 2 to 2.5 inches (5–6.5 cm).
The Pattern Itself
Butterfly Head (Rounds 1–27)
Round 1
- Work 6 single crochets (sc) into a magic ring.
- Pull tight to close.
Round 2
- Work 6 increases: 2 sc in each stitch around (12 sts).
Round 3
- (1 sc, 1 inc) repeat 6 times — 18 sts.
Round 4
- (2 sc, 1 inc) repeat 6 times — 24 sts.
Round 5
- (3 sc, 1 inc) repeat 6 times — 30 sts.
Round 6
- (4 sc, 1 inc) repeat 6 times — 36 sts.
Round 7
- (5 sc, 1 inc) repeat 6 times — 42 sts.
Round 8
- (6 sc, 1 inc) repeat 6 times — 48 sts.
Round 9
- Work 6 rounds of 48 sc (no increase or decrease).
Round 10
- Work 6 rounds of 48 sc (no increase or decrease).
Round 11
- Work 6 rounds of 48 sc (no increase or decrease).
Round 12
- Work 6 rounds of 48 sc (no increase or decrease).
Round 13
- Work 6 rounds of 48 sc (no increase or decrease).
Round 14
- Work 6 rounds of 48 sc (no increase or decrease).
By this stage, your piece grows into a smooth and rounded shape. Maintain consistent stitch tension to keep the shape even.
Inserting Eyes
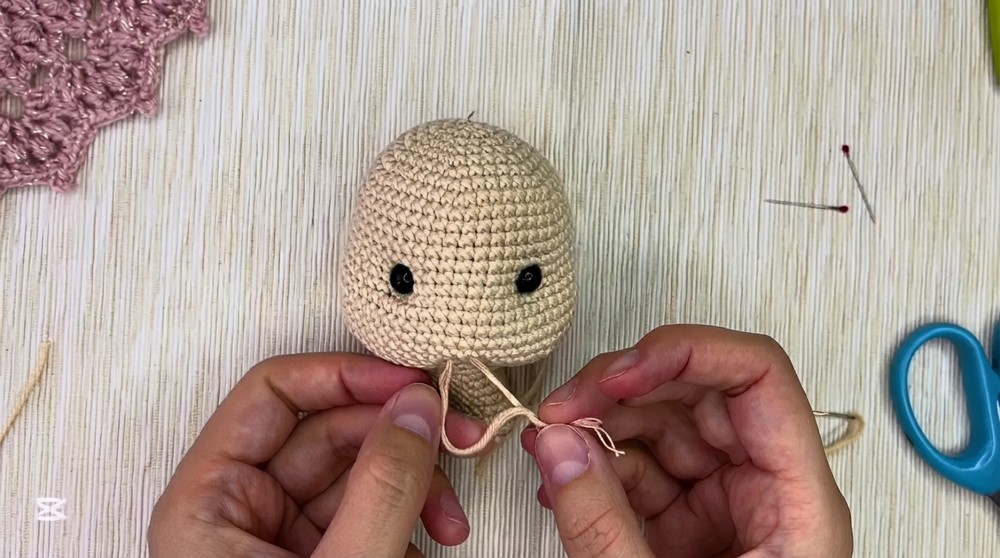
- Insert plastic safety eyes between rounds 14 and 15.
- Place eyes with 10 stitches spacing between them on the round.
Round 15
- 11 sc, 1 inc, (4 sc, 1 inc) repeat 5 times, 11 sc = 54 sts.
Round 16
- Work 6 rounds of 54 sc (no increase or decrease).
Round 17
- Work 6 rounds of 54 sc (no increase or decrease).
Round 18
- Work 6 rounds of 54 sc (no increase or decrease).
Round 19
- Work 6 rounds of 54 sc (no increase or decrease).
Round 20
- Work 6 rounds of 54 sc (no increase or decrease).
Round 21
- Work 6 rounds of 54 sc (no increase or decrease).
Round 22
- (7 sc, 1 dec) repeat 6 times — 48 sts.
Round 23
- (6 sc, 1 dec) repeat 6 times — 42 sts.
Round 24
- (5 sc, 1 dec) repeat 6 times — 36 sts.
Round 25
- (4 sc, 1 dec) repeat 6 times — 30 sts.
Round 26
- (3 sc, 1 dec) repeat 6 times — 24 sts.
Round 27
- Work 24 sc in back loops only (BLO) — 24 sts.
Round 28
- Work 7 rounds of 24 sc.
Round 29
- Work 7 rounds of 24 sc.
Round 30
- Work 7 rounds of 24 sc.
Round 31
- Work 7 rounds of 24 sc.
Round 32
- Work 7 rounds of 24 sc.
Round 33
- Work 7 rounds of 24 sc.
Round 34
- Work 7 rounds of 24 sc.
Rounds 22–34 steadily bring the head inwards, shaping it gently. BLO in round 27 adds subtle textural detail for dimension.
Butterfly Antennae (Part 1)
Round 1
- Work 6 sc into a magic ring.
Round 2
- Work 6 increases — 12 sts.
Round 3
- (1 sc, 1 inc) repeat 6 times — 18 sts.
Round 4
- Work 18 sc evenly around.
Round 5
- (1 sc, 1 dec) repeat 6 times — 12 sts.
Round 6
- (1 sc, 1 dec) repeat 4 times — 8 sts.
Round 7
- Work 8 sc each round.
Round 8
- Work 8 sc each round.
Round 9
- Work 8 sc each round.
The antennae gradually taper by increasing then selectively decreasing stitches to form a slender shape, finishing with consistent single crochet rounds for length.
Crochet Butterfly Part 2 Pattern – Detailed Step-By-Step Instructions
1. Body Construction
Round 1
- Make a magic ring.
- Work 6 sc into the ring.
Round 2
- Inc in every stitch (2 sc in each st) — 12 sts.
Round 3
- (1 sc, inc) repeat 6 times — 18 sts.
Round 4
- (2 sc, inc) repeat 6 times — 24 sts.
Round 5
- (3 sc, inc) repeat 6 times — 30 sts.
Round 6
- (4 sc, inc) repeat 6 times — 36 sts.
Round 7
- (5 sc, inc) repeat 6 times — 42 sts.
Rounds 8 – 15
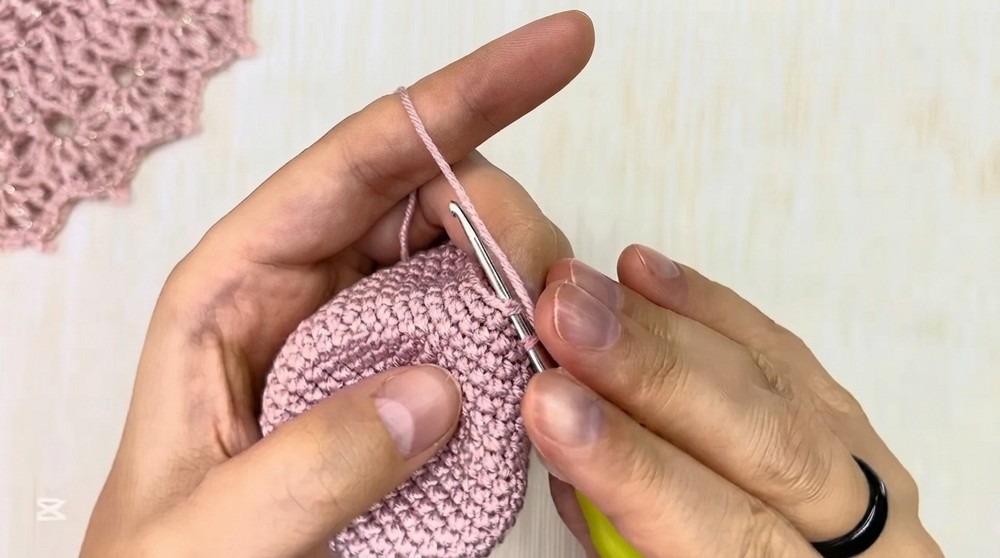
- Work sc in every stitch for 8 rounds to build the body height.
Round 16
- 10 sc, dec, (2 sc, dec) repeat 5 times, 10 sc — 36 sts.
Round 17
- 11 sc, dec, (4 sc, dec) repeat 2 times, 11 sc — 33 sts.
Round 18
- Work sc in every stitch (33 sts).
Round 19
- (9 sc, dec) repeat 3 times — 30 sts.
Rounds 20 – 21
- Work sc in every stitch for 2 rounds (30 sts).
Round 22
- (3 sc, dec) repeat 6 times — 24 sts.
Round 23
- Work sc in every stitch (24 sts).
Round 24
- 11 sc, dec, 11 sc — 23 sts.
Rounds 25 – 31
- Work sc in every stitch for 7 rounds.
Round 32
- (3 sc, dec) repeat 3 times, (2 sc, dec) repeat 2 times — 18 sts.
Round 33
- (1 sc, dec) repeat 6 times — 12 sts.
Round 34
- 6 dec — 6 sts.
Finishing
- Slip stitch to join, cut yarn, and close the hole neatly.
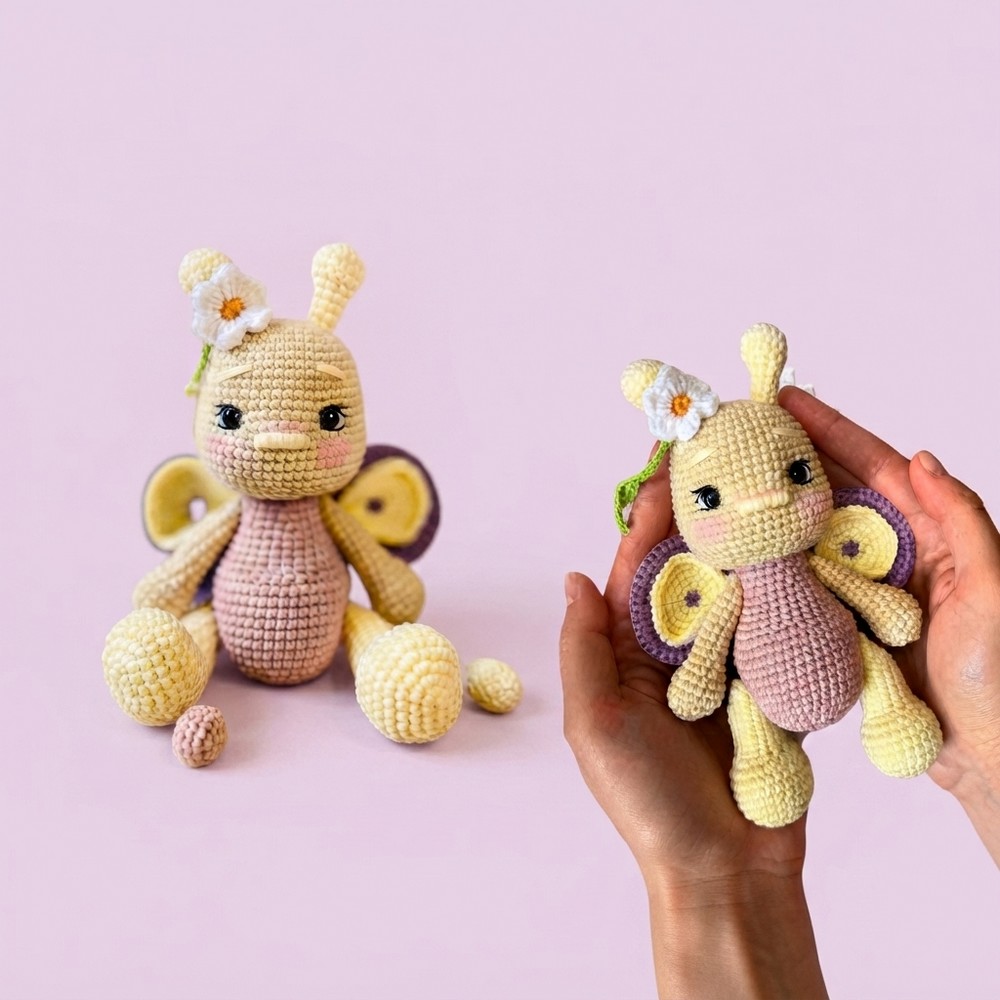
Body Completion Note: The body is shaped to be narrow at one end and wider at the other, allowing for the later attachment of limbs and wings. Carefully closing the final hole with a strong seam will maintain a neat look.
2. Legs Construction
Foundation Chain
- Chain 5.
Round 1
- Inc in 2nd chain from hook, 2 sc, 3 sc in last chain, work along the back side: 3 sc — 12 sts.
Round 2
- (2 inc, 2 sc, 3 inc, 2 sc, inc) — 16 sts.
Round 3
- (1 sc, inc) twice, 2 sc, (1 sc, inc) thrice, 3 sc, inc — 22 sts.
Round 4
- (2 sc, inc) twice, 2 sc, (2 sc, inc) thrice, 4 sc, inc — 28 sts.
Rounds 5 – 8
- Work sc in every stitch for 4 rounds.
Round 9
- 8 sc, (1 sc, dec) repeat 6 times, 2 sc — 22 sts.
Round 10
- 8 sc, 6 dec, 2 sc — 16 sts.
Rounds 11 – 12
- Work sc in every stitch for 2 rounds.
Round 13
- (6 sc, dec) repeat twice — 14 sts.
Rounds 14 – 15
- Work sc in every stitch for 2 rounds.
Round 16
- (5 sc, dec) repeat twice — 12 sts.
Rounds 17 – 18
- Work sc in every stitch for 2 rounds.
Round 19
- 6 dec — 6 sts.
- Slip stitch, cut yarn.
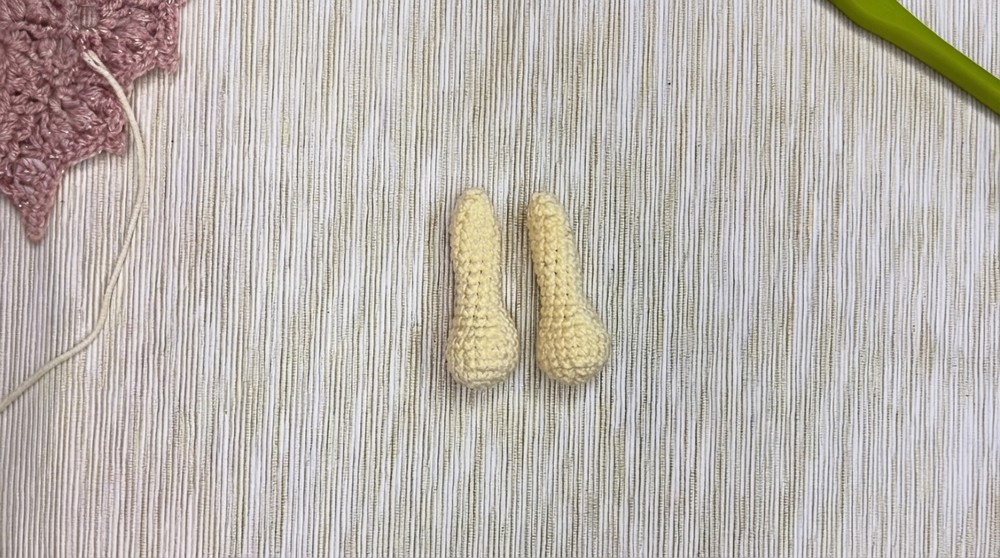
Legs Completion Note: Legs taper nicely to a slender finish, formed using strategic decreases. Keep tension firm to ensure stability when attaching legs to the body.
3. Wings Construction
Upper Wing – Step 1
Round 1
- Magic ring, 6 sc.
Round 2
- Inc in front loops only (FLO) around — 12 sts.
Round 3
- (1 sc, inc) repeat 6 times — 18 sts.
Round 4
- (1 sc, inc, 2 sc, inc) repeat 5 times, 1 sc — 24 sts.
Round 5
- (3 sc, inc) repeat 6 times — 30 sts.
Round 6
- (2 sc, inc, 4 sc, inc) repeat 5 times, 2 sc — 36 sts.
Round 7
- (5 sc, inc) repeat 6 times — 42 sts.
Round 8
- (3 sc, inc, 6 sc, inc) repeat 5 times, 3 sc — 48 sts.
Upper Wing – Step 2 (working back loops only (BLO) from Step 1)
Round 1
- Inc in every stitch — 12 sts.
Round 2
- (1 sc, inc) repeat 6 times — 18 sts.
Round 3
- (1 sc, inc, 2 sc, inc) repeat 5 times, 1 sc — 24 sts.
Round 4
- (3 sc, inc) repeat 6 times — 30 sts.
Round 5
- (2 sc, inc, 4 sc, inc) repeat 5 times, 2 sc — 36 sts.
Lower Wing
Round 1
- Magic ring, 6 sc.
Round 2
- Inc in every stitch — 12 sts.
Round 3
- (1 sc, inc) repeat 6 times — 18 sts.
Round 4
- (1 sc, inc, 2 sc, inc) repeat 5 times, 1 sc — 24 sts.
Round 5
- (3 sc, inc) repeat 6 times — 30 sts.
Round 6
- (2 sc, inc, 4 sc, inc) repeat 5 times, 2 sc — 36 sts.
Wings Completion Note: The wings are built with gradual increases using front and back loop techniques to create textured layers, giving wings a lifelike appearance and a dimensional effect.
4. Assembly & Finishing
- Sew all the parts (legs, wings, arms if applicable) securely to the body.
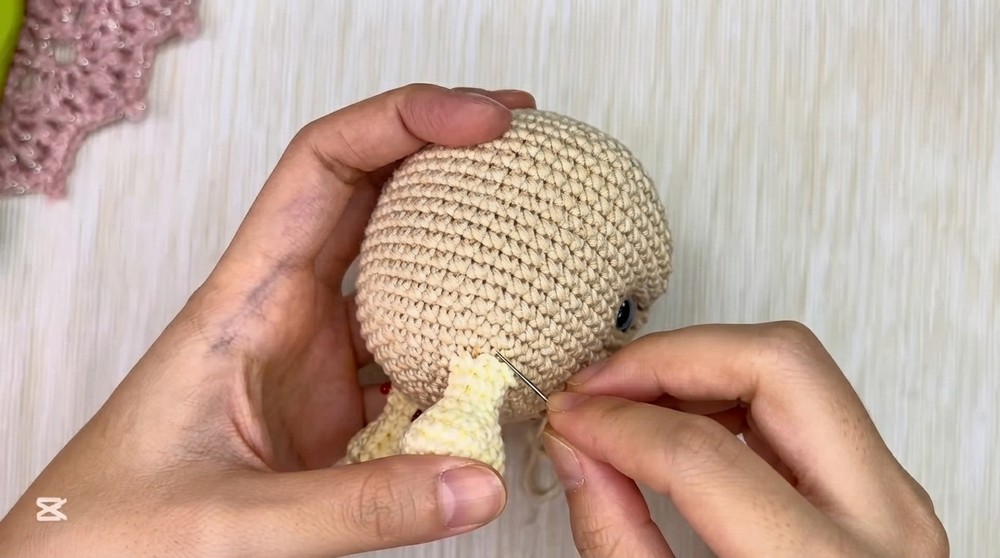
- Weave in all ends tightly to prevent unraveling.
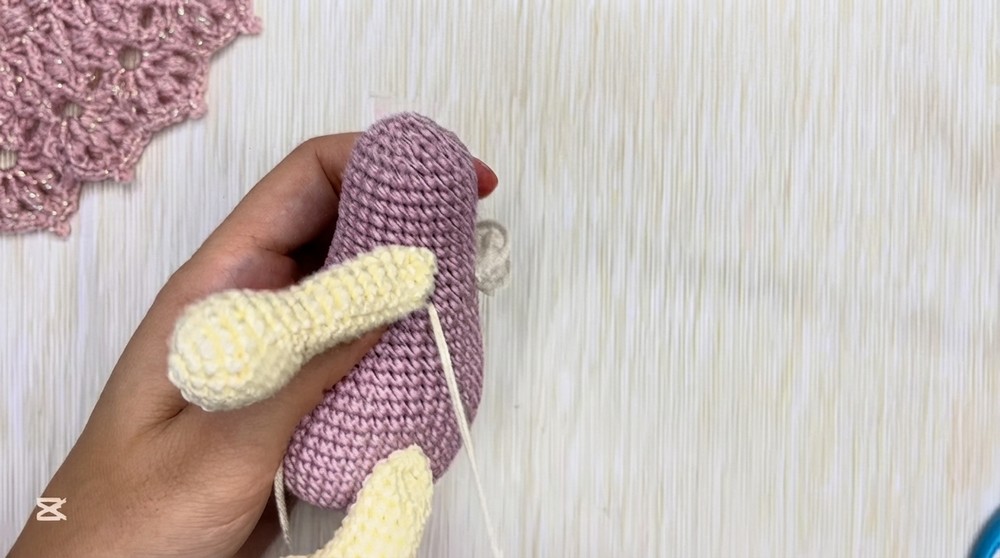
- Ensure the wings are symmetrically attached to balance the butterfly.
- Stuff the body firmly for stability, adjusting stuffing as necessary in the limbs to avoid sagging.
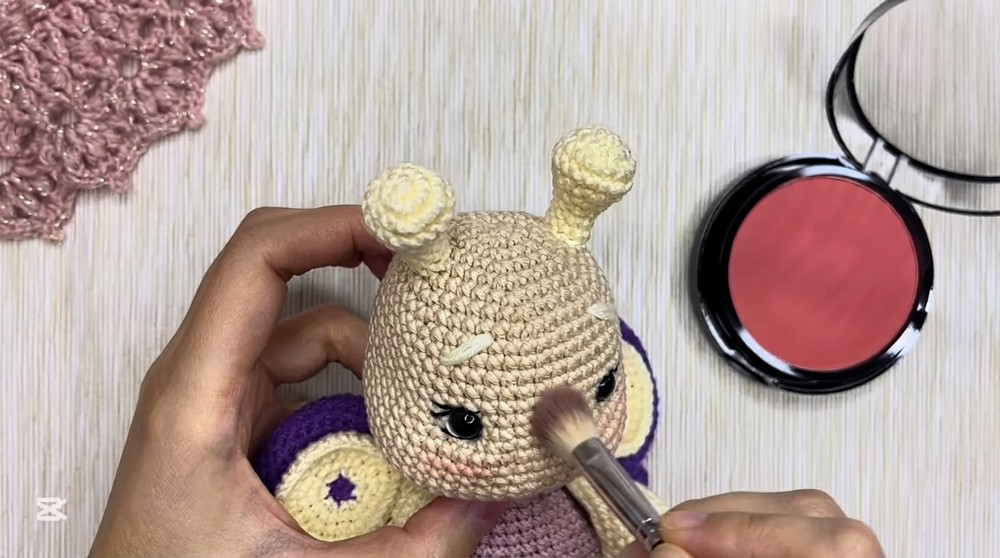
Pattern Summary & Usage Notes
This butterfly pattern begins with structured rounds of increasing single crochet stitches in a magic ring for body and wings, transitioning smoothly into rounds without increases for height, then precise decreases to taper shapes. The legs taper to slighter points through decreases and carefully positioned stitch counts. The wings’ layered construction with selective working in front or back loops produces subtle texture and volume, enhancing a realistic look.
You should start your project with a tightly closed magic ring and maintain consistent stitch tension for clear shaping. Patience during decreases ensures a neat and balanced figure. This pattern uses single crochet (sc), increases (inc), decreases (dec), and loop-specific stitches (FLO, BLO) to achieve its definition.
The consistent use of stitch sequences like (x sc, inc or dec) gives you flexibility to track rounds and count smoothly, helpful for beginners transitioning to more complex amigurumi.
With careful craftsmanship, the completed butterfly will be a delightful and detailed soft sculpture suitable for gifting or decoration.