Cute Crochet Rabbit Keychain Free Pattern

Give your keys an adorable update with this free crochet rabbit keychain pattern that’s easy to follow and perfect for adding charm wherever you go.
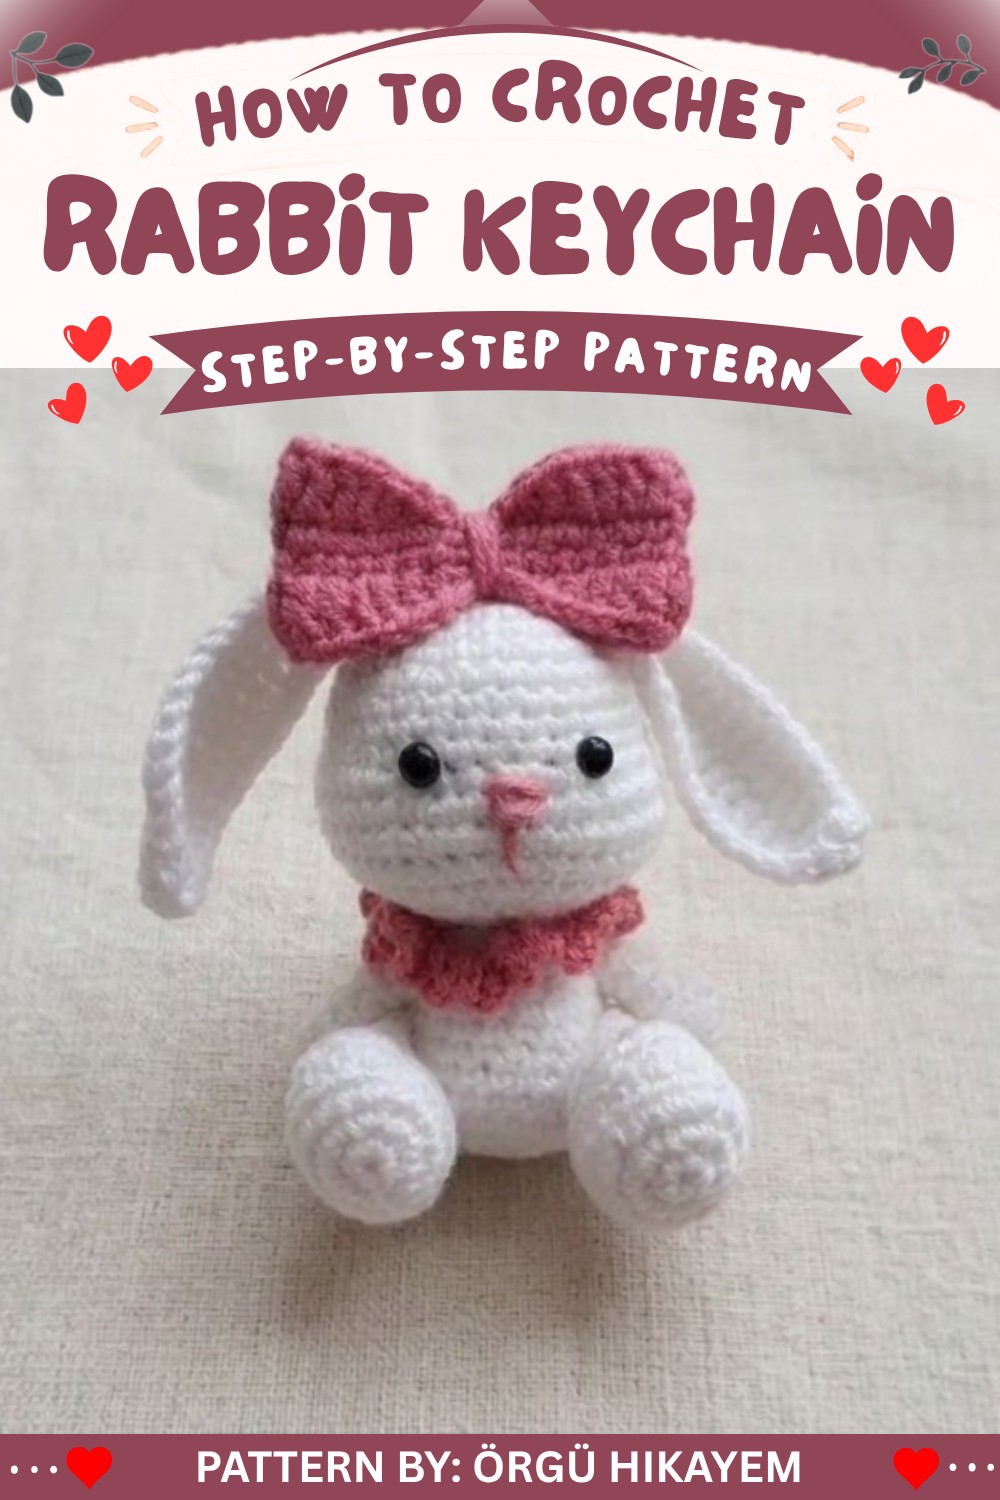
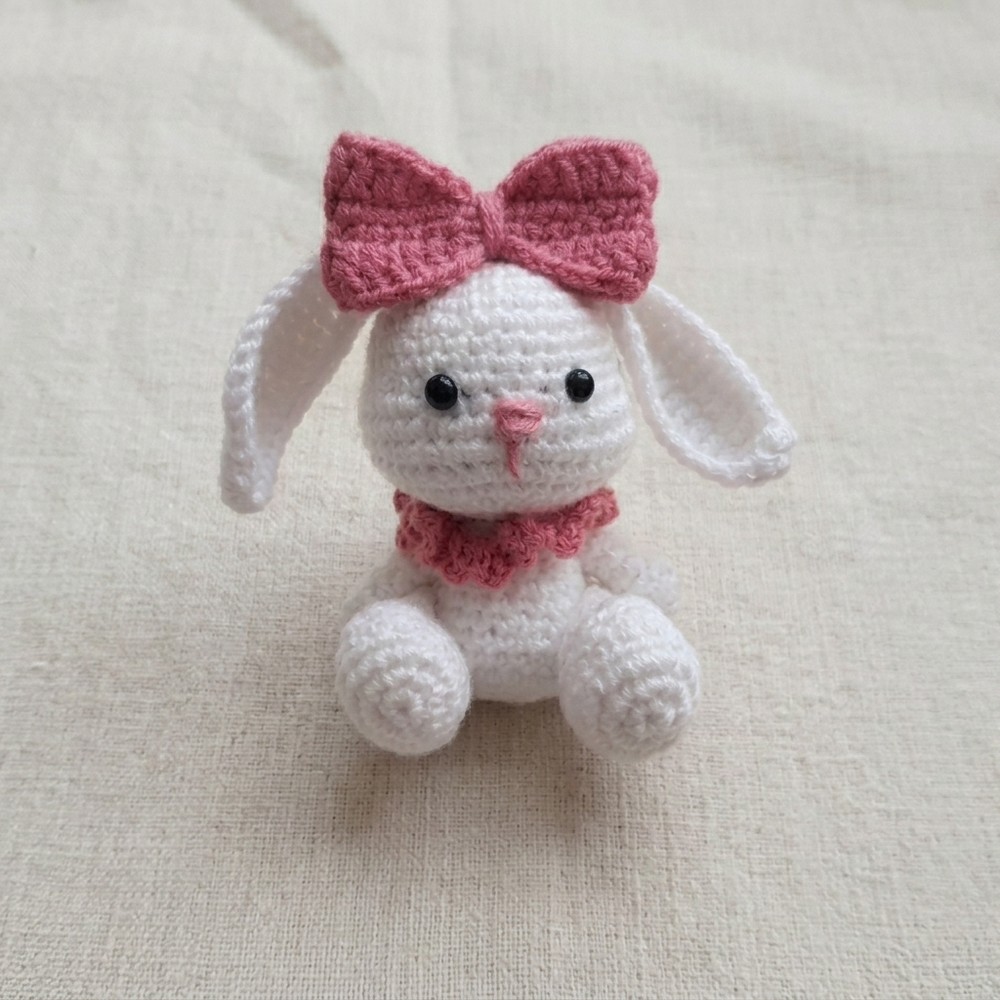
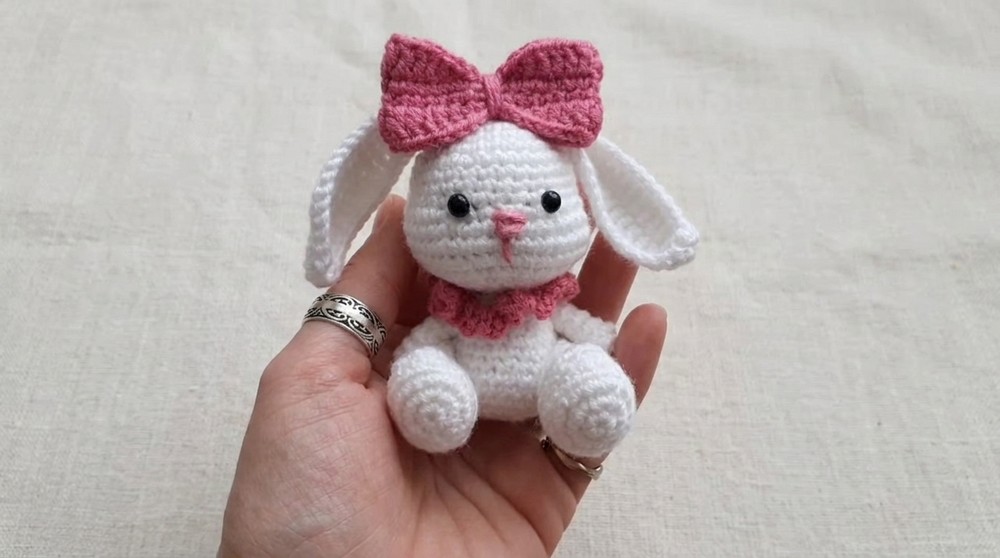
Who wouldn’t love carrying a mini bunny wherever they go? With the Free Crochet Rabbit Keychain Pattern, you can make an adorable handmade accessory that’s sure to brighten anyone’s day. This little rabbit is shaped perfectly to fit in your palm, with a cute rounded body, floppy ears, and a tiny button tail. Its soft appearance makes it irresistible, and the keychain lets you attach it to backpacks, purses, or even your keys for some extra charm.
The best part? This crochet pattern is super simple, so it’s great for beginners or anyone who loves quick, handmade projects. Designed by the talented creator from Örgü Hikayem, this pattern comes with clear instructions and helpful tips. You’ll love watching your bunny take shape stitch by stitch. Whether you make one for yourself, a friend, or as a gift for a little one, it’s a project packed with fun.
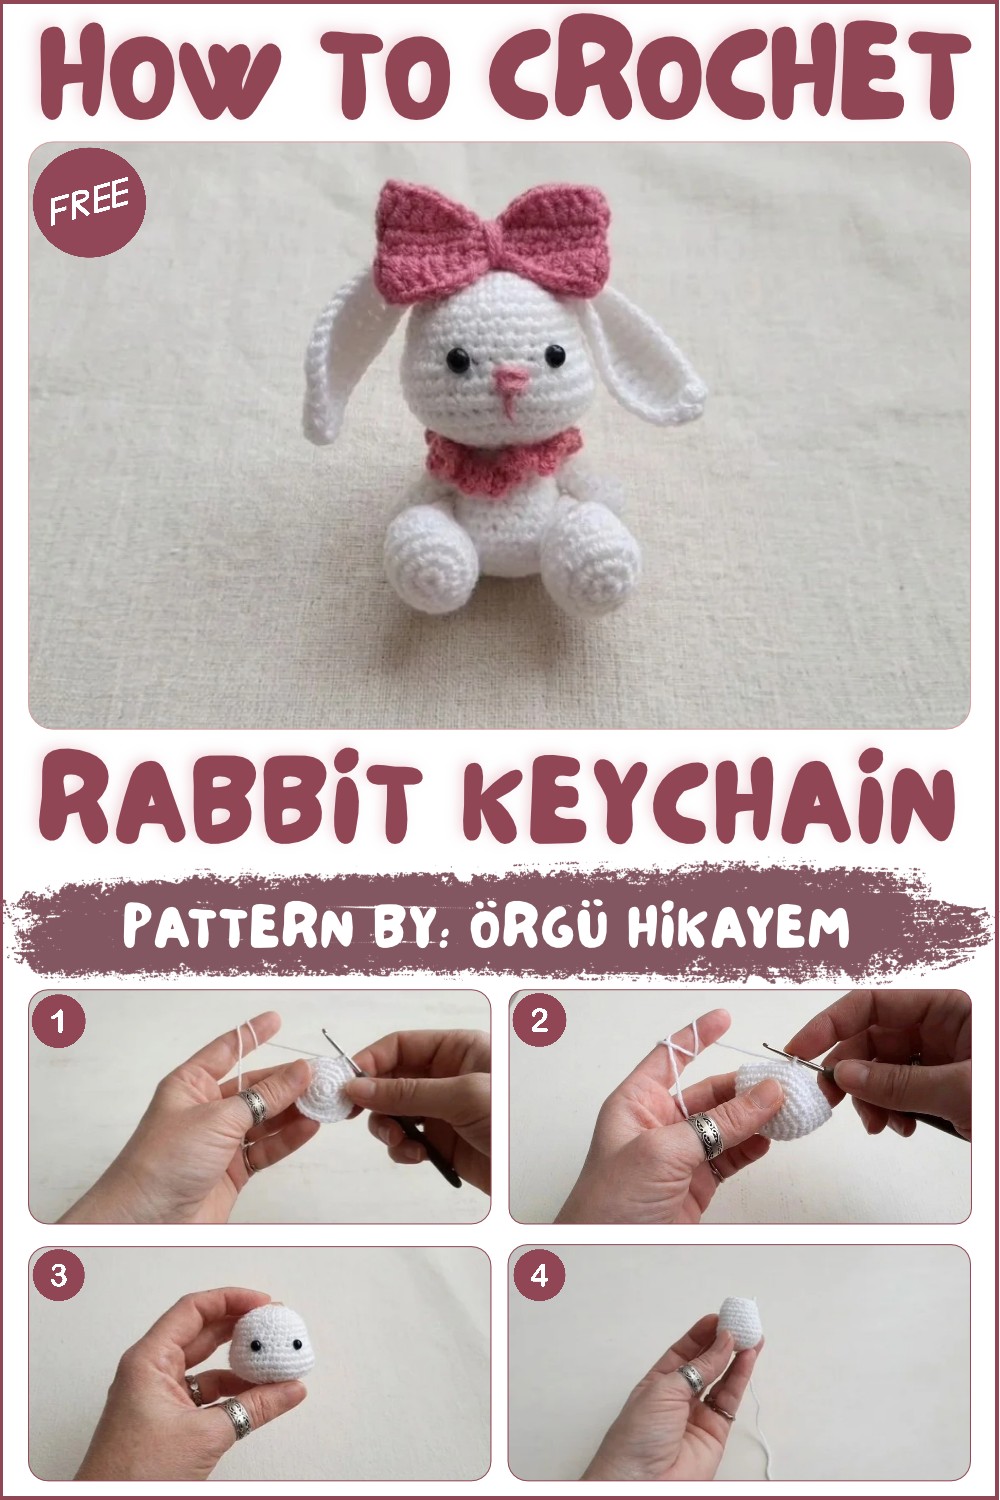
Free Crochet Rabbit Keychain Pattern with Floppy Ears
Perfect for every season, this keychain adds personality to your everyday accessories. You could even create it in different colors to match your style or mood. Imagine reaching for your keys and being greeted by this cheerful, handmade bunny—it’s enough to brighten any moment!
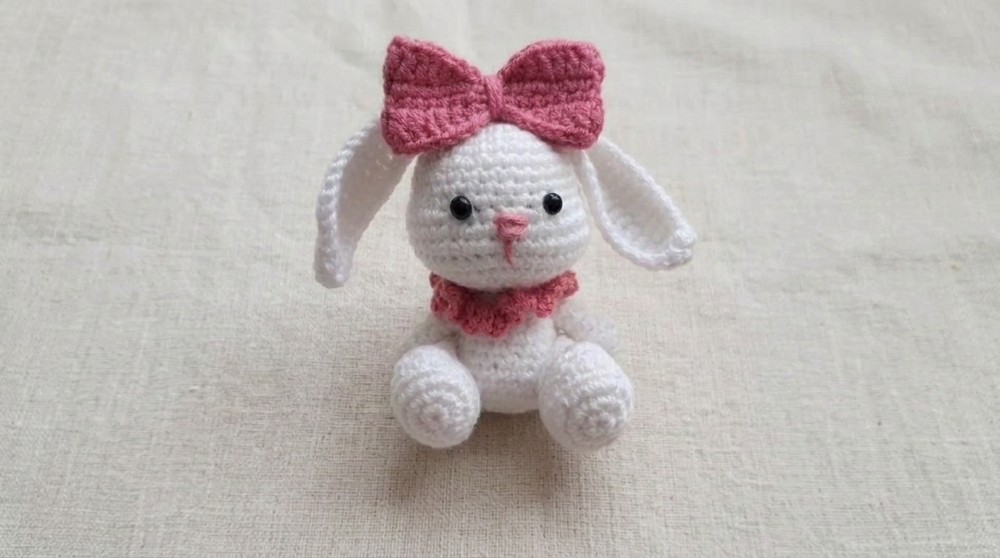
Crocheting this bunny is more than just crocheting; it’s creating something special with your own hands. Grab your hooks, find the Free Crochet Rabbit Keychain Pattern, and start making a beautiful bunny to keep or share. It’s an absolutely delightful way to spread joy through the simple art of crochet.
Amigurumi Rabbit Charm Crochet Pattern by Örgü Hikayem
This comprehensive crochet pattern guides you on crafting a charming amigurumi rabbit using Kartopu Baby One yarn, known for its anti-pilling quality. The pattern uses a 3mm safety eye, delivering life-like, secure eyes for your creation. With a round-by-round structure, the pattern builds the rabbit from head to body, adding detailed limbs, ears, and charming accessories including a bow and a delicate crocheted necklace (“gerdanlık”).
Quick Overview of Pattern
- The rabbit’s head is worked first from a magic ring, increasing to shape the form and finishing with decreases and facial detailing.
- The body follows with an eight-stitch magic ring base, shaped by increases and decreases to sculpt a rounded torso.
- Additional parts including arms, legs, ears, bow, and necklace complete the assembly.
- The pattern combines single crochets with half-double and double crochets for textural variety in accessories.
- Finished amigurumi features embroidered face details and securely attached limbs.
Notes
- Use a stitch marker at the start of each round to track progress.
- Maintain consistent tension to avoid gaps, especially normal in amigurumi to prevent stuffing from showing through.
- Insert safety eyes at round 9 of the head, spaced four stitches apart. Secure tightly.
- Stuff the pieces firmly but not overly to retain shape without stretching stitches.
- Embroidery enhances character; take care with facial features placement during assembly.
- Use color changes and stitch variation thoughtfully to accentuate features such as limbs and accessories.
Skill Level
Intermediate
This pattern assumes familiarity with:
- Crochet in the round using magic rings
- Increasing and decreasing stitches
- Changing stitch types (single crochet, half-double crochet, double crochet)
- Working in back loops for shaping
- Embroidering facial features and sewing amigurumi parts
Materials
- Yarn: Kartopu Baby One yarn or similar soft, anti-pilling baby yarn
- Hook: 3mm crochet hook
- Safety eyes: 3mm size for realistic effect
- Stitch markers, tapestry needle
- Fiberfill stuffing
- Embroidery thread for facial details (optional but recommended)
Measurements / Sizing
- Overall size depends on yarn and tension but approximately small enough for a keychain or desk ornament, typically around 10–12 cm tall when assembled.
Gauge and Stitch Pattern
- Gauge is flexible but aim for tight stitches using single crochet (sc) stitches to ensure no stuffing shows.
- Accessories combine chain (ch) stitches with half double crochet (hdc) and double crochet (dc) for texture.
Stitch Abbreviations
| Abbreviation | Term | Description |
|---|---|---|
| ch | Chain | Foundation or spacing stitch |
| sc | Single Crochet | Basic stitch, worked in most rounds |
| hdc | Half Double Crochet | Taller than sc, shorter than dc |
| dc | Double Crochet | Taller stitch, used in accessories |
| inc | Increase | Two sc stitches worked into one stitch |
| dec | Decrease | Crochet two stitches together |
Special Stitches
- Magic Ring (mr): Adjustable ring to start rounds tightly with no hole.
- Triple Decrease (triple dec): Decreasing three stitches together to reduce stitch count quickly while maintaining shape.
- Back Loop Only: Working in the back loops of stitches for shaping and definition.
The Crochet Pattern
Head
- R1: Start with a magic ring (mr) and work 6 single crochet (sc) into it. (6 sts)
- R2: Increase in every stitch (2 sc in each) — (12 sts)
- R3: (1 sc, 1 inc) repeat 6 times — (18 sts)
- R4: (2 sc, 1 inc) repeat 6 times — (24 sts)
- R5: (3 sc, 1 inc) repeat 6 times — (30 sts)
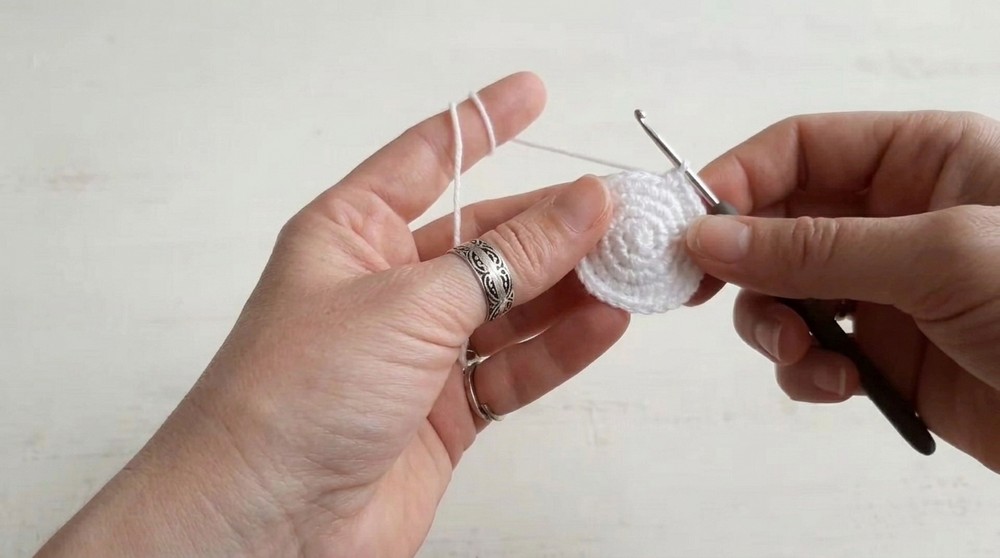
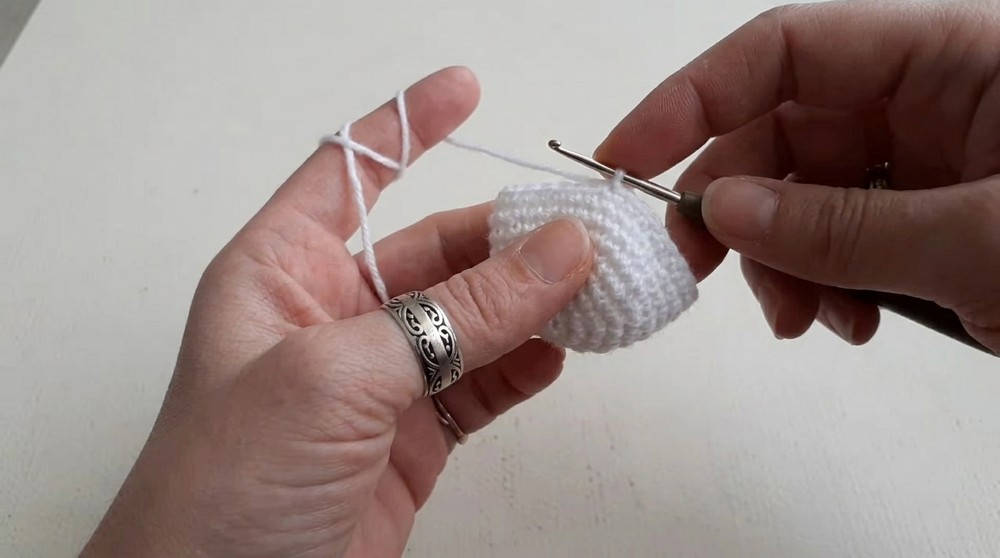
- R6–R9: Work 30 sc evenly for 4 rounds to build height.
- R10: 7 sc, 7 inc, 1 dec, 7 inc, 7 sc — (43 sts)
- R11: 5 sc, 1 dec, 29 sc, 1 dec, 4 sc — (41 sts)
- R12–R14: Work 41 sc evenly for 3 rounds.
- R15: 5 sc, 7 dec, 1 triple dec, 7 dec, 5 sc — (pattern for reducing volume)
- Eyes: Insert 3mm safety eyes between rounds 9 and 10, spaced 4 stitches apart.
- R16: (3 sc, 1 dec) repeat 6 times — (20 sts)
- R17: 1 sc, 1 dec, 1 sc repeat to end — (15 sts)
Finish off, close the head, and stuff firmly as you decrease.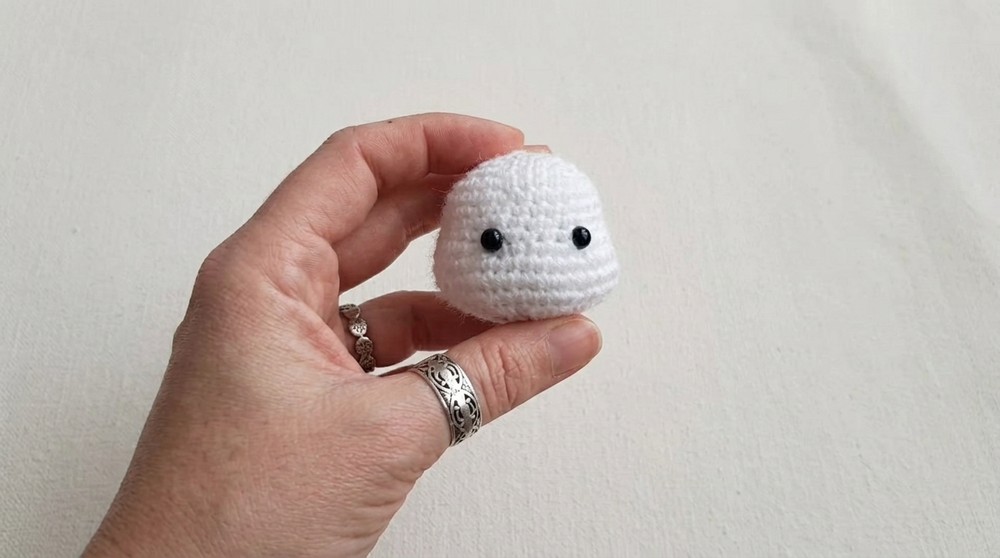
Body
- R1: Start with 8 sc in a magic ring — (8 sts)
- R2: Increase in every stitch — (16 sts)
- R3: (3 sc, 1 inc) repeat 4 times — (20 sts)
- R4: (4 sc, 1 inc) repeat 4 times — (24 sts)
- R5–R6: Work 24 sc evenly for 2 rounds.
- R7: (4 sc, 1 dec) repeat 4 times — (20 sts)
- R8–R10: Work 20 sc evenly for 3 rounds.
- R11: (3 sc, 1 dec) repeat 4 times — (16 sts)
- R12: (1 sc, 1 dec) repeat 6 times, end with 14 sc — shaping to finish.
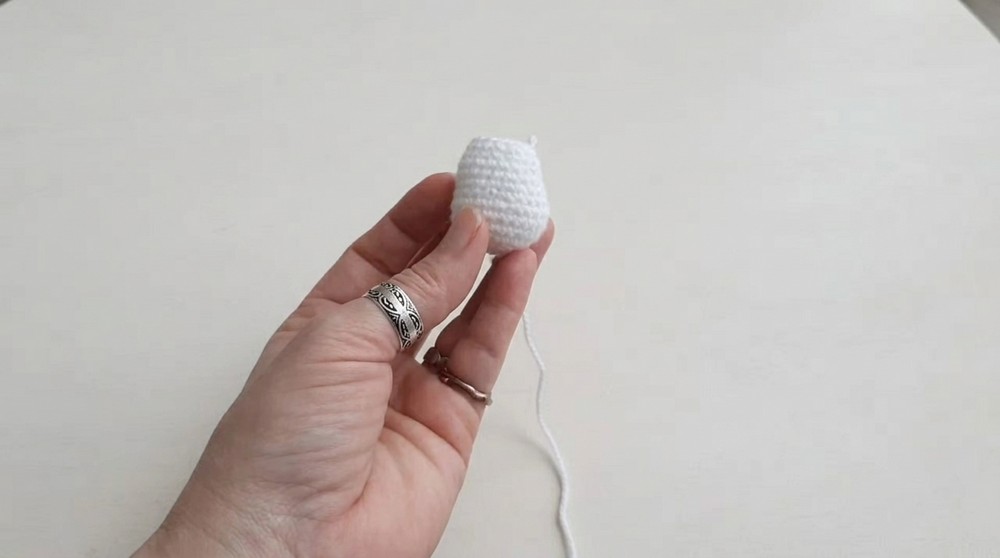
Finish off, stuff the body firmly.
Arms (Make 2)
- Create a magic ring and work 6 sc into it. (6 sts)
- Work 7 rounds of 6 sc each.
- Fasten off and leave a long tail for sewing.
Legs (Make 2)
- Begin with a magic ring, work 6 sc into it.
- Increase stitches until reaching 18 sts.
- Work rounds in back loops only to create a defining edge and shape.
- Decrease gradually to 13 sts, finishing with 11 sc and 1 dec.
- Fasten off and leave a long tail for attachment.
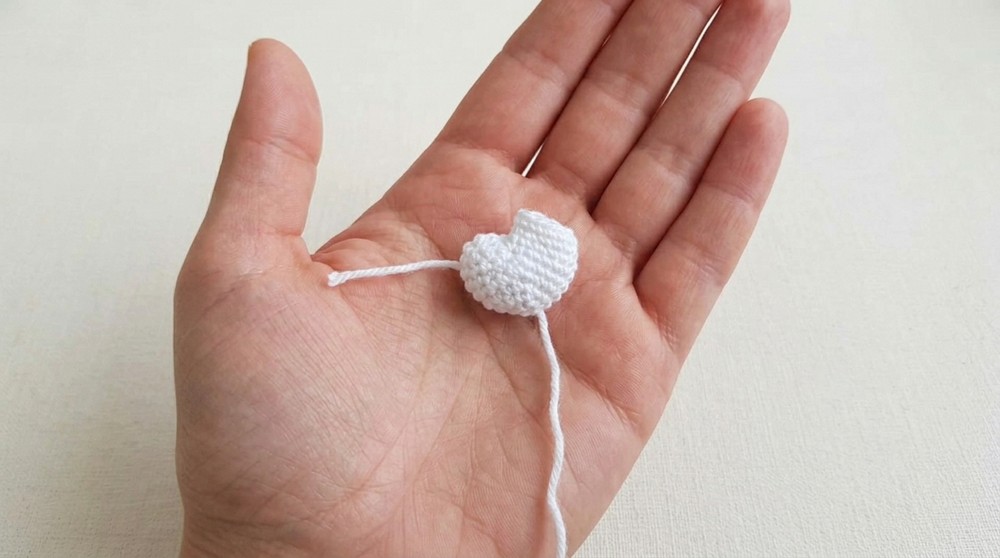
Ears (Make 2)
- Chain 19 as the base.
- Work a series of stitches over the chain including single crochet (sc), half-double crochet (hdc), and double crochet (dc) to shape the ear with height and texture.
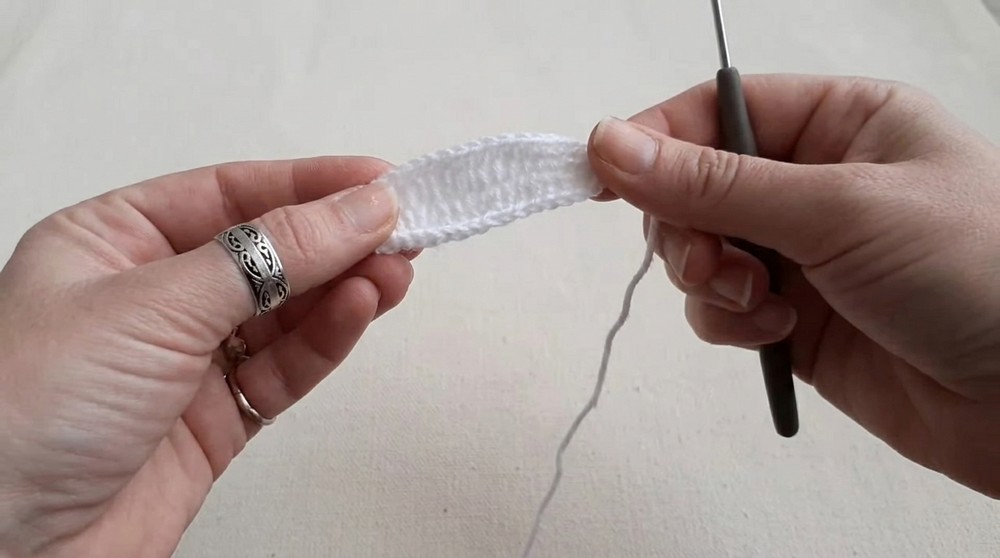
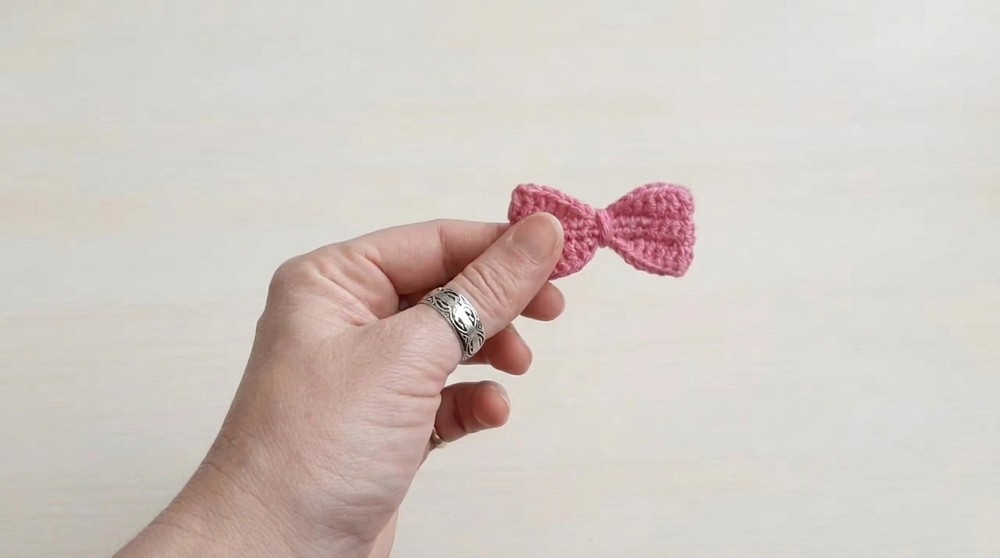
Bow
- Chain 30 as the foundation.
- Work various stitches across the foundation row including sc, hdc, and dc to form the bow shape.
- Bind off and shape accordingly.
Gerdanlık (Necklace)
- Chain 25 as the necklace base.
- Create shell-like stitches along the chain: 1 sc, 3 ch, 1 sc in the same stitch repeatedly to form decorative scallops.
- Fasten off and weave in ends.
Assembly & Finished Size
- Begin assembling by sewing the head onto the body securely.
- Attach arms and legs symmetrically to the body using yarn tails and a tapestry needle for a strong hold.
- Sew ears onto the top of the head in an upright position.
- Embroider any facial features not included by safety eyes, such as mouth and nose, with embroidery thread.
- Attach the crocheted bow either around the neck or as a decorative clip on the head.
- Add the gerdanlık (necklace) around the neck for a charming finishing touch.
- The finished amigurumi rabbit stands approximately 10–12 cm tall, perfect for display or gifting.
Conclusion
This amigurumi rabbit charm pattern combines fundamental crochet techniques with thoughtful shaping and detail work, producing an irresistibly cute figure. The use of an anti-pilling yarn ensures long-term durability and soft texture, while the 3mm safety eyes add life and personality. The detailed instructions for limbs, ears, bow, and necklace allow for personal creativity and finishing flourishes. The round-by-round approach simplifies the process and improves stitch accuracy. This intermediate-level project is rewarding and approachable for crocheters willing to expand their skills in amigurumi and accessory making.