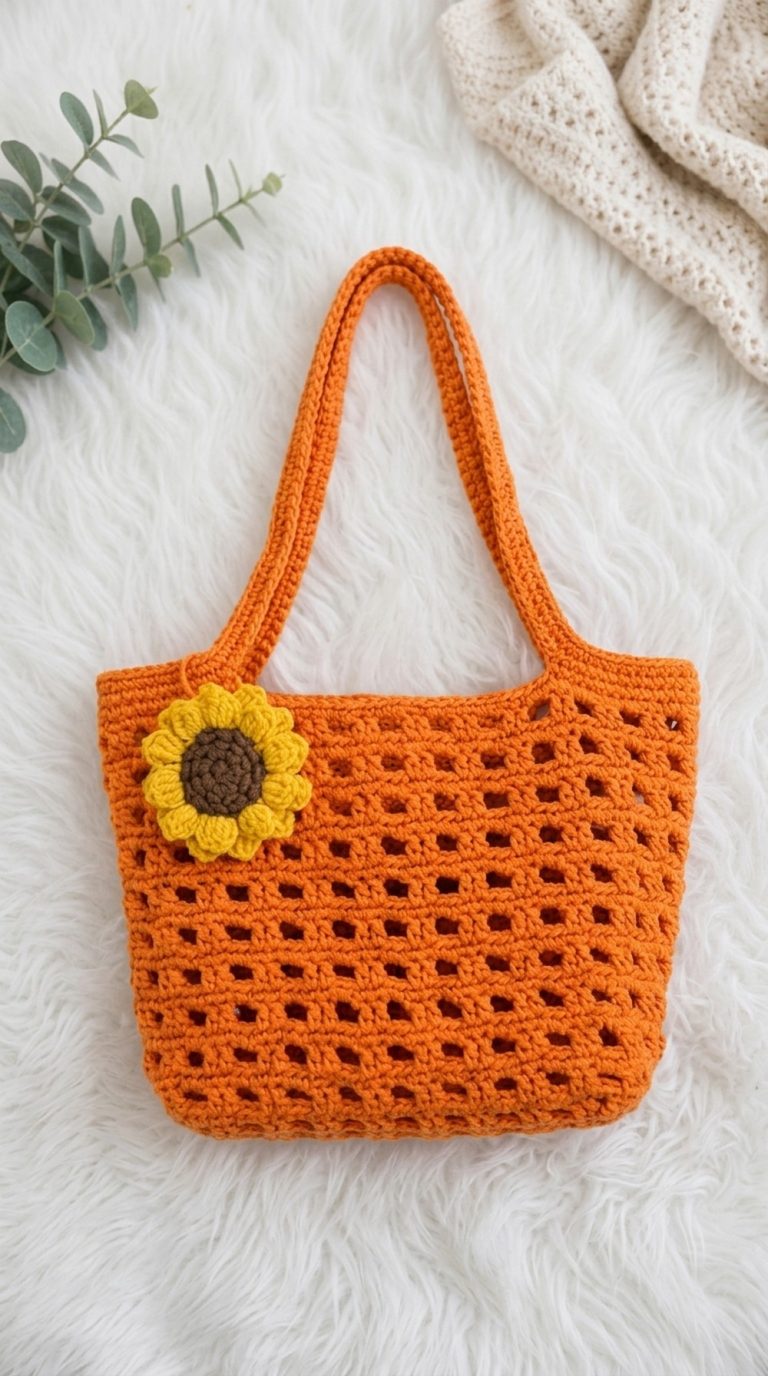
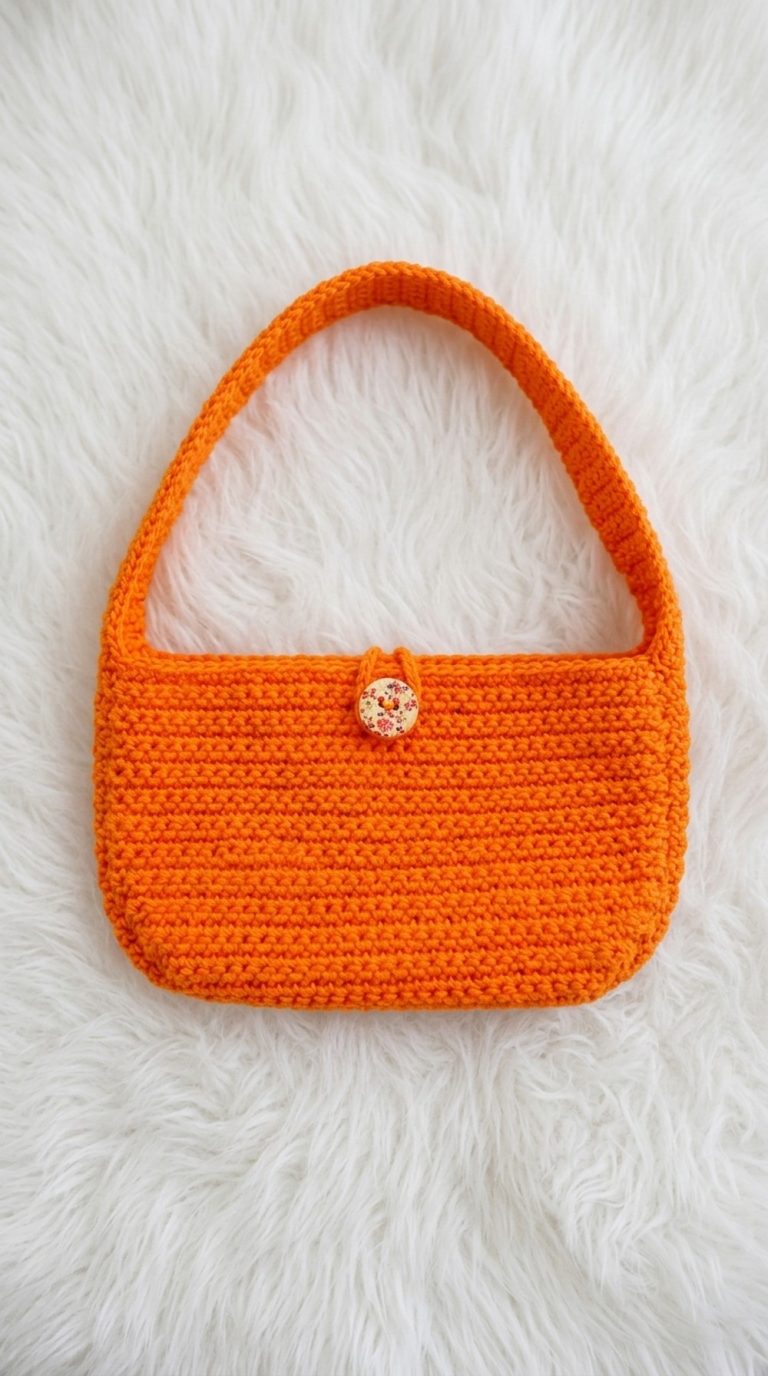
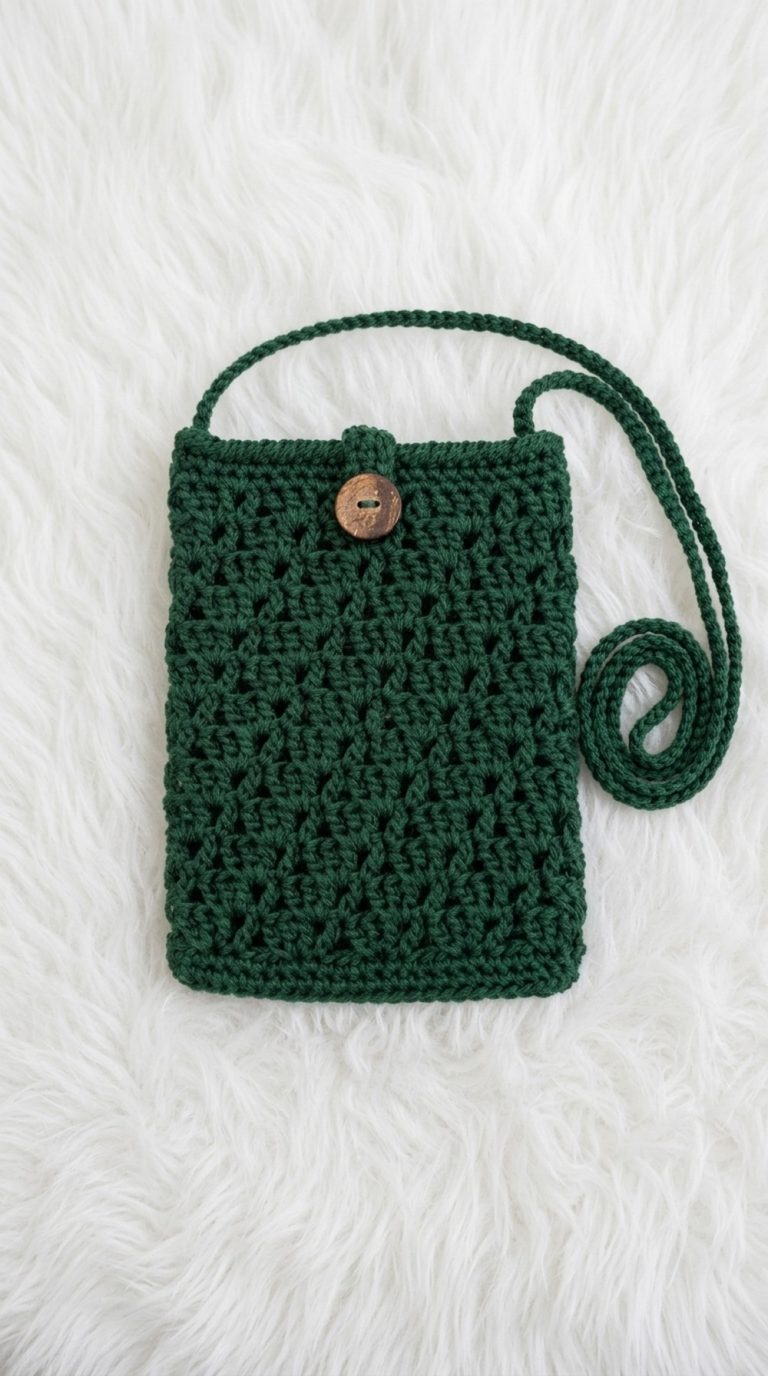
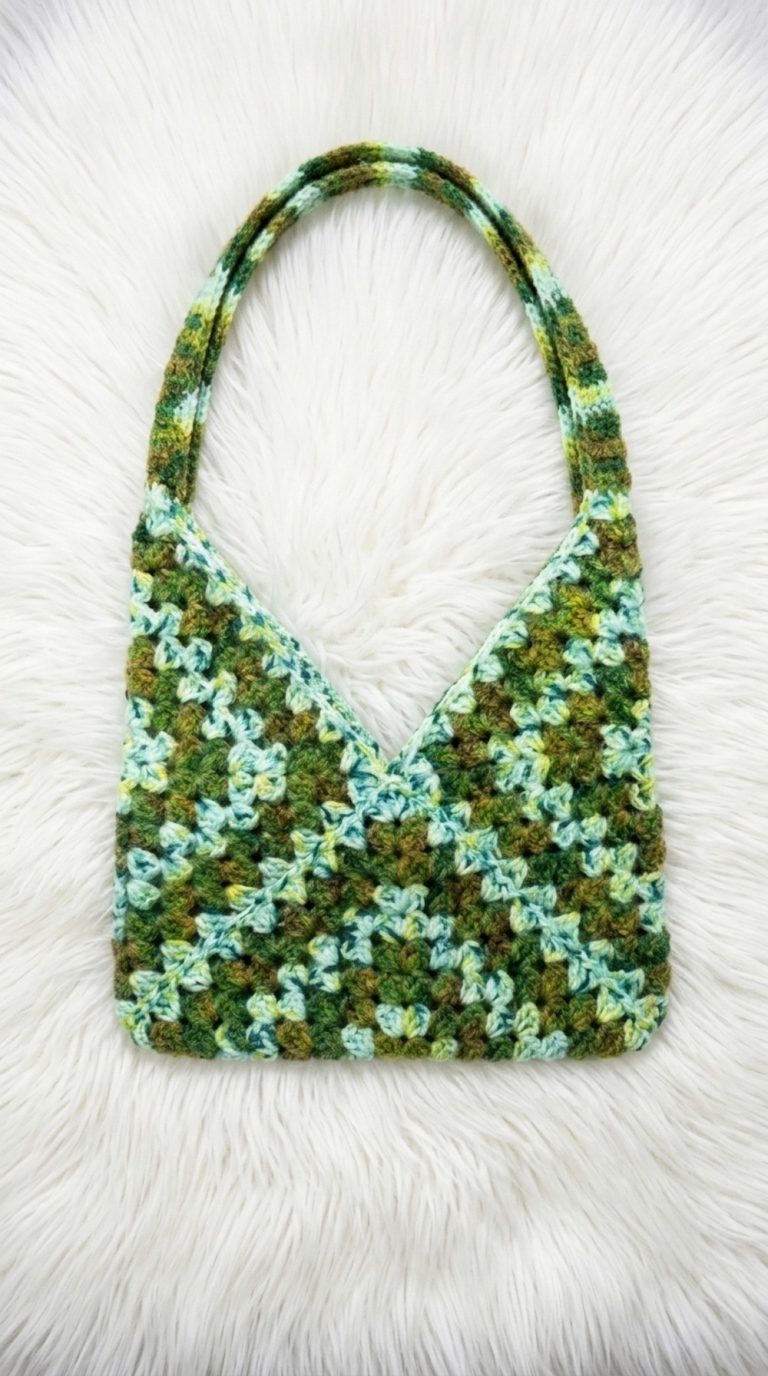
How to Crochet Seashell Purse Pattern for Beach Days

Switch up your accessory game with the Free Crochet Seashell Purse Pattern for a fun, coastal-inspired bag that stands out at every event.
Have you ever wished you could carry a piece of the ocean’s charm with you wherever you go? The crochet seashell purse brings that wish to life with its beautiful, scalloped texture inspired by the delicate curves of seashells. When you hold this purse pattern in your hand, it feels like you’re carrying a little bit of seaside magic—perfect for beach lovers and anyone who adores unique handmade accessories.
Learn this Easy Crochet Seashell Purse Pattern for Girls
The subtle waves formed by the shell stitch give the purse a sophisticated yet playful design, making it versatile for both casual outings and special occasions.
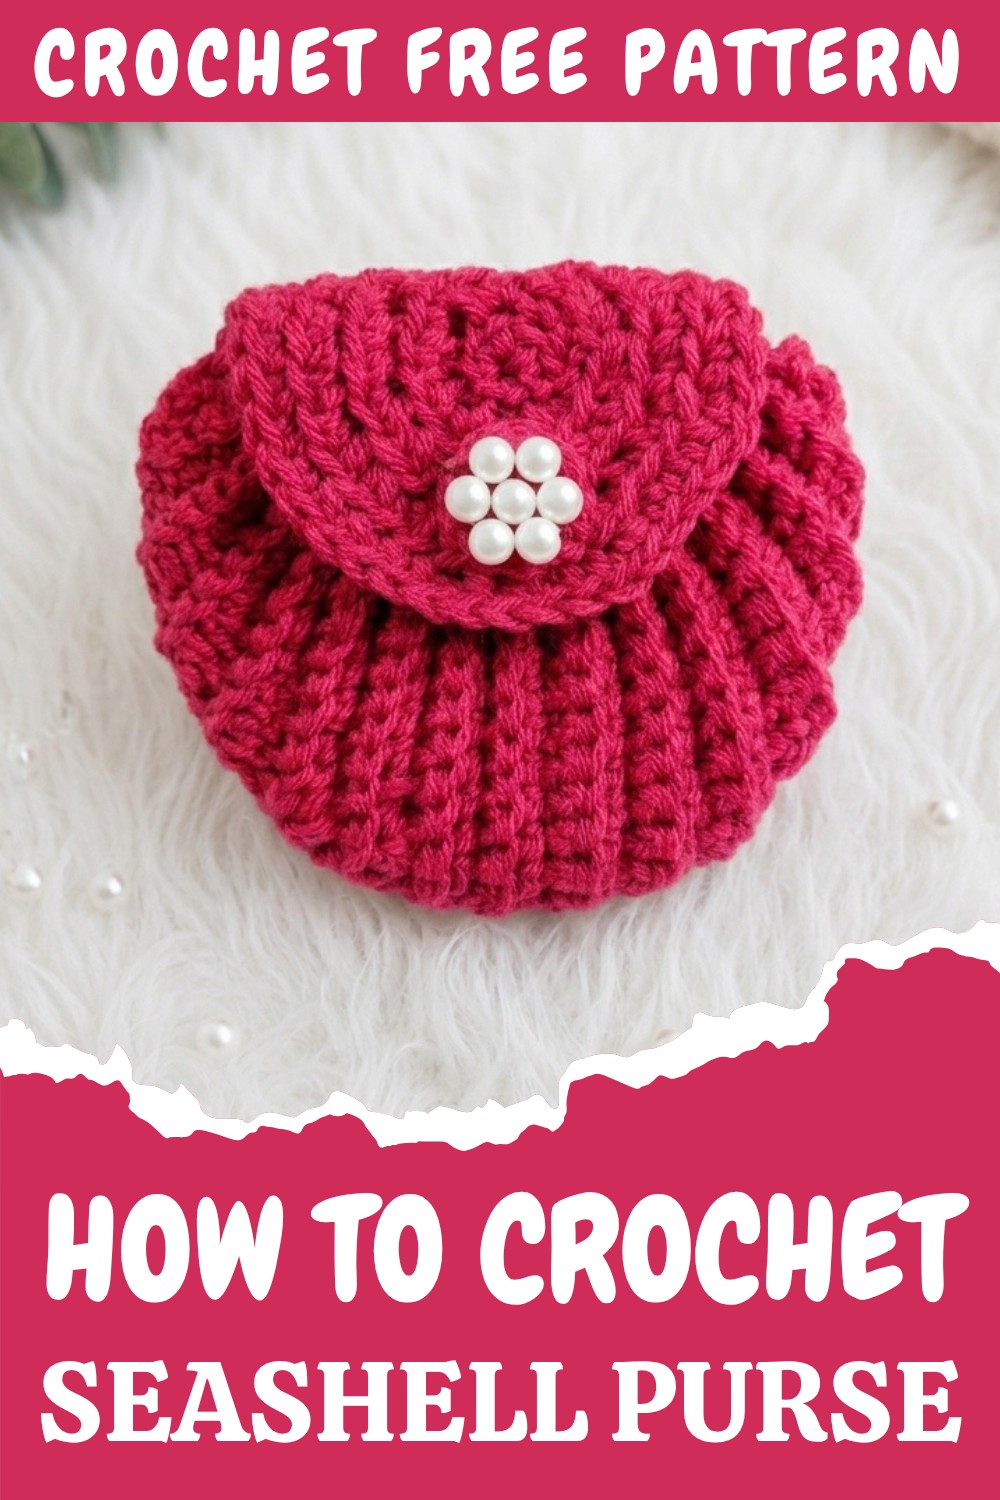
The color combinations used in this pattern can vary to match your style and imagination. You can opt for calming ocean hues like pastel blues, seafoam greens, and sandy beiges, or go bold with vibrant corals, pinks, or purples. This pattern is small yet practical, designed to hold your essentials like lip balm, keys, coins, or even trinkets from your latest seaside adventure. Whether you’re a beginner or returning to crochet after some time, this pattern is easy to follow and wonderfully rewarding.
What’s even more exciting is that this project introduces you to the shell stitch, a classic technique that forms elegant, fan-like shapes. Learning this stitch doesn’t just allow you to make this pattern but opens a world of possibilities—imagine using it to create cozy blankets, stunning shawls, beautiful scarves, or even textured pillow covers.
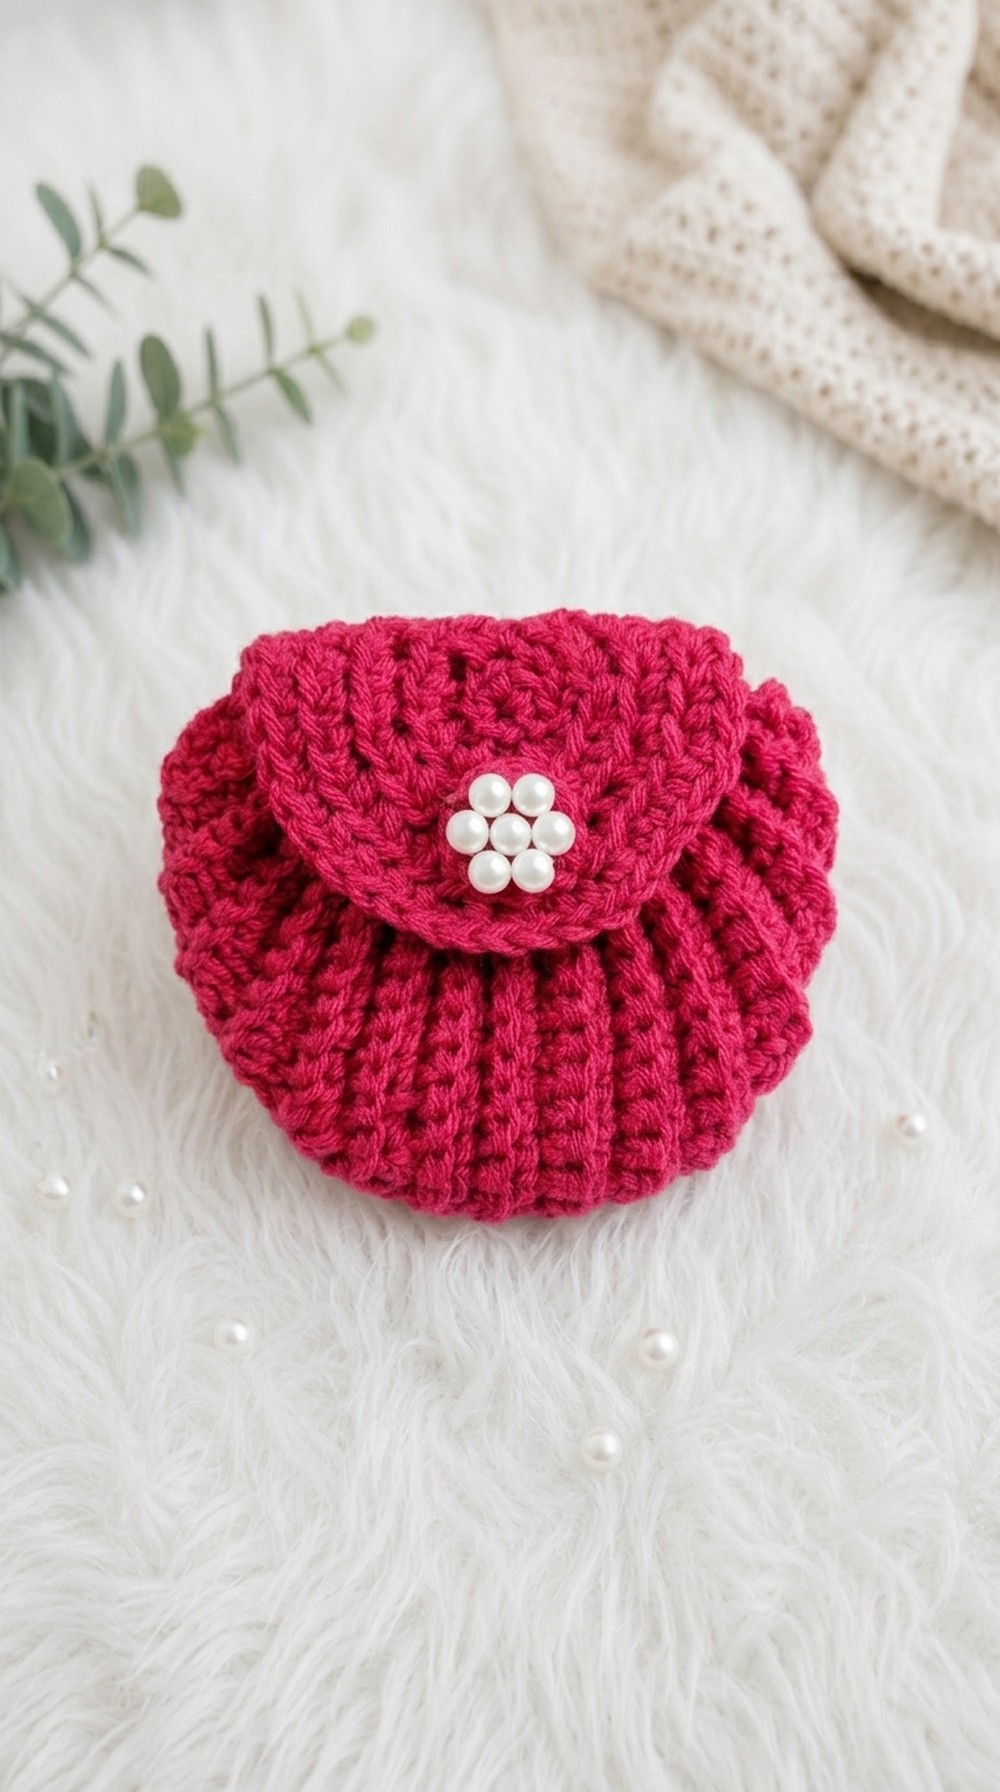
Mini Tail / Small Crochet Pouch with Buttoned Top
Skill Level & Terminology
- Skill Level: Advanced Beginner
- Terminology: US crochet terms
If you know how to make a chain, single crochet, and work in the back loop, you can follow this pattern with ease.
Materials & Tools
- Yarn: Light to medium-weight yarn (e.g., acrylic or cotton), in:
- Main color: Raspberry sorbet (for pouch)
- Crochet Hook: Size suitable for your yarn (commonly 3.0 mm to 3.5 mm)
- Tapestry Needle: For sewing and weaving in ends
- Scissors
- Button: Magnetic button, or any flat decorative button / bead
- Optional: Fabric glue or bead glue for fixing pearls or beads on the top circle
Gauge
Gauge is not critical for this small project, but for reference:
- Swatch:
- Using single crochet in back loop only (BLO sc)
- 20 stitches × 22 rows ≈ 10 × 10 cm (4 × 4 inches), depending on yarn and hook
As this is a small pouch, you can simply adjust length and width by adding or reducing rows.
Abbreviations
- ch – chain
- sc – single crochet
- BLO – back loop only
- sl st – slip stitch
- rnd – round
- st(s) – stitch(es)
Special Stitch Instructions
Single Crochet in Back Loop Only (BLO sc)
- Insert hook into the back loop only of the stitch (the loop farthest from you).
- Yarn over, pull up a loop.
- Yarn over, pull through both loops on hook.
This creates a beautiful ribbed, stretchy texture that shapes the mini tail/pouch nicely.
Single Crochet 3 Together (sc3tog) – Decrease Over 3 Stitches
- Insert hook into next stitch, yarn over, pull up a loop.
- Insert hook into next stitch, yarn over, pull up a loop.
- Insert hook into next stitch, yarn over, pull up a loop.
- You now have 4 loops on the hook.
- Yarn over, pull through all 4 loops.
This is used in the center to decrease and give the tail its tapered shape.
Finished Size
Approximate finished size (depends on yarn and hook):
- Length: About 10–12 cm
- Width at the widest part: About 5–6 cm
You can adjust length by making more or fewer rows in the straight section.
The Pattern Itself
Part 1: Starting the Tail and Increasing Rows
- Foundation
- Make a slip knot.
- Ch 9 (for example, adjust to desired width).
- Row 1
- Starting in the second ch from hook, work 1 sc in each ch across.
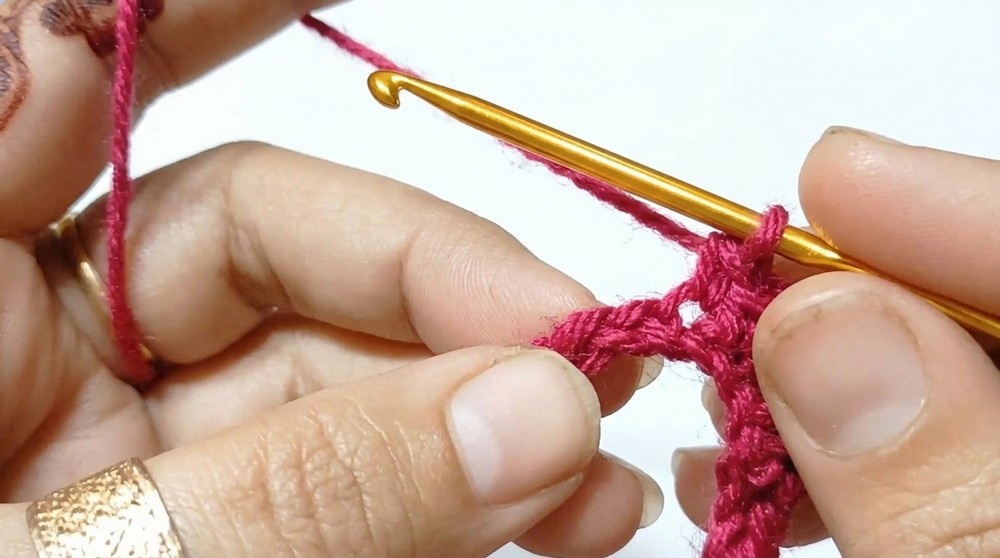
- You should have 8 sc.
- Turn.
- Starting in the second ch from hook, work 1 sc in each ch across.
- Row 2 – Increase at Both Ends
- Ch 1, turn.
- Work 1 sc in BLO of each stitch across,
- At both ends of the piece (first and last positions), work 3 sc in BLO of the same stitch (as shown in the video: “three single crochet in the end chain”).
- Following Increase Rows
- Continue in this way:
- Ch 1, turn.
- Work BLO sc across.
- At each end, work 3 sc in BLO in the end stitch of the row.
- You will see the piece becoming wider from the center.
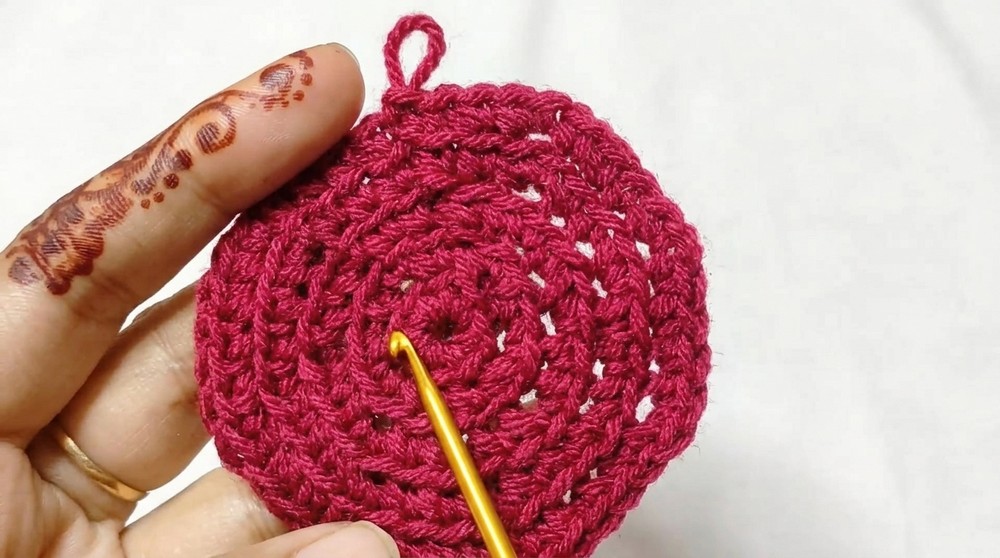
- Continue in this way:
- Work until you have a total of 9 increase rows, where in the last increase row you have 10 sc from the center to one side and 10 sc from the center to the other side (as described: “10 single crochet on each side from the center”).
You start with a small number of single crochet stitches worked into a chain. In every new row, you work in the back loops only and increase at both ends by putting three single crochet stitches into the end stitches. Keep doing this until your tail shape becomes wide enough, with about 9 increasing rows in total.
Part 2: Straight Section (No Increasing)
- After completing the 9 increasing rows, you will now stop increasing.
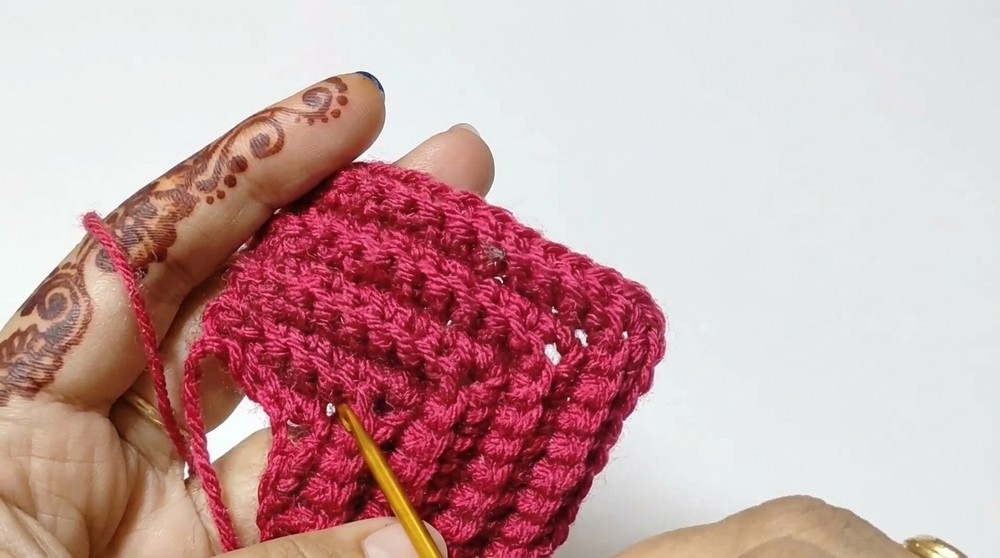
- For the next 9 rows:
- Ch 1, turn.
- Work 1 sc in BLO in each stitch across, with no increases at the ends.
This creates a straight section, so your tail has a wider middle part.
You now have 18 rows in total:
- 9 rows with increases
- 9 rows straight (no increases)
Once the pouch is wide enough, you stop adding extra stitches at the ends. Just keep making single crochet stitches in the back loop of each stitch, back and forth, for about 9 more rows. This keeps the middle part straight and gives length to your mini tail pouch.
Part 3: Decreasing Rows
Now we will taper the tail back down.
- First Decrease Row
- Ch 1, turn.
- Sl st into the first BLO stitch.
- Sc in BLO of the next 10 stitches.
- Now work sc3tog in BLO over the next 3 stitches (center decrease).
- Then work 10 sc in BLO again.
- Turn and continue decreasing similarly in every following row:
- In each new row, the number of sc in BLO between decreases will reduce by 1 on each side (10, then 9, then 8, etc.).
- You always work in BLO.
- Work a central decrease where needed, and keep sides decreasing until you reach 2 single crochet stitches on each side, just like at the beginning.
You will again complete about 9 decreasing rows, so the tail tapers to a narrow end.
For non-pattern readers:
After the straight part, you now reduce stitches gradually to make the tail narrow again. In each row, you make fewer single crochet stitches and use a special decrease over three stitches in the center. Keep going until you return to only a few stitches at the end, similar to how you started.
Part 4: Closing the Tail and Side Openings
- Once you have only 2 sc on each side, fasten off the working yarn.
- Use a tapestry needle and the tail of the yarn to:
- Close the end opening at the narrow point with small whip stitches.
- Close the side gaps/holes along both edges (left and right) if any remain from shaping.
- Weave in ends neatly.
When the shape is complete and narrow again, you cut the yarn and use a needle to sew closed the small opening at the tip of the tail and any tiny holes at the sides. This makes the pouch neat and secure.
Part 5: Small Circle Motif for Top Decoration
This circle will sit on top and can hold a button or bead in the center.
- Magic Circle
- Make a magic circle with your contrast color (e.g., pink).
- Round 1
- Ch 1.
- Work 8 sc into the magic circle.
- Pull the circle tight and join with sl st to the first sc.
- Round 2
- Ch 1.
- In BLO of each stitch: work 2 sc in each st around.
- Join with sl st to first sc.
- Round 3 and more (optional)
- Ch 1.
- Work the sequence 1 sc in BLO of next st, 2 sc in BLO of next st, repeating around.
- Join with sl st.
- Continue increasing in this way (e.g., 3 sc then 2 in one, etc.) until your circle is the size you want.
Make a small round piece starting with a magic circle and single crochet stitches. In each new round, add extra stitches by working two single crochets into some stitches. Keep going until the circle is big enough to sit nicely on top of the pouch.
Assembly & Finishing
- Attach the Circle to the Tail Top
- Place the circle on top of the closed end of the tail.
- Using your tapestry needle and matching yarn, sew it in place:
- Insert needle from bottom to top through the pouch.
- Then through the edge of the circle, from bottom to top again.
- Continue around until the circle is firmly attached and neat.
- Add Button / Pearl / Beads
- Sew a magnetic button, regular button, or pearl in the center of the circle.
- You may also use fabric glue or bead glue to attach decorative beads or pearls.
- Finishing
- Weave in any remaining yarn ends securely.
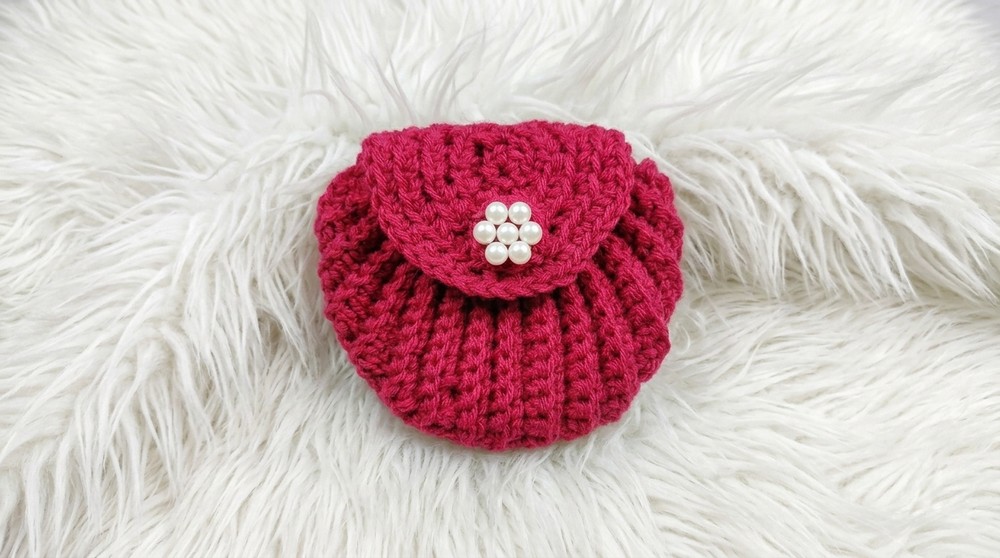
- Shape the pouch gently with your hands.
- Weave in any remaining yarn ends securely.
You can now use this mini tail pouch to keep coins, tiny accessories, beads, or scented items safely inside your handbag or drawer. This project is small, quick, and ideal for practicing BLO single crochet, shaping, and circular motifs while creating something beautiful and useful.