Quick & Easy Crochet String Bag Free Pattern

Stay organized on the go by trying this free crochet string bag pattern that’s as functional as it is stylish, offering the perfect blend of utility and flair.
A string bag is a stylish and practical accessory perfect for everyday use. With the free crochet string bag pattern available on the Vlastelina Crochet YouTube channel, you can create a lightweight and reusable bag that’s both functional and charming. Whether for grocery shopping, carrying essentials, or gifting to someone, this handmade bag adds a personal touch to any occasion.
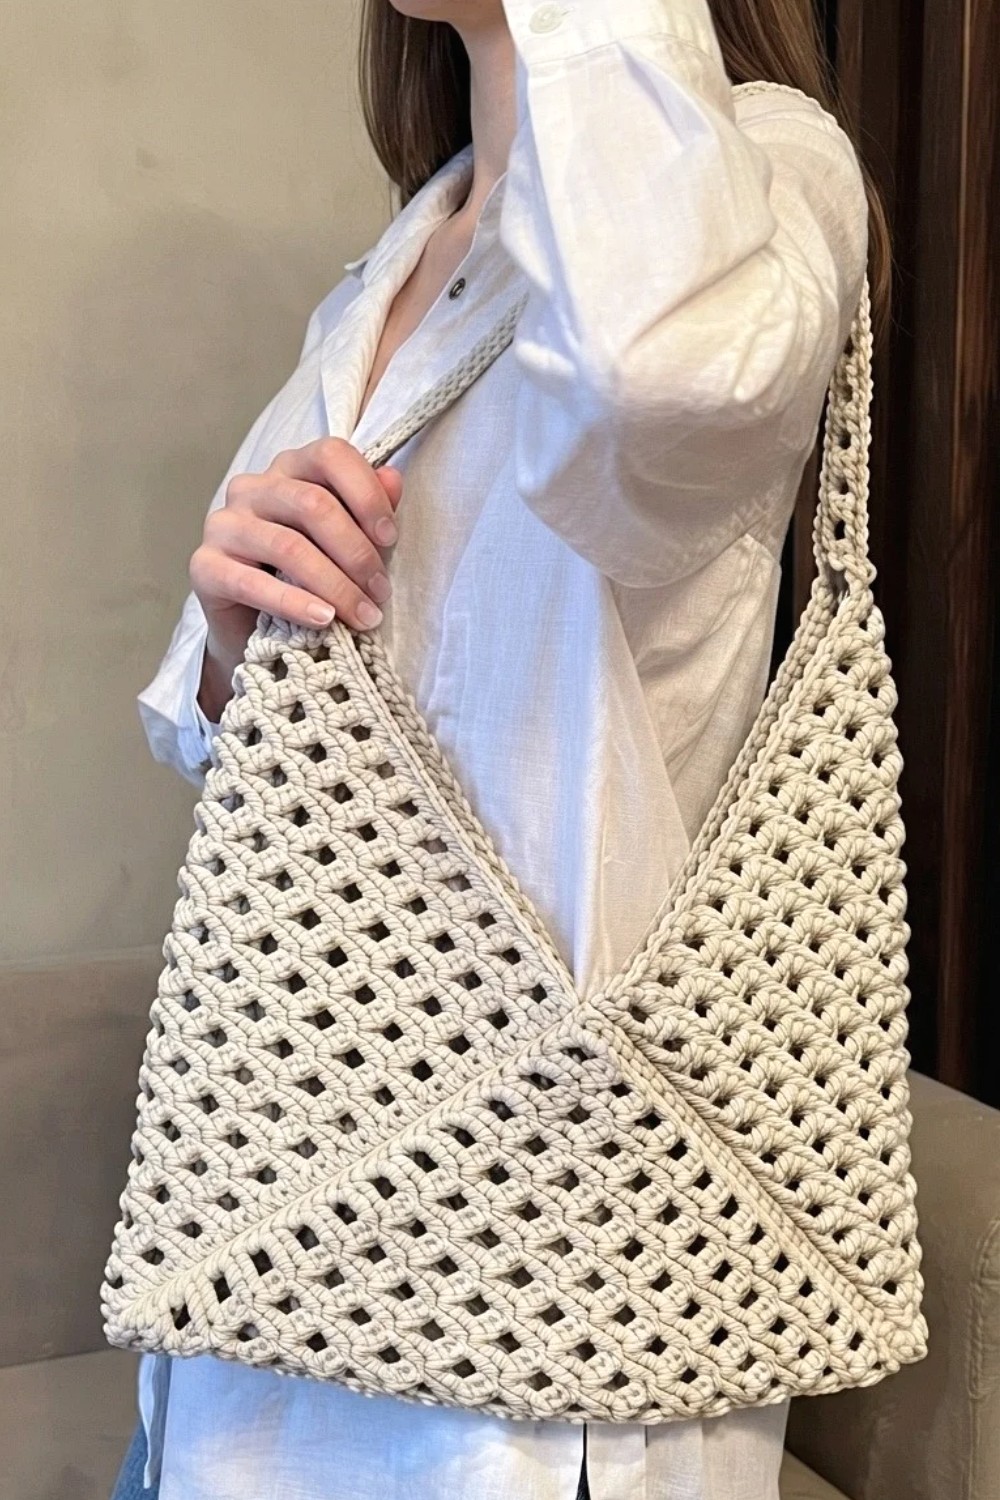
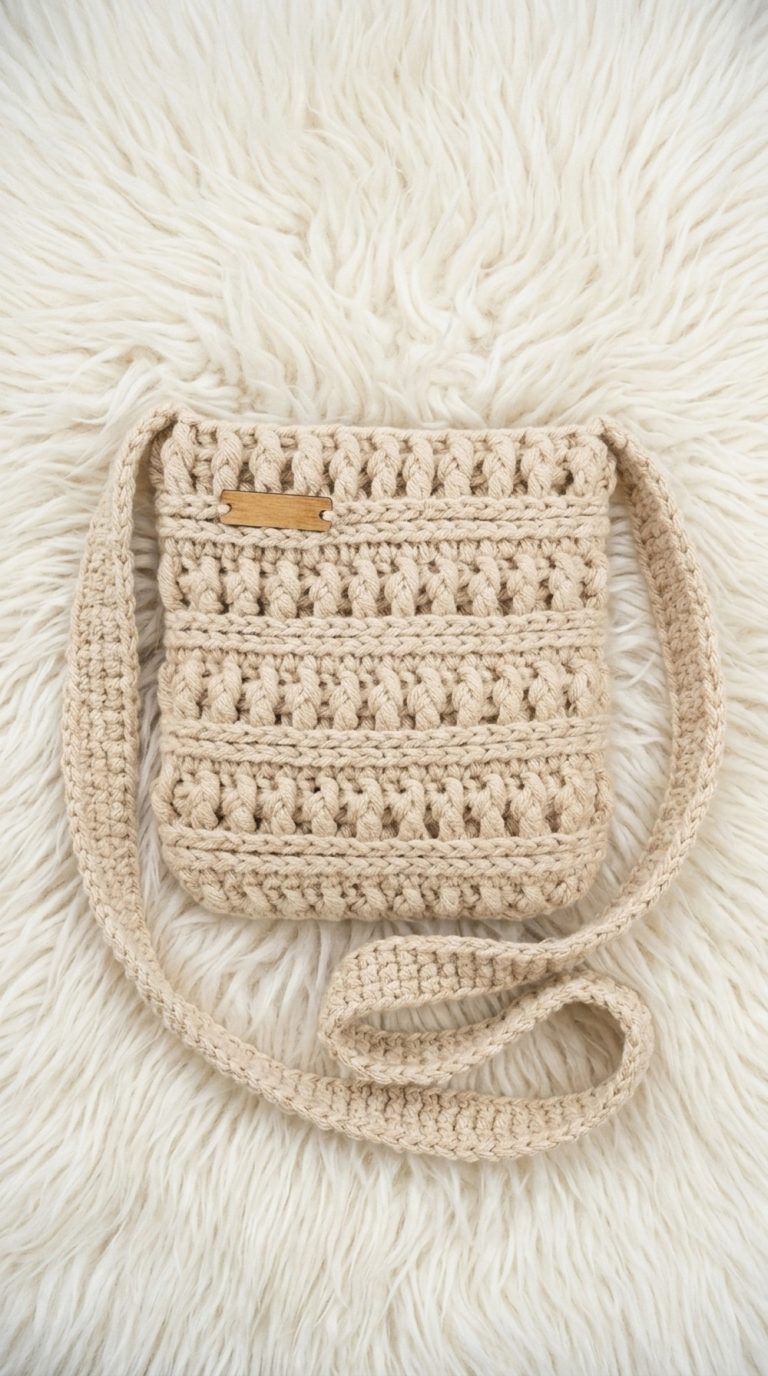
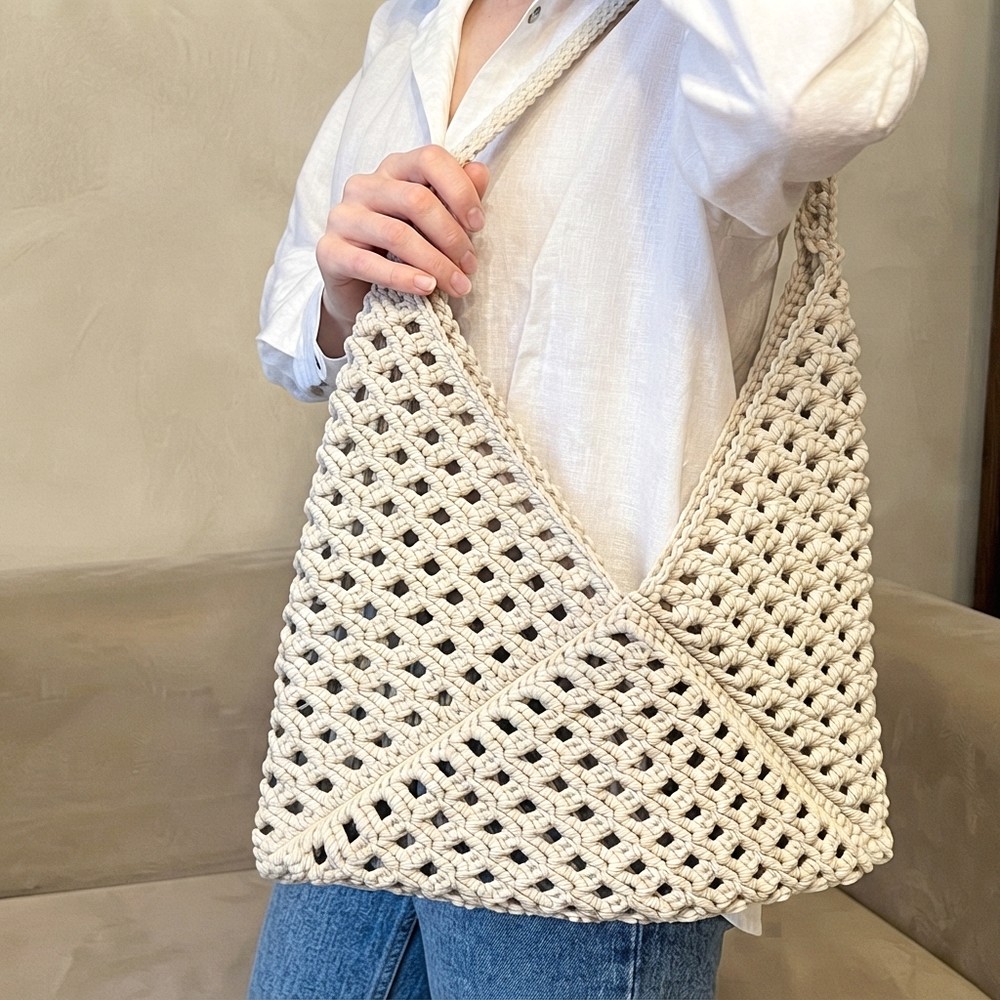
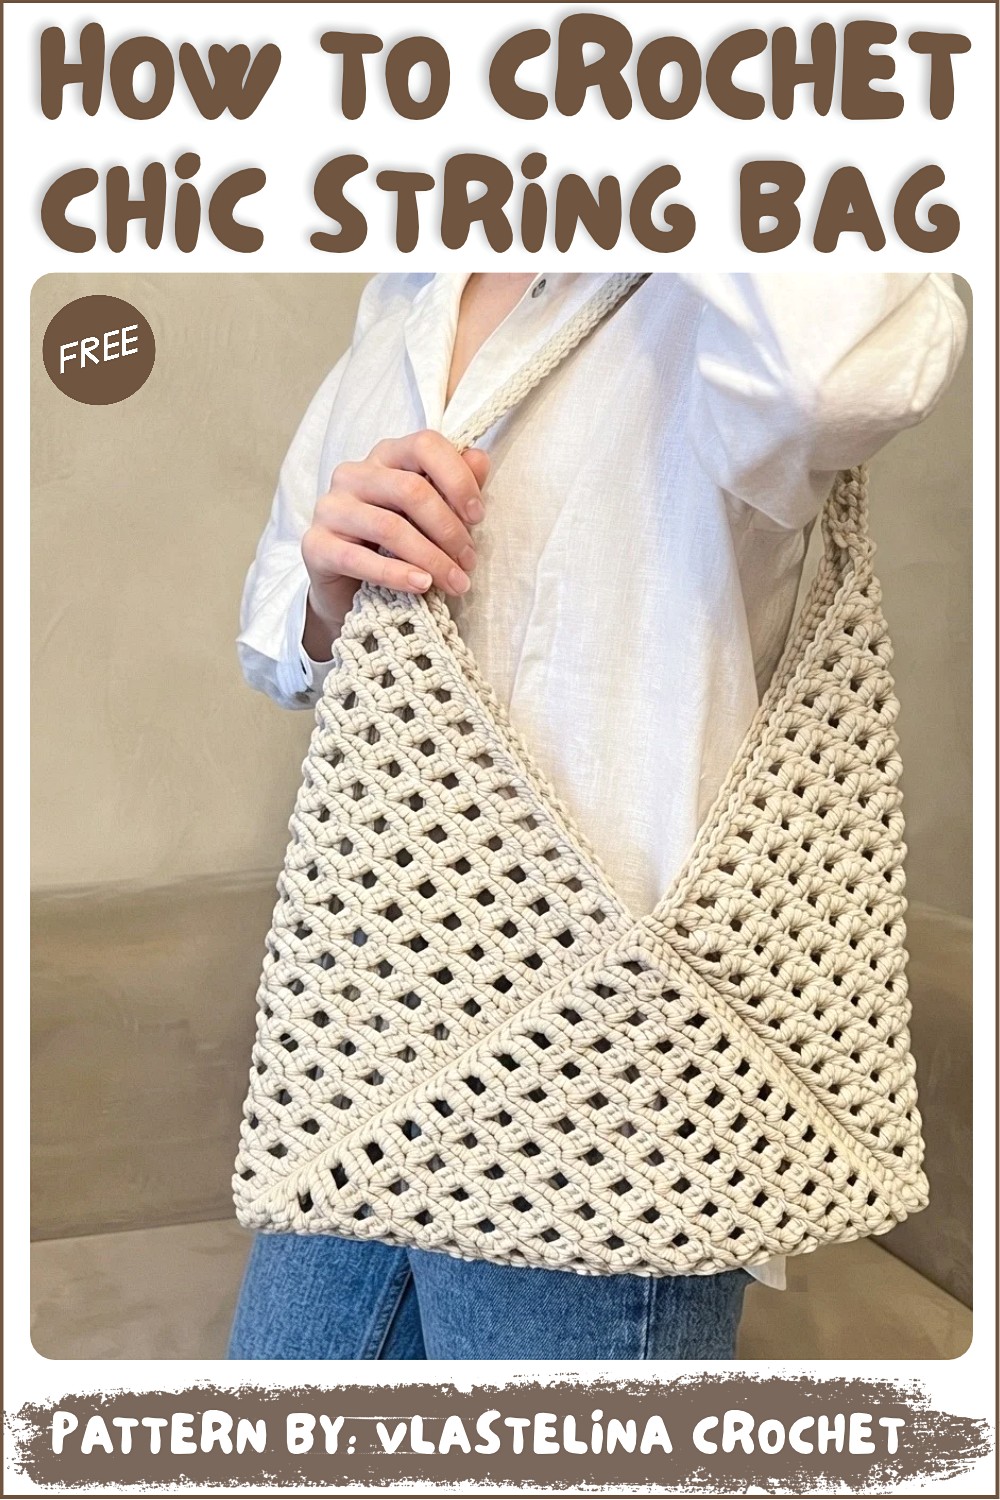
The bag itself is beautifully designed with an airy, net-like structure that makes it compact and stretchy. Its open pattern lends a casual yet elegant vibe, perfect for carrying in your hands or over your shoulder. The design is timeless, blending simplicity with charm while being highly functional. Whether you choose natural tones for a subtle look or vibrant colors for a bold statement, this bag becomes an eye-catching accessory.
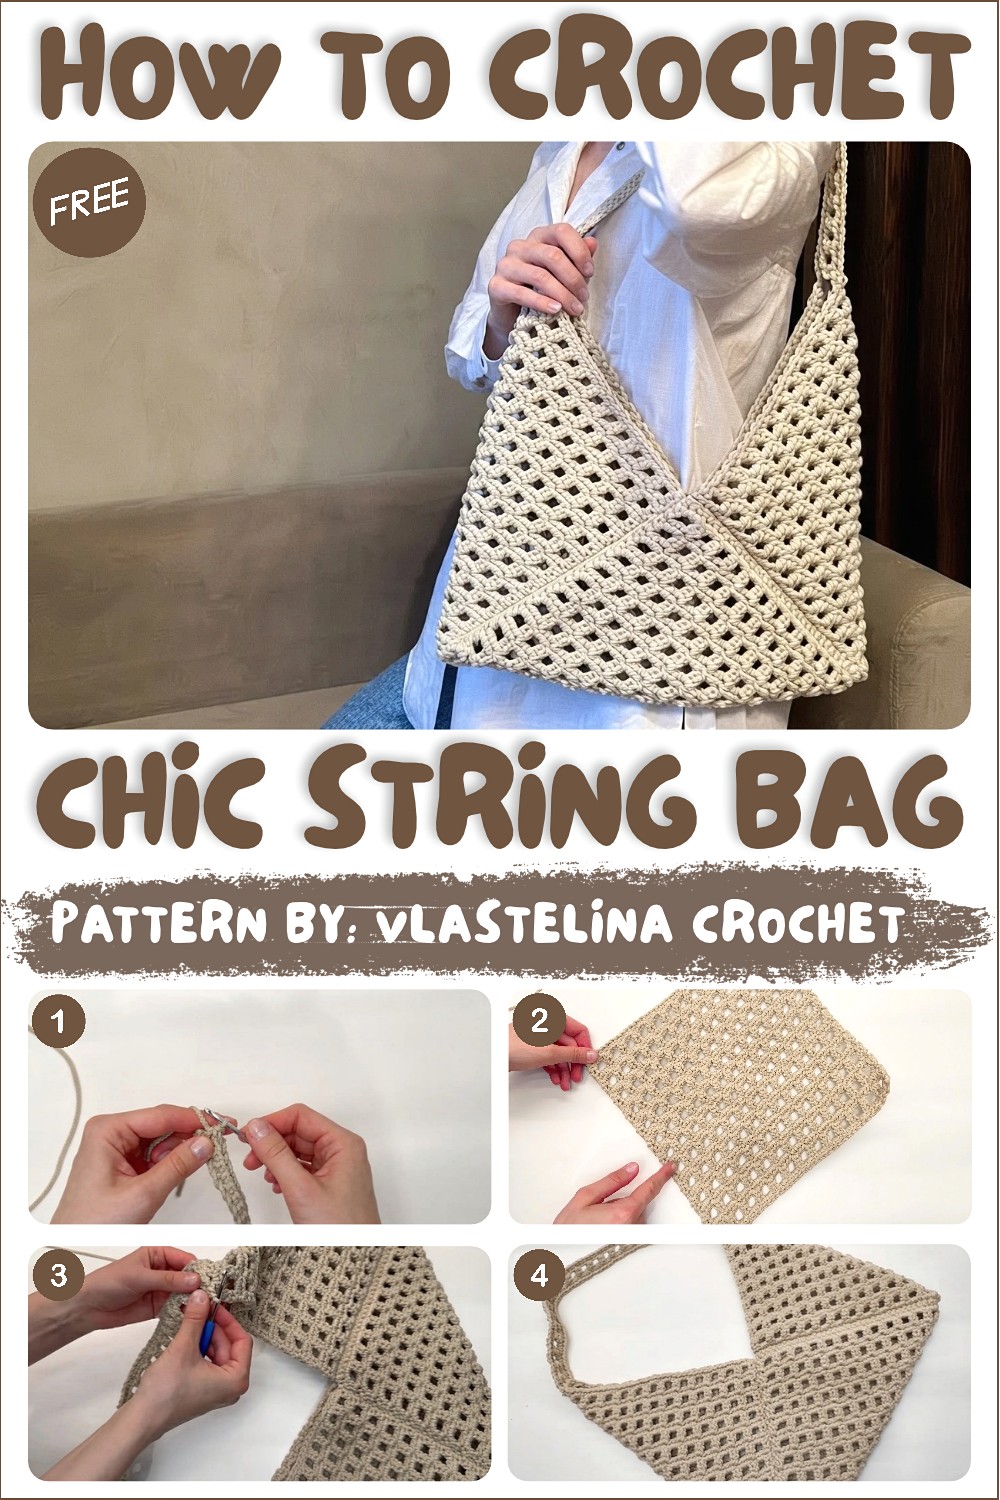
Free Crochet Pattern: String Bag for the Farmer’s Market
One of the best features of this crochet string bag is its versatility. Its expandable shape allows it to hold groceries, books, or personal items, making it ideal for trips to the farmer’s market or beach outings. Not only is it eco-friendly, but it’s also perfect for gifting—everyone appreciates a handmade item that’s both beautiful and useful. Beyond practicality, it works as gorgeous home décor, adding texture and personality when hung on a hook or displayed stylishly.
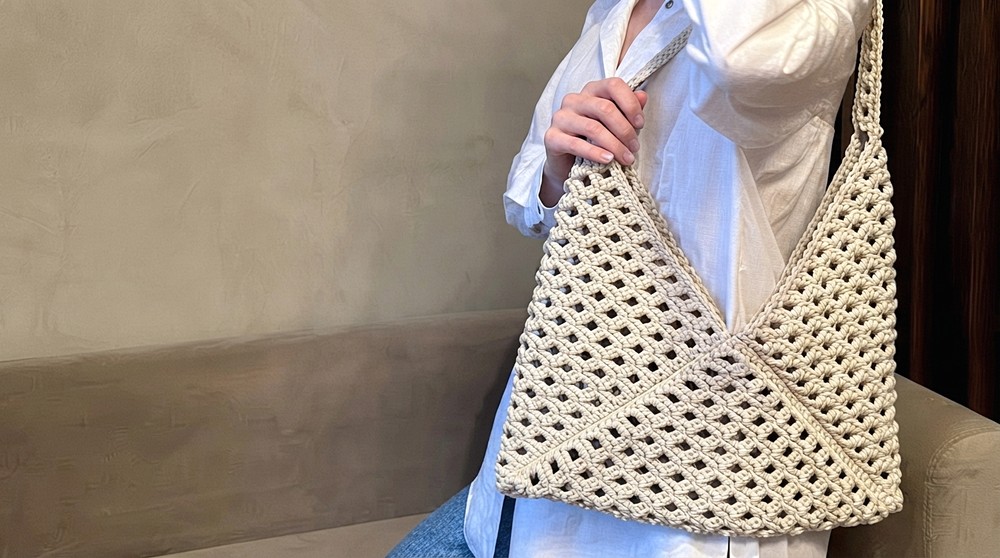
This crochet project is an enjoyable and rewarding way to combine creativity with functionality while contributing to a sustainable lifestyle. It’s a charming item you’ll love using every day, or sharing it with someone special!
Stylish Crochet String Bag (Avoska) Pattern by Vlastelina Crochet
The crochet string bag, or “avoska,” is a classic, practical accessory that has surged in popularity for its functional yet stylish design. Inspired by the traditional net bags, this modern version uses polyester cord to create sturdy, durable squares joined together to form a lightweight, spacious bag perfect for everyday use — whether grocery shopping or casual outings. This pattern by Vlastelina Crochet provides a detailed step-by-step guide to making this versatile string bag, combining simple stitches with a delicate openwork pattern to achieve both strength and aesthetic appeal.
Quick Overview Of Pattern
- Crochet three identical rectangular panels, each built from alternating rows of double crochet arches and single crochet rows to create a lacy effect.
- Join the panels by single crocheting along their edges to assemble the bag’s body.
- Make a matching handle using the same stitch pattern and attach securely to the bag.
- Finish by weaving in cord ends and securing them with heat to prevent unraveling.
Notes
- This pattern uses thick polyester cord (3 mm thickness) for durability and structure.
- Due to the cord’s thickness, a 4 mm crochet hook is used to maintain proper stitch size and fabric flexibility.
- The stitch pattern relies on working double crochets joined at the top to form arches, alternating with single crochet rows for texture.
- All joining is done using single crochet stitches to create a seamless look.
- Handle length can be customized by adjusting the initial foundation chain, keeping it a multiple of 3 plus 1 to maintain the stitch pattern.
- Heat tools such as a lighter are essential to finish off cord ends safely by melting to prevent fraying.
Skill Level
Intermediate – appropriate for crocheters who:
- Are familiar with basic stitches including chain (ch), single crochet (sc), double crochet (dc), and joining techniques.
- Can maintain consistent tension when working with bulky cord yarn.
- Have experience working repeating stitch patterns in rows and joining crochet pieces with single crochet.
- Are comfortable handling a synthetic cord and finishing ends securely.
Materials
- Polyester cord: Two skeins recommended (approximately 1.5 skeins used). Each skein: 3 mm thickness, 200 meters length.
- Crochet hook: 4 mm size to accommodate cord thickness.
- Tools: Scissors, lighter (for securing cord ends by melting).
Measurements / Sizing
- Each square panel measures approximately 9–10 inches in width and 12–13 inches in length after blocking (measurement may vary slightly depending on tension).
- The final assembled bag dimensions are roughly 10 inches wide by 13 inches tall (excluding the handle).
- Handle length: Default chain length is 67 chains (approximately 24–26 inches), adjustable as preferred.
Gauge and Stitch Pattern
- Gauge is flexible; approximate gauge is not critical for this pattern due to the cord material and usage.
- Pattern consists of alternating rows:
- Pattern row with double crochet clusters forming chain arches.
- Texture row of solid single crochet stitches, building firmness and pattern contrast.
Stitch Abbreviations
| Abbreviation | Meaning |
|---|---|
| ch | Chain |
| sc | Single crochet |
| dc | Double crochet |
| sl st | Slip stitch |
Special Stitches
- 2 double crochets joined at the top: Work 1 double crochet in next stitch, do not complete last yarn over; work a second double crochet in next stitch, then yarn over and pull through all loops on hook, joining two double crochets into one stitch top—this forms the base of the chain arches in pattern rows.
The Crochet Pattern!
Part 1: Creating the Squares (Make 3 identical)
Foundation:
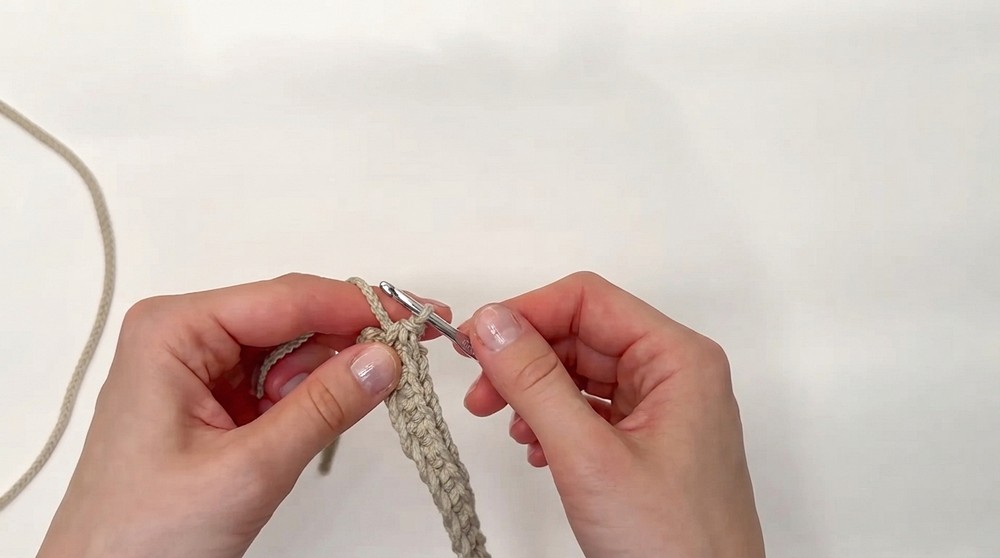
- Start with a slip knot.
- Chain 40 stitches (this will determine the width of your square).
Row 1:
- Work 1 turning chain (does not count as a stitch).
- Single crochet (sc) across all 40 chains for a solid foundation row.
Row 2 (Pattern Row):
- Chain 2 to turn (counts as the height of the first double crochet).
- Work 1 double crochet (dc) in the first stitch.
- Chain 2, skip 2 stitches, work 2 double crochets joined at the top in the next stitch.
- Repeat from * to * across the row until the last stitch.
- Finish with 1 double crochet in last stitch.
Row 3:
- Chain 1 to turn.
- Work single crochet (sc) across:
- 1 single crochet in the first stitch,
- 2 single crochets in each chain-2 space from previous row (to fill the arches),
- 1 single crochet in each stitch.
Repeat Rows:
- Alternate between Row 2 (pattern row with arches) and Row 3 (single crochet filling row).
- Continue until you have completed a total of 12 pattern rows with arches (which means 23 rows total if counting starting from Row 1).
Finish the squares:
- Chain 1 after the last row, cut the cord leaving a long tail.
- Pull the cord through the last stitch to fasten off securely.
- Weave in cord ends neatly at edges.
- Carefully use a lighter to slightly melt the cord ends to prevent fraying (use caution and do this on a safe surface).
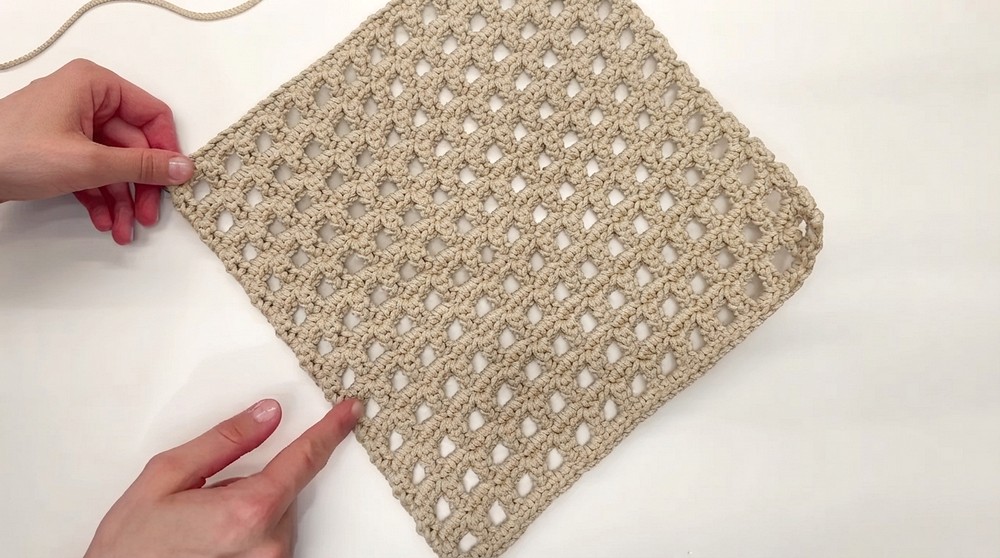
Part 2: Joining the Squares
Preparation:
- Fold each square in half to identify the inner (wrong) side.
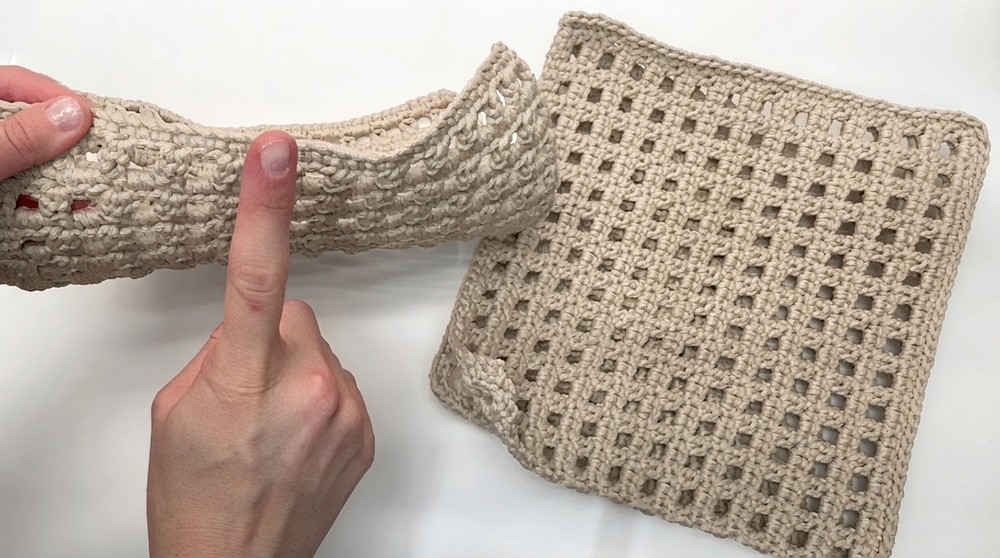
- Align two squares together with the wrong sides facing inward (right sides facing out).
Joining first two squares:
- Using the long tail from one square (or new yarn if preferred), work single crochet (sc) stitches through the edges of both squares simultaneously, joining them neatly along the fold edge.
Attaching third square:
- After joining two squares, attach the third square using the same technique:
- Align the third square similarly with wrong sides inward,
- Join with single crochet stitches along the adjoining edges to form the bag shape (like a box structure).
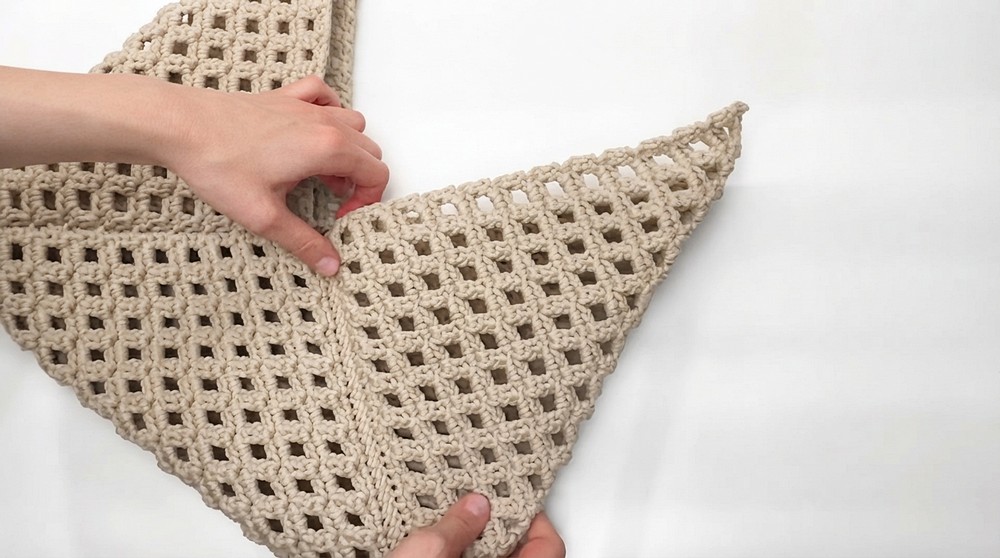
Finish and shape:
- Once all three squares are joined on proper edges, turn the bag inside out to reveal the right side and give the bag its final structure with openwork panels forming the sides and bottom.
Part 3: Making the Handle
Foundation:
- Chain 67 (or your preferred length to fit comfortably over the shoulder), ensuring the number of chains is a multiple of 3 plus 1 to maintain the stitch pattern consistency.
Rows:
- Follow the same stitch pattern used for the squares:
- Row 1: Single crochet across.
- Row 2: Pattern row with 2 double crochets joined at the top and chain arches.
- Row 3: Single crochet filling row.
- Work these rows repeatedly until the handle reaches the desired width and firmness (usually 3 rows of pattern).
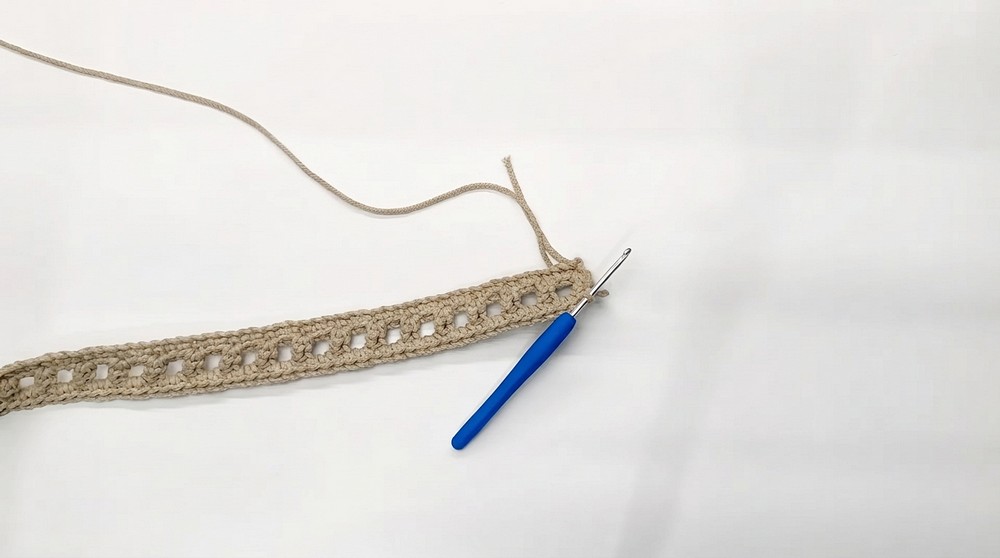
Attaching the handle:
- Position the finished handle at the desired points on the bag opening edges.
- Use single crochet stitches to sew the handle securely to the bag base, ensuring equal tension and alignment on both sides for stability.
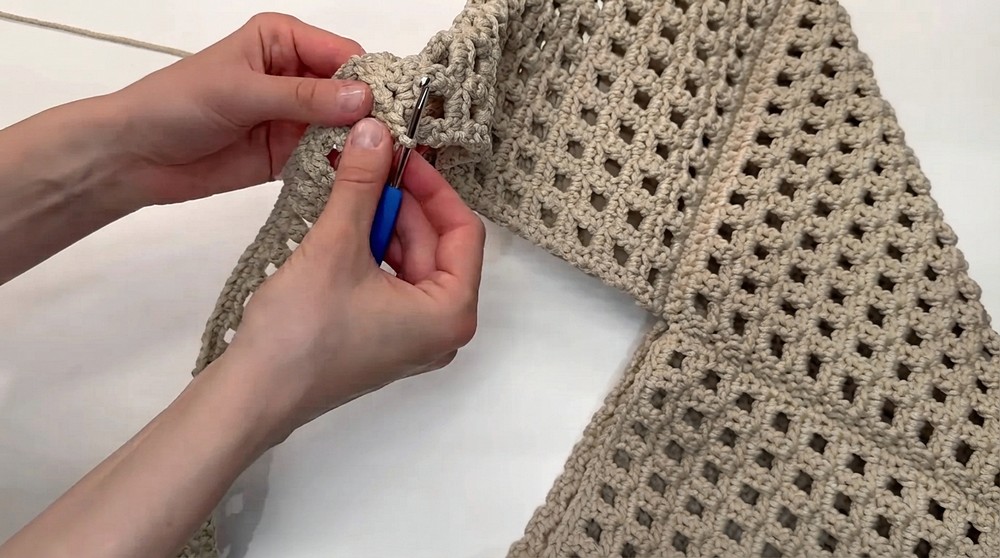
- Weave in all loose ends securely and melt ends with lighter to prevent unraveling.
Assembly & Finished Size
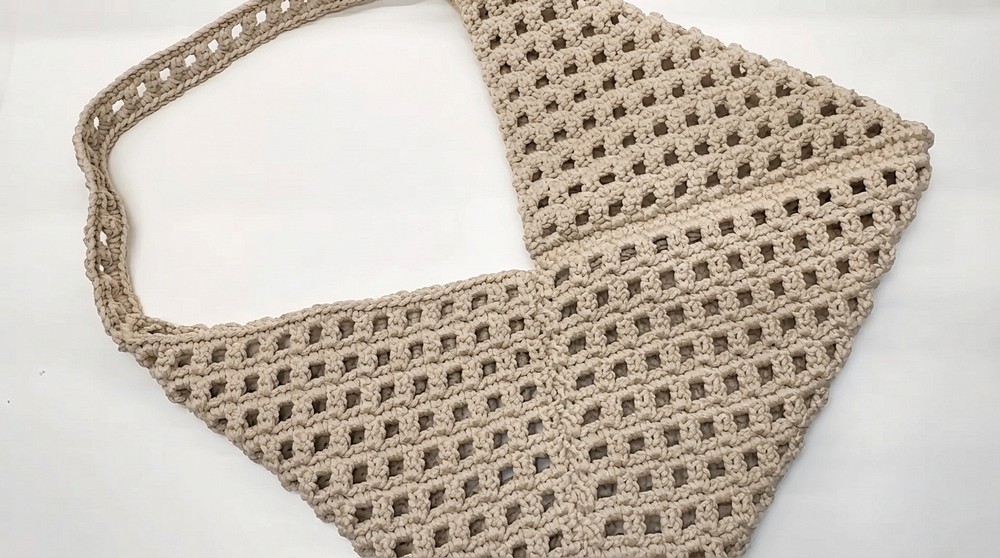
- The bag measures approximately 9 to 10 inches wide and 12 to 13 inches tall (excluding handle).
- The handle length (default 67 chains) provides an approximate 24 to 26-inch drop suitable for shoulder carry. Adjust as needed.
- The joined squares form a box shape with open mesh-like sides for breathability and lightweight carrying.
- The sturdy handle matches the bag body in design, providing both function and style.
- All ends are tidied and secured by melting cord tips, ensuring durability.
Conclusion
This classic yet stylish crochet string bag (avoska) is a fantastic project for anyone looking to create a functional and contemporary accessory using simple stitches and strategic shaping. By working with polyester cord and incorporating wire-free sturdy construction, this bag handles everyday wear while maintaining an elegant lacy aesthetic. The repeating pattern of arching double crochets combined with solid single crochet rows offers visual interest and structural integrity. The modular square construction allows customization of size or color, and the flexible handle ensures comfort.