Fun Dino Placemat Free Crochet Pattern for Kids’ Mealtimes

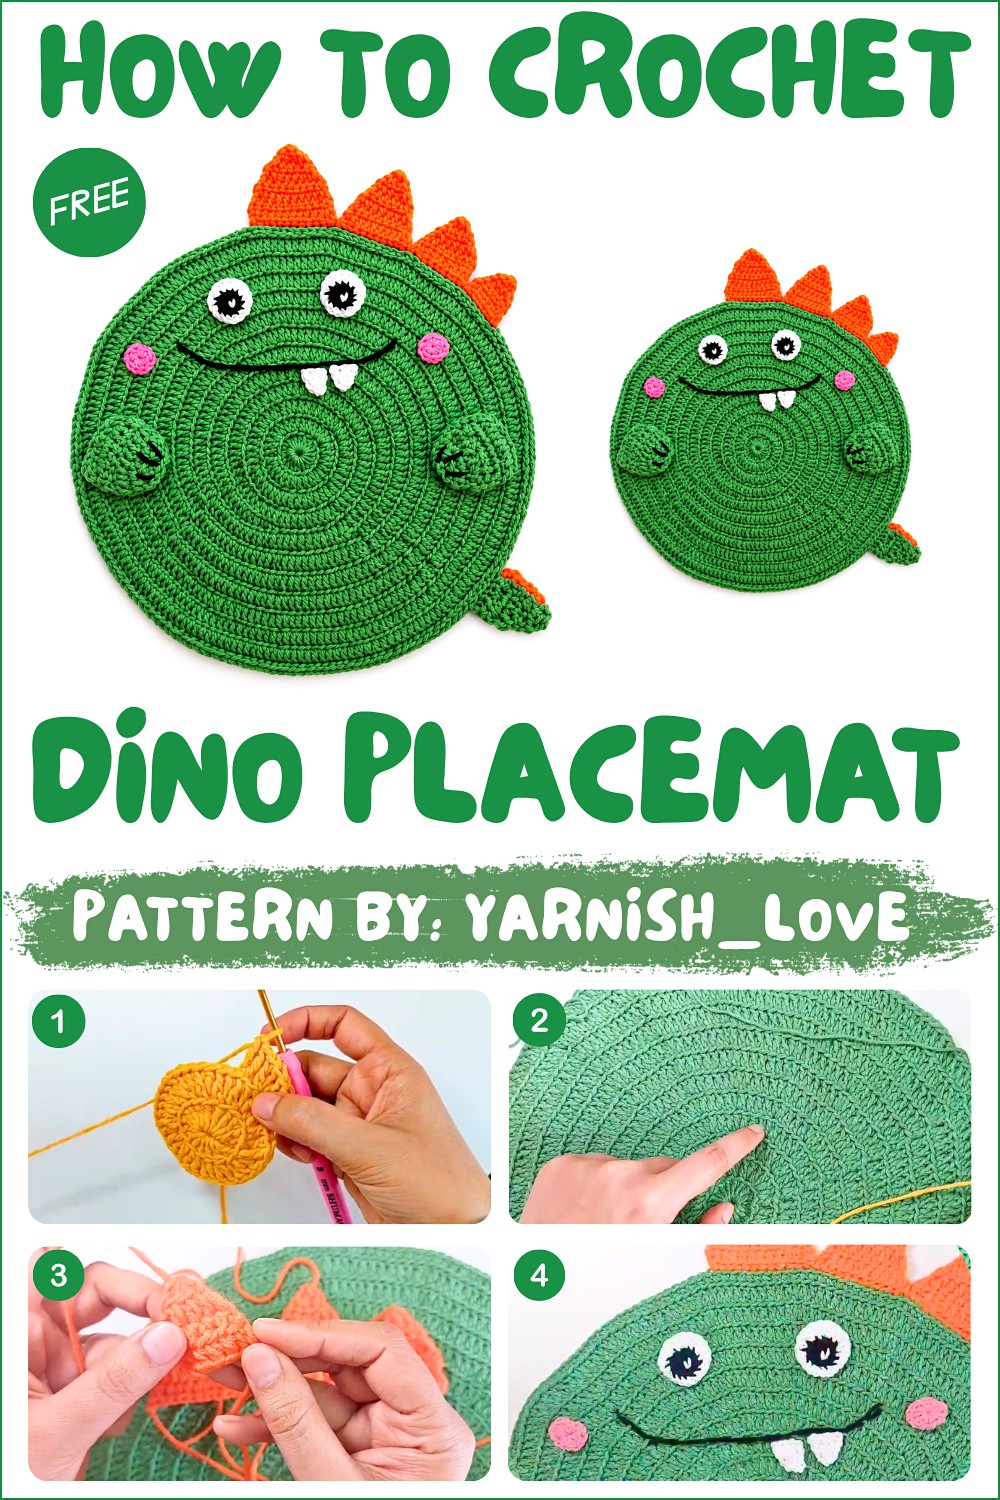
Set a playful table with this Free Crochet Dino Placemat Pattern, a friendly dinosaur-themed piece that gives everyday meals a fun and colorful twist for kids.
Mealtimes feel more inviting when a child’s place at the table has one playful detail. The Dino Placemat Free Crochet Pattern pairs an everyday dining item with a friendly dinosaur theme, turning a simple table setting into something with personality.
Colorful Dino Placemat Free Crochet Pattern for a Happy Table
A placemat needs a broad, fairly flat area so a bowl or plate has its own spot. Here, the dinosaur-inspired design adds interest beyond that basic job. The outline and decorative features help the piece feel different from an ordinary rectangle, while the crochet texture gives it a soft look. A clear color choice can help the character stand out when the rest of the table is simple.
A Note on yarnish_love
A cheerful dinosaur theme gives this yarnish_love project its personality. The channel presents the placemat in two parts, giving the finished item space to take shape. It is a different sort of crochet idea, combining a familiar table accessory with an animal subject that children can recognize while they eat.
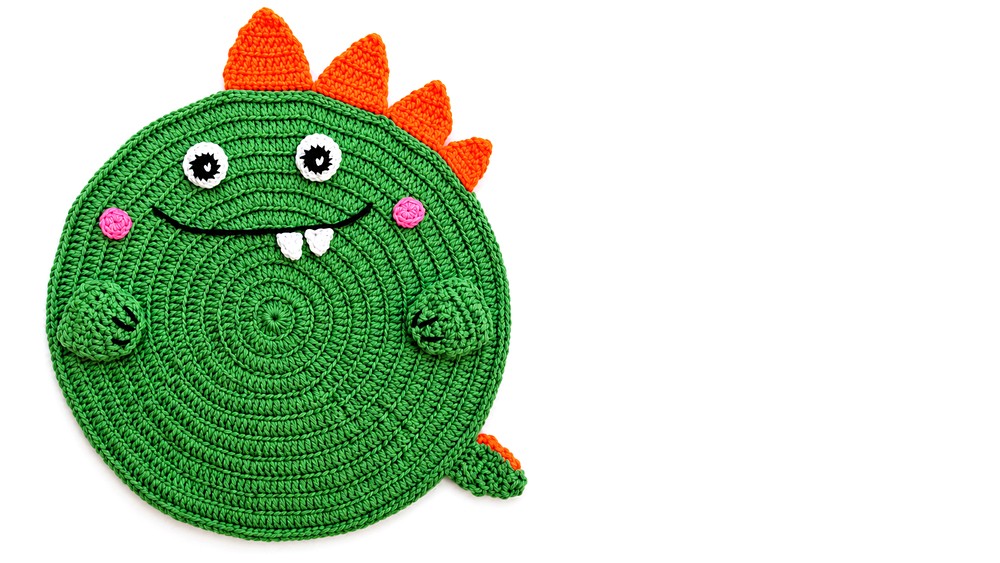
This placemat would suit a child’s breakfast spot, a birthday table, or an everyday meal that could use a little fun. It might also work as a decorative mat on a small play table when no food is involved. For a gift, pairing it with a matching napkin or a favorite cup could turn it into a thoughtful little set.
What is especially appealing is the mix of usefulness and a familiar animal theme. A dinosaur is easy to recognize and can suit more than one room or occasion. The project is presented in two parts, but the finished piece has one clear purpose: giving a child’s table space a friendly touch. It is a sweet alternative to plain store-bought placemats.
Dinosaur Crochet Placemat Pattern
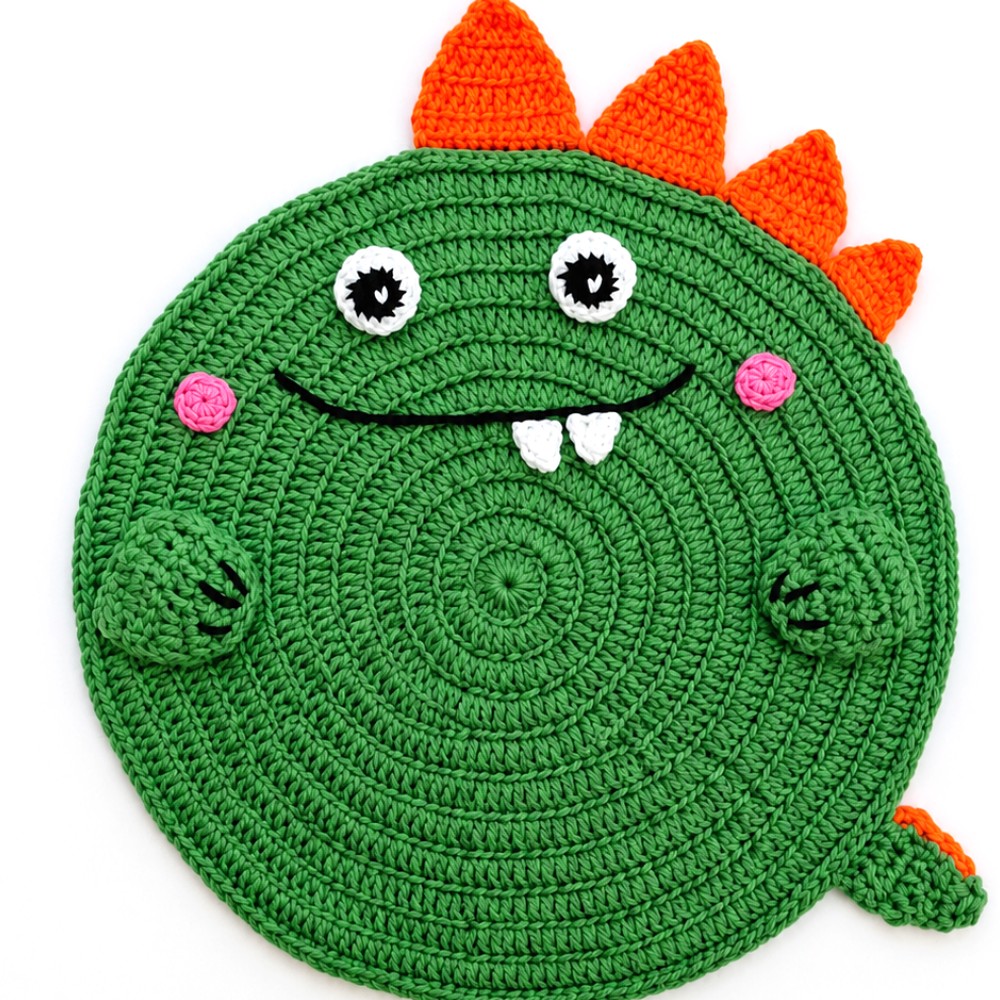
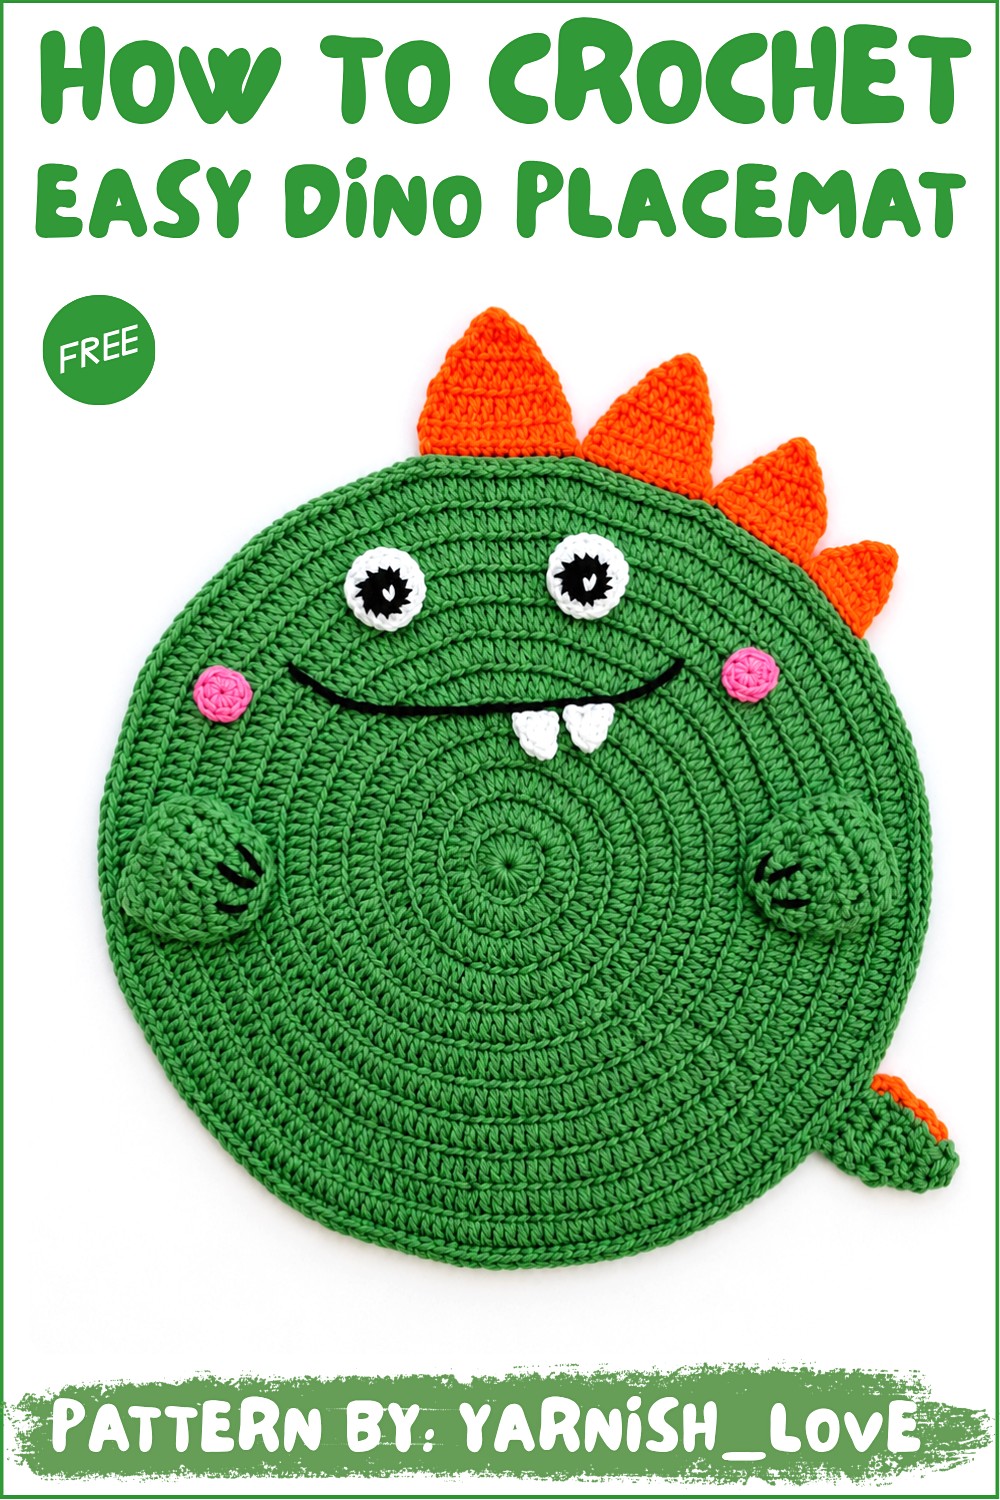
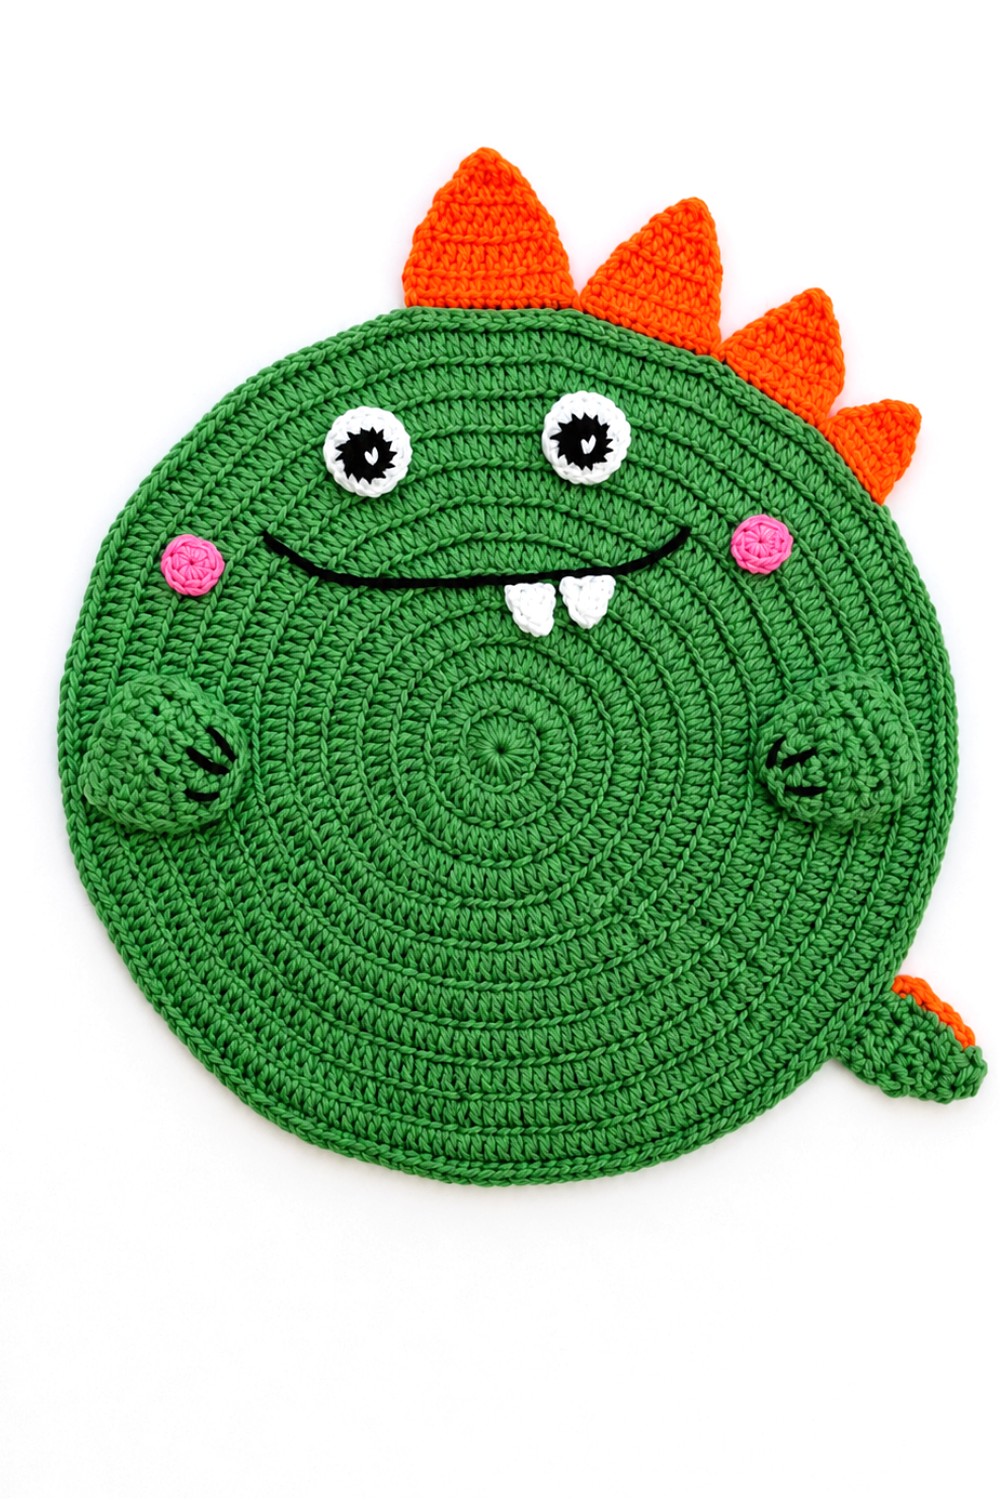
This dinosaur-themed crochet placemat combines functionality and creativity, making it a fun addition to any table setting. It features a circular base with detailed embellishments such as a T-Rex tail, hands, and crest spikes. This pattern uses 100% cotton yarn for durability and structure, ensuring the placemat lies flat and maintains its shape over time.
Skill Level
Intermediate
This pattern is geared towards crocheters who are comfortable working in rounds, increasing stitches, and creating decorative attachments. It includes small detailing that requires attention and precision, making it slightly more challenging than basic patterns.
Materials
To complete this project, you will need:
- Yarn:
- 100% cotton yarn for the placemat base.
- Thinner cotton yarn in various colors for the embellishments (eyes, hands, tail, crest, cheek).
- Hooks:
- 3.5 mm crochet hook for the primary placemat base.
- 2.5 mm crochet hook for finer embellishments.
- Scissors: For trimming yarn.
- Tapestry Needle: For weaving in ends and attaching embellishments to the placemat.
Stitch Abbreviations
- ch – Chain
- sl st – Slip Stitch
- sc – Single Crochet
- hdc – Half Double Crochet
- dc – Double Crochet
- magic ring – Magic Adjustable Ring
- BLO – Back Loop Only
Useful Tips
- The Magic Ring: Master the magic ring technique if you haven’t used it before. It provides a tight and tidy center for the placemat and embellishments.
- Consistent Tension: Maintaining consistent tension, especially during the placemat’s increasing rounds, ensures a flat, even surface. Loose tension can cause slight rippling, while tight tension may make the placemat too small.
- Color Combinations: The main placemat can be a neutral or bold color, while the embellishments can stand out in contrasting hues to bring the dinosaur to life.
- Blocking: Once complete, the placemat and embellishments may benefit from light blocking to help shape and flatten any uneven edges.
- Assembly: Lay all components flat and attach them carefully to ensure the design remains symmetrical.
Pattern Instructions
This pattern begins with a circular placemat base worked in rounds, followed by detailed steps for creating and attaching embellishments.
Placemat Base
Magic Ring & Round 1
- Start with a magic ring.
- Ch 3 (this does not count as a stitch).
- Work 16 dc into the ring.
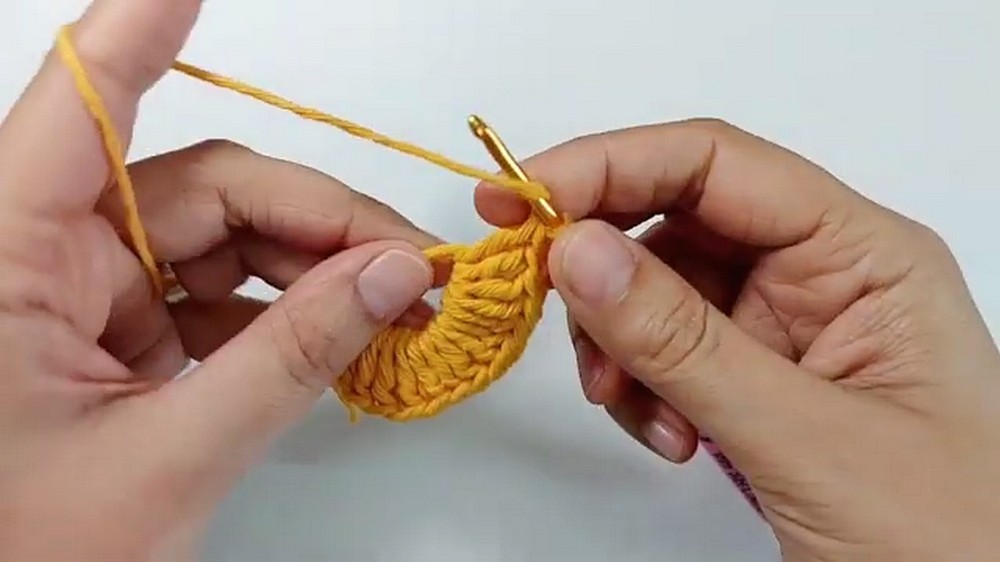
- Pull the tail to close the ring tightly, and join the round with a sl st into the 3rd chain.
Round 2
- Ch 1, then work 1 standing sc in the BLO of the first stitch.
- Ch 1 (counts as 1 dc).
- Work 2 dc into the BLO of each stitch around.
- Slip stitch to join.
Round 3
- Start with ch 1, then work 1 standing sc in the BLO.
- Follow this pattern: 1 dc, 2 dc (increase) in the next BLO.
- Repeat the sequence (1 dc, 2 dc) around.
- Join with a sl st.
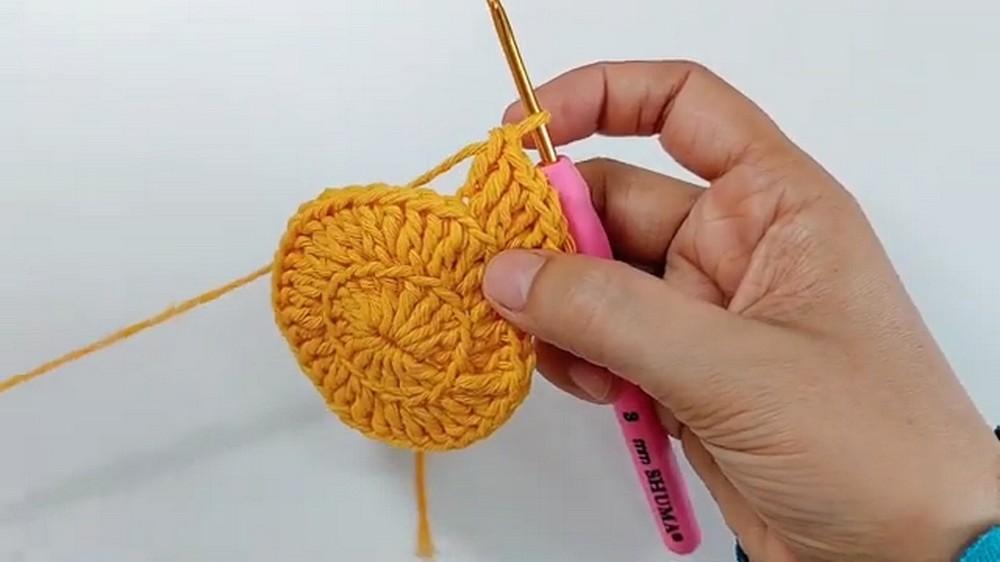
Round 4
- Chain 1 and work 1 standing sc, chain 1.
- Follow the pattern: 1 dc, 1 dc, 2 dc (increase).
- Repeat the sequence (1 dc, 1 dc, 2 dc) around the circle.
- Slip stitch to join.
Round 5
- Chain 1, then work 1 standing sc.
- Follow the pattern: 3 dc, then 2 dc (increase) into the next stitch.
- Continue the sequence (3 dc, increase) around the placemat.
- Join with a sl st.
Continuing Rounds
- For each subsequent round, increase by one double crochet between the increases.
- For example:
- Round 6: 4 dc + increase.
- Round 7: 5 dc + increase, and so on.
- For example:
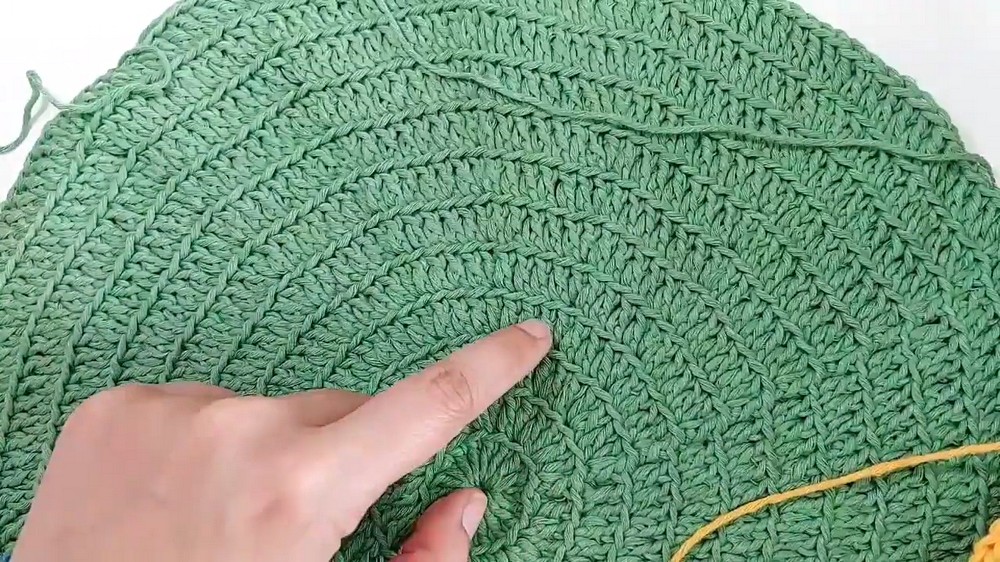
- Stop once the placemat reaches your desired size (usually around 30–40 cm in diameter).
Final Edge
- For the last round, ch 1 and work 1 sc into the BLO of every stitch.
- Slip stitch to join and cut the yarn.
Dinosaur Embellishments
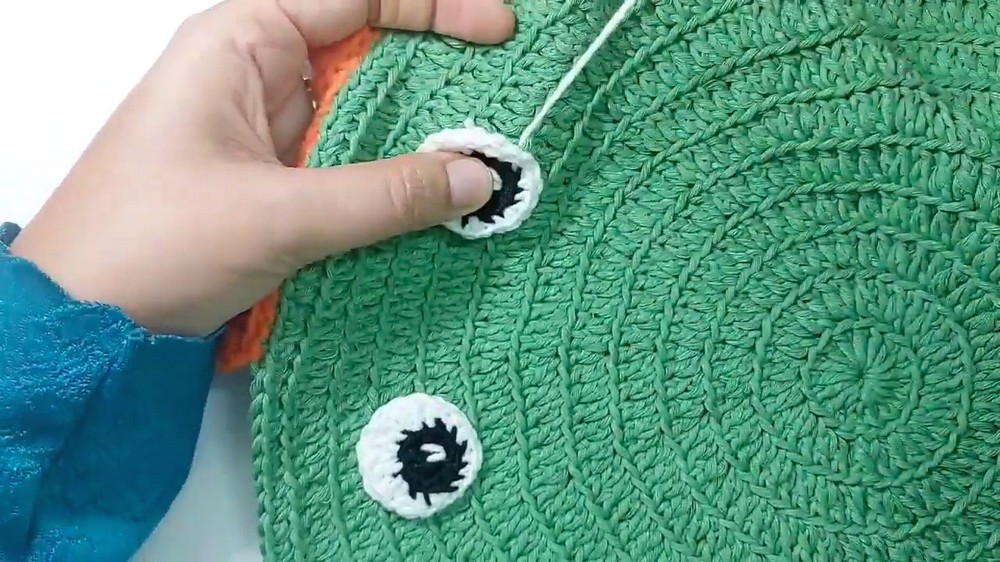
1. The Eyes
- Begin with a magic ring.
- Work 6 sc into the ring.
- Close the ring tightly and join with a sl st.
- For Round 2, 2 sc into each stitch for a total of 12 stitches.
- Secure and cut the yarn.
2. The Eye Border
- Join white yarn in any stitch, using BLO.
- Follow the sequence:
- 1 sc, 1 sc in next, 2 sc in next,
- Repeat until:
- 1 hdc, 2 dc in next, 1 dc in next, 2 dc in next, 1 dc in next,
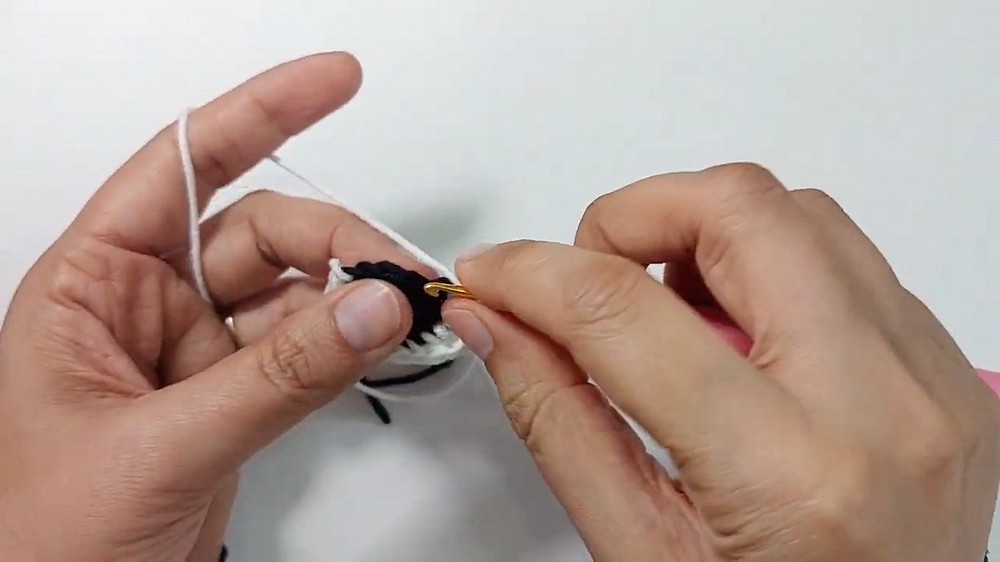
- 1 hdc, 2 dc in next, 1 dc in next, 2 dc in next, 1 dc in next,
- Then:
- 2 dc, 1 hdc in next, 2 sc in the first stitch.
- Cut yarn and secure.
3. The Hands
- Begin with a slip knot and ch 12.
- Skip the first 3 chains and work 1 dc into each chain (total of 9 dc).
- Row 2: Ch 3, turn, and work 1 dc into every stitch, decreasing in the last 2 stitches.
- Row 3: Ch 3, turn, 1 dc into each stitch, decreasing in the last 2 stitches.
- Row 4: Turn and work 1 dc decrease, followed by dc into the remaining stitches.
- Row 5: Ch 1, turn, skip the first stitch, work a sc decrease across the next two stitches, and then sl st to finish.
4. The Tail
- Start with a magic ring and ch 3. Work 2 dc into the ring.
- Row 2: Ch 3, turn, work 1 dc in the first stitch, 1 dc, and 2 dc in the last stitch.
- Alternate rows between increasing and evenly working to form the triangular shape.
- To finish, join orange yarn for a decorative border with hdc and sl st.
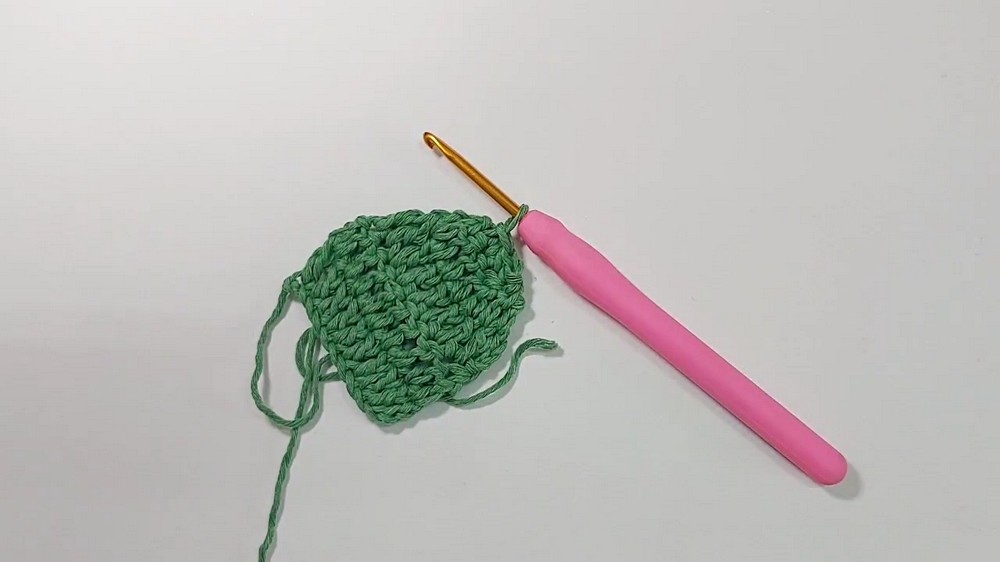
5. The Cheek
- Create a magic ring.
- Ch 1, work: 4 sc, 3 hdc, 4 sc, 3 hdc, and join.
6. The T-Rex Crest/Spikes
- Start with a magic ring, ch 1, and work 2 sc into the ring.
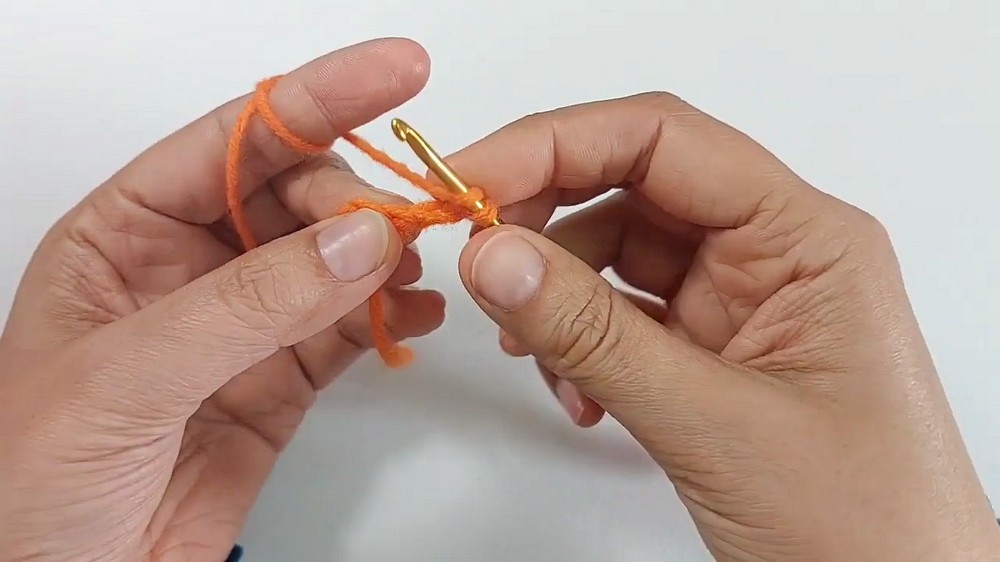
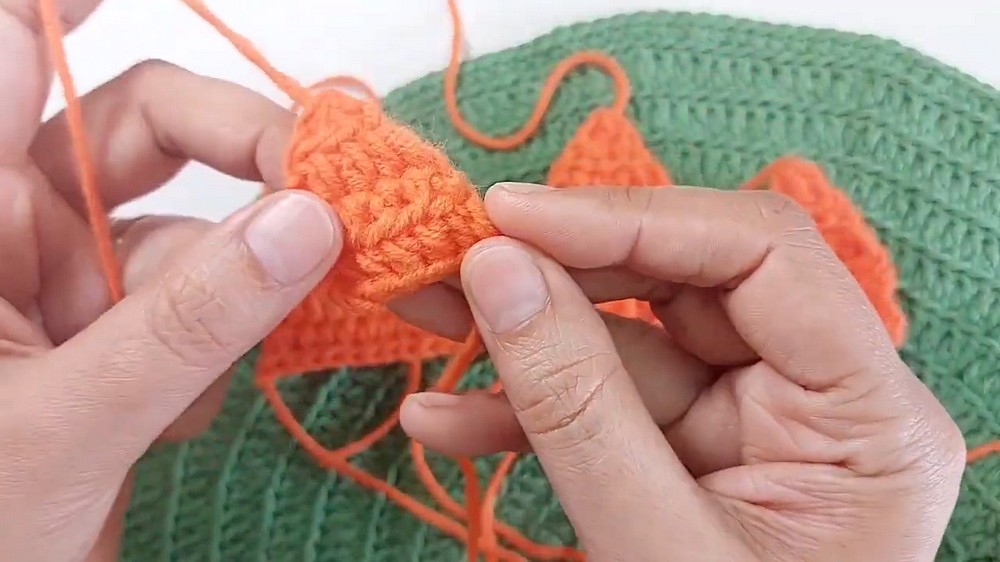
- Row 2: Chain 1, turn, and work 2 sc in each stitch (4 sc total).
- Row 3: Turn and increase only at the beginning and end to shape the triangle.
Conclusion
This crochet placemat combines a simple circular base with fun and interactive dinosaur-themed details like the T-Rex tail, hands, eyes, and cheek. It’s perfect for kids’ tables or as a creative touch for parties and playdates. The pattern allows for customization in size and colors, ensuring a unique and delightful finished project.