Free Crochet Pattern for Stylish Jersey Yarn Bag

Carry your essentials in style with this free crochet jersey yarn bag pattern that blends modernity and function into a versatile accessory for any occasion.
Handmade fabric bags bring a lovely spark of joy and warmth to everyday routines. A wonderful Free crochet Jersey Yarn Bag Pattern provides an exciting way to make a stylish tote that serves as a trusty everyday carryall or a casual market bag. The expert creator behind Vlastelina Crochet shares an easy-to-follow video guide that turns simple loops into a gorgeous accessory. This neat handmade piece makes a wonderful present for loved ones or a delightful personal treat for storing daily necessities.
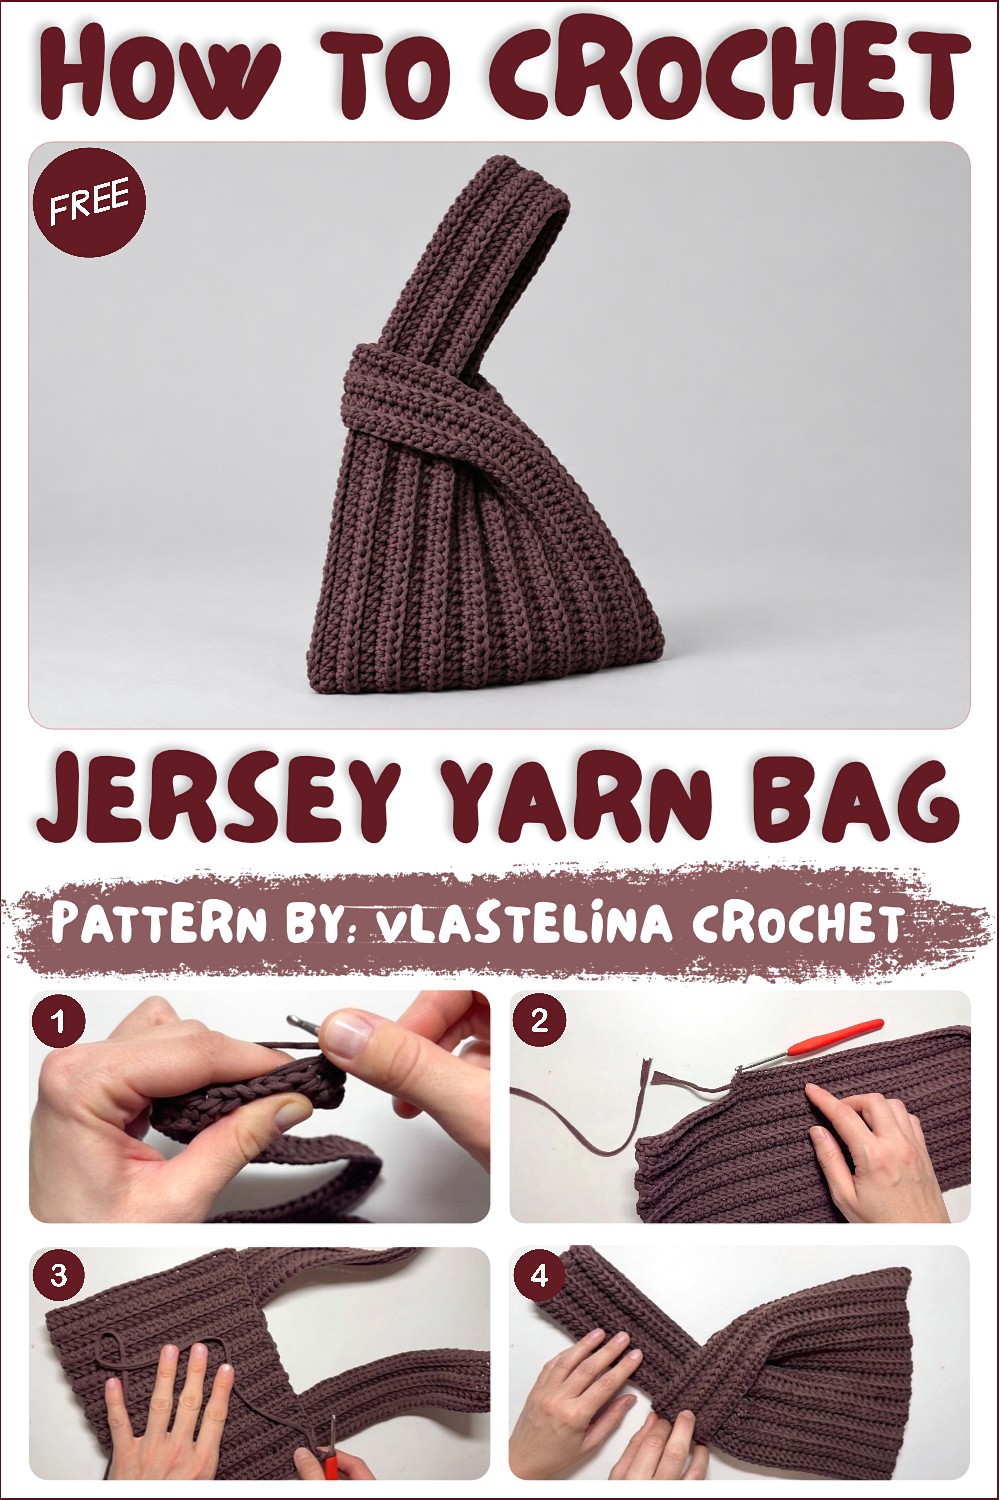
Free Crochet Pattern: Jersey Yarn Bag for Shopping
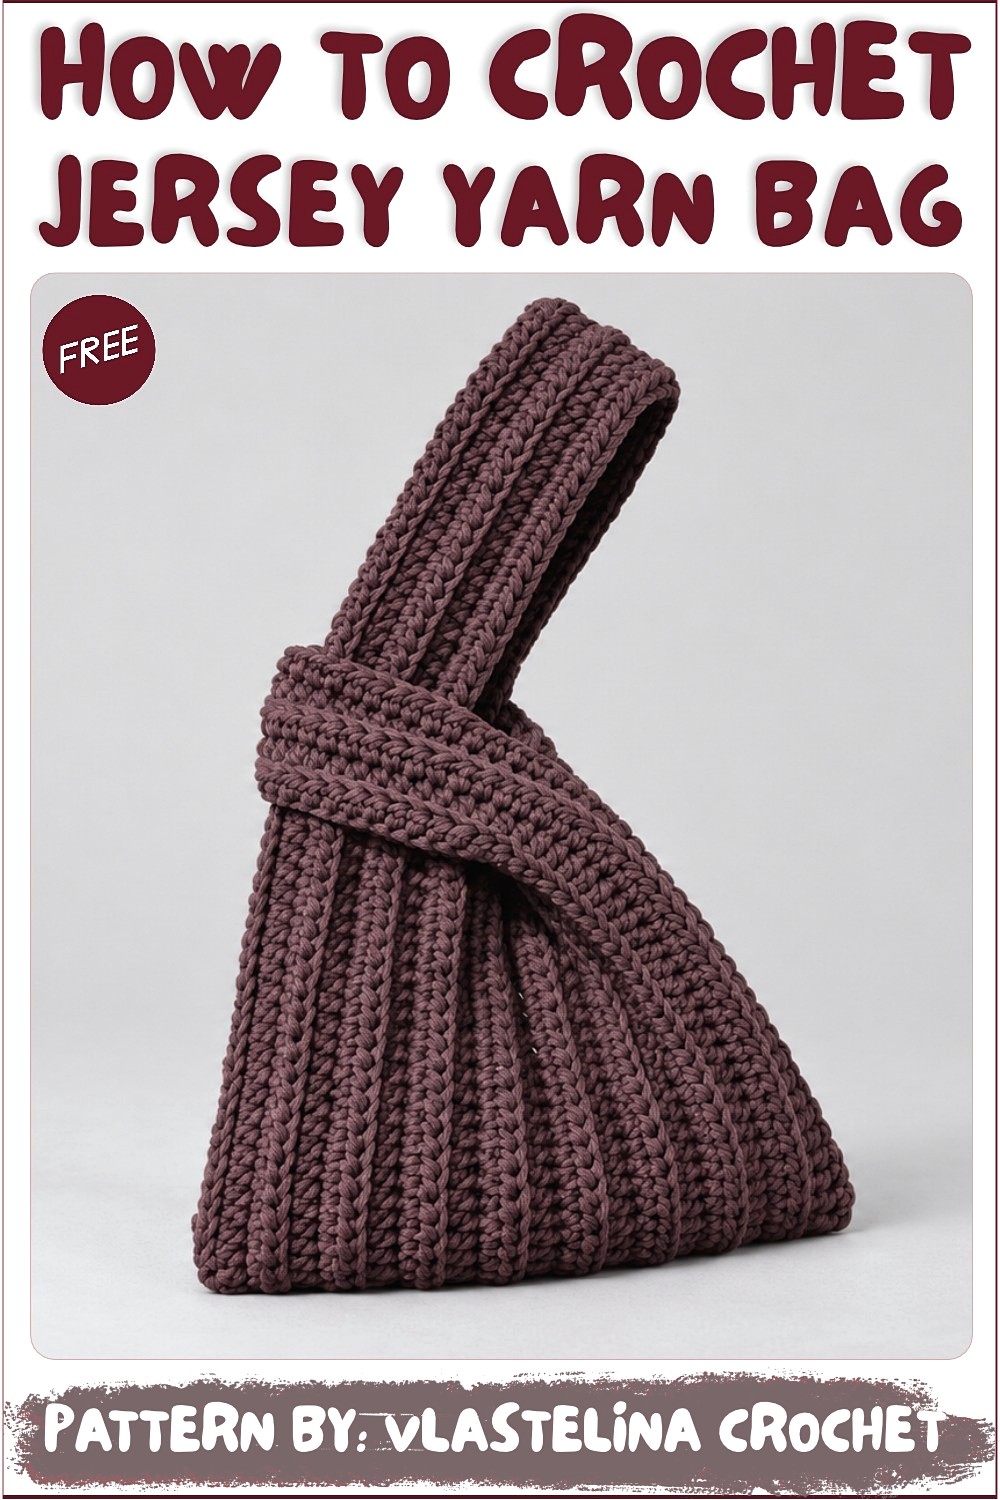
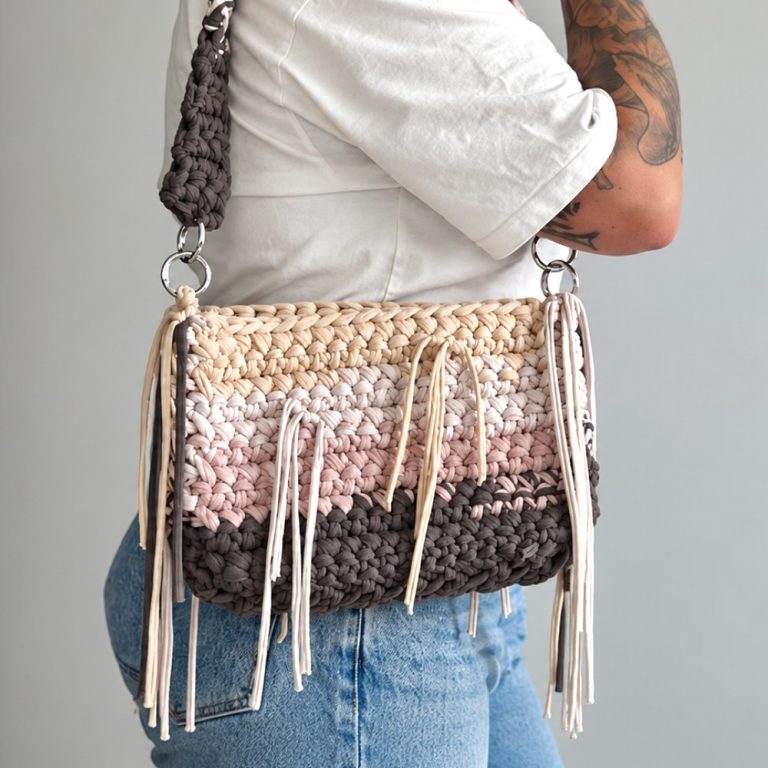
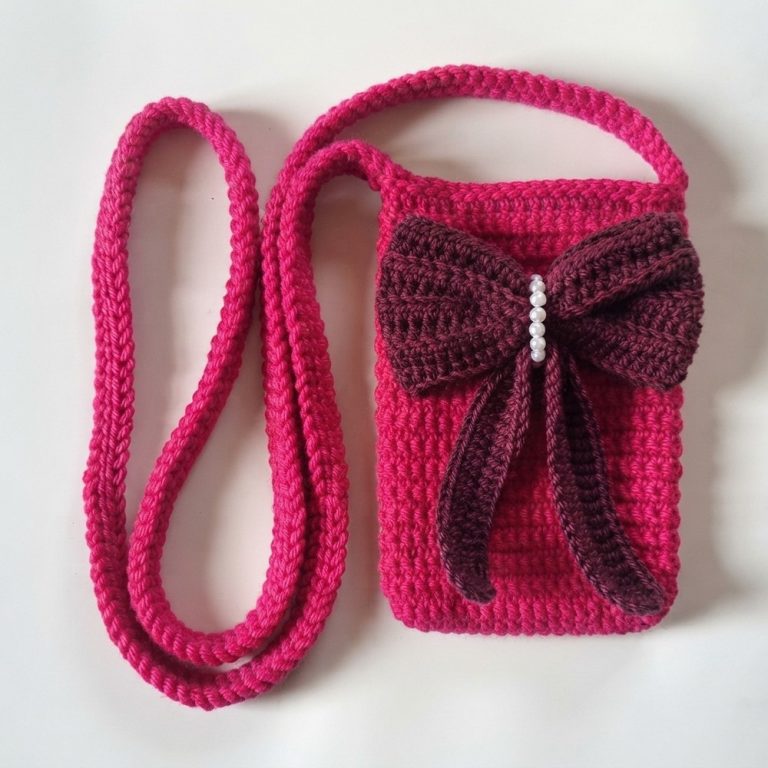
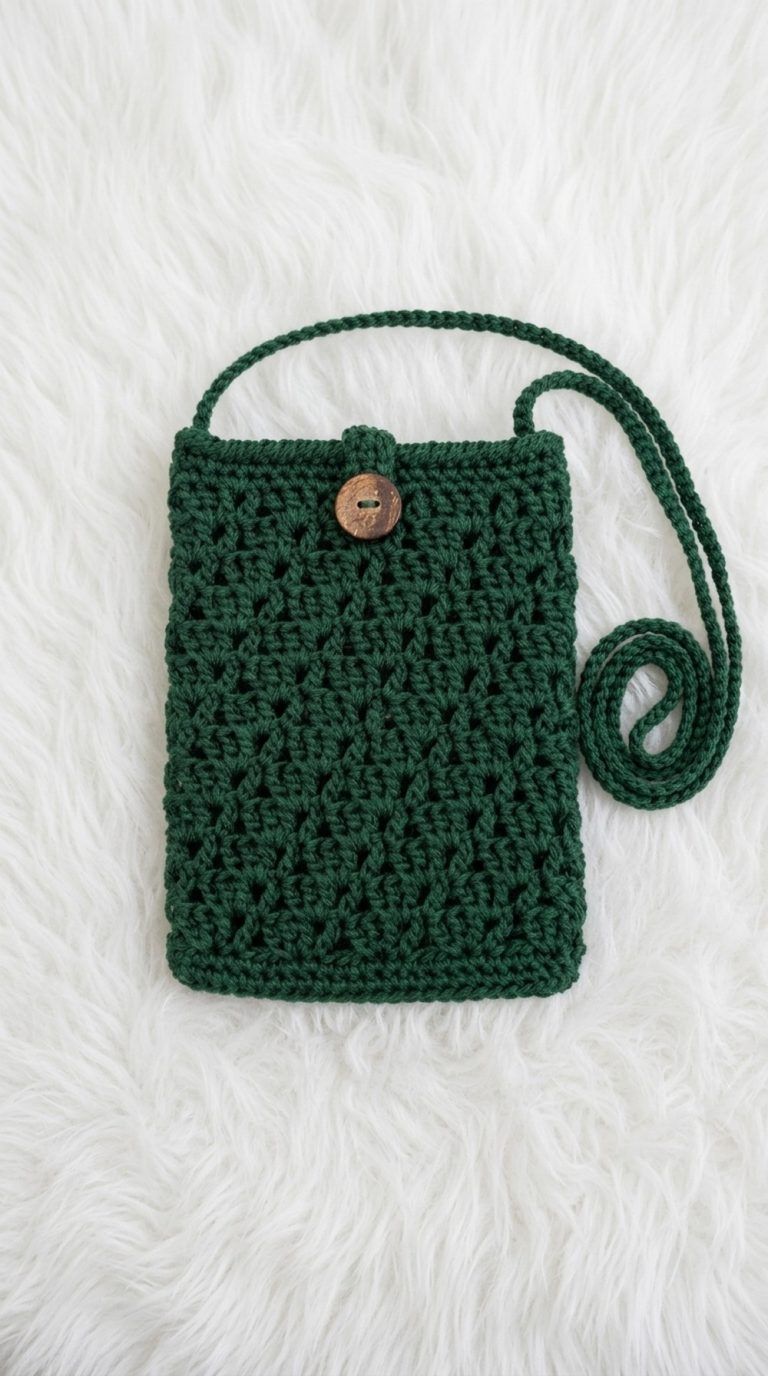
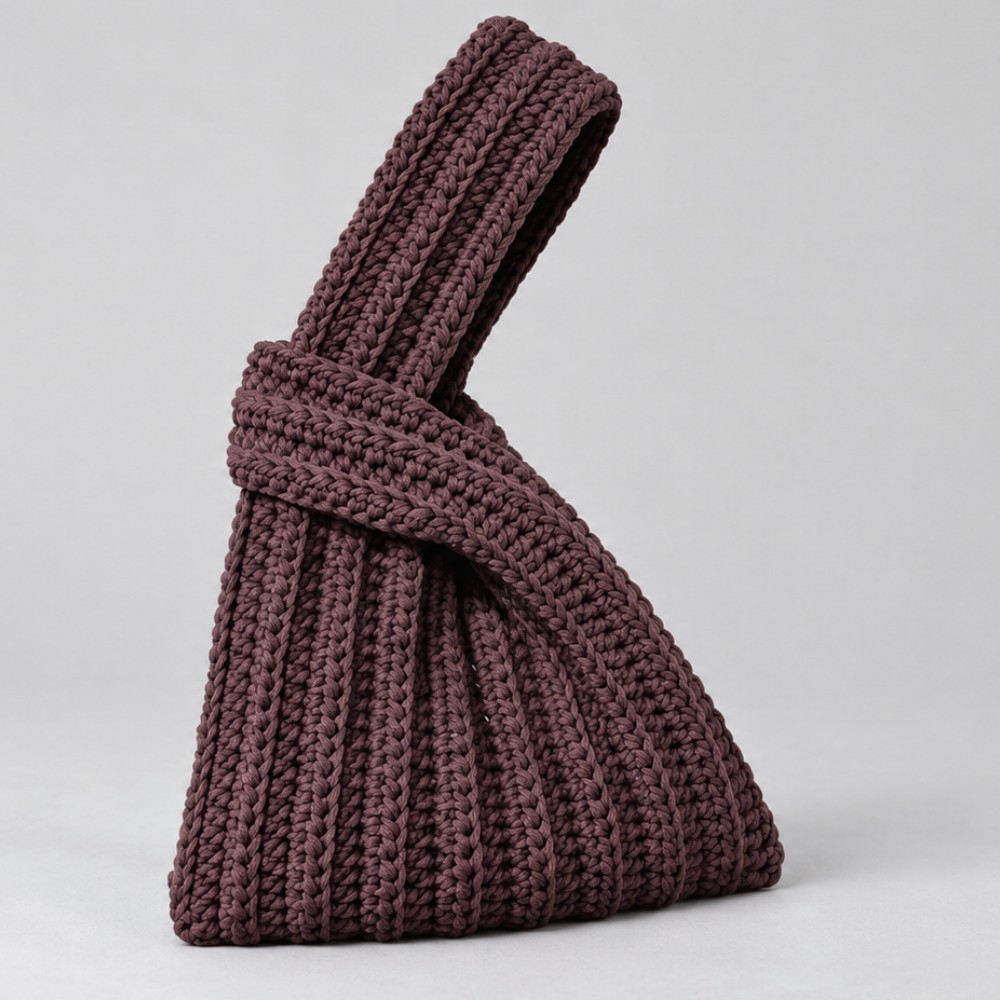
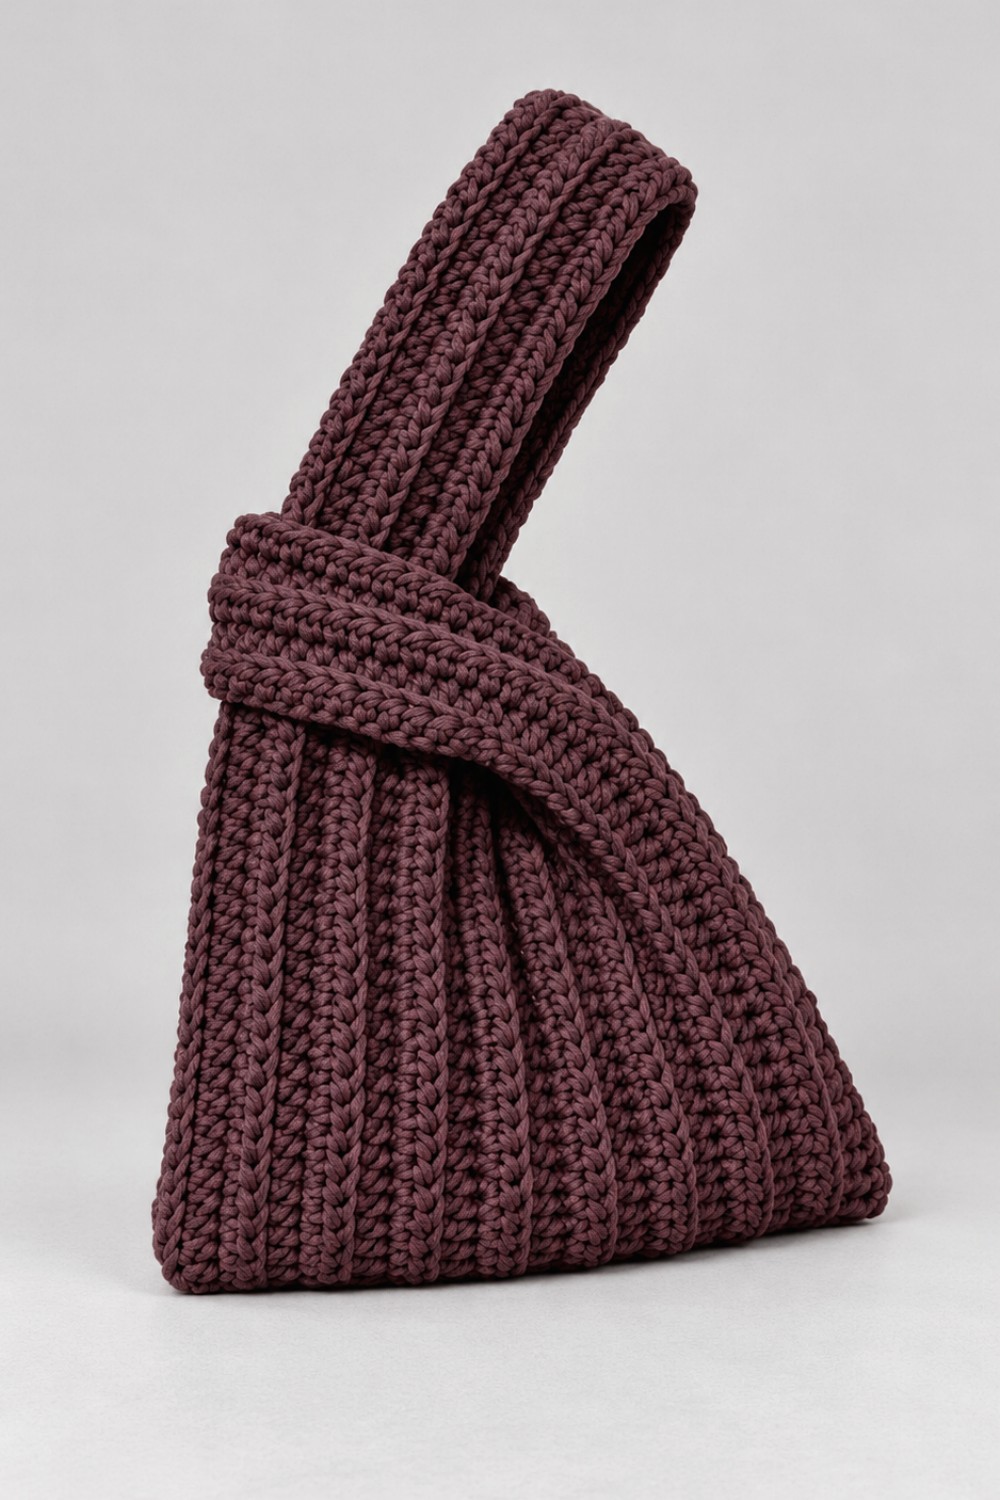
The visual style of this accessory shines with a clean, modern shape that instantly attracts attention. Thick, cozy yarn stitches lock tightly together to give the body a strong and reliable structure. Running fingers across the surface reveals a pleasing texture with raised lines that highlight true handmade craftsmanship. This versatile purse fits right into casual daytime outings or weekend errands. People adore using it to securely carry wallets and phones while giving their daily wear a touch of personal flair.
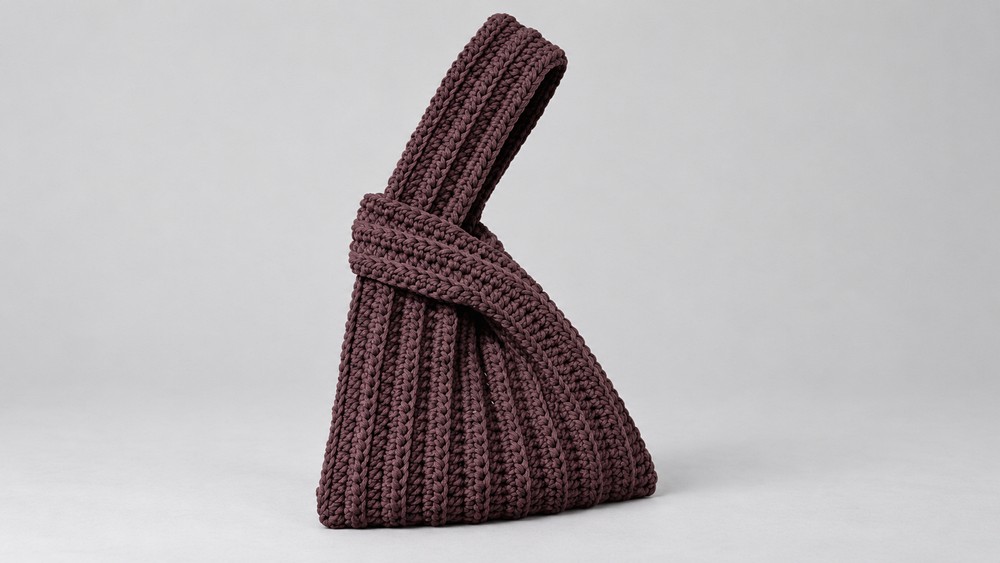
Crochet Bag Pattern Using Half-Double Crochet (HDC)
This crochet pattern guides you through creating a stylish and sturdy bag approximately 20 cm high by 30 cm wide, crafted with bulky t-shirt yarn. The use of half-double crochet stitches worked mainly in the back loop creates an attractive ribbed texture that adds both structure and aesthetics to your bag. This project includes instruction on crafting two handles and a solid base, with a neat slip stitch finishing that joins all parts securely. Ideal for both beginners confident with basic stitches and intermediate crocheters seeking a simple but effective bag pattern.
Quick Overview of Pattern
- Foundation chain of 110 stitches forms bag width.
- Work initial handle section in HDC, maintaining ribbed texture by working in back loops after the first stitch.
- Crochet a sturdy base section with 50 stitches repeated for multiple rows.
- Construct the second handle similarly via chaining and working across the chain.
- Fold and join sides and handles with slip stitches for a professional finish.
- Turn the bag inside out to conceal seams and display ribbed texture.
Notes
- Pay close attention to working the first stitch of each row through both loops and the remaining stitches in the back loop only for the ribbed effect.
- The base worked in half-double crochet ensures firmness necessary to support a functional bag.
- Slip stitches provide clean seams which help preserve shape.
- Weaving in ends securely prevents unraveling and provides a polished final look.
- The chain used for the second handle should match your tension to avoid gaps.
Skill Level
Beginner to Intermediate: Familiarity with chain (ch), half-double crochet (HDC), slip stitch (sl st), and working in back loops is recommended.
Materials
- 2 skeins t-shirt yarn (e.g., Halva, 3-4 mm thickness) suitable for bulky projects.
- 4.5 mm crochet hook.
- Scissors.
- Yarn needle for weaving in ends.
Measurements / Sizing
The finished bag measures approximately:
- Height: 20 cm
- Width: 30 cm
- Handle length and width integrated into the body according to stitch counts.
Gauge and Stitch Pattern
- Gauge is approximated through chain and stitch counts; adjust hook size if necessary.
- Half-double crochet stitches create a dense fabric; ribbing is produced by working back loop stitches after the first stitch per row.
Stitch Abbreviations
| Abbreviation | Stitch | Description |
|---|---|---|
| ch | Chain | Yarn over, pull through loop |
| HDC | Half-Double Crochet | Yarn over, insert hook, yarn over, pull loop, yarn over, pull through all loops |
| sl st | Slip Stitch | Insert hook, yarn over, pull through loop |
| BL | Back Loop | The loop of the stitch farthest from you when viewing the stitch top |
Special Stitches
Half-Double Crochet in Back Loop Only:
- For the first stitch in each row, work a standard HDC by inserting under both loops of the stitch.
- For subsequent stitches, insert the hook only under the back loop of the stitch to produce a ribbed texture.
The Crochet Pattern!
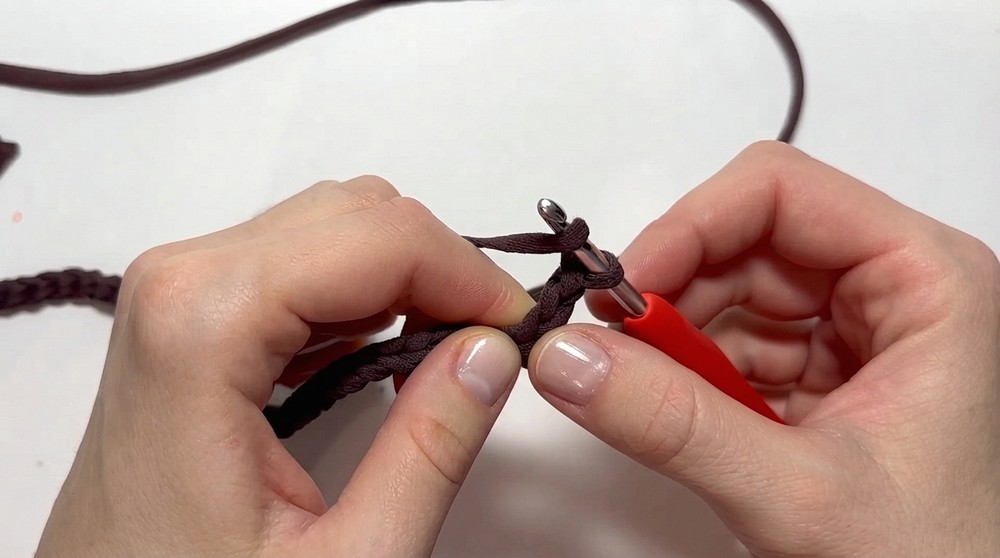
1. Foundation Chain
- Begin by making a starting loop on your hook.
- Chain 110 foundation stitches. This chain length sets the width of your bag.
2. First Handle (Rows 1–5)
- Chain 2 additional chains after foundation to serve as turning chains and provide height for the HDC.
- Work into the 3rd chain from the hook: Yarn over, insert hook under both loops of the chain, pull loop through, yarn over, pull through all loops on hook to complete the HDC.
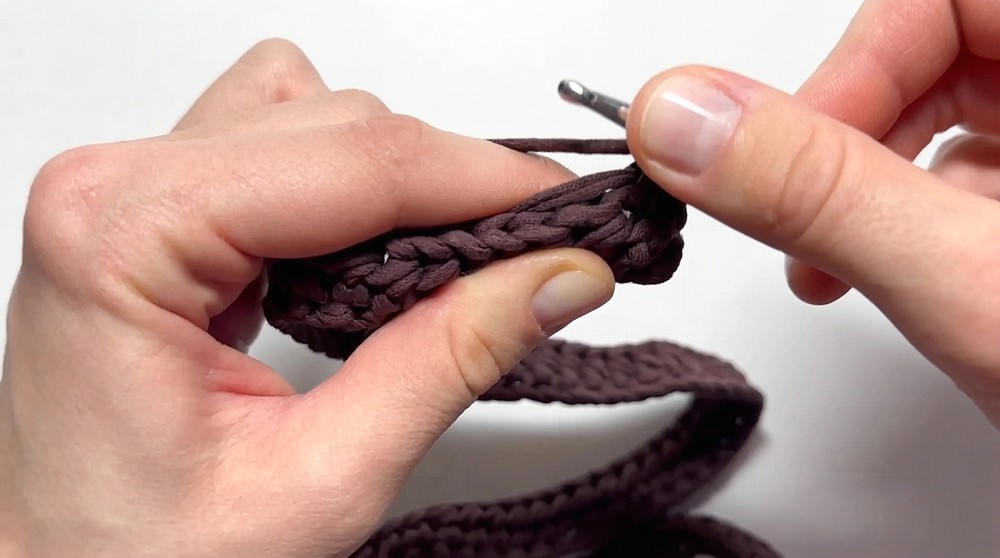
- Continue across the row: each stitch is a half-double crochet.
- For every new row, chain 2 and turn your work.
- Important:
- Work the first stitch of each row through both loops of the previous row’s stitch to maintain height and structure.
- Work all subsequent stitches into the back loop only of the preceding stitch. This establishes the distinctive ribbed texture.
- Repeat this process for 5 rows total to complete the first handle section.
3. Base (Rows 6–14)
- For the base, work 50 half-double crochet stitches across the row to form the bag’s bottom section.
- Continue working back and forth in half-double crochet, maintaining the back loop only technique.
- Complete 9 rows (counting rows 6 through 14) of this base section to create a firm, dense base for the bag.
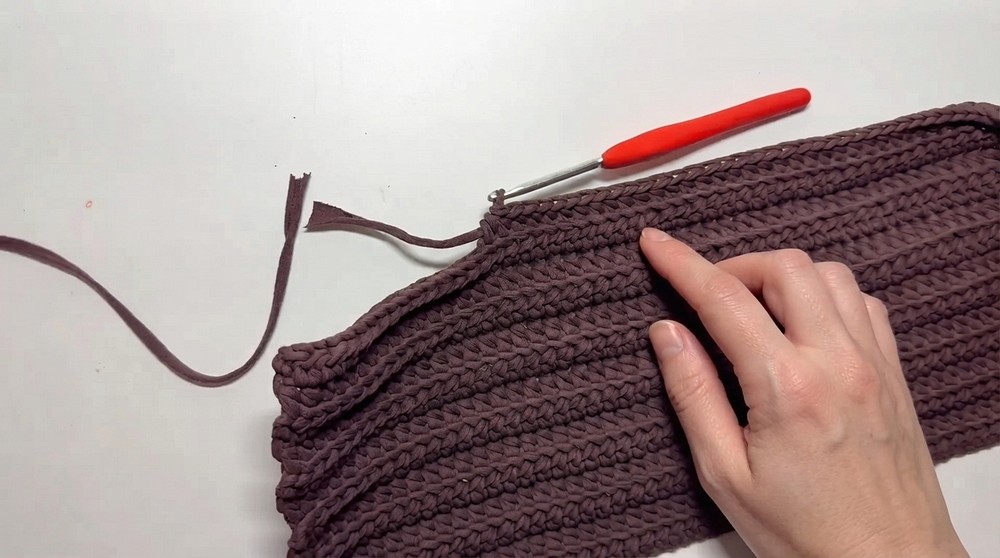
4. Second Handle (Rows 15–19)
- After completing the 9th row of the base, chain 30 stitches to form the second handle’s foundation.
- Turn your work.
- Work back across the chain and the base rows by making half-double crochet stitches in the back loops only.
- Chain 2 at the end of each row to turn for the next row.
- Repeat this for 5 rows total to match the first handle section in size and texture.
Assembly
Folding the Bag:
- Fold the rectangular fabric in half. The handles become the top edges, and the base forms the bottom.
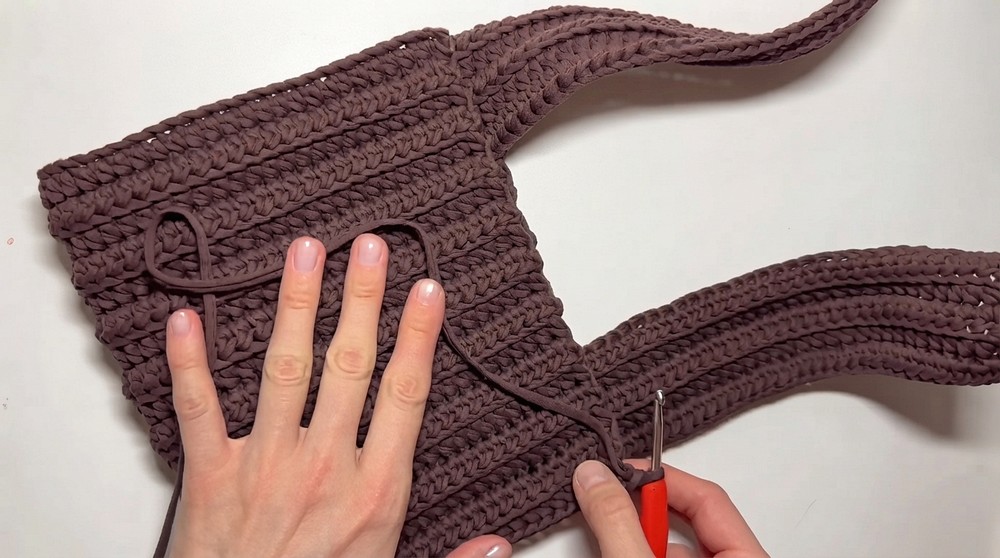
Joining the Sides:
- Use a crochet hook to slip stitch (sl st) the sides of the bag, joining the front and back fabric edges securely.
- Work gently but firmly to maintain bag shape without puckering.
Joining the Handles:
- Attach the handles to the bag body by slip stitching along the seam where handles connect to the base/body.
- Weave in the yarn ends carefully inside the work to keep the bag clean and to secure loose yarn.
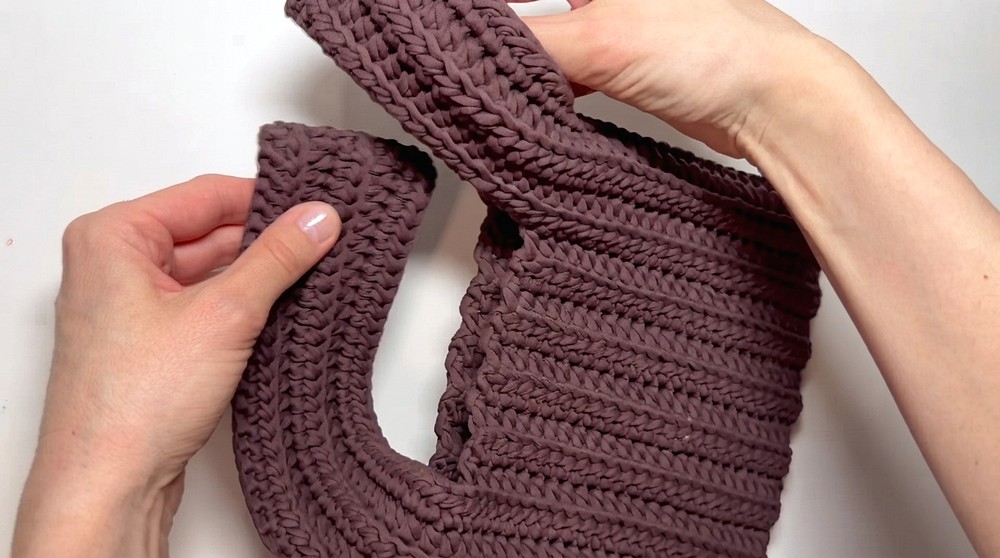
Final Seam:
- Join the remaining side seam with slip stitches to complete the bag structure.
Finishing:
- Turn the bag inside out to reveal the ribbed texture on the outside and hide all seams within the interior.
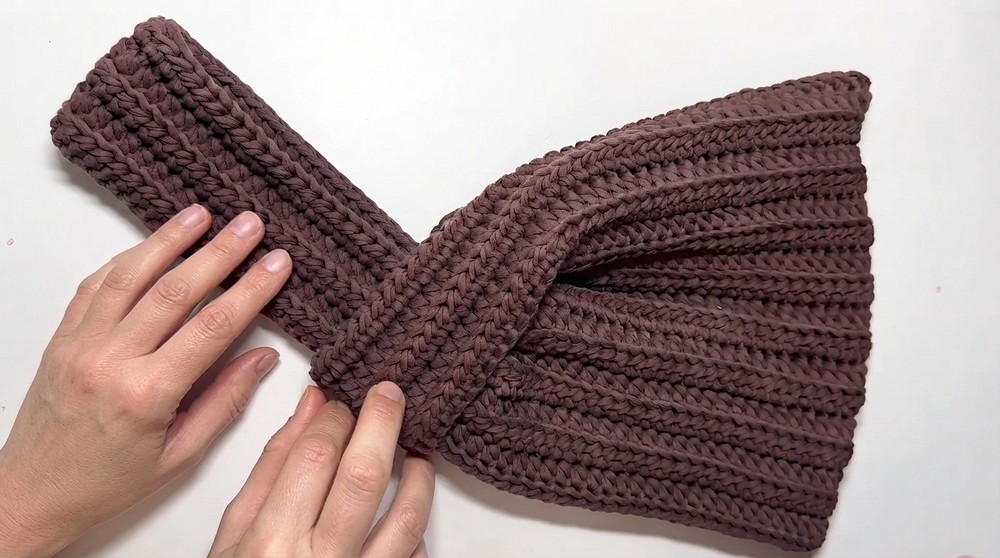
Assembly & Finished Size
- The finished bag stands approximately 20 cm in height and 30 cm in width.
- The sturdy base and ribbed handles provide comfortable carrying and maintain shape.
- Seam joins are neat and secure due to slip stitch finishing.
- Ribbed texture enhances bag strength and adds a subtle decorative touch.
Conclusion and Ending Words
Congratulations on completing your sturdy and stylish crochet bag made with half-double crochet stitches! This straightforward pattern combines functional design with a unique ribbed texture that enhances durability and aesthetics. The clear construction steps for the handles and base, along with clean slip stitch seams, ensure a professional-looking accessory suitable for daily use or gifting. Customize this pattern with your favorite colors or yarn blends to make your own signature bag.