Elegant Clutch Bag Free Crochet Patter

Give your outfits a personal touch with this free crochet clutch bag pattern that blends elegance and usability into a versatile, eye-catching design.
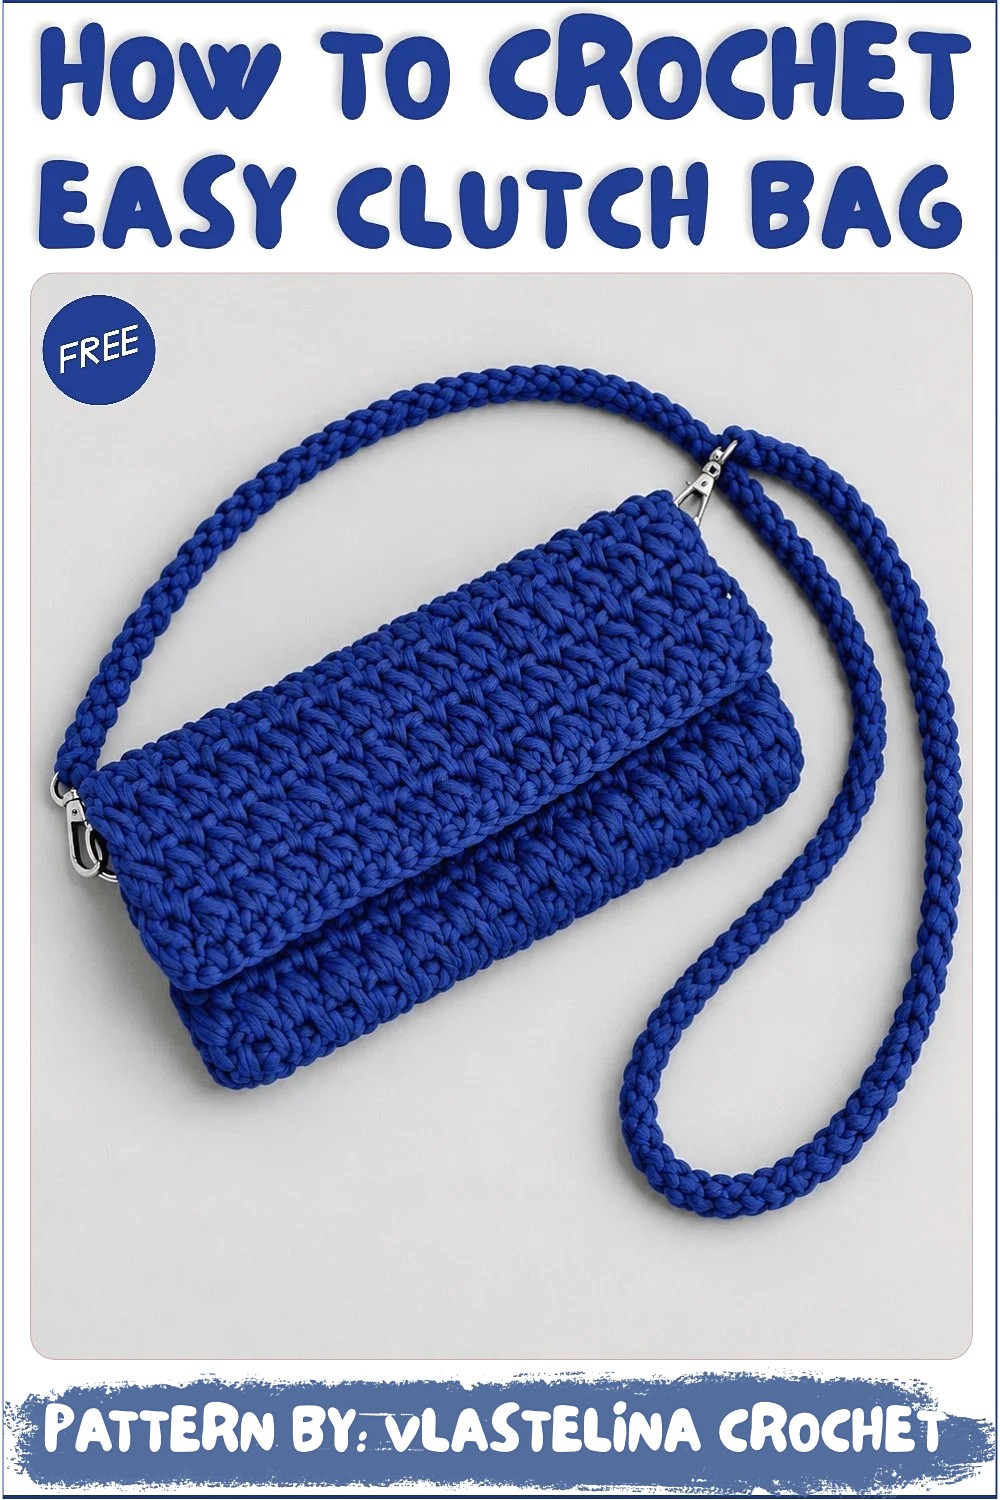
Starting a new yarn project brings a special kind of joy to your daily life. This pretty little bag works like a handy pouch or small purse for your everyday items. Any maker looking for a Free Crochet Clutch Bag Pattern will find this project super simple to finish. People often look for a neat crochet handbag or purse design to try new skills. A wonderful place to learn this project is from the popular YouTube channel Vlastelina Crochet, where simple video guides make every single step feel very easy, friendly, and clear for everyone.
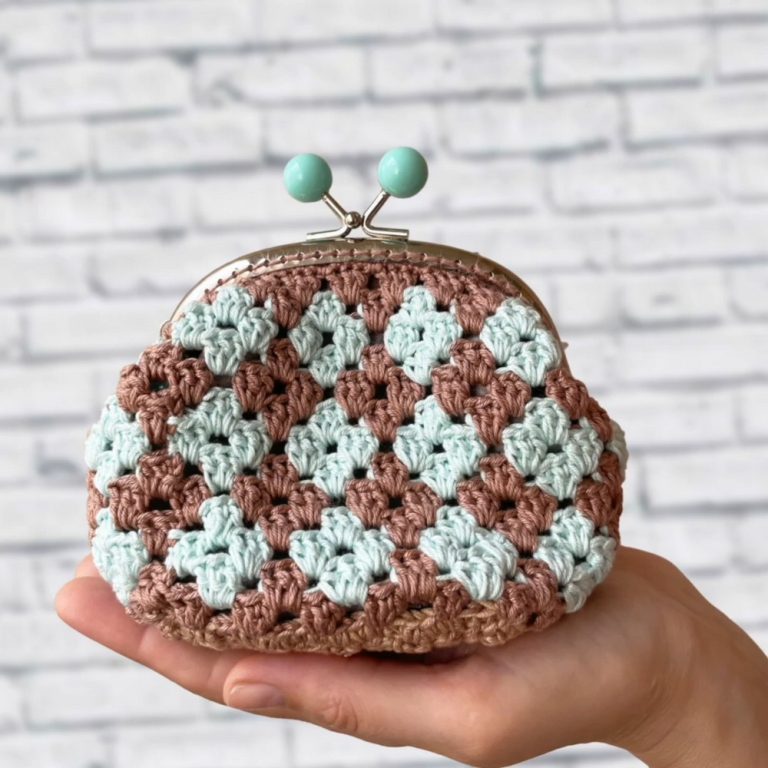
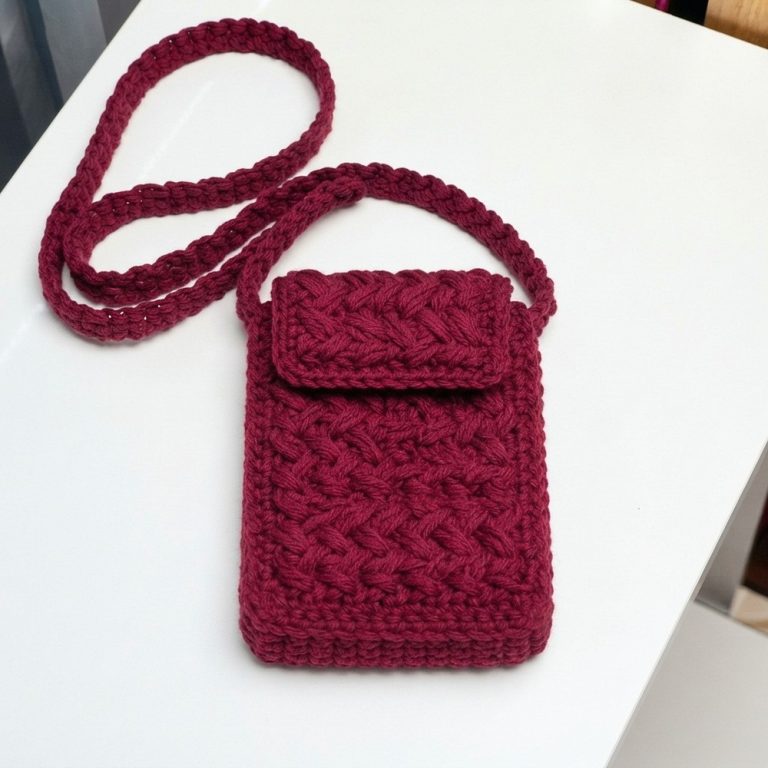
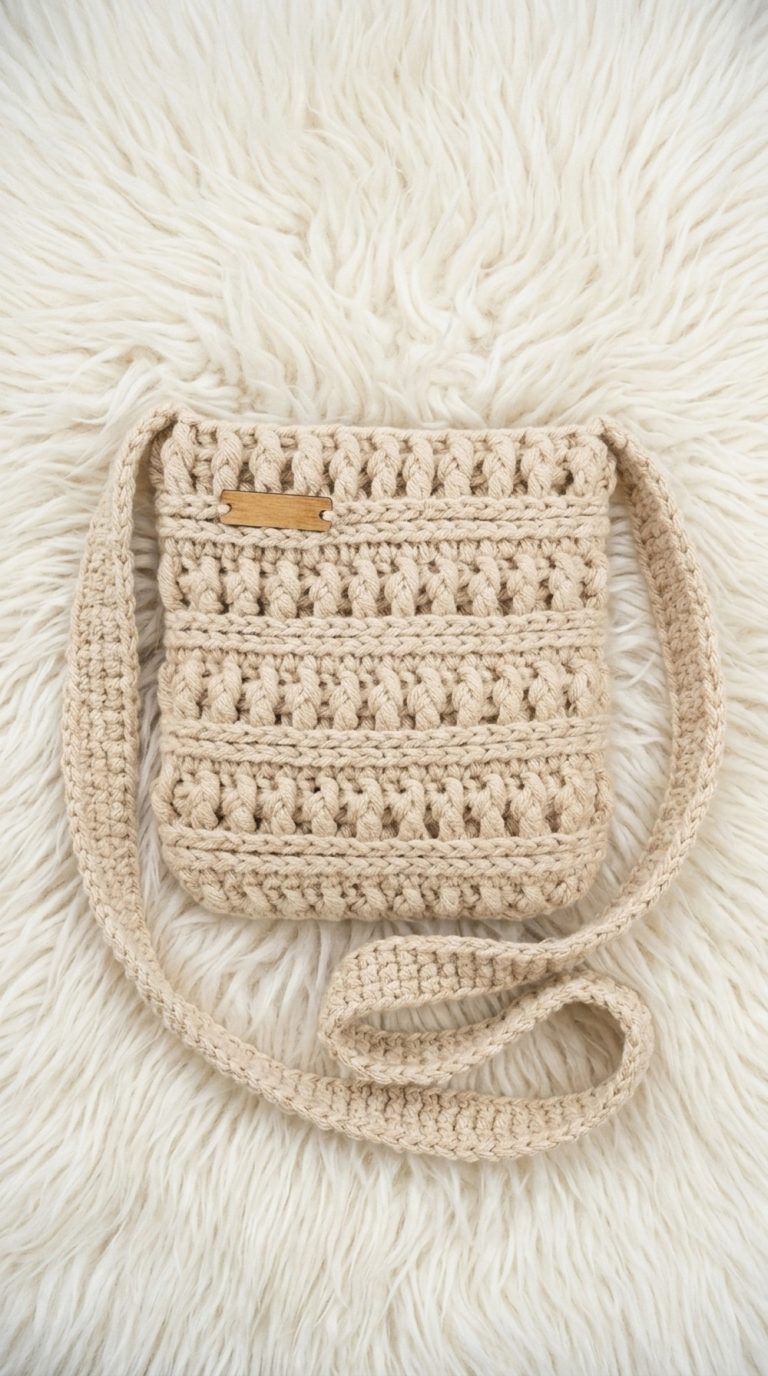
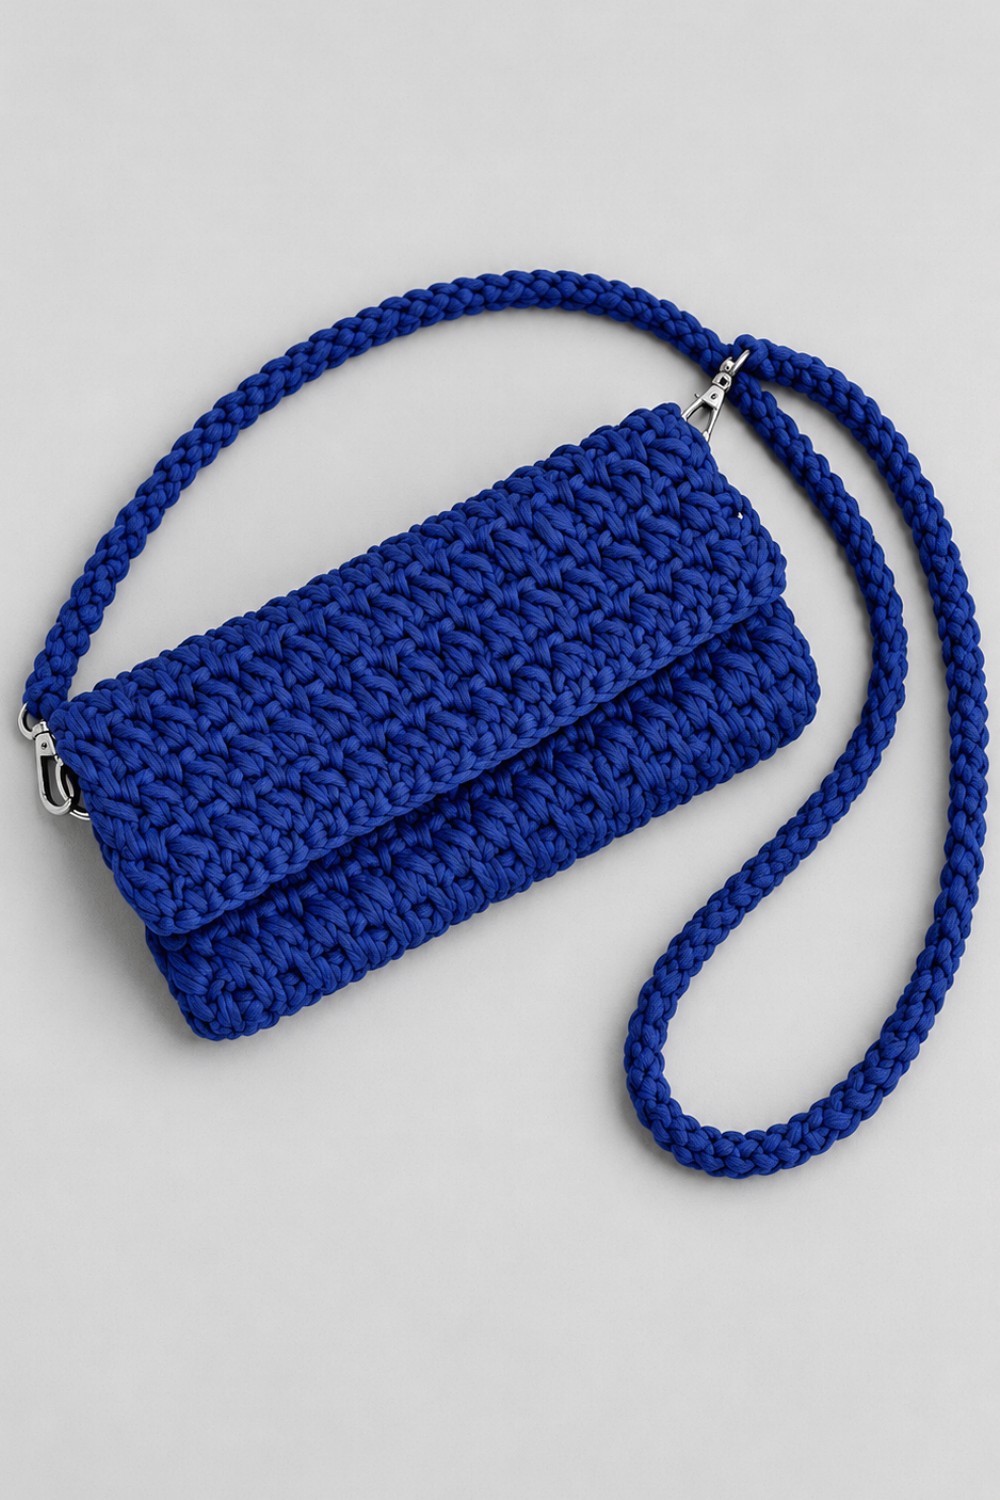
The look of this wonderful item is very pretty and catches the eye right away. It comes in a neat boxy or slightly rounded shape that looks clean and modern. The surface feels thick, smooth, and firm because the small loops sit tightly together to give the bag a strong body. .
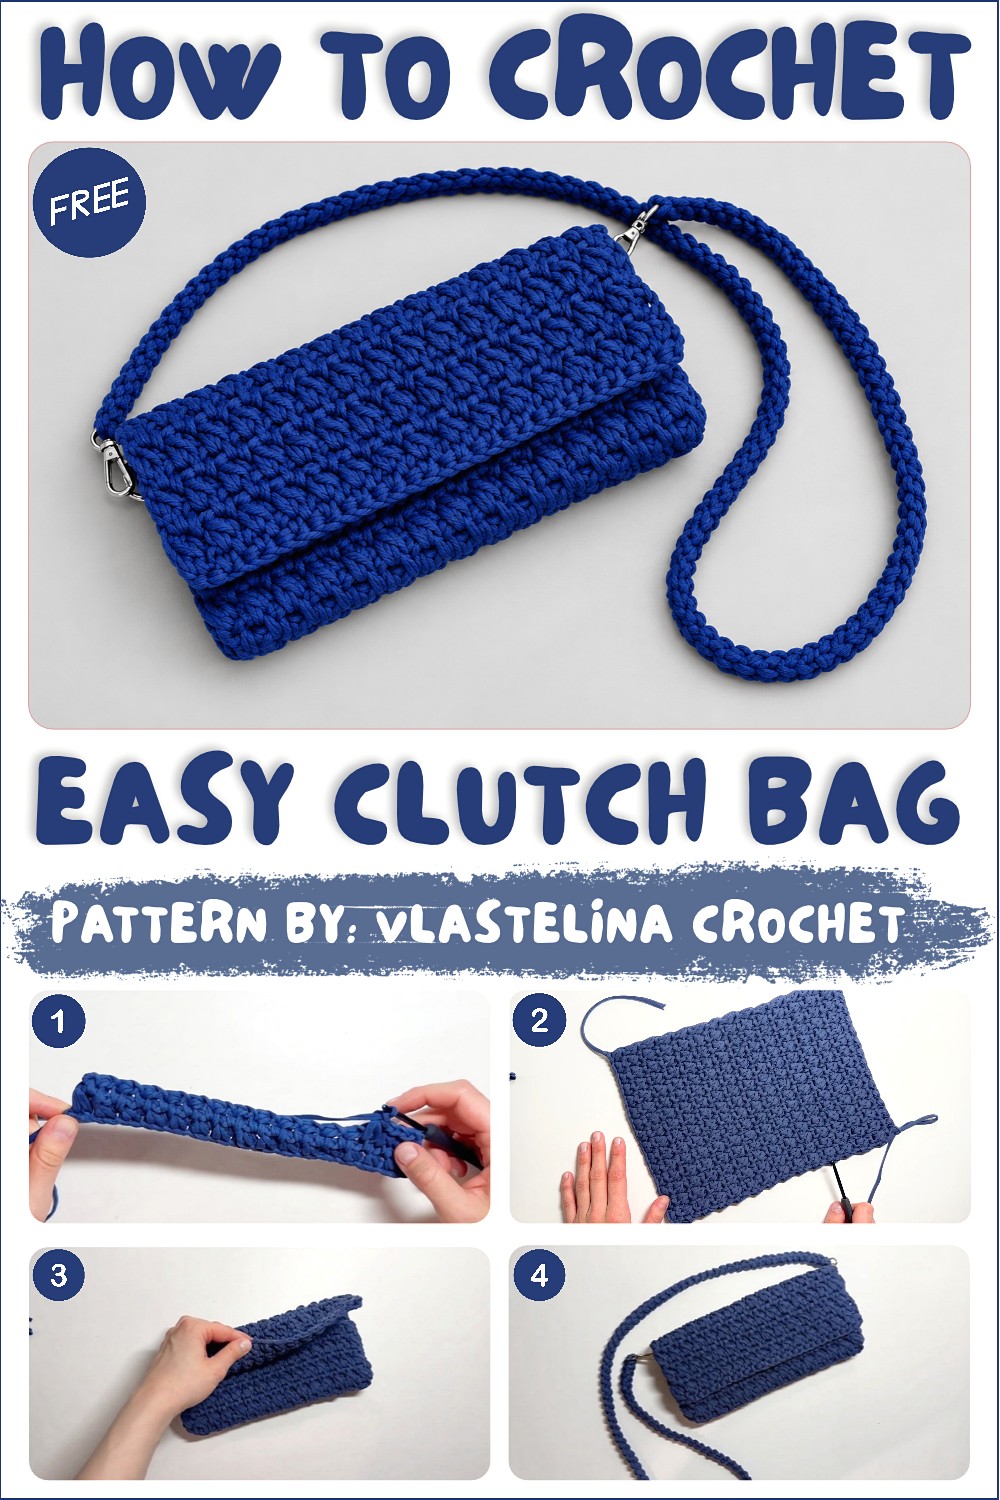
Cute Clutch Bag Free Crochet Pattern For Teens
When you feel it, the raised lines give a neat bumpy surface that shows off true handmade beauty. Its neat style lets you use it as a basic daytime holder or bring it along for a fun night out with friends.
One of the standout design features is how well it keeps its shape without needing extra plastic inside. The neat edge gives it a smooth finish that looks like a high quality item from a shop. People love using it to keep phones, keys, and lip balm safe while adding a nice touch of personal style to any outfit. Watching the helpful video guide helps new makers finish this lovely item with full confidence and pride
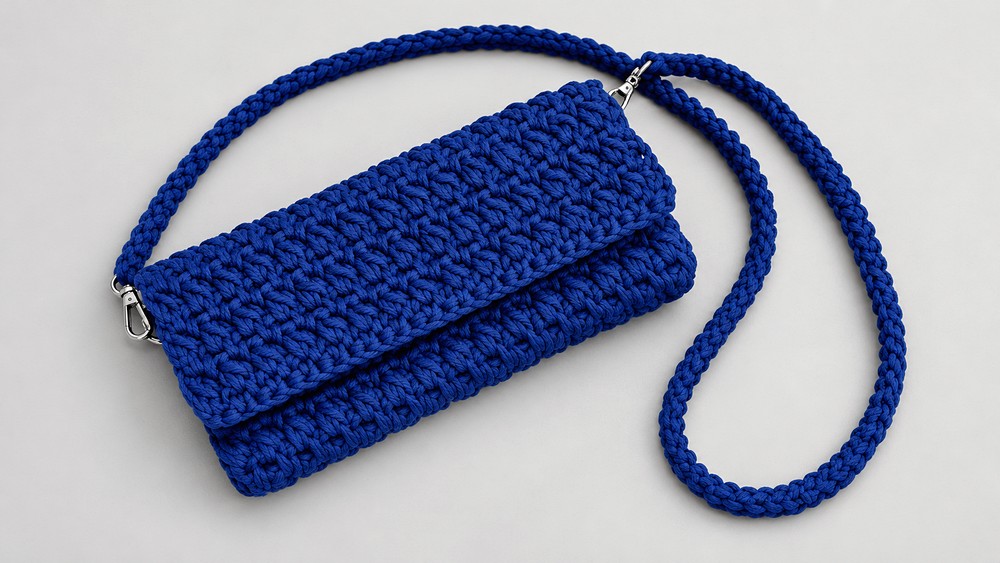
Stylish Crochet Crossbody Bag / Clutch Pattern
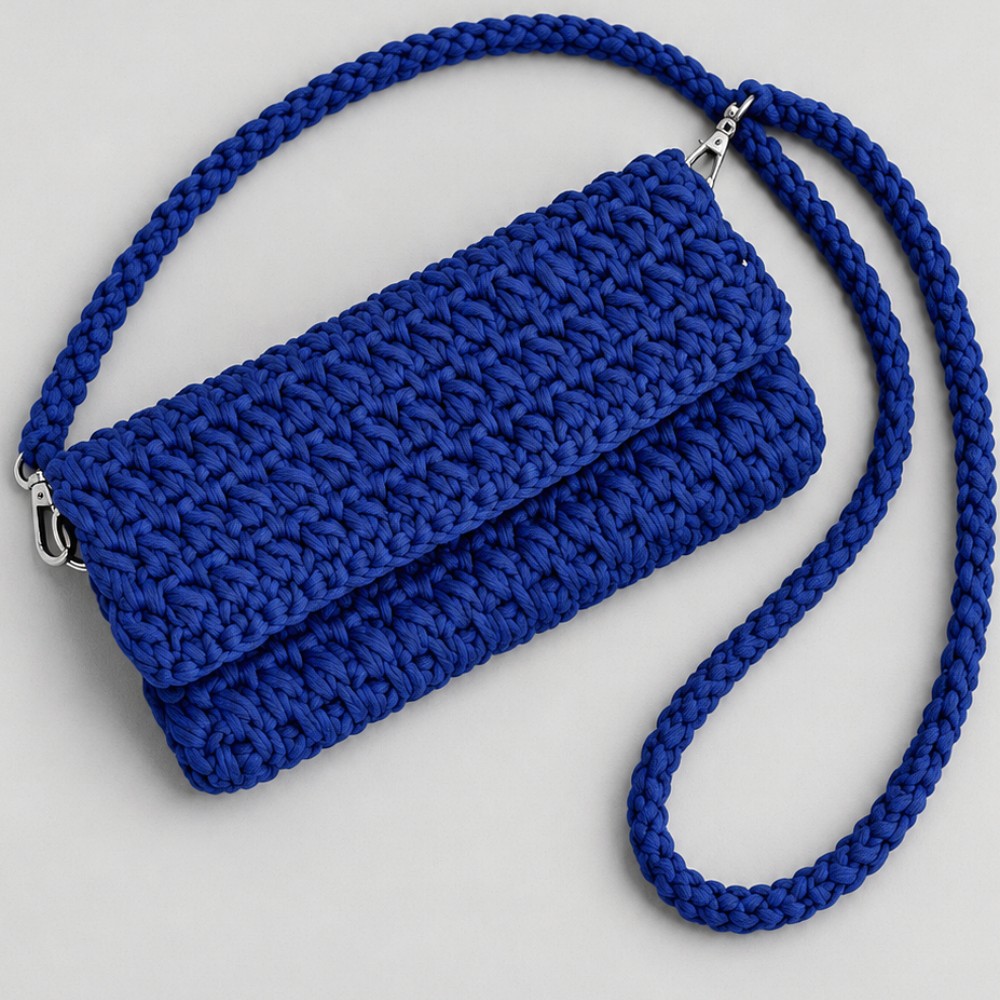
This detailed pattern walks you through making a chic and functional crossbody bag or clutch using a textured crochet stitch. Constructed with a sturdy knit yarn, this bag features a simple but elegant stitch pattern for the body and a reinforced strap made with single crochet stitches worked back and forth for strength. The bag closes securely with a button, and the detachable strap attaches via carabiners for versatile styling.
Quick Overview of Pattern
- Create a rectangular fabric for the bag’s body using a special loop-pulling stitch to form a distinctive texture.
- Fold fabric to form bag shape and slip stitch the side seams for durability.
- Add a button closure for security and style.
- Crochet a strap reinforced by working single crochet stitches around and back on the carabiners.
- Attach strap via carabiners to allow easy removal.
Notes
- The stitch pattern requires careful attention to skipping chains and pulling multiple loops through the stitches for the characteristic texture.
- Consistent tension ensures even fabric and a neat edge, important for shaping the clutch body.
- Using carabiners allows for removable and adjustable straps, increasing bag versatility.
- Allow time to weave in ends neatly for finished appearance.
- The pattern references stitch counts and rows precisely—use stitch markers if desired.
Skill Level
Intermediate. Familiarity with chain stitches, basic crochet stitches, working back and forth in rows, slip stitches, and joining techniques is essential. Ability to follow a textured stitch pattern involving multiple loops on the hook is required.
Materials
- 2 skeins of Halva knit yarn (3-4 mm thickness).
- 4.5 mm crochet hook suitable for the yarn thickness.
- Scissors.
- 2 small carabiners for detachable strap attachment.
- 1 button for bag closure.
- Yarn needle for weaving in ends.
Measurements / Sizing
- Chain foundation of 30 stitches plus turning chains yields a fabric approximately 28 rows tall, suitable for a medium-sized clutch or small crossbody bag.
- Strap length approximately 90–100 cm (adjustable to user preference).
- Final bag dimensions approximately 25–28 cm wide by 20–22 cm tall (before folding).
Gauge and Stitch Pattern
Gauge can vary depending on tension, but is based on:
- Foundation chain: 30 chains plus 2 for turning.
- Row height and width maintained by skipping chains and working textured loop stitches across 28 rows.
- Handle strap tightly worked with single crochet stitches for stability.
Stitch Abbreviations
| Abbreviation | Stitch | Description |
|---|---|---|
| ch | Chain | Yarn over, pull through loop |
| sc | Single Crochet | Insert hook, yarn over, pull through both loops |
| sl st | Slip Stitch | Insert hook, yarn over, pull through loop |
| skip ch | Skip Chain | Intentionally bypassing a chain stitch |
| pull-up loop | Pull Up Loop | Inserting hook and pulling up a loop for working multiple loops in a stitch |
Special Stitches
Textured Loop Pull Stitch:
- Skip certain chains, then insert the hook into the next chain, pull up a loop. Without completing a stitch yet, insert into the following chain, pull up another loop, and then yarn over and pull through all loops on the hook. This creates a raised stitch texture characteristic of the bag body.
The Crochet Pattern!
1. Foundation (Chain and Turning Chains)
- Create a slip knot and make a foundation chain of 30 stitches.
- Add 2 extra chains for turning to set up the first row.
2. Main Body (Textured Stitch Rows)
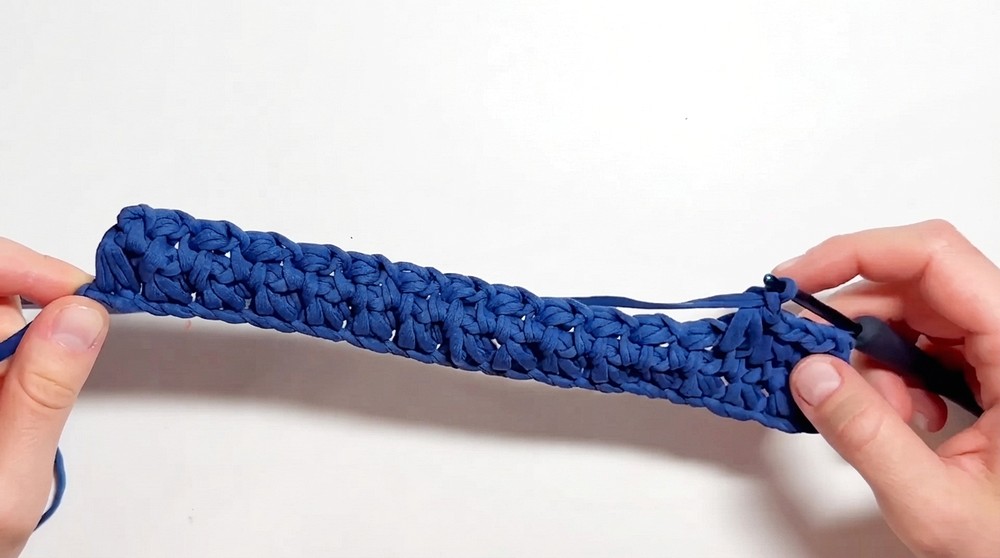
Row 1:
- Skip the first 2 chains from the hook.
- Insert the hook into the 3rd chain, pull up a loop (leaving 2 loops on hook).
- Insert the hook into the next chain, pull up another loop (now 3 loops on hook).
- Yarn over and pull through all 3 loops on the hook to finish the stitch.
- Chain 1 to complete the stitch.
- Repeat this stitch sequence (skip 2 chains, insert 2 loops, pull through all loops) across the entire row until reaching the last chain.
Subsequent Rows (Rows 2 to 28):
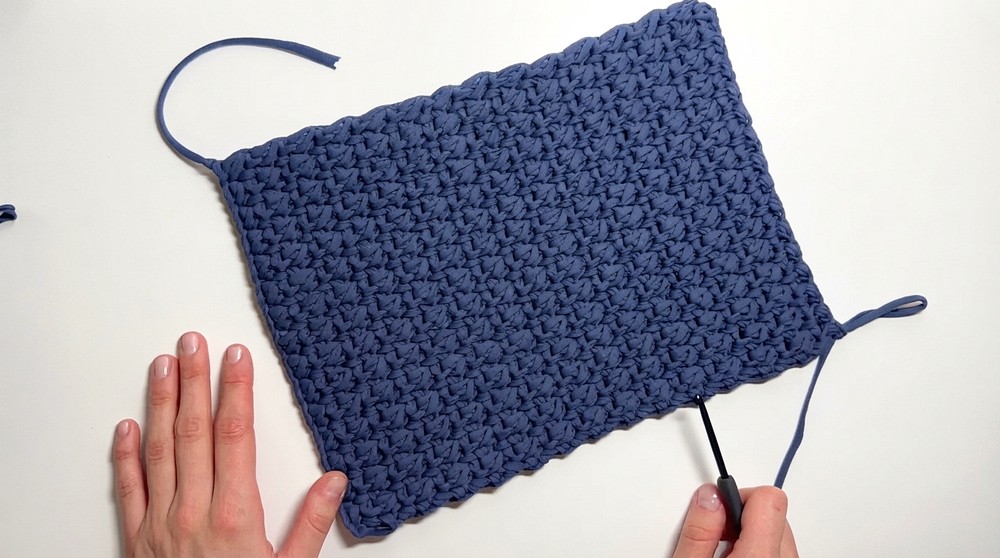
- Chain 1 (or sometimes 2 depending on tension) to turn the work.
- Skip the first two stitches or the first available gaps as in row 1.
- Insert the hook into the next available gap/arch, pull up a loop.
- Insert into the following gap, pull up another loop so that there are 3 loops on hook.
- Yarn over and pull through all 3 loops to complete the stitch.
- Chain 1 to finish the stitch.
- Repeat across the entire row.
- Continue until you have completed 28 rows in total.
3. Assembly
Determining Fold Line:
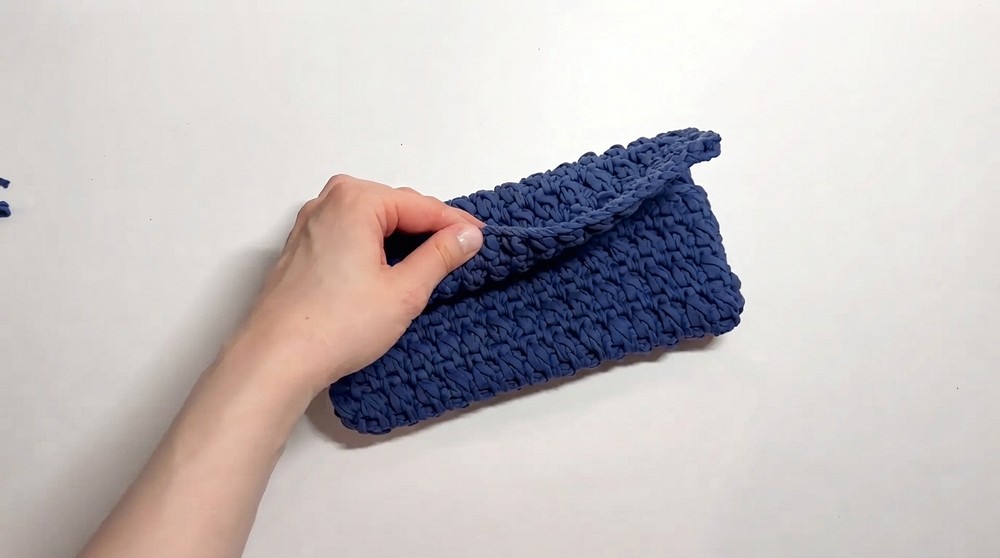
- From the bottom edge, count 16 rows upward.
- This row marks the fold line which forms the base of the closed clutch.
Forming the Bag:
- Fold the work at the 16-row mark, folding up to create a flap at the front.
Joining Sides:
- Use slip stitches (sl st) to join the sides together firmly.
- Insert the hook through both layers at the sides and work slip stitches evenly from bottom to top.
- Secure the yarn after finishing and cut it.
- Weave in the loose ends carefully inside the bag to maintain a clean interior.
Button Attachment:
- Turn the bag inside out so seams are hidden.
- Sew the button securely at the center of the folded flap edge to form a closure point.
4. Strap / Handle
Attaching Yarn to Carabiner:
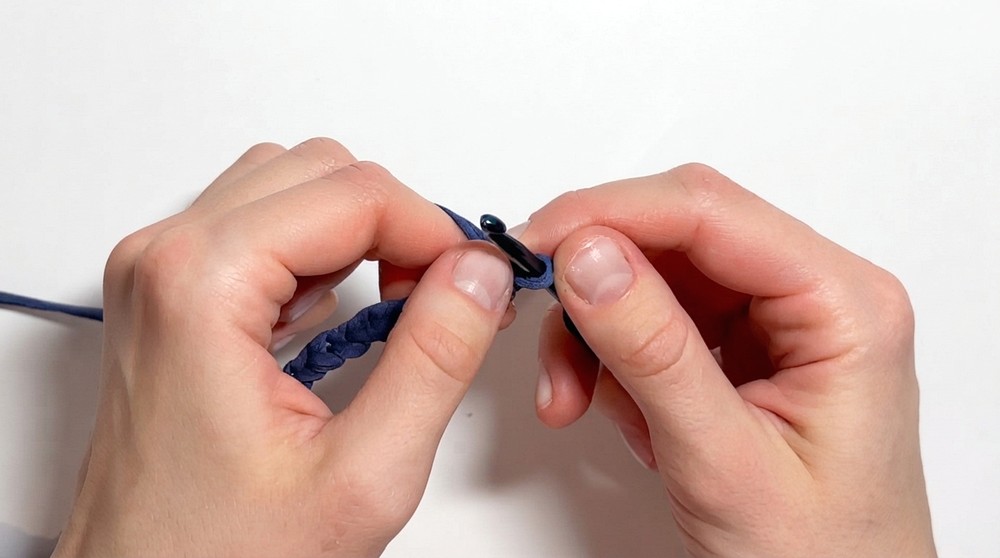
- Take one carabiner and attach your yarn with a slip stitch at the base of the ring.
Working Single Crochet into Carabiner:
- Insert hook into the carabiner’s metal loop and work single crochet (sc) stitches evenly around its circumference.
- Continue until carabiner base is covered well and the foundation for the strap is established.
Building the Strap:
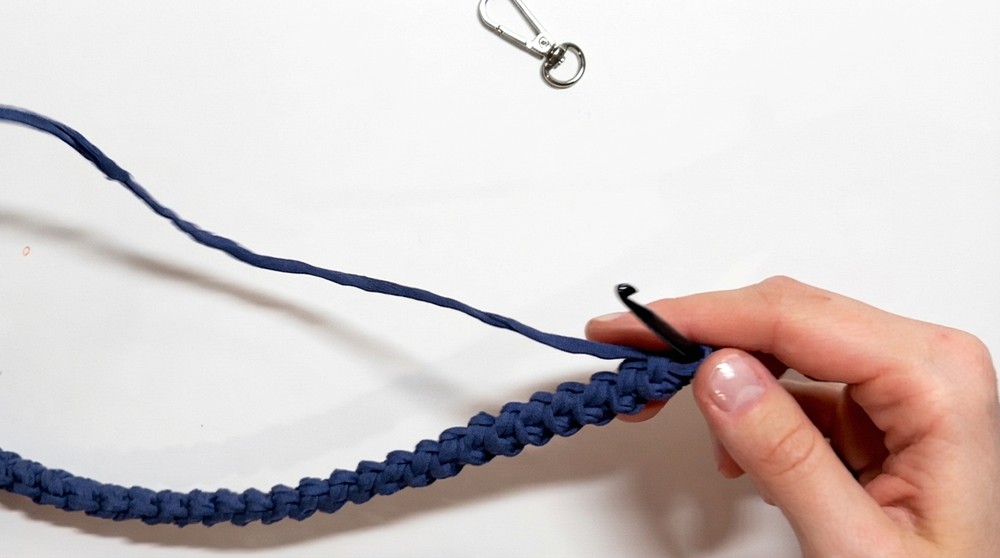
- Turn the work and crochet back and forth in rows by inserting the hook behind the vertical strands of the previous row to add firmness.
- Maintain even tension for a sturdy strap.
- Continue rows until strap reaches desired length (approx. 90–100 cm is suggested).
Finishing Strap:
- Attach the end of the strap to the second carabiner using slip stitches to secure.
- Cut and weave in all ends.
5. Finishing Touches
- Attach the finished strap to the carabiner rings on each side of the bag.
- Adjust length and ensure hooks are securely fastened for durability.
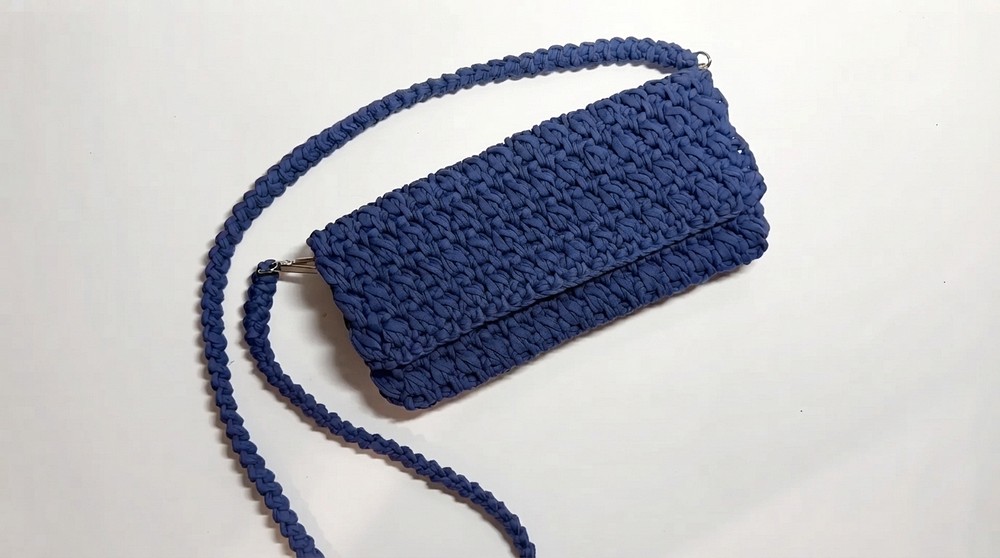
Assembly & Finished Size
- The main body fabric measures roughly 30 chains wide and 28 rows high, yielding a clutch size ideal for everyday use.
- Folding at 16 rows creates a functional flap and pocket area.
- The finished strap extends about 90–100 cm, suitable for crossbody wear but can be adjusted to preference.
- The completed bag combines texture and durability with removable strap convenience.
Conclusion and Ending Words
Congratulations on creating your stylish crochet crossbody bag! This project skillfully combines textured crochet stitches with practical construction techniques, resulting in a beautiful and functional accessory. The adaptable strap design allows versatility in wear, and the neat finishings provide a polished look. Use your new bag with pride or gift it to someone special. Keep exploring different yarns and colors to customize your next creation.