Free Crochet a Santa Claus Purse Pattern for Christmas

Carry holiday cheer everywhere with this free crochet Santa Claus purse pattern designed for quick, adorable and festive fashion fun.
The joy of Christmas fill your heart and hands as you create a festive accessory that’s brimming with holiday cheer. The Free crochet Santa Claus Purse Pattern invites you to craft a charming purse shaped like Santa’s jolly face. With easy guidance provided by Crochet con Yamileth’s engaging tutorial on YouTube, this delightful project is a fun way to celebrate the season. Whether it’s a thoughtful gift, festive decoration, or sweet little storage solution, this purse is sure to spread smiles everywhere it goes.
Adorable Santa Crochet Purse – Free Pattern You’ll Love
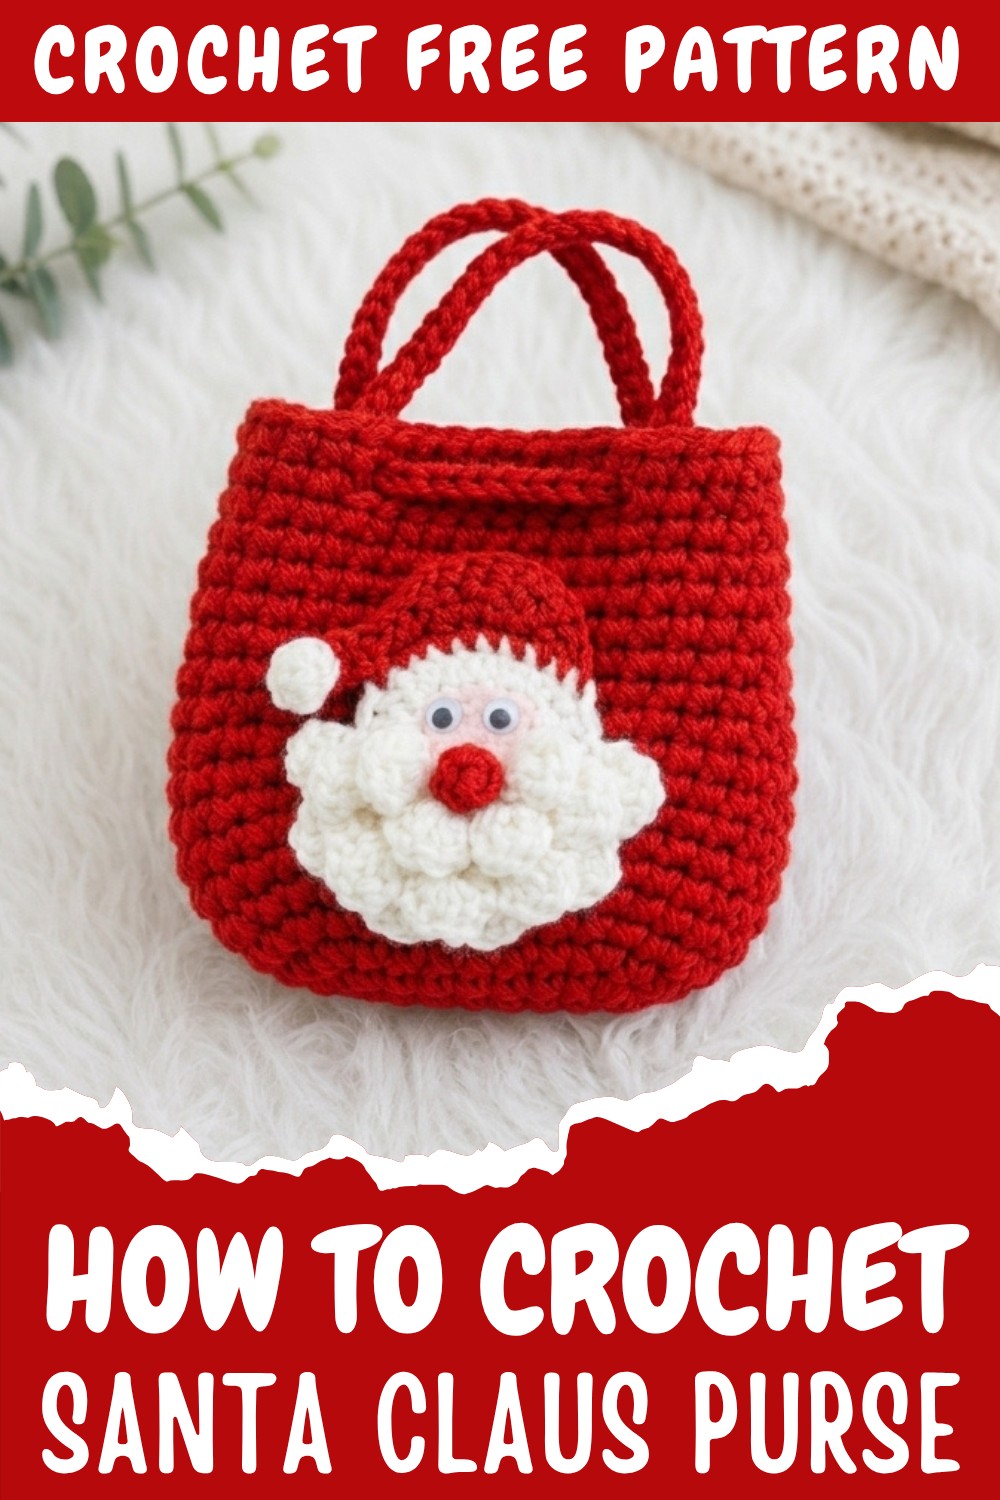
This whimsical Santa purse is packed with standout holiday details. His signature red hat, complete with a fluffy white pom-pom, pairs perfectly with a textured beard and rosy red nose, capturing the cheerful essence of Santa Claus in every stitch. The rounded shape gives it a playful and cozy look, while the softly textured yarn enhances its winter charm. A handy zipper ensures your precious trinkets stay safe inside, making it as practical as it is adorable.
The purse is great for gifting to loved ones or adding a touch of festive flair to your Christmas decorations. It’s an ideal accessory for carrying little surprises like candies, keys, or coins during holiday events. Fun, stylish, and heartwarming, this project is a wonderful way to bring a little extra joy to your celebrations.
Santa Claus Handbag Crochet Pattern
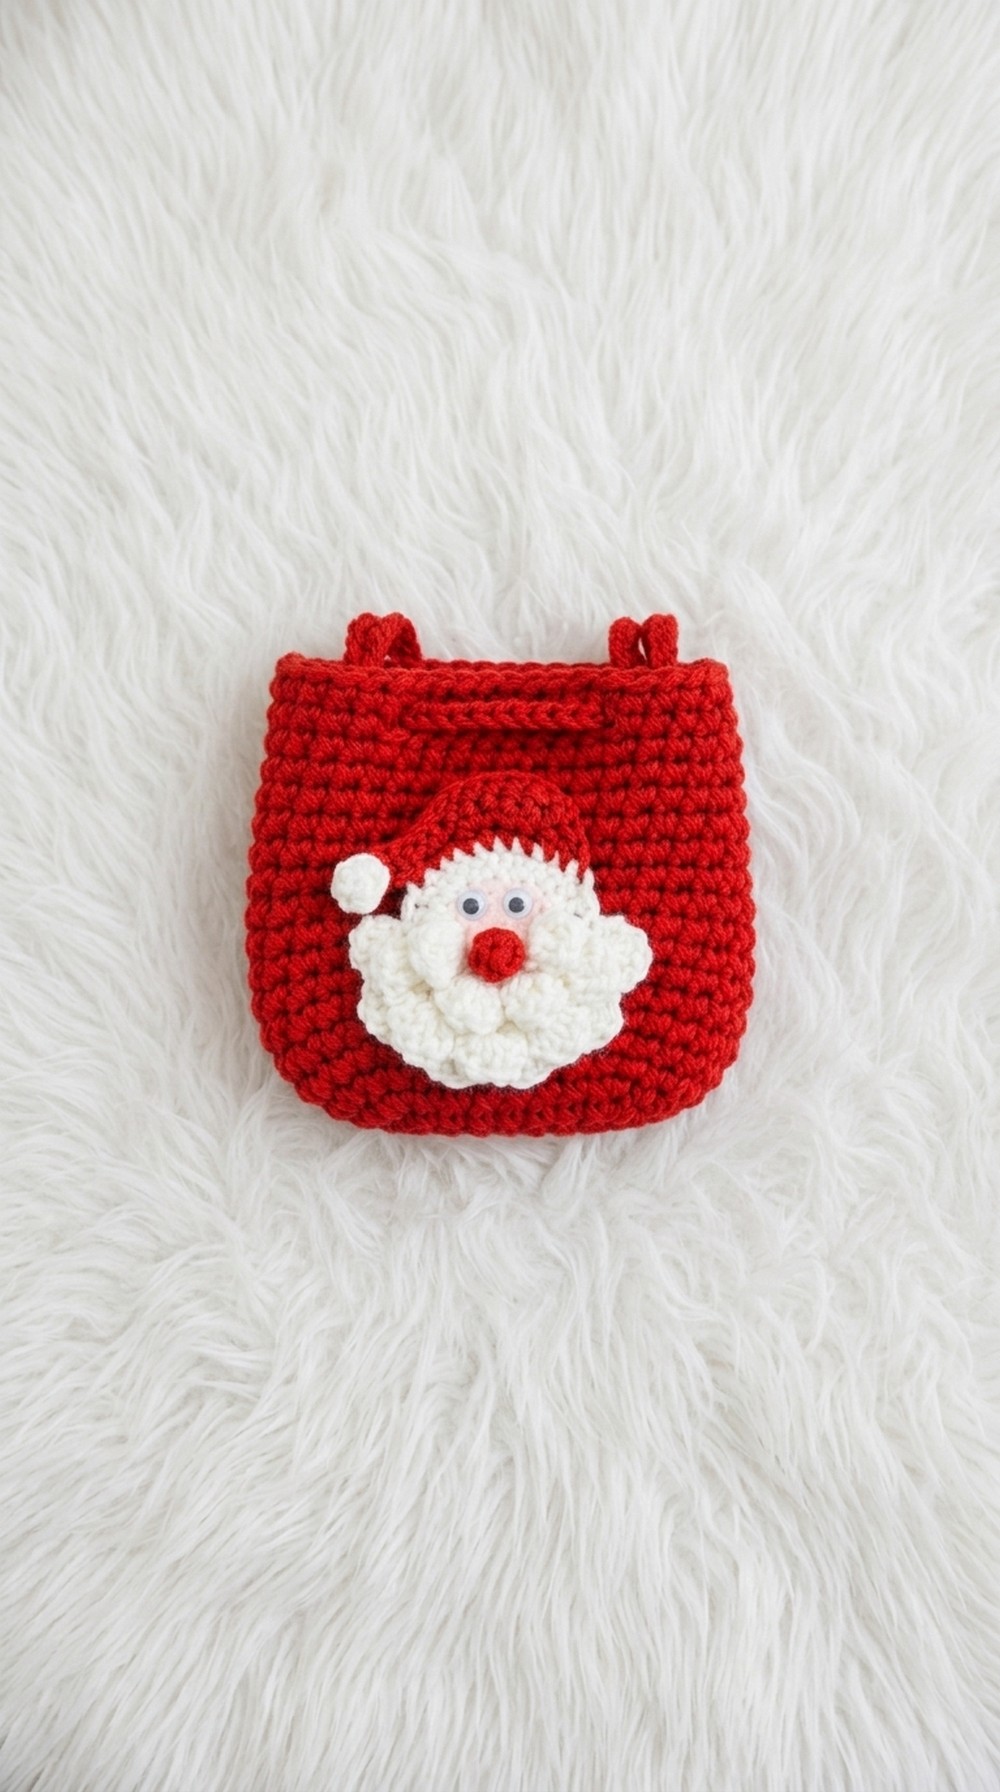
This Santa Claus handbag crochet pattern is designed for children and makes an adorable, festive accessory to carry during the holiday season. This bag features cute details, including Santa’s face, hat, and beard, giving it a unique and playful look. The finished size is perfect for little ones and can be crafted in various colors for added customization.
Skill Level
This pattern is ideal for intermediate crocheters. While the base of the bag is simple to make with basic stitches, additional techniques such as alternating crochet hooks, working in spirals, and creating Santa’s facial features require some familiarity with crochet techniques and assembly.
Materials
You will need the following materials:
- Crochet Hooks: 4 mm, 5 mm, and 6.5 mm
- Yarn:
- Red (100% cotton, size 4, used double strands for the bag)
- White (for Santa’s beard and detailing)
- Needles: Large-eye blunt tapestry needle for sewing and detailing
- Glue: Glue gun or cold silicone glue (for attaching eyes)
- Scissors
- Stitch Markers
Special Stitches
- Magic Ring: A technique for starting circular crochet projects. Creates an adjustable ring of yarn with no visible hole in its center.
- Slip Stitch (sl st): Used to join stitches and provide a clean finish.
- Increase (inc): Work two single crochet stitches into the same stitch to increase the stitch count.
- Single Crochet in Spiral: Continuous rounds without joining, requiring stitch markers to indicate the start of the round.
Stitch Abbreviations
- ch: Chain
- sc: Single crochet
- st: Stitch
- sl st: Slip stitch
- inc: Increase (2 sc in the same stitch)
- dec: Decrease (crochet 2 stitches together)
Useful Tips
- Double-Stranded Yarn: When working with a double strand of yarn as used in the handbag, ensure even tension to create a sturdy structure.
- Use Stitch Markers: Working in spirals requires marking the first stitch of every round so you don’t lose track of it.
- Quality Materials: Since this project will be used frequently, use durable cotton yarn and fabrics to ensure the longevity of your project.
- Secure Attachments: When using a glue gun for facial details, let the glue dry thoroughly to ensure permanent adhesion.
Pattern Instructions
Body of the Bag (Red Yarn – Double-Stranded)
- R1: Chain 7 ch, starting from the second chain, crochet 6 sc (6 sc).
- R2: Turn, crochet 6 sc (6 sc).
- R3: In the last st of the row, crochet 3 sc into the same st (additional stitching for curve). Then, turn and 5 sc along the opposite side of the original chain.
Transition to Spiral:
- R4: Crochet 2 sc in the first stitch (increase). Starting in a spiral, mark the first stitch with a stitch marker. Continue with 6 sc, and then in the next 3 spaces, crochet 3 increases by working 2 sc in each space. Continue 6 sc, finish with 2 increases (22 sc total).
- R5: [1 sc, inc]; repeat across all stitches (28 sc).
- R6: Crochet 2 sc in the first stitch (increase), then 7 sc, 1 inc, 2 sc, 1 inc, 2 sc, 1 inc, and finish with 7 sc.
- R7: Start with 3 sc and mark the start of the round. Continue with 8 sc, 2 sc, 1 inc, 3 sc, 1 inc, 3 sc, 1 inc, finish with 8 sc.
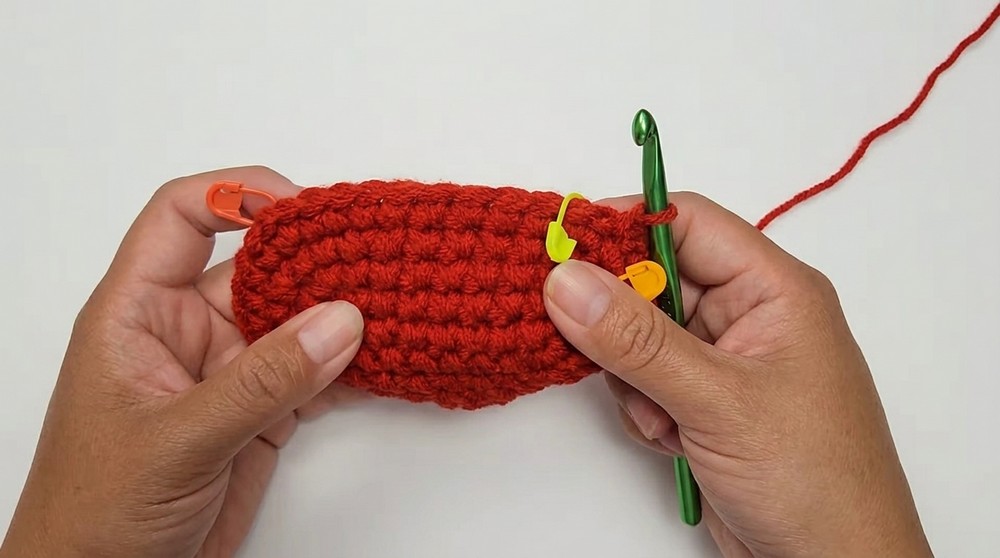
After Completing the Increases:
From R8 to R11, work 1 sc into each stitch across without increasing (42 sc per round).
After R11, the shape of the body is complete.
Handle of the Bag
- Step 1: Place markers on both sides of the bag where the handle will be attached. Remove the marker from the starting point.
- Step 2: Crochet 6 sc until reaching the marker.
- Step 3: Chain 9 ch and attach the chain to the opposite side using sl st.
- Step 4: Continue crocheting 6 sc again while hiding the tail as you go.
- Step 5: Repeat the chain process on the opposite side and continue working sc across.
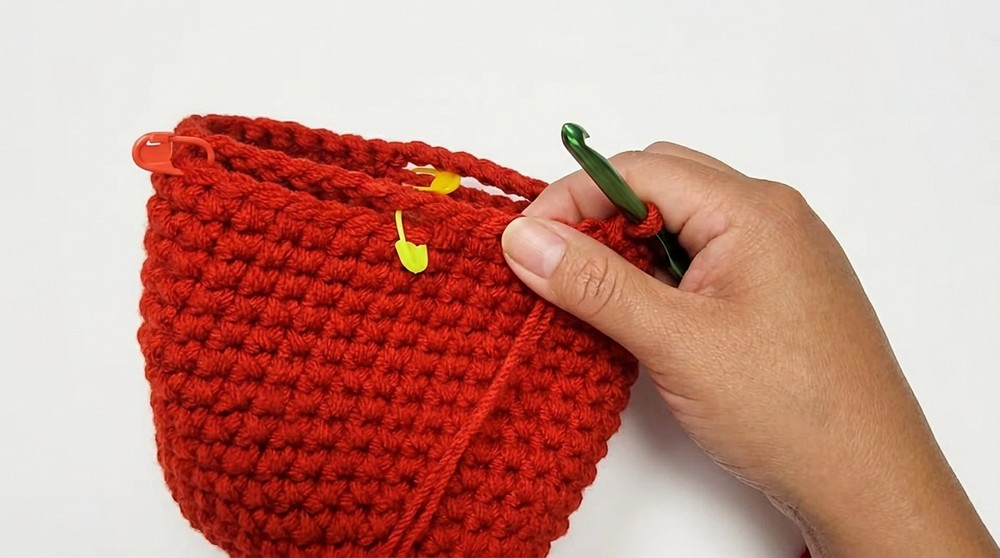
Once complete, the handle will secure the functionality of the handbag.
Santa Claus Face
Base Circle (Red Yarn)
- R1: Use a 5 mm hook with red yarn. Create a magic ring and work 12 double crochet (DC) into the ring. Do not count the starting chains as part of the DC.
- R2: Close the ring with a sl st, then change the yarn to white for the beard section.
Beard (White Yarn)
To create Santa’s beard:
- Begin by crocheting 2 DC in each st of the circle’s edge.
- Work the next row by making 3 ch, skip 1 st, and sl st into the next st. Repeat this sequence across the row.
Beard Texture
- In the spaces created in the previous round, crochet in the following pattern:
- 1 sc into the space, then 3 dc, followed by 1 sc, repeating across each space to create the textured effect of Santa’s beard.
Make sure to fasten off securely and hide the tail inside the stitches.
Santa Hat Decoration (Red Yarn)
The hat decoration consists of detailed stitches to create Santa’s characteristic hat finish. Follow these steps precisely:
- R1: Attach the red yarn base and create a magic ring. Chain 2 ch and work 12 dc into the ring (no chain counting).
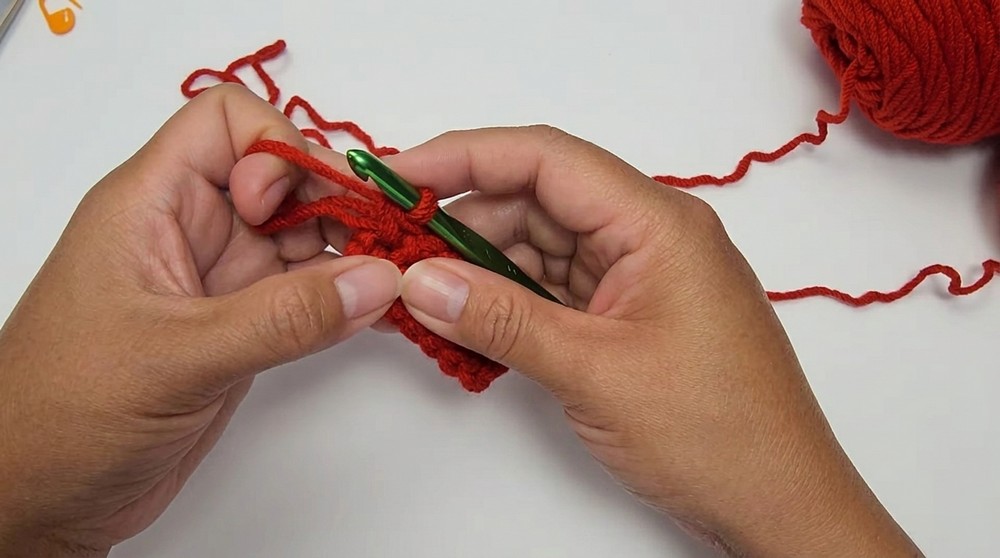
- R2: Close the circle with a sl st, cut the red yarn, and substitute with white yarn.
- R3: Work 2 dc into each space around the edge of the circle (24 dc total).
Finally, use the created Santa decoration to sew or glue onto the center of the bag.
Assembly and Sizing
- Santa Details:
Ensure that Santa’s face, including his beard and hat, is securely attached to the front of the pocket or center of the handbag. Use the yarn tail or glue to attach these details. - Finishing Up:
To make the handle, chain 80 ch and sew the ends to the inside of the handbag edges. Keep stitches tight and secure for durability, particularly if this handbag will be used by children. - Final Dimensions:
The finished Santa Claus handbag measures approximately 6 cm in diameter for the base circle with a customizable length for the handle (as per the user’s preference).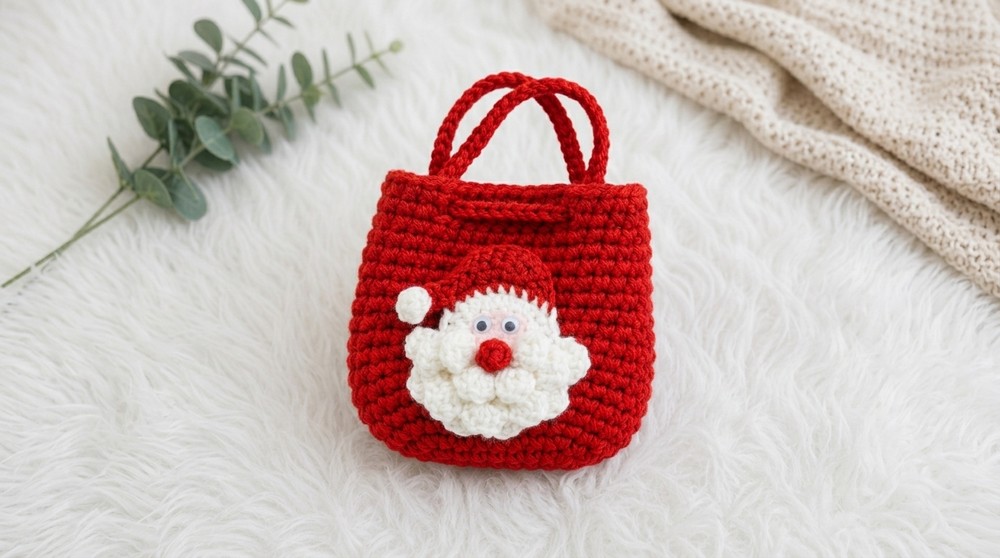
Conclusion
This Santa Claus handbag project is a charming crochet design that makes a perfect holiday gift or accessory for young children. It features a festive design with intricate details, such as a textured beard, embroidered facial elements, and a sturdy handle. The double-stranded yarn ensures durability, and the easy-to-follow pattern allows for creative freedom when adjusting colors or embellishments. Perfect for the holidays, this project combines functionality and seasonal charm!