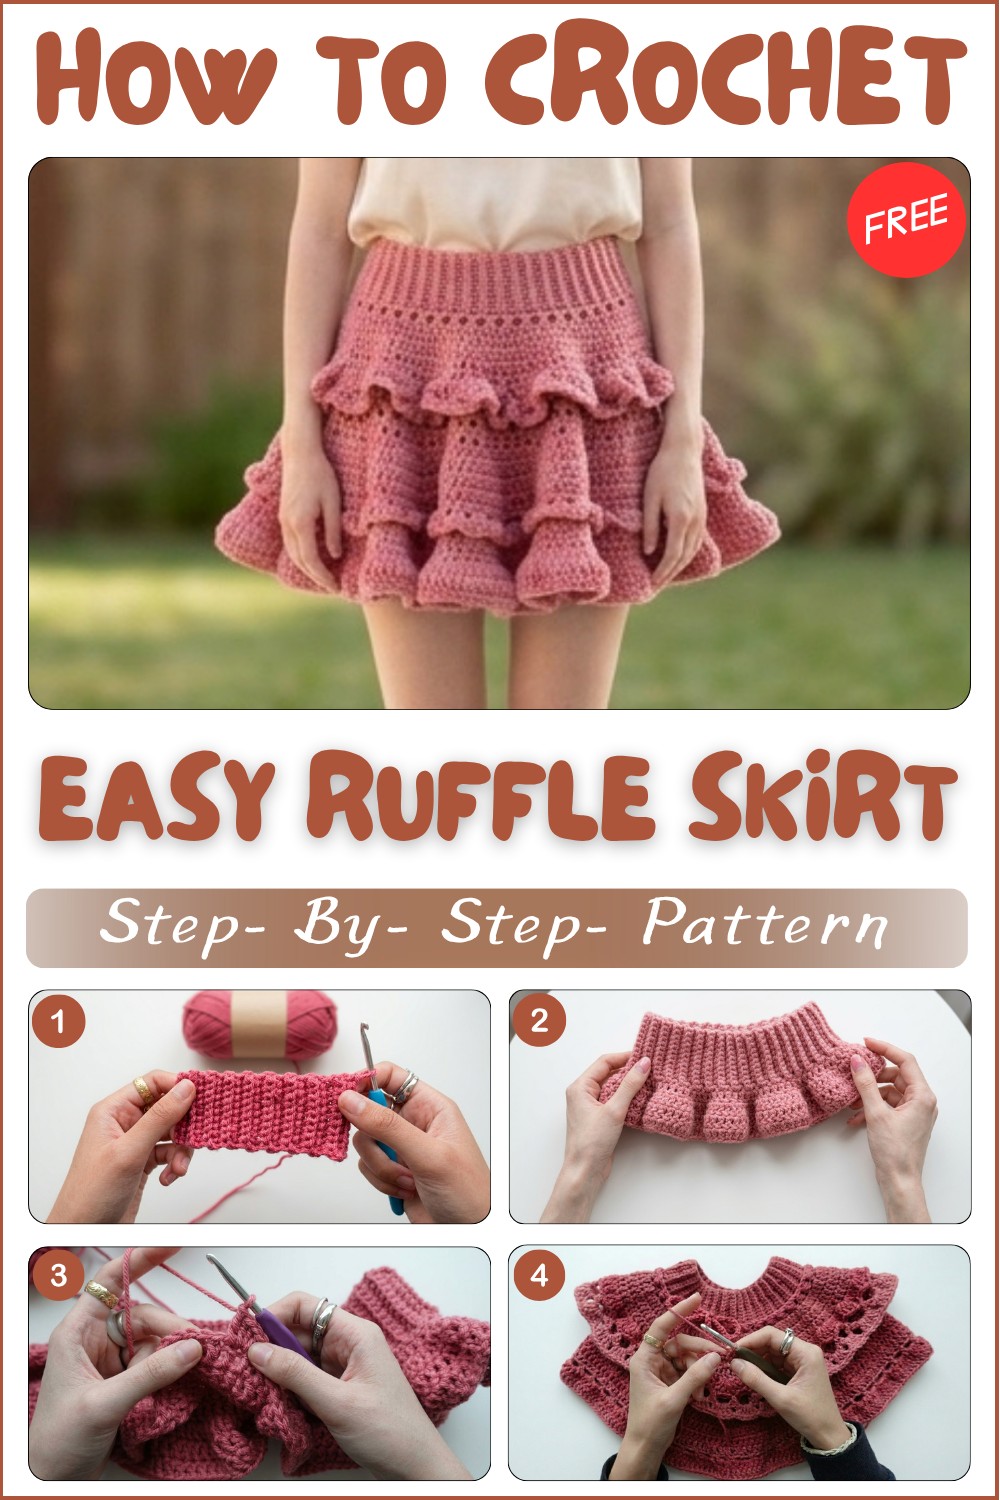
Free & Easy Crochet Tiered Ruffle Skirt Pattern To Style Your Everyday

Flow through every occasion with the Crochet Tiered Ruffle Skirt Pattern, perfect for breezy, stylish layers that add charm and movement to your wardrobe.
Crochet tiered ruffle skirts are loved for their movement and texture, making them eye-catching and stylish. The layered design adds a fun, flowing look without feeling heavy. Lightweight and breathable, they’re perfect for warm weather, with ruffles that bring a playful yet classy vibe. This skirt work well with anything from casual t-shirts to dressy blouses, making them great for both casual and formal occasions. The fitted waist highlights your shape while staying comfortable and easy to wear.
Colorful Crochet Tiered Ruffle Skirt Pattern That Adds Volume
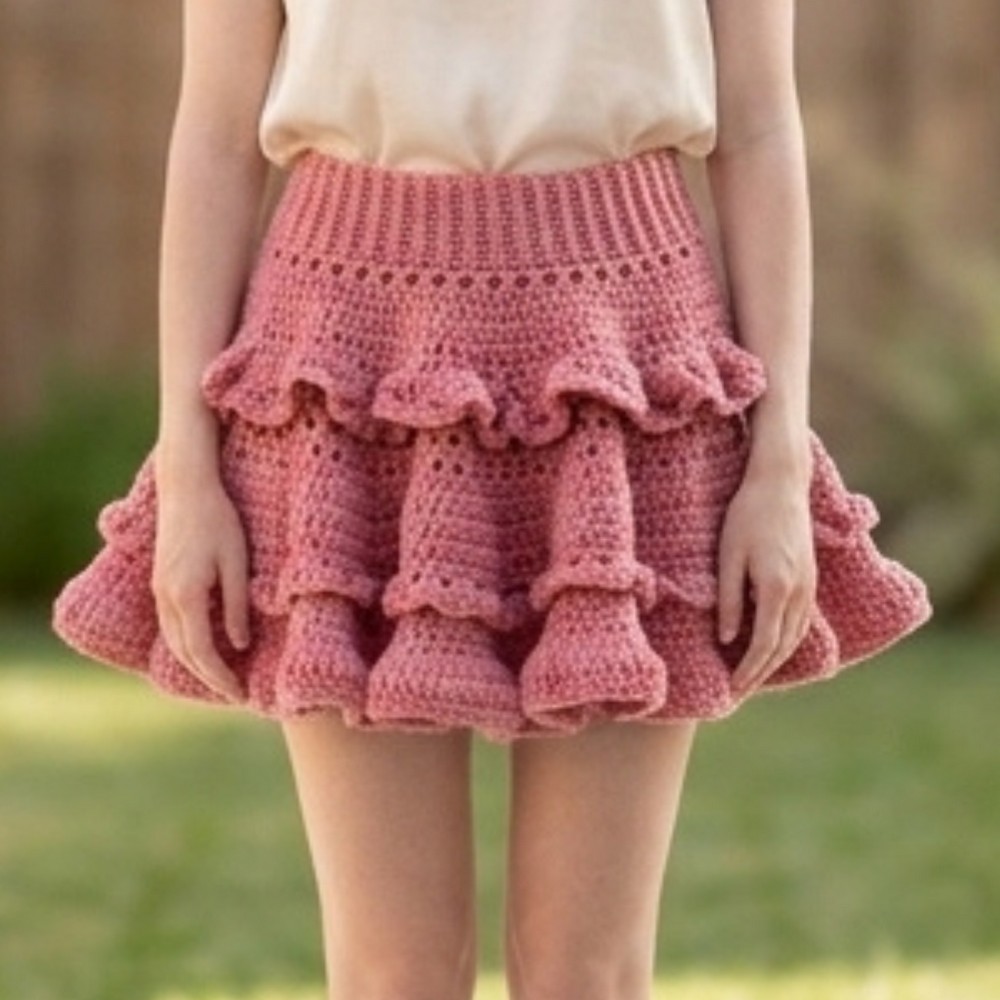
Each tier adds dimension and charm, creating a balanced silhouette that flatters many figures. Suitable for those who appreciate pieces that marry function with flair, this Tiered skirt shifts effortlessly between daytime activities and evening events.
Its classic yet fresh design opens endless opportunities to pair with various accessories and shoes, securing its place as a beloved wardrobe essential through changing seasons.
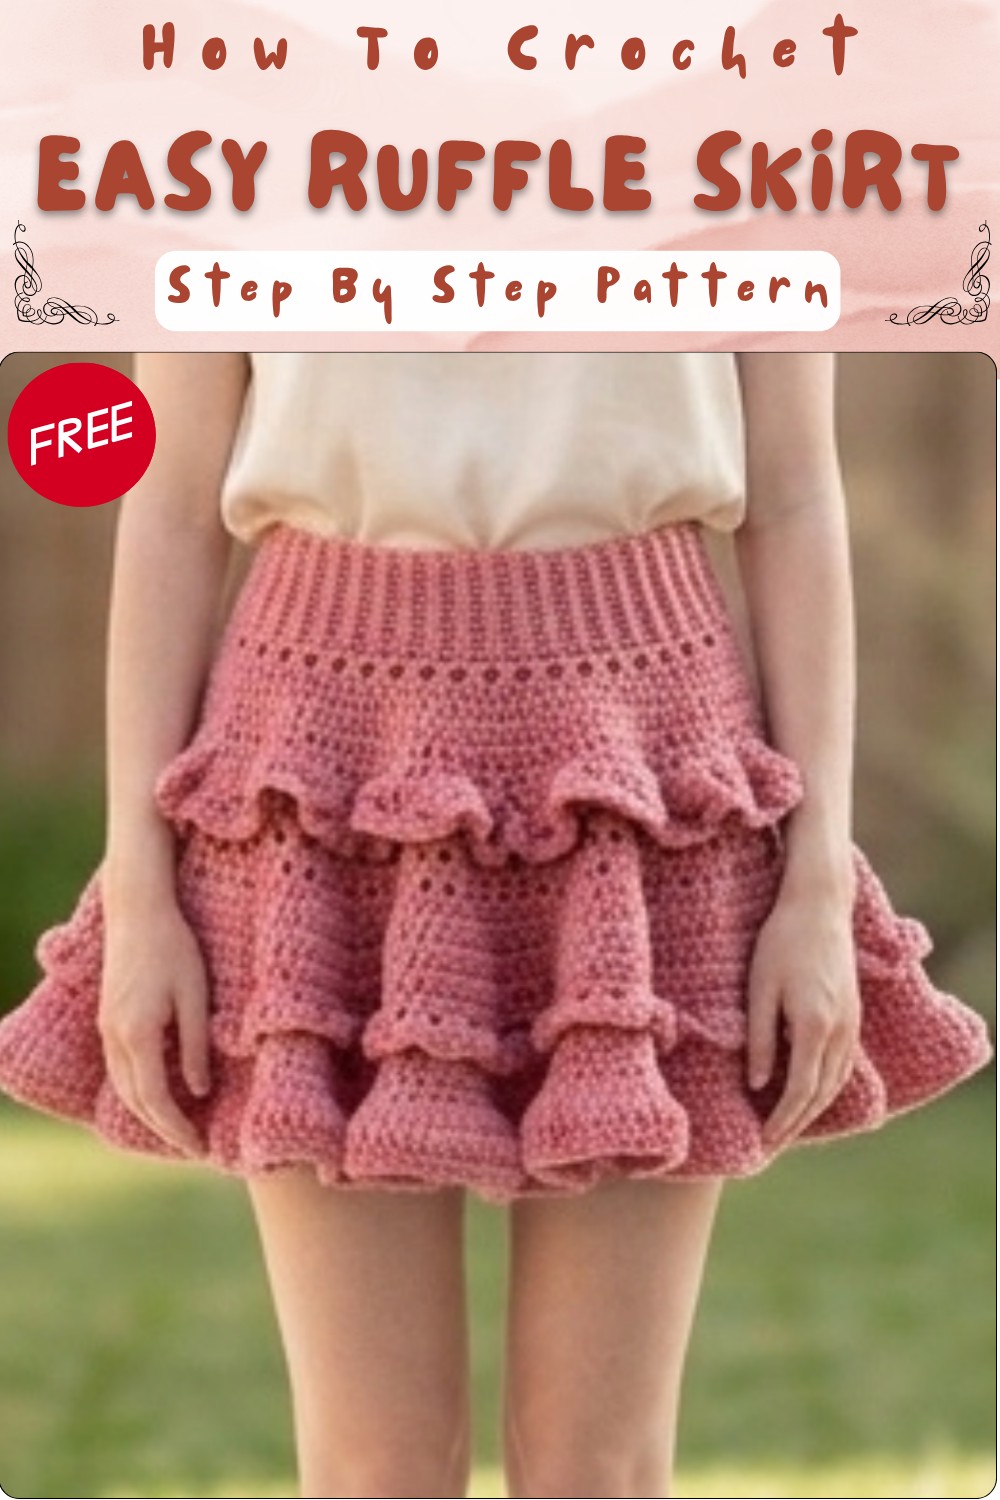
Crochet Tiered Ruffle Mini Skirt Pattern
This crochet tiered ruffle mini skirt is a stylish made-to-measure project that fits perfectly to your body. Its layered ruffles and intricate detailing create a playful and elegant look, making it suitable for casual outings or special occasions. This pattern allows for customization of length, colors, and additional embellishments to suit individual preferences.
Skill Level
This pattern is designed for intermediate crocheters, requiring knowledge of basic stitches, increasing and decreasing techniques, and joining sections seamlessly.
Materials
To create this beautiful ruffle skirt, you will need:
- Yarn: Weight 4 acrylic yarn (e.g., Big Twist Value) in one or more colors.
- Hooks:
- 4 mm hook for the waistband.
- 5 mm hook for the skirt body and tiers.
- Tools:
- Measuring tape for accurate sizing.
- Scissors for trimming yarn.
Special Stitches
- Back Loop Only (BLO): Insert the hook into the back loop of a stitch, leaving the front loop unworked.
- Double Crochet (dc): Yarn over, insert the hook into a stitch, yarn over again and pull up a loop. Yarn over, pull through two loops. Yarn over, and pull through the remaining two loops.
- Triple Crochet (tr): Yarn over twice, insert the hook into a stitch, yarn over and pull up a loop. Yarn over, pull through two loops. Yarn over, pull through two more loops. Yarn over, pull through the final loops.
Stitch Abbreviations
- ch: Chain
- sc: Single Crochet
- dc: Double Crochet
- tr: Triple Crochet
- BLO: Back Loop Only
Useful Tips
- Precision with Measurements: Measure your waist or hips accurately to ensure a comfortable fit, making the waistband length suitable.
- Ruffles: For maximum volume, evenly increase in the ruffle rows.
- Tension Control: Maintain consistent stitch tension throughout to achieve smooth and balanced tiers.
- Layer Connections: Attach tiers to the back loops for a clean, professional finish.
- Customizable Design: Use contrasting colors or additional trims to create a more personalized skirt.
Pattern Instructions
1. The Waistband
- Setup: Using the 4 mm hook, chain 10 for the foundation row.
- Row 1: Work 1 sc into the second chain from the hook, and continue crocheting across (10 sc). Chain 1, then turn.
- Rows 2 and Beyond: Work 1 BLO sc into each stitch across. Repeat until the waistband measures your desired waist or hip circumference.
- Joining: Fold the waistband in half and crochet 1 sc through both edges to join the ends into a continuous loop.
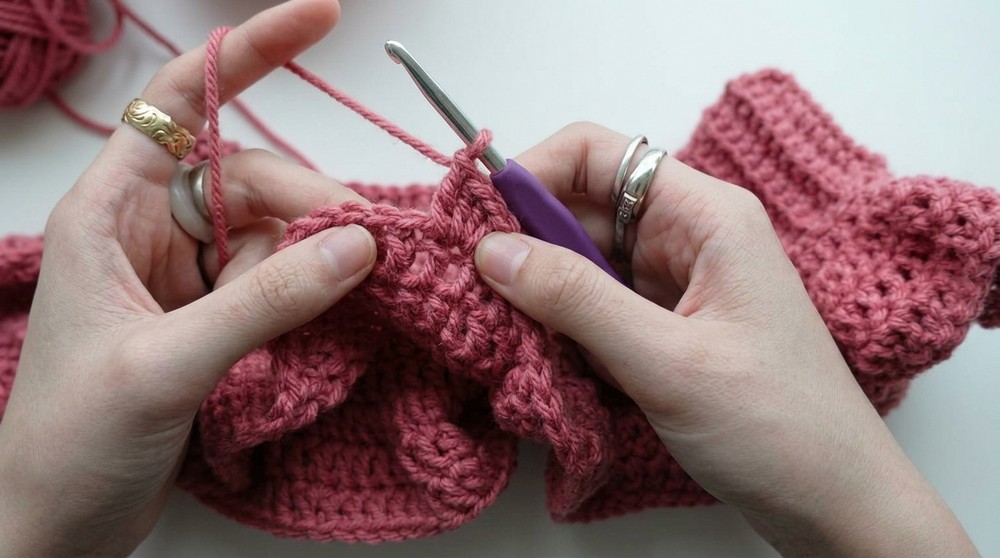
- Edging: Attach yarn to the edge of the waistband, chain 1, and make 1 sc into every row end around the circumference of the waistband. This will serve as the base for Tier 1.
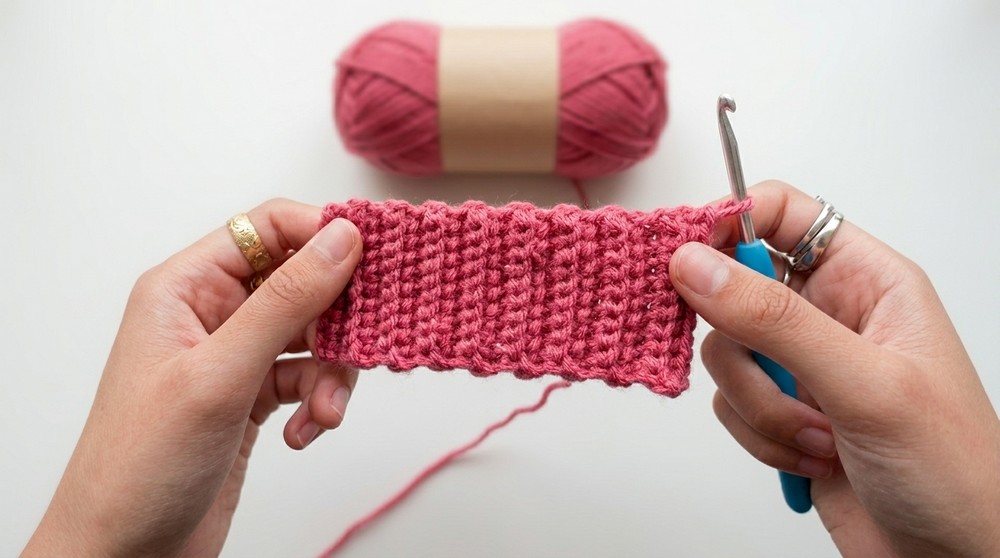
2. Tier 1
- Setup: Switch to the 5 mm hook and join new yarn to the single crochet edge of the waistband.
- Round 1: Work 1 dc into each stitch around. Ensure evenly spaced stitches (dc around the entire edge).
- Ruffle Row: Increase by working 2 dc in each stitch around, effectively doubling the stitch count.
- Body Rounds: Work 2 rounds of regular double crochet (1 dc into each stitch, no increases).
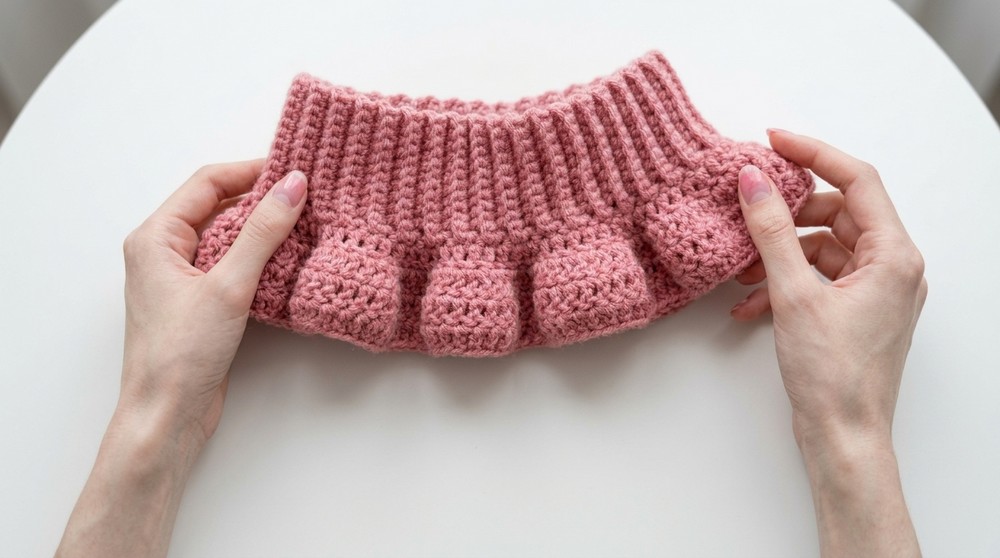
- Edging: Attach yarn and work a shell edge round. Alternate [4 dc into one stitch, 1 sc into the next stitch] repeated around the edge of the tier.
3. Tier 2
- Connecting: Attach new yarn to the inside/back of Tier 1, directly below the shell edging.
- Mesh Base:
- Row 1: Work a row of tr mesh by crocheting [1 tr, chain 1, skip 1 stitch] around the tier.
- Row 2: Work a row of dc mesh by crocheting [1 dc, chain 1, skip 1 stitch] around.
- Ruffle Body:
- Rounds 1–2: Work regular double crochet rows into the mesh spaces and stitches.
- Round 3: Work a row of double crochet increases (2 dc) into every stitch to create flare (double the stitch count).
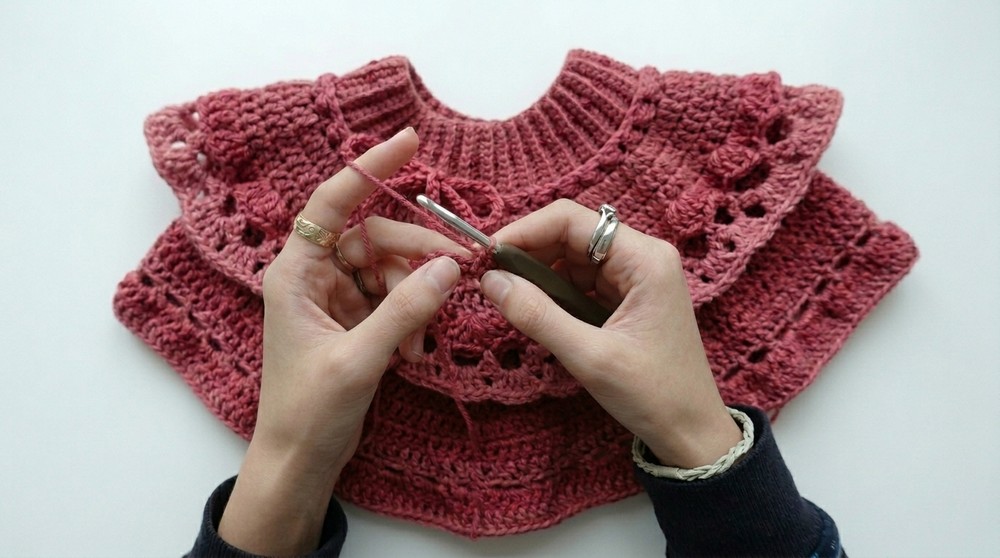
- Rounds 4–5: Work two rounds of regular double crochet to complete the tier.
4. Tier 3
- Structure: Repeat all steps from Tier 2.
- Connect: Start by attaching yarn to the inside/back edge of Tier 2.
- Work: Complete both the mesh base rows, ruffle body rows, increase row, and final double crochet rows seamlessly.
5. Finishing Details
- Waist Tie:
- Use the 4 mm hook to crochet a long chain (long enough to wrap around the waistband fully).
- Weave this chain through the ribs of the waistband to allow a snug and adjustable fit.
- Optional Trim:
- Attach yarn to any tier edges and create unique decorative trims. Examples include scalloped edges, sporadic chain-space patterns, or small triangles to add flair to the design.
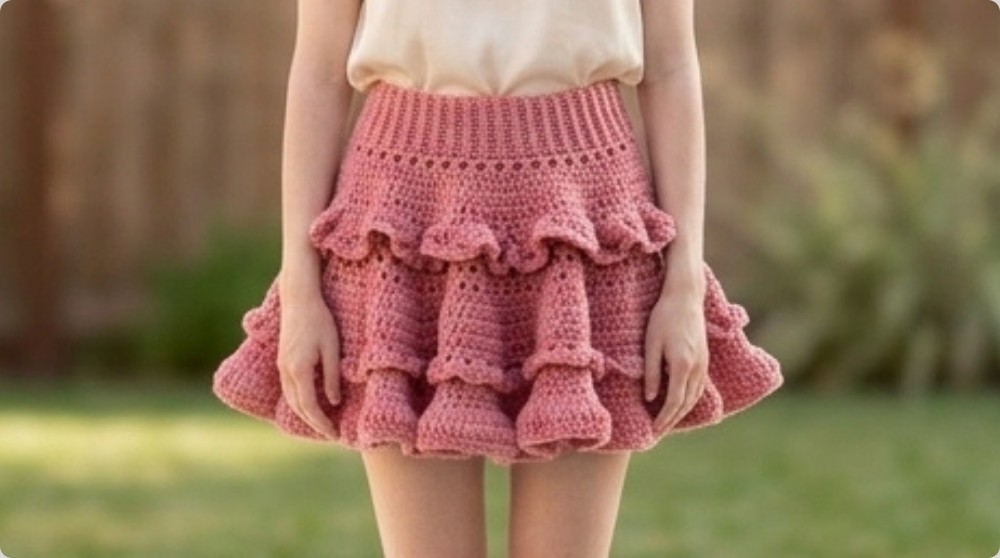
- Attach yarn to any tier edges and create unique decorative trims. Examples include scalloped edges, sporadic chain-space patterns, or small triangles to add flair to the design.
Assembly and Sizing
- Layer Attachment: Ensure tiers are joined discreetly and evenly to the inside sections of previous tiers to maintain a neat appearance.
- Adjustments: Use the waist tie to refine the fit of the waistband. Check symmetry across the ruffles while paying attention to overlaps.
- Finished Measurements: The exact dimensions depend on individual sizing. Use a tape measure throughout the project and try on the skirt as needed during crocheting for adjustments.
Conclusion
This crochet tiered ruffle mini skirt combines form and function to create a stunning, personalized garment. With its elegant layers, adjustable waistband, and opportunities for customization, this project offers endless options to showcase creativity through colors, trims, and unique finishes. Enjoy crocheting this beautiful piece while gaining confidence in combining crochet techniques into a cohesive design.