Crochet Star Trinket Tray Free Pattern Perfect For Little Keepsakes

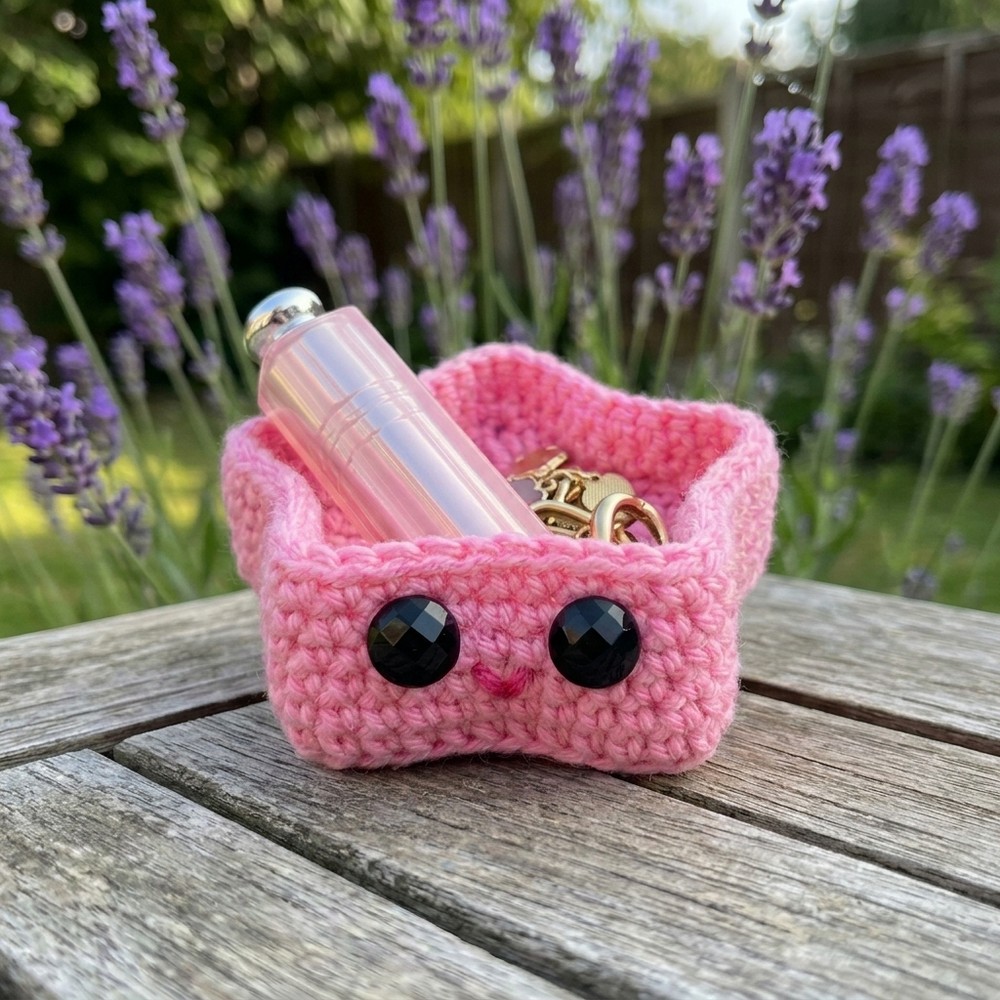
Sometimes, the smallest things can bring the biggest smiles. That’s exactly why I love crocheting this charming star-shaped tray using the free crochet star trinket tray pattern. It’s a delightful little creation where you can keep tiny treasures safe, like rings, buttons, or even small candies. With a few tweaks, this pattern can turn into not just a tray but also coasters or a cute little basket, making it a fun way to explore different projects all from one design.
Handmade Crochet Star Trinket Tray Free Pattern
What makes this star trinket tray special is its playful shape and wide choice of colors. Imagine making it in bright blues, sparkly silvers, or even a mix of rainbow shades, each option turns your tray into a colorful catch-all that brightens any space. The raised edges gently hug your belongings so nothing slips away. It has a soft and slightly squishy feel from the yarn but keeps its form nicely, perfect for holding delicate items on your bedside table or desk. This star-shaped tray combines beauty and function in a way that’s both charming and practical.
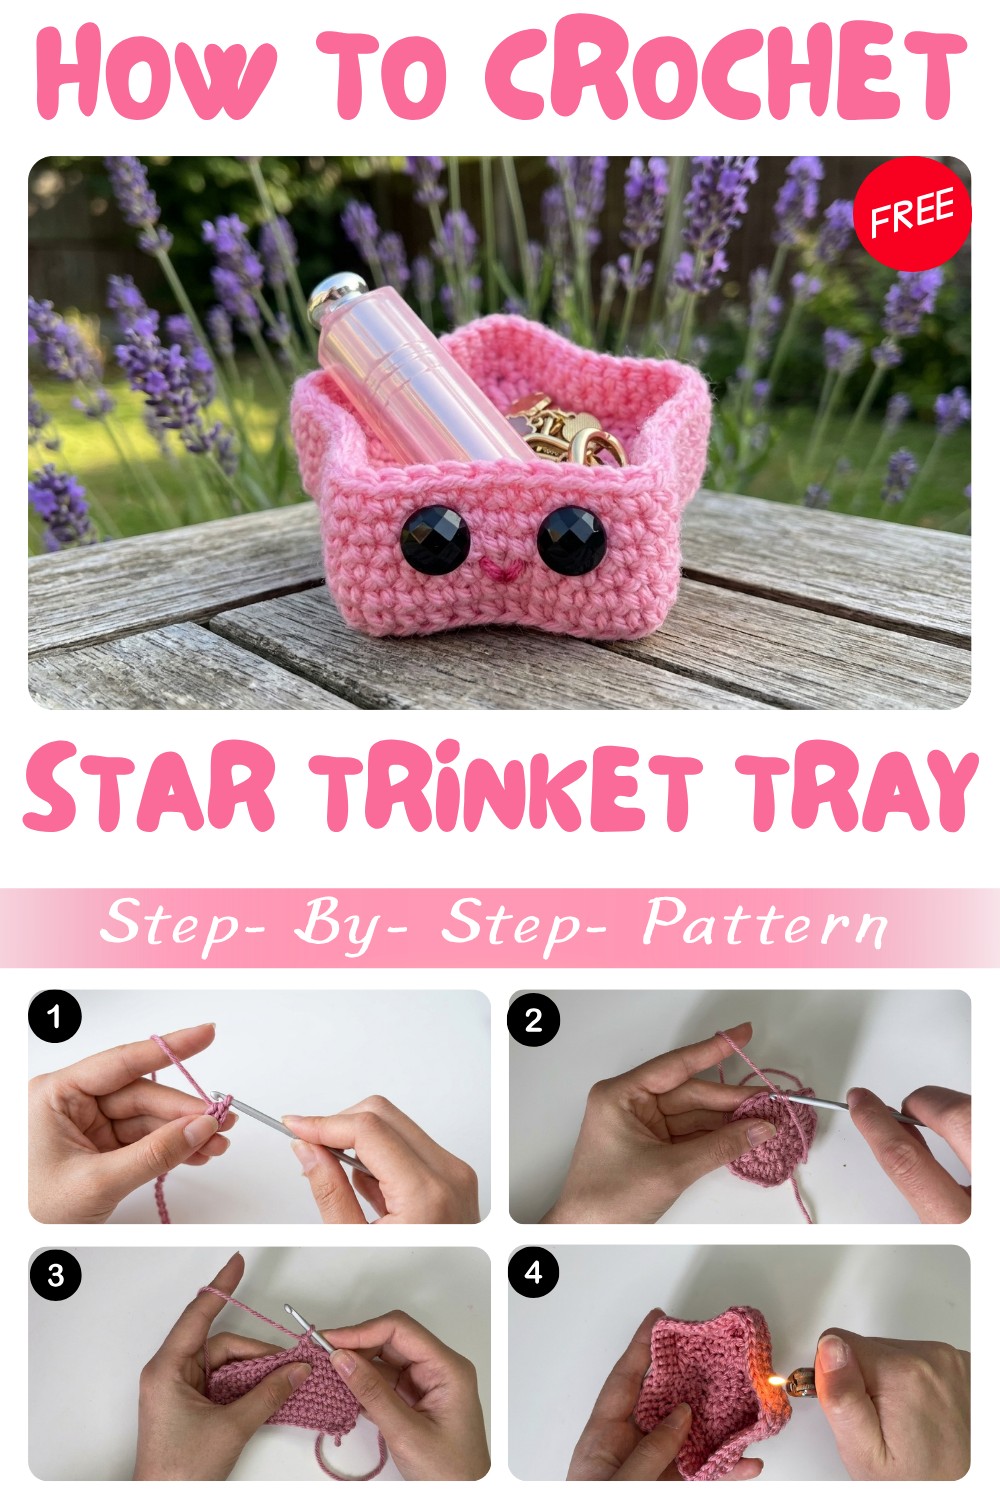
This project is wonderfully simple, using the single crochet stitch as its foundation, a stitch that’s great for beginners and easy to master. You’ll also learn neat tricks to shape the sharp points of the star, making your tray stand out with a crisp, lovely design. No complicated steps here, just fun and easy crocheting.
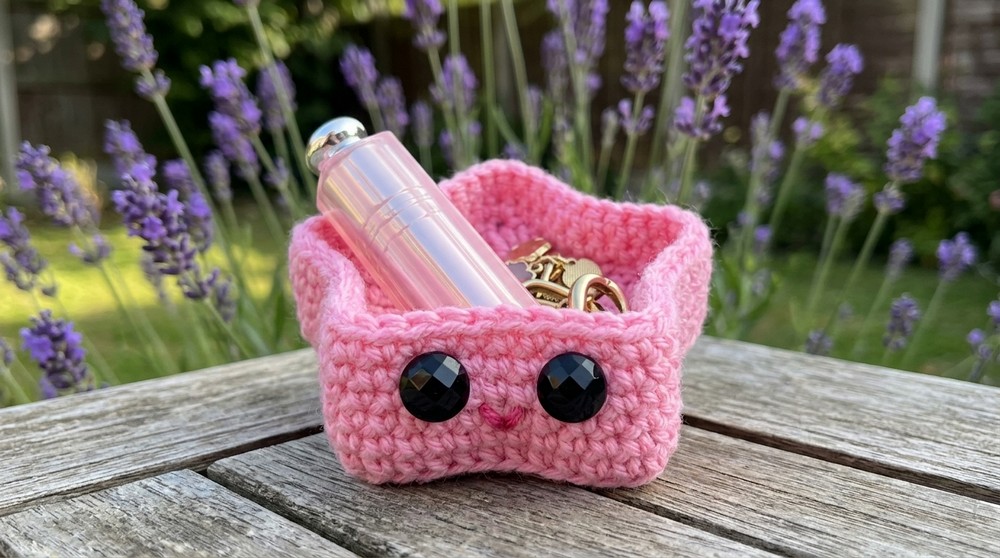
Whether you want a gift that feels heartfelt, a colorful decoration to freshen up your room, or a spot to keep your favorite little things safe, this star trinket tray is a perfect choice. If you’re ready to add a touch of handmade magic to your space, the free crochet star trinket tray pattern is a fun and creative project waiting for you.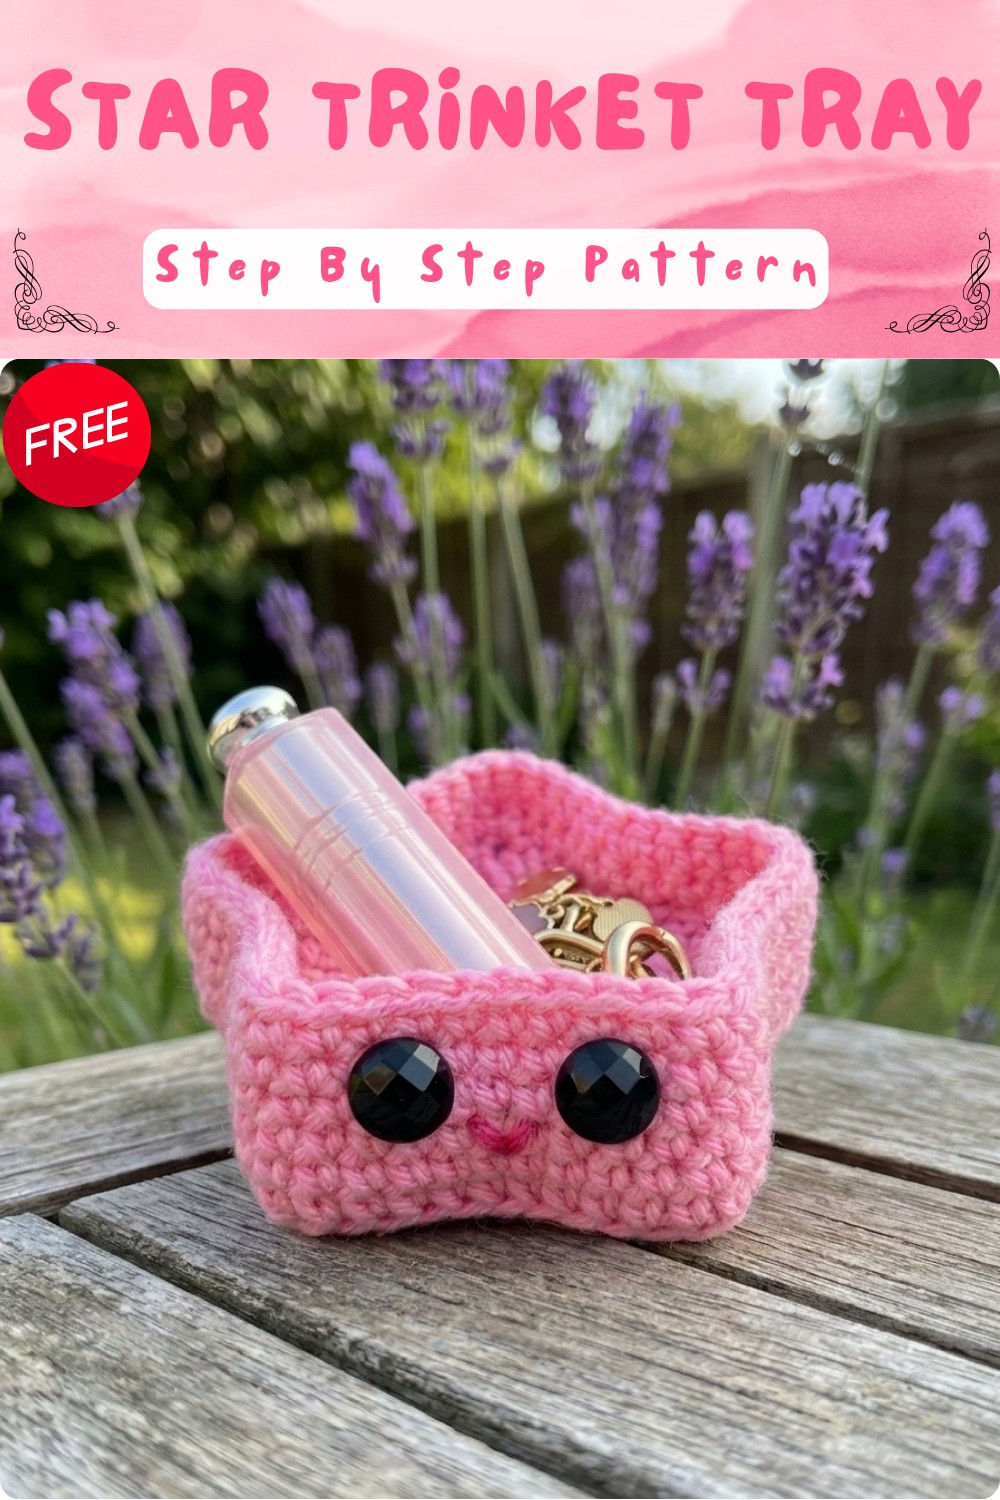
Star Trinket Tray Crochet Pattern
Make your own adorable Star Trinket Tray with this beginner-friendly crochet pattern! This little star dish is perfect for holding jewelry, accessories, lip gloss, or tiny trinkets. Its sturdy shape and fun points add a whimsical touch to your desk or bedside table. This pattern walks you step by step through the construction, highlighting all the main stitches so you can crochet with confidence.
Skill Level & Terminology
- Skill Level: Beginner to Confident Beginner
- Terminology: US Crochet Terms
Materials & Tools
- Yarn: Worsted weight acrylic yarn, or other medium-weight yarn (approx. 40–60g)
- Hook: 4.0 mm crochet hook
- Yarn Needle: For finishing
- Scissors
- Stitch Marker: Helpful for marking rounds
Gauge
Gauge is not essential for this project, but you want a fairly dense fabric so the tray holds its shape. For reference:
- 10 sc × 10 rows ≈ 2″ (5 cm) square with 4 mm hook.
Abbreviations List
| Abbreviation | Meaning |
|---|---|
| ch | chain |
| sl st | slip stitch |
| sc | single crochet |
| hdc | half double crochet |
| dc | double crochet |
| tr | treble crochet (trc) |
| st(s) | stitch(es) |
| inc | increase (2 sts in same st) |
| picot | ch 2, sl st in 2nd ch from hook |
Special Stitch Instructions
- Magic Ring: Wrap yarn around two fingers, insert hook under the front strand, yarn over, and pull up a loop; then ch 1 to secure. Work first round into the ring, then pull the tail to close.
- Picot: Ch 2, turn, skip first back loop, sl st in the second back loop. This forms a little decorative point.
- Treble Crochet (tr): Yarn over twice, insert hook into stitch, yarn over and pull up a loop (4 loops on hook), [yarn over, pull through 2 loops] three times.
- Invisible Join: After final round, cut yarn, pull through last loop, use a yarn needle to join seamlessly for neat finish.
Finished Size
- Diameter: Approx. 5” (13 cm) from point to point
- Depth: Approx. 1” (2.5 cm), depending on your tension and yarn
How to Start & Stitches Used
The star shape is crocheted from the center out using rounds of half double crochet (hdc), double crochet (dc), treble crochet (tr), and single crochet (sc). Increases shape the base, while the signature star points are created with a variation of these stitches and a picot.
The Pattern
BASE – Magic Ring & Center
- Magic Ring, ch 1 (does not count as stitch).
- Round 1:
- Work 10 hdc into the ring.
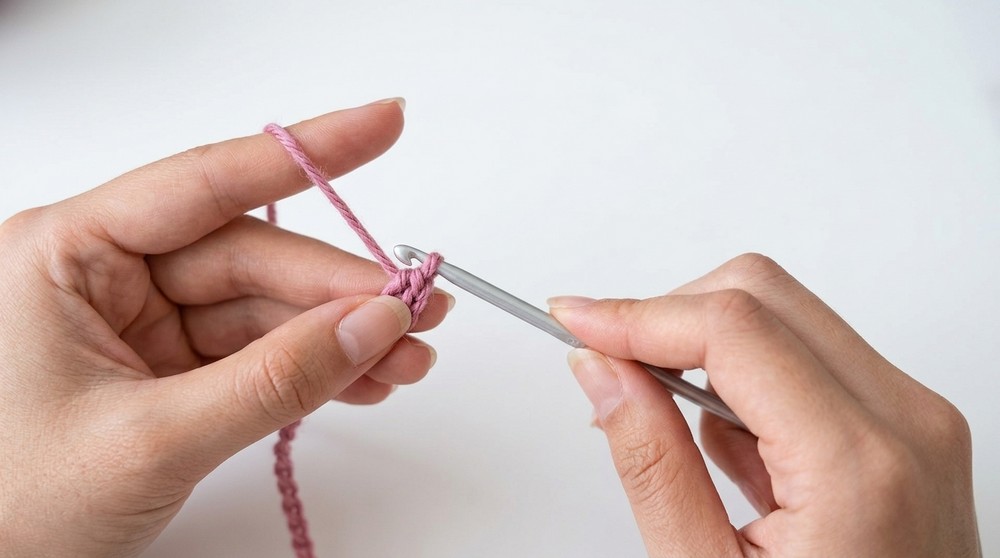
- Sl st to first hdc to close. (10 sts)
- Work 10 hdc into the ring.
If you’re not used to reading patterns, start with a magic ring or ch 4 and join, then make 10 half double crochets into the center.
Round Two: Increases
- Ch 1.
-
- 2 hdc in each st around. (20 sts)
- Sl st to first hdc to close.
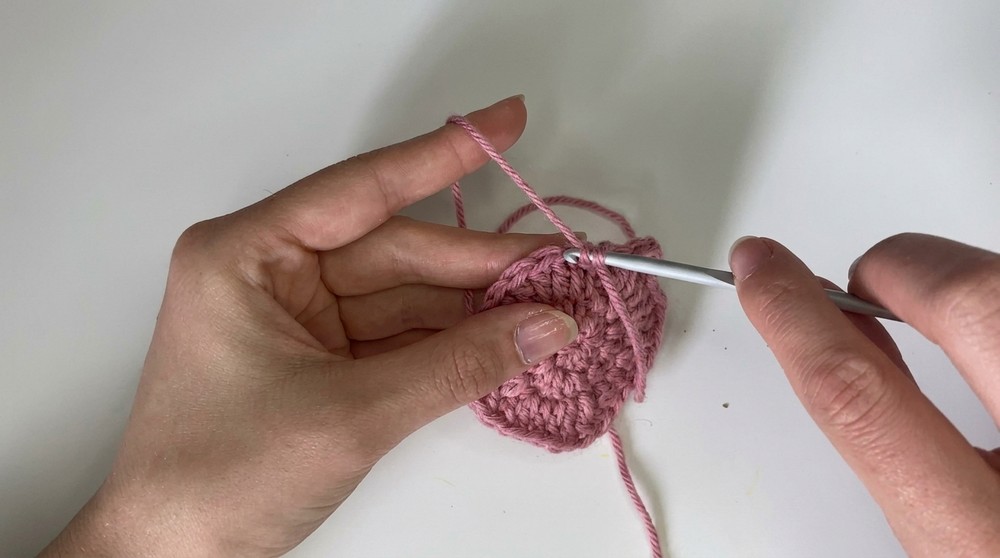
Do two half double crochets in every stitch. This widens your round and sets up the star points.
Star Points: Forming the Shape
- Ch 1.
- Repeat the following sequence around:
- [1 hdc in next st, 1 dc in next st, 1 tr in same st, 1 tr in next st, picot, 1 tr in next st, 1 dc in next st, 1 hdc in same st, sl st in next st]
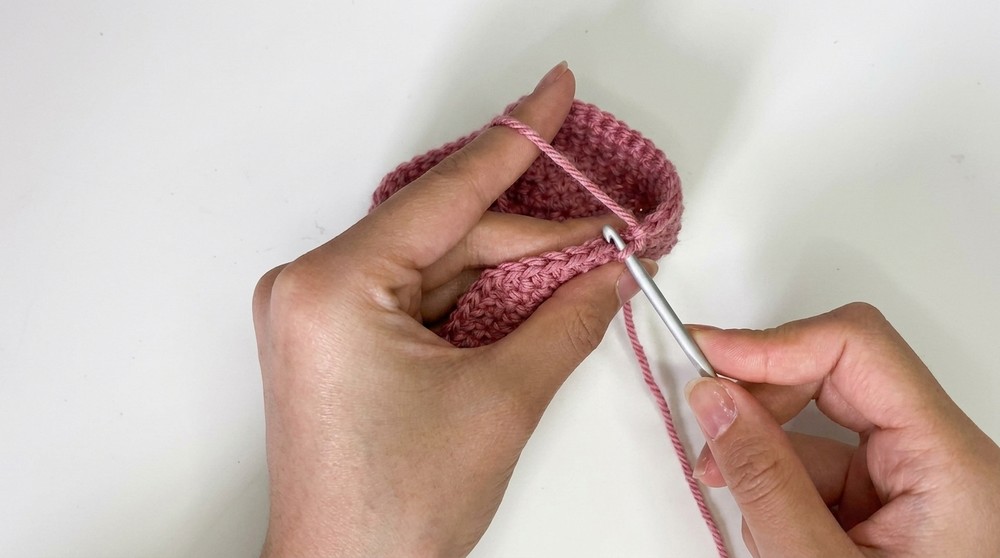
- Continue this 5 times (one for each point). Each “arm” of the star has a section of hdc, dc, tr, a picot, then mirrors back down with tr, dc, hdc, and a sl st to anchor.
- [1 hdc in next st, 1 dc in next st, 1 tr in same st, 1 tr in next st, picot, 1 tr in next st, 1 dc in next st, 1 hdc in same st, sl st in next st]
If you’re not a pattern reader, the points are made by working a sequence of taller and shorter stitches, and making a tiny ‘bump’ for each point’s tip using the “picot.”
Building the Sides (Tray Border)
- Sl st to first st of round, ch 1.
- Working in the back loops only for this first border round:
- sc in BL of every st around.
- When you reach a picot, skip the smaller loop and sc into the larger loop so the shape is cleaner.
- Join with sl st to the first sc.
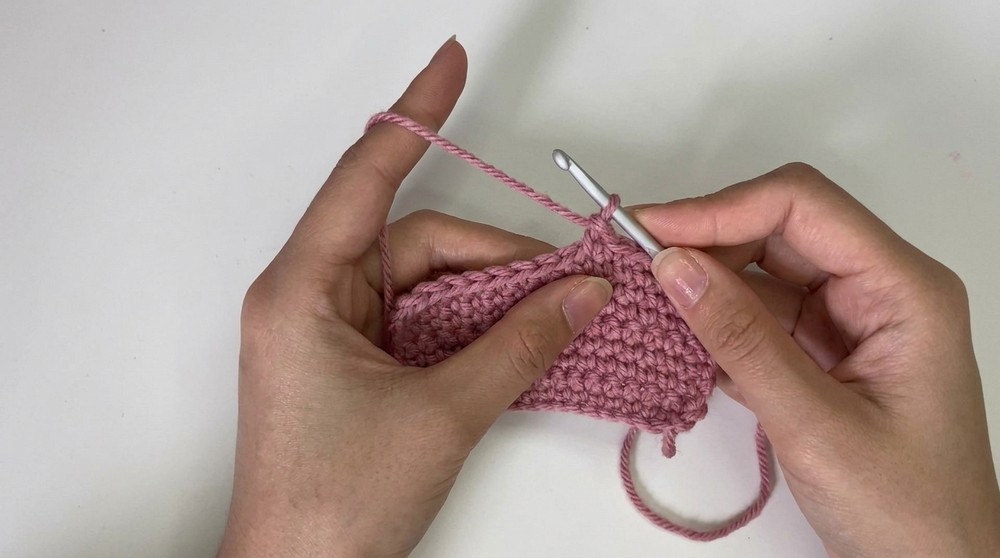
This creates a neat crease for the tray’s wall to stand up.
Sides (Walls) of Tray
- Ch 1, sc in each st around (normal—under both loops).
- Repeat two more rounds for a total of three border rounds.
- After each round, sl st to first sc, ch 1 to start next.
For non-pattern readers: just do single crochet in every stitch for three more rows to make the edge walls rise up and form the dish shape.
Finishing
- After the final round, sl st to first sc.
- Cut yarn, pull end through, and use the invisible join or yarn needle to hide the end for a neat finish.
- Tidy any yarn fuzz, shape your points and sides as needed.
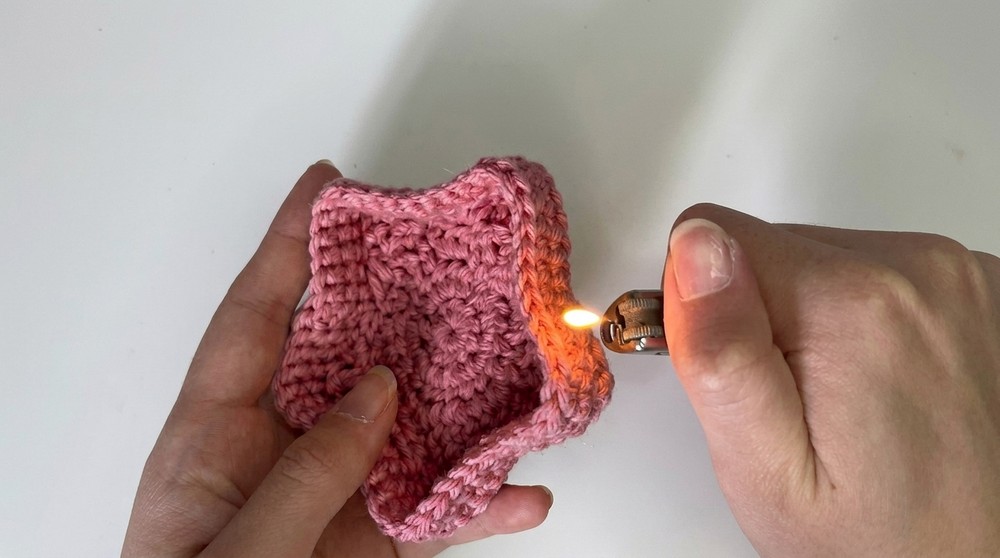
For acrylic yarn, you may use a lighter to carefully (and with caution) melt and secure any fluffy ends, making your tray even sturdier.
Assembly & Finishing
- Shape the Points: Pinch and gently tug each point for symmetry.
- Borders: Lay the tray on a flat surface and press box edges up if needed.
- Secure Ends: Weave in all yarn tails tightly.
- Tidy Up: Clip stray ends, and (if using acrylic yarn) carefully use a lighter over fuzzy bits to seal, but avoid overheating or burning.
- Optional: Add fabric stiffener for extra structure if desired.
For Non-Pattern Readers
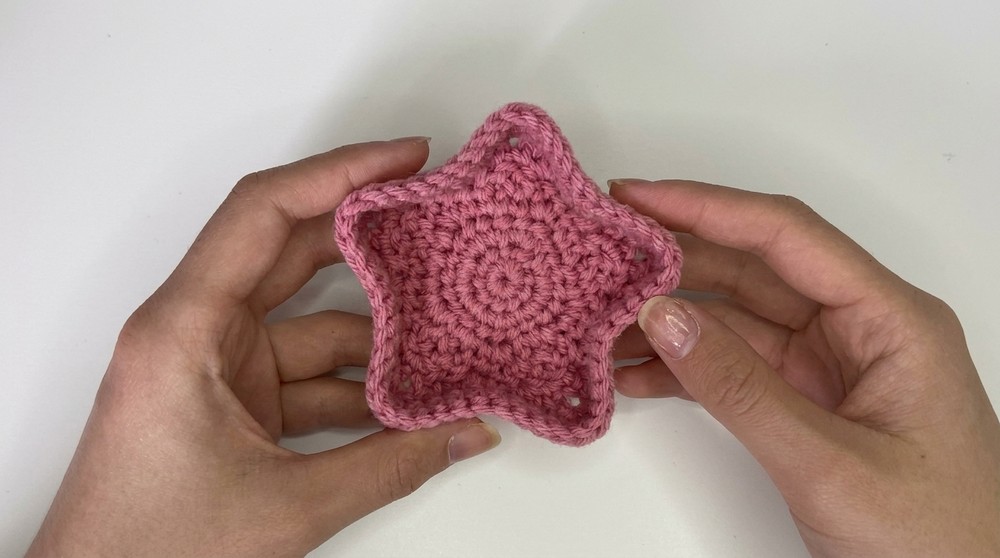
Begin with a circle in the center, then add points by making taller and shorter stitches to create a “star.” The border is single crochet, which makes the edge stand up like a dish. Add a couple more rows for height and weave in your ends—done!
Conclusion
Your sturdy, cute star trinket tray is now ready for use! This project is perfect for beginners wanting to practice increases, tall stitches, and decorative finishes. The finished tray keeps its shape and adds a fun pop to your space, all while being practical and quick to make.