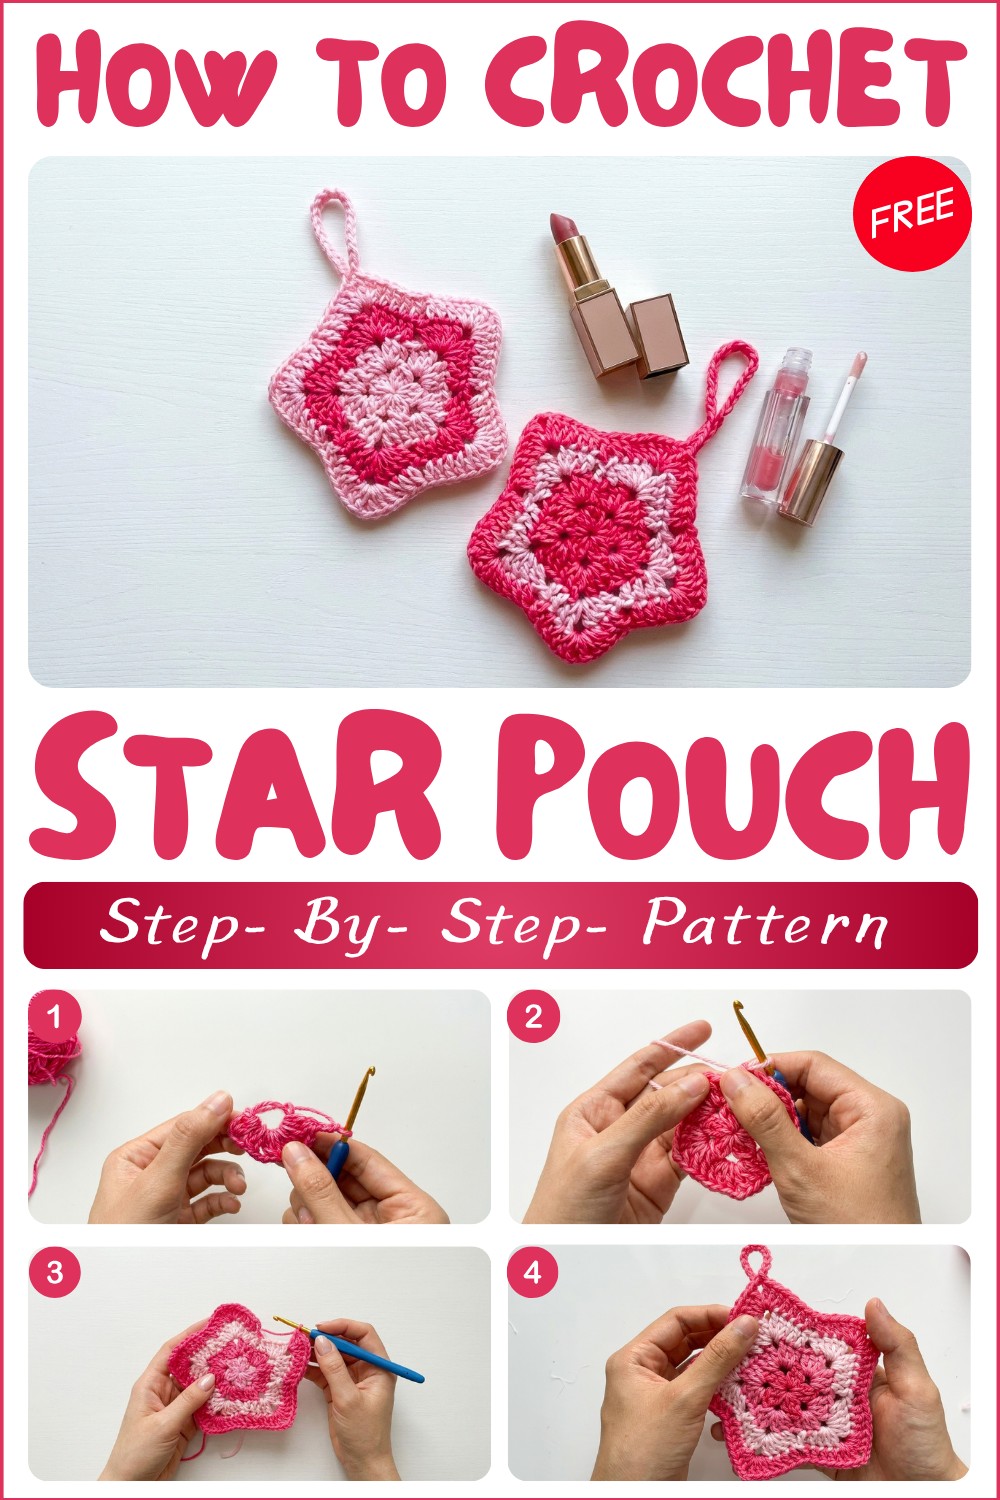
Free Mini Crochet Star Pouch Pattern with Cute Star Vibes
Store your essentials with Crochet Star Pouch Pattern that adds bright charm and simple style perfect for bags pockets travel and daily use.
Why carry your little things in ordinary bags when you can keep them safe inside a pouch that looks like a twinkling star? With a crochet star pouch pattern you can create a special holder that is both beautiful and useful for your coins keys or tiny gifts. The star shape is bright and cheerful making your pouch easy to find and fun to hold in your hands. Pick colors you love and watch as your own magic star comes to life with just some yarn and simple steps.
Must-Try Crochet Star Pouch Pattern for Star Lovers Everywhere
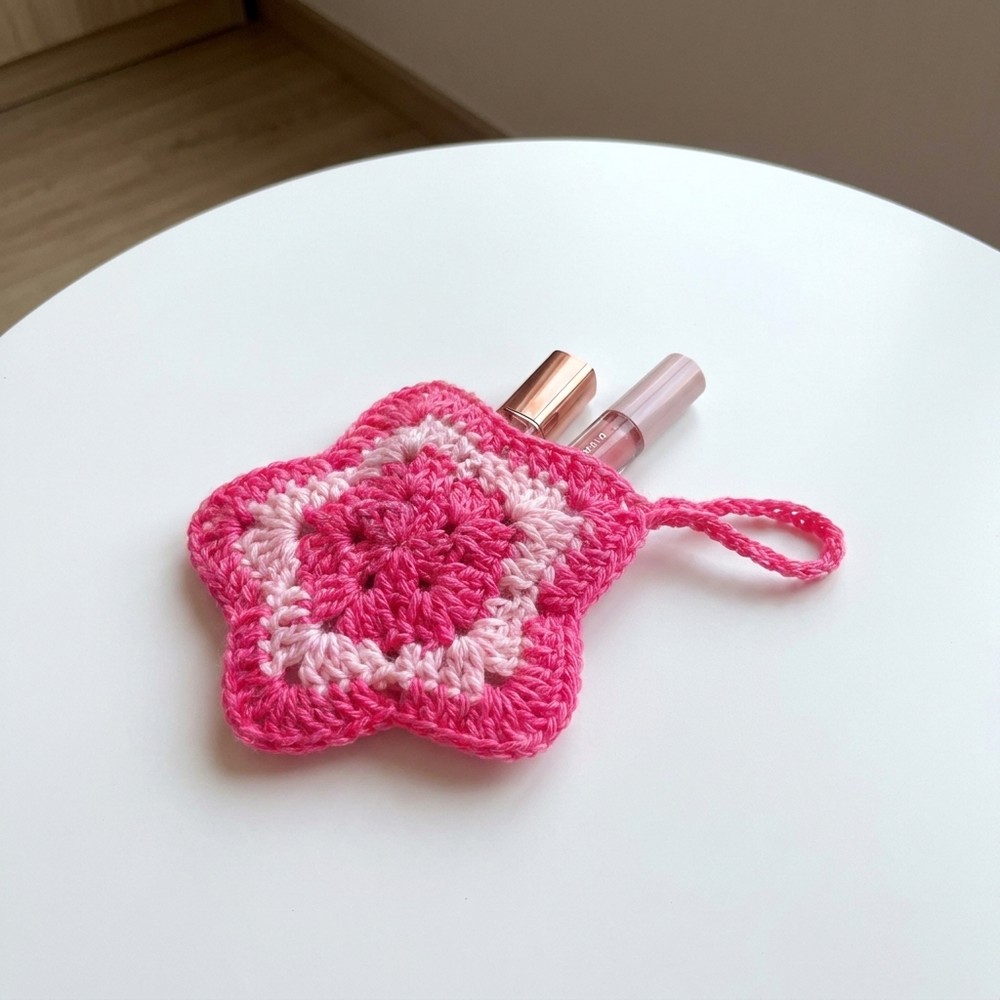
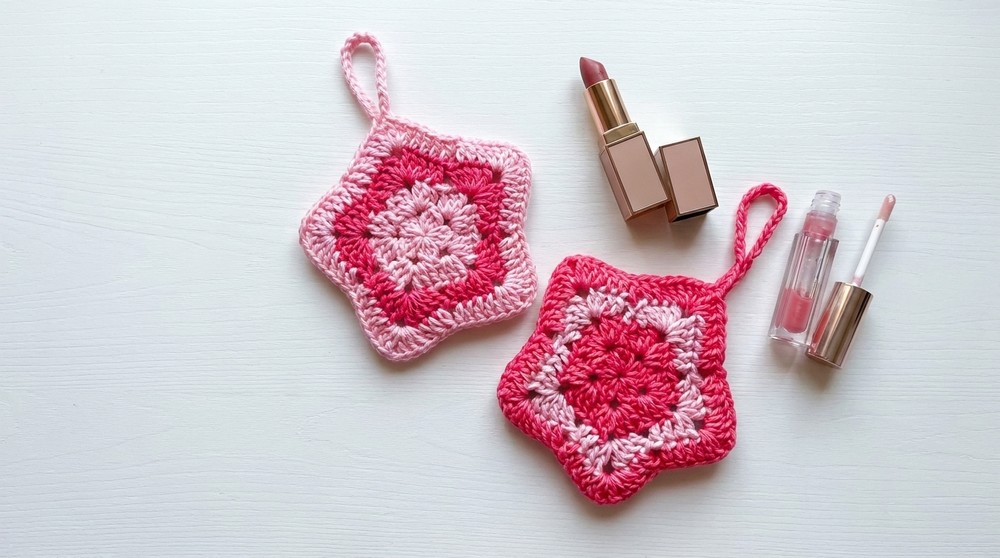
Welcome to your next quick project! The Mini Star Pouch is a delightful and practical accessory designed to keep your small essentials organized. Perfect for storing lip balm, earbuds, coins, mini perfume, or tiny keepsakes, this pouch is as handy as it is adorable. With a built-in drawstring closure and eye-catching star motif, it can be attached to your bag as a functional charm. Create yours in your favorite colors and enjoy both the creation process and the finished result!
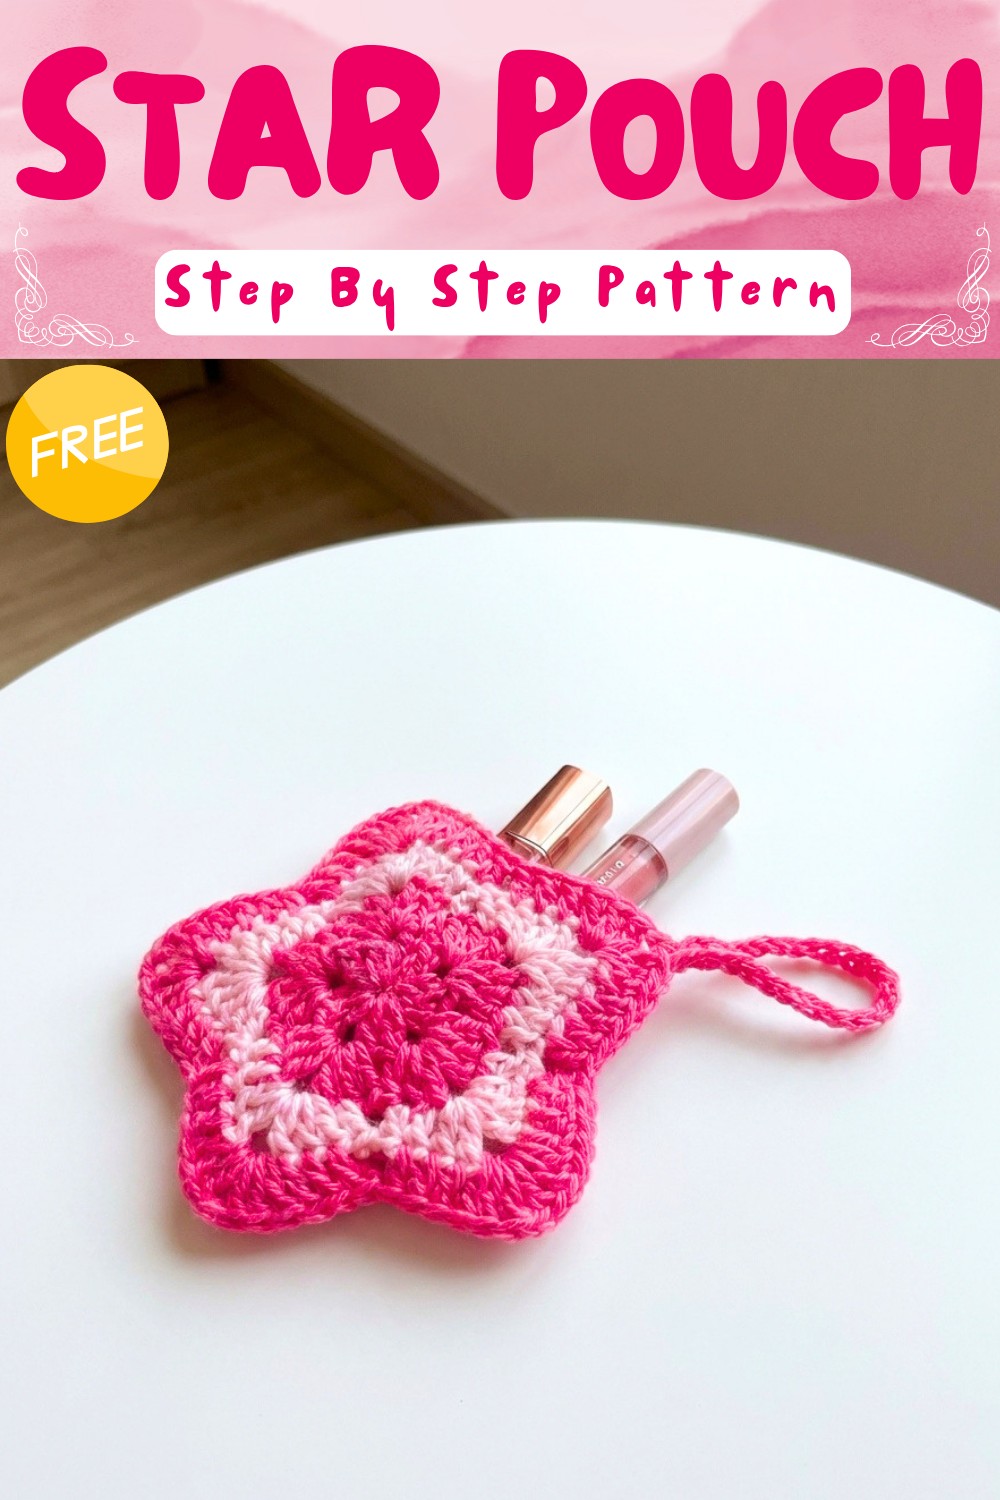
Mini Star Pouch Crochet Pattern
Materials
- DK or worsted weight yarn in 1 or 2 colors (sample uses red and pink)
- 3.5mm crochet hook
- Scissors
- Yarn needle (optional, for weaving in ends)
- Stitch marker (optional, for marking corners or start of rounds)
Measurements / Sizing
- Finished pouch diameter: approx. 3–3.5″ (7.5–9 cm)
- String length: customizable (sample uses a chain of 30 for a short closure; add more for a longer strap)
- Easily fits small items like lip balm, AirPods, or keys.
Gauge & Stitch Pattern
- Gauge is not critical for this pouch.
- Star panel is built with double crochet clusters and corners.
- Use tight, even tension for a structured shape.
Stitch Abbreviations
- ch = chain
- dc = double crochet
- sl st = slip stitch
- st(s) = stitch(es)
- MR = magic ring
Special Stitches
Double Crochet Cluster (dc cl):
Yarn over, insert hook into ring/space, yarn over and pull up loop, yarn over and pull through two loops (leave remaining loops on hook); repeat for a total of 3 partial dcs (will have 4 loops on hook), yarn over and pull through all loops.
Skill Level
Adventurous Beginner / Intermediate
- Must know: magic ring, double crochet, slip stitch, and chaining.
- Recommended for those familiar with working in the round, color changes, and simple seaming.
Pattern Notes
- This pouch is constructed from two star-shaped panels crocheted separately, then seamed with single crochet for a seamless finish.
- The drawstring is built into the second panel by chaining in the final “corner” of the star.
- The pattern uses US crochet terminology.
- You can use one or two colors for the pouch; color changes are optional but add a playful contrast.
- Yarn ends will be hidden on the inside, so weaving in is minimal.
- The pouch can be made in under an hour, making it ideal for gifts and last-minute projects.
The Crochet Pattern
STAR PANEL (Make 2)
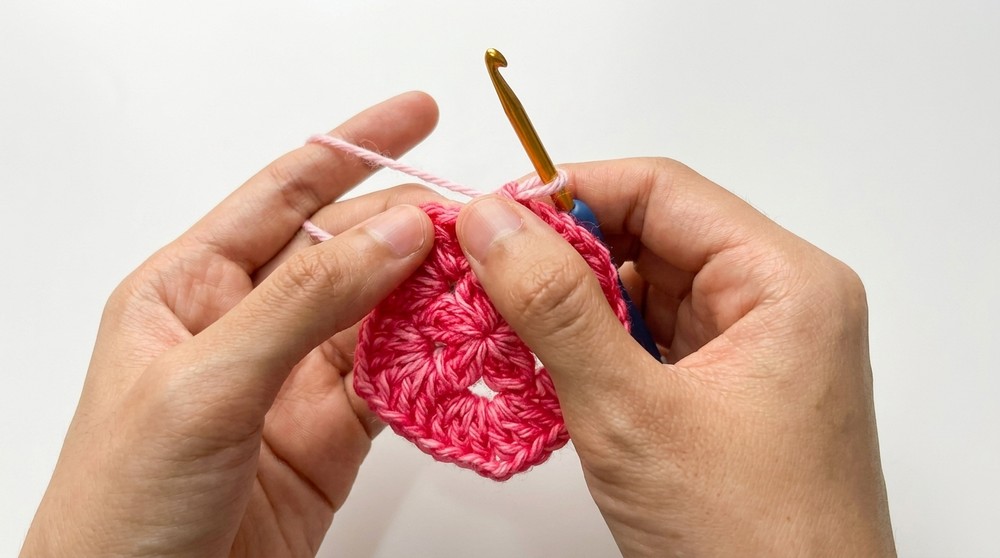
Round 1:
- Make a MR.
- Ch 2 (counts as partial dc).
- Dc cl: [Yarn over, insert hook into ring, yo, pull up loop, yo, pull through 2 loops] three times (4 loops on hook), yo, pull through all 4 loops on hook.
- Ch 3.
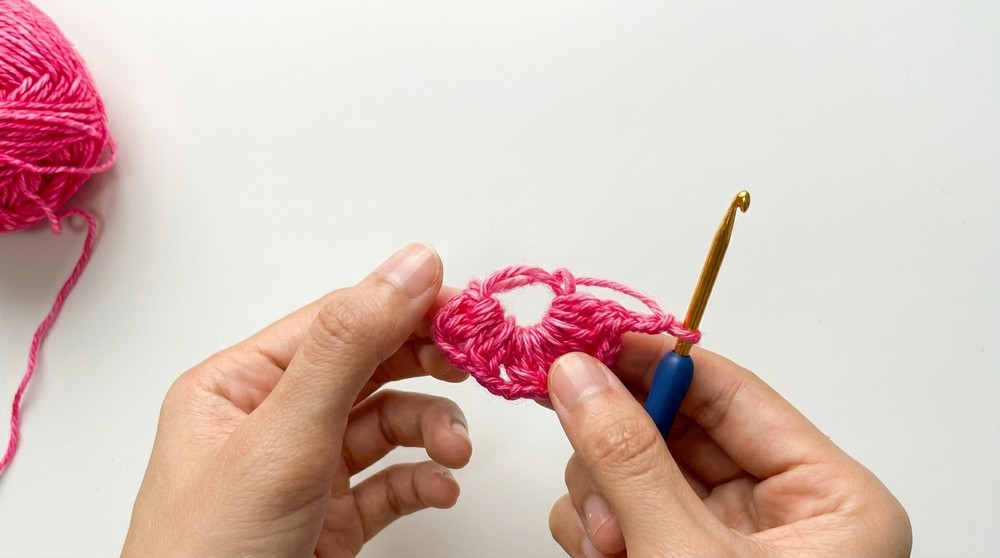
- Repeat the dc cluster + ch 3 four more times (total 5 clusters + 5 ch-3 sps).
- Pull ring tight to close center.
- Sl st to top of first cluster to join.
Round 2:
- Sl st into the first ch-3 space.
- Ch 3 (counts as dc), 2 dc in same space.
- Ch 2, 3 dc in same space (forms a corner).
- In each remaining ch-3 space around: 3 dc, ch 2, 3 dc (corner made).
- At end, sl st to top of beginning ch-3 to join.
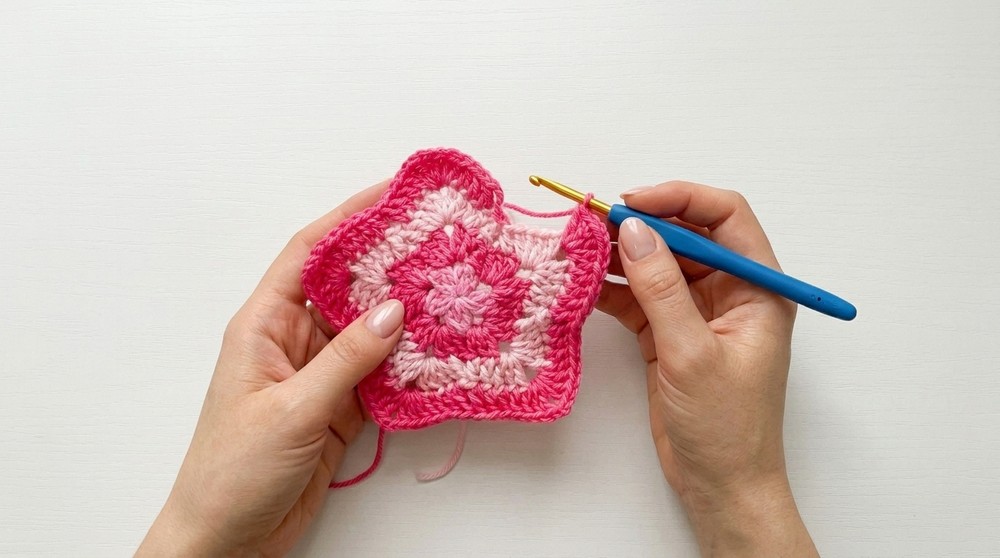
Round 3:
(Change color if desired at end of previous round, see tip below.)
- Join new color in any ch-2 corner space (or continue in same color).
- Sl st into corner space, ch 3 (counts as dc), 2 dc in same space.
- Ch 2, 3 dc in same space (corner made).
- Dc in next st, dc in next st, skip next 2 sts, dc in next st, dc in next st (each section between corners).
- Repeat [3 dc, ch 2, 3 dc] in each corner/ch-2 space, continuing to work 2 dcs, skip 2, 2 dcs between corners.
- At end of round, sl st to top of beginning ch-3 to join.
- Color change tip: On last dc of the round, finish stitch by pulling through new yarn color.
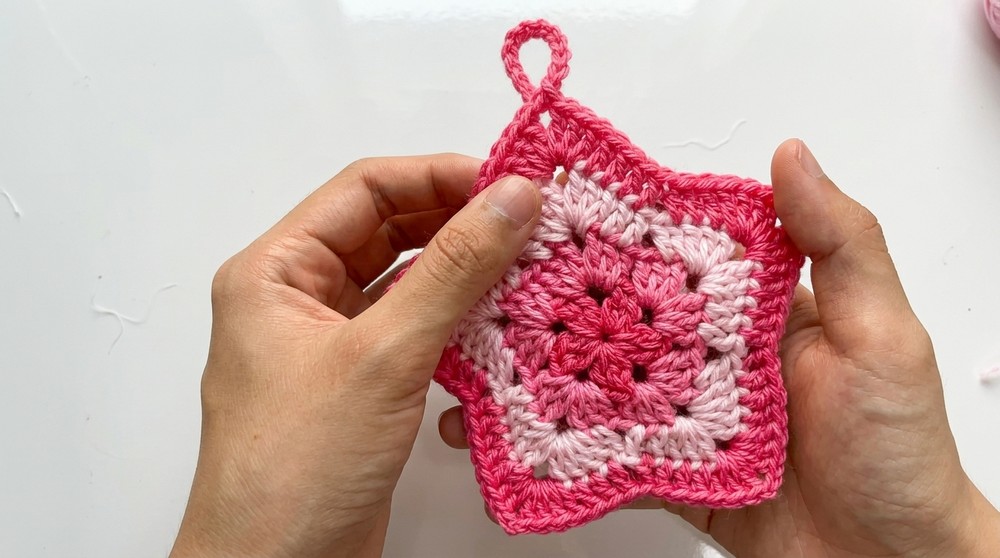
Round 4 (Final):
- Sl st to next st, sl st to corner/ch-2 space.
- Ch 3 (counts as dc), 2 dc in same space; ch 2; 3 dc in same space (corner).
- Dc in next 4 sts, skip next 2 sts, dc in next 4 sts (work across sides between corners).
- Repeat [3 dc, ch 2, 3 dc] in each corner, and 4 dcs, skip 2, 4 dcs along each side.
- Sl st to top of beginning ch-3 to finish round.
- For first panel: Fasten off, tidy ends (no need to weave in deeply if they’ll be inside).
- For second panel: At the last corner (final ch-2 space), after first 3 dc, instead of ch 2, do ch 30 (or desired string length), then finish corner and continue around as usual.
Assembly & Sewing
- Align both panels: RS (right sides) facing out, star “points” matched up.
- Use the working yarn tail from end of second panel to join panels.
- Sewing / Joining:
- Attach hook to loop, ch 1.
- Single crochet through both panels’ stitches, working around the “petals,” until you reach the string corner. Leave 1 petal (or the space with the string) open.
- When you reach the last corner before the string, ch 1, fasten off.
- Hide ends inside; no need to weave excessively as they’ll be enclosed.
- Turn inside out (optional): Flip so the seam is on the inside.
Assembly & Finished Size (Bullets)
- Crochet two star panels separately.
- Add long chained string to one corner of second panel before final joining.
- Align both panels with right sides out.
- Join sides with single crochet, leaving the string opening free.
- Finished pouch fits lip balm, earbuds, coins and more.
- Adjust string length as desired for closure or hanging.
- Optional: Line pouch for a sturdier finish or use as a bag charm.
Project Conclusion
This Mini Star Pouch offers a quick, satisfying way to organize your essentials. With a playful design using only basic stitches and no tricky seaming, you’ll finish this mini project in under an hour. Make yours in one color or two for a custom look—perfect as a gift, stash buster, or charming addition to your everyday accessories.