Adorable Crochet Baby Cardigan Pattern – Full Tutorial for 0-3 Months

Add handmade flair to your baby’s style with this free crochet baby cardigan pattern that’s perfect for comfort and cuteness combined.
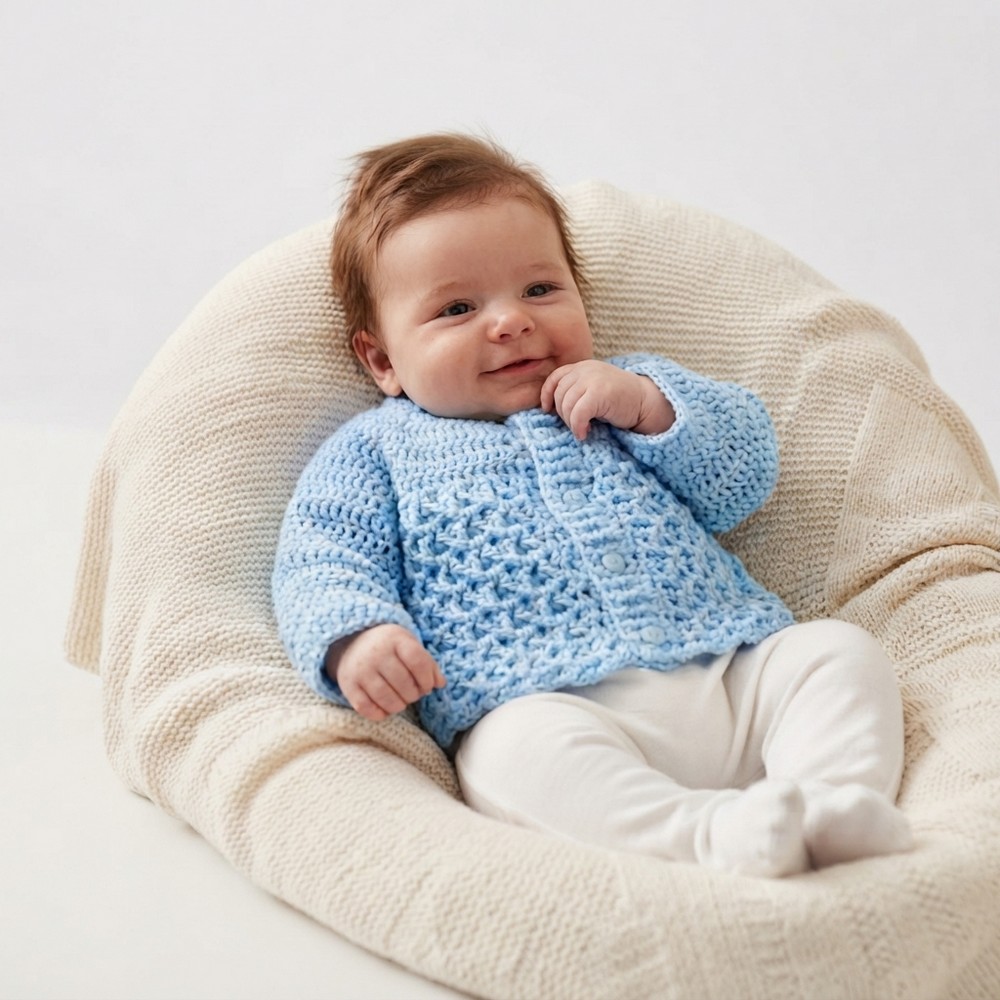
Many people think crocheting baby cardigans is too hard, so they avoid making them. But the Free Crochet Baby Cardigan Pattern is different. It is simple and perfect for babies aged 0 to 3 months. Using soft yarn and a crochet hook, the pattern combines basic double crochet stitches and raised stitches to create a nice, gentle texture. The front buttons make it easy to put on and take off while keeping the cardigan comfortable and safe for a baby’s sensitive skin.
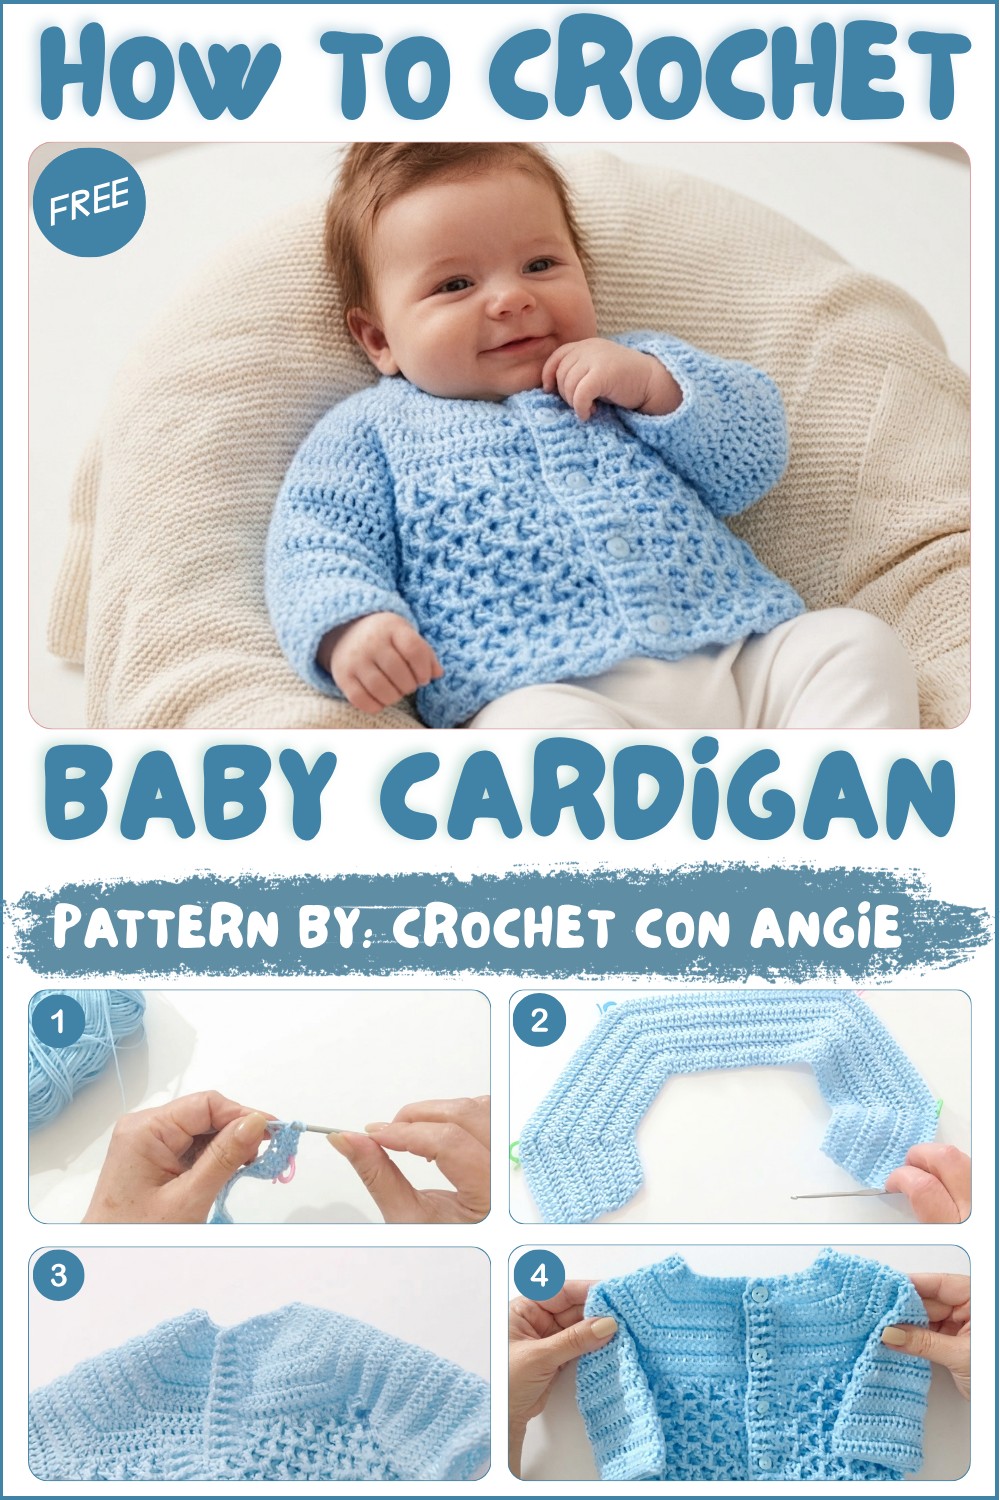
Reference By:
Crochet con Angie is a popular YouTube channel known for its clear, beginner-friendly crochet tutorials and patterns. Angie’s step-by-step guidance makes complex designs accessible, encouraging crocheters of all skill levels to enjoy the craft. Her channel offers a wide variety of projects, including beautiful baby garments like this charming cardigan.
The cardigan is made to keep babies warm in cool weather, but it also lets air flow so they don’t get too hot. The size fits well so babies can move easily without feeling tight or bulky. The edges are ribbed, which helps the cardigan stretch a little as the baby grows. The small buttons are placed carefully to be safe and easy for parents to use.
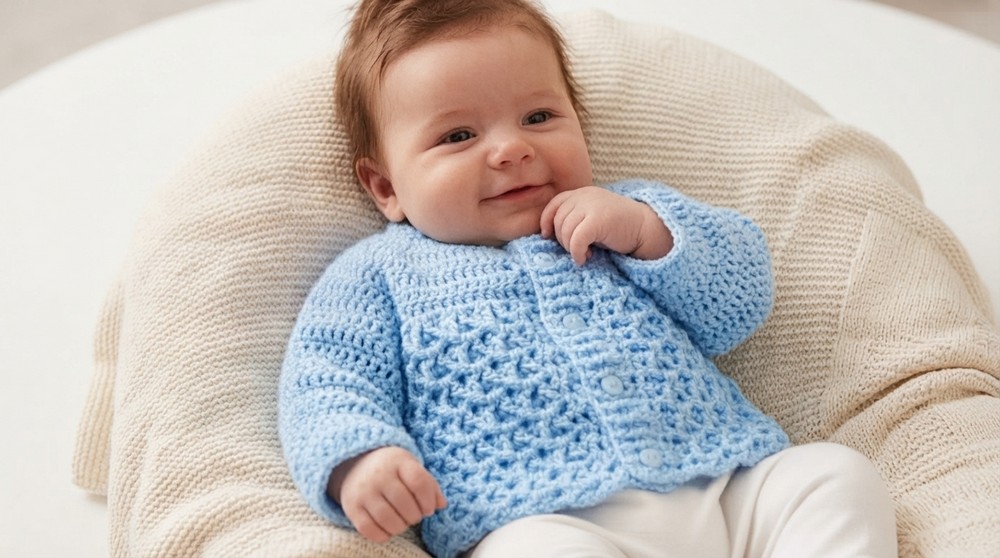
This pattern is great for beginners or anyone wanting an easy project. The instructions are clear and the stitches repeat in a simple way. This lets you focus on finishing steps like sewing on buttons and hiding loose yarn ends. The finished cardigan is a lovely, useful piece that makes a great gift or a nice extra item for a newborn’s closet.
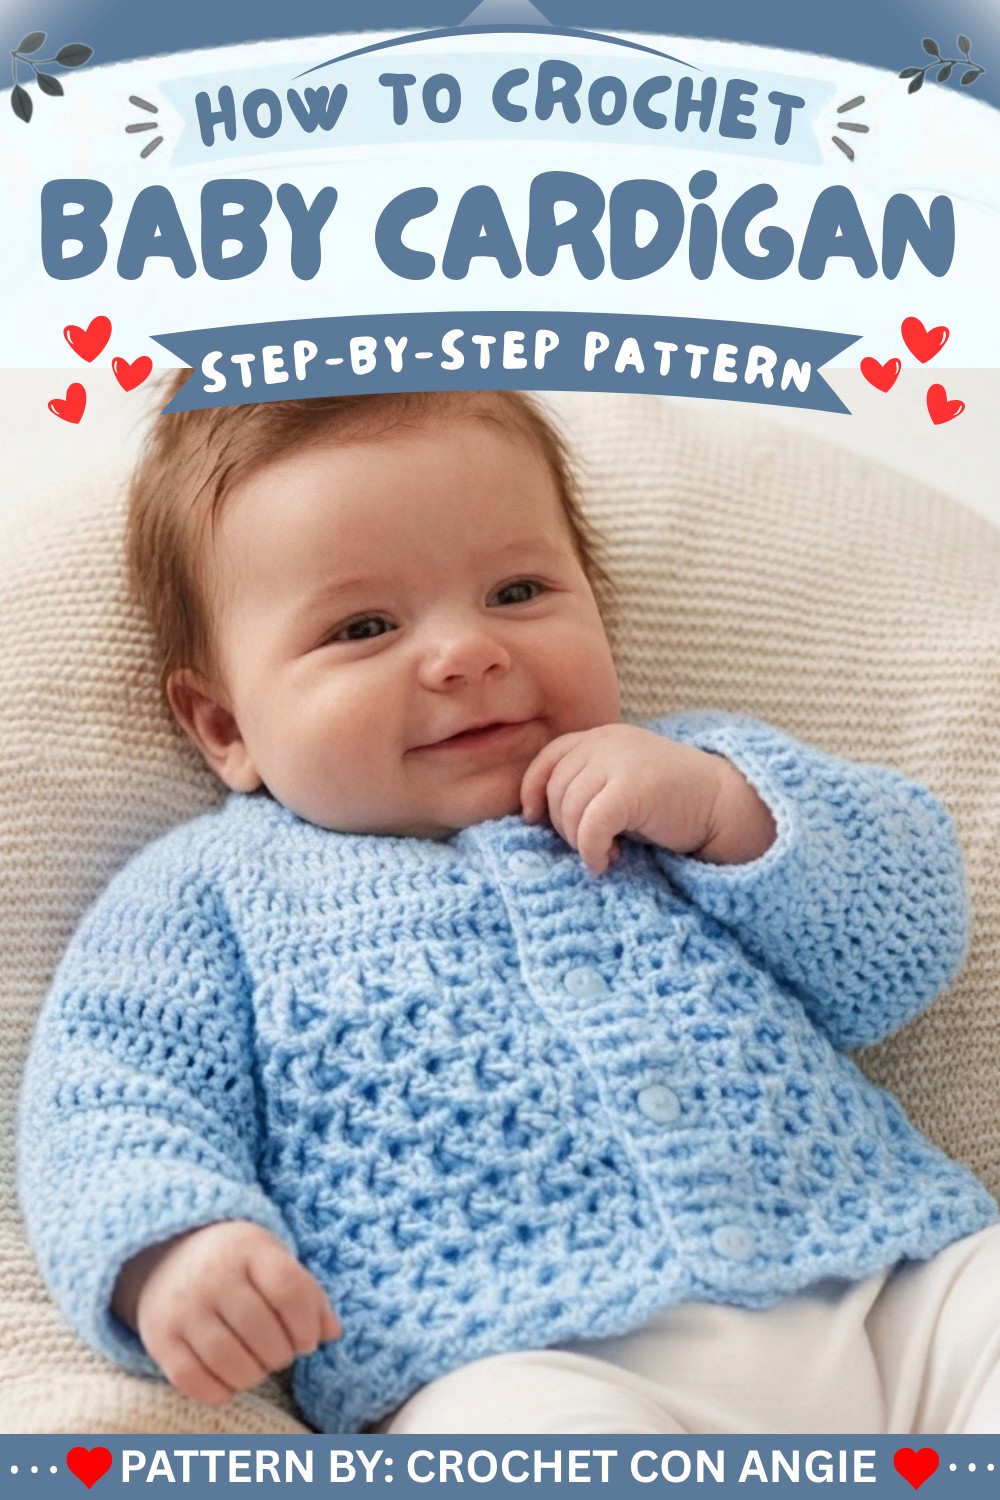
Baby Sweater Crochet Pattern (0–3 Months, Puff Stitch)
This crochet sweater is designed for infants aged 0–3 months and features a classic yoke with wonderfully textured puff stitches. Made with thin baby yarn and a 3.5 mm crochet hook, it is soft, cozy, and practical. The yoke technique allows easy sizing adjustments and the elegant ribbing at the edges completes the garment with a comfortable fit. This sweater is worked in flat rows, assembled after the body is shaped, and is finished seamlessly with five small buttons.
Pattern Basic Points
Key Features
- Classic Yoke Construction: The sweater is crocheted top-down in rows, with marked increases for clear shaping.
- Puff Stitch Skirt: The skirt section uses a repeated puff stitch (“relief stitch”) for texture and warmth.
- Edge Ribbing: Edges and neck are finished with half double crochet and ribbed raised stitch for durability and style.
- No Buttonholes Needed: Small buttons nestle securely between the stitches, avoiding gaps or loose closures.
Construction
- Begins with a foundation chain.
- Sequential rows build the yoke with increases at four marked locations.
- Puff stitch pattern is introduced after the yoke.
- Sleeves are formed separately in flat rows.
- Edges are completed with half double crochet and rib stitch.
Special Notes
- Always measure your foundation chain—length is more important than exact stitch count for fit. If the chain is too short, your sweater may be small; slightly longer is not a problem.
- Use stitch markers at each increase position to avoid confusion.
- Sizing up is straightforward: use thicker yarn and a larger hook, following the same instructions.
- Make extra foundation chains if unsure, and unravel excess at the end.
- Buttonholes are not created; small buttons fit neatly between stitches.
Skill Level
Beginner to Confident Beginner:
- Pattern uses only basic stitches (chain, double crochet, half double crochet, single crochet), with easy increases and a simple puff stitch repeat.
- Perfect for new crocheters wanting to expand skills beyond simple accessories.
Materials
- Thin baby yarn (approx. 100–120 g, any desired color)
- 3.5 mm crochet hook
- Five small buttons
- Stitch markers (or yarn in a contrasting color)
- Tapestry needle for sewing and weaving in ends
- Scissors
Measurements / Sizing
- Intended for 0–3 months baby (foundation chain measures approx. 31 cm)
- Body length: Skirt area is 15 cm long after yoke
- Sleeve length: 13 cm (11 rows)
- Finished width: approx. 31 cm across front
- Fits newborns through 3 months, ideal for layering
Gauge
- Gauge: 8 double crochet x 4 rows = 5 cm/2 inches
- Stitch Pattern: Yoke in double crochet, skirt in puff (“relief”) stitch, edges in half double crochet and ribbed double crochet
Stitch Abbreviations
- ch: chain
- dc: double crochet
- hdc: half double crochet
- sc: single crochet
- inc: increase (specified as three stitches in one space for yoke)
- sl st: slip stitch
- st(s): stitch(es)
Special Stitches
- Increase for Yoke: 3 dc in one stitch, marked at second stitch.
- Puff (Relief) Stitch: At second dc, pass hook behind post and work a dc; inside stitch, work a dc, ch 2, and another dc.
- Raised Rib Stitch: Alternates front post and back post dc in edge rounds for subtle ribbing.
Assembly & Finished Size
- You create all sweater parts in rows.
- You crochet the sleeves flat and join them directly to the yoke for a seamless finish.
- You reinforce the edges with rib stitch and sew small buttons along one side for fastening.
- You weave in all ends neatly to ensure durability and comfort.
- Your completed sweater feels soft and warm, maintains its shape, and measures approximately 31 cm wide with a 15 cm skirt length.
Pattern Instructions
Round 1 (Foundation):
- Make 61 chains. (If unsure, add 6–10 extra chains and unravel at end.)
- Lay chain flat and measure—should total approx. 31 cm.
Row 2 (Yoke Setup):
- On the 3rd chain from the hook, insert and make your first dc.
- With skipped chains, you already have 2 stitches; continue dc in each chain for 8 dc total.
- At 9th chain, make an increase (3 dc in the same chain).
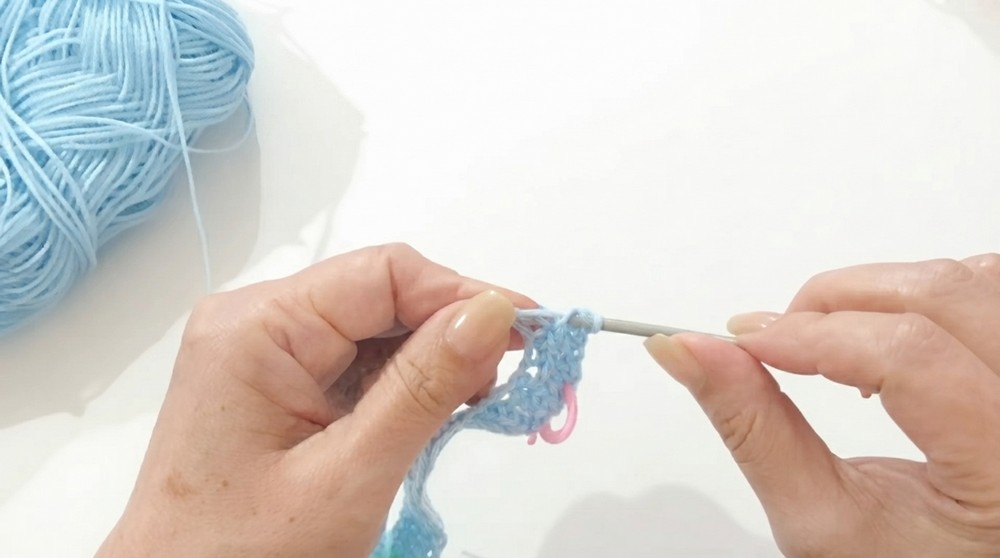
- Place a marker in the 2nd stitch of the increase.
- 10 dc, increase (3 dc in same chain, mark 2nd of increase), 20 dc, increase (3 dc in same chain, mark 2nd of increase), 10 dc, increase (3 dc in same chain, mark 2nd of increase), 8 dc.
- If chains exceed stitches, unravel the excess at end.
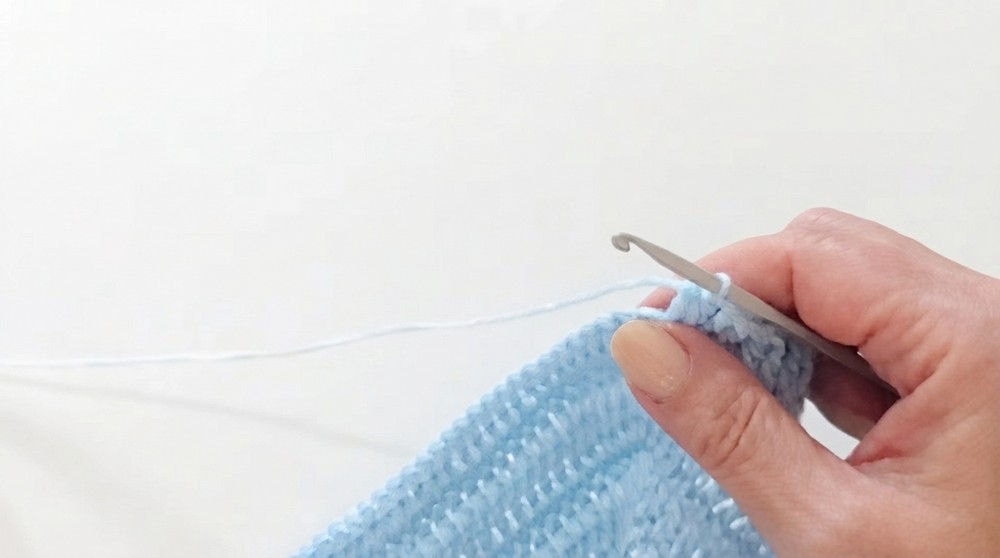
Row 3 (Yoke Repeat):
- Ch 1 to turn, work dc over dc across.
- At each marked stitch, make another increase (3 dc in the same stitch), replace marker on 2nd stitch.
- Repeat this row for 7 rounds to build the yoke, always working dc over dc and increasing at marked stitches.
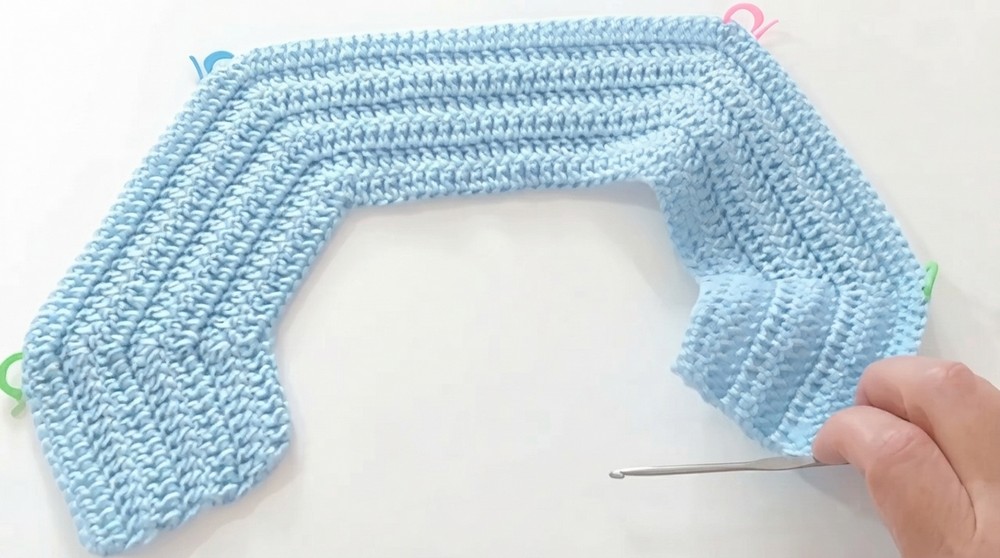
Row 10 (Fantasy Stitch Introduction & Sleeve Joining):
- Ch 1 to turn, make 2 dc at edge, skip 1 stitch; in next stitch, work 2 dc, ch 2, 2 dc (puff stitch).
- Skip next st, repeat puff stitch across until marker/sleeve opening.
- At markers, remove them, work 2 dc in those spots to close sleeves.
- Continue puff stitch pattern, skipping stitches and repeating puff stitch at markers, closing sleeves as you go.
- End row with 2 dc at edge.
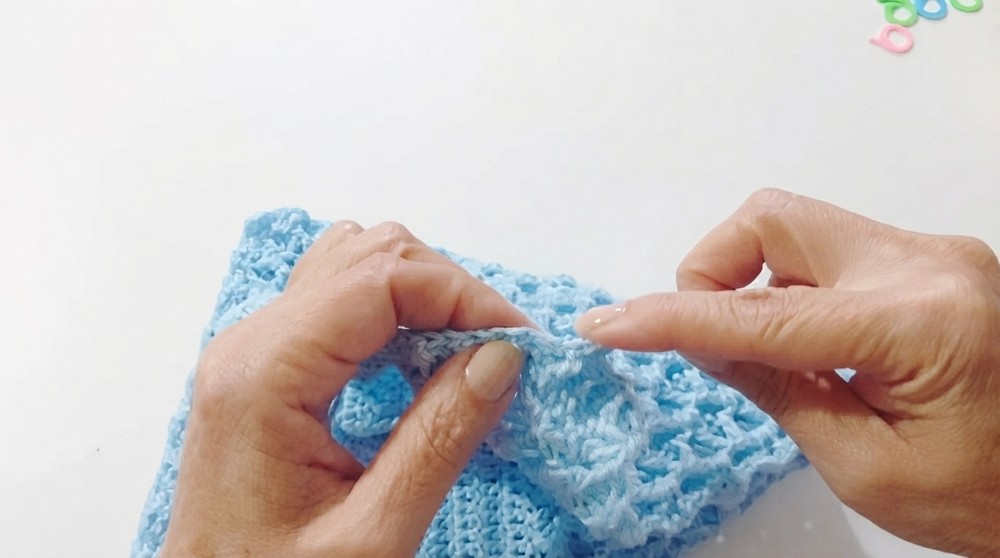
Row 11 and Beyond (Fantasy/Raised Stitch Pattern):
- Always start with 2 dc at edge.
- At second dc: insert hook behind post to make a dc, inside puff stitch (between posts): dc, ch 2, dc.
- Continue: behind post for dc, in puff stitch for dc, ch 2, dc.
- Repeat this row for 15 cm total (length from yoke), or desired length for the skirt.
- Finish each row with 2 dc at edge.
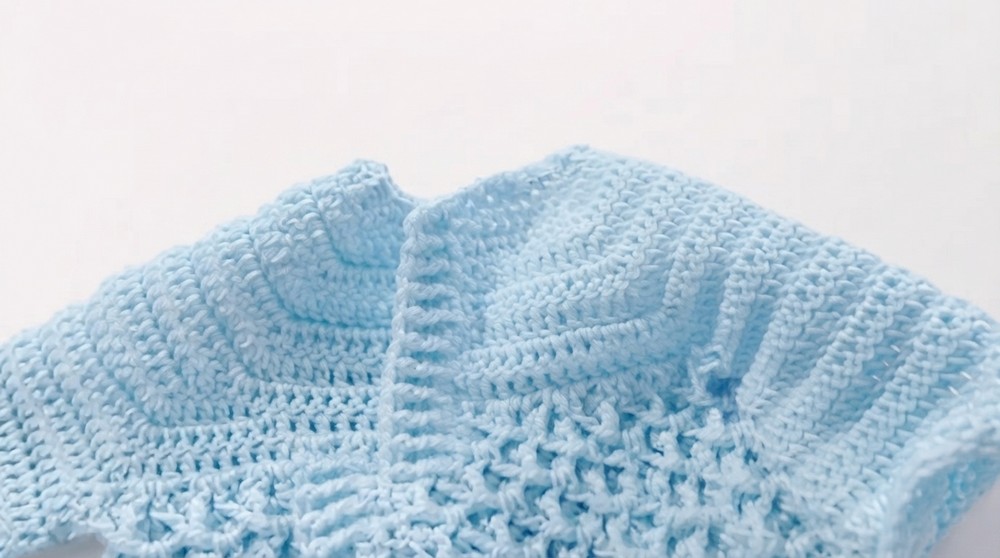
Edge and Flap Finishing:
- With new yarn, work hdc all around the front edge/flap for one round.
- Then work 2 rounds of ribbed raised stitch: alternate front and back post dc for a subtle rib.
- Add an extra round of rib for more width.
Sleeves:
- Start from inside of sleeve opening, attach yarn, ch 3, work dc in each stitch (32 dc per sleeve; count to match both sleeves).
- Crochet each sleeve in flat rows: ch 3, turn, dc in each stitch.
- Repeat for 11 rows (approx. 13 cm), turning after each row.
- Final sleeve round: sc in each stitch around (32 sc), close with sl st, fasten off.
Neckline Finishing:
- Starting at edge, work one round of hdc around neckline.
- Then one round of rib stitch: alternate front and back post dc.
- If neckline is too wide, add another round for a snug fit.
End Management:
- Use tapestry needle to weave in all loose ends 2–3 times for security.
- Trim excess carefully so no loose threads remain.
Buttons:
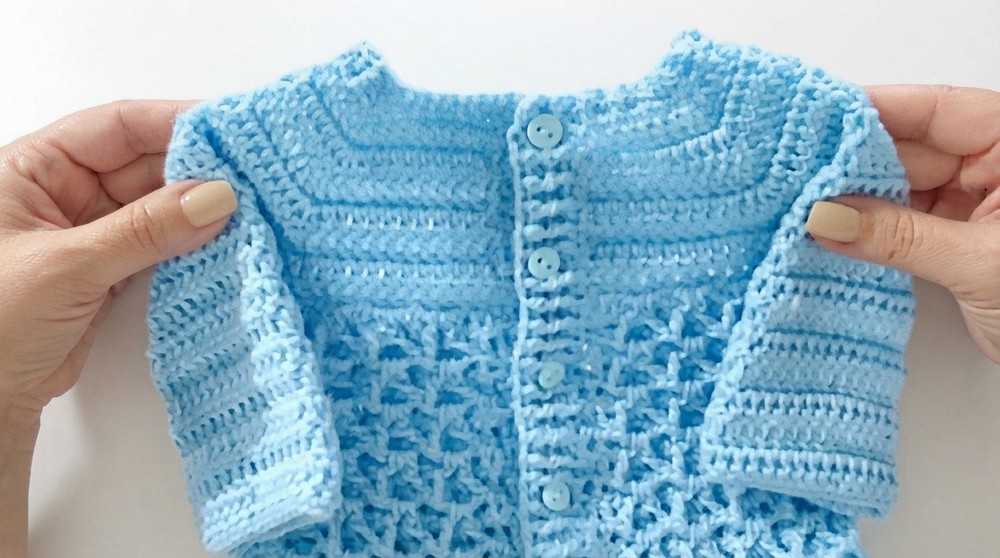
- Sew five small buttons evenly along front flap (right side for boys, left for girls, or as preferred).
- Place first button at top, second at bottom, third centered, and remaining two evenly spaced in between.
- Tie secure knots at back after sewing each button.
Conclusion
This baby sweater pattern provides dependable warmth in a classic, practical shape with contemporary textured detailing. The yoke-based increase technique allows clear, predictable shaping, and makes it easy to size up or down. The puff stitch skirt lends softness and volume without bulk. Ribbed edges anchor the garment securely, and the method of using small buttons without buttonholes keeps the closure neat and comfortable. With straightforward steps, stitch repeats, and minimal seaming, this pattern is ideal for newer crocheters aiming to complete a polished garment. The finished sweater is highly customizable in color and length, suitable for boys or girls, and holds its shape through everyday wear.