Crochet Large Cardigan – Step-by-Step Free Pattern

Layer cool weather looks with Free Crochet Large Cardigan Pattern, featuring roomy comfort and soft texture suited for relaxed days, errands, and evenings.
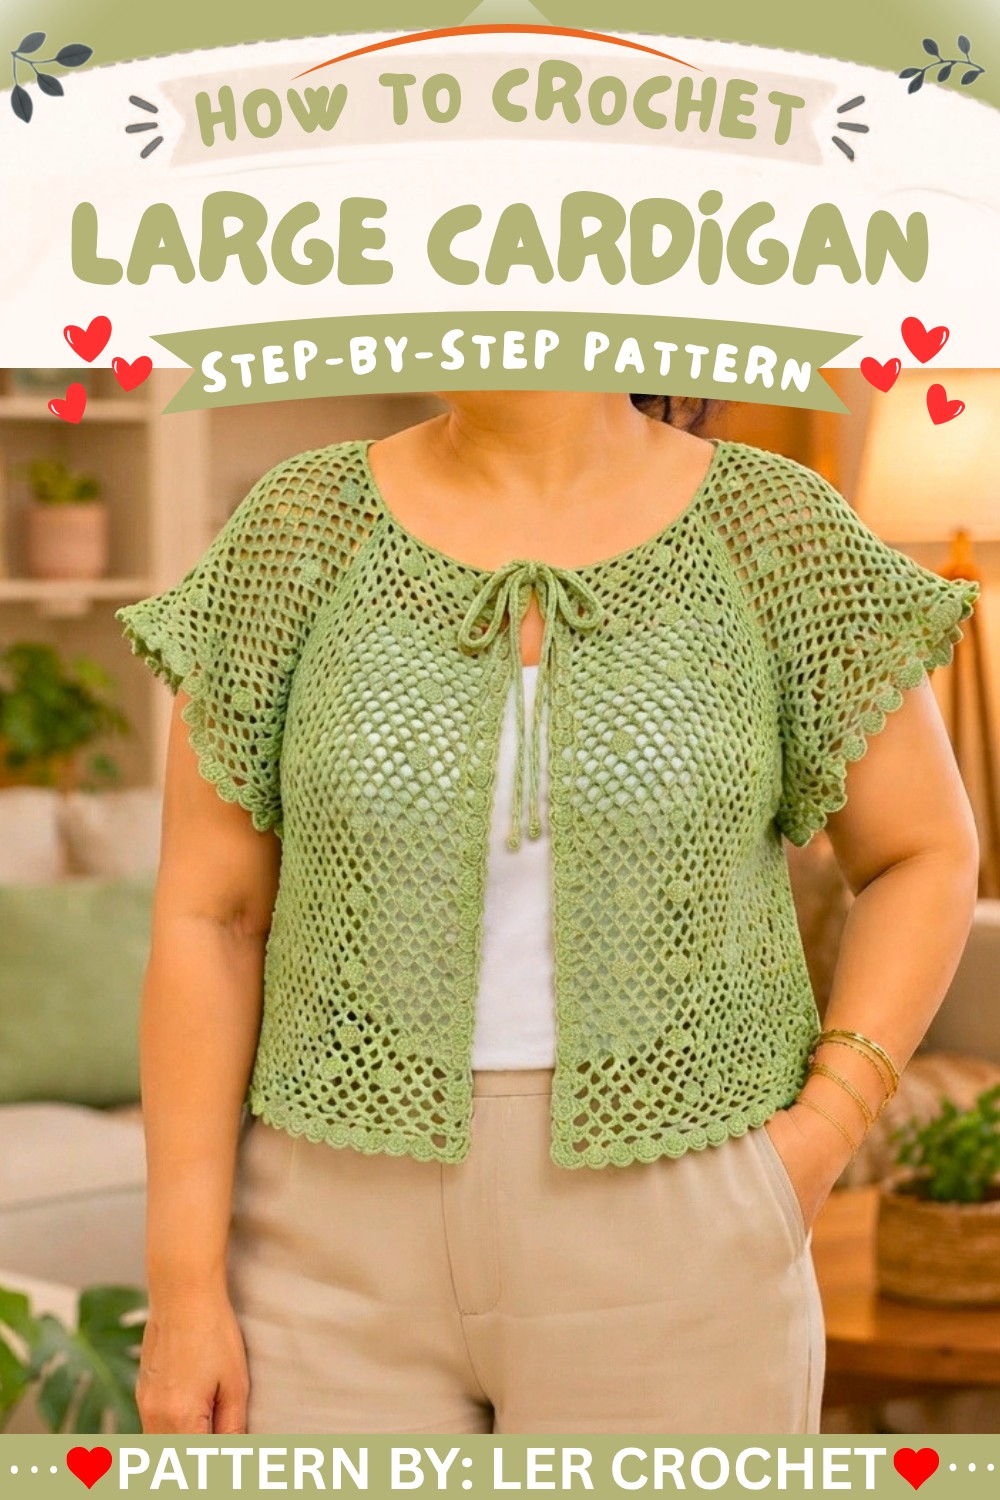
A big, cozy cardigan can make chilly days feel much better. The Free Crochet Large Cardigan Pattern is a wonderful design shared by Ler Crochet on their YouTube channel. This pattern helps you make a warm and roomy sweater that fits comfortably and looks great.
This cardigan has a relaxed shape with long sleeves and an open front, making it easy to wear over any outfit. You can choose from many colors, like light pastels or bright tones, to match your personality. Its simple style gives a casual but neat look, perfect for school, playing outside, or just lounging at home.
Free Large Cardigan: Crochet Pattern Included
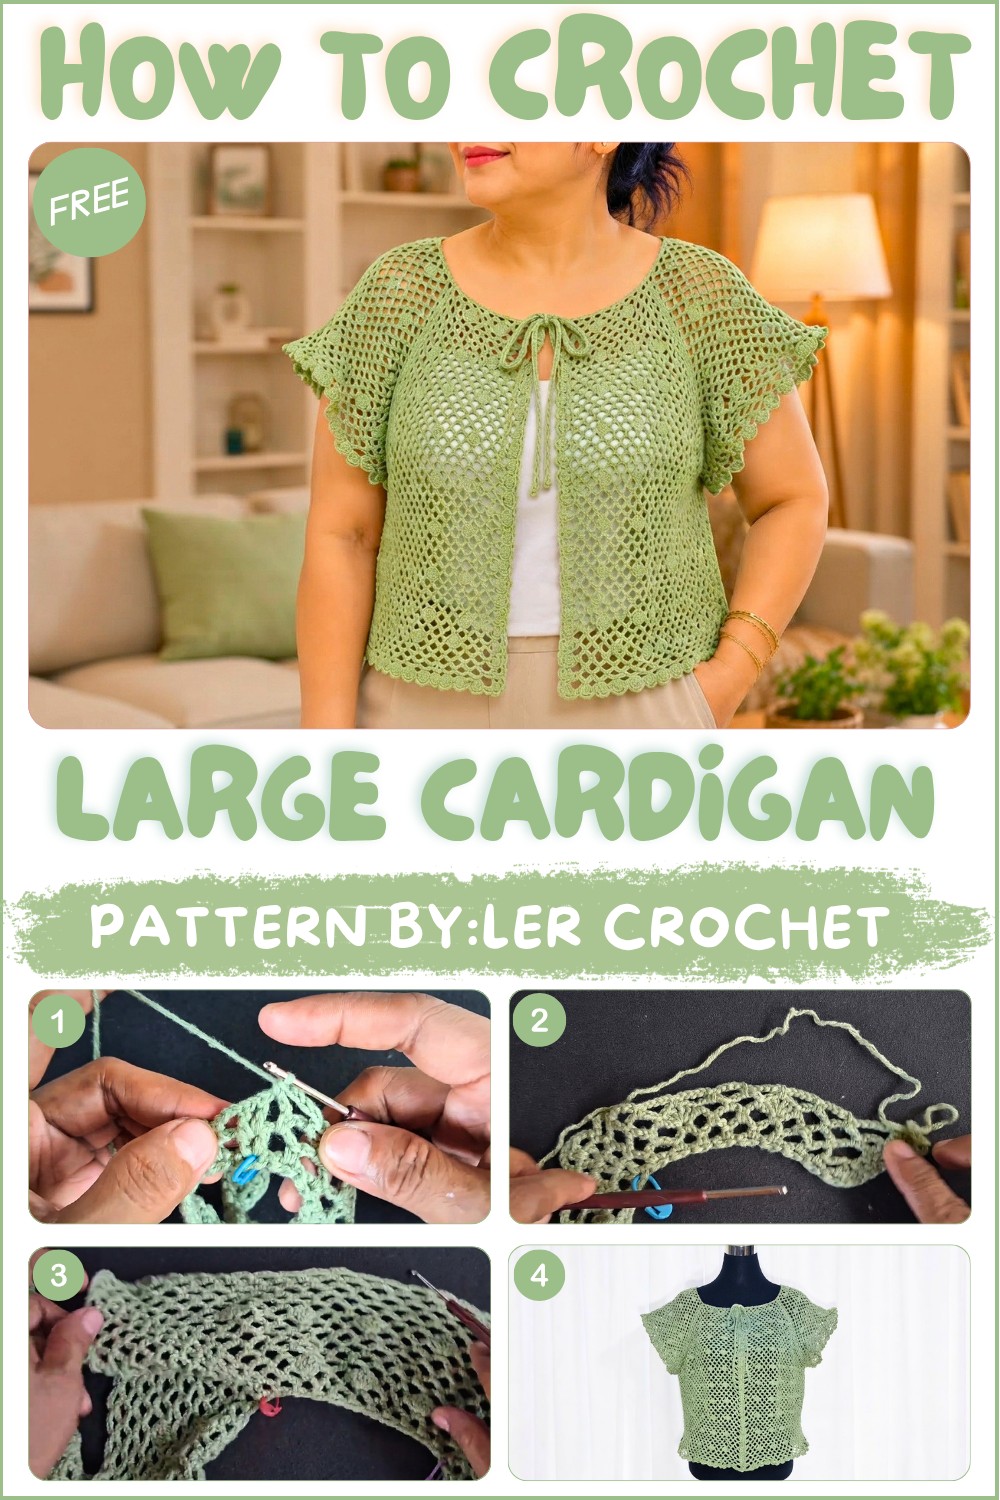
People will love this large cardigan because it is perfect for layering. It keeps you warm but does not feel tight or heavy. It works well during different seasons and can be paired with shirts, jeans, or dresses. The handmade quality makes it unique and special, showing the effort and care put into making it.
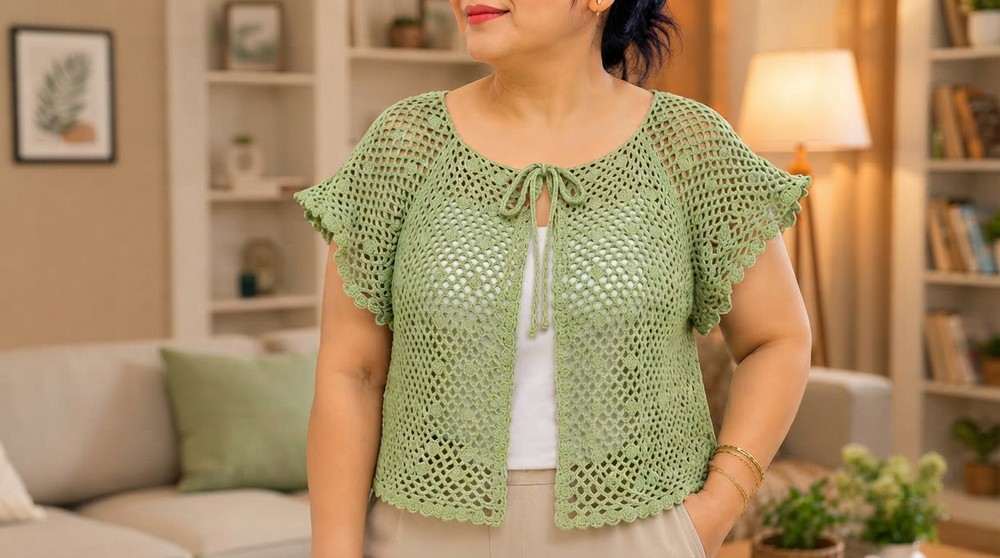
For anyone wanting a fun and useful crochet project, the Free Crochet Large Cardigan Pattern from Ler Crochet’s YouTube channel is a great choice. This cardigan will become a favorite in your closet for comfort and style. Try making one and enjoy wearing a piece made just by you!
Large Crochet Cardigan Pattern
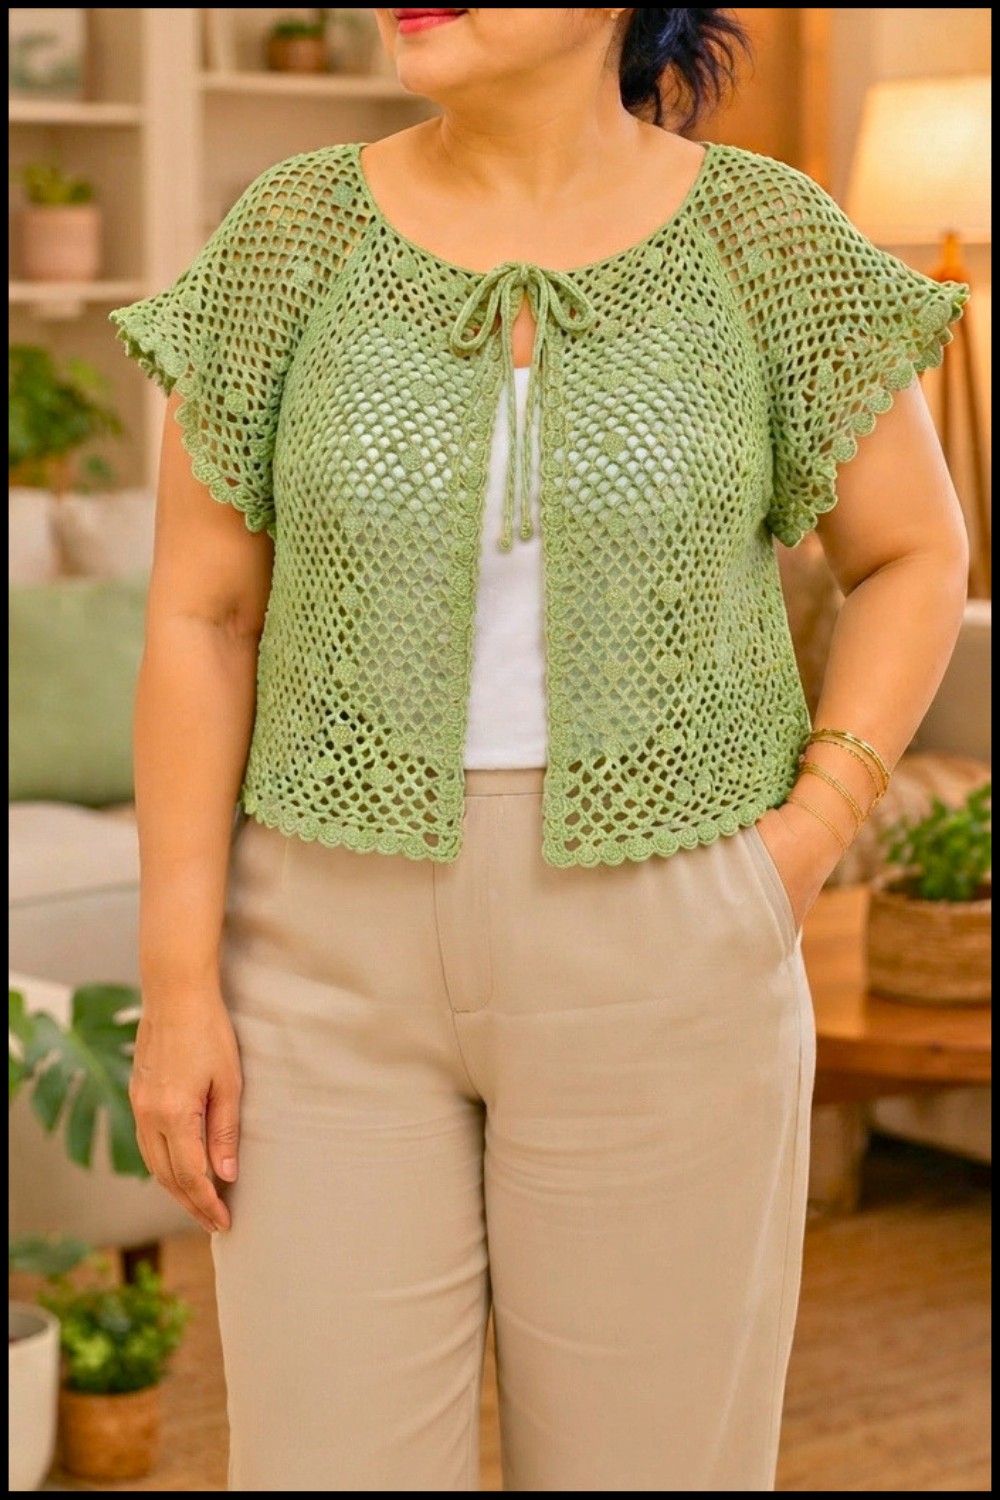
This large crochet cardigan is a stylish and comfortable layering piece, perfect for cooler seasons. Crafted using 8 balls of 4-ply cotton yarn and a 2.5 mm crochet hook, this pattern features an airy mesh design with alternating eyelet loops and delicate textured edging. Suitable for those who enjoy intermediate-level crochet, this cardigan combines elegant mesh work with practical shaping and finishing touches like sleeves and a matching tie belt. Follow this detailed step-by-step guide to create a versatile garment that fits beautifully and feels soft against the skin.
Quick Overview of Pattern
- Begin by creating a foundation chain to form 58 eyelets for the base (adjustable for larger sizes).
- Develop a mesh pattern alternating chain 3 and chain 5 loops paired with single crochet stitches.
- Repeat rows in blocks, continuing the mesh design to form the cardigan body.
- Join sections to shape sleeves and body length, adjusting for size as needed.
- Finish with a decorative border and create a tie belt featuring eyelet loops.
Notes
- The pattern uses US crochet terms.
- Eyelet counts and stitch patterns create a lace-like open mesh.
- Stitch markers at specific eyelet intervals are useful for shaping and consistency.
- Sizes can be customized by adding multiples of 15 eyelets (3 per section).
- Maintaining equal stitch counts at both ends ensures symmetrical shaping.
- Crochet the cardigan in segments (panels and sleeves), then join for final assembly.
Skill Level
Intermediate
Recommended skills include:
- Basic stitches: chain (ch), single crochet (sc), double crochet (dc).
- Working mesh stitches with varying chain lengths.
- Counting and marking stitches for shaping and pattern consistency.
- Joining sections smoothly.
- Working decorative borders and finishing ties.
Materials
- 8 balls of 4-ply cotton yarn (color of choice).
- Crochet hook size 2.5 mm.
- Stitch markers (for marking specific eyelets).
- Scissors.
- Yarn needle for finishing.
- Measuring tape.
Measurements / Sizing
- Base size uses 58 eyelets foundation chain.
- Add 15 extra eyelets (3 per section) to increase size incrementally.
- Length and sleeve length adjustable by adding or reducing rows.
- Approximate finished bust size: 106–112 cm (42–44 inches), adjustable as noted.
Gauge & Stitch Pattern
- Gauge details not rigid but consistent tension is essential.
- Approximate gauge: 22 dc and 16 rows = 10 cm (4 inches).
- The main mesh pattern consists of alternating chain 3, chain 5 loops joined by single crochets with double crochet bases.
Stitch Abbreviations
| Abbreviation | Meaning |
|---|---|
| ch | chain |
| sc | single crochet |
| dc | double crochet |
| sl st | slip stitch |
Special Stitches
- Eyelet: An open space created by chaining adequate stitches to form mesh loops. Here, specifically chain 3 and chain 5 loops alternating.
- Mesh Pattern: Alternating ch 3, sc, ch 5, sc repeated in eyelets creates the mesh structure.
- Cluster: Group of double crochets worked together or closely for texture, used especially in border finishing.
The Crochet Pattern
1. Foundation and Base
- Step 1: Chain a base chain sufficient to form 58 eyelets (This is the stitch count for the base size).
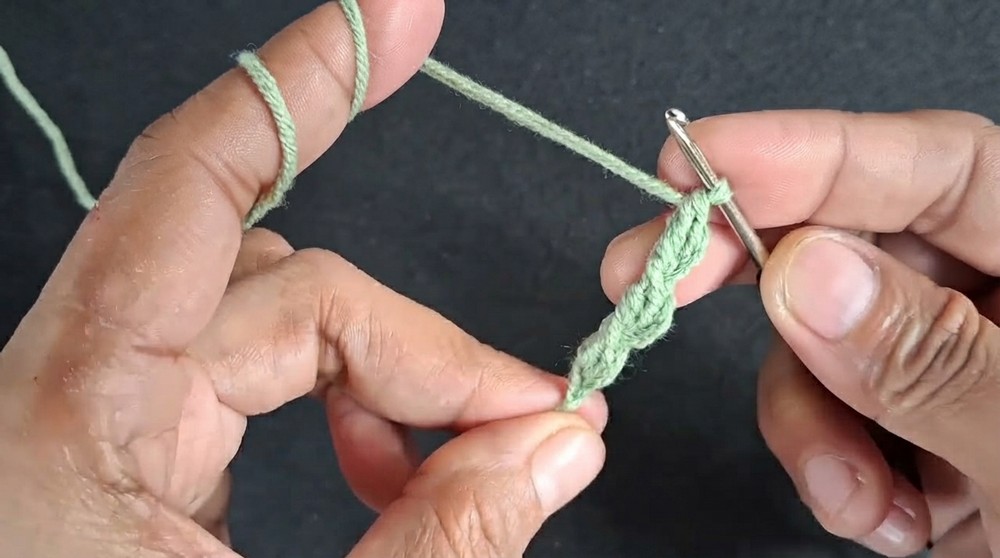
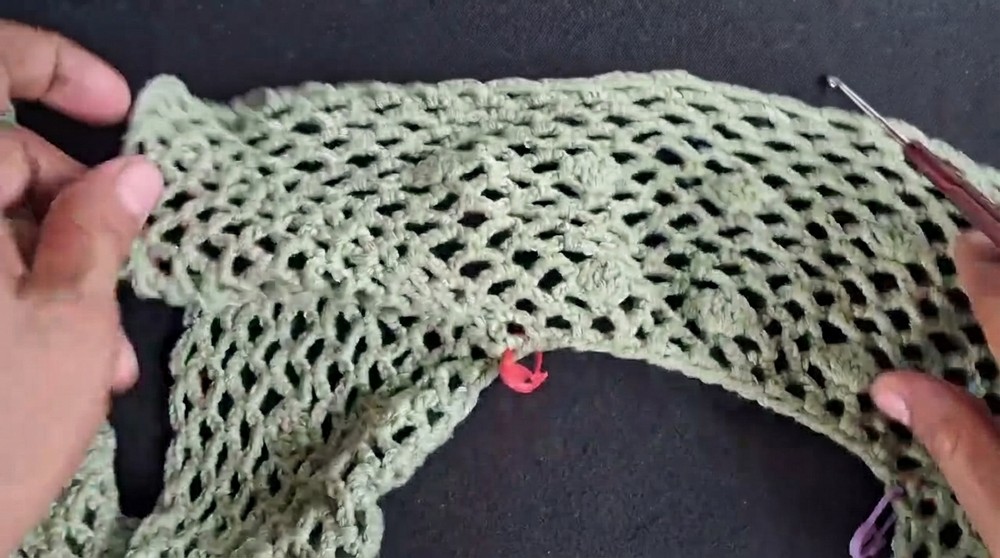
- Step 2: Mark the following eyelets for shaping references:
- 10th eyelet
- 21st eyelet
- 38th eyelet
- 49th eyelet
- Step 3: If a larger size is desired, add an extra 15 eyelets total (5 per section) distributed evenly to maintain pattern balance.
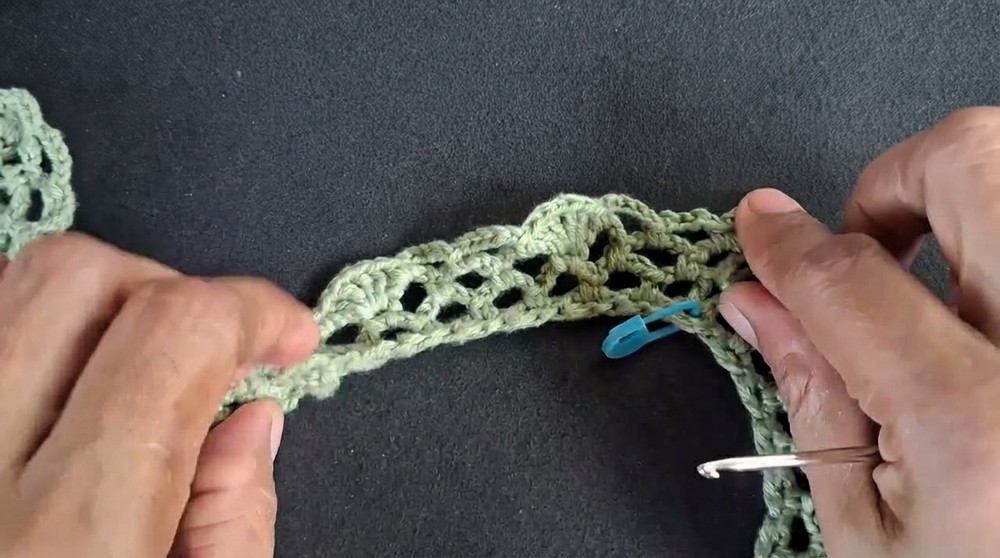
- Step 4: Work double crochets (dc) into the foundation chain to form a row of eyelets—this establishes the base for the mesh pattern.
2. Pattern Development
- Row 1:
- Chain 3 (counts as first double crochet (dc)).
- Work 2 dc into the first eyelet.
- Begin alternating pattern:
- Chain 3, single crochet (sc) into next eyelet.
- Chain 5, sc into next eyelet.
- Continue alternating ch 3/sc and ch 5/sc across the entire row.
- Row 2 and Following Rows:
- Chain 3 (counts as dc), turn your work.
- Maintain the established mesh pattern by working:
- dc, ch 1, dc clusters at the marked eyelets for shaping.
- Alternate between chain 3 and chain 5 loops with single crochet joins in remaining spaces.
- Always keep equal stitch counts on both edges for symmetry.
- Use stitch markers as placement guides to maintain consistent shaping.
3. Repeating Rows
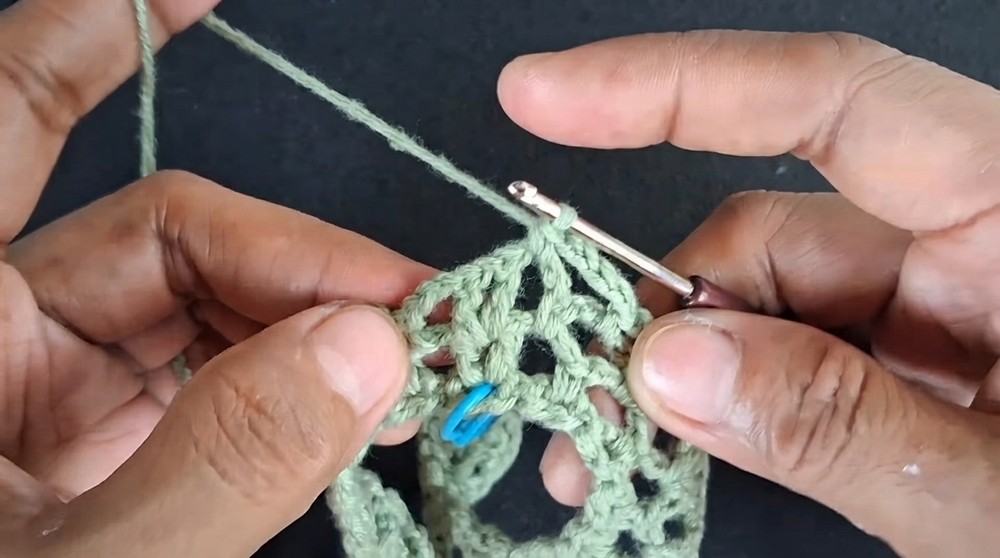
- Work the mesh pattern in blocks of 5 rows:
- Continue alternating between chain 3 loops and chain 5 loops connected with single crochet (sc).
- Turn your work at the end of each row and repeat the mesh pattern.
- Repeat five such 5-row blocks to achieve the desired length.
- Adjust total rows if you require a longer cardigan.
4. Sleeves and Finishing
- Joining Sections:
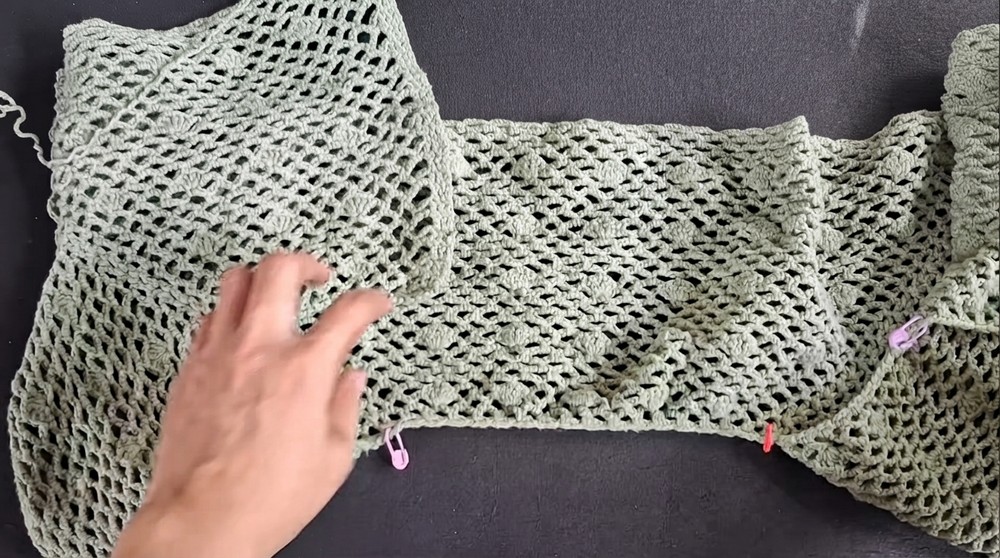
- Join the panels at the indicated stitch markers to form sleeve openings and side seams.
- Seam with slip stitches (sl st) or whip stitch according to personal preference.
- Extending Body Length:
- Continue crocheting rows if additional length is needed, ensuring to maintain established mesh patterns.
- Border / Edging:
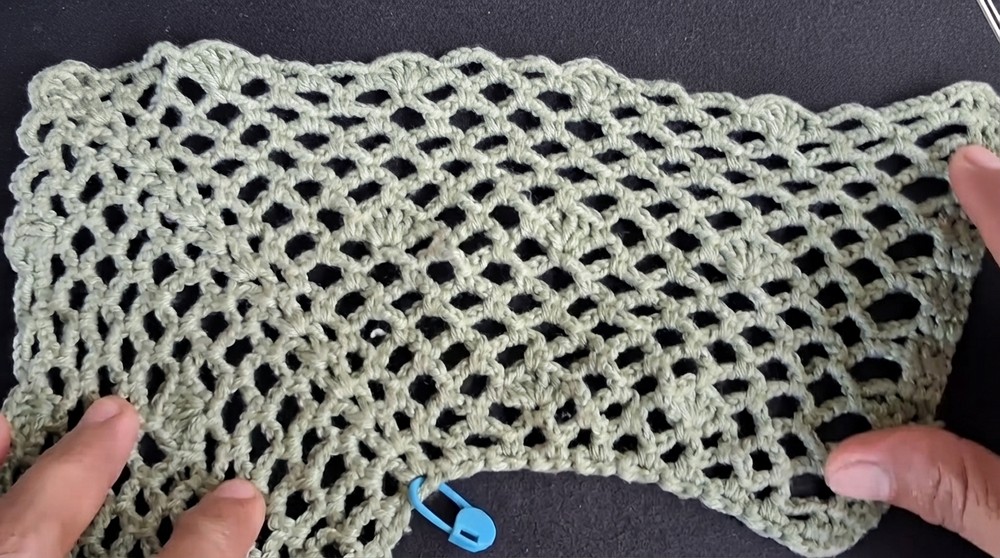
- Work clusters of double crochet (dc) and single crochet (sc) evenly spaced around all edges: neckline, front opening, bottom hem, and sleeves.
- This edging strengthens the garment and adds a decorative ruffled appearance.
- Tie:
- Crochet a separate strip of 45 eyelets using chains and double crochets (dc) to create a belt-like tie.
- Attach the tie at the front edges for closure.
Assembly & Finished Size
- Block the finished pieces gently to even out stitches and define the mesh pattern.
- Join sleeves and side seams securely.
- Attach the tie at waist height or preferred position.
- Finished bust circumference approximately 106–112 cm, but adjustable by adding eyelets and rows.
- Length and sleeve dimensions customizable by continuing mesh rows before edging.
Conclusion
This large crochet cardigan elegantly combines airy mesh with structured shaping for a flattering fit and comfortable wear. The detailed pattern covers every aspect — from foundation and repetitive mesh rows to assembling and finishing with a stylish edging and functional tie belt. Whether you’re dressing up or layering casually, this cardigan offers a versatile, handmade garment ideal for various occasions.