Cozy & Trendy: Free Granny Square Sweater Crochet Pattern

Create a cozy and stylish look with our Free Crochet Granny Square Sweater Pattern which is for all skill levels and vibrant wardrobes.
Creating a sweater out of square pieces might sound tricky, but it’s actually a fun and simple process that lets you combine comfort with creativity. This granny square wearable piece is made by joining square patches, each with its own vibrant color or design, into a fully wearable and beautiful piece of clothing.
Free Crochet Granny Square Sweater Pattern You Need to Try
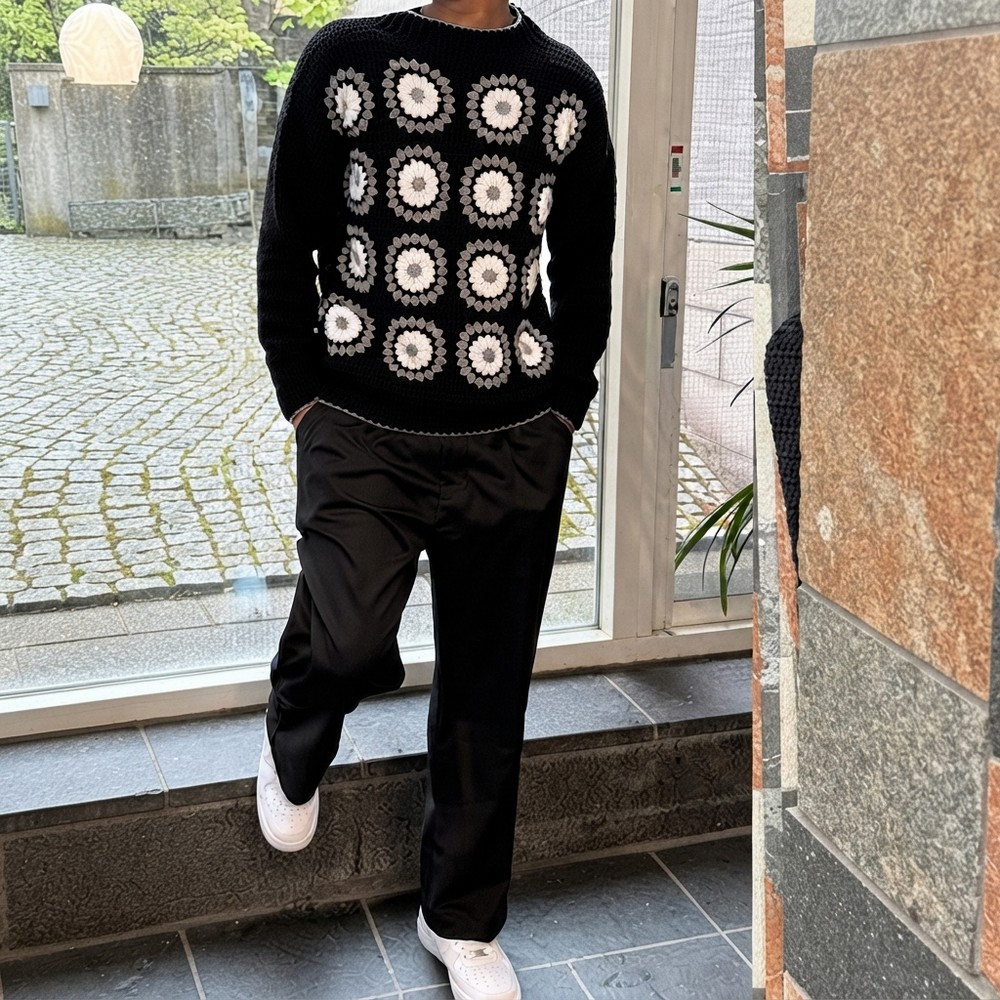
The charm of this design lies in the details, a mix of bold patterns, soft textures, and a shape that looks flattering on anyone. It’s not just a sweater; it’s a personal statement, showing off your unique style while keeping you cozy at the same time. From cool evenings to casual outings, it’s a go-to piece that adds personality to your outfit.
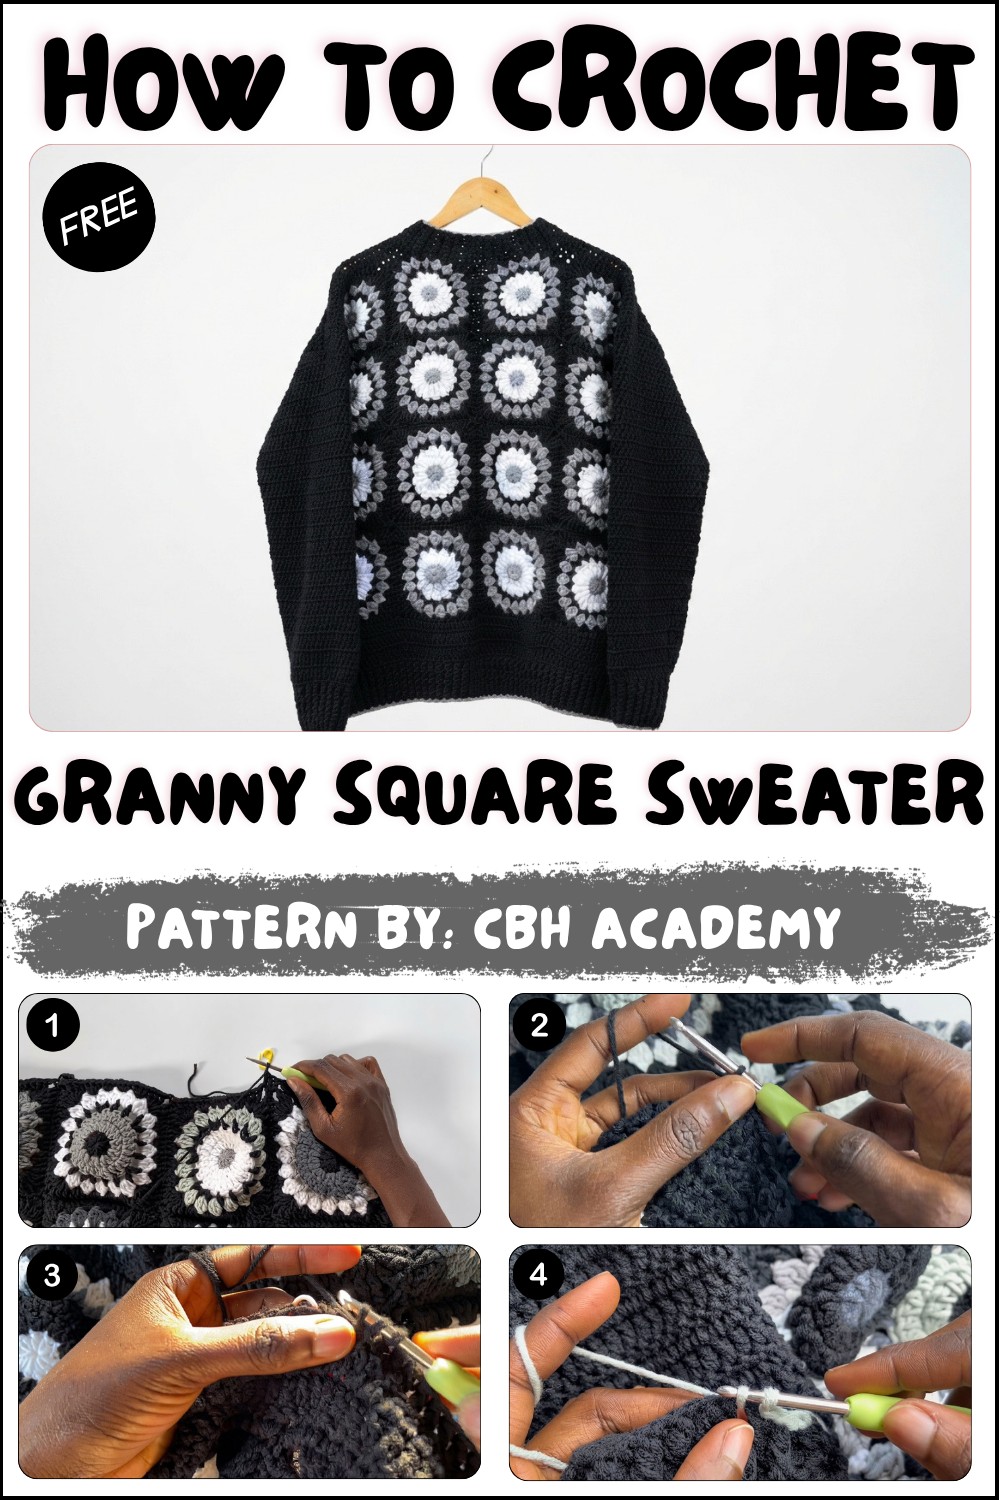
The process to make this sweater is straightforward, thanks to CBH Academy’s clear and supportive tutorials. The instructions walk you through stitching the squares, joining them together, and shaping the sweater in a way that feels approachable even for beginners. With an encouraging teaching method and attention to detail, they make learning enjoyable while offering professional results. You’ll learn how to tailor the size, arrange colors to suit your taste, and add finishing touches that give the sweater a polished appearance.
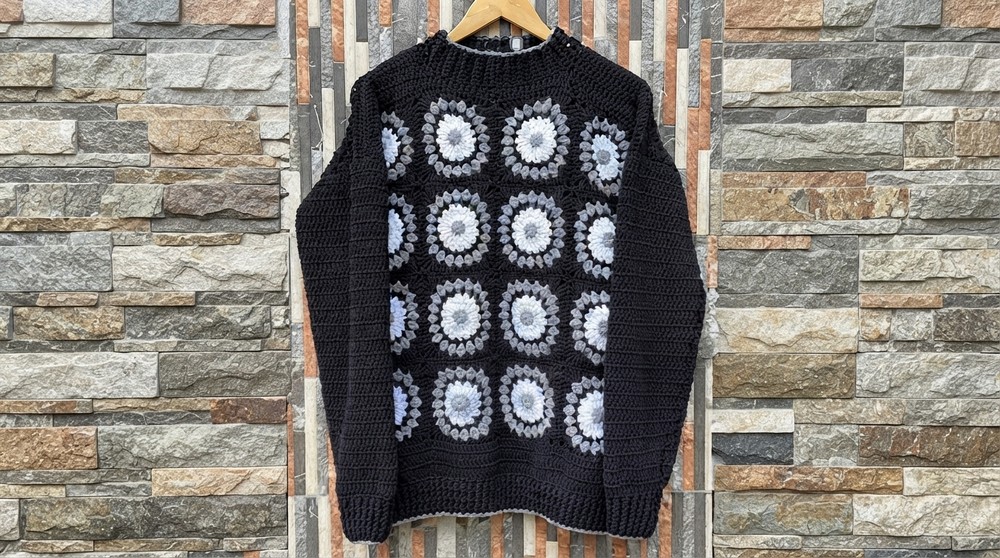
What makes this design stand out the most is its playful nature and versatile use. The square patterns allow for endless possibilities when it comes to color combinations and designs, so you can truly make the sweater your own. Whether it’s the relaxed fit, the cheerful design, or the creative freedom it gives, this sweater is more than clothing, it’s an experience in self-expression and skillful crocheting.
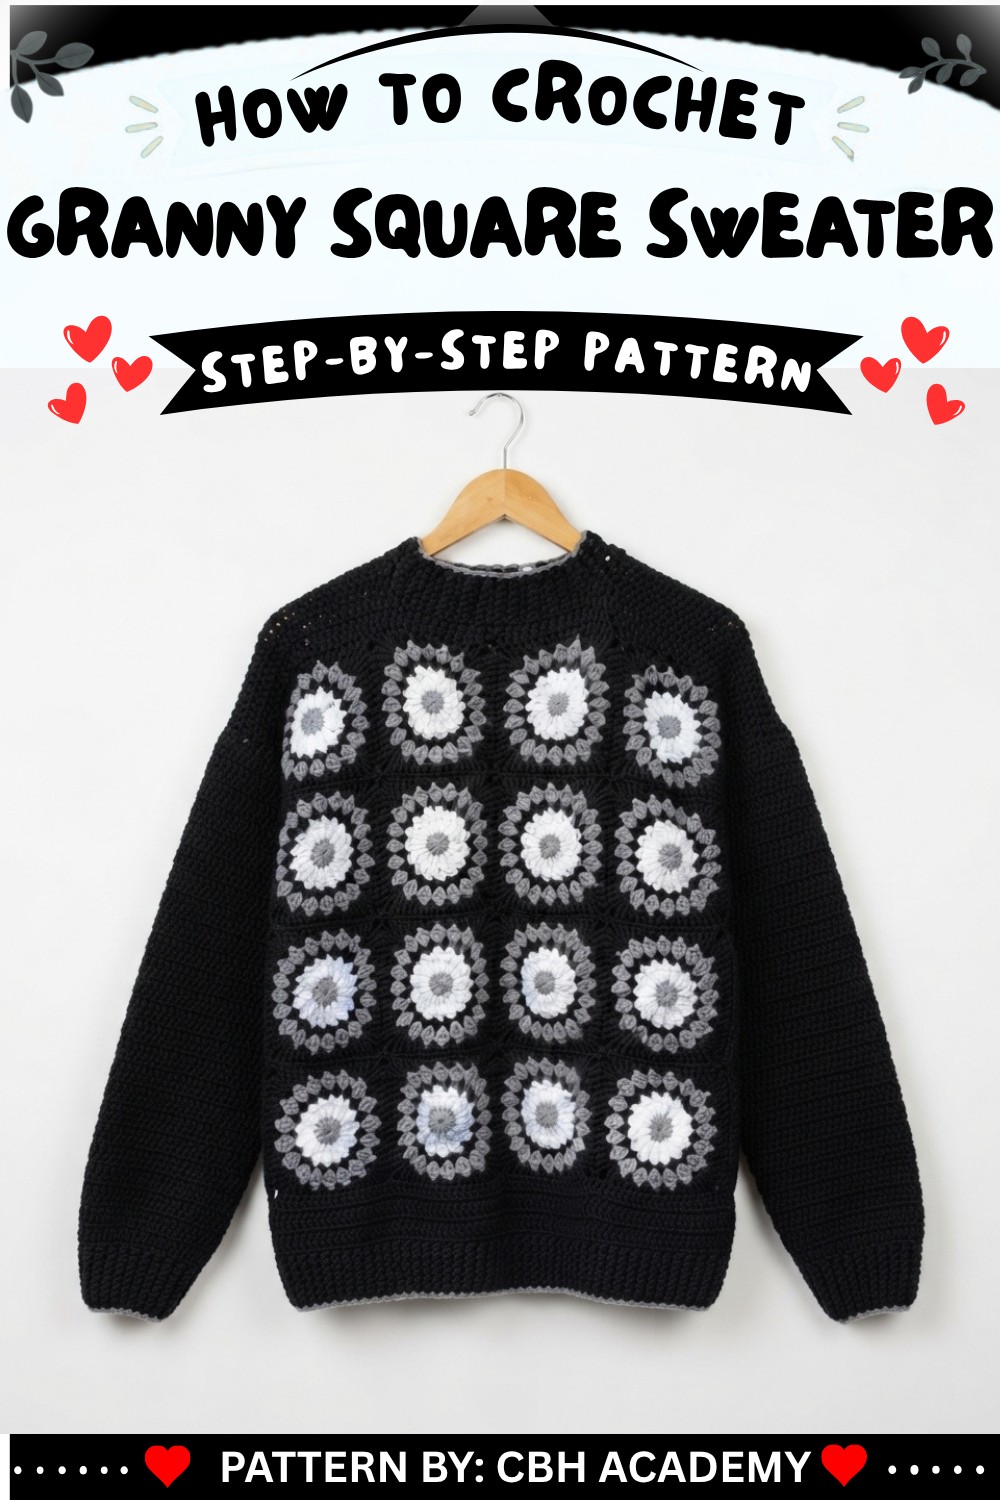
Granny Square Crochet Sweater Pattern
This crochet granny square sweater is a fun, colorful, and customizable project ideal for creating a unique wardrobe staple. It involves assembling pre-made granny squares, adding ribbing for a finished look, and following simple calculations to ensure accurate sizing. The sweater is suitable for both men and women and can be adjusted to fit various measurements.
Skill Level
Intermediate
This pattern requires knowledge of granny square creation, single crochet joining techniques, ribbing variations, and basic shaping methods. Those with experience crocheting panels and working ribbing will find it straightforward to follow, while confident beginners may need focused attention on assembly techniques.
Materials
- Yarn:
- Alize Cotton Gold or any lightweight yarn. Required quantities:
- 4 balls of a primary color
- 2 balls of white yarn
- 1 ball of accent yarn (mustard color)
- Alize Cotton Gold or any lightweight yarn. Required quantities:
- Hooks:
- 3.50mm crochet hook for creating granny squares
- 3.00mm crochet hook for joining
- Other Tools:
- Stitch markers
- Measuring tape
- Darning needle
- Scissors
Special Stitches
- Standing Double Crochet (SDC): Used at the beginning of rows to ensure a clean and seamless start.
Steps: Yarn over, insert hook into the stitch, pull up a loop, yarn over, pull through two loops, yarn over, pull through two loops again. - Front Post Double Crochet (FPDC): Worked by inserting the hook under the post of the stitch from front to back, then pulling up a loop and completing the double crochet.
- Back Post Double Crochet (BPDC): Worked by inserting the hook under the post from the back to the front, pulling up a loop, and completing the double crochet.
Stitch Abbreviations
- ch: Chain
- sl st: Slip Stitch
- sc: Single Crochet
- dc: Double Crochet
- FPDC: Front Post Double Crochet
- BPDC: Back Post Double Crochet
- inc: Increase
- dc2tog: Double Crochet Two Together
- st(s): Stitch(es)
Useful Tips
- Granny Square Size: Ensure consistent granny square size by measuring each square while crocheting. Adjust tension or hook size if squares vary in dimensions.
- Layout: Before joining squares, arrange them to ensure color patterns and placements are visually appealing.
- Blocking: Blocking your squares is highly recommended to achieve perfectly aligned panels for an elegant finish.
- Wrong-Side Joining: When joining squares, always work on the wrong side for a seamless appearance.
Pattern Instructions
Granny Square Assembly
- Planning Measurements:
For a well-fitted sweater: measure the chest circumference and divide it by 2 to calculate the width of one panel.
Example: If your chest measurement is 48 inches, dividing it by two gives 24 inches for each panel. - Square Calculations:
Determine how many squares are needed to build one panel. If your square measures 5.5 inches, divide 24 inches by 5.5 to get approximately 4 squares per row. Multiply the number of squares in a row by the number of rows required for your panel. - Adding Granny Rows:
If your squares measure slightly less than the desired width, add two granny rows to the sides of your panels to reach your calculated width.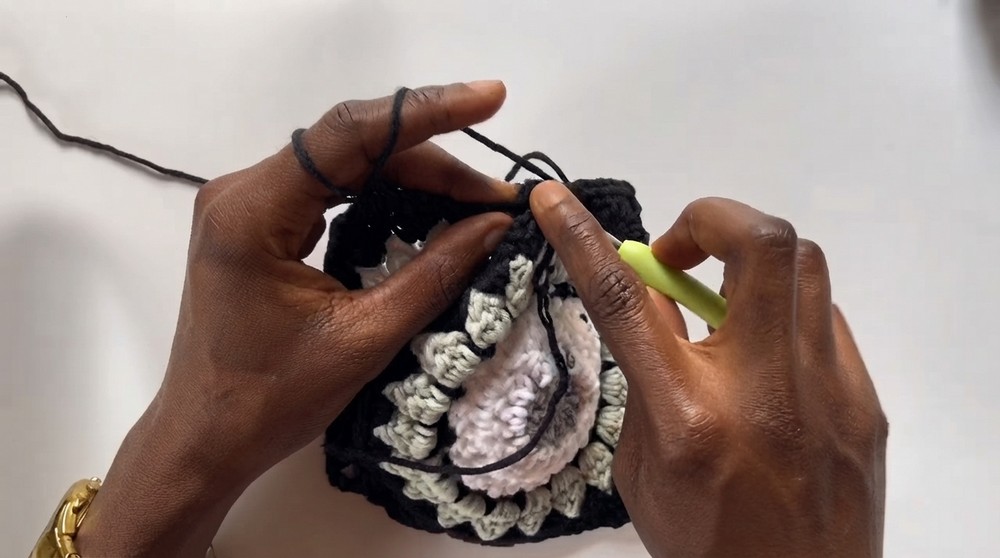
Square Joining
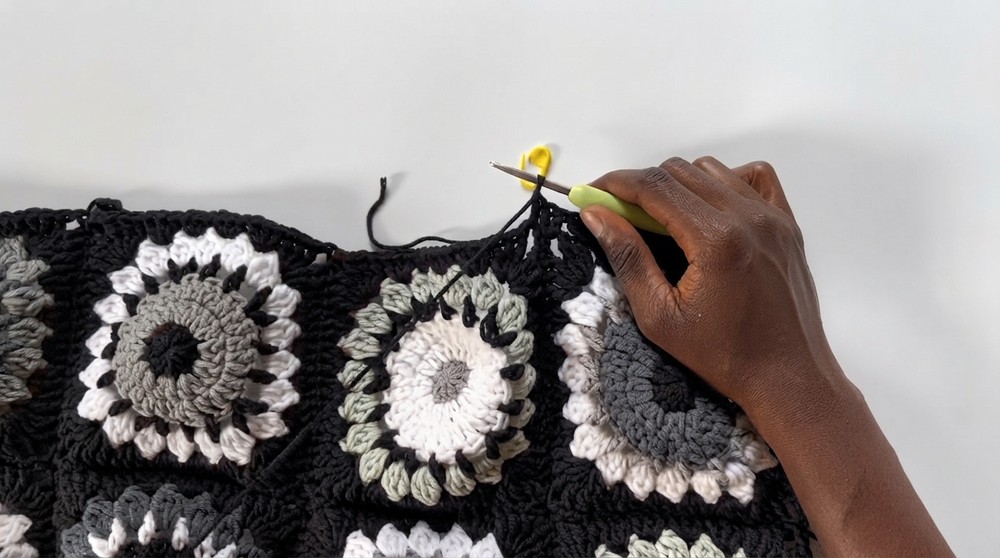
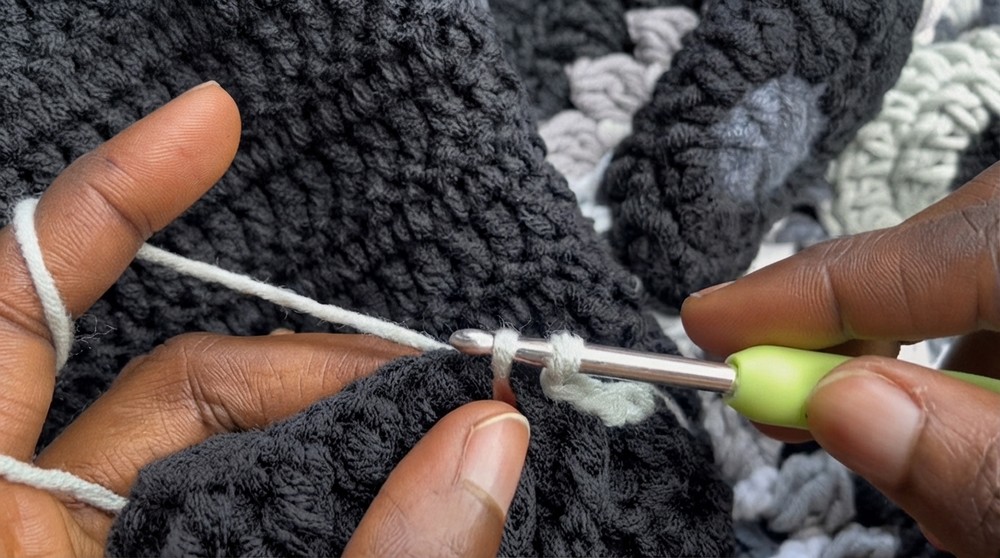
- Single Crochet Joining Method:
- Arrange your squares in the desired layout: 4×4 grid for each panel.
- Face two squares wrong-side-to-wrong-side.
- Insert your hook into the second chain of each corner from both squares. Yarn over, pull through, chain 1.
- Work single crochet (sc) in corresponding stitches on both squares, making sure the edges are aligned.
- Continue joining vertically and horizontally.
Sweater Assembly
Front and Back Panels
- Join Panels:
- Align the front and back panels, with the wrong sides facing each other.
- Join the shoulder seams using single crochet (sc) across the corresponding stitches on each panel.
- Leave a neck opening as per your calculations (e.g., an 8-inch neck hole).
- Bottom Ribbing:
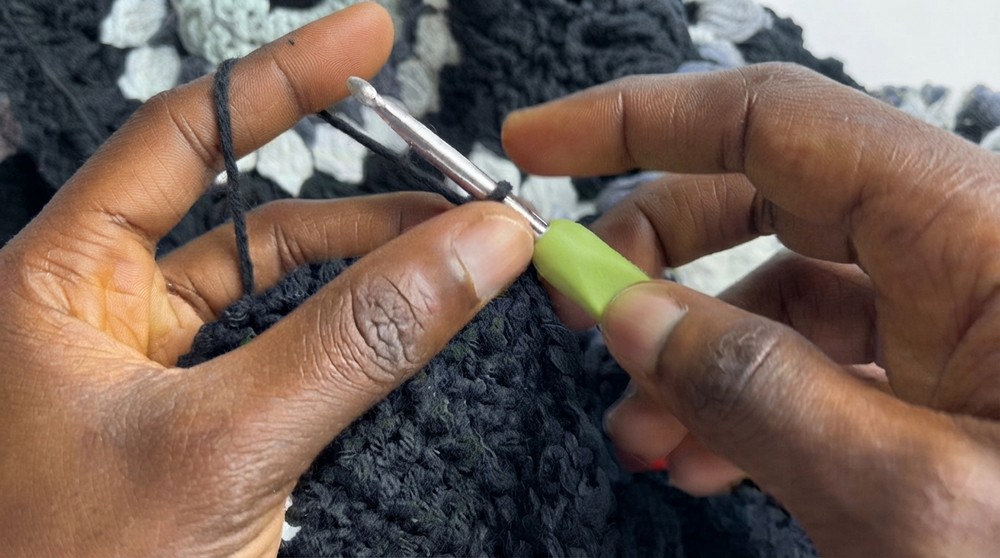
- Row 1: Attach yarn at the side of the panel and make dc into stitches along the edge.
- Row 2: Work a decrease row (e.g., 2dc tog in certain positions to reduce width).
- Rows 3–6: Alternate FPDC and BPDC to create the textured ribbing. Adjust the number of rows to match your desired depth.
Sleeves
- Sleeve Width & Length:
- To determine the sleeve width, measure 9 inches on both sides of the panel starting from the shoulder seam.
- Count the stitches within this area to ensure the sleeve matches the total body width at the seam.
- Use a stitch marker to mark corresponding points on the sweater body and sleeve.
- Subtract the excess panel measurement from the total sleeve length to account for overlap. For example, if the chest width measures 24 inches and overlaps the shoulders (21 inches shoulder width), subtract 3 inches from the sleeve length for accurate positioning.
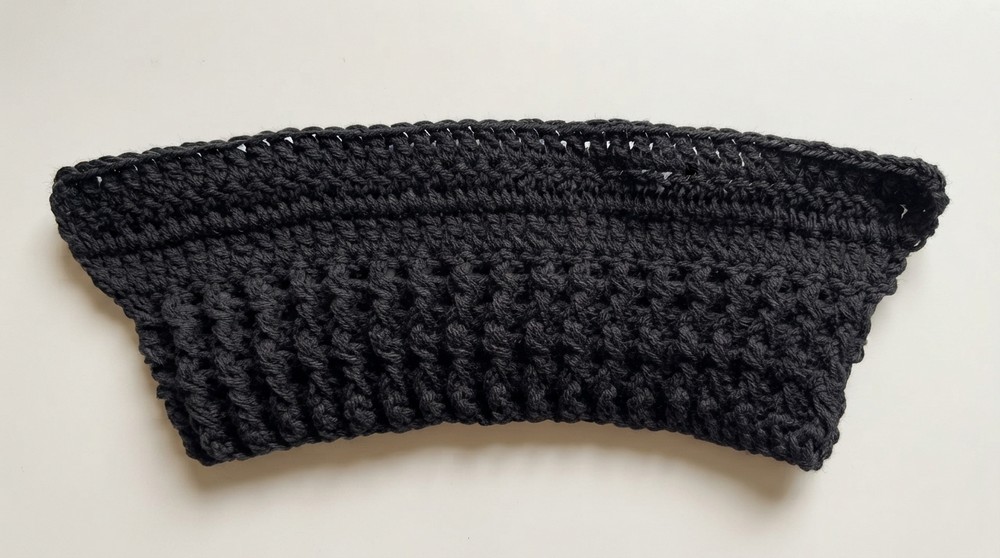
- Cuff Ribbon:
- Row 1: Chain 38 + 3 (counts as dc). Work dc in the fourth chain from the hook and into each stitch for a total of 38 dc.
- Rows 2–5: Alternate FPDC and BPDC to create ribbing.
- Building the Sleeve:
- Rows 6–8: Work dc across with increases at the start and end of each row.
- Rows 9–11: Work dc across without increases.
- Continue alternating between rows with increases (one row every four) and no increases until the sleeve width matches the measurement marked along the sweater body. Ensure the sleeve’s total length matches your calculated measurement (e.g., 22 inches).
- Joining Sleeves:
- Fold the sleeve with wrong sides facing and attach it to the marked points on the sweater body using single crochet (sc) for assembly.
- For even alignment, join the middle of the sleeve to the shoulder seam and work down to join the body and the sleeve in one seamless connection along the side seam.
Neckline Ribbing
- Foundation Row:
- Start working around the neck hole opening by attaching yarn at the back panel’s center stitch.
- Row 1: Make dc evenly spaced along the neckline. For double-crochet edges, use two dc per stitch to avoid stretching the fabric.
- Ribbing Rounds:
- Begin with alternating FPDC and BPDC stitches for texture.
- Row 2 & 3: Work decreases at the shoulder seams by making dc2tog over two front post stitches.
- Rows 4–5: Finish with plain ribbing (no decreases). Fasten off.
Conclusion
The granny square sweater is an exciting and rewarding project that highlights both creativity and precision craftsmanship. By mastering calculations for your panels, joining techniques, and adding details like ribbing, you’ll create a timeless sweater that can be customized for both men and women. Experiment with colors and layouts while enjoying the process of crocheting a functional garment.