Cute Free Crochet Mushroom Pop Pattern For Handmade Fun

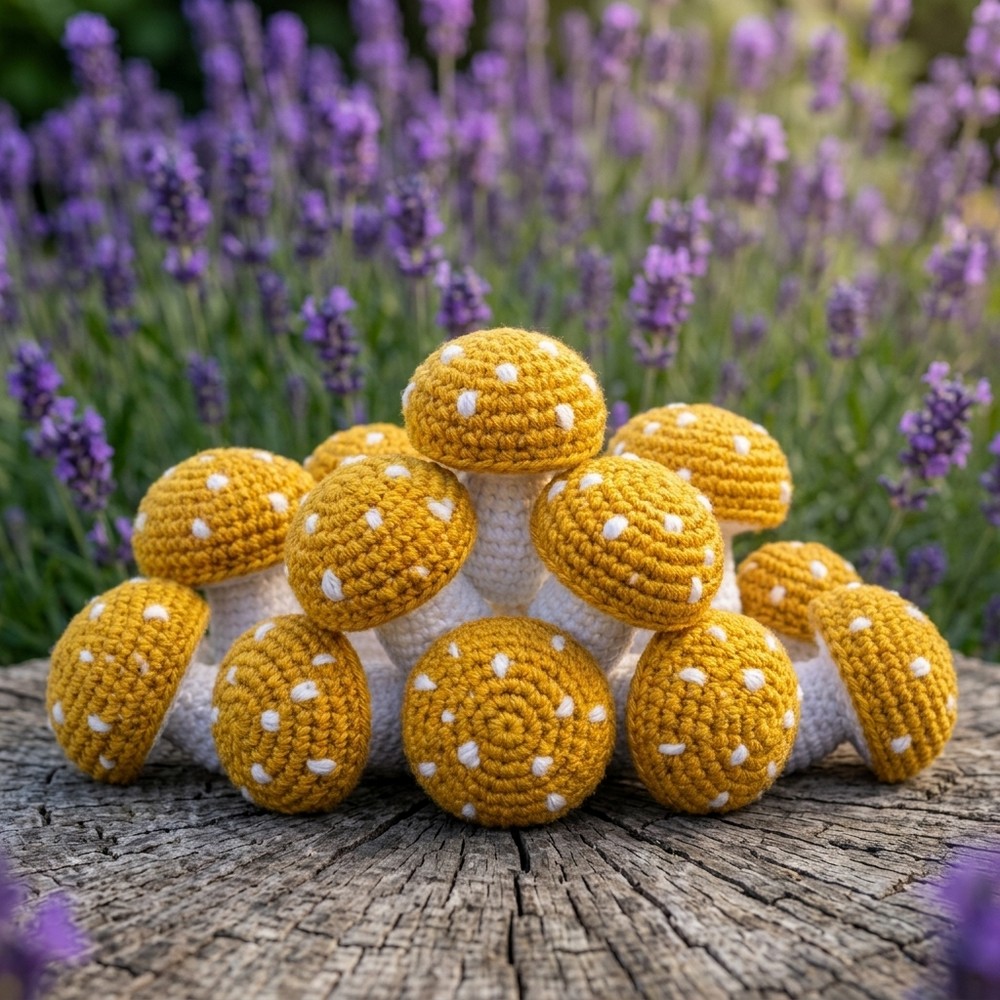
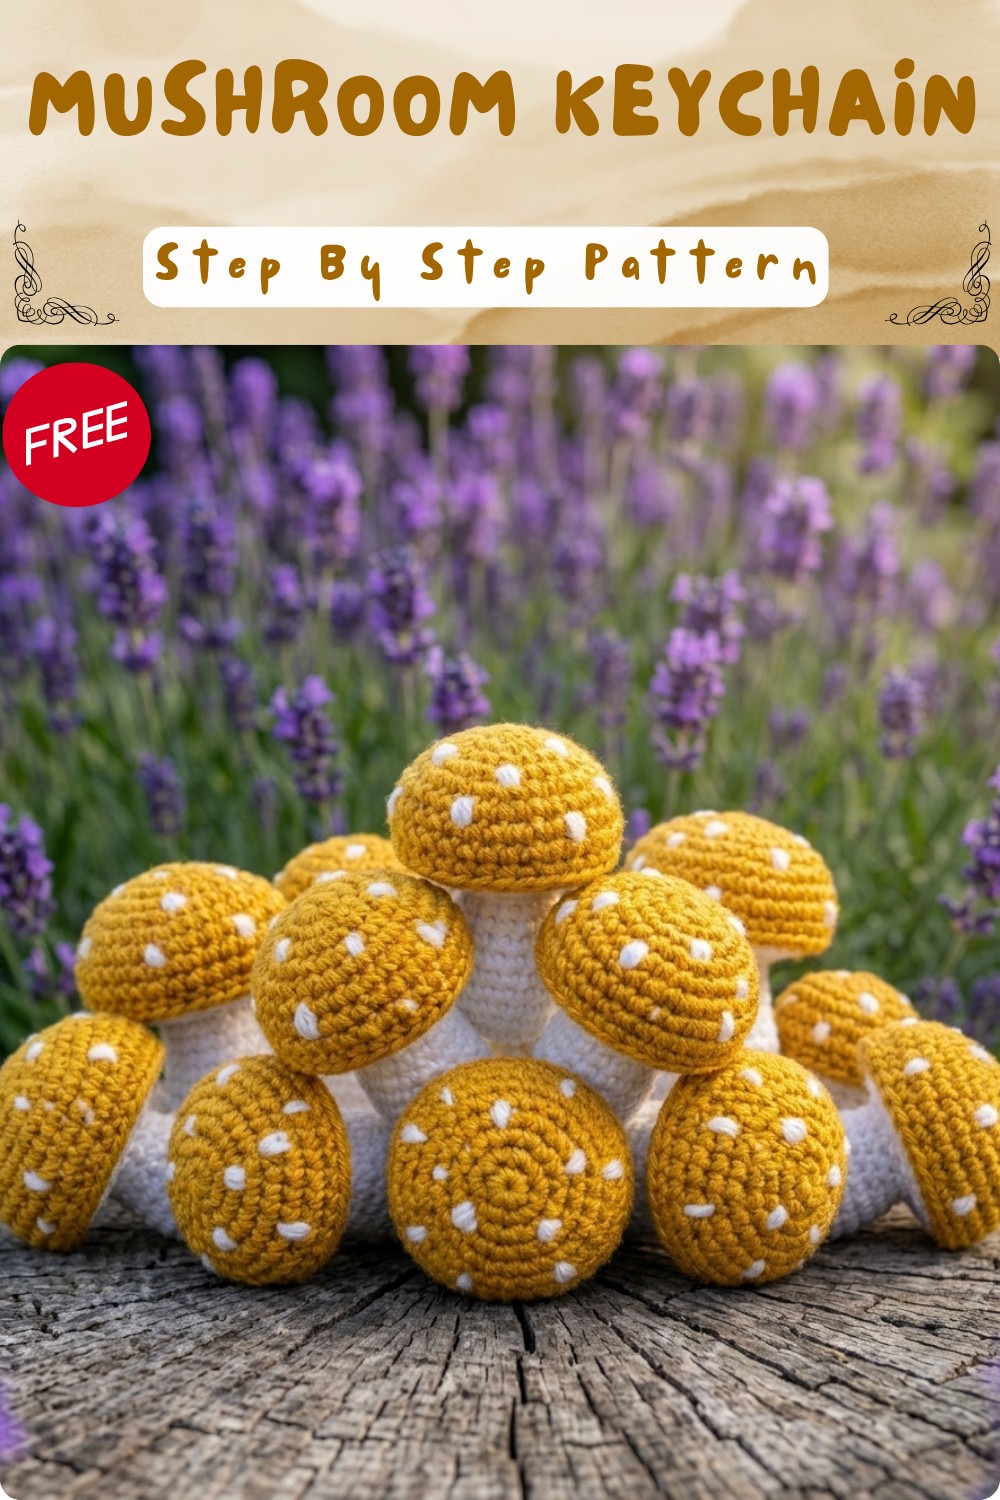
I recently made a fun little mushroom toy using a free crochet mushroom pop pattern, and it was a lot easier than I thought! This pattern helps you make a small, soft mushroom that looks cute and bright. You don’t just have to make mushrooms with small changes, you can turn this into colorful keychains, fridge magnets, or even tiny pincushions. It’s a super neat way to make things that can brighten up your room or your bag.
Crochet Mushroom Pop Free Pattern For Bag Charm
The mushroom is very charming because of its bright colors and soft shape. You can choose any colors you like mustard yellow, yellow, blue, or even mix several colors to create a rainbow mushroom. You can make it small or a bit bigger depending on the yarn and hook you use. The top of the mushroom is rounded and puffed, while the stem is straight and sturdy, which makes it stand up nicely. It feels soft and squishy because of the yarn but stays in shape thanks to careful stitching.
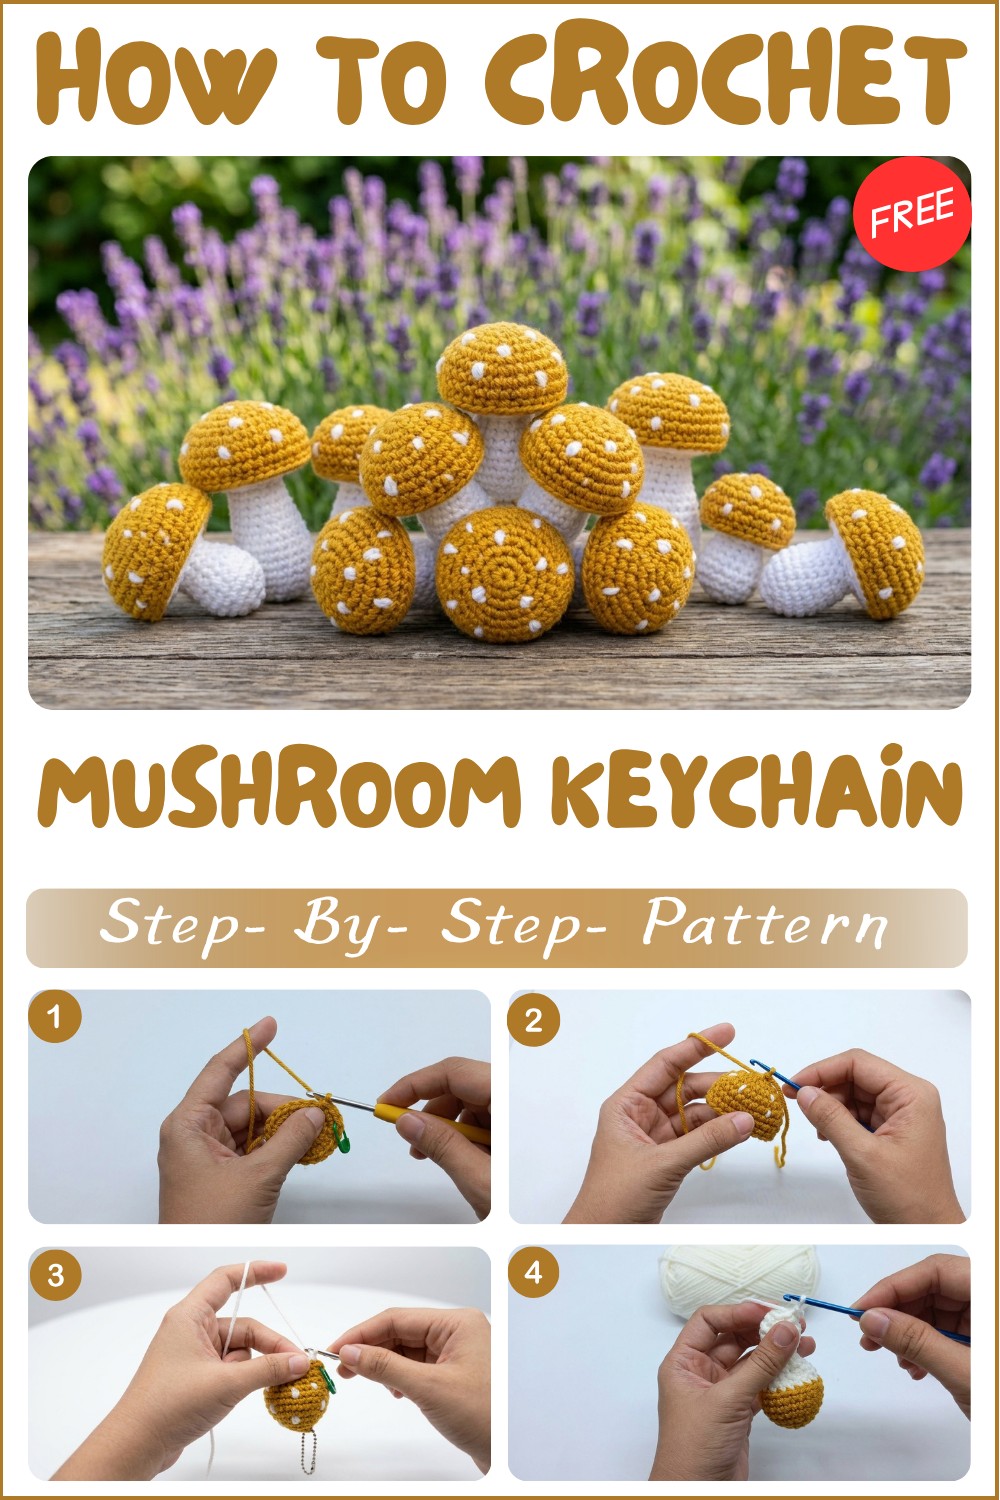
The most important stitch in this project is the single crochet stitch, which is great for beginners. It’s simple to learn and easy to work with, making this a perfect pattern if you’re new to crochet or just want a quick, fun project. You’ll also work in circles to make the round parts of the mushroom, which helps you practice different ways to crochet.
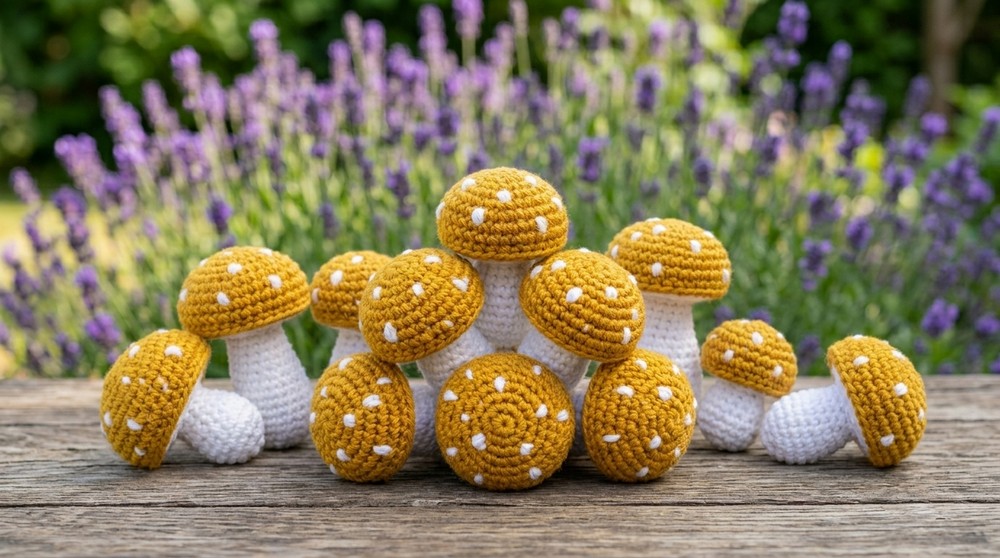
This free crochet mushroom pop pattern is great if you want a cheerful little decoration, a cute gift, or a fun toy for children. It’s small, light, and easy to carry around. If you like making colorful and simple projects, this mushroom is a perfect choice to try.
Crochet Mushroom Pop Pattern
Before You Start
- Read through the entire pattern before beginning for best results.
- Place a stitch marker at the start of each round to keep track.
- Work in continuous spirals unless otherwise specified.
- Firm stuffing makes the “pop” shape more defined.
- Familiarize yourself with amigurumi basics (magic ring, invisible decrease).
Pattern Notes
- This pattern is worked from the mushroom cap (top) down to the stem.
- Use color changes for the cap and stem as noted to create the classic mushroom look.
- “Increase” means 2 single crochets in the same stitch.
- “Decrease” means: single crochet two stitches together (invisible decrease recommended).
- Sew or embroider white dots (using scrap yarn or thread) for extra realism.
- All rounds are worked in single crochet unless indicated otherwise.
How I Made the Crochet Pattern
- Started with a magic ring and built the mushroom cap with increases.
- Changed color for the gills/stem section after shaping the cap.
- Added and stuffed the stem last, then closed seamlessly.
- Added decorative “dots” by tying on bits of white yarn.
Skill Level
Confident Beginner – Basic increases, decreases, color changes.
Finished Size
- Approx. 3”–4” (8–10 cm) tall
- Around 2” (5 cm) across the cap
Materials
- Worsted weight yarn in mustard yellow and white (or colors of your choice)
- 2.5–3.0 mm crochet hook
- Yarn needle
- Scissors
- Stitch marker
- Toy stuffing (polyester fiberfill)
- Small scraps of white yarn/thread for decorative dots
Measurements / Sizing
- Cap diameter: 5 cm / 2 in
- Overall height: 8–10 cm / 3–4 in
Gauge / Stitch Pattern
Gauge is not essential. Use a smaller hook than recommended for your yarn to create a firm, tight fabric.
Stitch Abbreviations
| Abbreviation | Meaning |
|---|---|
| ch | chain |
| sc | single crochet |
| inc | increase (2 sc in same st) |
| dec | decrease (single crochet two together) |
| st(s) | stitch(es) |
| sl st | slip stitch |
| BL | back loop only |
| MR | magic ring |
Special Stitches
- Magic Ring (MR): Form a loop, sc required number into ring, pull tail to close.
- Invisible Decrease: Insert hook into front loop of next 2 stitches, yarn over, pull through both, yarn over, pull through 2 loops on hook.
- Color Change: On the last pull-through of the last stitch in the old color, draw through the new color.
The Pattern!
Mushroom Cap (mustard yellow)
- Round 1: In mustard yellow, make MR, 6 sc in MR (6).
Place marker in first stitch.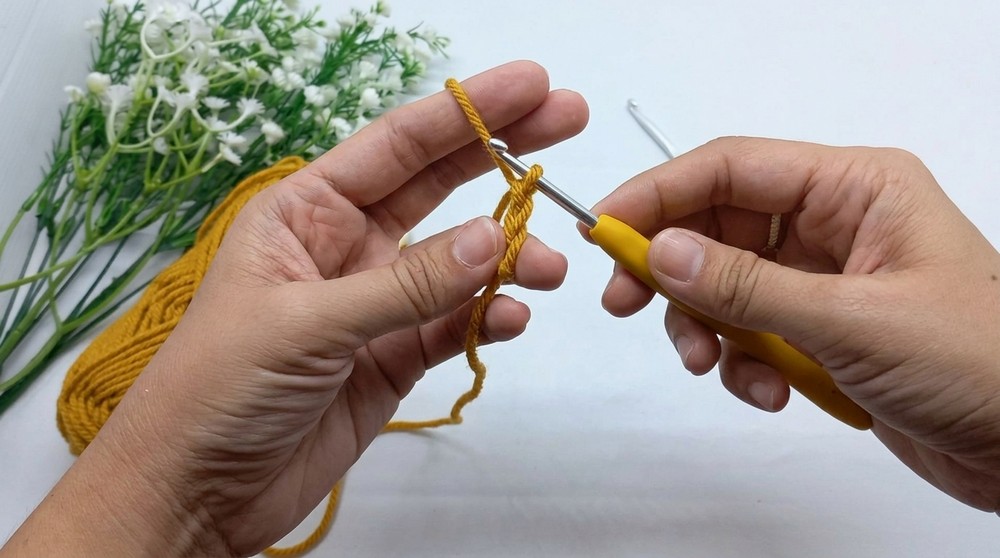
Start with a magic ring; this forms the very center of the cap.
- Round 2: 6 inc (2 sc in each st) (12).
Each stitch around doubles. You now have a neat little circle as the base of the mushroom cap.
- Round 3: (1 sc, 1 inc) repeat 6 times (18).
You’re adding a single crochet, then an increase all the way around. Your cap is starting to flatten out and grow.
- Round 4: (2 sc, 1 inc) repeat 6 times (24).
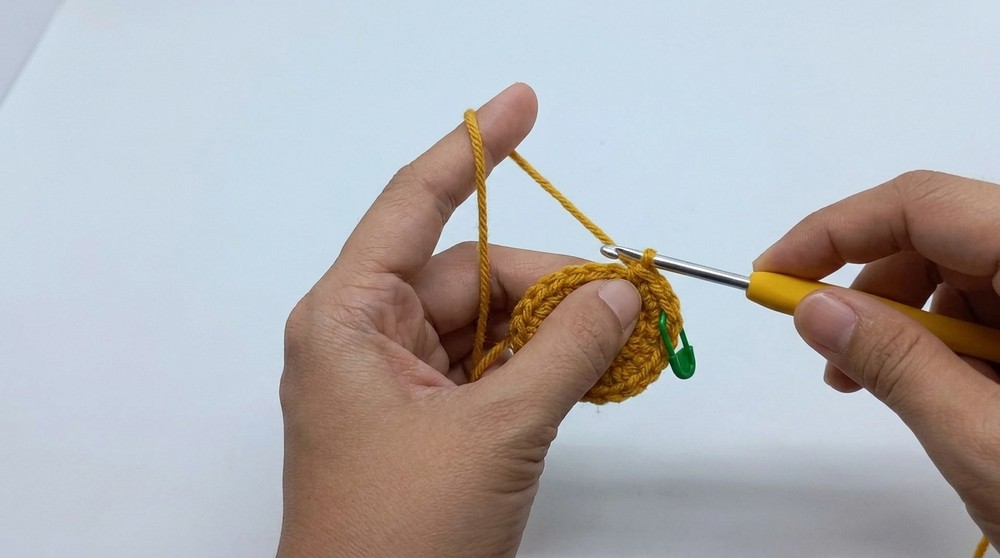
The cap continues to expand for that iconic mushroom shape.
- Round 5: (3 sc, 1 inc) repeat 6 times (30).
You’ll see your circle getting larger and the sides curving just a little.
- Round 6–7: sc in all (30) (2 rounds).
No increases or decreases. This builds the sides of the cap for some height and depth.
- Round 8: sc in all (30).
Continue straight stitching. At the end of this round, add white dots around the cap by tying short bits of white yarn and knotting securely.
Add Mushroom Dots
- Use a yarn needle to surface stitch or tie 6–8 small white yarn dots randomly on the cap.
- Secure with knots inside and trim tails.
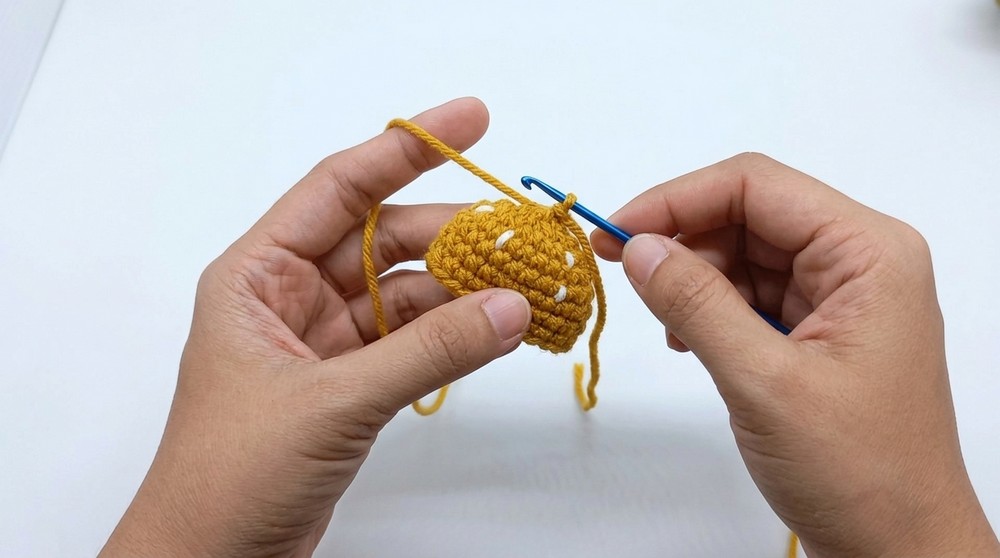
Decorative mushroom “spots” add to the realism. Dots can be added by embroidery or surface tying. Make sure they are firmly attached for safety, especially for children’s toys.
Change Color – Stem
- At the last sc of Round 8, change to white yarn (see “Special Stitches” above).
- Round 9: sc in BL of each st around (30).
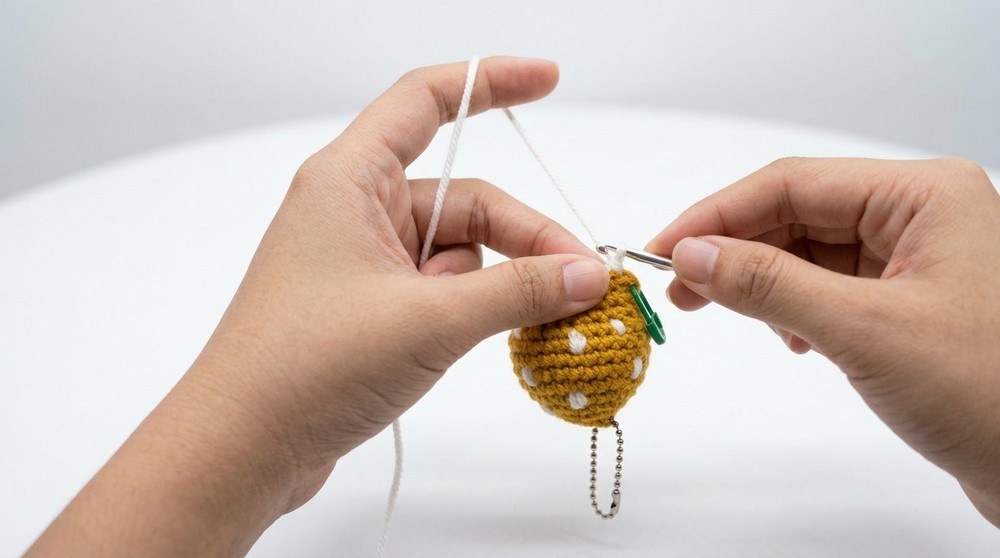
Working in the back loop only creates a ridge, which forms a neat separation between cap and stem (“gill” line).
- Round 10: (3 sc, 1 dec) repeat 6 times (24).
Now begin tapering for the stem. The piece will begin to cup downward.
- Round 11: (2 sc, 1 dec) repeat 6 times (18).
As you decrease, the mushroom starts closing. Start stuffing lightly.
- Round 12: (1 sc, 1 dec) repeat 6 times (12).
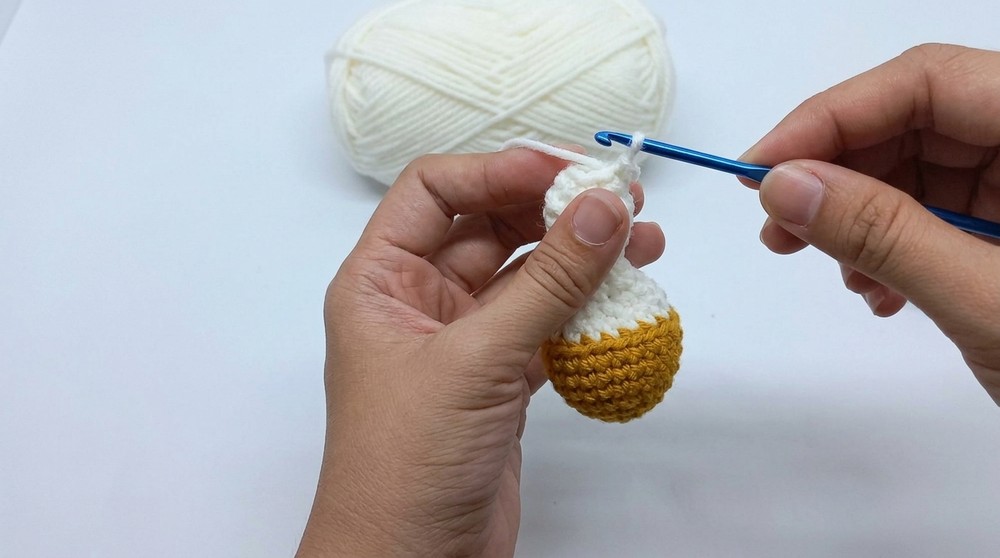
Continue stuffing. Don’t over-fill; you want the “pop” effect when pressed!
- Round 13: 6 dec (6).
- Round 14: 6 inc (12).
This closes the cap and “pops” gently out on the underside. Start the stem immediately after this.
Mushroom Stem
- Rounds 15–17: sc in all (12) (3 rounds).
Continue in white. This forms the stem/cylinder – simple and quick. Keep adding stuffing as you go for a nice sturdy handle.
- Round 18: 6 dec (6).
Stuff the stem just before the last round.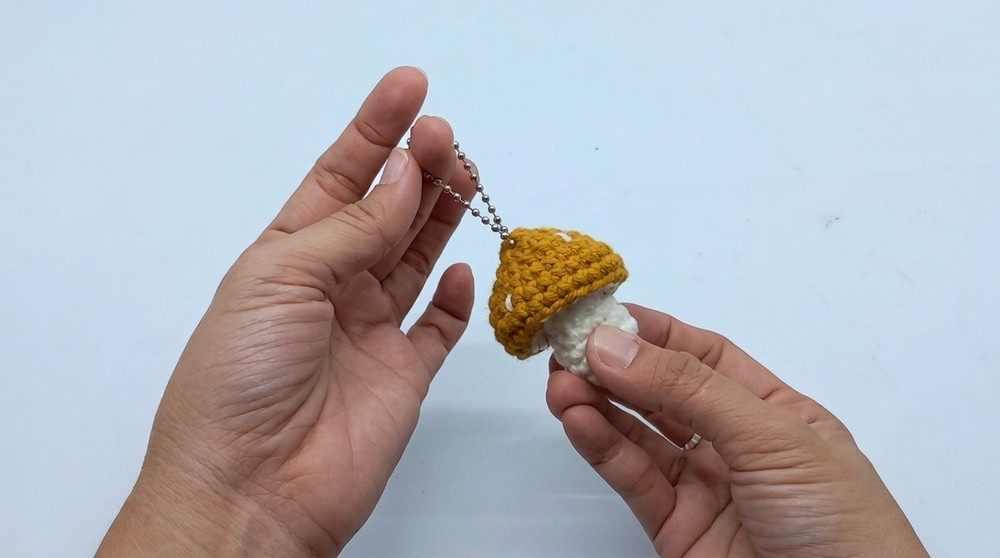
Carefully decrease to close. The mushroom stem should be firm but not stiff.
- Fasten off and thread the yarn through the last 6 sts, pull tight to close.
If You Prefer a Written Explanation
You start with a magic ring and make a mustard yellow cap using simple increases. After several rounds of single crochet, switch to white for the stem. Add white “dots” as you like, then decrease and stuff for the ‘pop’ effect. The stem is started seamlessly from the same piece, and everything is worked in a spiral.
Assembly & Finishing
- Sew and weave in all yarn ends securely.
- Tweak shape by pinching the cap and stem.
- If needed, firmly stuff the stem and base for holding strength.
- Trim all excess yarn.
What You Can Make Using These Stitches
- Other pop-shaped toys: strawberries, tomatoes, fruits, or animals
- Bag charms and keychains
- Baby-safe rattles (add a bell inside!)
- Amigurumi figures with “pop” details
- Home décor (fairy garden displays