Easy Amigurumi Crochet Octopus Keychain Pattern Your Next Project

Adding a splash of ocean fun to your day can be as simple as making a tiny sea buddy that travels with you everywhere. That’s how I discovered the free crochet octopus keychain pattern. This little creation is a cute, cuddly octopus perfect for clipping onto keys, bags, or anywhere that could use a bit of charm. With a few small changes, you can also transform it into other sea creatures or mix up the colors to create your own underwater squad.
Crochet Octopus Keychain Free Amigurumi Pattern
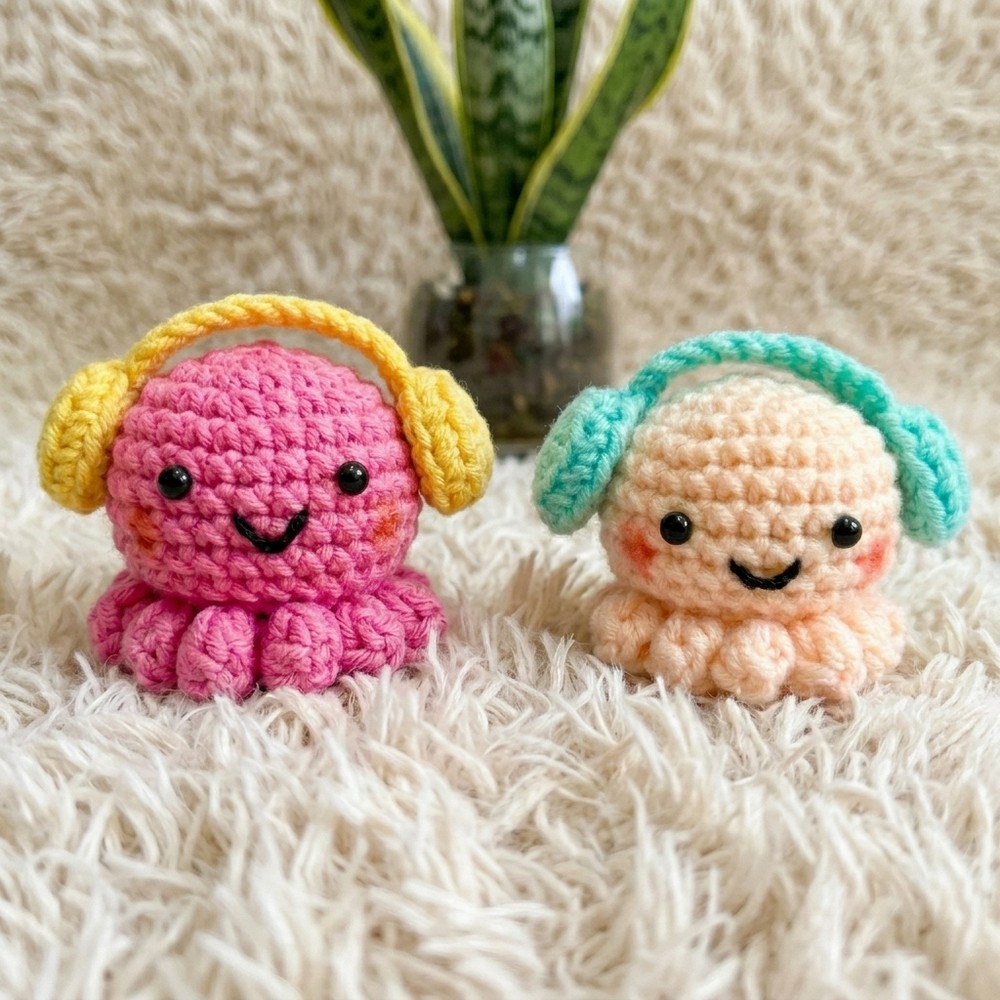
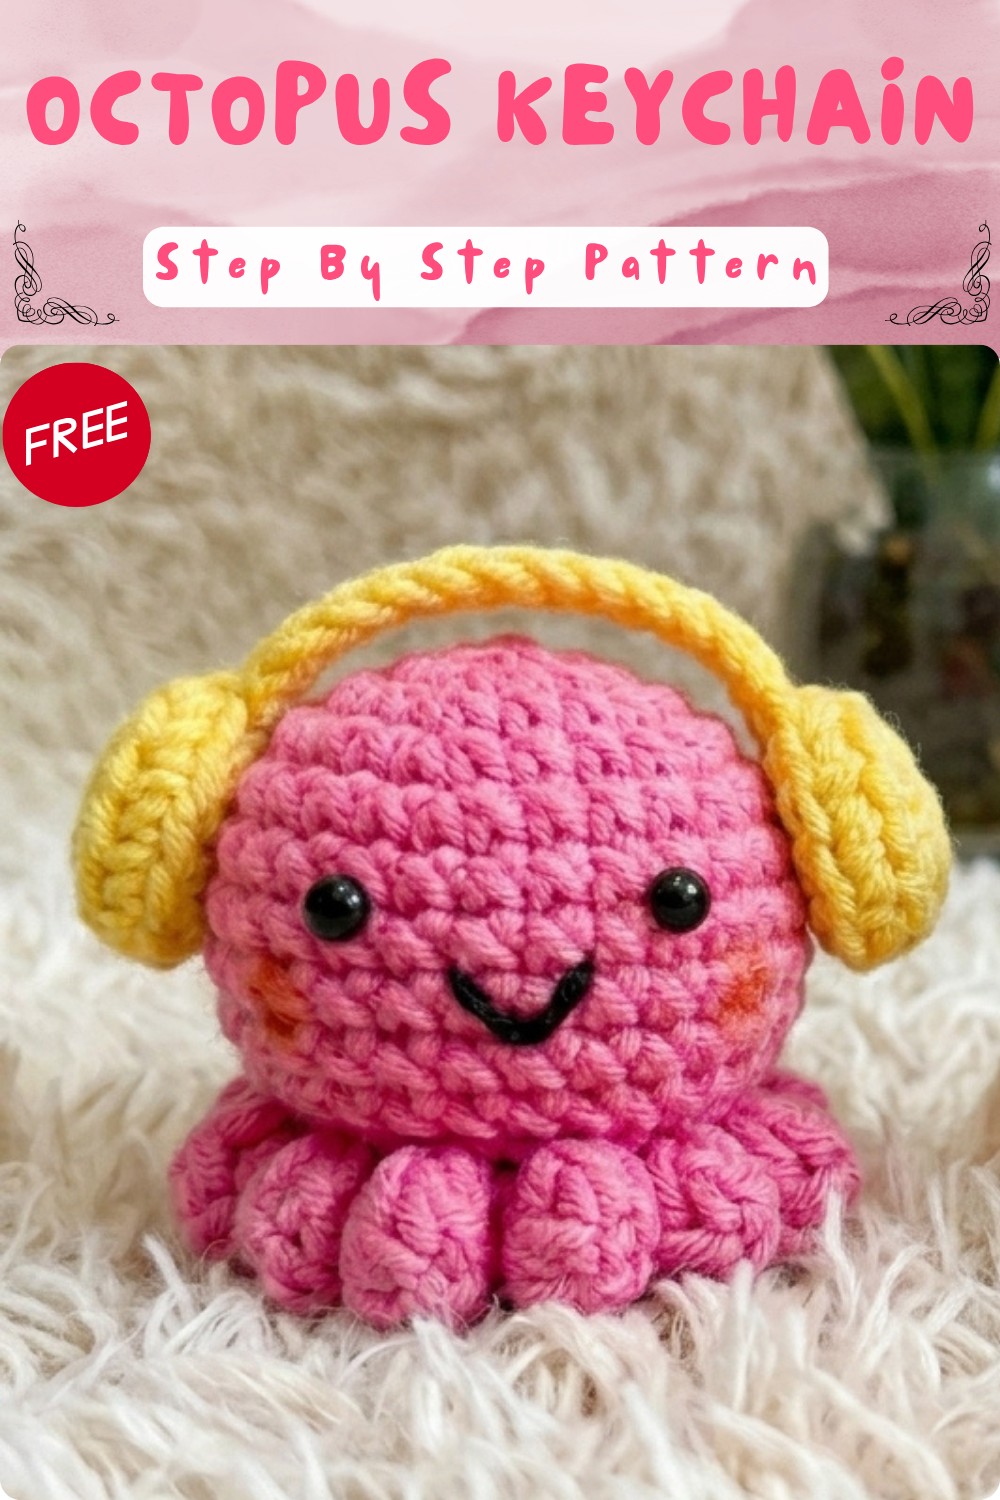
This mini octopus is absolutely adorable, featuring a round, squishy head and eight wiggly little legs that dangle just right. The texture is soft and cozy thanks to neat crochet stitches, giving off a warm, handmade vibe. Its small size makes it perfect as a keychain or bag charm, combining fun and practicality. Bright and cheerful, this octopus stands out with its playful tentacles and friendly face, bringing a burst of personality wherever it goes.
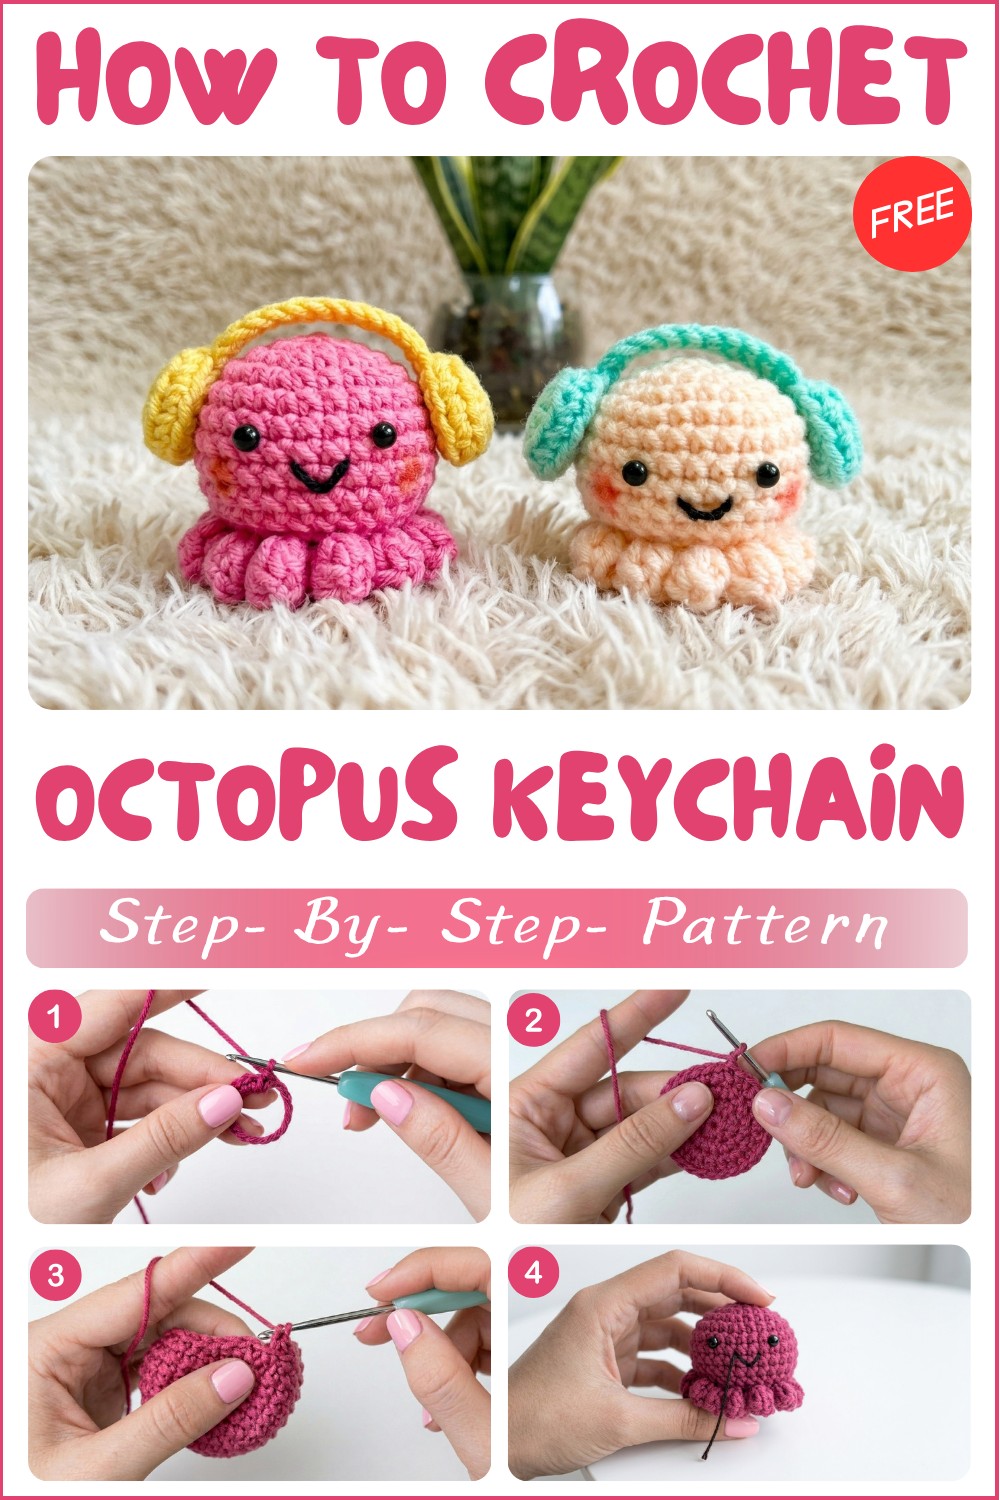
Perfect for beginners, the project mainly uses the simple single crochet stitch, which is easy to learn and comfortable to work with. Crocheting in rounds helps shape the head and legs, making it an excellent way to practice and build confidence. It’s quick to make, so your new octopus friend will be ready in no time.
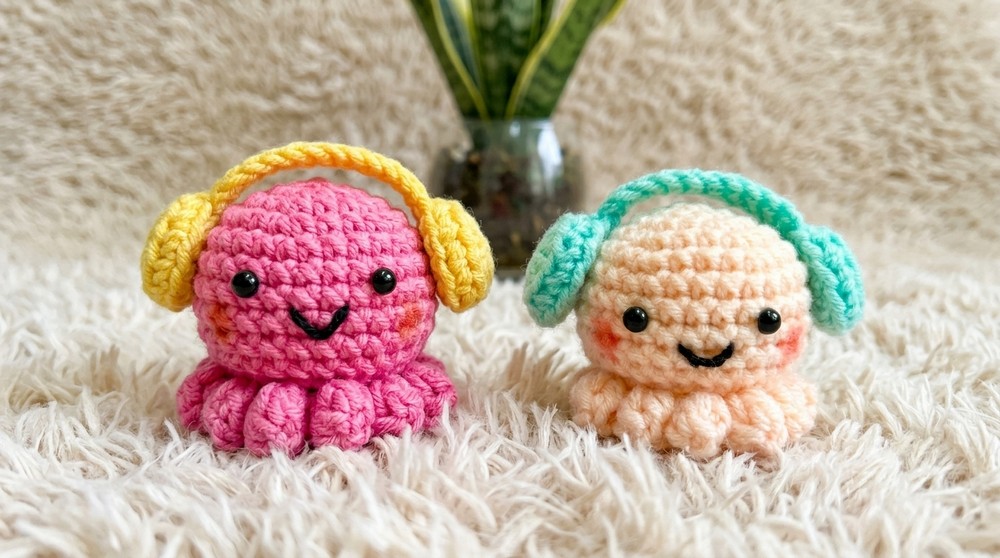
Crochet Octopus with Headphones – Step-by-Step Pattern
Before You Start
- Read the full pattern before beginning for best results.
- Work in continuous rounds unless instructed otherwise.
- Use a stitch marker to mark the beginning of each round.
- Stuff the body as you go; do not overstuff.
- Prepare all colored yarns in advance (main color, contrasting colors for headphones and details).
- Safety eyes can be glued or sewn, or you may embroider facial features.
- Basic amigurumi skills are helpful.
Pattern Notes
- Each component (body, tentacles, headphones) is crocheted separately and then assembled.
- When instructed to work in back loops only (BLO), insert the hook only into the back loop of each stitch.
- The tentacles are made using the unused front loops from a specific round.
- Finish each round with a slip stitch for a neater seam.
- The headphones are created as two small “earpads” and a band, and attached after crocheting.
How I Made the Crochet Pattern
- The body is worked in the round with standard increases to create a ball, then decreased.
- Tentacles are created using chains/double crochets attached to the leftover front loops.
- Headphones are worked in several simple pieces and assembled.
- Face is completed with glued or embroidered eyes and mouth.
Skill Level
Confident Beginner – Familiar with magic ring, increases, decreases, working in BLO, and basic assembly.
Finished Size
- Height (without headphones): 6–8 cm (2.5–3”)
- Diameter of body: 5–7 cm (approx. 2–2.75”)
- Width with headphones: 7–9 cm (approx. 3–3.5”)
Materials
- Worsted weight yarn (main color for octopus, black or colored yarn for headphones, scraps for facial features)
- 2.5–3.5 mm crochet hook
- Polyester stuffing/fiberfill
- Yarn/tapestry needle
- Scissors
- Safety eyes (or embroidery floss)
- Fabric glue/hot glue (for assembling headphones or gluing eyes)
- Stitch marker
Measurements / Sizing
- Body ball: 5–7 cm diameter
- Tentacles: ~3 cm long each when curled
- Headphones: Each earpad ~2 cm diameter, band ~6 cm long
Gauge / Stitch Pattern
Gauge is not critical; stitches should be tight so stuffing does not show.
Example:
10 sc x 10 rows = 4 x 4 cm (1.6” x 1.6”)
Stitch Abbreviations
| Abbreviation | Meaning |
|---|---|
| ch | chain |
| sc | single crochet |
| dc | double crochet |
| hdc | half double crochet |
| inc | increase (2 sc in the same stitch) |
| dec | decrease (sc 2 together, invisible) |
| sl st | slip stitch |
| MR | magic ring |
| BLO | back loop only |
| st(s) | stitch(es) |
Special Stitches
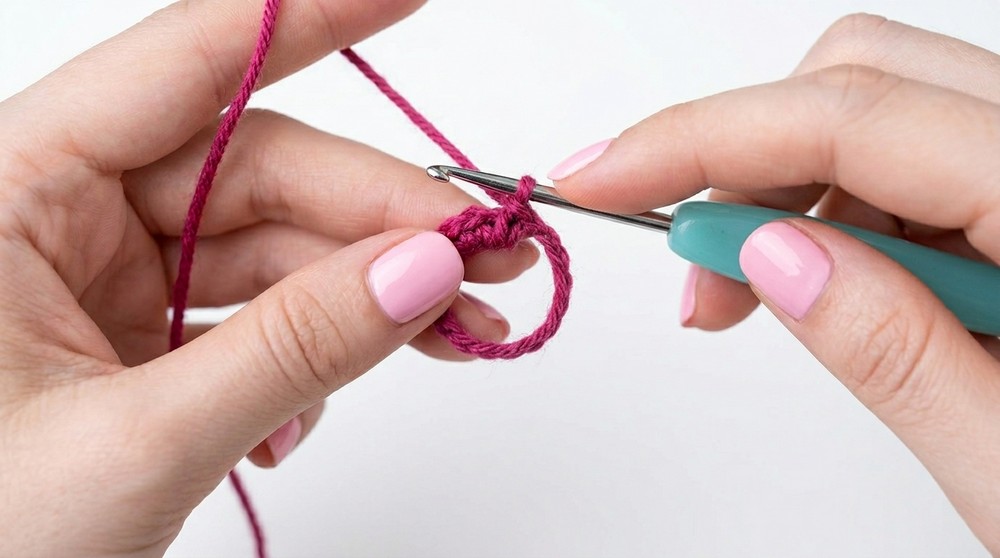
- Magic Ring (MR): Make a circle with yarn, crochet into the loop, then pull to close.
- Invisible Decrease: Insert hook in front loops of next 2 sts, yarn over, pull through 2 loops, yarn over, pull through last 2 loops.
- Tentacle Attachment: Tentacles are made with chains and double crochets into front loops from an earlier round.
The Pattern!
BODY
- Rnd 1: MR, 6 sc. Join with sl st.
- Rnd 2: Ch 1, inc in each st around (12). Join with sl st.
- Rnd 3: Ch 1, sc, inc x6 (18). Join with sl st.
- Rnd 4: Ch 1, sc in next 2 sts, inc x6 (24). Join with sl st.
- Rnd 5: Ch 1, sc in next 3 sts, inc x6 (30). Join with sl st.
- Rnd 6: Ch 1, sc in each st around (30). Join with sl st.
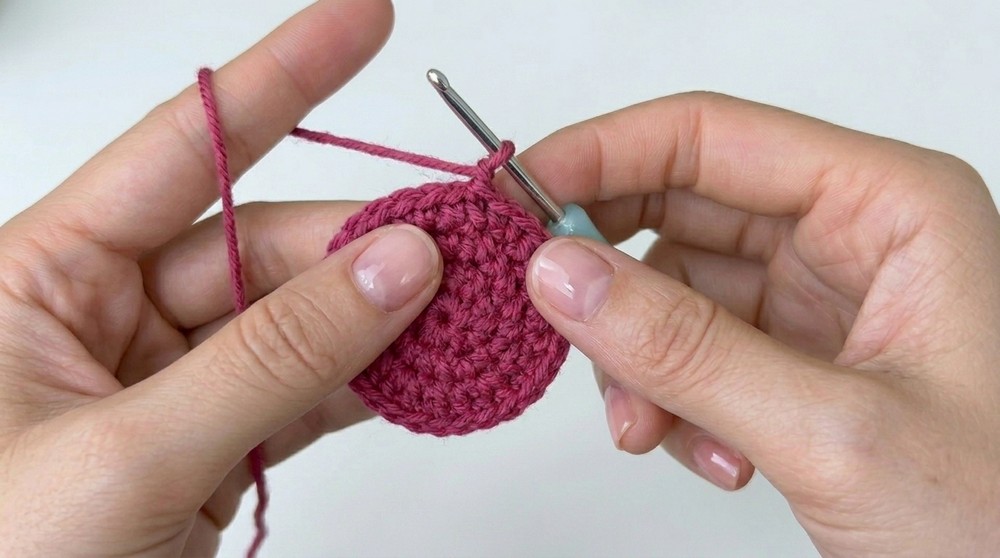
- Rnds 7–10: Repeat previous round (30 sc in each round). Join with sl st.
- Rnd 11: Ch 1, sc in next 3 sts, dec x6 (24). Join with sl st.
- Rnd 12 (Tentacle Foundation – BLO): Ch 1, sc in BLO of next 2 sts, dec in BLO x6 (18). Join with sl st.
Start stuffing the octopus at this point. - Rnd 13: Ch 1, sc, dec x6 (12). Join with sl st. Finish stuffing well.
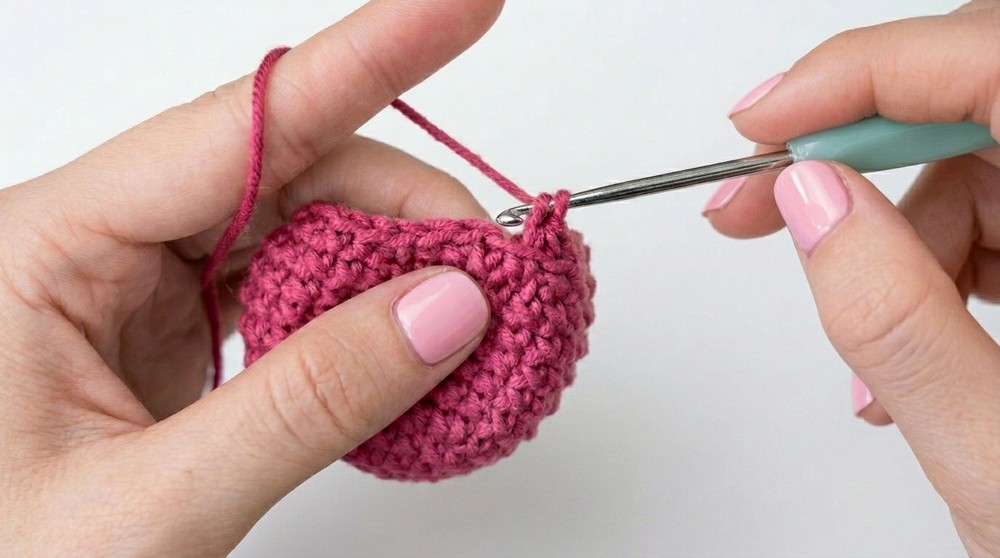
- Finish: Fasten off, use the tail and a needle to sew through the front loops of each remaining stitch, pull tight to close. Secure and weave in.
Body should be a round, firm ball with one row (Rnd 12) that leaves visible front loops for tentacles.
TENTACLES
Use the exposed front loops from BODY Rnd 12, join yarn as needed.
- For each tentacle (repeat 12 times):
- Insert hook into next front loop, pull up a loop and ch 3.
- In the next st, make 3 dc into same front loop.
- Remove hook from loop, insert into chain next to original ch-3, pull live loop through to anchor curl.
- Ch 3, sl st into next front loop to secure.
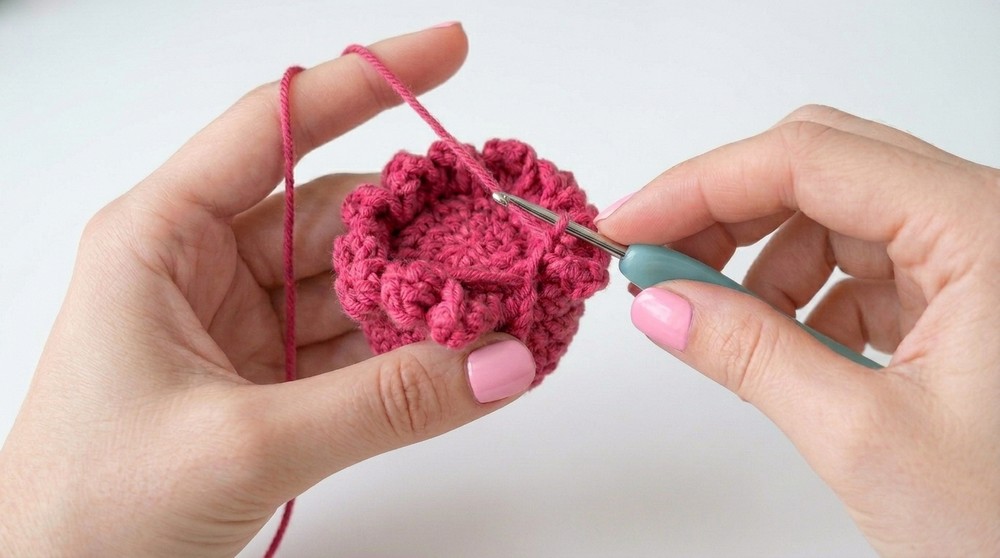
- Repeat pattern for a total of 12 tentacles around base.
If you don’t read patterns: Chain 3, 3 dc in the base, pull curl through itself to anchor, then skip to next tentacle. Your octopus will have a beautiful full “skirt” of tentacles.
FACE
- Glue or sew eyes between Rnds 7 and 8, approx. 5 sts apart.
- Embroider a small mouth on Rnd 8.
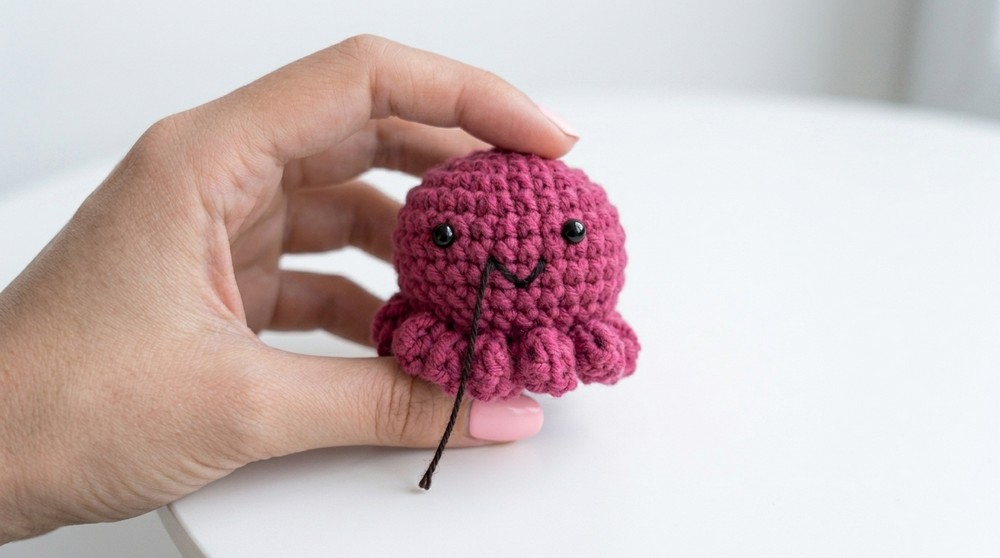
This step gives the octopus its sweet personality!
HEADPHONES (Make 2 Earpads + 1 Band)
Earpads (Make 2)
- Rnd 1: MR, ch 2, 12 hdc in ring. Pull tight, join with sl st. (12)
- Rnd 2: Ch 1, sc in BLO in each st around (12). Join with sl st.
- Rnd 3: Ch 1, sc in BLO in each st around (12). Join with sl st.
- Fasten off leaving a long tail for sewing.
Flatten and lightly stuff if desired.
Headband
- Ch 12.
- Sc in 2nd ch from hook and each across (11).
- Ch 1, fasten off.
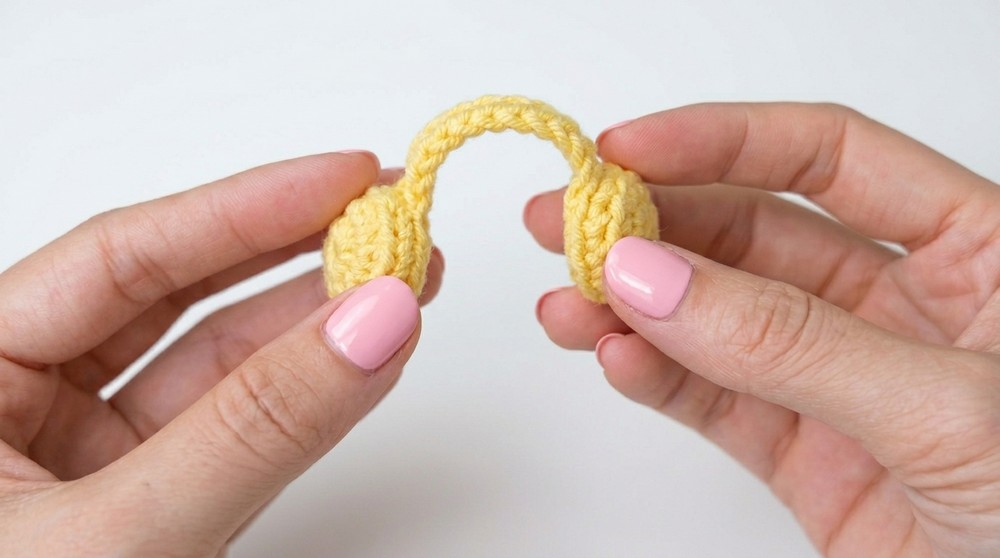
You now have two pads and a thin strip for the band.
Assembly & Finishing
- Use tails/glue to attach headphones:
- Sew or glue one earpad to each side of the head, level with the face.
- Shape headband gently into an arc and glue/sew ends behind each earpad.
- Weave in all yarn ends securely.
- Double-check tentacles are evenly spaced and shaped.
- Check face symmetry and reseat any applique/glued items as needed.
What You Can Make Using These Stitches
- Plush sea creatures (squid, jellyfish, etc.)
- Keychain charms, bag attachments
- Amigurumi faces and accessories (like hats, scarves, earmuffs, etc.)
- Cartoon or fantasy creatures for gifts