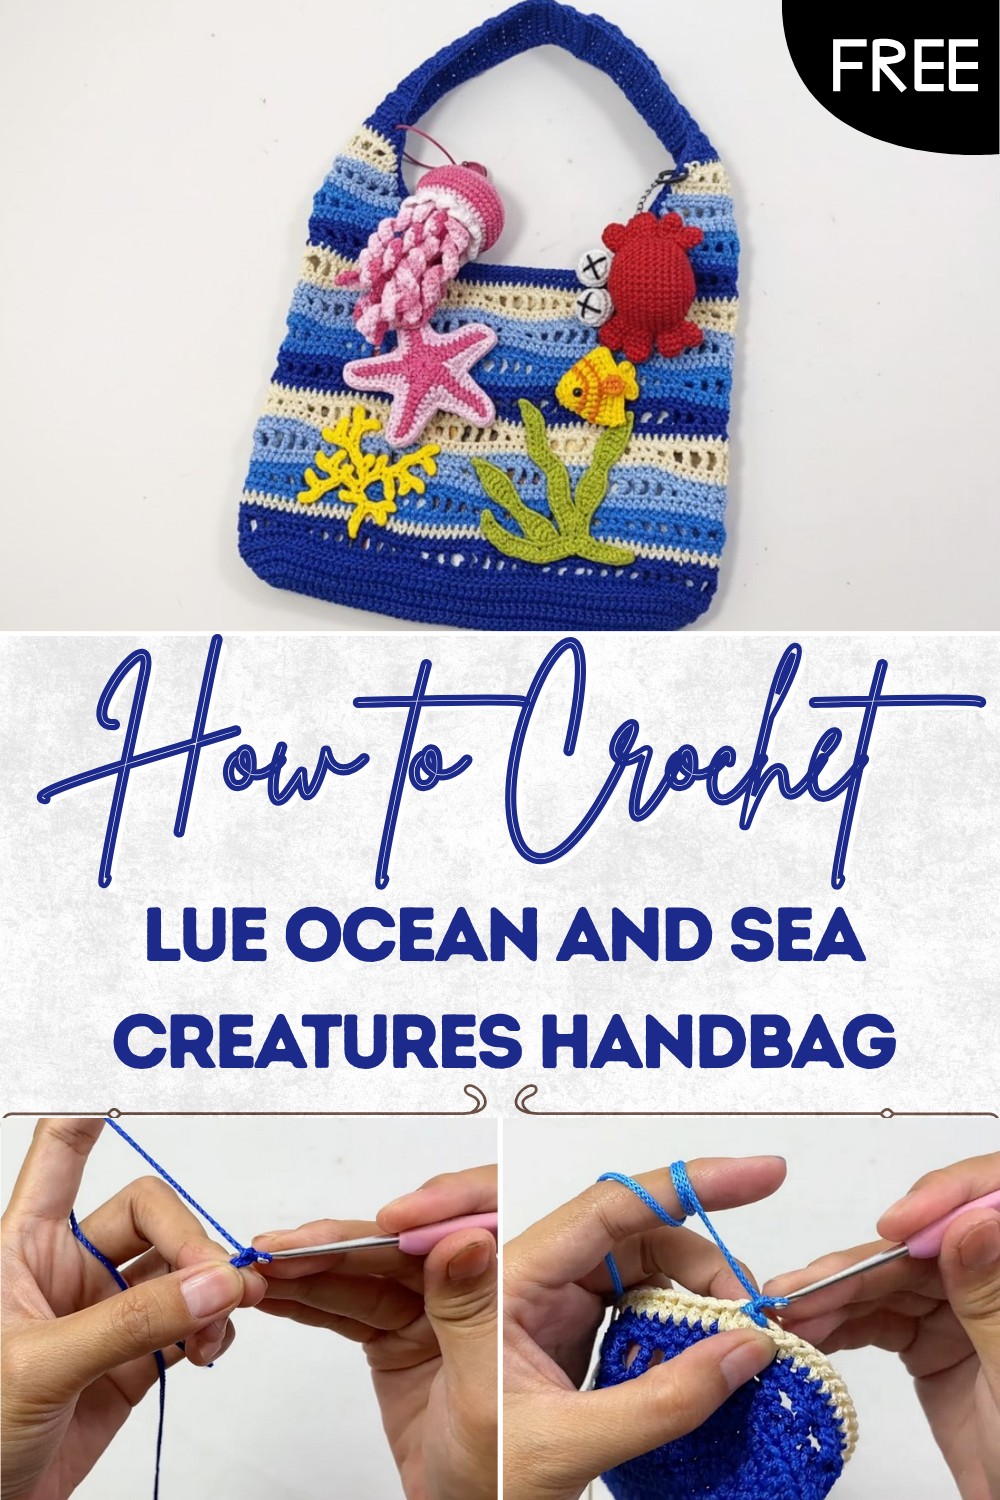
Free Crochet Pattern for Ocean & Sea Creatures Handbag
Sprinkle charm into your day with free crochet ocean & sea creatures handbag pattern that brings ocean smiles wherever you go for all ages.
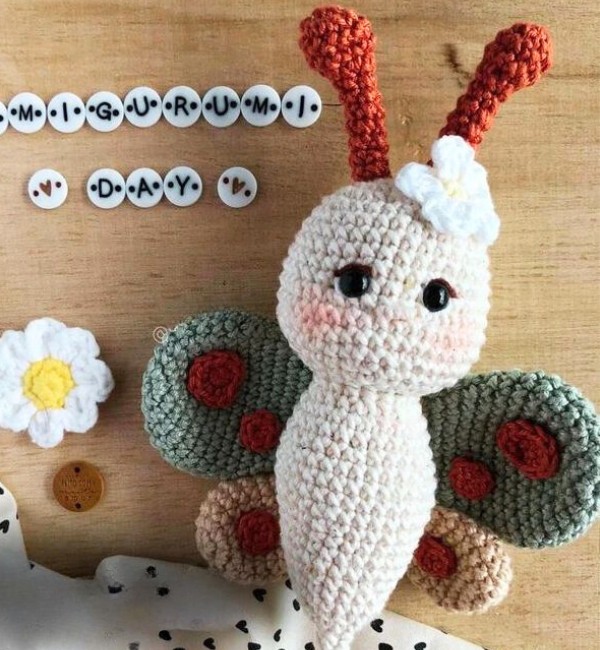
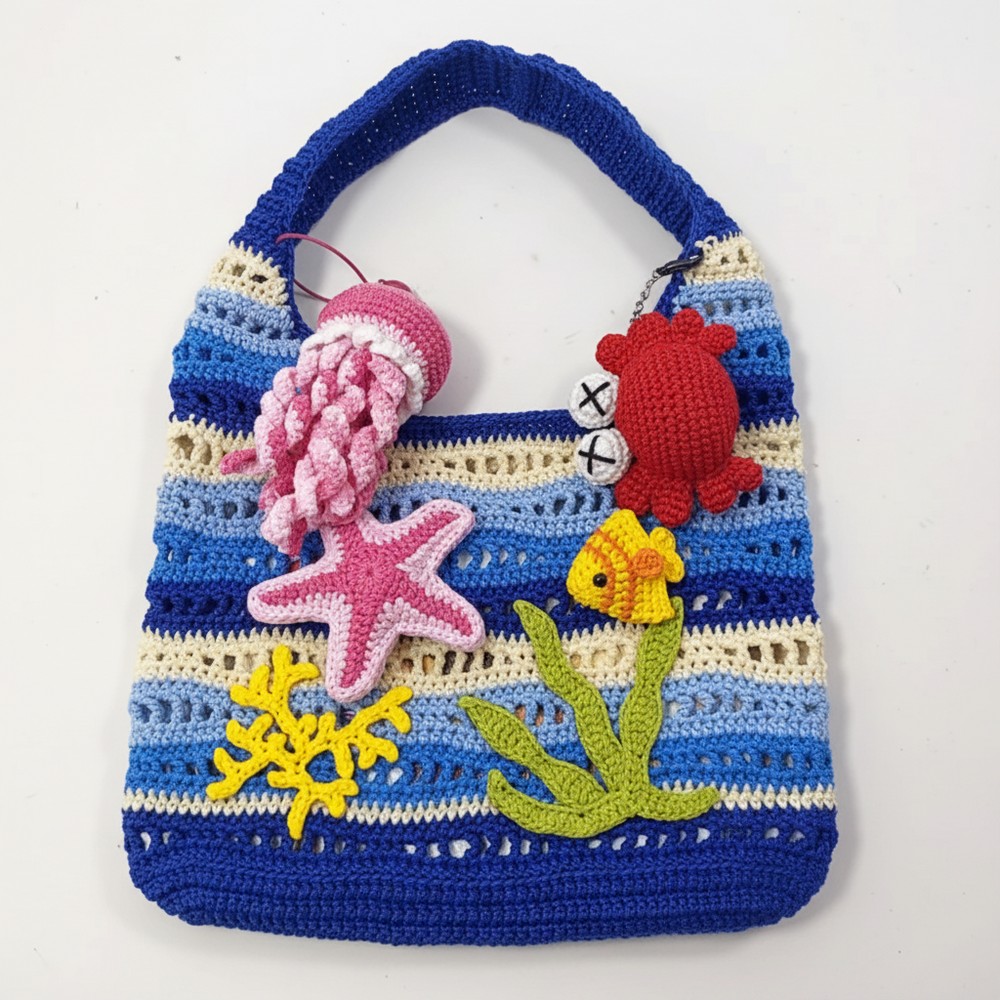
Smiling fish and sweet turtles decorate a bag that stands out in any crowd and brings happiness to all who see it. The crochet ocean & sea creatures handbag pattern fills each bag with playful shapes and bright colors that remind people of beautiful days by the sea. With this special pattern, the handbag becomes strong enough for daily use and gentle enough for small hands to carry. It’s perfect for holding snacks, little toys, or favorite keepsakes, making it useful for school, trips, or visits with friends.
Free Ocean & Sea Inspired Crochet Handbag Pattern
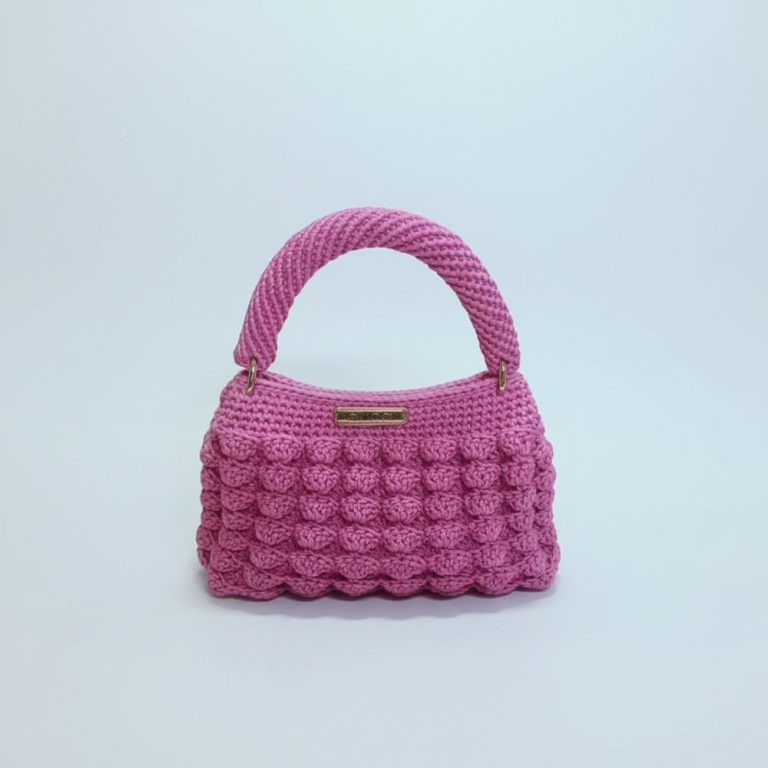
Strong straps, easy-to-open space, and careful details on every part help these bags last a long time, even with lots of use. Its main specialty is how every ocean creature shines with its own charm, so the bag never looks boring. Using the pattern is simple thanks to clear steps, which help anyone—even someone new—finish a beautiful bag. Every time someone carries this handbag, it shares a bit of the ocean’s beauty and shows off a one-of-a-kind style.
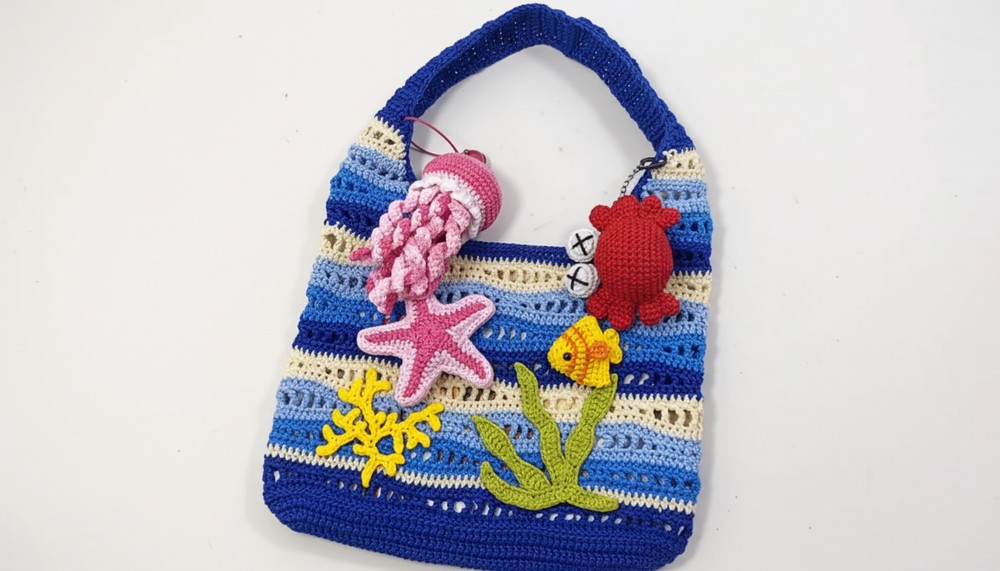
Free Pattern Colorful Stripe Crochet Bag
Materials
- Yarn: Four colors of 2 mm yarn
- 1 full roll of main color
- ½ roll of each secondary color (suggest cream white and three harmonizing shades)
- Crochet Hook: 4/0 (2.5 mm)
- Tapestry Needle: For assembly and weaving in ends
- Scissors
- Stitch Markers: Highly recommended
- Measuring Tape: For accuracy
Abbreviations (US Terms)
- ch = chain
- st = stitch
- sc = single crochet
- hdc = half double crochet
- dc = double crochet
- tr = treble crochet
- sl st = slip stitch
- inc = increase (two stitches in one)
- dec = decrease
Special Notes
- Finished dimensions: approx. 28 cm wide x 22–23 cm high (excluding handle)
- Stitch multiples: Pattern is a multiple of 16; adjust size by adding/removing chains in multiples of 8 per side
- Structure: Oval base leads into a wavy/flower pattern body, alternating stripes for color effect
- Decorations: Not included—see other tutorials for sea creatures, flowers, or other embellishments
- Gauge: Not critical; focus on maintaining stitch counts for symmetry
Instructions
1. Base (Oval Bottom)
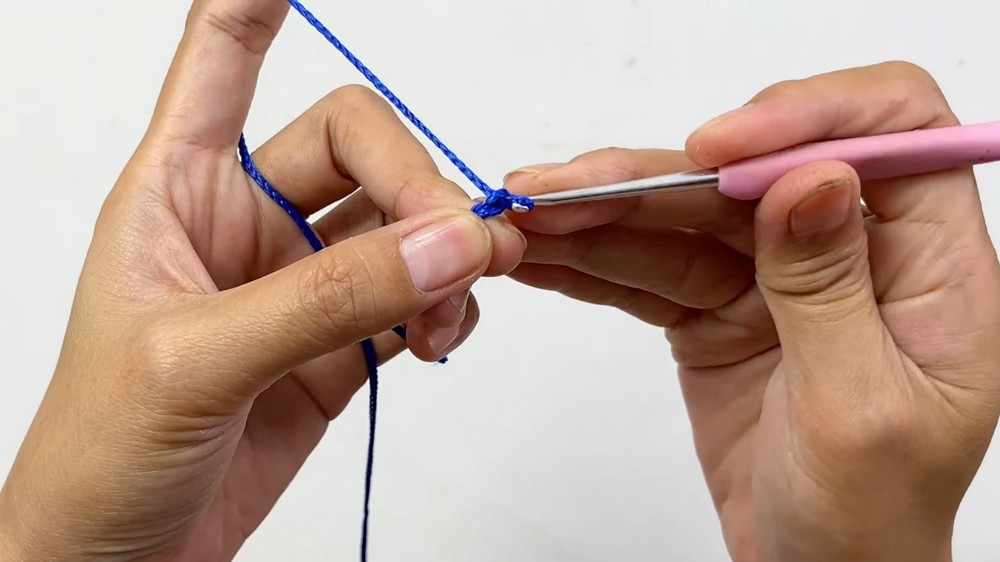
Foundation:
- With main color, ch 51 (48 base + 3 turning chains).
Row 1:
- Skip the first 4 chs from hook.
- Sc in next 46 ch.
- In last ch, 6 sc (to turn base).
- On the opposite side of foundation chain, sc in next 46 ch.
- Join with sl st to first st.
Row 2:
- Ch 3 (counts as st).
- Sc in 46 sts, then 2 sc in each of next 6 sts (for curvature).
- Sc in next 46 sts.
- At other end, 2 sc in each of 6 sts.
- Join with sl st.
Row 3:
- Ch 3.
- Sc in 46 sts.
- [Sc in next st, 2 sc in next st] repeat 6 times around corner.
- Sc in next 46 sts.
- Repeat increases on other end as above.
- Join with sl st.
Tip: Expand base by working more rounds in same manner, always increasing at curve ends.
2. Bag Body Transition (Optional Ridge Row)
- Join new color if desired.
- Hdc in BLO (back loop only) in each st around. Do not increase.
- Join with sl st.
- This creates a defined edge between base and body.
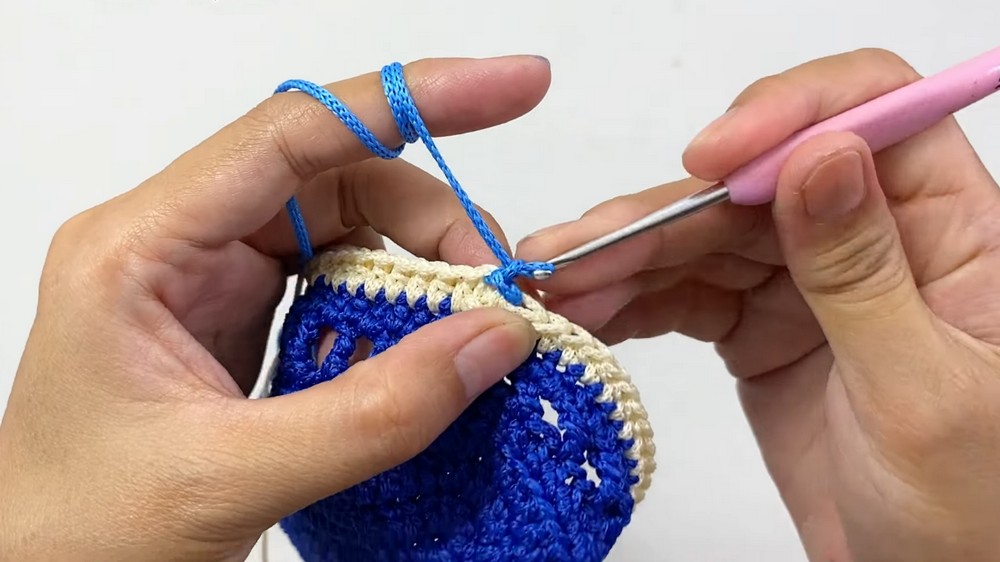
3. Bag Body (Wavy / Flower Stripe Pattern)
Wavy/Flower Pattern Repeat
(Row sequence alternates hdc rounds and special wave rounds; change color as desired. 8 total ‘flower clusters’ suggested.)
Sample Wave Round:
- [hdc in next st, ch 1, dc in next st, tr in next st, ch 1, skip 1 st, dc in next st, hdc in next st, ch 1, hdc in next st] repeat around.
- Each cluster: rising (tr), then lowering (hdc), forming a wave.
- Join with sl st to the first st.
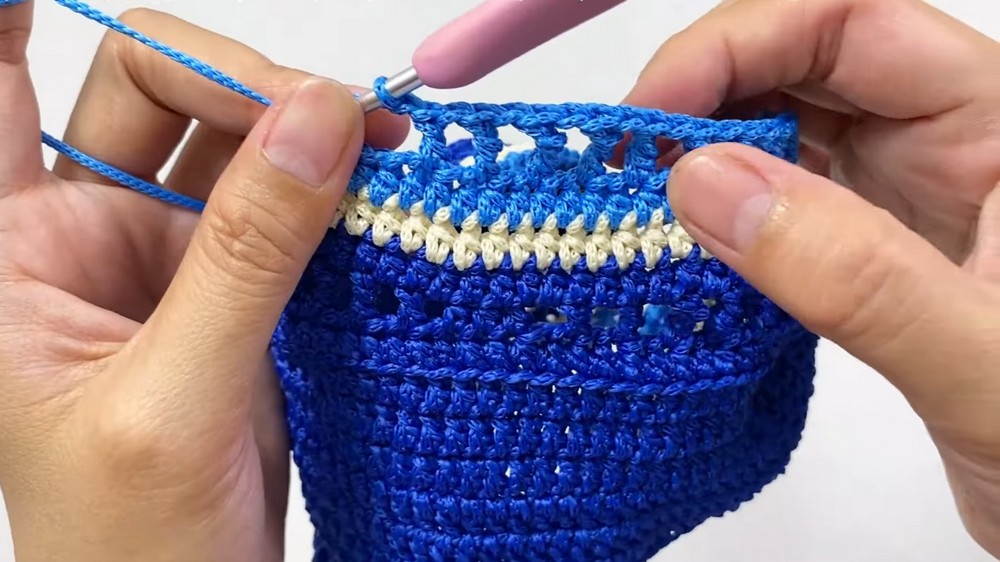
After every Wave Row:
- Hdc round: Work 1 hdc in each st around, join with sl st.
- Change color as desired on last pull-through of last st.
- Repeat wave pattern + hdc rounds, using a new color for each set.
Sequence Example (may adapt as preferred):
- Hdc round – base color
- Wave pattern round – 2nd color
- Hdc round – cream/white
- Wave pattern round – 3rd color
- Repeat until you have 8 flower clusters or desired height (~22 cm).
- Work a final hdc round in main color.

4. Strap Placement & Straps
Mark Strap Openings:
- With bag flat, mark 21 stitches centered on each flat side of the top opening for the handle gaps.
Handle Sides:
- On each side, you will have 41 stitches for each strap. Place markers as guides.
First Strap (for both sides):
- Row 1: Attach yarn, ch 2, hdc across 41 sts.
- Row 2 onward:
- Begin decreasing:
- Ch 2, turn, skip the first st, hdc across (decrease each side for shaping).
- Continue decreasing at the beginning (and possibly end) each row, until only 9 sts remain.
- Once at 9 sts, work even in hdc (no further decreases) until desired length (about 42 rows suggested).
- Begin decreasing:
- Fasten off, leaving tail for assembly.
- Repeat for second strap/side.

5. Assembly
- Bring the ends of handles to the opposite marked points.
- Use tapestry needle and yarn, sew aligned short edges to inside of bag opening.
- Use a sturdy seam such as whip stitch, mattress, or horizontal joining.
6. Finishing & Edging
- Use main or a beautiful contrasting color.
- Sc evenly around the bag opening and handles to smooth and reinforce.
- Where edging is worked over vertical handle rows or round edges, work 1–3 sc per row (as needed for an even, non-bulky look).
- Join with sl st, fasten off.
- Weave in all loose ends.
7. Optional: Decoration & Lining
- Attach appliqués, stickers, or motifs as desired after blocking.
- Add a lining for structure if you like.
Conclusion
You have created a practical, cheerful, and sturdy wavy-stripe crochet bag, ideal for books, shopping, or as an everyday carry-all. The project is highly customizable in both size and color and serves as a perfect canvas for additional decorations.
Pattern Corrections & Tips
- Stitch count: Ensure beginning chain is a multiple of 16 (add/remove in multiples of 8 per side for resizing).
- Wave pattern: For crisp clusters, be consistent in your stitch heights and counts.
- Neat joins: Always complete color changes at the end of the round for tidy transitions.
- Edging: When edging the bag, adjust the number of sc per row-end or curve for a flat, not ruffled, finish.
- Handle shaping: For strong handles, do not rush decreases; check for symmetry.
- Blocking: Block for an even, professional finish.
- Lining: Adding fabric lining increases strength.