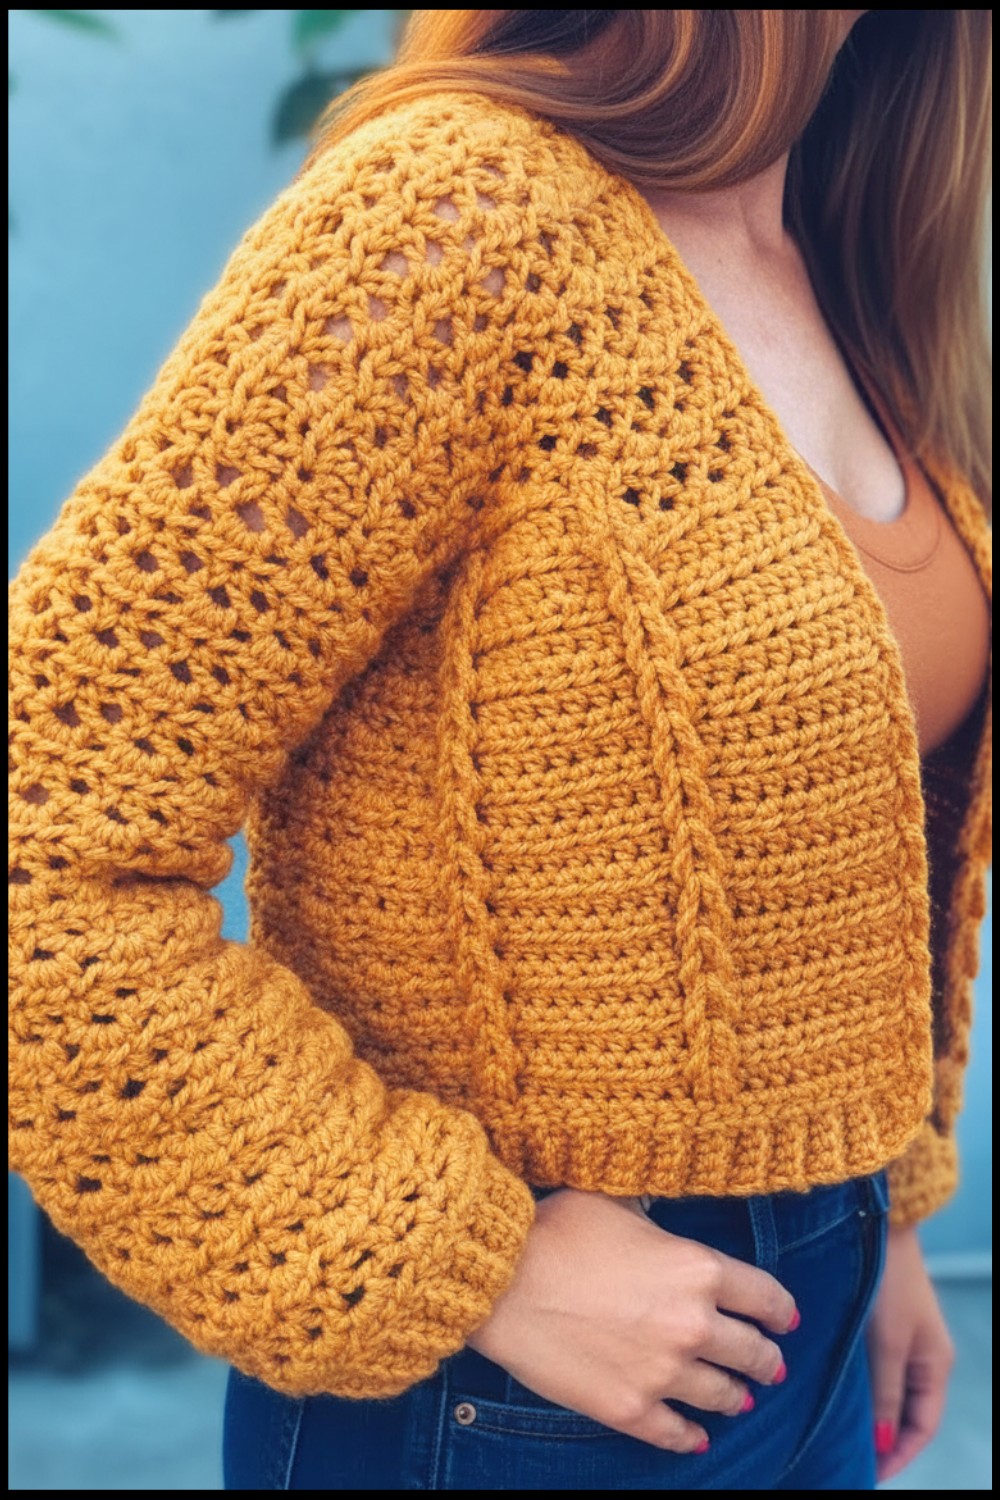
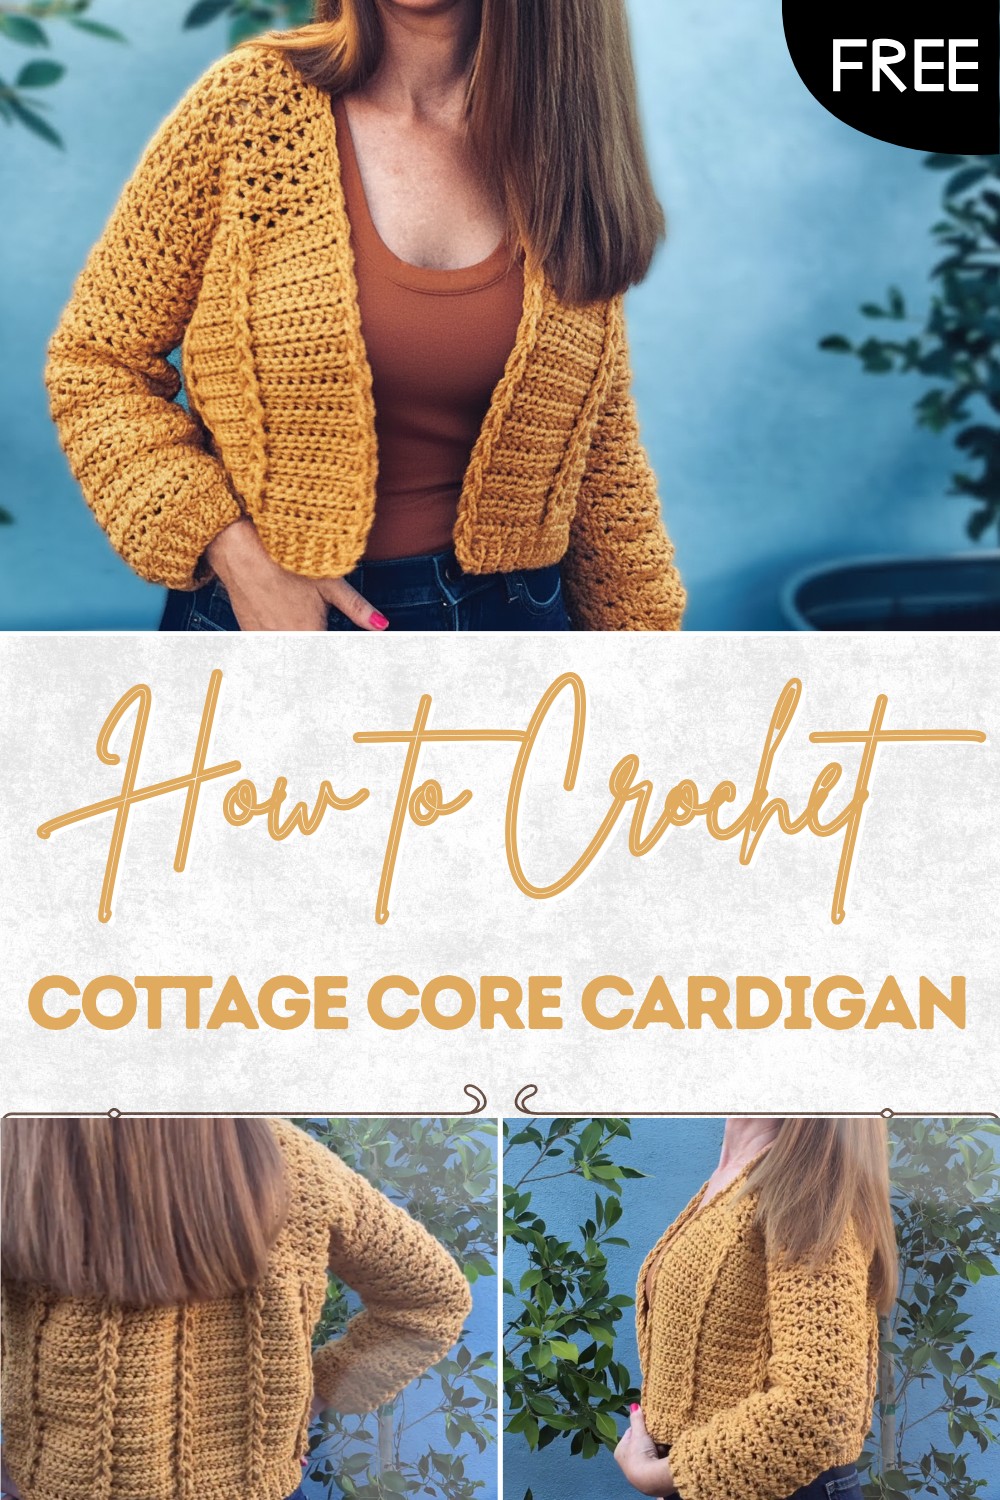
Cottage Core Cardigan Free Crochet Pattern
Dress up your wardrobe with free crochet cottage core cardigan pattern that brings cozy comfort and classic beauty to your favorite outfits.
Fields of wildflowers inspire soft and lovely layers that bring a touch of charm to your everyday look. Gentle stitches come together to form a beautiful cardigan with a relaxed fit and graceful drape, perfect for wearing indoors or outside. The crochet cottage core cardigan pattern gives you a timeless piece full of delicate details like pretty edging, natural hues, and cozy sleeves. It is designed for easy use, making it friendly for beginners as well as experienced makers, and you don’t need to worry about tricky techniques.
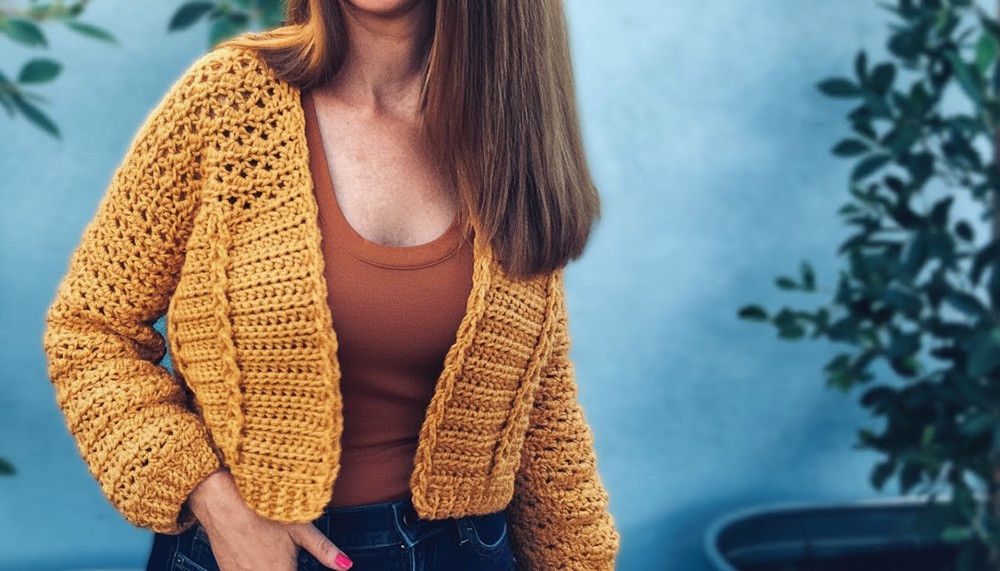
Free Crochet Cottage Core Cardigan Pattern for Dreamy Style
Add it over a sundress to feel extra special, pair it with jeans for a simple style, or use it as a warm wrap when there’s a chill. This pattern lets you express your style and make something that is both fashionable and practical. The crochet cottage core cardigan pattern becomes a favorite item that adds beauty, comfort, and a gentle spirit to any closet.
Iris & Jacob’s Ladder Cardigan Crochet Pattern
Materials
- Yarn: Size 4 (worsted weight) acrylic yarn
- Hook Sizes:
- Size J (6 mm) – Main body and ribbing
- Size I (5.5 mm) – Decorative border
- Scissors
- Yarn needle (for seaming and weaving in ends)
- Stitch markers (optional, helpful for shaping and panel joining)
- Measuring tape
Key Abbreviations (US Terms)
- ch = chain
- hdc = half double crochet
- sc = single crochet
- sl st = slip stitch
- v st = v-stitch (hdc, ch 2, hdc in same st)
- BLO = back loop only
- RS/WS = right/wrong side
Special Notes
- Pattern is for a size small; for other sizes, see adjustments below.
- Cardigan is constructed top-down in panels: left front, right front, back, then sleeves and borders.
- Iris stitch is used for yoke (top area); Jacob’s Ladder stitch for lower panel and border.
- Sizing: For a larger or smaller fit, increase or decrease the starting chain and adjust repeat sections.
Pattern
1. Front Panel (Make 2, as Mirror Images)
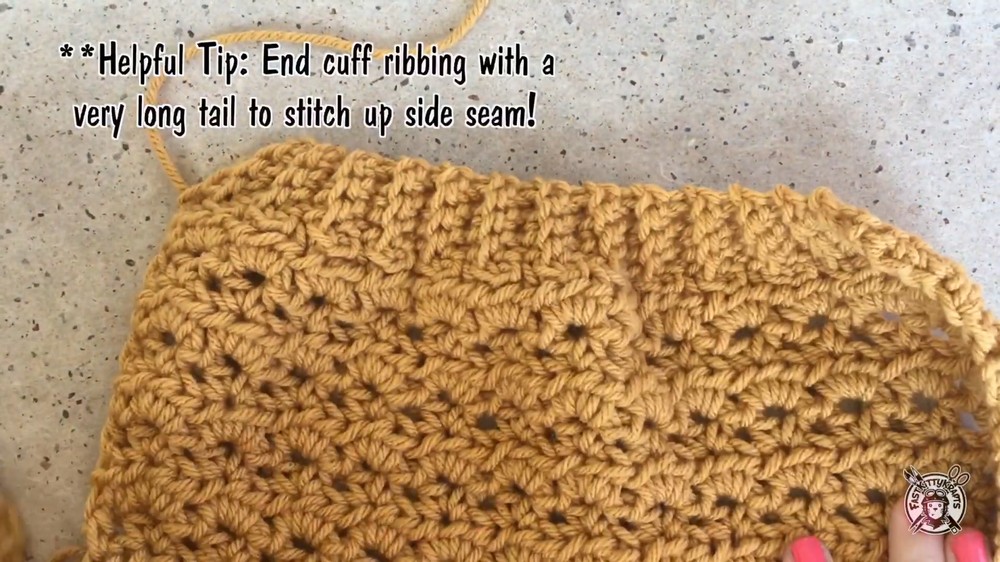
Start with a long tail for seaming later.
Right Front Panel (Size Small Example)
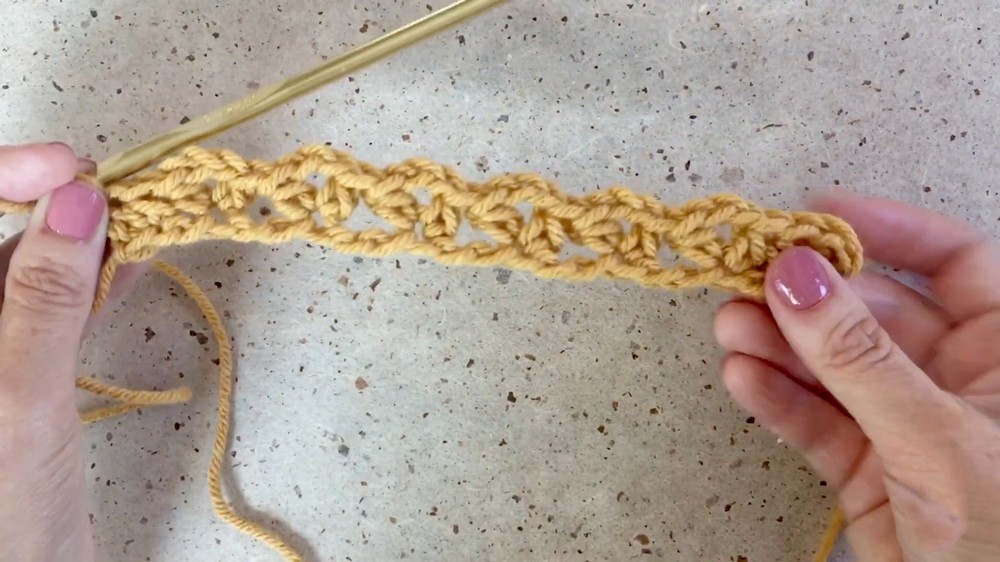
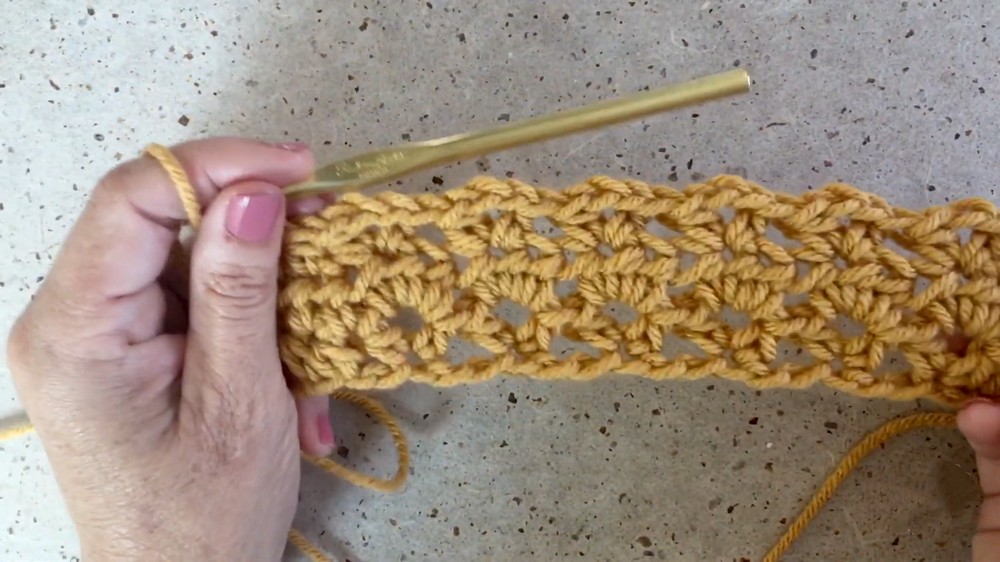
Yoke (Iris Stitch Section):
- Using J (6 mm) hook, ch 23.
- Row 1:
- Turn, hdc in 2nd ch and next ch (2 hdc).
- Skip 1 ch, in next ch: (hdc, ch 2, hdc) (v-stitch).
- [Skip 2 ch, v-stitch in next ch] repeat until 3 ch remain.
- Skip 1 ch, hdc in last 2 ch (2 hdc).
- (You should have 6 v-stitches.)
- Row 2:
- Ch 1, turn.
- Hdc in first 2 st.
- 3 hdc in each ch-2 space across (top of each v-stitch).
- Hdc in last 2 st.
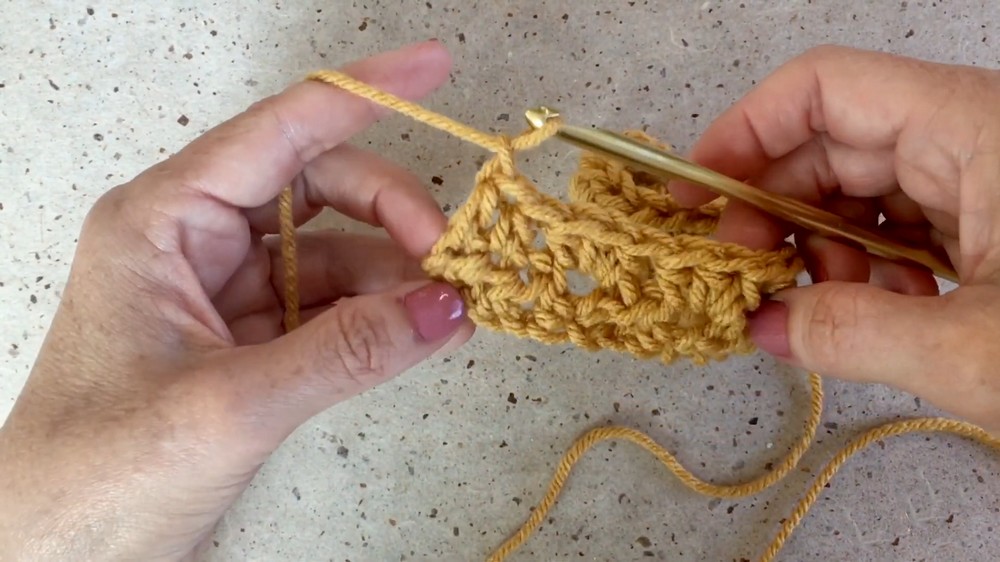
- Row 3:
- Ch 1, turn.
- Hdc in first 2 st.
- [Skip 2, v-stitch in center of 3-hdc group] repeat across.
- Hdc in last 2 st.
- Rows 4–12:
- Repeat Rows 2 and 3, ending on Row 2.
- Repeat Rows 2 and 3, ending on Row 2.
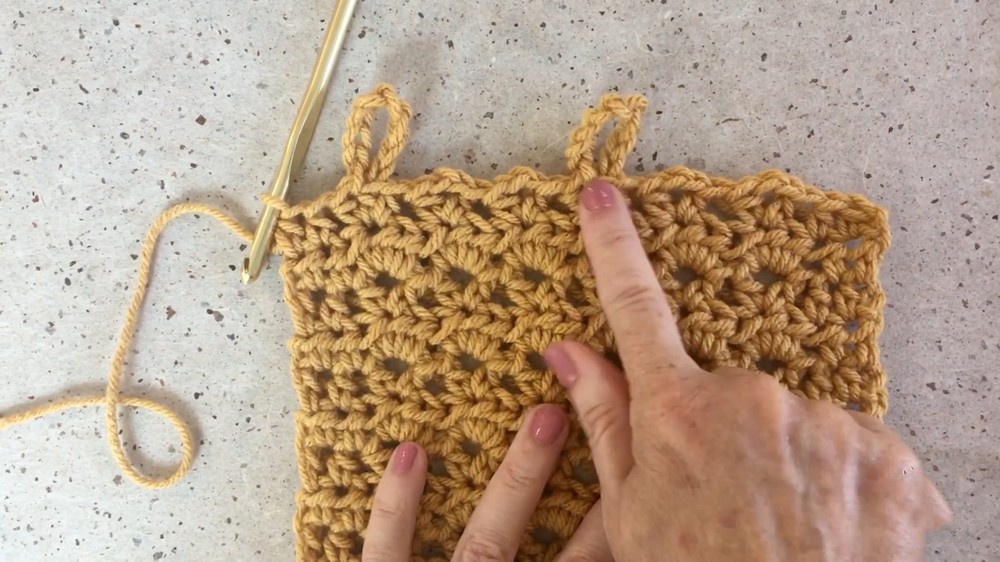
2. Body (Jacob’s Ladder Section)
Begin Row 13:
- Ch 1, turn.
- Work same as Row 3 for v-stitches.
- At targeted 3-hdc groups: Work 2 hdc in center st, then ch 8, sl st in top of hdc, hdc again in same st.
- Repeat as needed, ending with 2 hdc in the last st.
Row 14:
- Ch 1, turn.
- Hdc in first 4 st.
- Push loop to back, hdc into center of chain-8 loop.
- Hdc in next 2 st.
- Hdc in next ch-2 space.
- Repeat across making sure to hdc in center of each chain-8 loop and each ch-2 space.
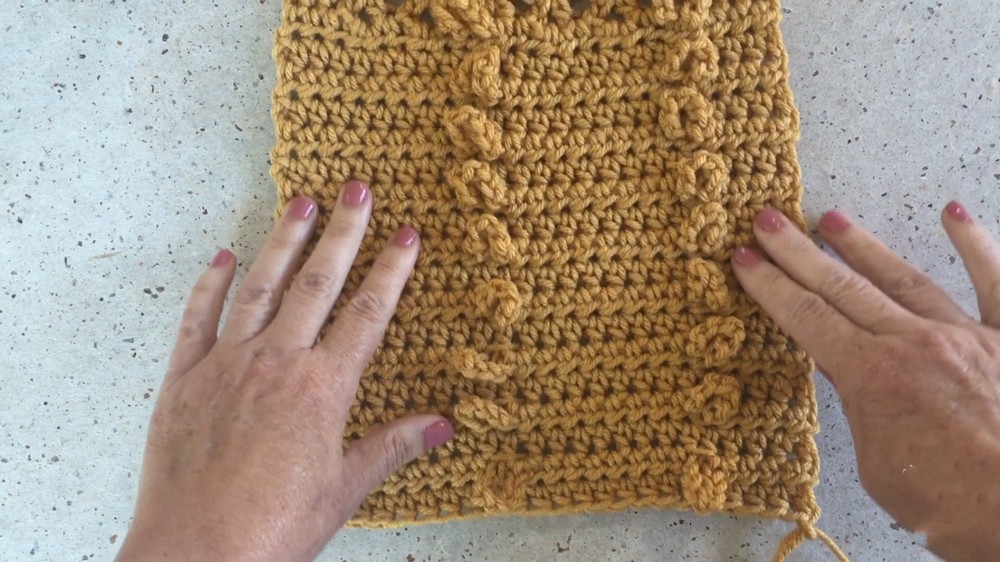
Row 15 & Onward:
- Ch 1, turn.
- Hdc in first 9 st.
- In 10th st: hdc, ch 8, sl st in top of hdc.
- Hdc in next 8 st.
- In next st: hdc, ch 8, sl st in top of hdc.
- Hdc in last 4 st.
- Repeat Rows 14 & 15 for as long as needed for desired length (sample: 11 loop rows—22 rows total).
- When desired length is reached after Row 14, ch 1, turn, hdc in each st across.
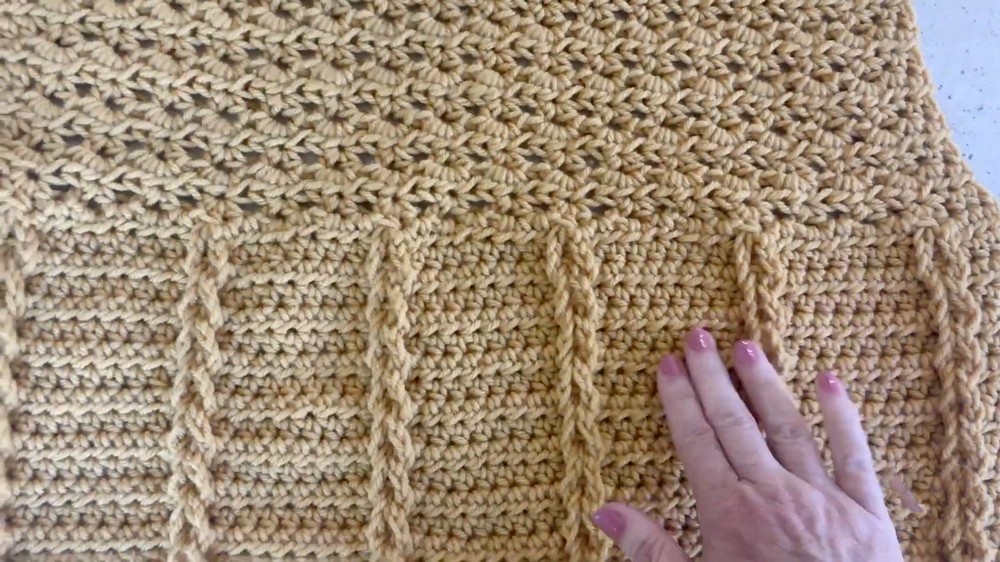
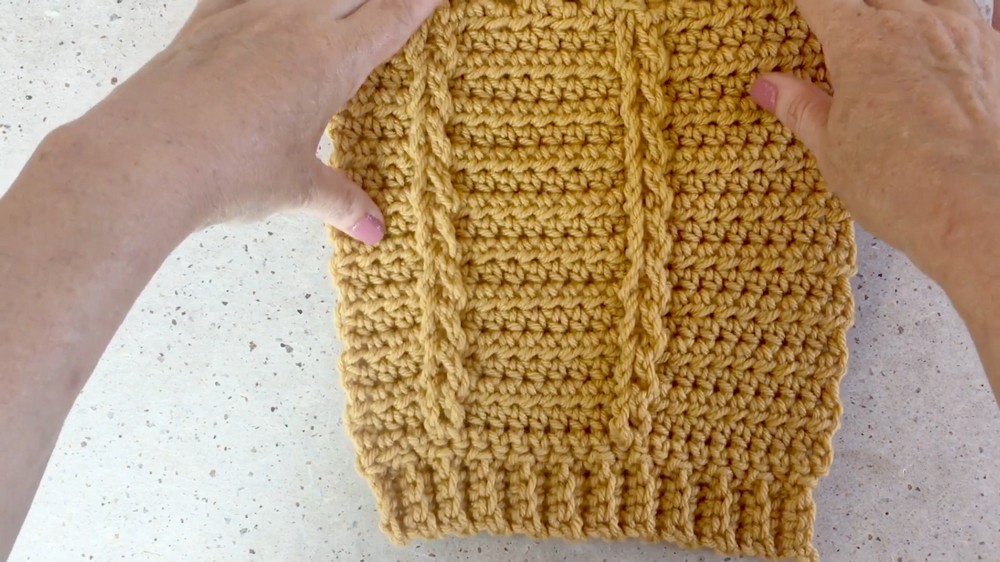
3. Jacob’s Ladder Braiding
- To create the ladder effect:
- At end, braid loops as follows:
- Take the second loop down, pull through the first loop.
- Take the next loop down, pull through previous loop.
- Repeat to bottom.
- Repeat for each vertical loop row.
- At end, braid loops as follows:
4. Securing Ladder Loops
- Ch 1, turn, sc in either four or nine st (depending on which front).
- In next st, insert hook into st and into last loop, complete sc.
- Sc into next 8 st.
- In next st, insert hook into st and loop, complete sc.
- Finish row with additional sc.
5. Bottom Ribbing
- Ch 5, turn.
- Sc in 2nd ch and each across (4 sc).
- Sl st into next 2 unworked st of main panel.
- Turn left, skip 2 sl st, sc BLO into next 4 sc.
- Ch 1, turn right, sc BLO in previous sc row.
- Sl st into next 2 st of main panel.
- Repeat until ribbing is complete across the panel bottom.
6. Back Panel
- Start with ch 53 (for small).
- Work yoke (iris stitch) and Jacob’s Ladder section as for fronts (reference spacing in front panels).
- Back panel should have 6 vertical braided rows.
7. Assembly
- Line up panels with wrong sides together.
- Seam shoulders using long tails.
- Seam sides for cardigan body.
8. Sleeves
- Join at bottom of yoke where it meets Jacob’s Ladder section.
- Ch 1, hdc into every other row.
- In next row: v-stitch.
- Continue v-stitch in every other row (should have 13 v-stitches across sleeve section).
- End last hdc at far side of yoke.
- Ch 1, turn.
- Hdc in first st.
- In each ch-2 space across, 3 hdc.
- Hdc in last st.
- Repeat for desired length (sample: 14″ sleeve), end with ribbing.
Cuff Ribbing
- Ch 5, turn.
- Skip first ch, sl st into next ch.
- Sc in next 3 ch.
- Sl st into next 3 unworked st (worked along three hdc group from row before).
- Turn left, skip first three sl st, sc BLO in next 3 sc, sl st into last sl st.
- Ch 1, turn.
- Repeat for entire cuff.
9. Decorative Loop Border (Front & Neck Edges)
- With Size I (5.5 mm) hook, join at lower front corner.
- Ch 8, sl st back into same st.
- Ch 2, sl st in starting ribbing.
- Ch 8, sl st into same point.
- Ch 2, skip 2 rows, sl st, ch 8 for loop.
- Repeat ch 2, skip 2 rows, sl st, ch 8/10 (adjust chain length for tension and comfort) around entire edge.
- Place loops at points of v-stitch along neck. End border as needed, sl st into ribbing at top and bottom.
- Braid border loops as for Jacob’s Ladder.
Conclusion
This cardigan combines iris stitch and Jacob’s Ladder stitch for a textural, creative look. The inventive loop border adds an original touch. Adjust panels, sleeves, and borders for size and fit. Enjoy a unique, soft cardigan you can personalize.
Corrections & Tips
- Sizing: For larger/smaller sizes, adjust starting chain and repeat rows. Use stitch markers for shaping.
- Consistency: Keep loop rows even and braid tightly for best ladder effect.
- Ribbing: Turning left/right alternately prevents tangling and adds stretch.
- Border: Adjust chain length and spacing for border loops for desired drape.
- Seaming: Use mattress stitch or whip stitch for neat seams.