Free Crochet Egg Holder Pattern – Simple Easter Basket Project

Easily crochet a functional and charming free crochet eggs holder Easter basket pattern to keep your eggs organized while adding festive flair to your celebrations.
Easter celebrations feel even more special with handmade touches that bring warmth and joy. The Free crochet Eggs Holder Easter Basket pattern from Gul’s Cozy Crochet offers a charming way to showcase your festive spirit. This little basket is both practical and adorable, making it a wonderful addition to your holiday traditions.
Crochet Eggs Holder for Easter Baskets Free Pattern
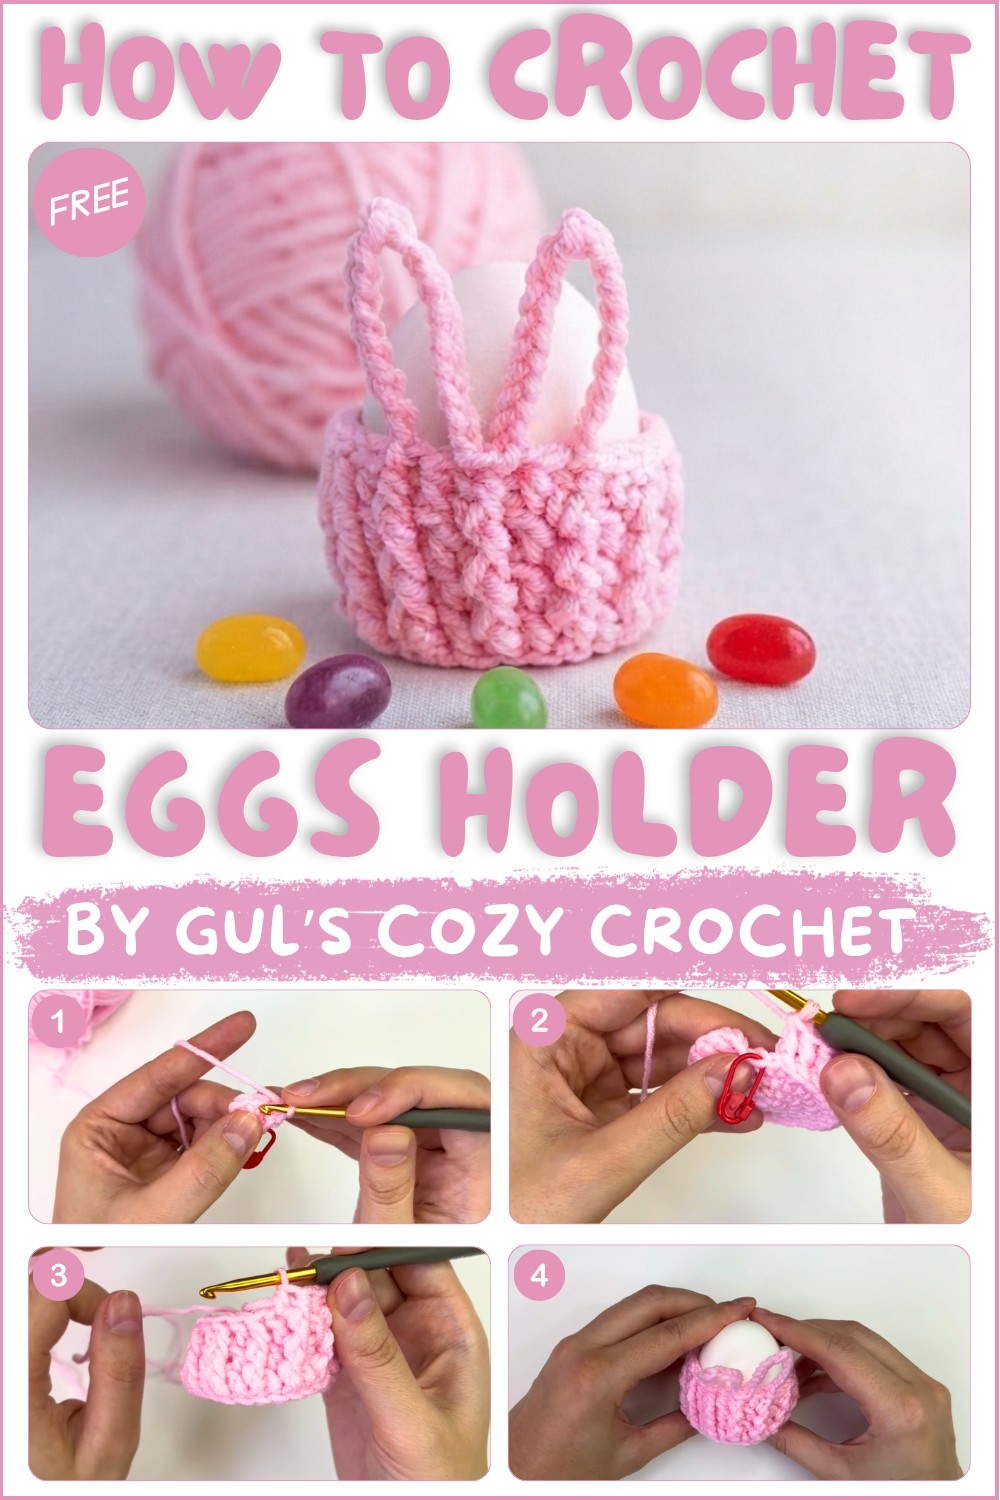
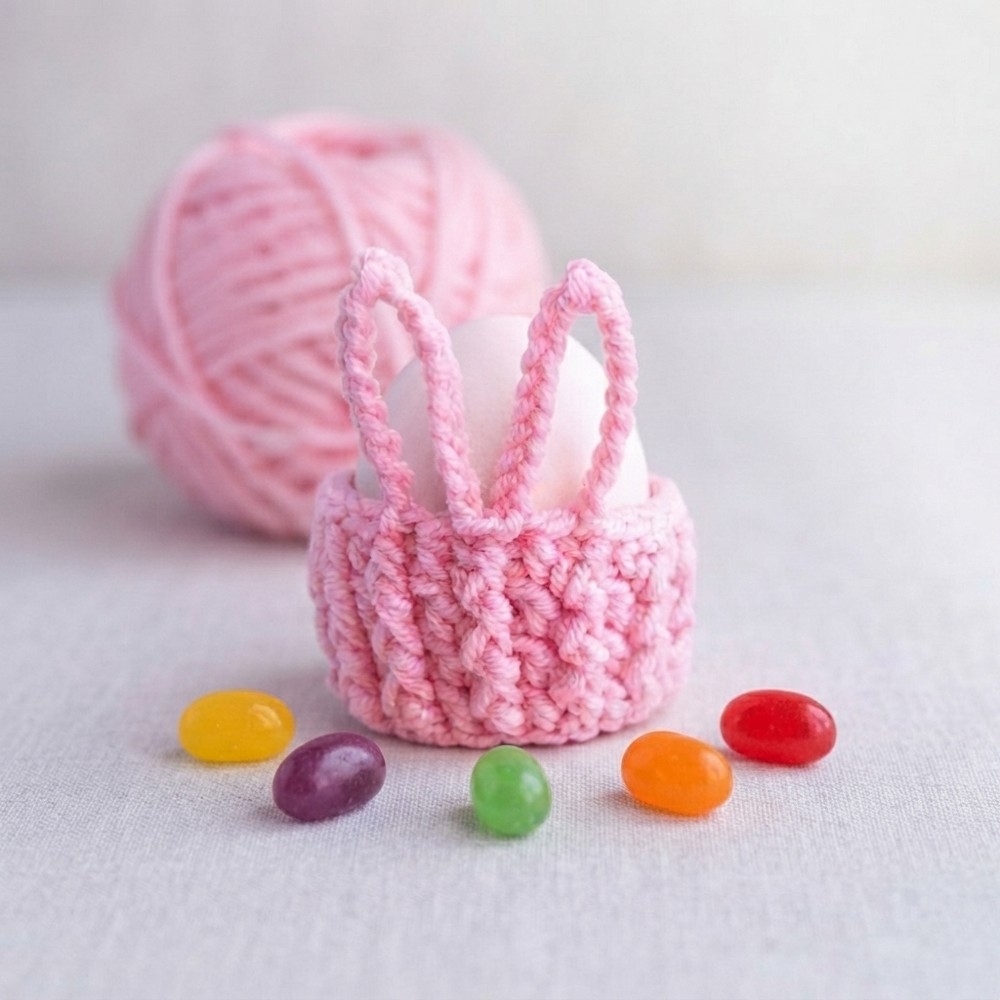
The basket is designed with a firm base and upright sides, perfect for holding Easter eggs or small gifts. What makes it truly delightful are the bunny ears attached to the rim, adding a playful and cheerful vibe. A tiny fluffy tail completes the look, giving the basket a sweet personality that brightens up any table or shelf.
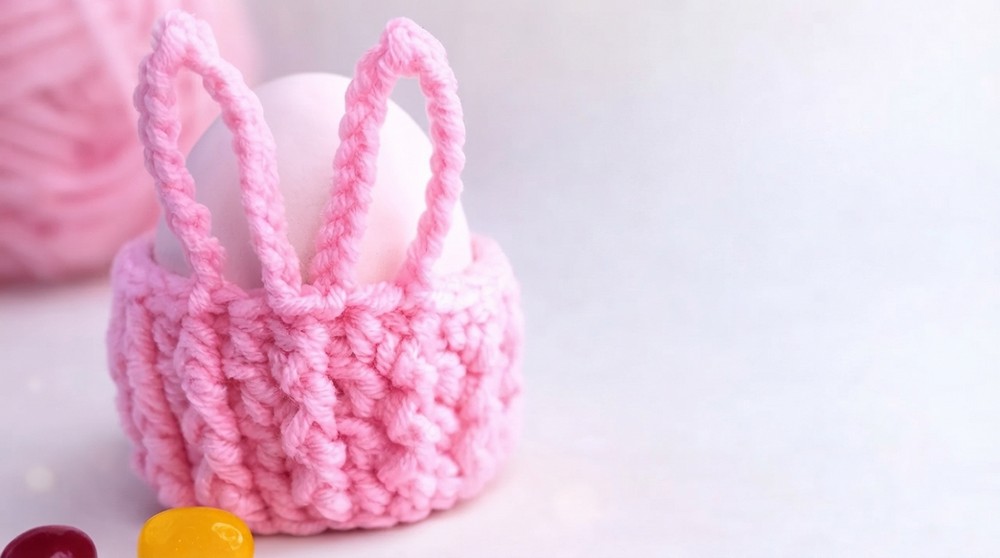
This project is more than just decoration, it’s a thoughtful gift option too. Fill it with goodies for family and friends, or use it as a cozy holder for Easter treats. The design is friendly for those with basic crochet skills, allowing you to create a meaningful item without spending too much time.
For a festive addition that brings smiles and adds charm to your Easter, check out the Free crochet Eggs Holder Easter Basket pattern on Gul’s Cozy Crochet. It’s a simple, lovely way to add a handmade touch to your holiday celebrations.
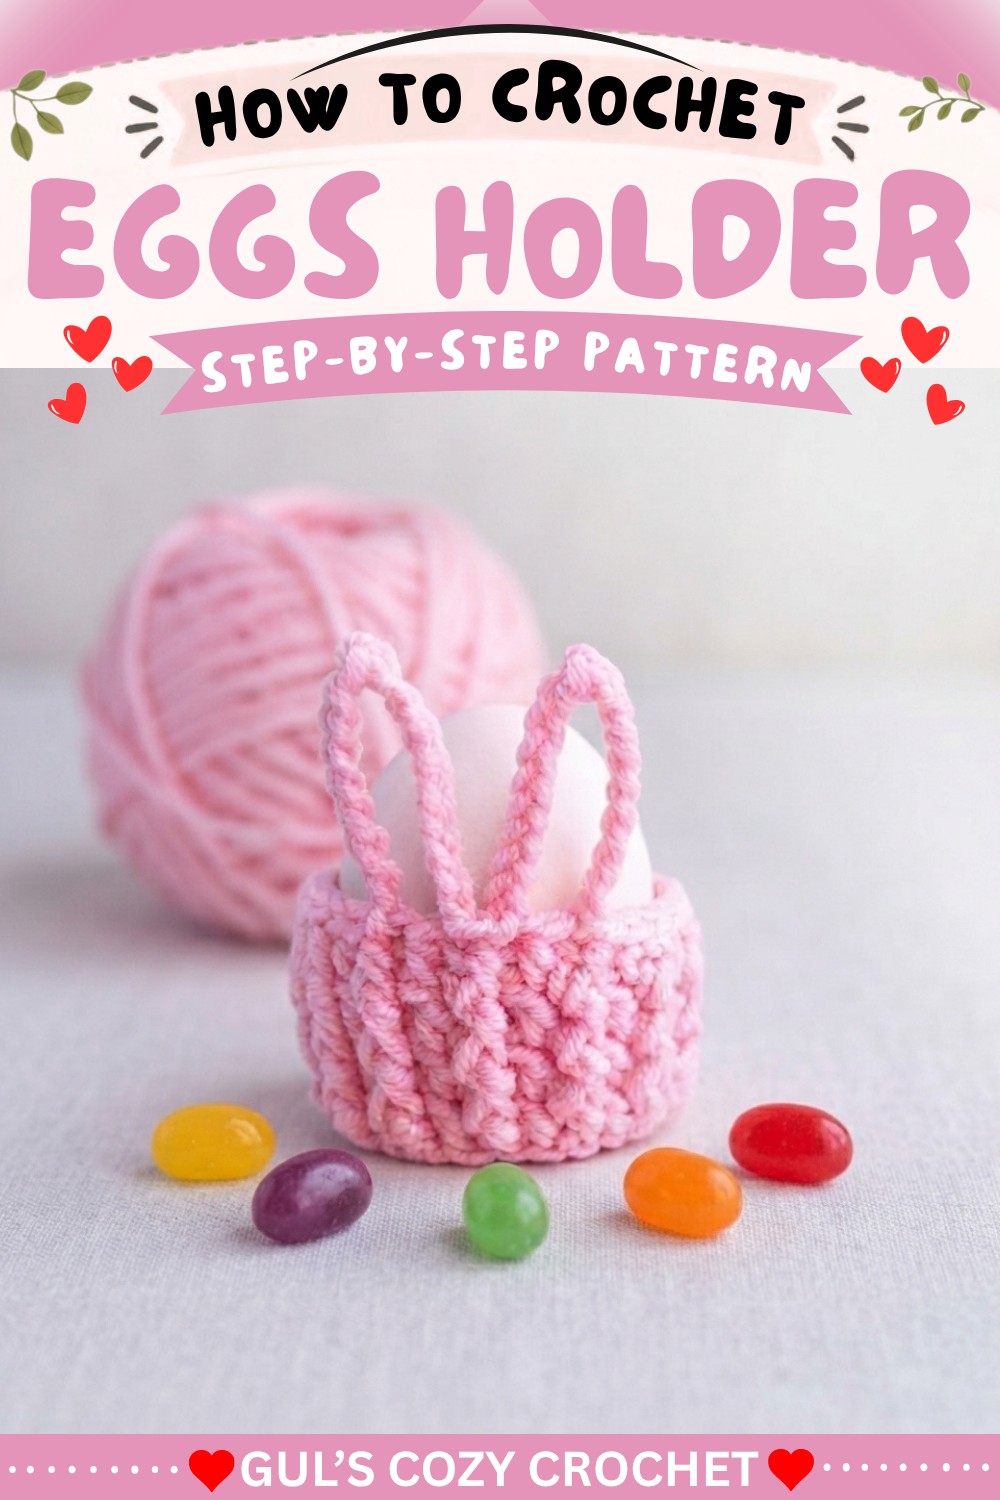
Bunny Basket Crochet Pattern
This beginner-friendly pattern guides you through crocheting a charming bunny-themed basket with adorable ears and tail, using DK weight yarn and simple post stitches for an attractive texture. The project is worked in the round from the flat basket base, up through the beautifully textured walls, and finishes with no-sew bunny ears and a cute tail.
Pattern Highlights
- No-sew Ears and Tail: Ears are crocheted seamlessly during the final round, and the tail can be sewn or glued on for easy finishing.
- Textured Basket Walls: Uses a combination of conventional and post stitches (FPDC, FPHDC) for unique visual interest and a sturdy structure.
- Ideal for Beginners: Works with basic stitches and simple increases; easy to follow step-by-step.
- Perfect for Gifts or Decor: Great for Easter, holding trinkets, or as a spring accent piece.
Notes
- The basket is worked in continuous rounds for the base, joining each round with a slip stitch.
- Use a stitch marker to indicate the first stitch of every round, especially if substitution of different joining methods is preferred.
- For best results, keep stitch tension even to produce a firm and even basket shape.
- When working around the posts of stitches (for Round 5 and beyond), insert your hook as instructed to create the textured “rib.”
- Bunny ears are created as decorative chains anchored into the basket edge.
Skill Level
Beginner
Basic knowledge of single crochet, double crochet, half double crochet, front post stitches, and chains. All techniques are simple and suitable for newer crocheters looking to add post stitch texture.
Materials
- Yarn: Light (3) / DK / 8-ply weight yarn, color of your choice
- Crochet Hook: 3.5 mm
- Scissors
- Yarn needle
- Stitch marker (optional, for marking round beginnings)
Measurements / Sizing
- Estimated finished basket diameter: 7–10 cm / 2.75–4 inches, depending on yarn and tension.
- Estimated wall height: 5–7 cm / 2–2.75 inches (not including ears).
- Adjust size by changing yarn weight and hook size if desired.
Gauge
Gauge is not crucial for this project, but aim for a firm fabric that holds its shape. A standard swatch: 5 rows of 10 hdc ≈ 2 x 2 inches/5 x 5 cm.
Stitch Abbreviations
| Abbreviation | Name |
|---|---|
| MR | Magic Ring |
| sc | Single crochet |
| inc | Increase (2 sc in one st) |
| dc | Double crochet |
| hdc | Half double crochet |
| sl st | Slip stitch |
| ch | Chain |
| fpdc | Front post double crochet |
| fphdc | Front post half double crochet |
Special Stitches
- Front Post Double Crochet (fpdc): Yarn over, insert your hook from front to back to front around the post of the indicated stitch, yarn over and draw up a loop, complete a double crochet as usual.
- Front Post Half Double Crochet (fphdc): Yarn over, insert hook from front to back to front around the post of the stitch, yarn over and pull up a loop (three loops on hook), yarn over and pull through all loops.
Step-by-Step Pattern
Part 1: Basket Base
Round 1:
Make a magic ring (MR); work 7 sc into the ring. Join to first sc with a sl st. (7 sts)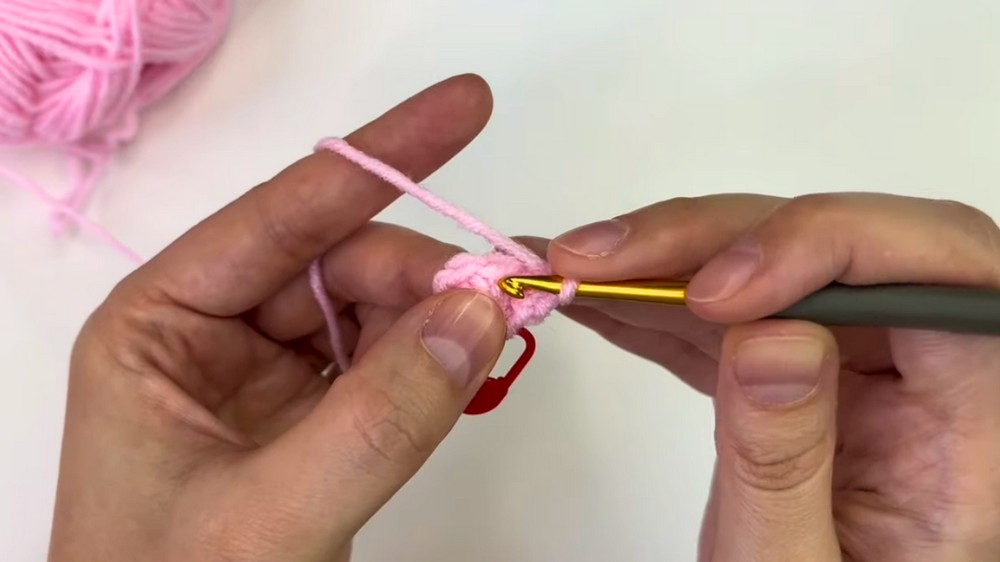
Round 2:
Ch 1; work 2 sc in every st around (inc in each st) – 14 sc total. Join with sl st to first sc.
Round 3:
Ch 1; (1 sc in next st, inc in next st) repeat around (7 times total) – 21 sc. Join with sl st to first sc.
Round 4:
Ch 1; (1 sc in each of next 2 sts, inc in next st) repeat around (7 times total) – 28 sc. Join with sl st to first sc.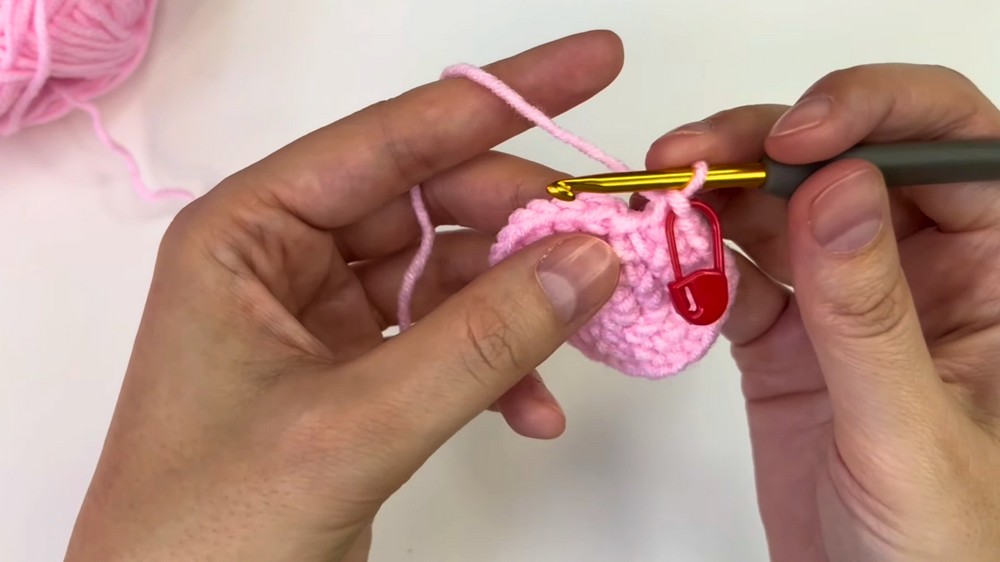
Part 2: Basket Walls
Round 5:
Ch 2 (counts as first dc). Work dc around the post of each stitch from the back (work 27 more dc for 28 total dc). (To do this: yarn over, insert hook from back to front to back around the stem/post of the next stitch, complete dc as normal.) Join with sl st to first dc.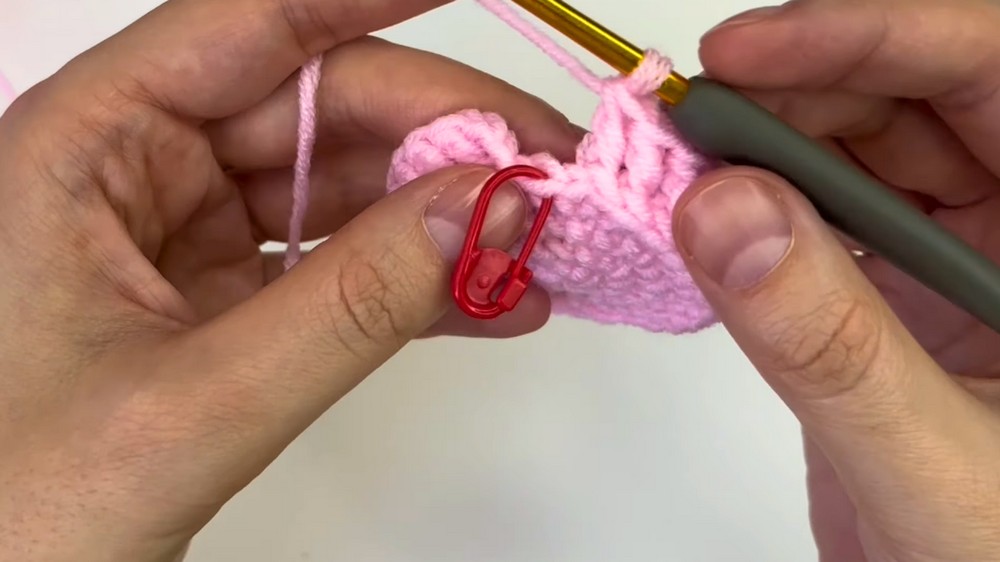
Round 6:
Ch 2. Alternate fpdc around next stitch, then regular dc in next stitch, continue all the way around. Join with sl st to first dc.
Round 7:
Repeat instructions for Round 6: alternate fpdc and dc around.
Round 8:
Ch 2. Alternate fphdc around next stitch, then regular hdc in next stitch, continue around the round. Join with sl st to first hdc.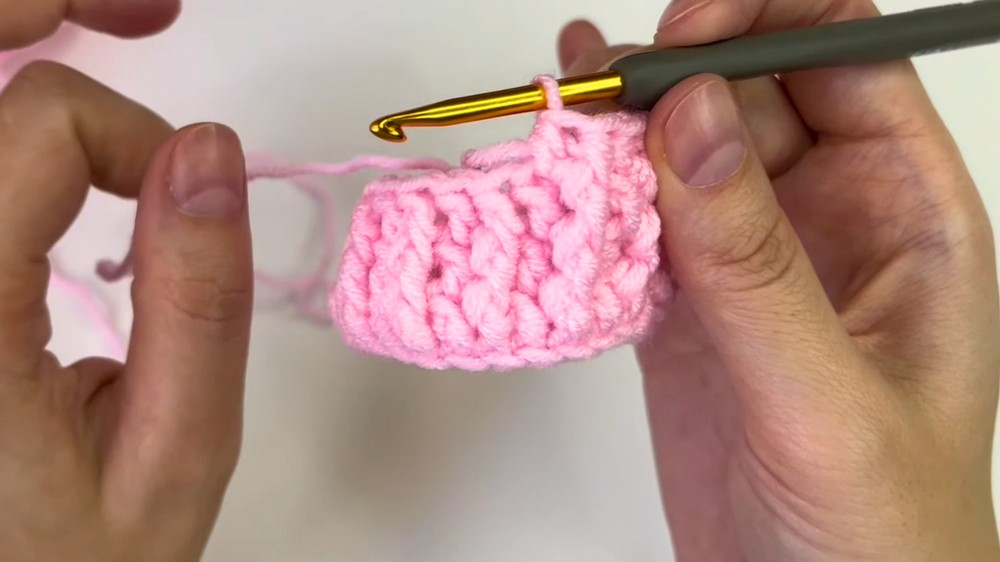
Part 3: Bunny Ears
Round 9:
Ch 1. Sl st in next 12 stitches.
To create first ear:
- Ch 8.
- Sl st into the first chain (this forms the ear tip),
- Ch 7.
- Sl st into the next basket stitch to anchor ear.
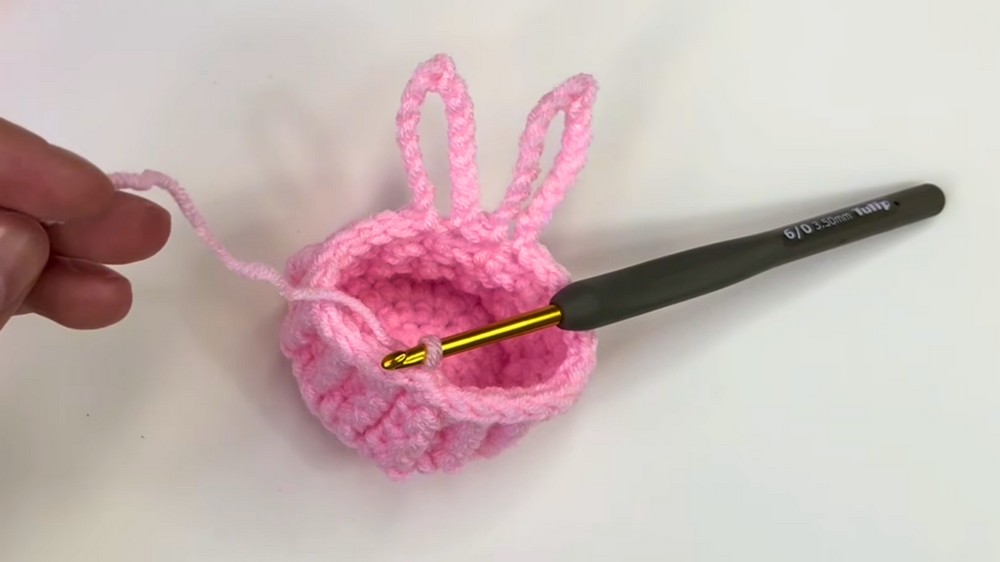
Repeat the ear instructions for the second ear:
- Ch 8, sl st in first ch, ch 7,
- Sl st into the next basket stitch to anchor.
Finish the round by working sl st in each of the remaining 12 stitches. Fasten off, weave in ends neatly.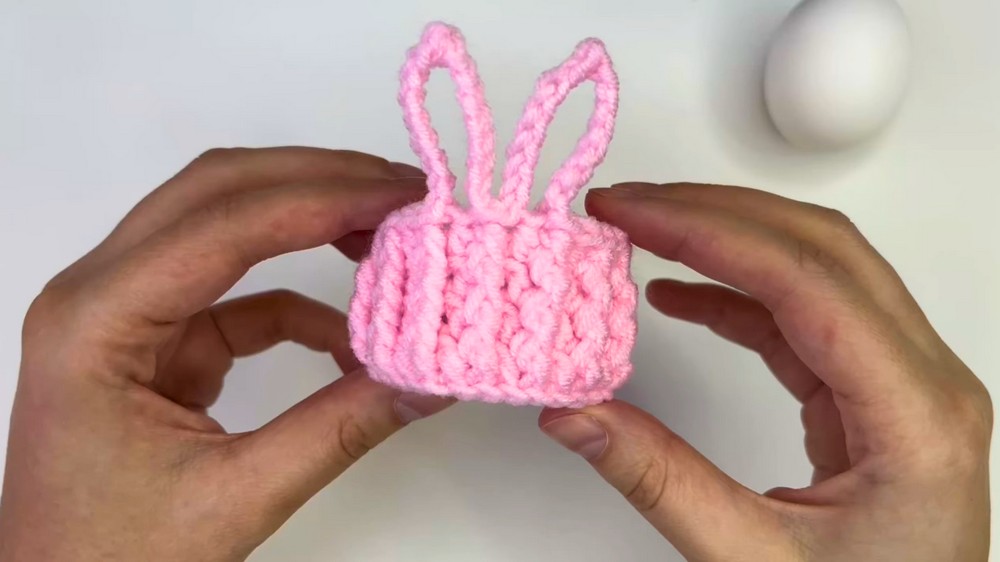
Part 4: Bunny Tail
Make a magic ring, work 7 sc in the ring. Join with a sl st to first sc. Fasten off, leaving a tail for sewing.
Sew or glue the small circle/bunny tail securely to the basket base where desired.
Assembly & Finished Size
- Use the yarn needle to sew in all ends for a tidy finish.
- If sewing on the tail, stitch it centered near the lower outside of the basket base.
- Shape bunny ears upright for best effect—adjust with light blocking if needed.
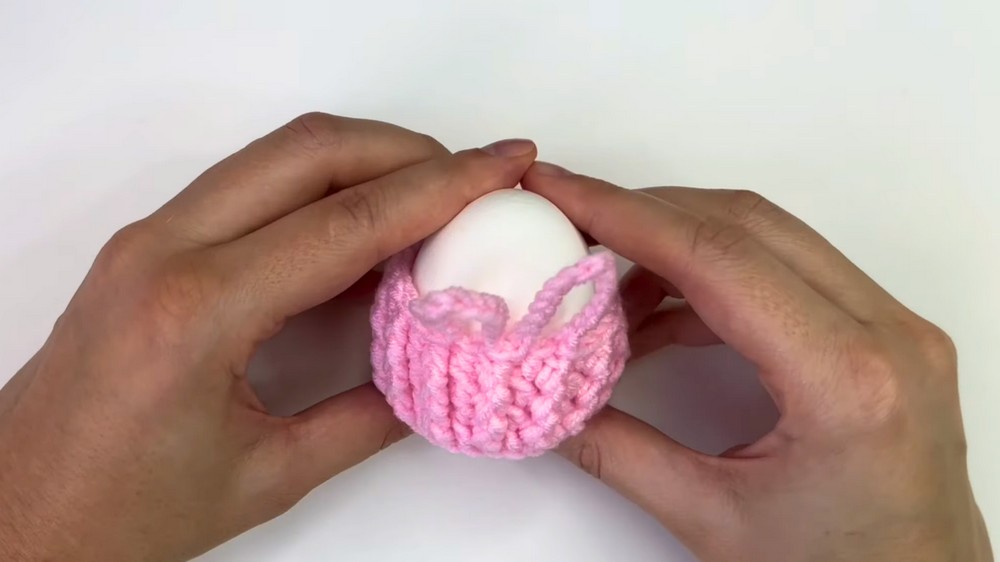
- Your finished bunny basket should measure approximately 7–10 cm in diameter and 5–7 cm tall (basket only), not including ears.
Conclusion
Congratulations on finishing your Bunny Basket! This project’s unique blend of basic and post stitches creates a delightful, sturdy shape enhanced by playful ears and a pom-tail. Your basket makes a lovely addition to spring décor, a thoughtful handmade gift, or a functional container for small treasures.