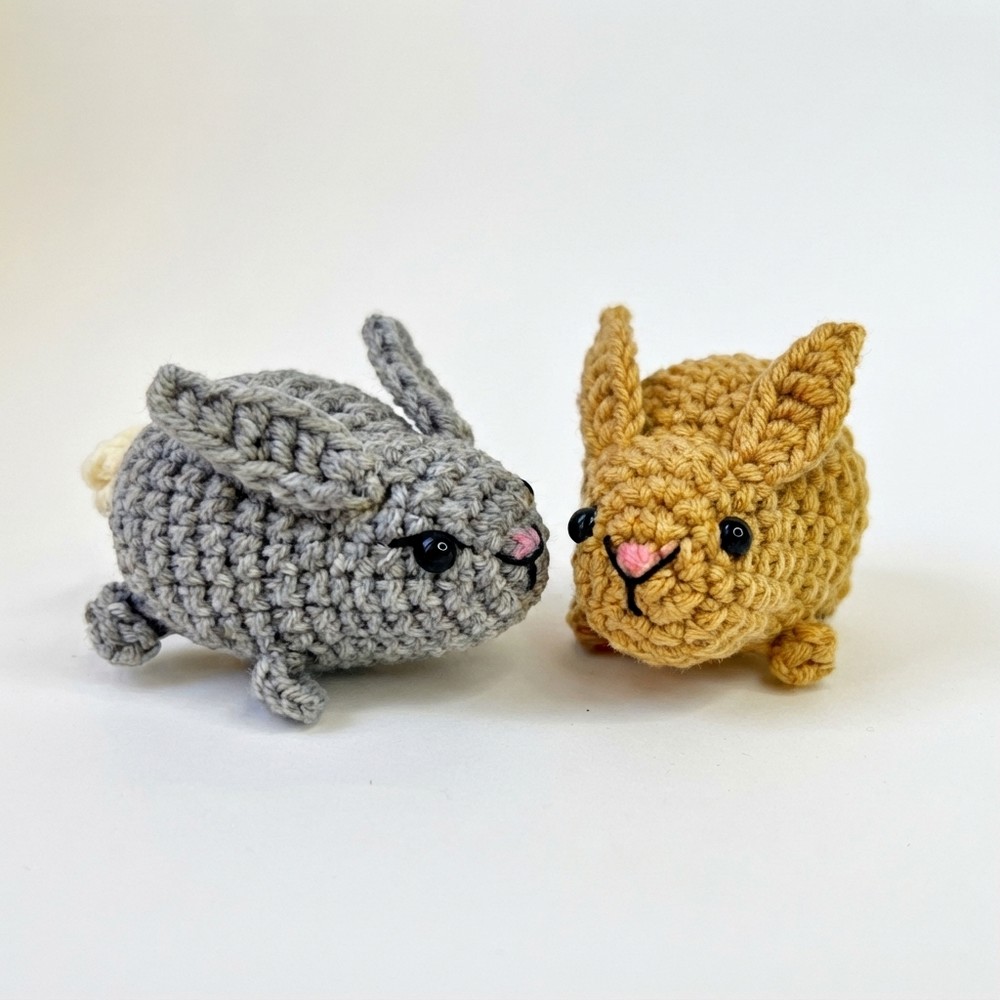
Easter Bunny Amigurumi Free Crochet Pattern + Tutorial

Bring cuteness to life with a free crochet bunny amigurumi pattern, perfect for crafting lovable gifts, whimsical decorations, or cherished keepsakes.
For Easter, there’s nothing quite as charming as a handmade gift that captures the spirit of the season. That’s why the Free crochet Bunny Amigurumi pattern from the Gul’s Cozy Crochet channel caught my eye. This sweet little bunny is an adorable and heartwarming project that’s perfect for celebrating springtime with a personal touch.
Beginner’s Free Crochet Bunny Amigurumi Pattern
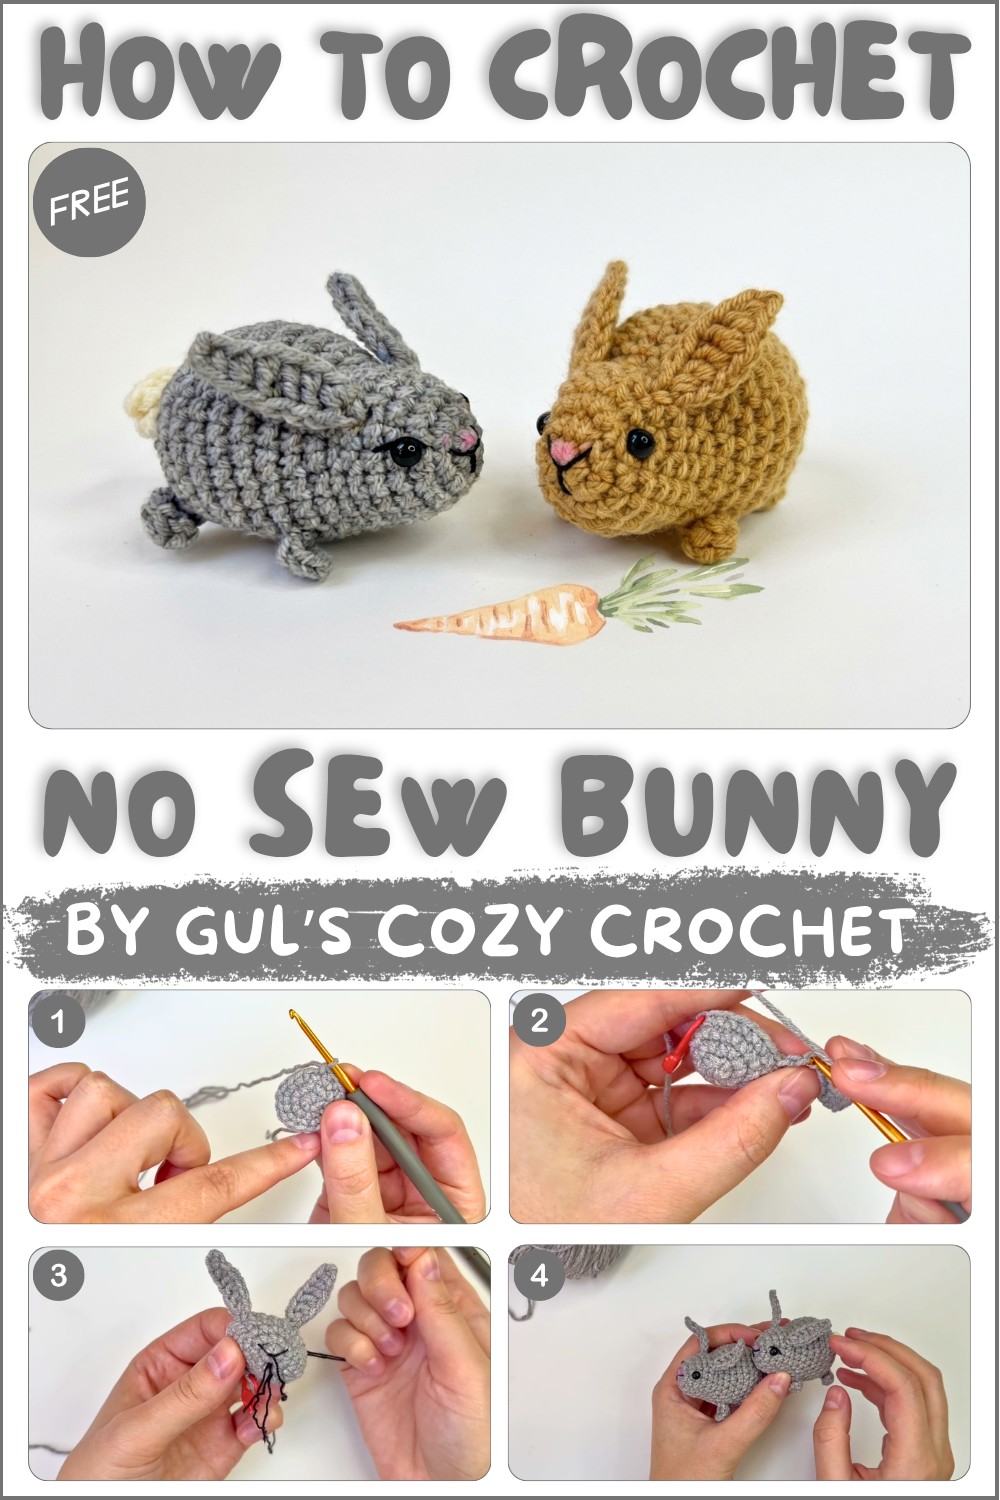
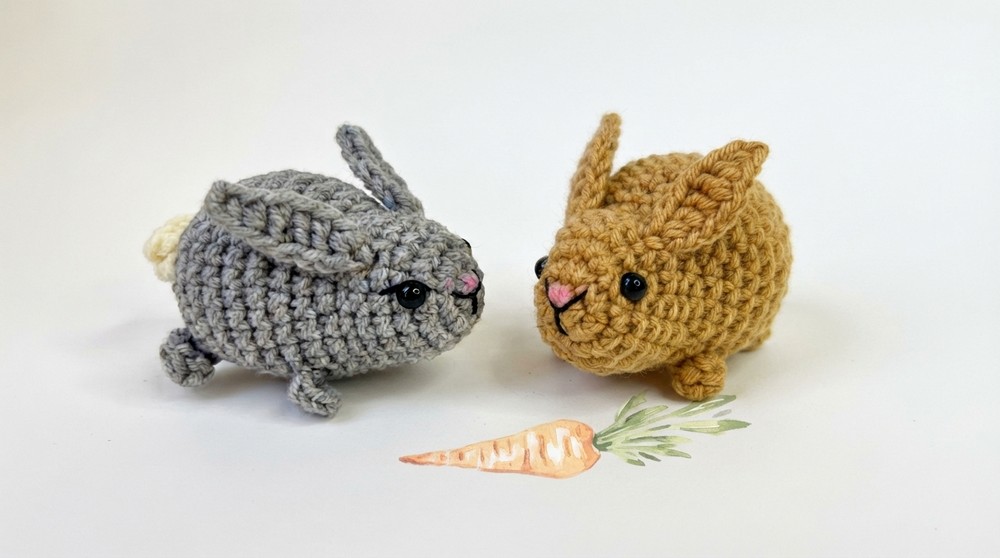
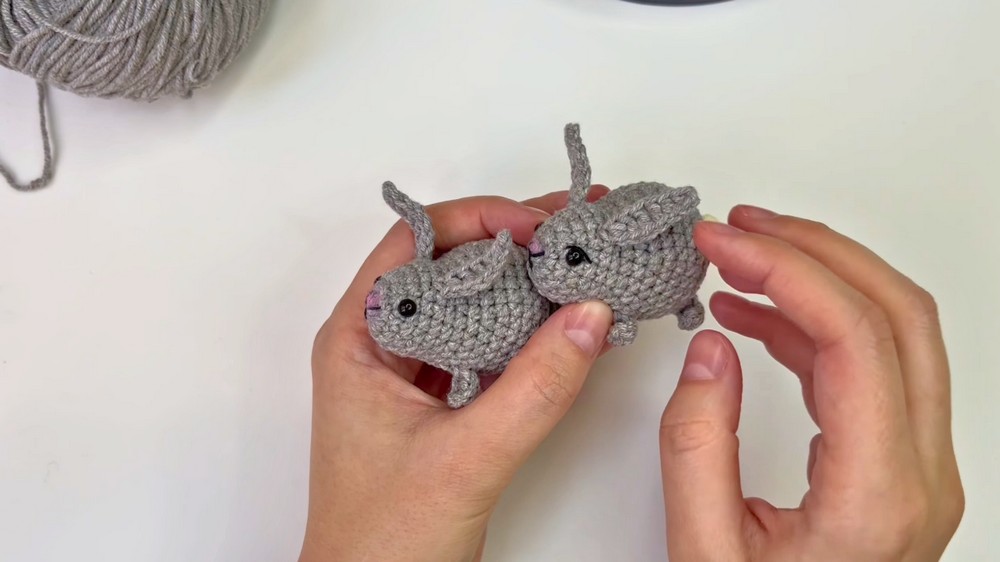
The bunny itself is a compact, cuddly amigurumi that showcases delicate details like floppy ears and tiny paws, giving it a lovable, handcrafted charm. Its soft texture and cheerful appearance make it a perfect decoration for your home, adding a cozy vibe to shelves, desks, or windowsills. Plus, it’s light and portable enough to tuck into gift bags or Easter baskets, making it a versatile keepsake.
What makes this pattern truly special is how easy and enjoyable it is to create, whether you’re new to crocheting or have experience. The bunny’s playful design and approachable size mean you can finish it fairly quickly, making it a satisfying project for busy crocheters.
Beyond that, it’s a meaningful gift that shows thoughtfulness and creativity, qualities that are especially appreciated during holidays and celebrations.
If you’re looking for a simple yet sweet handmade project that fits perfectly with Easter festivities or just want to brighten someone’s day with a cute, cuddly bunny, be sure to check out this Free crochet Bunny Amigurumi pattern. Visit Gul’s Cozy Crochet on YouTube and bring your own little bunny to life.
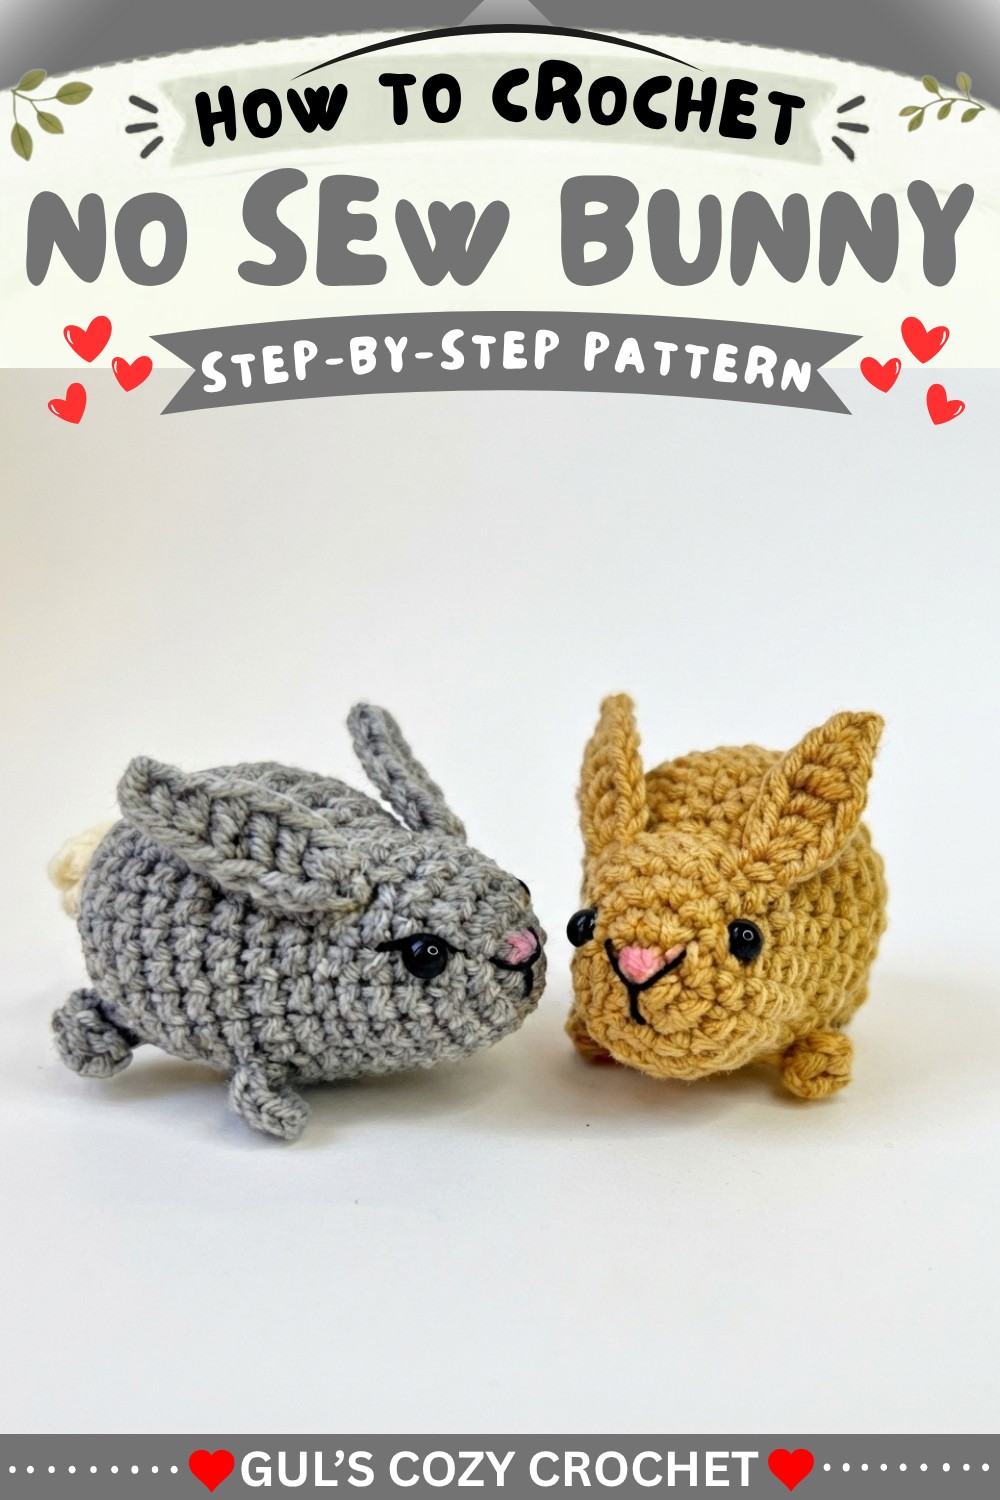
No-Sew Bunny Amigurumi Pattern
This pattern guides you through crocheting a charming no-sew bunny amigurumi in a single continuous piece. All limbs, ears, and tail are worked seamlessly into the body, requiring no assembly. The steps below follow the tutorial precisely, offering clear instructions for every round and stitch.
Pattern Highlights
Key Features
- No-sew technique: The bunny is crocheted in one continuous piece, eliminating assembly.
- Integrated Limbs and Features: Ears, paws, legs, and tail are all worked directly into the rounds.
- Versatile Yarn Options: Works with DK yarn for a small bunny or super bulky chenille for a large plush.
- Realistic Shape: Strategic increases, decreases, and special stitches create genuine bunny proportions.
- Fast and Efficient: Minimal finishing steps make this beginner-friendly and quick to complete.
Notes
- Each round is worked in a spiral; do not join unless specified.
- Use a stitch marker to mark the first stitch of each round.
- Instructions are given for DK weight (small bunny). For larger size, use super bulky chenille yarn and adjust hook size as recommended.
- Safety eyes should be added after the head is shaped and before stuffing is complete.
- Stuff bunny firmly as you crochet, pausing to pack fiberfill especially in head and body.
- For paw and tail instructions, follow stitch-by-stitch directions for shaping and clusters.
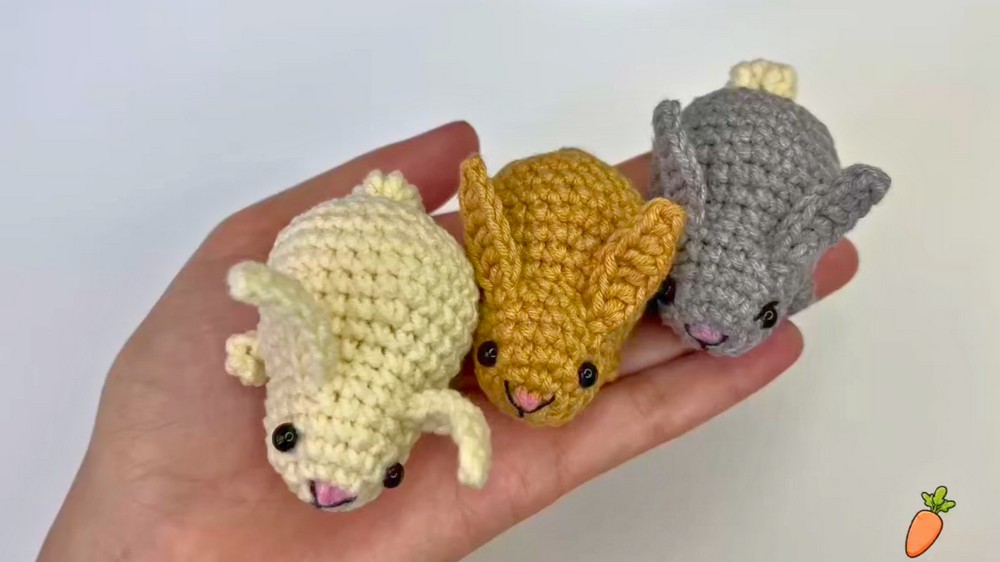
Skill Level
Beginner to Confident Beginner
You should be comfortable crocheting in the round, making basic increases and decreases, and following instructions for working chains and special clusters.
Materials
- Yarn: DK weight (for small bunny) or Super Bulky chenille (for large bunny)
- Hook: 2.5 mm for DK, 4 mm for chenille
- Fiberfill stuffing
- Safety eyes: 4 mm
- Yarn needle
- Stitch marker
- Scissors
Measurements / Sizing
- Small Bunny: Approx. 8–10 cm tall (DK weight)
- Large Bunny: Approx. 20–25 cm tall (chenille yarn)
- Finished size varies based on yarn and stuffing density.
Gauge
Gauge is not critical. Aim for a dense, tight fabric so stuffing does not show through the stitches. Adjust hook size as needed for your yarn.
Stitch Abbreviations
| Abbreviation | Meaning |
|---|---|
| MR | Magic Ring |
| sc | Single Crochet |
| inc | Increase (2 sc in same stitch) |
| dec | Decrease (single crochet 2 together) |
| ch | Chain |
| hdc | Half Double Crochet |
| dc | Double Crochet |
| tr | Treble Crochet |
| sl st | Slip Stitch |
Special Stitches
- Magic Ring (MR): Start with a loop, work stitches into the adjustable ring.
- Cluster (for tail): Multiple treble crochets worked together in one stitch and joined at top, creating a puff/ball.
- Paw/Ear Construction: Chains followed by special stitch sequences to produce shaped limbs and bunny ears, all worked directly onto the body.
Step-By-Step Pattern
Head
- Round 1: Begin with a MR. Crochet 6 sc into the ring.
- Round 2: Inc in every stitch around (12 sc).
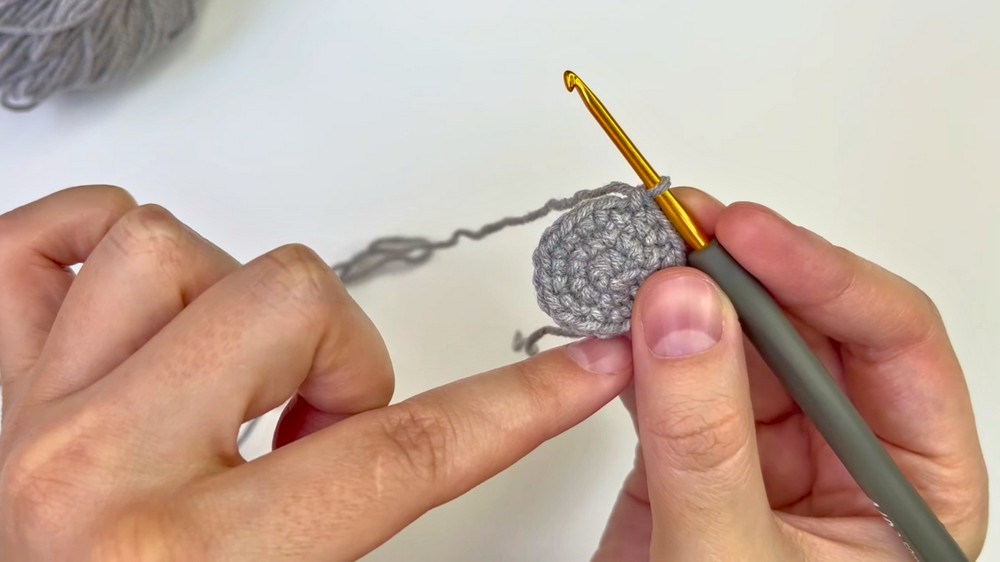
- Round 3: (1 sc, inc) repeat 6 times (18 sc).
- Round 4: 18 sc (one in each stitch).
Ears & Head (worked in Round 5)
- Round 5:
- 7 sc
- Ear 1: Chain 8; skip first ch, work as follows: 1 sc in next ch, 1 hdc in next, 3 dc in next 3 chs, 1 hdc in next, 1 sc in last ch.
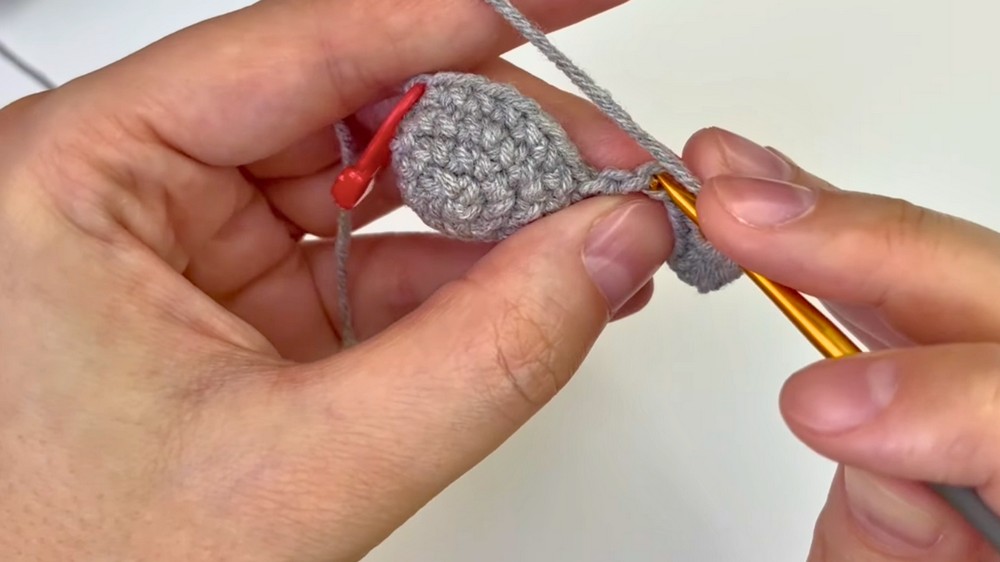
- 4 sc
- Ear 2: Chain 8; skip first ch, work as above: 1 sc, 1 hdc, 3 dc, 1 hdc, 1 sc.
- Finish round with 7 sc
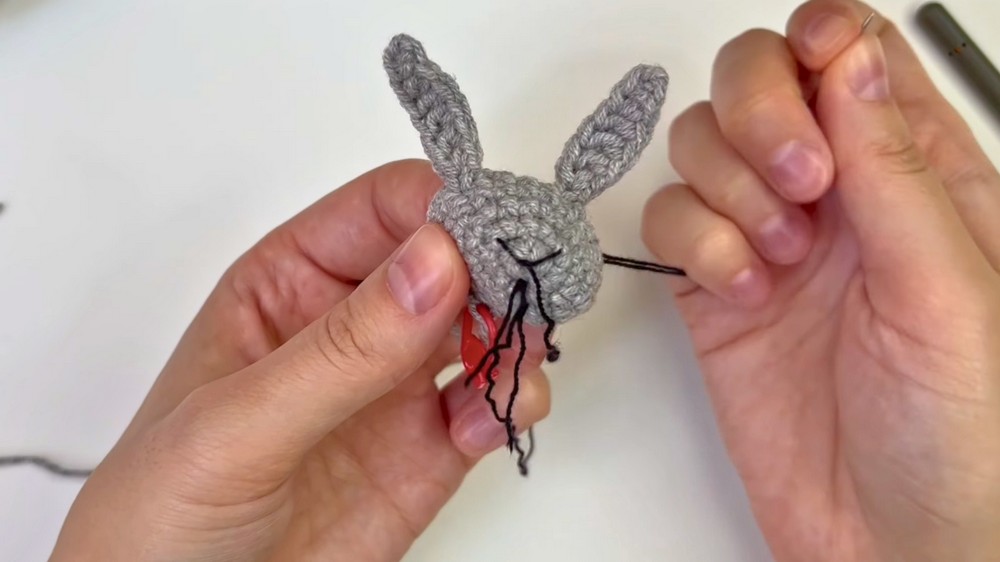
Rounds 6–7:
- sc in every stitch, skipping stitches used for each ear (work only into main head/body stitches).
Body
- Round 8:
- 3 sc
- (1 sc, inc) repeat 6 times (will add 6 increases, total 18 stitches for increase section)
- Finish with 3 sc (total 24 sc for the round)
Front Paws (Round 9)
- Round 9:
- 3 sc
- Front Paw 1: Chain 5; skip first two ch, 3 hdc in remaining chains.
- 18 sc
- Front Paw 2: Repeat paw instruction above: chain 5, skip two, 3 hdc.
- Finish with 3 sc
Body Shaping
- Round 10:
- 7 sc (skip stitches used for paw construction)
- Inc
- 4 sc
- Inc
- 4 sc
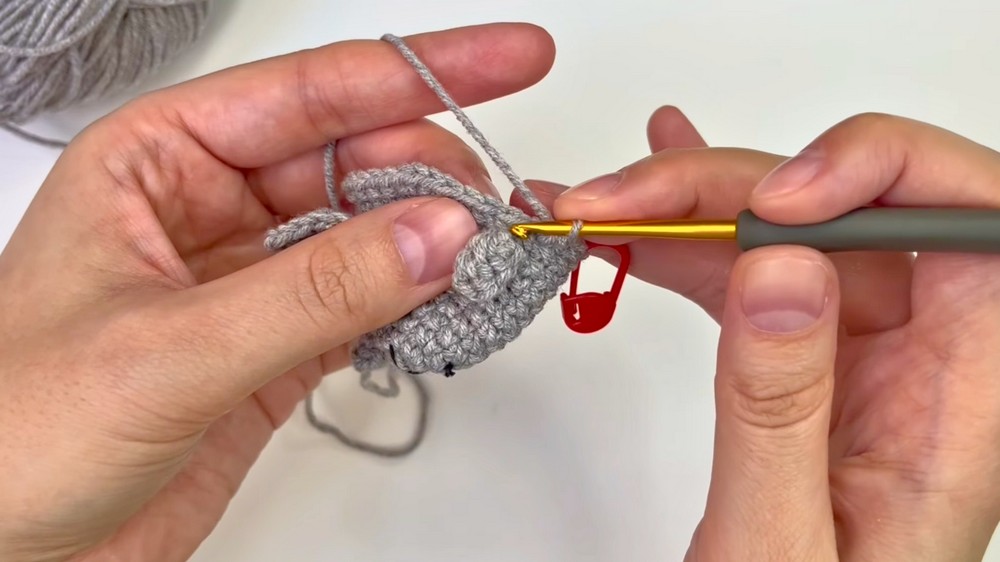
- Inc
- 6 sc
- Round 11:
- 8 sc
- Inc
- 4 sc
- Inc
- 4 sc
- Inc
- 8 sc
- Rounds 12–14:
- sc in every stitch around for three rounds, maintaining established size.
Back Legs & Closing
- Round 15:
- 3 sc
- Back Paw 1: Chain 6; starting in 3rd ch from hook, work 4 hdc.
- Dec
- (3 sc, dec) repeat 4 times
- 2 sc
- Back Paw 2: Repeat paw instruction as above—chain 6, 4 hdc starting in 3rd chain.
- 1 sc
- Dec
- Round 16: (dec, 2 sc) repeat 6 times (reduce to 18 sc).
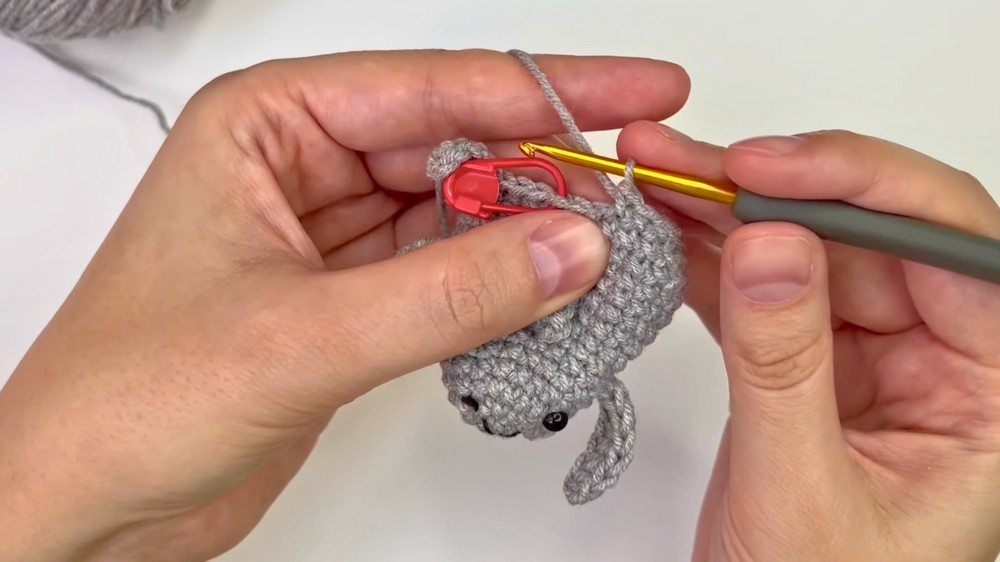
- Round 17: (dec, 1 sc) repeat 6 times (12 sc).
- Round 18: 6 dec (close off the body).
Tail
- Join yarn at the back of the bunny.
- Chain 3.
- Cluster 1: Make a 3-treble crochet cluster in one stitch.
- Cluster 2: Make a 2-treble crochet cluster in the next stitch.
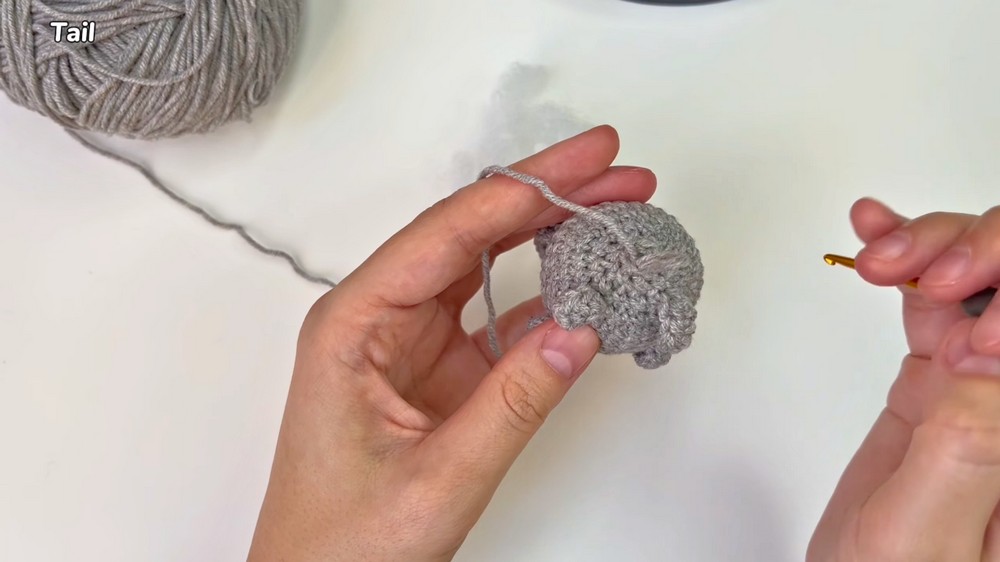
- Chain 3, sl st to bunny body to finish.
Assembly & Finished Size
- Insert safety eyes in the head after Round 7 and before finishing stuffing.
- Stuff bunny firmly.
- Weave in all yarn ends with yarn needle.
- Shape ears, limbs, and tail by hand for a classic bunny silhouette.
- Final bunny measures:
- Small (DK yarn): 8–10 cm tall,
- Large (chenille yarn): 20–25 cm tall,
- No sewing required; bunny is ready straight off the hook.
Conclusion
You have completed a delightful no-sew bunny, crocheted continuously in one piece for efficient construction and seamless charm. With integrated ears, paws, legs, and tail, this pattern is both approachable and creative, perfect for beginners and quick gifts.