Crochet Pouting Baby Key Cover Pattern (Free Beginner Friendly Tutorial)

Make your keys adorable and organized with this free crochet pouting baby key cover pattern, offering easy steps to creaate a cute accessory.
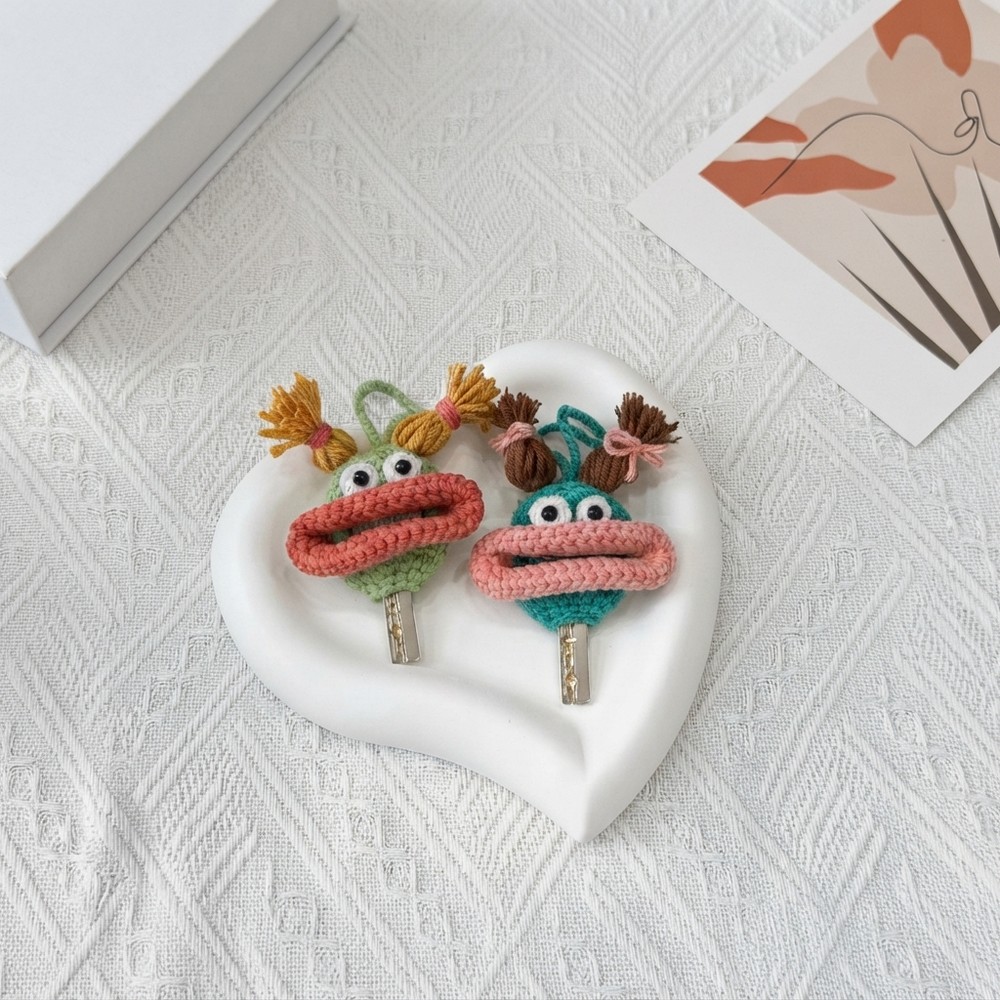
There is something really fun about turning a simple key into a cute little character, and that’s what happened when I made the Free Crochet Pouting Baby Key Cover. This small project is about making a tiny baby face that fits perfectly over your key. It makes your keys look special and sweet. It’s a great little gift for someone who likes fun decorations or a nice way to make your own keys stand out.
Adorable Free Crochet Pouting Baby Key Cover Pattern
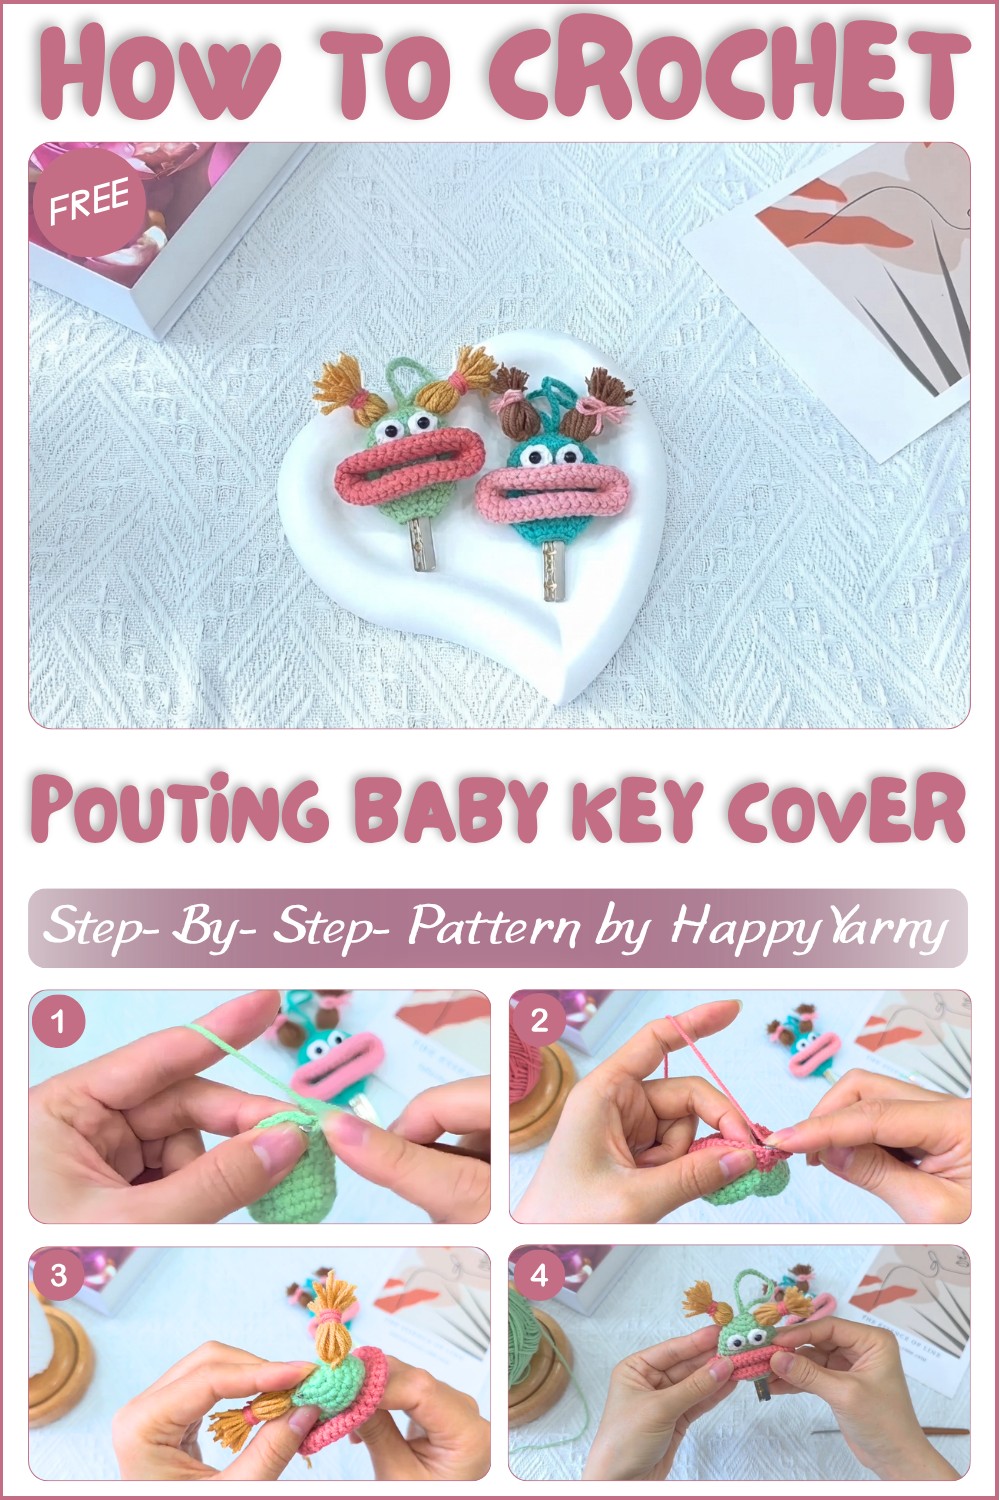
When I first watched the video tutorial on the “HappyYarny” YouTube channel, I enjoyed it right away. The instructions were easy to follow. The video shows how to start by making a small circle for the baby’s face. Then, step by step, the face takes shape with the little pouting lips and round cheeks. Watching the cover come to life in the video helped me understand each step and made the whole process relaxing and fun.
If you want to see the full video, just scroll down.
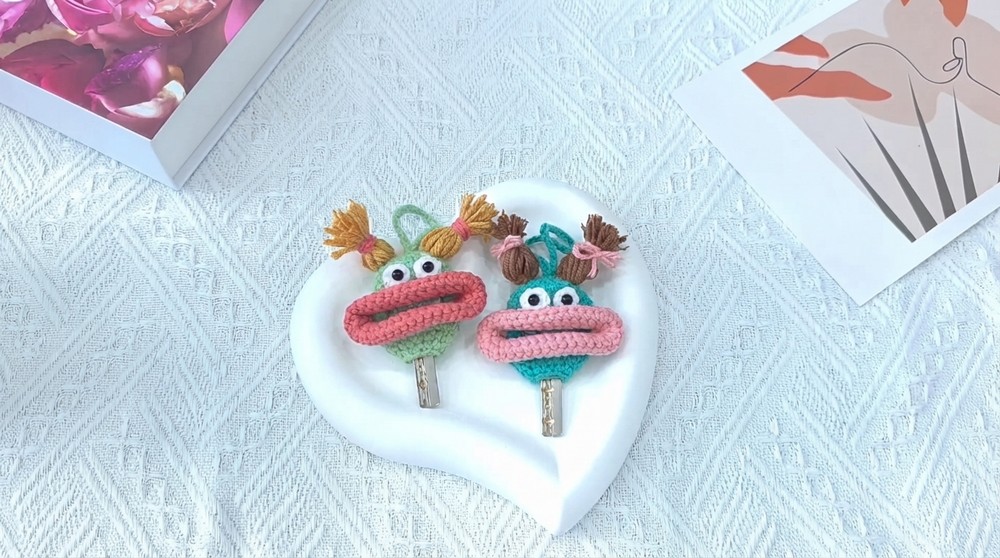
The key cover feels soft because it uses medium-weight cotton or acrylic yarn. It holds its shape well but still feels nice to touch. The round shape fits most keys and makes them easier to find. The best part is the pouting face, it’s simple but full of charm.
This is a quick and easy project that makes a cute and useful item. Whether you are new to crochet or know a lot, this project is fun and rewarding. It can brighten your keys and your day.
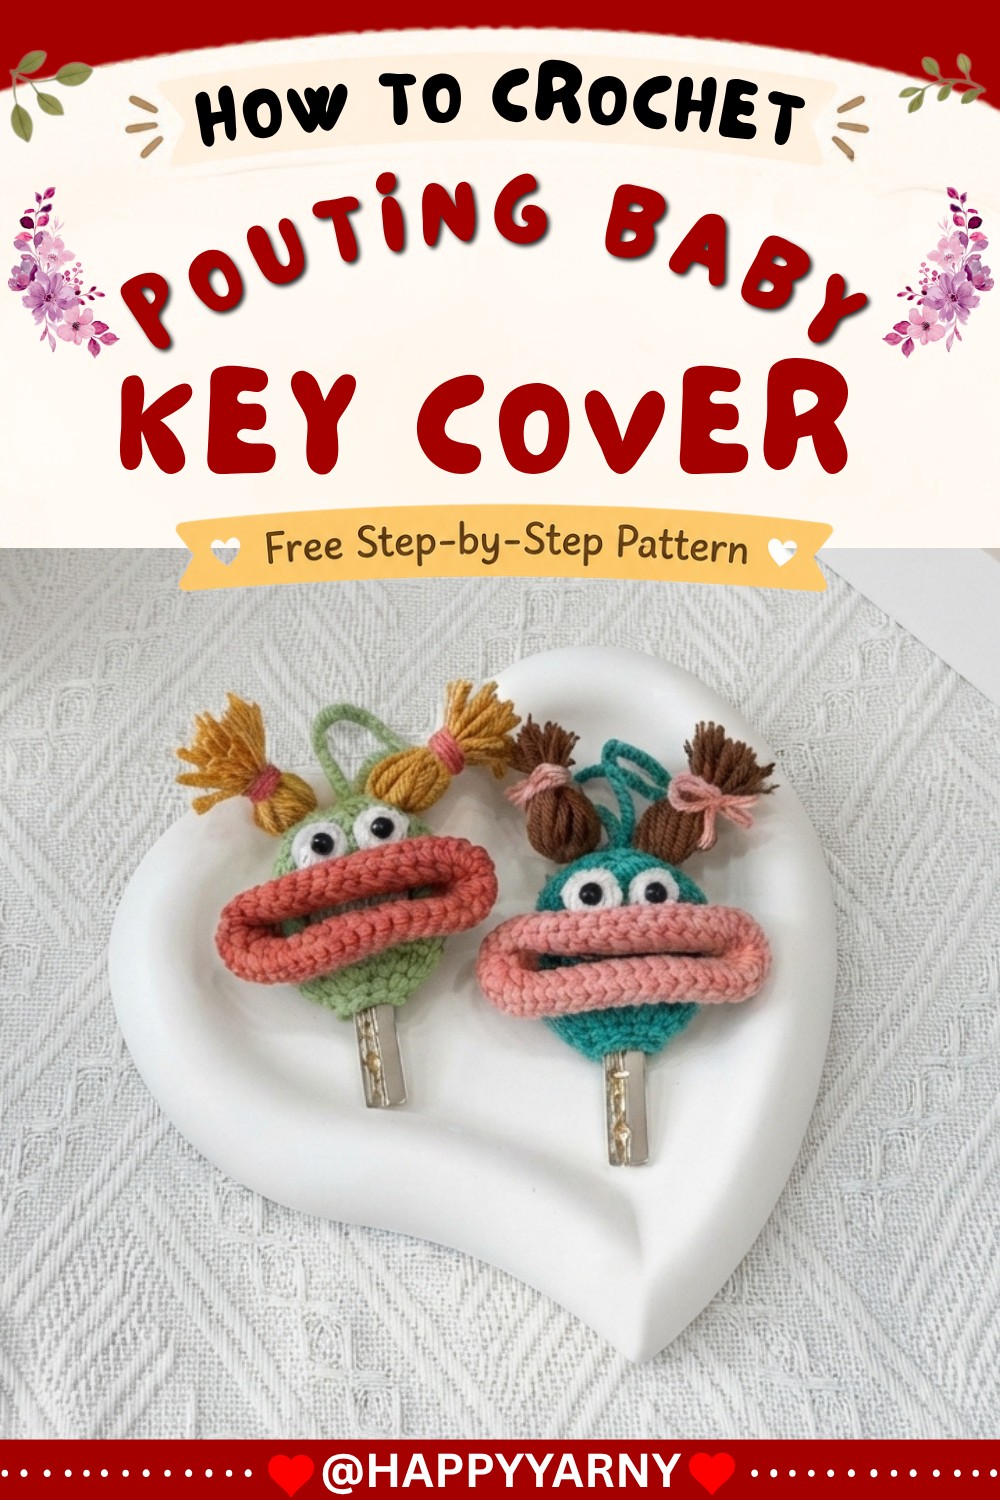
Pouting Baby Key Cover Crochet Pattern
If you’re looking for an adorable, functional way to keep your keys safe, this Pouting Baby Key Cover is the perfect project! This detailed pattern takes you step by step through making the head, the pouting mouth, and the cute details like hair and eyes. This little accessory is fun to create and makes a fantastic gift or a kawaii addition to your everyday carry.
Quick Overview Of Pattern
- Head: Crocheted in the round with a key insertion opening.
- Mouth: 2D “pouting” design, worked directly onto the base.
- Hair, Eyes, Keychain Strap: Simple embroidery, crochet, and assembly.
- Customizable: Use different colors for hair or accessories.
- Keyhole: Created for sliding key in and out easily.
Notes
- Written in US crochet terms.
- Invisible decrease is recommended for smooth finish.
- Work in continuous rounds unless otherwise specified.
- Adjust hook size for tighter or looser fit as needed.
- Stuffing is optional but gives a fuller effect.
- Safety glue may be used to attach eyes or details, but sewing is also acceptable.
Skill Level
Advanced Beginner
- Techniques: Magic ring, single crochet, increase, invisible decrease, working in the round, simple sewing, and basic assembly.
Materials
- Worsted-weight cotton or acrylic yarn: Skin color, Pink, White, Brown
- Small amount of pink yarn or embroidery thread (for hair tie)
- 2.5–3.5 mm crochet hook (adjust for key thickness)
- Yarn needle/scissors
- Craft glue (for eyes, optional)
- Key ring
- Stitch marker
Measurements / Sizing
- Finished head ≈ 4.5–5.5 cm diameter (unstuffed)
- Mouth: 3.5–4 cm across
- Total cover length: fits over standard metal house key (4–5.5 cm key head)
- Strap: adjustable to preference.
Gauge
- Not crucial for amigurumi, but aim for tight stitches so stuffing doesn’t peek through.
- Sample swatch: 5 rounds of sc in the round ≈ 3 cm across.
Stitch Abbreviations
- ch – chain
- sc – single crochet
- inc – increase (2 sc in same st)
- inv dec – invisible decrease (see below)
- sl st – slip stitch
- st – stitch
Special Stitches
Invisible Decrease (inv dec):
Insert hook in front loop only of next 2 stitches, yarn over, pull through both loops (2 loops on hook), yarn over, pull through both.
Magic Ring:
Make a loop, insert hook, yarn over and pull up loop, ch 1, then begin your stitches in center of loop.
The Crochet Pattern
The Head
- Round 1:
Make 6 sc into a magic ring. (6) - Round 2:
2 sc in each st around. (12) - Round 3:
(1 sc, inc) × 6. (18) - Round 4:
(1 sc, inc, 1 sc) × 6. (24) - Rounds 5–8:
1 sc in each st around. (24 sts each round; 4 rounds) - Round 9:
Sc in next 6 sts, ch 12, skip 12 sts, sc in last 6 sts. (Forming an opening for key insertion; total 24) - Rounds 10–11:
1 sc in each st (6 sc, 12 sc over chs, 6 sc). (24 sts per round; 2 rounds)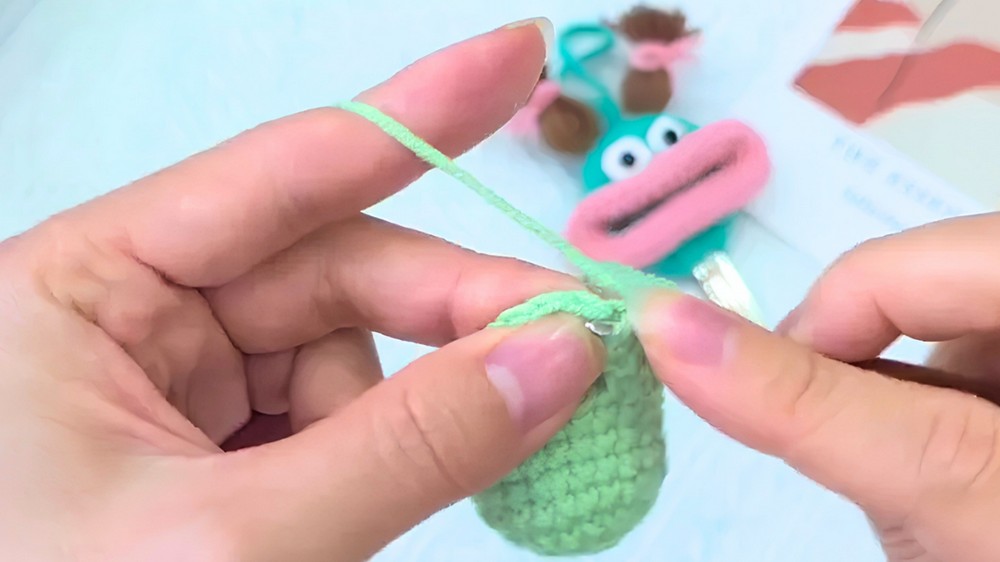
- Round 12:
(8 sc, inv dec) × 2, 4 sc. (22 sts) - Round 13:
(1 sc, inv dec) × 7, 1 sc. (15 sts) - Round 14:
(1 sc, inv dec) × 5. (10 sts)
Fasten off. (Optional: lightly stuff for fullness.)
The Mouth
- Setup:
Beginning at the first stitch at the base (use photo/video for placement), join pink yarn, ch 1 to secure.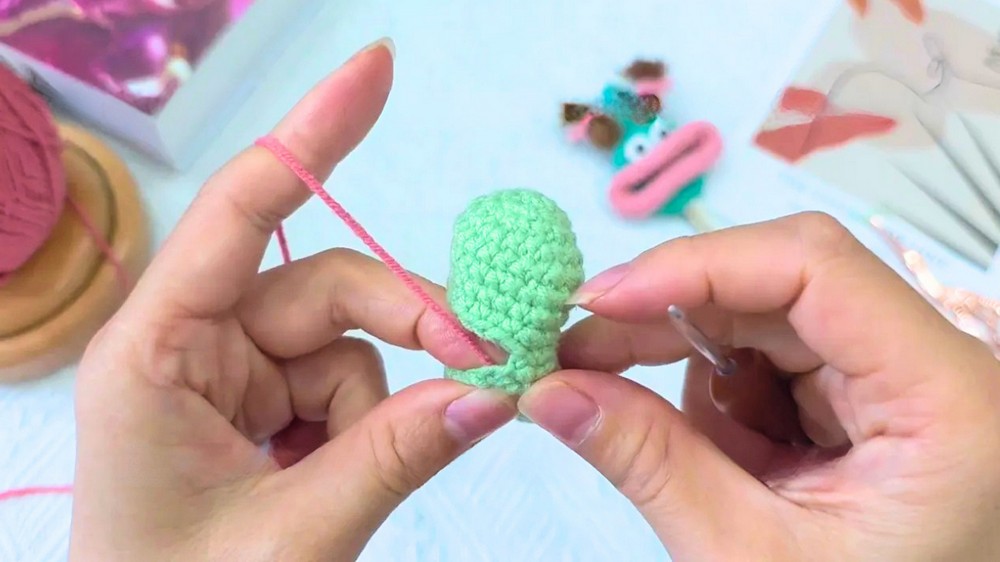
- Round 1:
Sc in first st of the body, sc in next 11 sts, 2 sc in the corner, sc in next 12, 2 sc in the corner. (28 sts) - Round 2:
Sc in next 12 sts, inc in next 2 sts, sc in next 12 sts, inc in next 2 sts. (32 sts) - Round 3:
Sc in next 12 sts, inc in next 4 sts, sc in next 12 sts, inc in next 4 sts. (40 sts) - Round 4:
Sc in each st around. (40 sts)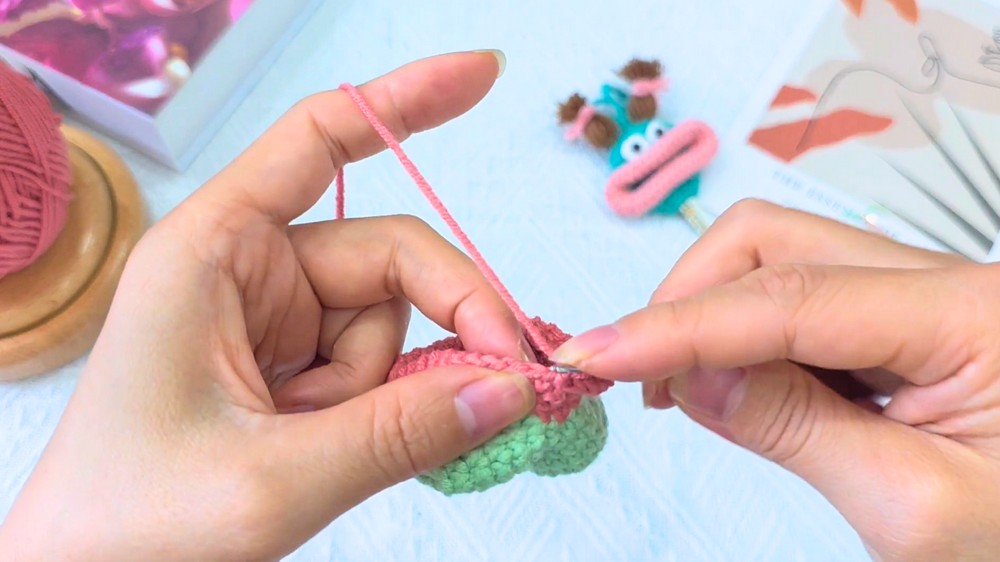
- Round 5:
Sc in next 12 sts, (inv dec) × 4, sc in next 12 sts, (inv dec) × 4. (32 sts)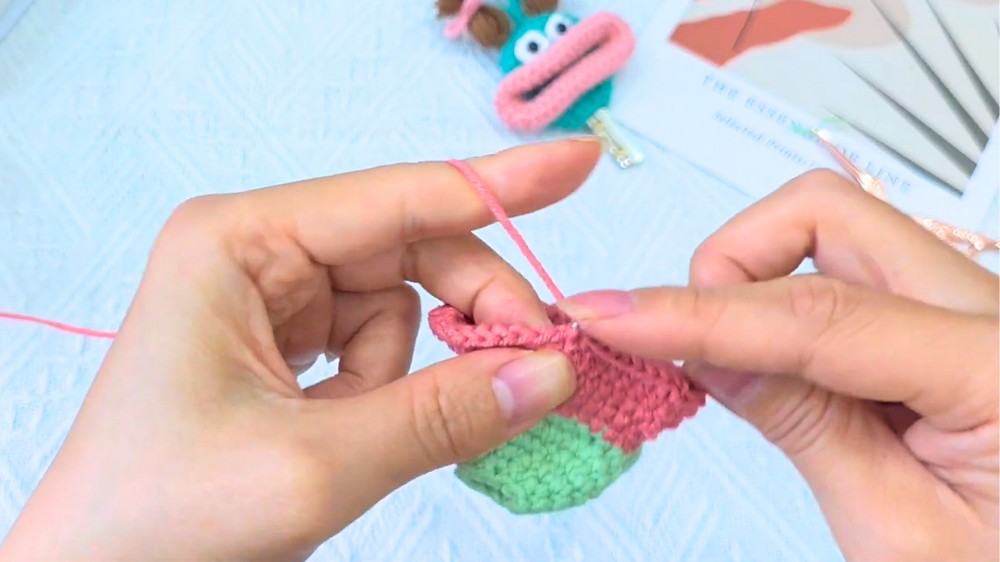
Fasten off, leaving a tail for weaving or shaping. Embroider pouting lip details if desired.
Details
Hair:
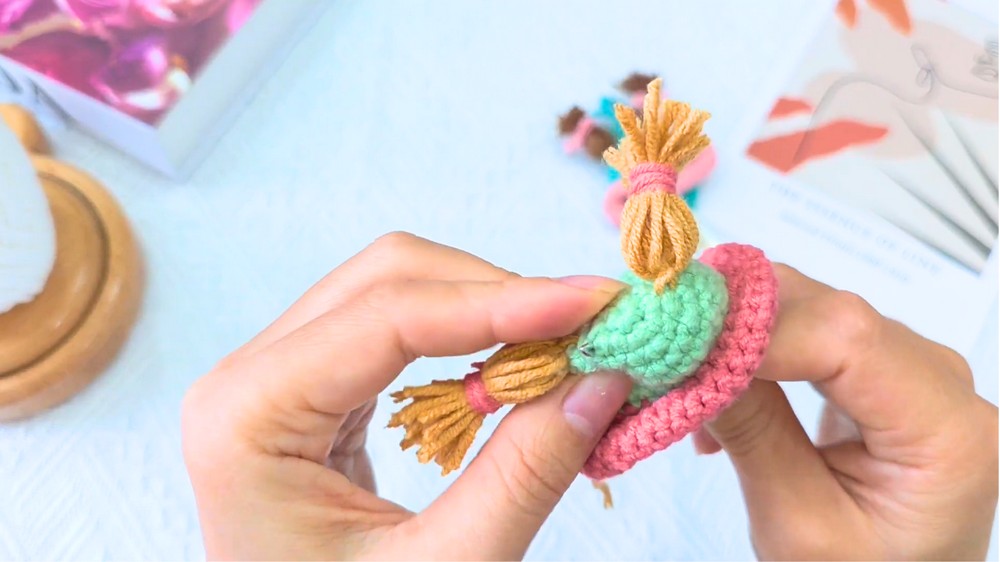
- Wrap brown yarn around your hand several times to form a bundle.
- Tie a length of yarn tightly at the center of the looped bundle.
- Cut through all the loops on both sides (you will have a strand of yarn hair).
- Use a pink yarn piece as a “hair tie,” making a ponytail.
- Make a second hair bundle in the same way.
- Attach the bundles to top/side of head as desired with yarn needle or glue.
Eyes:
- With white yarn: Magic ring, work 6 sc into the ring.
- Fasten off, weave ends (or leave tails for attaching).
- Attach (sew or glue) to face above mouth.
Keychain Strap:
- With main or matching color, ch to desired strap length.
- Join with a sl st to form a loop.
- Attach securely to the center top of the baby’s head.
Assembly & Finished Size
- Sew/weave in all yarn ends securely.
- Attach mouth panel directly to the lower part of head base (from Round 9’s split).
- Glue or sew eyes onto face.
- Attach hair bundles to top-sides of head.
- Attach keychain strap to the crown of the head.
- If desired, glue/blush/color cheeks lightly for extra cuteness.
- Insert keys through the opening (Round 9).
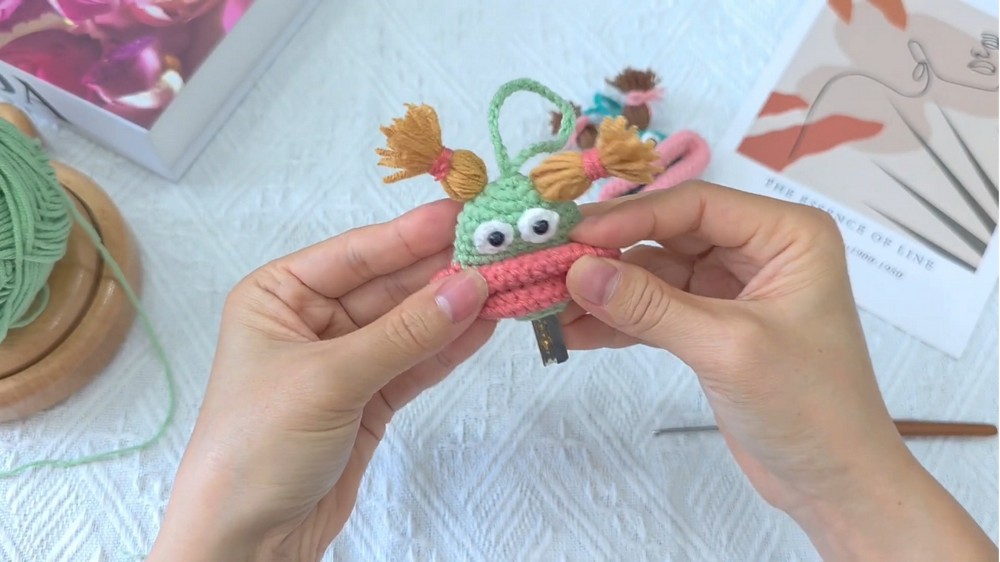
- Finished Size: Approx. 5 cm wide × 7 cm tall without the strap.
Conclusion and Ending Words
You’ve now made an adorable Pouting Baby Key Cover! This sweet and expressive key accessory is both practical and cute, making it a perfect gift or addition to your own bag or pocket. Enjoy customizing features like the hairstyle, mouth shape, or color. If you liked this pattern, don’t forget to share your creation and keep crocheting more cute designs.