
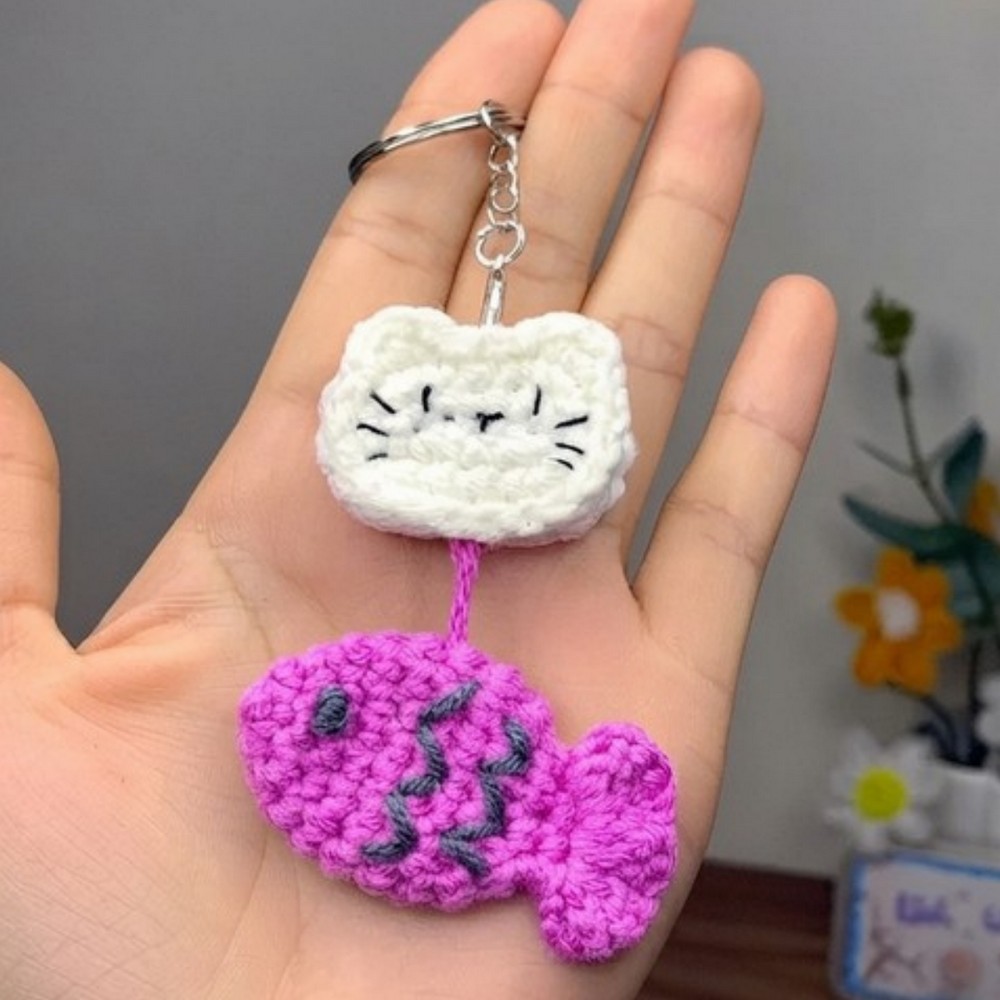
Free Crochet Cat & Fish Keychain Pattern – Easy Amigurumi

Easily make an adorable accessory with this Free Crochet Cat & Fish Keychain Pattern, featuring simple steps to design a cute and functional keychain.
Making small, cute keychains is such a fun way to add a personal touch to your keys or bags, and I really enjoyed creating these tiny animal friends. The free crochet Cat & Fish Keychain pattern is a wonderful project for anyone who wants to make charming and useful accessories. These keychains aren’t just adorable collectibles, they also make thoughtful gifts that can bring a smile to someone’s face or decorate your belongings with a bit of personality.
Free Crochet Cat & Fish Keychain Pattern for Key Rings & Bags
Randomly, I was scrolling on YouTube when I saw this cat and fish keychain video pop up on Easy Crochet channel. The creator’s clear and friendly instructions made me want to try it right away. The video walks you through each step carefully, showing how to shape both the cat’s face and the fish with simple, easy-to-understand guidance. It’s perfect for anyone who wants to start making these cute little keychains, no matter their experience level.
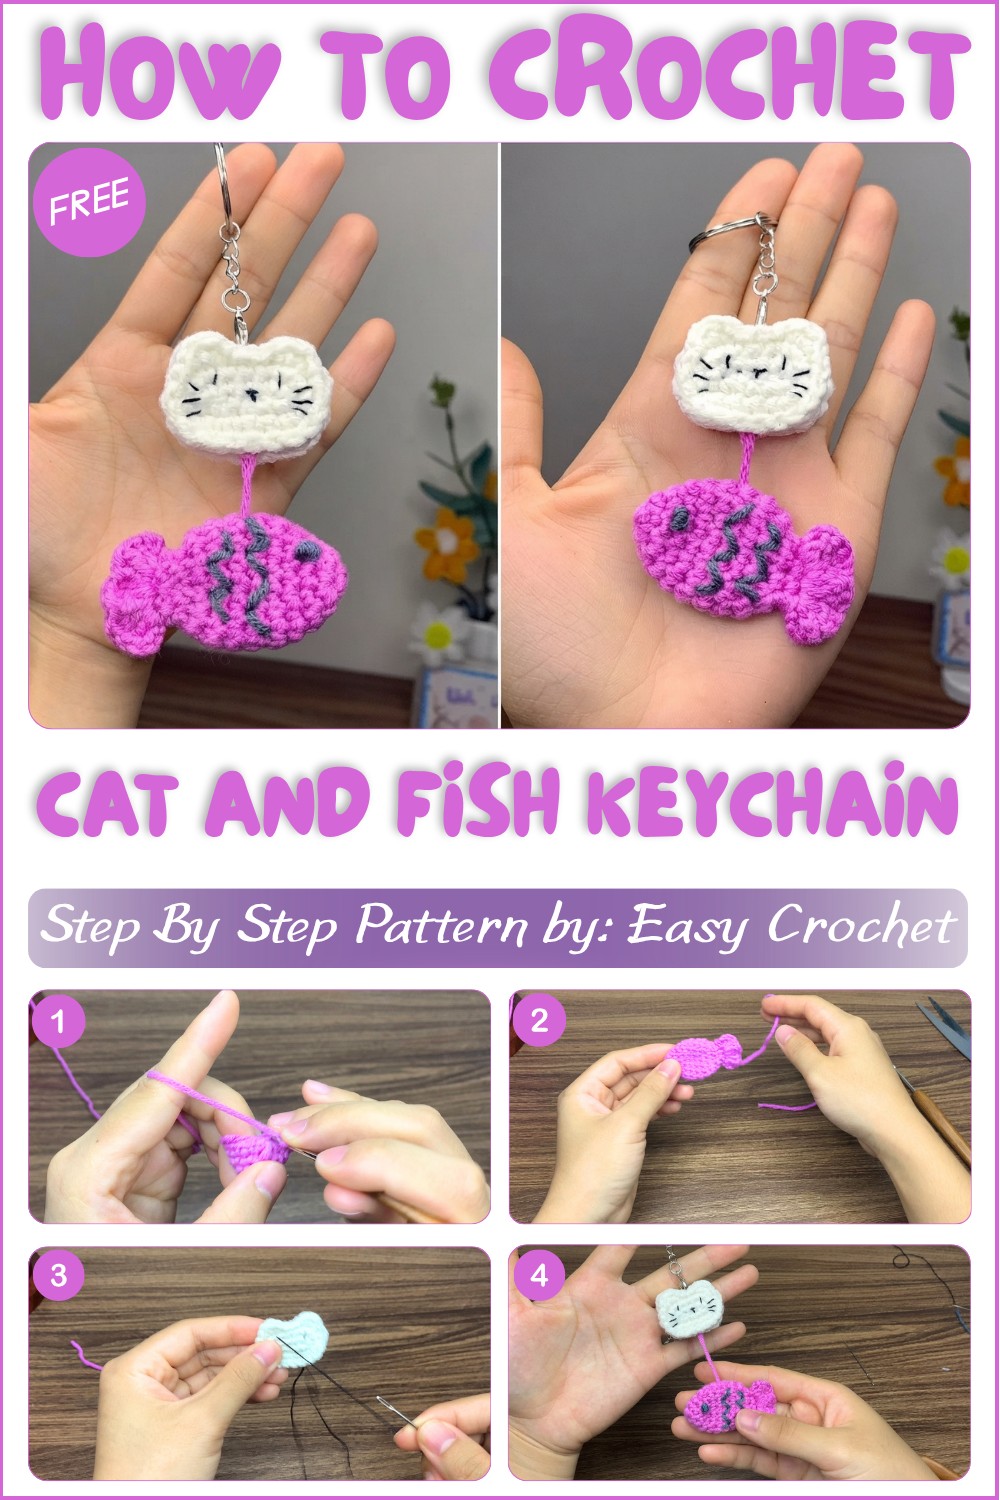
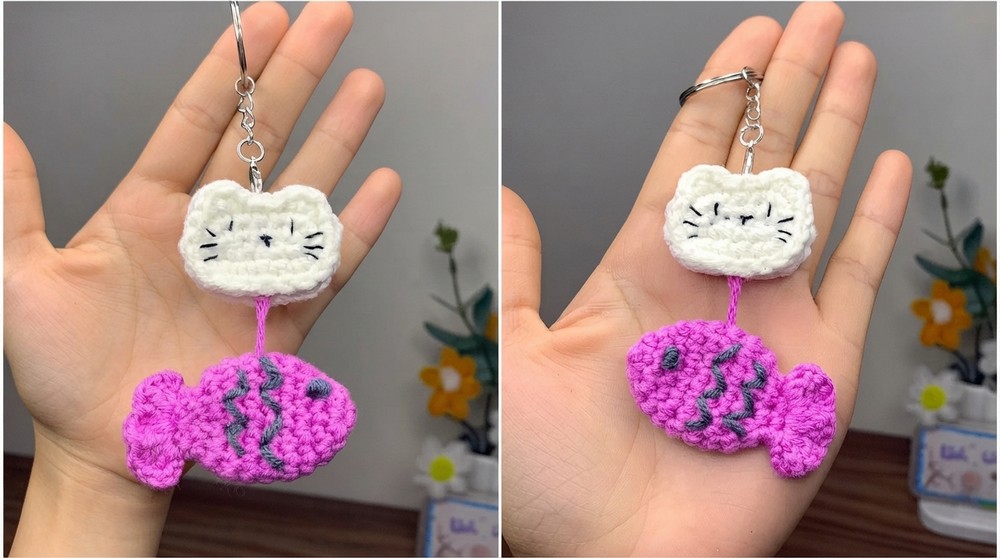
The cat and fish have a soft, smooth feel and hold their shape nicely, thanks to neat stitching throughout. The cat’s face is expressive with bright eyes and a small nose, giving it lots of character. The fish has a rounded, compact form with charming details that make it stand out. Both are small enough to carry everywhere but full of personality. Their playful look and gentle curves make them perfect for adding some flair to your keys, backpack, or even as little collectibles to share with friends.
If you want a fun, easy project that’s rewarding and looks great, this free crochet Cat & Fish Keychain pattern is a fantastic choice. It suits beginners and experienced makers alike and results in items you’ll love to use or gift.
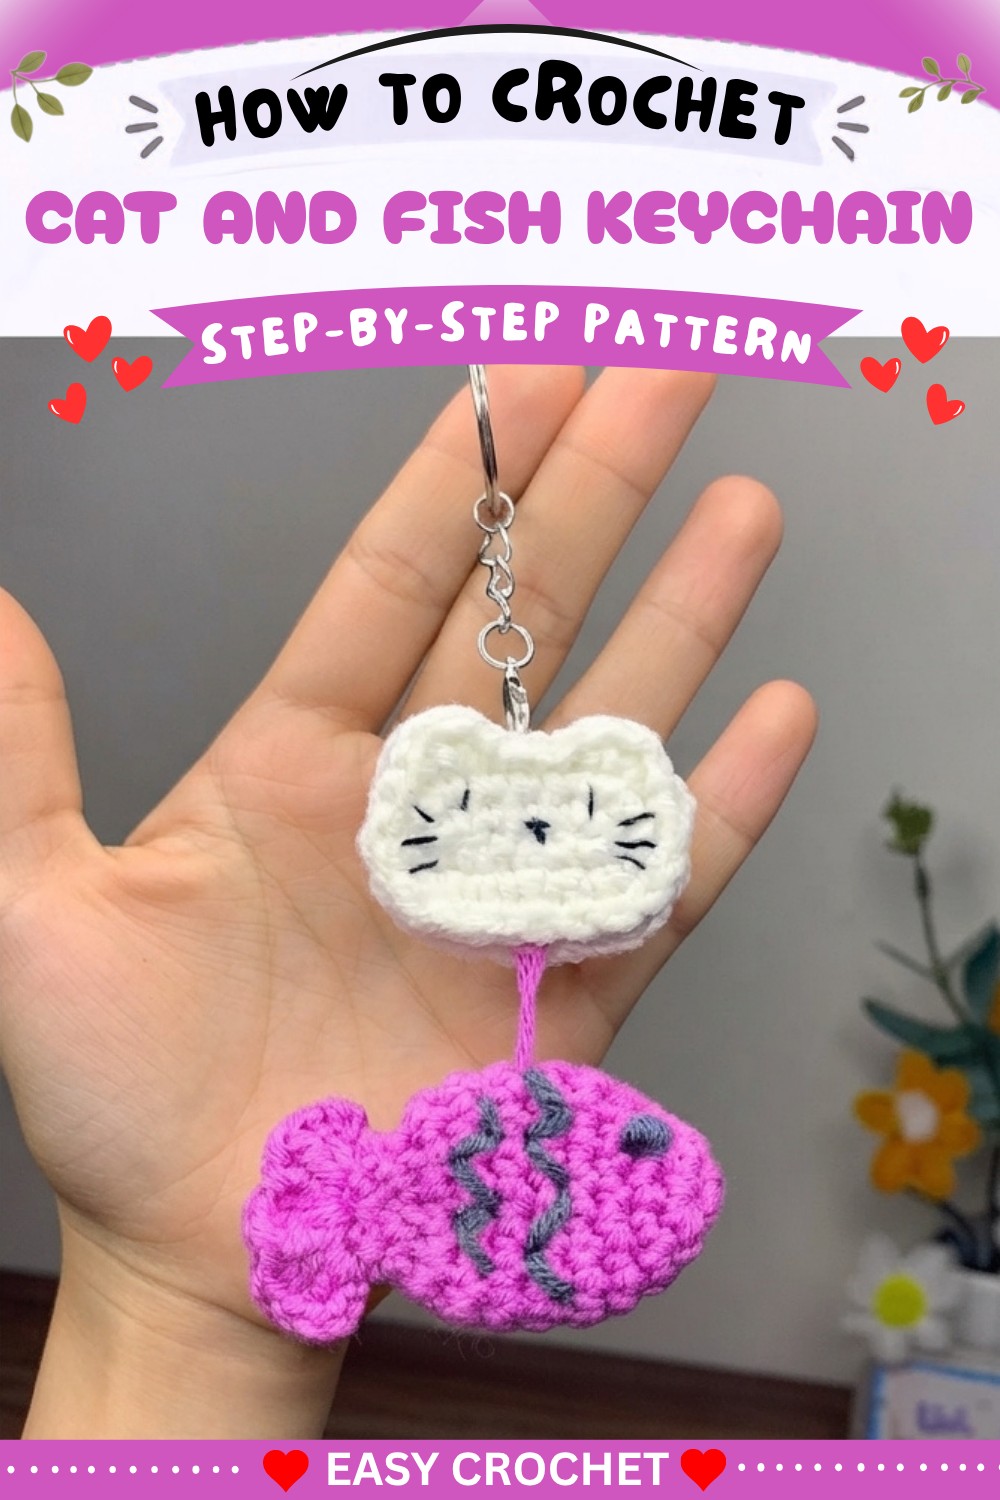
Cat & Fish Keychain Crochet Pattern
We’ll crochet a delightful keychain featuring a cat face and a simple fish motif. The process is clear and enjoyable, suitable for beginners and those seeking a quick, charming project. Let’s get started and crochet along—step by step!
Quick Overview Of Pattern
- The pattern features two main parts: a fish and a cat face.
- Both pieces are crocheted in the round with basic increases and decreases.
- The cat face is worked twice, then sewn together for thickness.
- The fish is a simple amigurumi shape.
- Embellishments (eyes, nose, mouth) are added via embroidery.
- Parts are sewn or glued together; a string or hook is attached for hanging.
Notes
- Mark your rounds using a thread or stitch marker to ensure accuracy.
- You may use black yarn to embroider facial features or glue/sew on beads for eyes and nose.
- If you do not have glue, sewing the pieces together is perfectly acceptable.
- Adjust hanging string length as per your preference.
- Thick cotton yarn (approx. 2 mm) is recommended for a tidy, compact shape.
Skill Level
Beginner
If you know basic crochet stitches (single crochet, increase, decrease, slip stitch) and amigurumi technique, you’ll be comfortable.
Materials
- Cotton wool yarn (approx. 2 mm thick), 5 strands
- Crochet hook: 2.5 mm
- Sewing needle
- Black thread/yarn (for embroidering eyes, nose, mouth)
- Stitch marker or scrap thread
- Scissors
- Glue (fabric/hot glue/candle glue) for attaching parts (optional)
- Stuffing (fiberfill or yarn scraps)
- Red string (for hanging, optional)
Measurements / Sizing
- Cat face: approx. 4–5 cm wide
- Fish: approx. 3–4 cm
- Hanging string: approx. 7–10 cm (adjust to taste)
- Overall keychain: palm-sized
Gauge
Gauge is not crucial for this pattern; use a hook and yarn combination that gives a tight, non-gap texture.
Stitch Abbreviations
- ch: chain
- sc: single crochet
- sl st: slip stitch
- inc: increase (2 sc in the same stitch)
- dec: decrease (sc 2 together)
Special Stitches
- Magic Circle: Create a tight loop for seamless starts.
- Increase: 2 sc in the same stitch.
- Decrease: Insert hook in next 2 stitches, yarn over, pull through both, then yarn over and pull through the remaining loops.
The Crochet Pattern
Part A: Fish
Step 1: Magic Circle Start
- Hold the thread as shown in video.
- Create a magic circle.
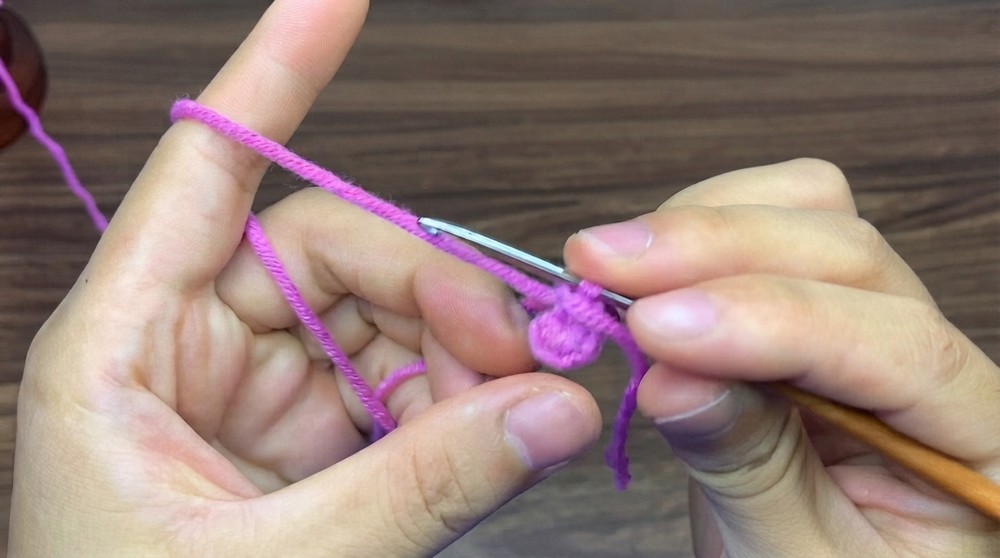
Step 2: Round 1
- 6 sc in the magic circle. (6 sts)
- Pull tight to close the loop.
Step 3: Round 2 (Mark your round)
- In the first stitch, sc 1.
- In the next stitch, 2 sc (inc).
- Continue: alternate sc 1, then 2 sc (inc) in the next, all the way around.
- End up with 12 sts.
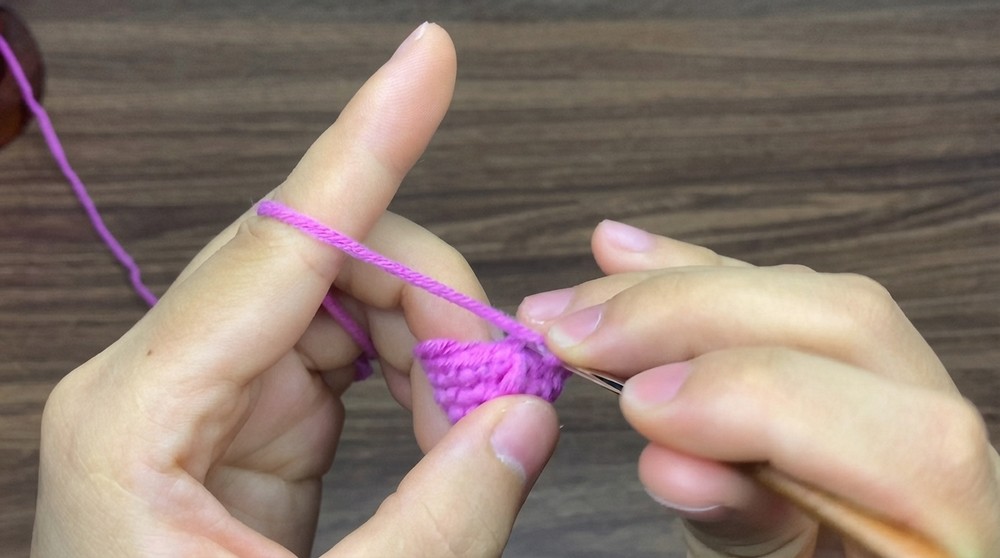
Step 4: Round 3
- (sc 1, inc) three times
- Repeat: sc 1, 2 sc (inc), for three sets.
Step 5: Round 4
- (sc 3, inc) three times:
- sc 1
- sc 2
- sc 3
- inc
- Repeat this pattern for three groups.
Step 6: Round 5
- Work 1 sc in each stitch around.
- Count 15 sts as you go.
Step 7: Rounds 6–8
- Repeat round 5: 15 sc per round.
- “Draw the markers” so you keep track. End after finishing round 8.
Step 8: Round 9
- (sc 3, dec) three times:
- sc 1
- sc 2
- sc 3
- dec
- Repeat for three groups.
Step 9: Round 10
- 6 decreases across, working dec in each stitch.
- End up with 6 sts.
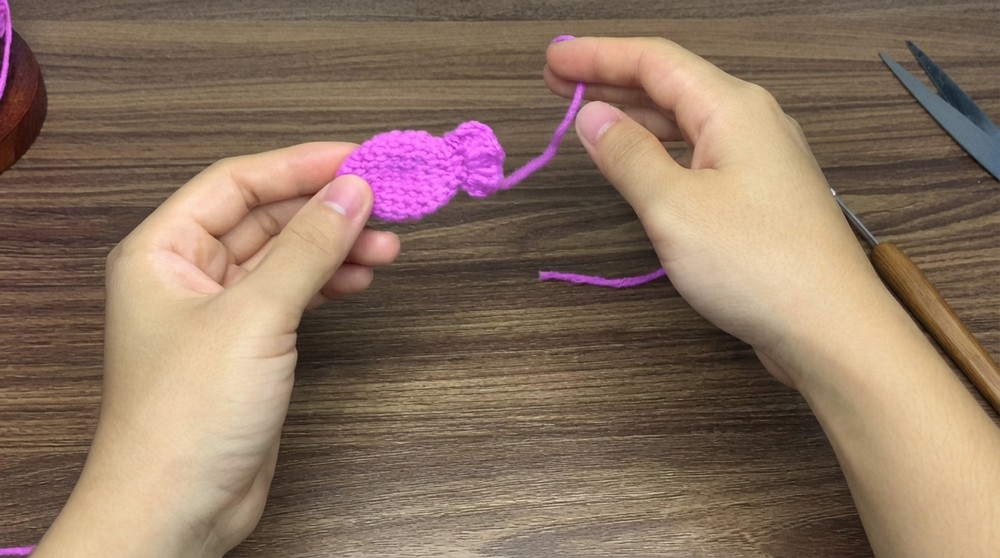
Step 10: Finish Fish
- Pull yarn through all stitches, slip stitch to close.
- Chain one if desired, begin threading through stitches to close up the end.
- Add stuffing before finishing.
- Sew up tightly and hide ends.
Part B: Cat Face (Make 2)
Step 1: Start Center
- Form a knot and create a ring; arrange short and long strands as shown.
- Pull through to make 6 sc in the circle. (6 sts)
Step 2: Round 1
- Insert hook into the fifth stitch, sc 1 (mark this).
- sc 1 in next three stitches for a total of 4 sc straight.
Step 3: Side Increase
- In the last stitch, work 3 sc in the same spot.
Step 4: Edge
- On the other side, sc 3 in a row.
Step 5: Last Stitch Increase
- In the very last stitch, 2 sc in the same spot.
Step 6: Close First Row
- Slip stitch to the marked position and pull tightly.
Step 7: Round 2
- Chain one to begin.
- In first stitch, inc (2 sc).
- Mark this as round start.
- 3 sc in a row.
- 3 sc (each in their own stitch).
- sc 3 again, followed by 2 sc at last stitch.
- Slip stitch and pull tight.
Step 8: Round 3
- Chain one to start.
- Slip stitch to first stitch.
- Next: sc 1, then a half double crochet.
- In the same “ear” position, make a half double crochet and sc 1.
- Continue making 3 slip stitches.
- Repeat for the other ear: sc 1, half double crochet, sc 1.
- Work 12 sc in total around, slip stitch to close.
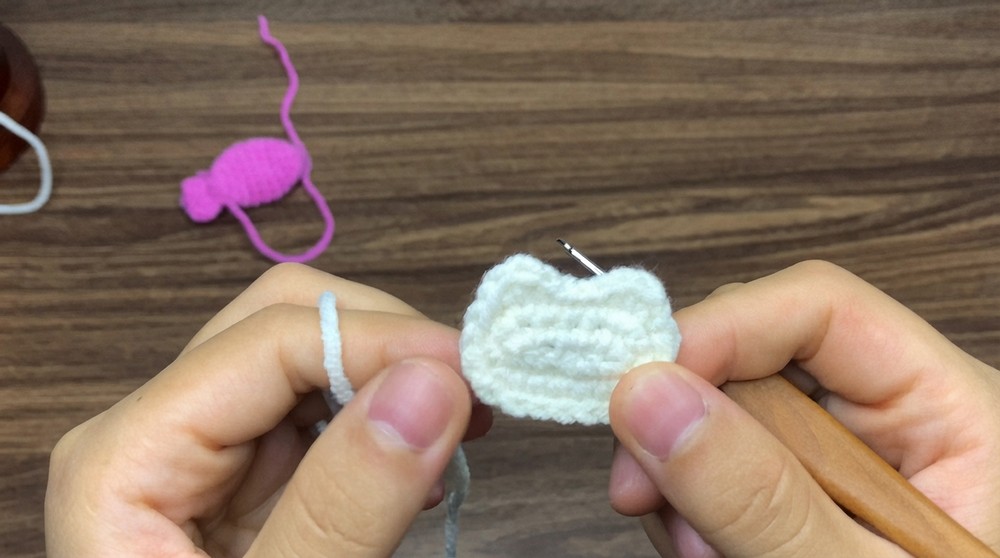
Step 9: Finish Two Pieces
- Make two identical cat face pieces.
- Sew or glue together, leaving a gap for stuffing if desired.
Part C: Facial Features & Hanging
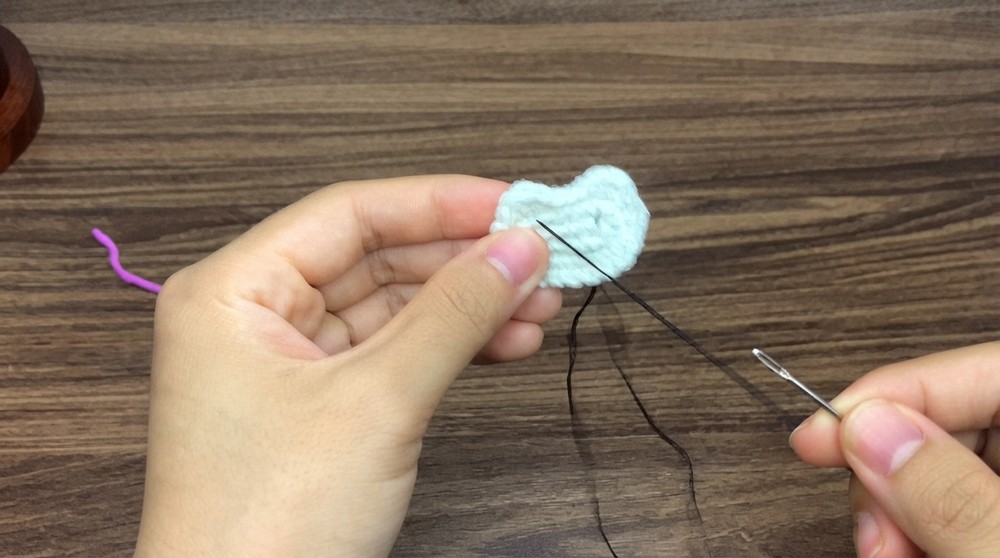
Step 1: Embroidering
- Using black thread/yarn, sew or embroider eyes, nose, and mouth onto the cat face.
- Position the features symmetrically for a cute look.
Step 2: Hanging Loop
- If you have a hook, attach at the top.
- Alternatively, use red string or braid a yarn loop and fasten securely.
Assembly & Finished Size
- Attach fish to bottom or side of cat face using glue or thread.
- Make sure all parts are securely fastened.
- Attach hook or hanging string at the top for easy use as a keychain.
- Weave in all ends, hide yarn tails, and double check seams.
- Stuff the fish and cat head lightly for a plush effect.
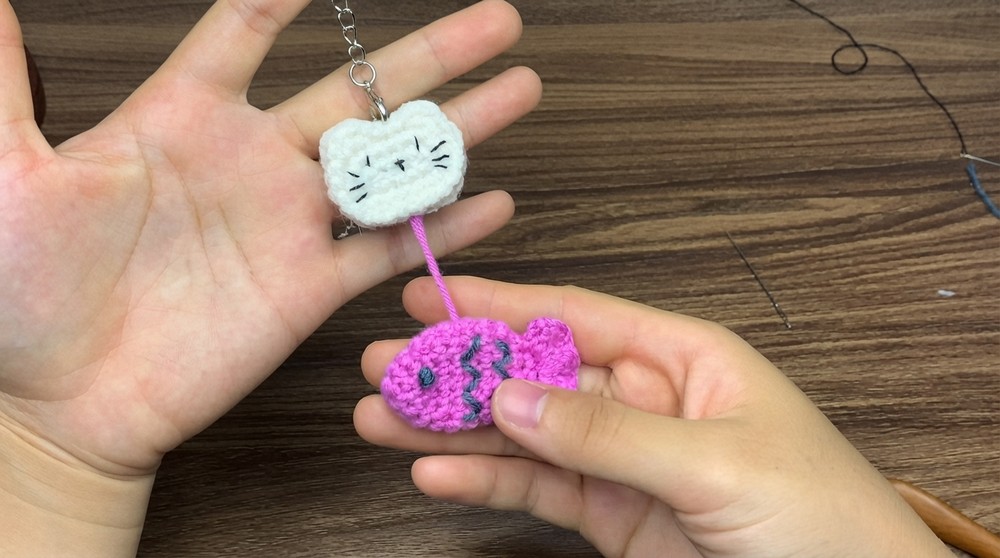
Finished size should be palm-sized, cat face approx. 4–5 cm, fish approx. 3–4 cm, with hanging loop 7–10 cm.
Conclusion and Ending Words
That’s it! We’ve just finished crocheting a charming cat keychain with a fish. The steps are beginner-friendly and quick, and the result is both adorable and functional.

![[NO-SEW] Mini Crochet Duck Keychain Easy Amigurumi Tutorial (9)](https://claireabellemakes.com/wp-content/uploads/2026/07/NO-SEW-Mini-Crochet-Duck-Keychain-Easy-Amigurumi-Tutorial-9-768x768.jpg)