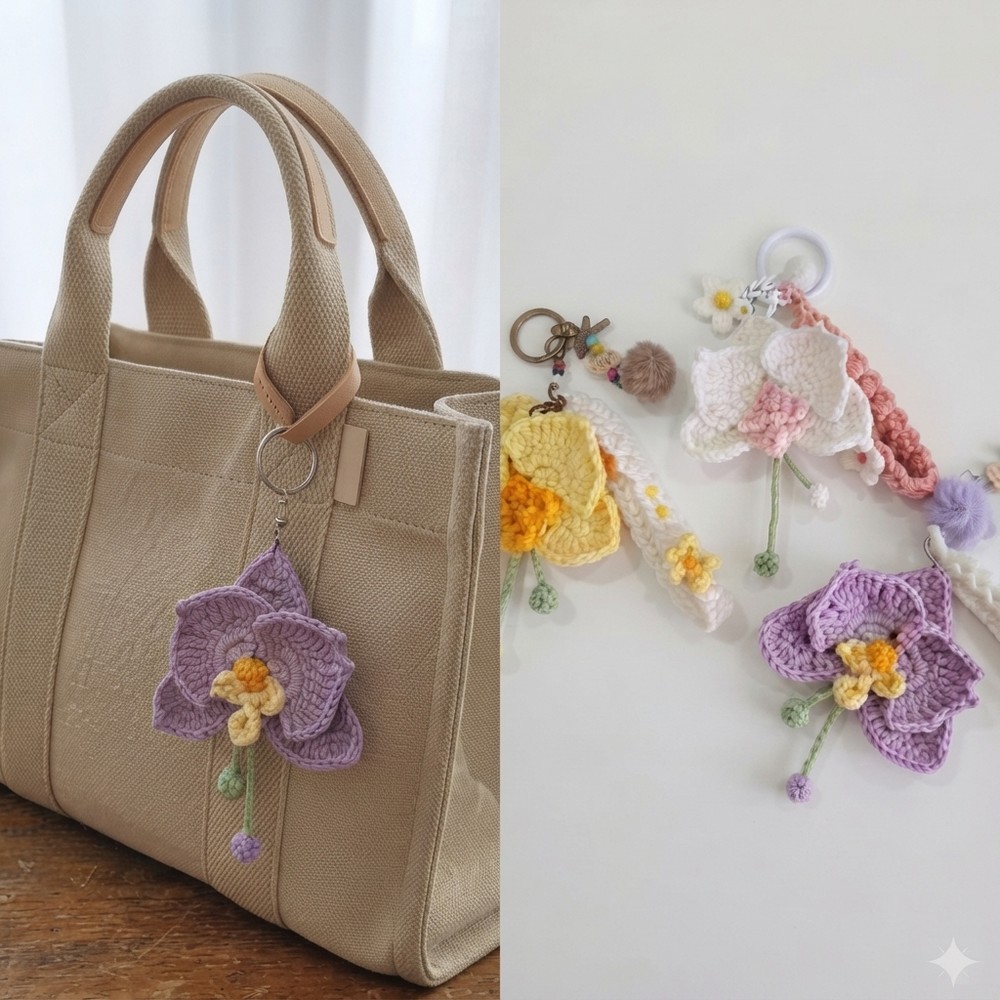
Free Crochet Orchid Keychain Pattern Cute Handmade Flower Tutorial

Crochet a beautiful orchid keychain using this free pattern to enhance your accessories with charm and style while showcasing your skills effortlessly.
I recently found how fun and relaxing it can be to make tiny crochet goodies, and one of my favorite projects so far has been a little flower that’s both pretty and practical. If you enjoy cute handmade items, you’ll love this free crochet Orchid Keychain pattern. It’s a sweet little accessory that adds a touch of nature to your keys or bags. To get started, I recommend checking out the “HappyYarny”, their step-by-step videos make crocheting flowers easy and enjoyable, even if you’re just beginning.
This mini orchid keychain is simply lovely. It features delicate petals shaped just like a real orchid flower, with soft curves and a gentle, smooth texture. The design is small but eye-catching, perfect for carrying a bit of floral beauty with you everywhere. The soft yarn gives it a comfy feel, and the colors you choose can make it bright and cheerful or soft and elegant. Its lightweight size means it won’t bulk up your keys but will still stand out as a charming, handmade decoration.
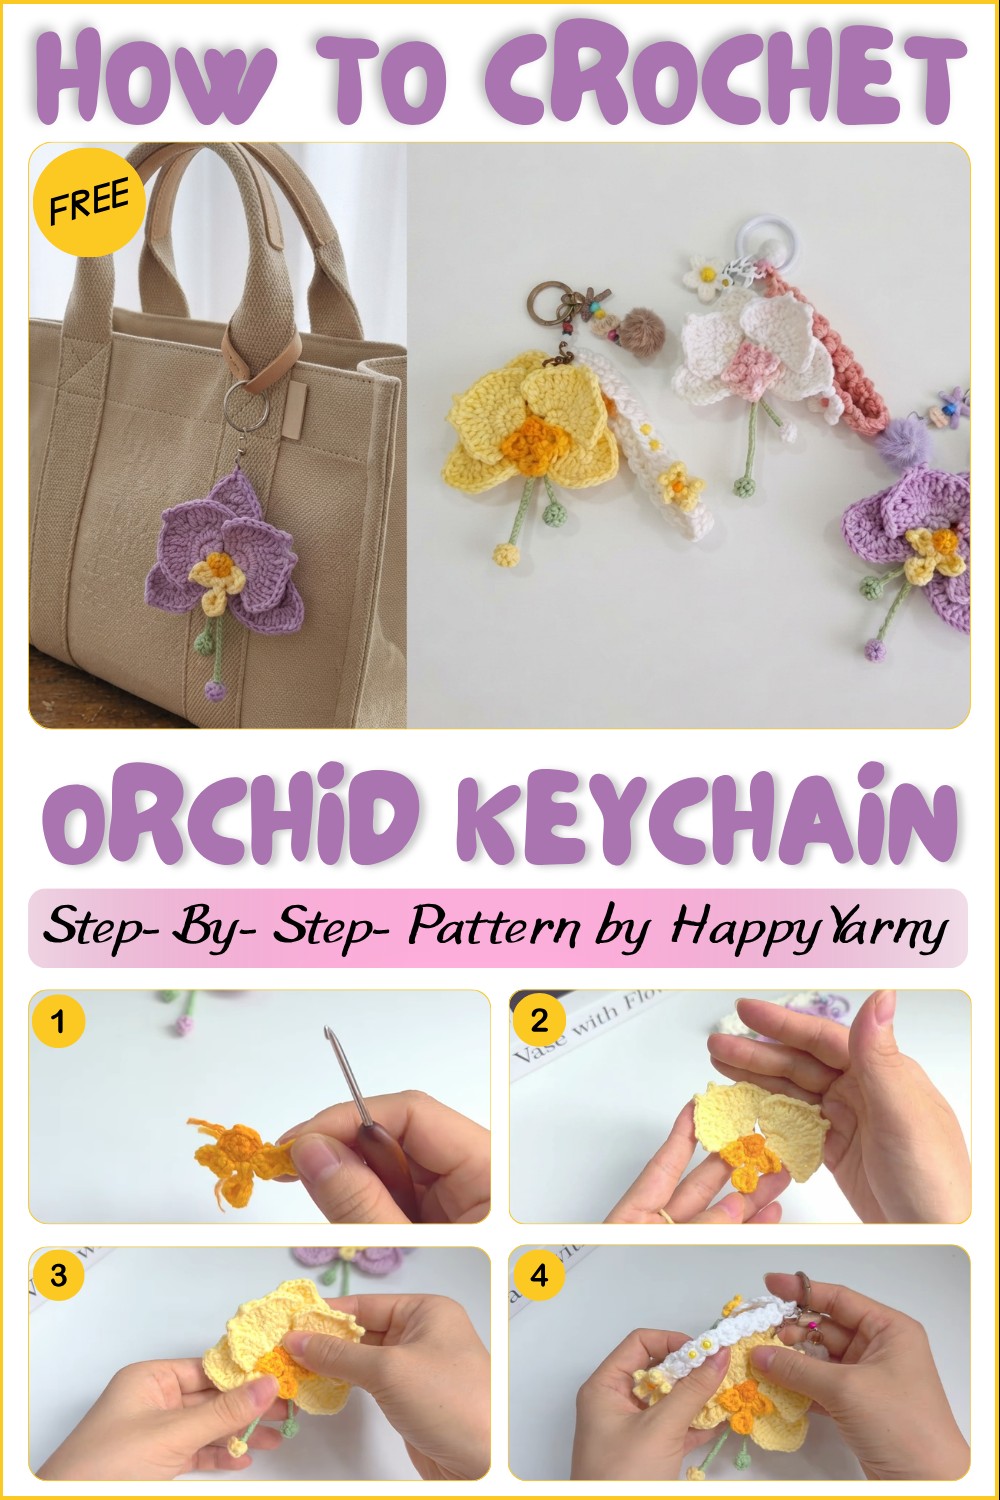
This flower project is great for beginners and those who want a quick, satisfying crochet experience. It mainly uses the single crochet stitch, which is easy to learn and creates a neat fabric. You’ll also practice basic shaping with increases and decreases to form the petals, giving you a chance to build your skills while making something truly adorable.
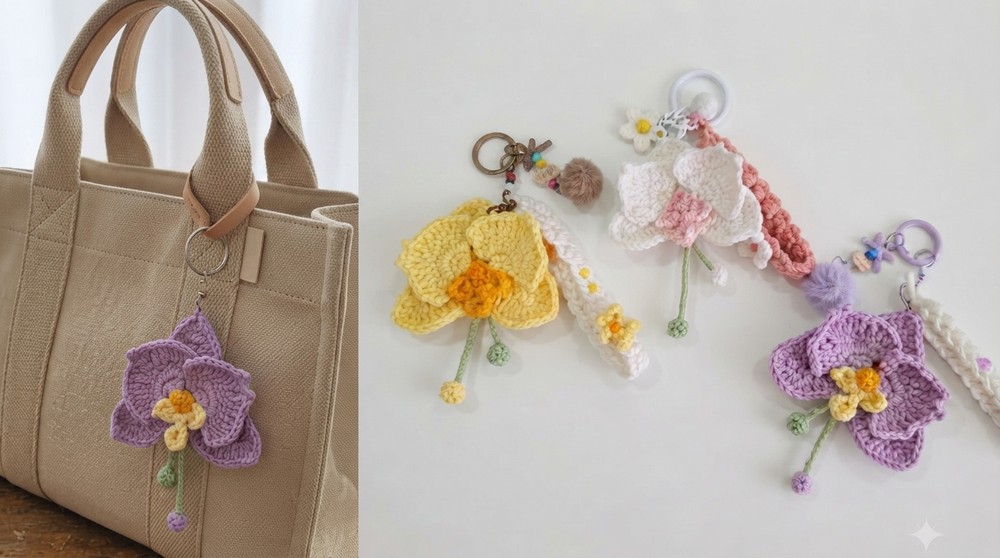
The free crochet Orchid Keychain pattern makes a perfect little gift for friends or family who love flowers and fun accessories. It’s also a cute way to personalize your own items or add to a collection of charming handmade keychains. If you’re looking for a quick, sweet crochet project that’s both beautiful and practical, this orchid keychain is just right.
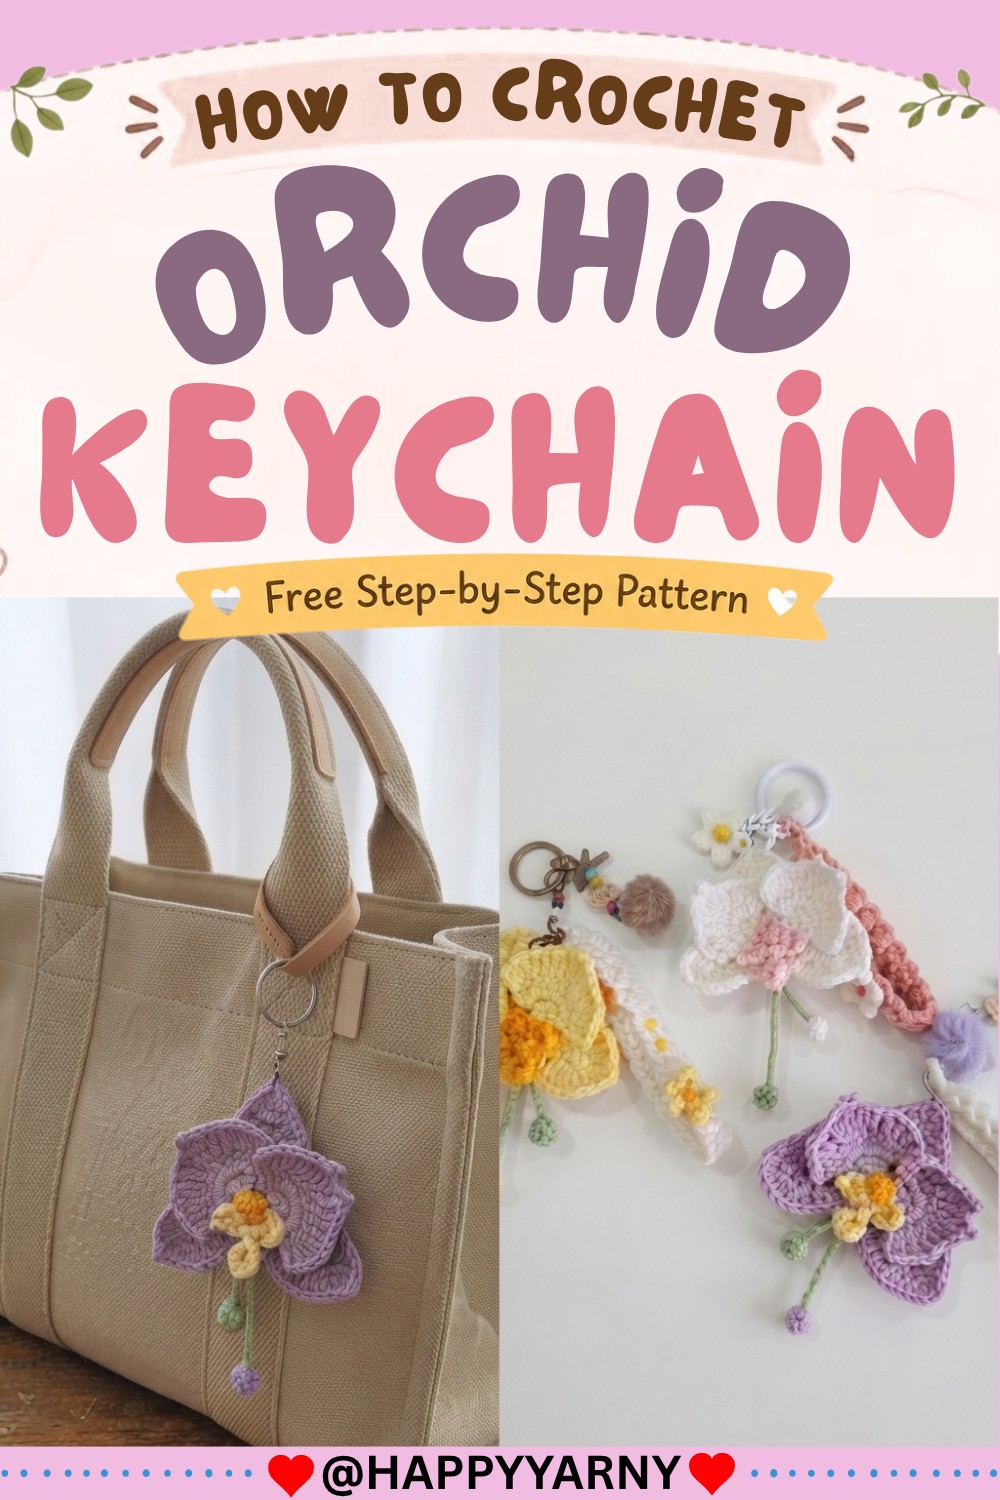
Orchid Keychain & Wristlet Crochet Pattern
I’m going to show you how to crochet this beautiful orchid keychain, and I’ll also guide you through making the wrist strap for your keychain. Grab your yarn and let’s make it together, step by step!
Quick Overview Of Pattern
- Orchid flower: Crochet a detailed flower with a dimensional center and realistic petals.
- Wire structure: Use crafting wire and glue to shape and secure the petals and buds.
- Orchid buds: Make small floral accents on wire stems.
- Wristlet strap: Crochet a textured and sturdy keychain strap.
- Small flower: Add a simple five-petal bloom for extra decoration.
- Assembly: Construct, secure, and combine all pieces for a gorgeous, functional keychain.
Notes
- All instructions use US crochet terminology.
- Rounds are worked in a spiral; do not join unless specified.
- Use fabric glue and wire for shape, strength, and assembly.
- Petals are made with color changes for realism.
- Use a 2.5 mm hook and four ply milk cotton yarn for best results; adjust as needed.
- Be cautious when working around wire.
Skill Level
Intermediate:
Requires knowledge of magic ring, basic stitches, working in rounds, color changes, and adding wire/glue for structure.
Materials
- Four ply milk cotton yarn (orchid colors, greens, and accent shades)
- 2.5 mm crochet hook
- Thin crafting wire
- Fabric glue
- Scissors
- Yarn needle
Measurements / Sizing
- Orchid flower: ~3.5 – 5 cm across
- Keychain wristlet: 12 – 18 cm long (adjustable)
- Bud & small flower: 1.5 – 2.5 cm each
Gauge (and Stitch Pattern if applicable)
- Gauge: Not critical; work tightly for amigurumi effect.
- Main stitches: Single crochet (sc), double crochet (dc), half double crochet (hdc), slip stitch (sl st), treble crochet (tr), chain (ch)
- Cluster stitch used for wristlet
Stitch Abbreviations
| Abbreviation | Meaning |
|---|---|
| MR | Magic ring |
| ch | chain |
| sc | single crochet |
| hdc | half double crochet |
| dc | double crochet |
| tr | treble crochet |
| sl st | slip stitch |
| st | stitch |
| inc | increase (2 sts in the same st) |
| cluster | double crochet cluster (see Special Stitches) |
Special Stitches
- Magic Ring (MR): Adjustable loop to begin working in the round.
- Double Crochet Cluster: Yarn over, insert hook into space, yarn over, pull up a loop, yarn over, pull through two loops, repeat as indicated, then yarn over and pull through all remaining loops.
- Incomplete crochet stitches: Work stitch up to last yarn over, leave loop on hook.
- Crocheting around wire: Encase the wire with stitches for structural petals.
- Treble/Tripouble crochet: Yarn over twice, insert hook, yarn over, pull up loop, (yarn over, pull through two loops) three times.
The Crochet Pattern
1. Orchid Flower Center
- With accent color, MR.
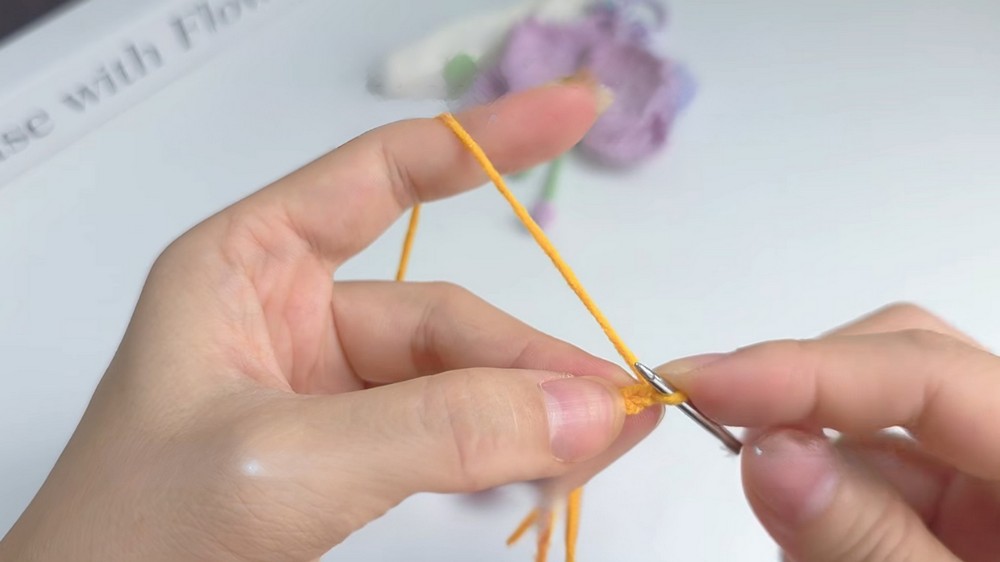
- Round 1: 6 sc into MR.
- Sl st into first st to join, ch 1.
- Round 2: 6 sc, sl st to join.
- Fasten off and cut yarn.
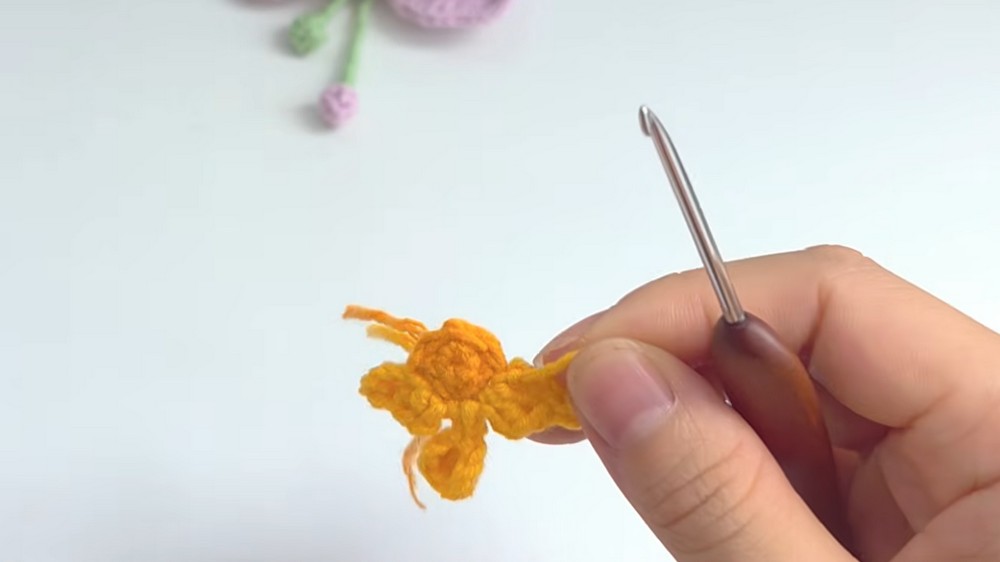
2. Crochet Orchid Lip
- Attach lighter color yarn.
- Ch 5.
- Turn, from second ch from hook: sl st, dc, hdc, ch 2, sl st (all in this st).
- Ch 1, sl st in next st.
- Ch 5, turn, from third ch from hook: 3 dc in same st, ch 2, sl st.
- Sl st in next two sts, sl st in same st as base of chain-5.
- Ch 1, sl st in next st.
- Ch 2, in same st: hdc, dc; ch 2, turn, sl st in second ch from hook.
- Ch 3, sl st.
- Cut the yarn.
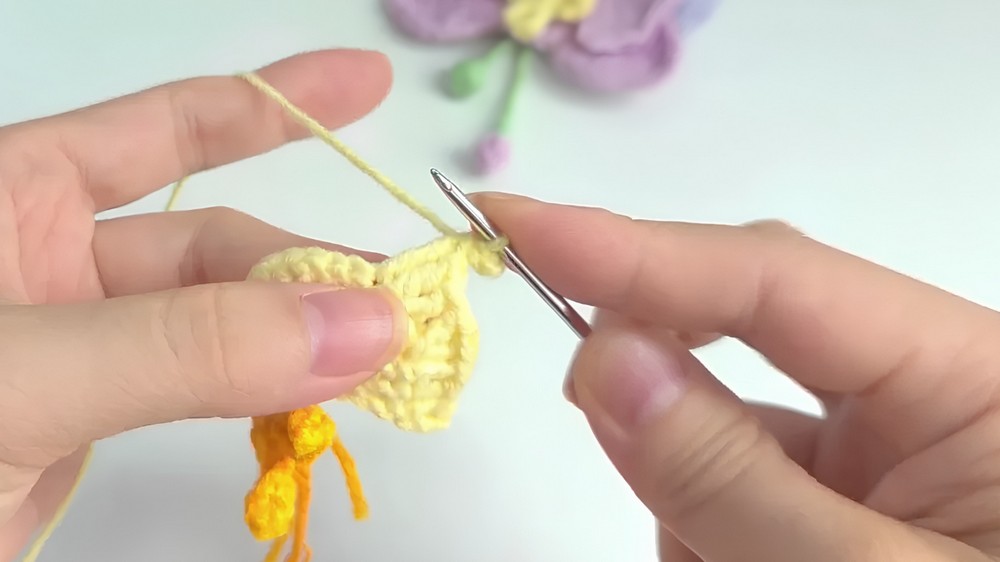
3. Crochet Inner Orchid Petals
- Attach petal color to first of three unused center stitches.
- Sl st, sc in that st.
- Ch 1, turn. In sc: 3 sc.
- Ch 1, turn, 3 inc (6 sc).
- Ch 2, turn, 6 dc inc (12 dc).
- Ch 2, turn: hdc, dc in same st, skip 1 st, dc, tr, dc in next st, skip 1 st, dc, tr in next st, next st: tr, ch 2, turn, sl st through front loops, tr in same st, next st: tr, ch 2, sl st through two loops, tr in same st, next st: tr, dc in same st, skip 1 st, dc, tr, dc in next st, skip 1 st, dc, hdc in last st, ch 3, sl st in same st.
- Skip one st, in next (third) st, repeat previous petal pattern for second inner petal.
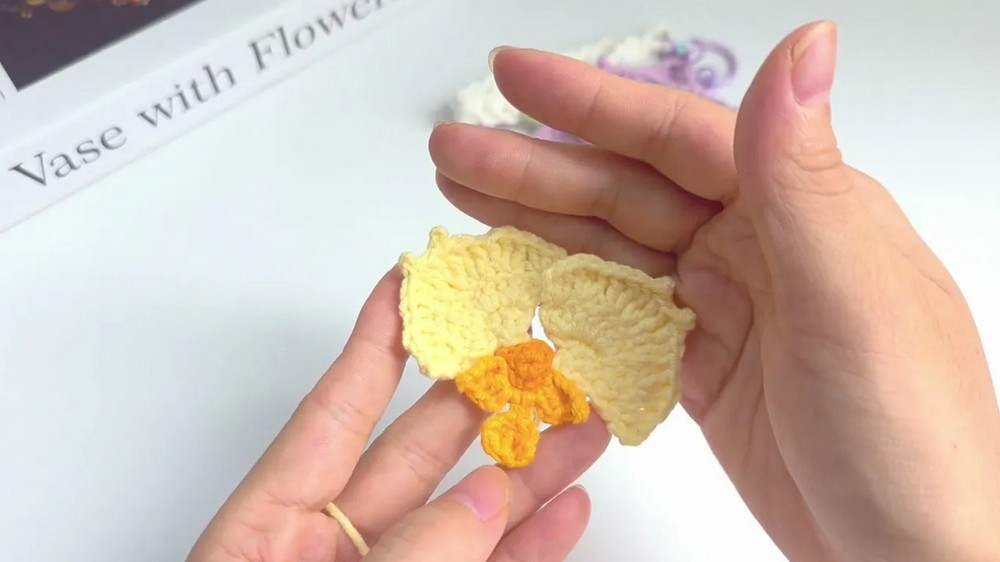
4. Crochet Outer Orchid Petals
- MR, 15 dc into ring. Sl st to first st.
- Ch 9, turn, from second ch: sc, hdc, dc, tr, 2 dc in next st, hdc, sc.
- 5 sc (across ring).
- Ch 9, repeat previous petal for three petals in total.
- Position craft wire along edge, working: hdc, dc, 2 tr in next st, 2 tr in next st, dc, hdc, sc, 3 sc in tip, sc, hdc, dc, tr, 2 tr, 2 tr, dc, hdc, 3 sc.
- Secure wire with glue and cut excess.
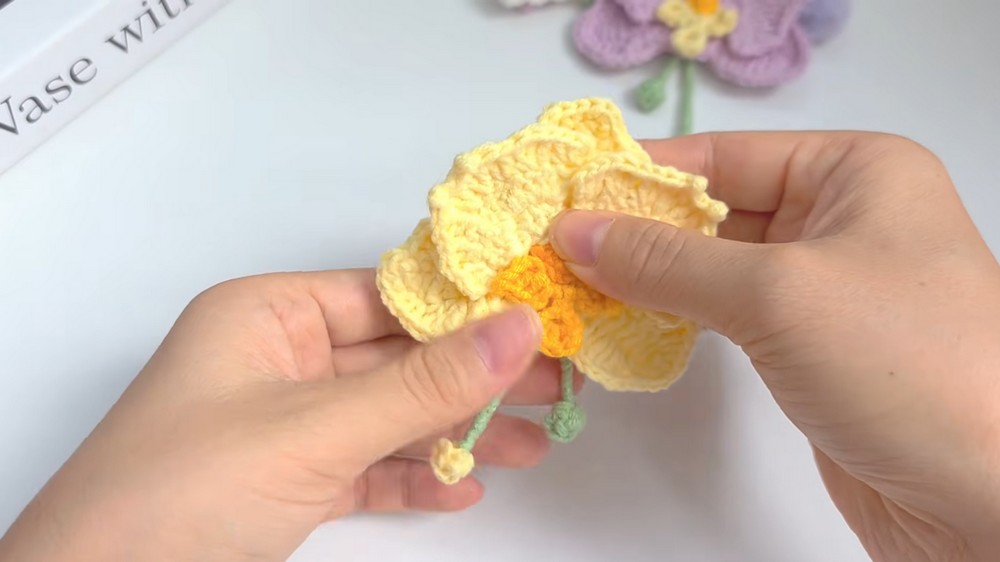
5. Crochet Orchid Bud
- With yarn, MR, ch 3, 5 incomplete dc (leave last loops on hook), yarn over, pull through all loops, sl st, cut yarn.
- Apply glue to wire tip, attach bud, and wrap yarn around wire to cover.
- Make a second bud and twist wires together for a small stem.
6. Crochet Keychain Wristlet
- Ch 3, turn, 3 incomplete dc in third ch from hook, yarn over and pull through all loops (cluster stitch).
- Ch 3, 3 incomplete dc in the space from previous cluster; yarn over and pull through all.
- Repeat for a total of ~20 clusters, or to your desired length.
- Sl st to connect ends.
- Ch 8, sl st in same st to form a hanging loop.
- Ch 3, sl st into unworked side of the previous cluster space. Repeat this border around the wristlet.
7. Small Flower Decoration
- MR, ch 4.
- From second ch: 3 sc, sl st in MR.
- Repeat for five petals; sl st to join, cut yarn.
- Sew or glue to wristlet.
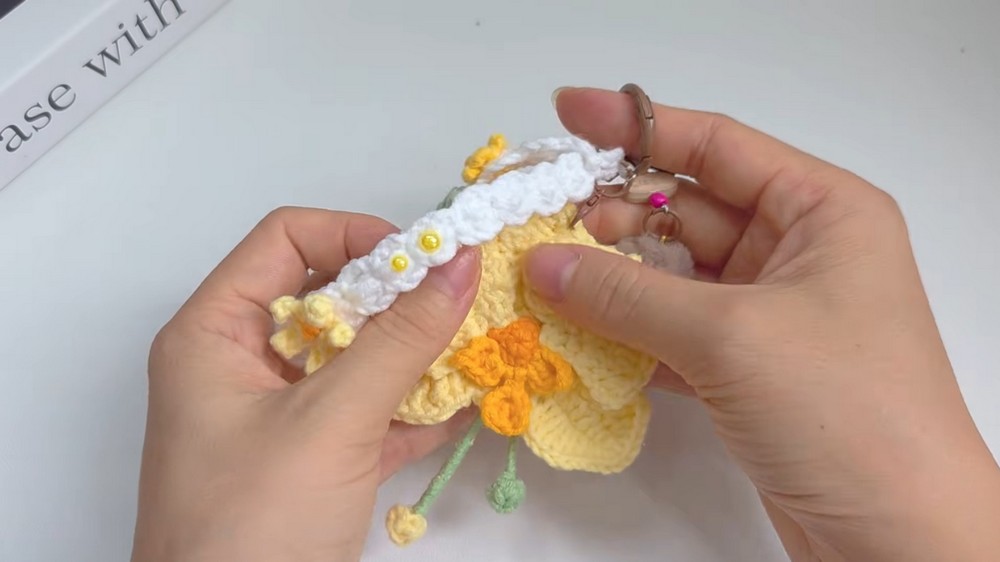
Assembly & Finished Size
- Layer and glue inner and outer petals.
- Attach central lip/centerpiece to flower.
- Insert wires behind petals, secure with glue.
- Add flower buds to wire stems and position with flower.
- Affix flower or buds to wristlet.
- Attach the small flower to the wristlet as a charm.
- Secure all ends and trim excess.
Finished orchid: 3.5 – 5 cm across. Wristlet: 12 – 18 cm long
Conclusion and Ending Words
Your crochet orchid keychain and wristlet are now complete! With detailed petals, realistic buds, and a practical strap, this project is both beautiful and useful. Customize with your favorite colors and personalize with extra embellishments if you wish. For more detail and help visit below tutorial.