Quick & Free Crochet Cloud Pattern for Easy Nursery Decor

Make a soft, charming decoration with this Free Crochet Cloud Pattern, featuring simple instructions to bring an adorable and cozy cloud design to life.
There’s something incredibly satisfying about crocheting soft, squishy shapes, and making a little cloud plushie was one of my favorite relaxing projects. If you like cute, handmade decor or gifts, this free crochet cloud pattern is perfect. It creates an adorable, fluffy cloud that’s not just a fun crochet but also a sweet decoration or a thoughtful gift for friends and family.
Free Crochet Cloud Pattern for Baby Showers
The pattern comes from a YouTube channel where the creator walks you through every step in a simple and friendly way. I loved how the instructions are clear and easy to follow, making it great for beginners who want to try their hand at amigurumi or soft toys. The video shows you exactly how to work with basic stitches, increase and decrease, and shape the cloud perfectly.
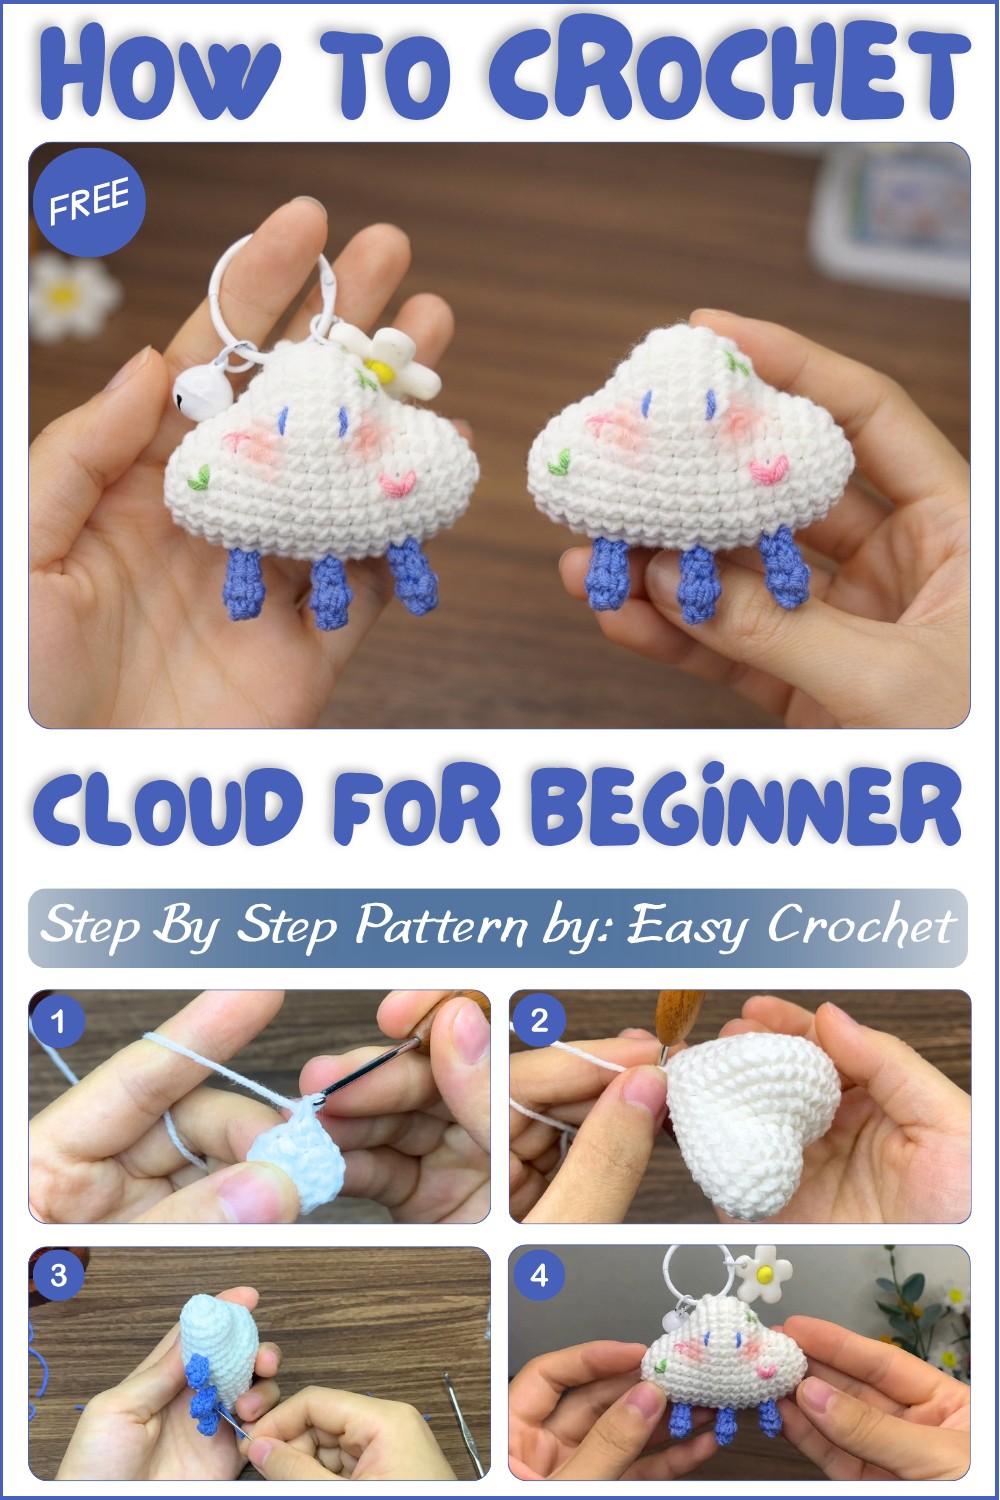
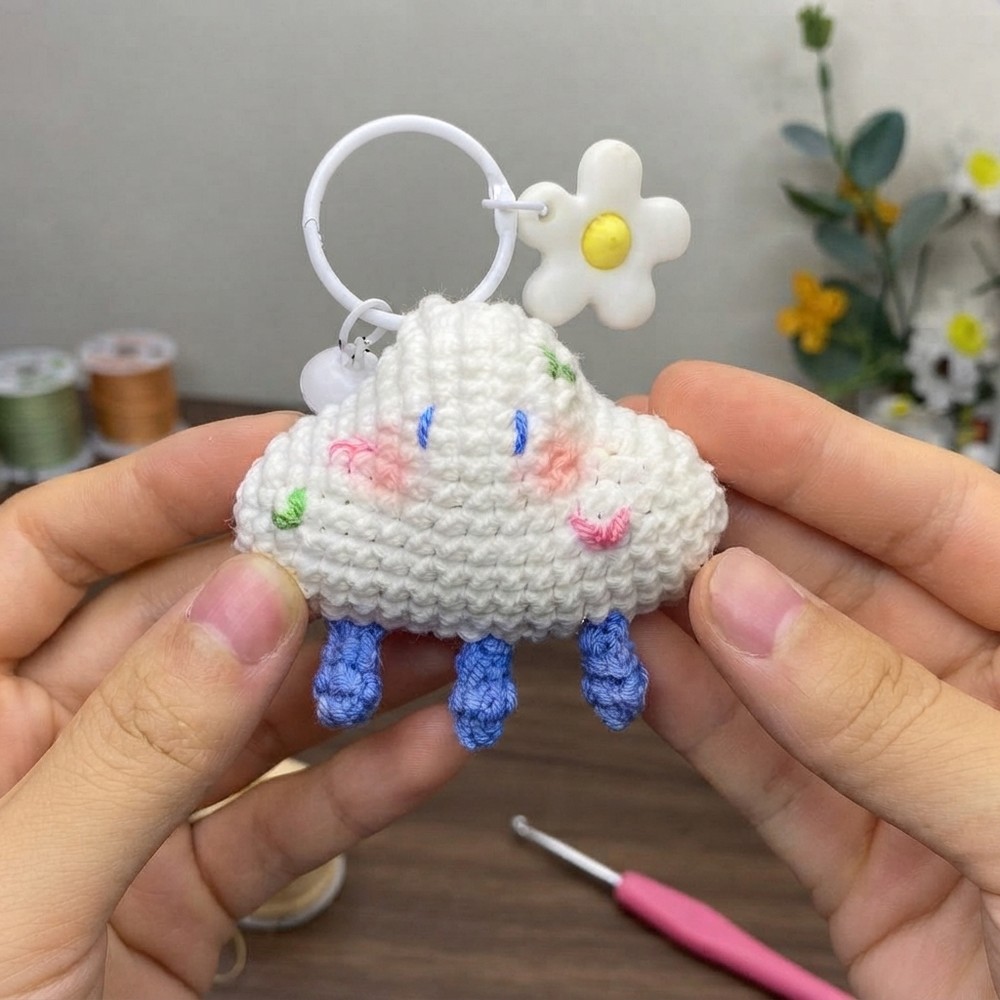
This crochet cloud stands out with its soft, puffy texture and rounded, almost 3D shape that looks just like a fluffy cloud floating in the sky. Crocheted mainly in white yarn, the project has a gentle, calming look that’s perfect for nursery decorations, cozy room accents, or even a cute keychain or bag charm if you scale it down. The cloud’s gentle curves and smooth finish give it a snug, comfy feel that you’ll want to keep around.
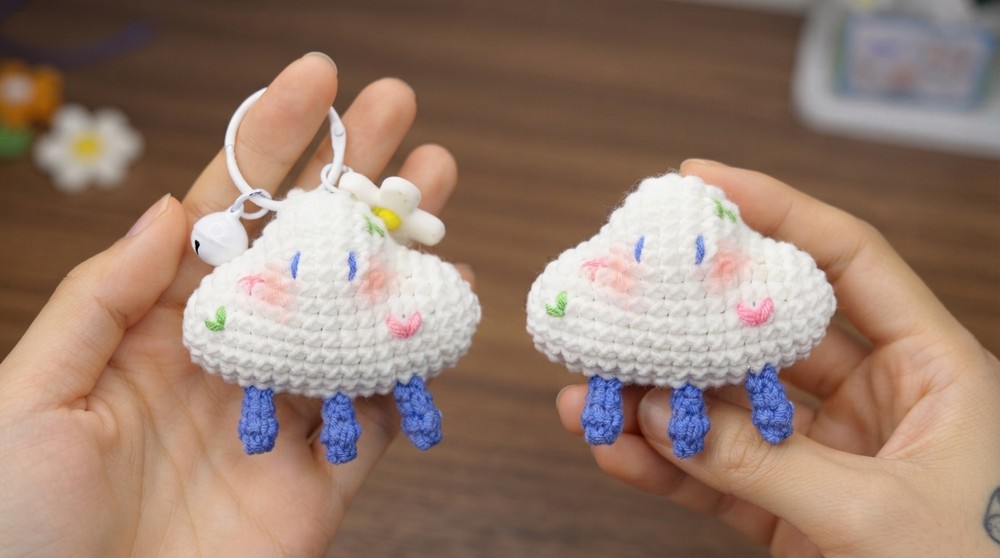
If you’re looking for a sweet, enjoyable project that builds your crochet skills without being too tricky, this free crochet cloud pattern is a beautiful choice. Whether you want a charming handmade gift, a lovely home decoration, or just a fun way to relax and create, give this pattern a try, you might find it becomes one of your favorite go-to projects.
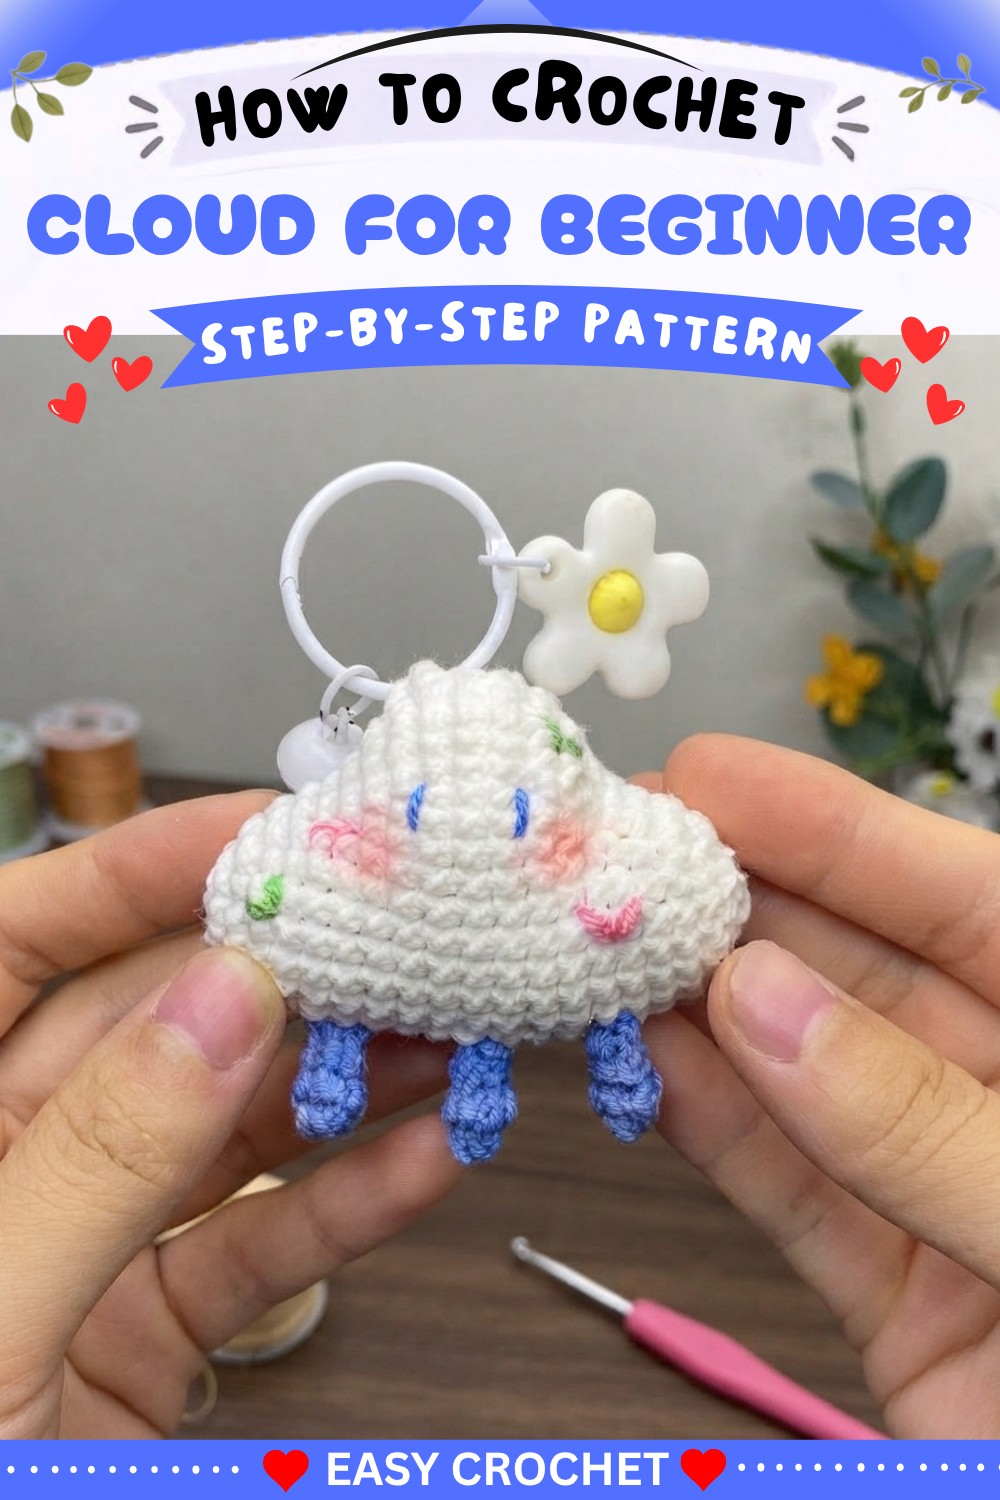
Adorable Cloud with Raindrops Crochet Pattern
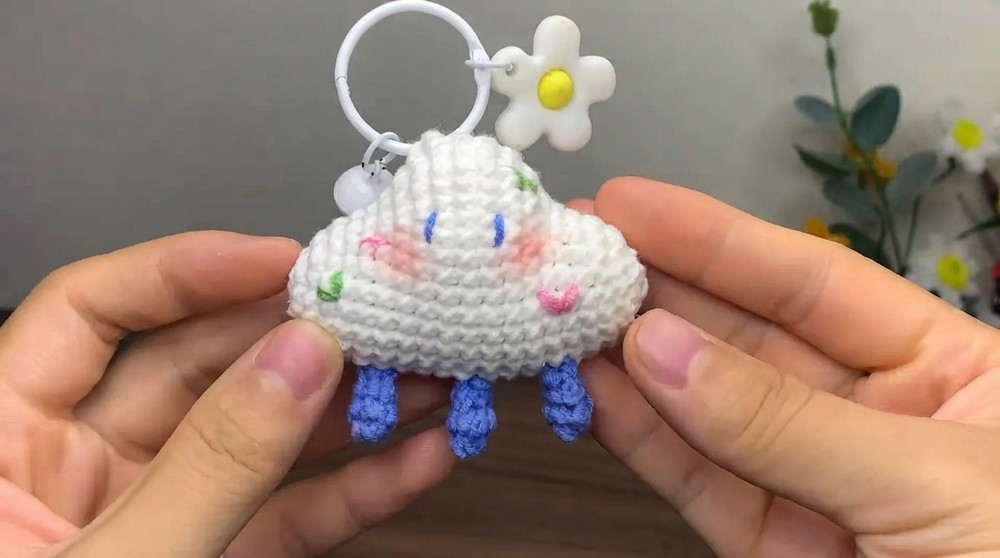
Today, let’s crochet a super-cute cloud with dangling raindrops. This plush cloud is soft, rounded, and full of charm, perfect for decor, gifts, or keychains. Follow along step-by-step to make your own adorable cloud.
Quick Overview Of Pattern
- Plush cloud shape is worked from the center out in the round, using simple increases and decreases.
- Rows of single crochets give the cloud its plump form.
- The design incorporates neat shaping and careful decreases for a rounded yet defined silhouette.
- Three small, teardrop-shaped raindrops are crocheted separately and attached underneath the cloud.
- The cloud face is finished with embroidered or sewn eyes, blush, and optional cute decorations.
Notes
- Always begin each round with a chain and finish with a slip stitch for neat, even rounds.
- Use stitch markers or contrasting thread to mark your round beginnings, especially if you are new to amigurumi.
- Tension: A slightly tight tension keeps stuffing hidden and the finished shape defined.
- Customization: Adjust the number of rounds or drops for different sizes or styles.
- Creative finishing: Use blush, embroidery, or small appliqué hearts to give your cloud its personality!
Skill Level
Beginner to Advanced Beginner
You’ll need to know basic stitches (single crochet, increases, decreases, slip stitch), and be comfortable crocheting in the round.
Materials
- Yarn: 1.5mm thick cotton or acrylic yarn
- White (cloud body)
- Blue or pastel shades (raindrops/teardrops)
- Pink, black, and red (for embroidery/facial details and blush/heart)
- Crochet hook: 2.0–2.5 mm (fit to your yarn)
- Stuffing (fiberfill or yarn scraps)
- Sewing needle (for assembly and sewing facial details/blush/heart)
- Scissors
- Stitch marker or scrap yarn for rounds
- Optional: blush or fabric paint for cheeks
Measurements / Sizing
- Cloud body: approx. 8–10 cm wide, 6–7 cm tall (stuffed)
- Raindrops: approx. 2–2.5 cm long each
- Finished mobile/hanging ornament: 10–13 cm long, with drops attached
- Adjust yarn and hook for different sizes
Gauge
Gauge is not critical but use hook size and tension that give a firm, non-gappy finish with your yarn.
Stitch Abbreviations
- ch – chain
- sc – single crochet
- inc – increase (2 sc in same stitch)
- dec – decrease (sc 2 together)
- sl st – slip stitch
Special Stitches
- Magic Circle (MC): Loop yarn to create a tightly closed round start.
- Invisible Decrease: Insert hook under the front loops of the next 2 stitches, yarn over and pull through, yarn over and finish sc.
The Crochet Pattern
Cloud Body
Start
- With white yarn, make a Magic Circle (MC).
- Round 1: Work 6 sc in MC. (6 sts)
Slip stitch to the first sc to join. - Round 2: Ch 1, inc in each st around. (12 sts)
Start with an increase (2 sc in each st).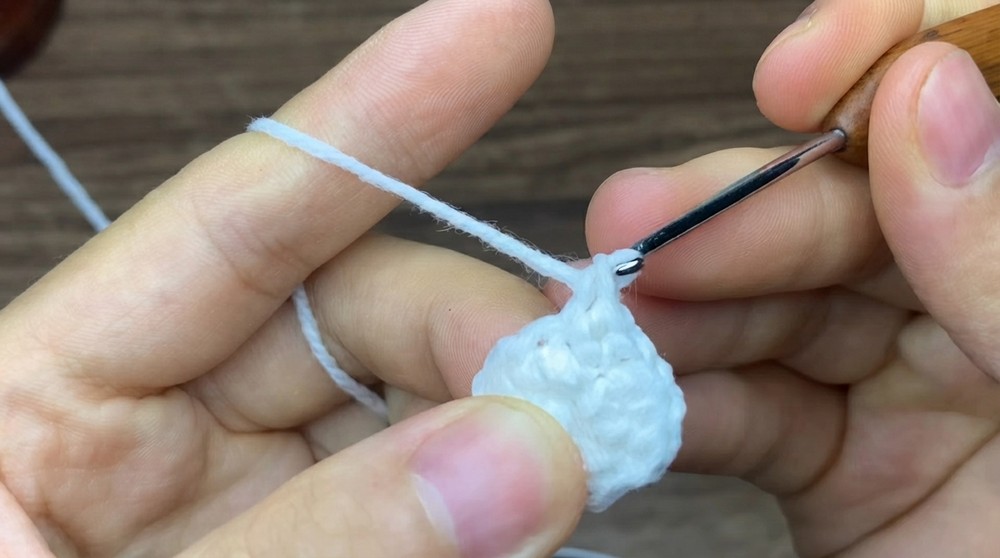
- Round 3: (sc 1, inc) repeat around. (18 sts)
- sc in first, inc in next; repeat
- Mark the first sc of the round.
- Rounds 4–6:
- ch 1, sc in each stitch around.
- 18 sc per round.
- End each round with slip stitch to the first stitch.
- Round 7:
- sc in first 6 stitches,
- (inc in next st, sc 1), repeat 6 times (24 sts),
- sc in last 6 sts
- Slip stitch to next stitch.
- Round 8:
- sc 6
- (inc, sc 1) repeat 6 times
- sc 6
- Slip stitch to join.
- Round 9:
- sc 6
- (sc 2, inc) repeat 6 times
- sc 6
- At end of Round 9, you should have 36 sc.
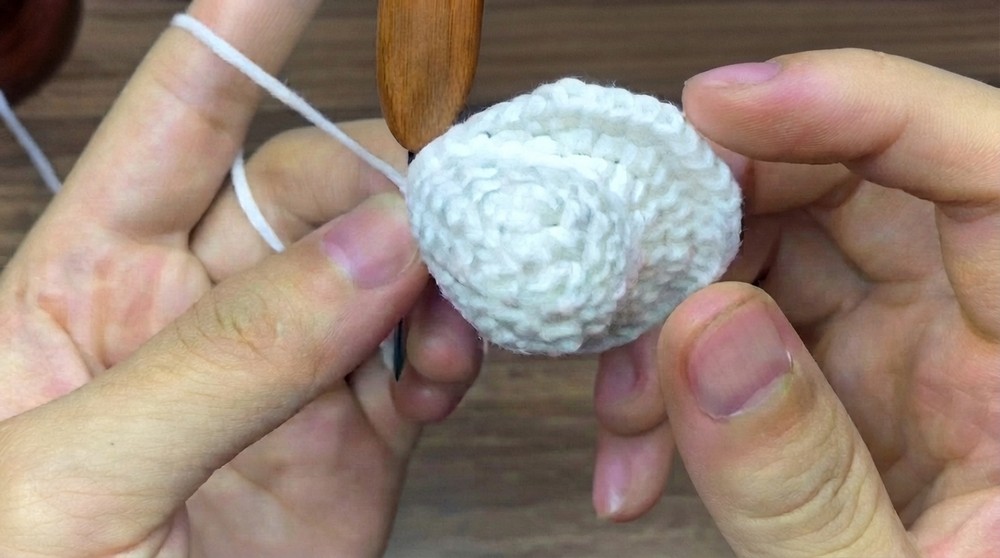
- Rounds 10–13:
- sc in each stitch around. (36 sts per round)
- Slip stitch to join and chain 1 before each round.
- Round 14:
- sc 6
- (sc 2, dec), repeat 6 times
- sc 6
- End with a slip stitch.
- Round 15:
- sc 6
- (sc 1, dec), repeat 6 times
- sc 6
- Slip stitch to join.
- Round 16:
- sc 6
- (dec) 6 times
- sc 6
- Slip stitch to join.
- Rounds 17–19:
- sc in each stitch around. (18 sts per round)
- Slip stitch to close each.
- Round 20:
- (sc 1, dec) repeat 6 times
- Finish with a slip stitch.
- Stuff cloud gently but firmly.
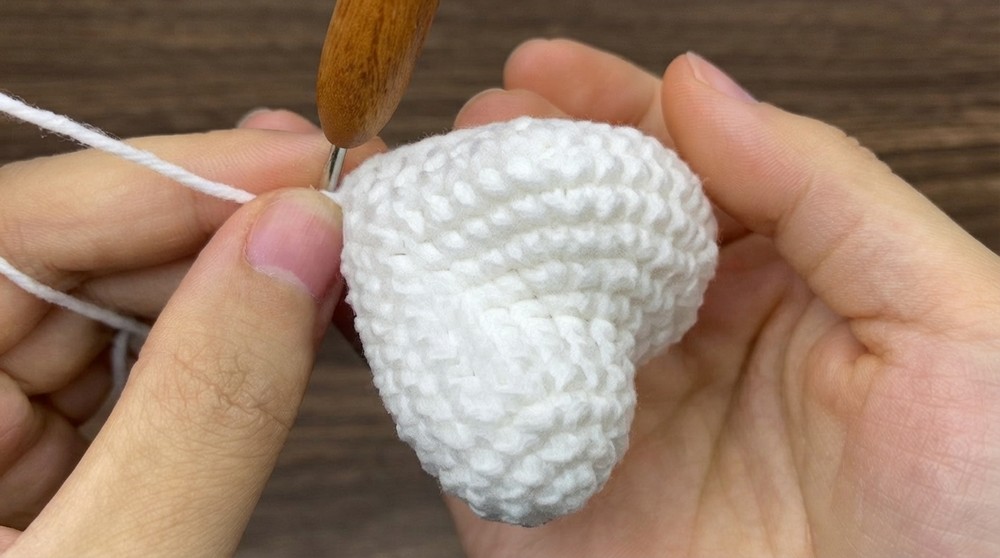
- Round 21:
- 6 dec around
- Fasten off, thread tail through remaining stitches and close hole.
Raindrop/Teardrop (Make 3)
- Magic Circle, 6 sc in MC.
- Join with sl st.
- Round 2:
- ch 1, 2 sc in first st, sc in next st, dec, sc in next 2 sts.
- Join with sl st. (6 sts)
- Round 3:
- ch 1, sc in next 2 sts, dec, sc in next 2 sts.
- Sl st to join.
- Round 4:
- ch 1, sc in next st, dec, sc in next st.
- Fasten off, leaving a tail for sewing.
- Make 3 drops in total.
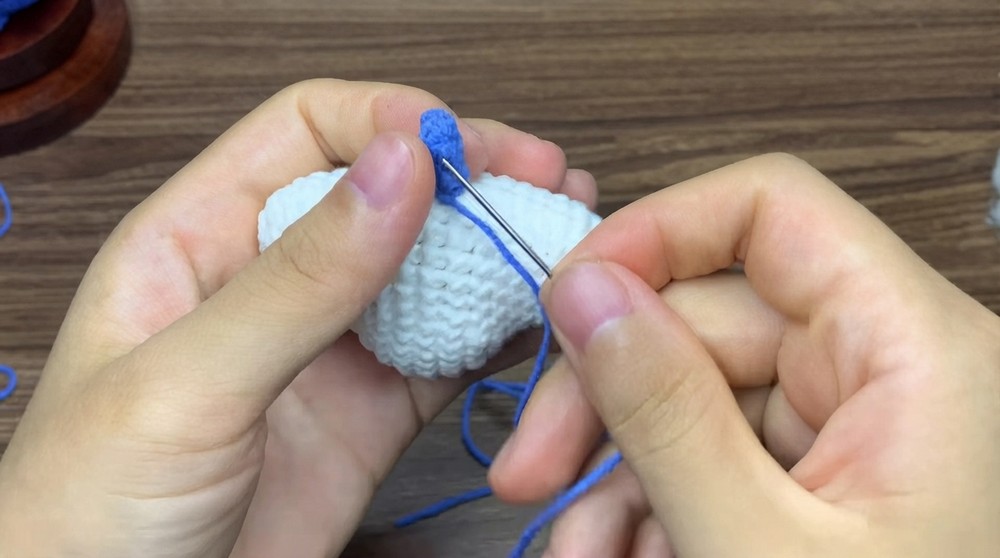
Assembly & Finished Size
- Stuff the cloud fully and shape into a plump oval.
- Sew the three raindrops evenly spaced along the bottom edge of the cloud. Pass tails securely through and weave in.
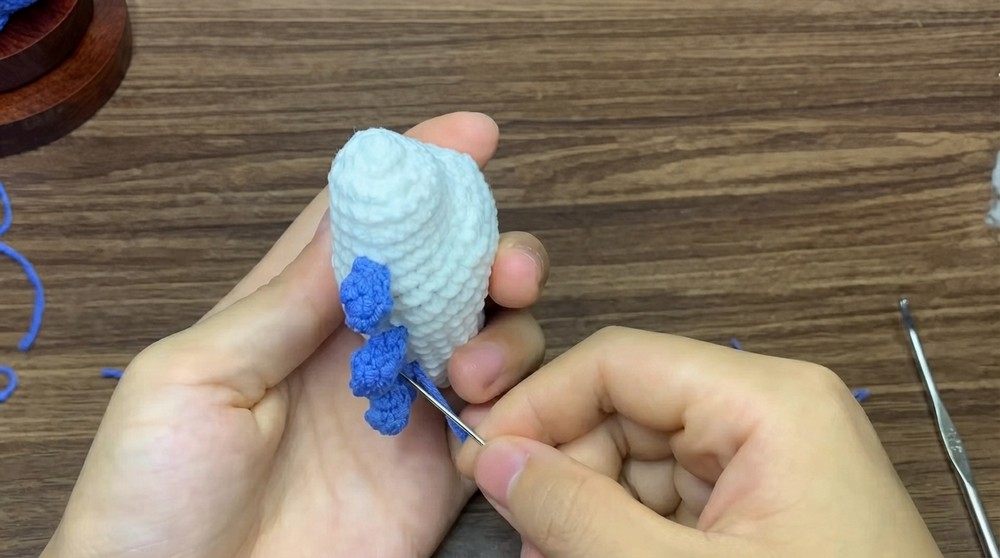
- Face: Use black yarn/thread to sew on small eyes and mouth.
- Details:
- Apply blush with fabric paint or chalk.
- Embroider or sew on a small heart or design, if desired.
- Hanging: Thread a yarn loop at the top if you want to hang your cloud.
Finished size:
Cloud approx. 8–10 cm wide; raindrops approx. 2.5 cm; total ornament 12–15 cm.
Conclusion and Ending Words
That’s it! You’ve created an incredibly cute, plushy cloud with cheerful raindrops. Customize with embroidery, blush, or cute hearts for more personality.