Fun Free Crochet pink pig hat Pattern to Try for Your Pet

Make your pet look adorable with this free crochet pink pig hat pattern, an easy and fun project to create a charming and cozy accessory for your furry friend.
If you want to make your pet look extra adorable while keeping them cozy, a handmade hat is the perfect way to do it. The Free Crochet pink pig hat pattern is a delightful project designed especially for pets, transforming your little companion into a cute and cuddly piglet. This pattern creates a snug, comfortable hat with playful pig features that beautifully blend function with fun.
Cute Free Crochet pink pig hat Pattern for Your Furry Friend
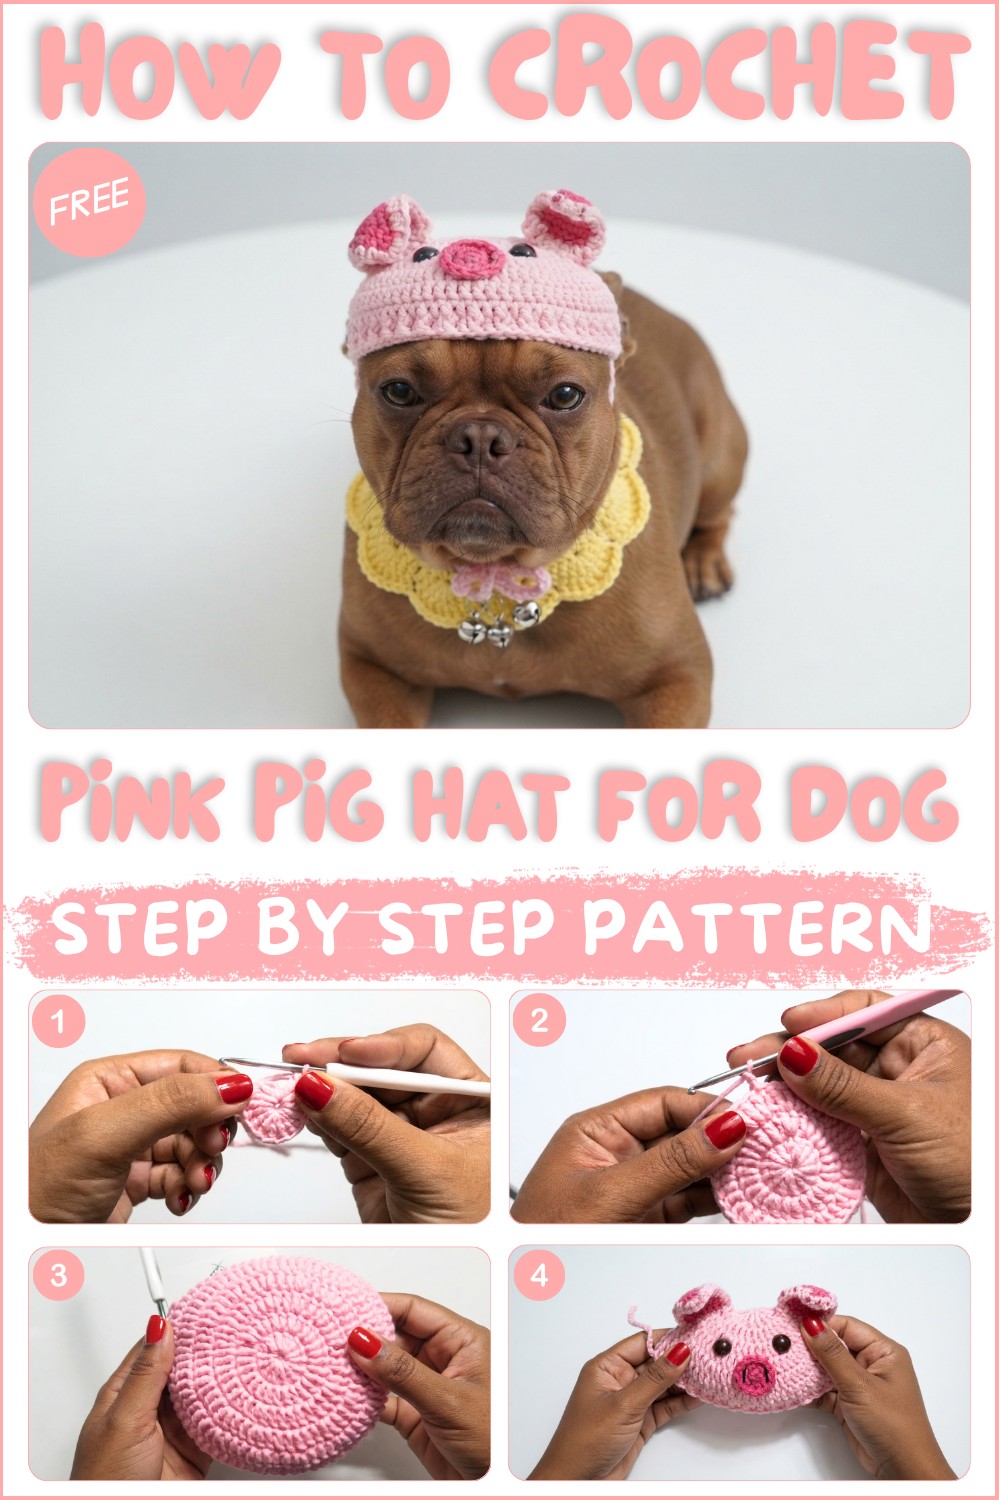
This pet hat is crocheted to fit comfortably on small to medium-sized dogs or cats, featuring a rounded shape that hugs the head gently without restricting movement. The soft texture results from using plush, medium-weight yarn worked in smooth crochet stitches, giving the hat a warm yet breathable feel. Standout details include the charming snout, pointy ears, and those adorable little eyes, all designed to bring out that unmistakable piggy charm while ensuring the hat is secure and comfortable on your pet’s head.
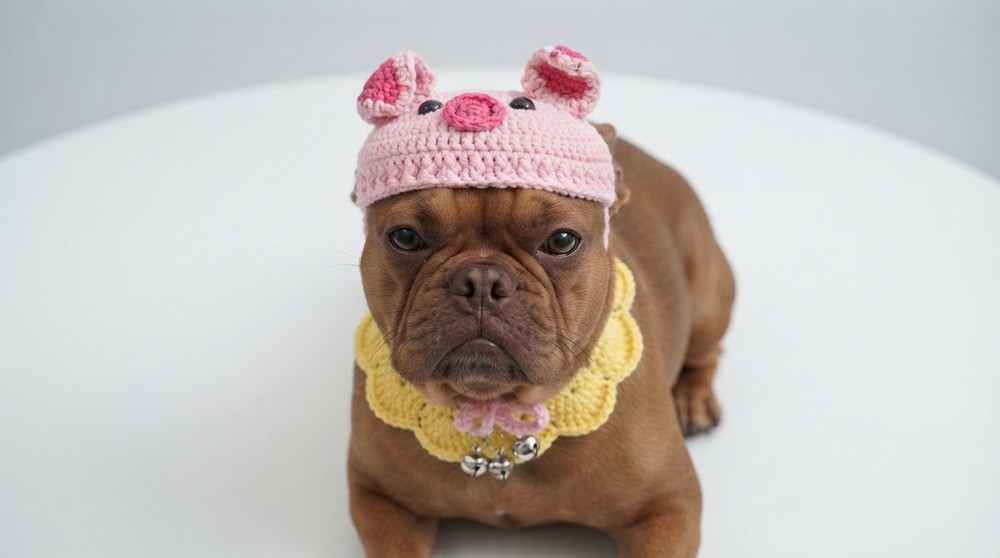
This pattern is versatile with easy customization options—simply adjust the stitch count or hook size to fit pets of different sizes. Constructing the hat involves basic crochet techniques like working in rounds and creating simple appliqués for the pig’s features, making it accessible for crocheters of varying skill levels. One helpful tip is to choose a soft acrylic or cotton blend yarn that holds its shape but feels gentle against your pet’s fur and skin.
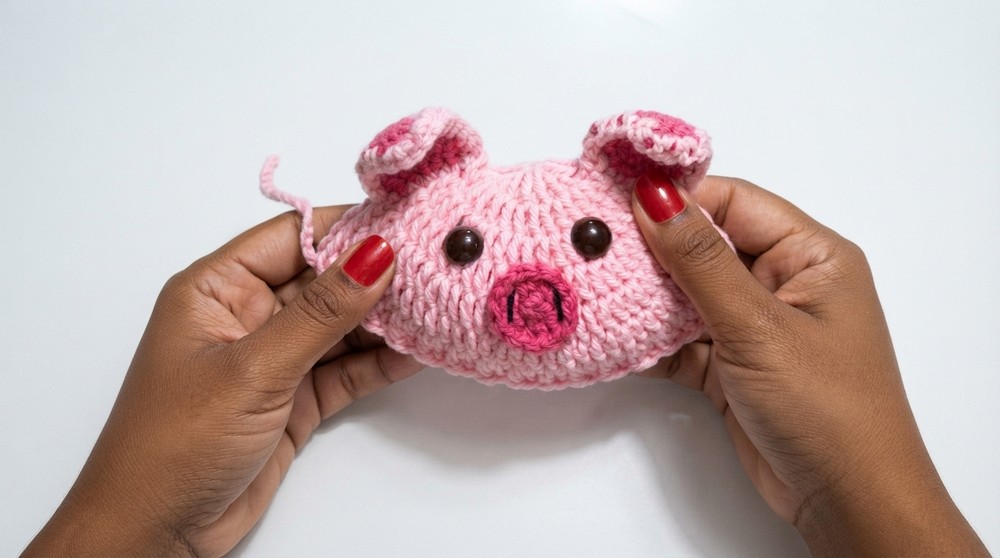
Inspired by a love of animals and playful pet fashion, this pattern is perfect for chilly days, costume parties, or just to add some cuteness to your pet’s wardrobe. It also makes a thoughtful handmade gift for fellow pet lovers. Feel free to experiment by adding little bows or changing colors, there’s plenty of room to get creative and make a unique pig hat your pet will stand out in.
Crochet Pig Cat Hat – Step-by-Step Pattern
This pattern provides a complete, step-by-step guide for crocheting a cute pig-themed cat hat as featured in the video tutorial. All instructions closely follow the demonstrated process so you can achieve a finished hat with decorative versatility—easily adapted to create pig, rabbit, frog, bee, or other adorable character hats for your pet.
Quick Overview of Pattern
- Create a circular hat base using double crochet worked in joined rounds
- Customize the fit for your pet’s head circumference
- Add side braids/ties for securing the hat
- Crochet and add pig ears and details (snout, nose, eyes)
- Swap out for alternate ears/designs for different animals
Notes
- Pattern uses US crochet terms and is intended for a cat or small pet with an adjustable head circumference.
- For the main body, double crochet is used throughout; small details may require single crochet.
- Adjust foundation chain and number of rows to suit your pet’s measurements.
- Substitute pig details for other animal features as you wish, following the same techniques.
Skill Level
Beginner to Confident Beginner:
Must know basic crochet stitches (chain, single crochet, double crochet, slip stitch) and be comfortable working in rounds/joined rows.
Materials
- 2 colors cotton yarn (e.g., pink for the main color and darker pink for ears/details)
- 2.5 mm crochet hook
- Yarn/tapestry needle
- Scissors
- Plastic safety eyes or black yarn (for embroidery)
- Craft glue or glue gun
- Measuring tape
Measurements / Sizing
- Sample fits a cat or kitten with ~28 cm head circumference
- Easily adjustable by altering the starter chain/round count
- Ear, snout, and detail sizing are proportional to hat base
Gauge
- Gauge is not critical; simply ensure the circle fits the measured head circumference after increasing rows are complete
Stitch Abbreviations
- ch = chain
- sc = single crochet
- dc = double crochet
- sl st = slip stitch
- inc = increase (2 stitches in the same stitch)
- st(s) = stitch(es)
Special Stitches
- Magic ring (adjustable circle): For a tight center, though ch 4 and join (as in video) is also used
- Invisible decrease: Not required for this pattern, but standard decreases can be applied for other animal shapes
The Crochet Pattern
1. Hat Base
Making the main hat circle
Step 1:
Using light pink yarn, ch 4.
Sl st to first chain to form a ring.
Step 2:
Ch 2 (counts as first dc), work 13 dc into the ring.
(Total: 14 stitches, including initial chain.)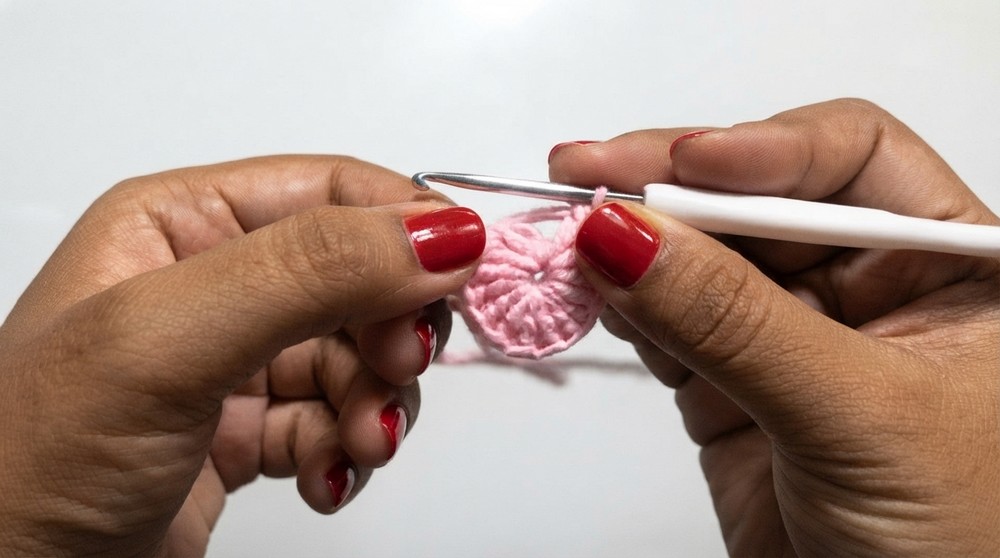
Pull the yarn tail to close the ring tightly, forming a neat circle.
Step 3:
Sl st to the top of the beginning ch-2 to join.
Step 4:
Ch 2, (dc inc in each stitch around):
In each dc, work 2 dc. (Total: 28 stitches.)
Sl st to join.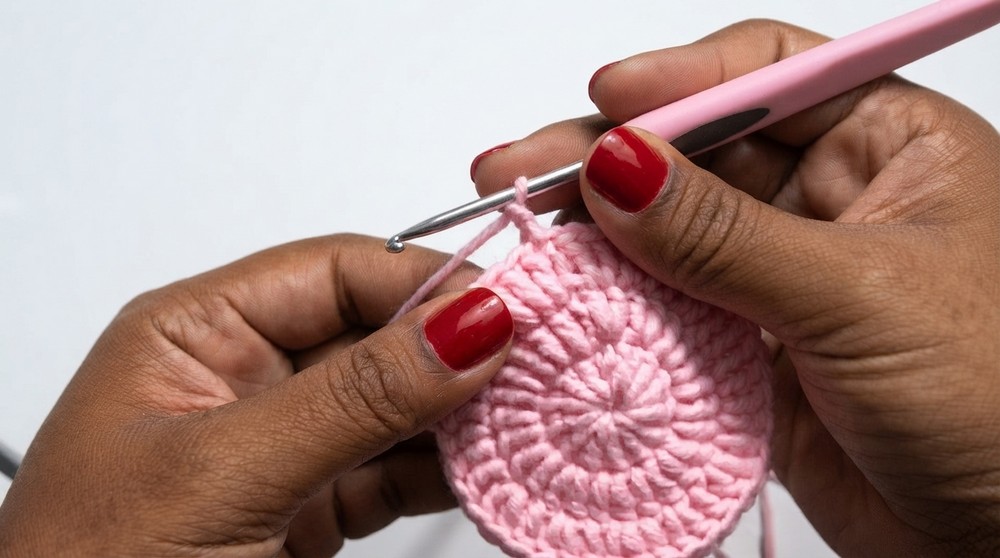
Step 5:
Ch 2, (dc in one st, 2 dc in next st)—repeat around. (Total: 42 sts.)
Sl st to join.
Step 6:
Ch 2, (dc in next 2 sts, 2 dc in following st)—repeat around.
Continue to increase as needed, trying the hat base on your pet’s head, until it matches the desired circumference (e.g., 28 cm).
Sl st to join.
The increasing pattern is:
- Round 1: 14 dc
- Round 2: 28 dc
- Round 3: 42 dc
- Round 4+: (Increase spacing by 1 dc each round)
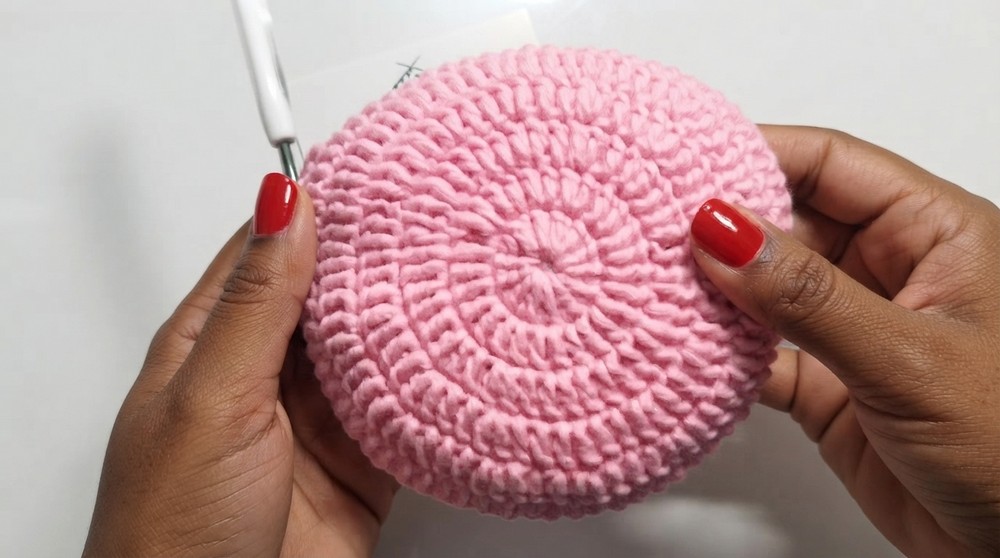
Step 7:
Continue working even (1 dc in each st) for two more rounds to build hat depth.
Sl st to join after each round.
2. Hat Ties/Securing Braids
Create ear ties (side braids) on both sides
Step 8:
Ch 70 (for an average cat; adjust chain length for your pet).
Sl st in each ch back to hat edge.
Fasten off.
Repeat for the opposite side.
Weave in all loose ends.
3. Pig Ears
Make 2 ears (for pig version; adapt as desired)
Using dark pink:
Step 1:
Ch 5.
Turn, sc in 2nd ch from hook and next 2 ch (for 3 sc).
Sc 2 in last ch. (Turn as you crochet.)
Now work along the opposite side of the foundation: 3 sc, sc 2 in last ch (where you turned).
Turn.
Repeat 2-3 more rows, turning at each end:
- Row start: ch 1 for turning
- Sc across to last st, 2 sc in last st
Continue until ears reach desired length/shape (approx. 3–4 rows for small cat ears).
Fasten off.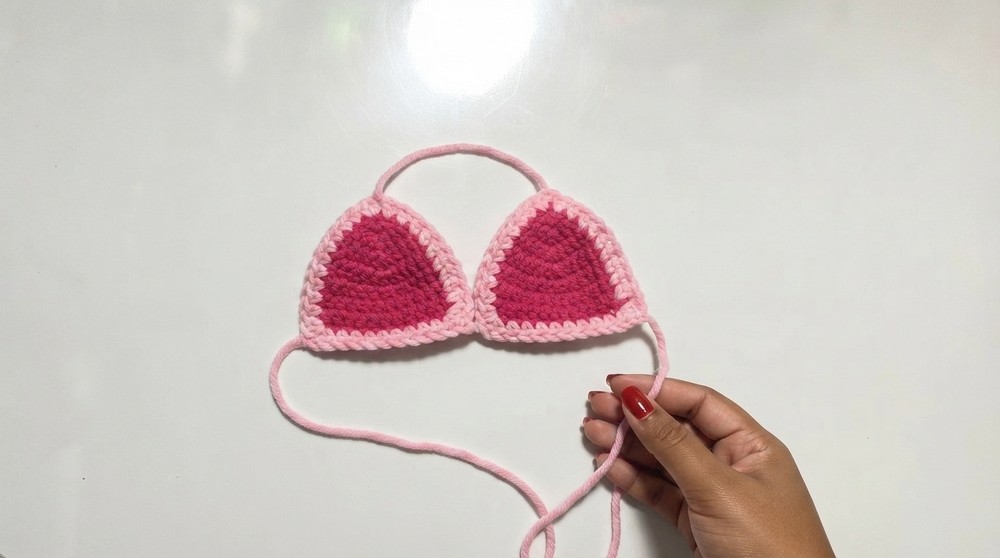
4. Inner Ear (Optional)
With lighter pink, repeat a smaller version of the ear for “inner ear,” then sew or crochet on top of main ear before attaching to hat.
5. Snout (Pig Nose)
Using pink (main or darker):
Step 1:
Ch 4, sl st to join and form a ring.
Step 2:
Sc 6 into ring.
Step 3:
2 sc in each st around (12 sc).
Work 1 or more rounds even (sc in each st) if needed for size.
Step 4:
Fasten off, leaving a tail for sewing.
With black yarn (or by gluing on two small felt ovals), embroider or attach two vertical “nostrils” to the snout piece.
6. Eyes
Use plastic safety eyes or cut two small black felt/fabric/embroider eyes above the snout.
Assembly & Finished Size
- Attach the finished ears to the top of the hat by sewing or gluing in place.
- Place and sew/glue the snout in the center front of the hat.
- Add plastic eyes above the snout, then secure with glue or by sewing (if using embroidered or felt).
- Hide all loose yarn ends inside the hat, weaving in with a yarn needle.
- Make sure braids/ties are on opposite edges for under-chin tying.
- Finished hat fits a cat with a 28 cm head circumference, but can be resized by increasing or reducing rounds/stitch counts.
Conclusion and Ending Words
Your adorable crochet pig cat hat is now finished! Personalize by switching out the ears and face—for example, add long ears for a rabbit, attach eyes on top for a frog, or use yellow and stripes for a bee. Adjust sizing as needed for your specific pet, and secure all decorations for durability.

![How to Crochet Eleven (Stranger Things) Amigurumi Tutorial [EN, ES, DE Sub] 13](https://claireabellemakes.com/wp-content/uploads/2026/07/How-to-Crochet-Eleven-Stranger-Things-Amigurumi-Tutorial-EN-ES-DE-Sub-13-768x768.jpg)