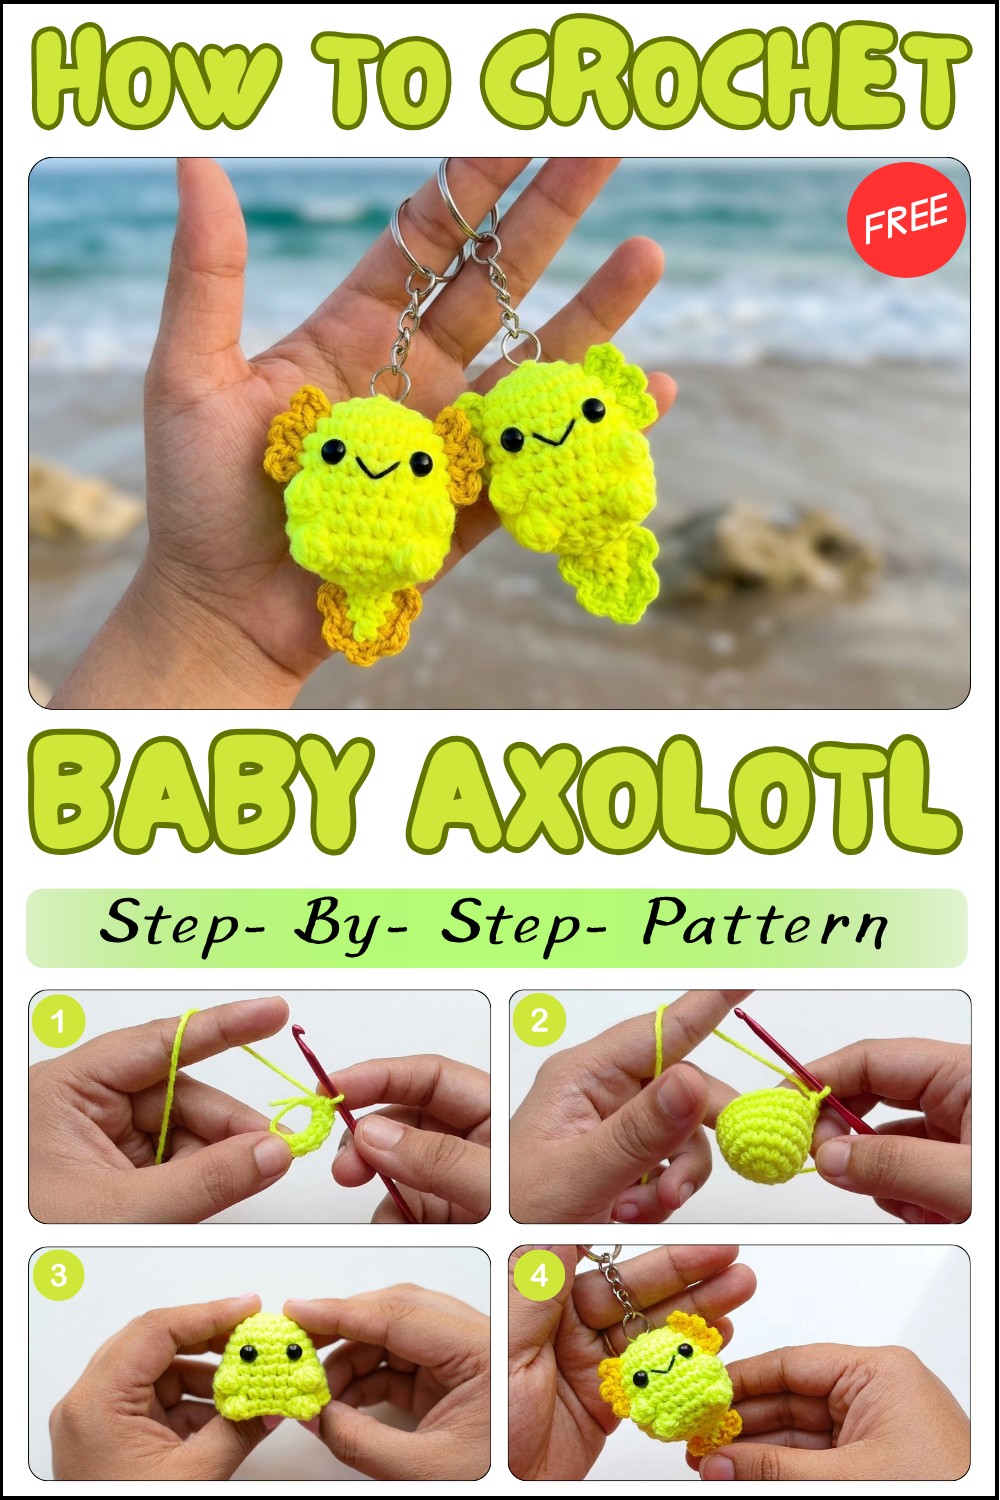
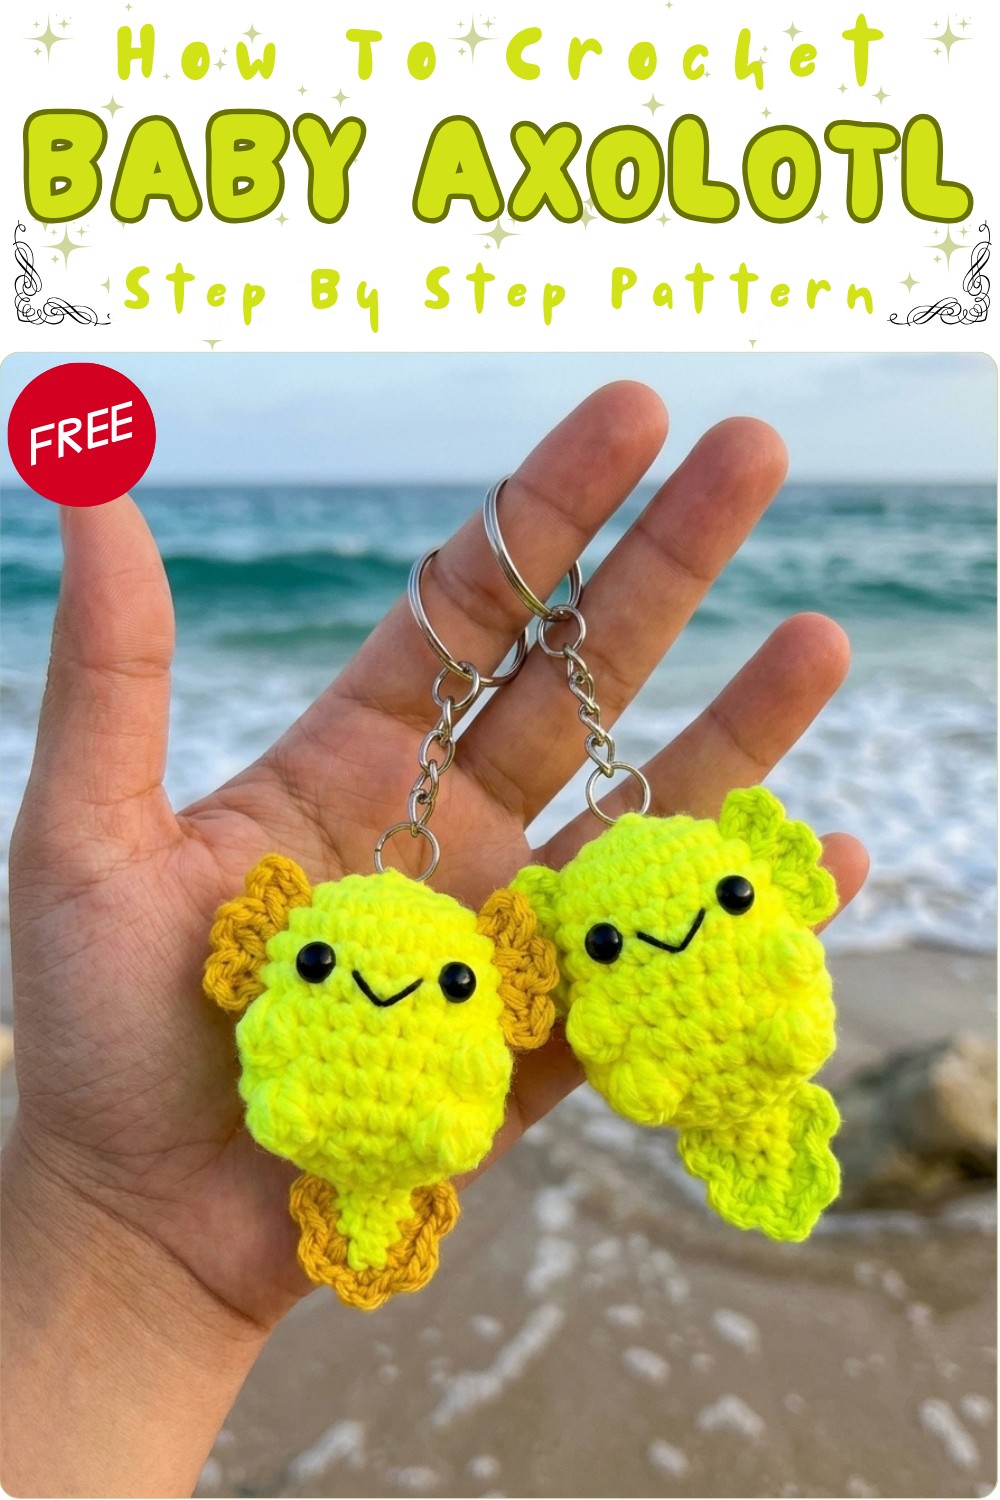
Free Crochet Baby Axolotl Pattern With Bubble-Stitch Limbs
Make something irresistibly cute with this Free Crochet Baby Axolotl Pattern, helping you create a lovable and unique handmade gift or playful decoration.
I recently tried making a small, adorable creature that quickly became one of my favorite crochet projects. It’s a soft, squishy toy that you can personalize in many ways by just tweaking a few details. The Free Crochet Baby Axolotl Pattern is perfect if you love cute animals and want a fun, manageable project. By changing colors or adding little accessories, you can even create other mythical or real-life creatures, making this pattern super versatile.
Free Crochet Baby Axolotl Pattern for Playful Amigurumi
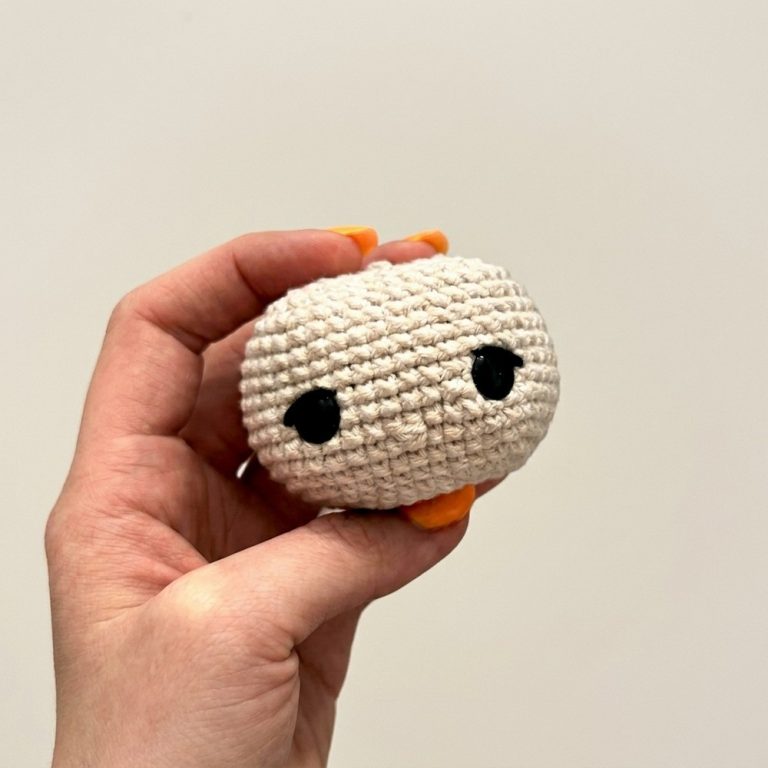
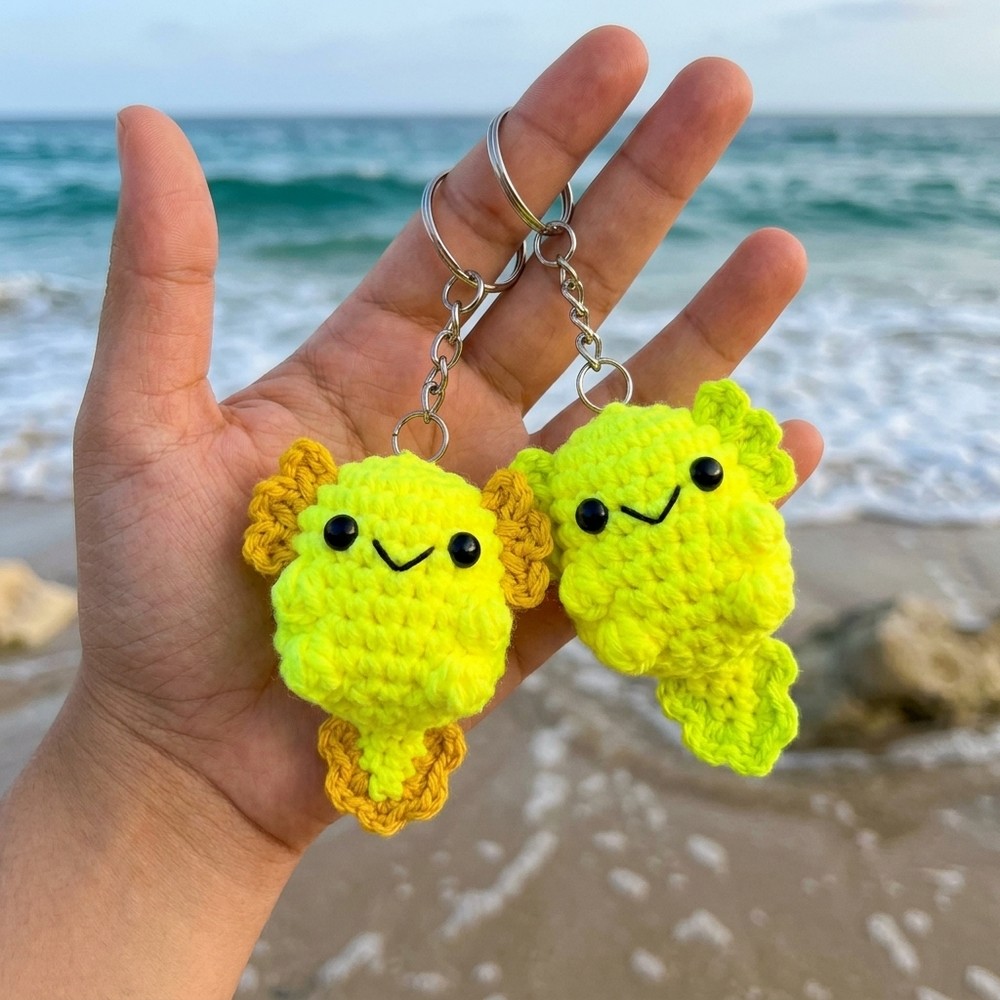
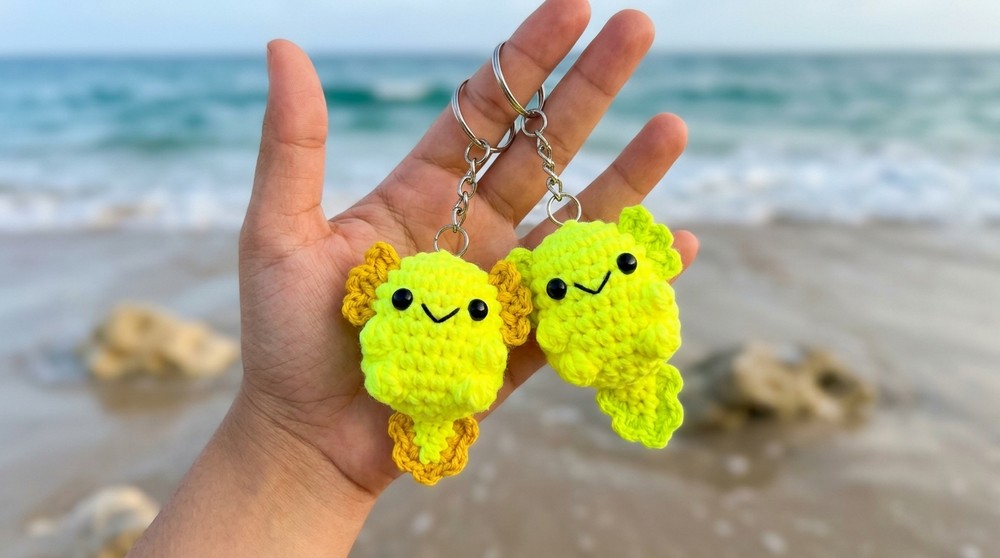
This baby axolotl is truly charming! Its round, chubby body with tiny, frilly gills gives it an instantly lovable look. The texture is smooth yet plush, thanks to tight, consistent stitches that make it soft to the touch. Its shape is simple but captures the unique style of an axolotl—a sweet, almost magical aquatic pet with gentle curves and playful features. The standout design element is definitely the little external frills on its head, which add personality and a touch of whimsy.
If you’re comfortable with basic crochet techniques, this project is a great fit. The main stitch used is single crochet, worked in continuous rounds to create a seamless shape. Beginners who have practiced simple amigurumi will find this a lovely next step, as it involves slight shaping but nothing too complicated. Keeping your stitches tight helps keep the stuffing hidden and the shape neat.
This little axolotl makes a wonderful handmade gift that’s perfect for kids, animal lovers, or anyone who appreciates quirky collectibles. It’s also a cute decoration for your desk or shelf, and its soft size means you can carry it around as a portable charm. If you enjoy creating sweet, squeezable friends and want a pattern that’s friendly for most skill levels, this project will likely be a fun, rewarding choice.
Crochet Axolotl Amigurumi Keychain Pattern
Bring a touch of cuteness to your day with this delightful, beginner-friendly axolotl amigurumi! Designed for minimal sewing and ideal for use as a keychain or desk buddy, this little amphibian features soft curves, a cheerful embroidered face, tiny bobble-stitch arms and legs, and signature wavy gills. Worked primarily in one piece, with only the tail sewn on, this project is perfect for any crocheter seeking a quick and satisfying make. Detailed stitch instructions, clear assembly tips, and finishing touches yield a sturdy yet plush mini friend, ready to accompany you wherever you go.
Pattern Notes
- Most of the axolotl is crocheted in continuous (spiral) rounds without joining or turning; mark the last stitch of each round.
- Safety eyes are inserted before the head is entirely closed.
- Only the tail is separately crocheted and sewn to the body.
- Gills and tail fin are crocheted directly onto the work using picot stitches.
- Carefully count stitches, especially at increases/decreases, to maintain shape.
- Firm but not over-tight stuffing helps keep a round, smooth form.
- Embroider the face before fully closing the top for easier needle access.
Skill Level
Beginner
Only basic stitches and techniques—single crochet, increase, invisible decrease, bubble stitch, slip stitch, chain, picot—are used. Suitable for new amigurumi makers.
Materials
- Yarn (light and dark shades of one color; plus small amount black for embroidery)
- #2–#4 weight (sport/DK/worsted), cotton or acrylic
- Crochet hook: 3 mm (use one or two sizes smaller than yarn ball recommends)
- 4 mm safety eyes (1 pair)
- Polyester stuffing
- Yarn needle
- Stitch marker
- Scissors
- Keychain blank/jump ring (optional)
Measurements / Sizing
- Finished size: approx. 7–9 cm (3–3.5″) tall, including tail and gills; body approx. 4–5 cm (1.5–2″) wide
- Keychain size and scale may vary with yarn and hook
Gauge
Not critical, but you should achieve tight stitches with no stuffing peeking through for neatest result.
Stitch Abbreviations
- MR = magic ring
- ch = chain
- sc = single crochet
- inc = increase (2 sc in same stitch)
- dec = decrease (sc 2 together or invisible decrease)
- st(s) = stitch(es)
- sl st = slip stitch
- BO = bobble stitch
- FLO = front loop only
- BL = back loop(s)
Special Stitches
Bubble (Bobble) Stitch (Arm/Leg):
Yarn over, insert hook into st, pull up a loop; yarn over, pull through two loops (as if starting dc), repeat 2 more times into same st (4 loops on hook then 5, depending on how many repeats), yarn over, pull through all loops on hook. Push bobble out to front.
Invisible Decrease:
Insert hook in front loop only of each of next 2 sts, yarn over, pull through both loops, yarn over, pull through both remaining loops.
Picot (Gill/Tail Fin detail):
Ch 3, sl st to 1st ch made.
The Crochet Pattern
Body & Head
Rnd 1: With main (light) shade, MR, ch 1 (does not count as st), 6 sc in MR. (6 sts)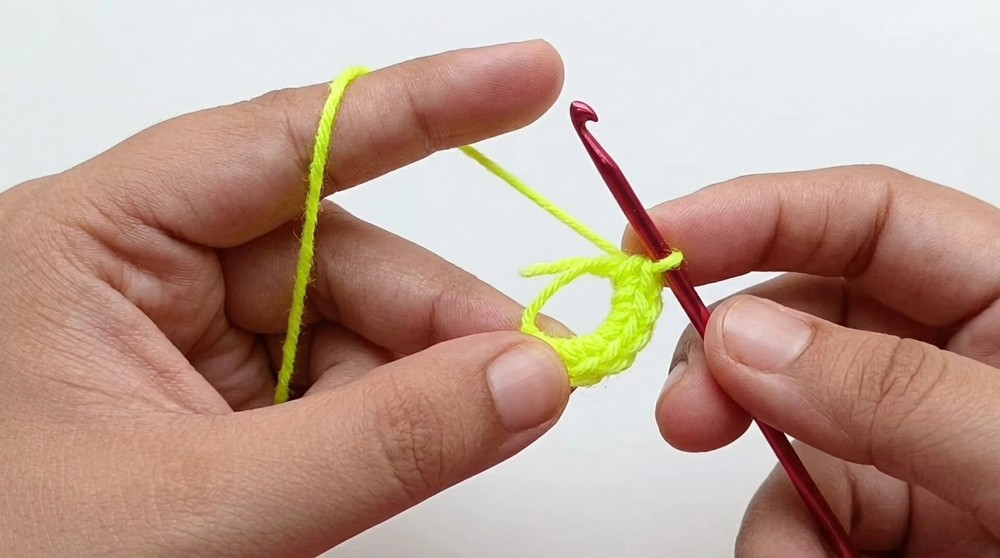
Rnd 2: Inc in each st around. (12 sts)
Rnd 3: (Sc in next st, inc in next st) around. (18 sts)
Rnd 4: Sc in each st around. (18 sts)
Rnd 5: (Sc in next 5 sts, inc) x3. (21 sts)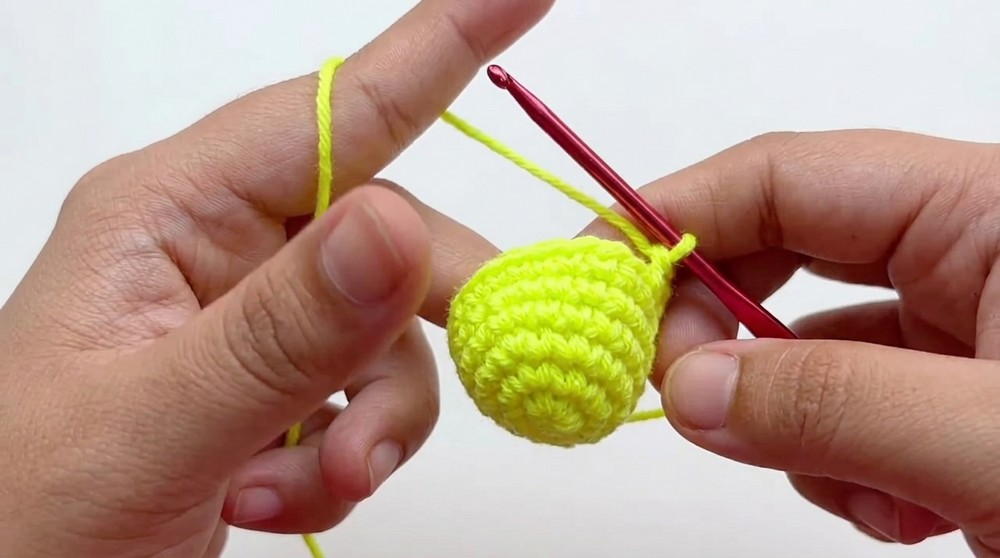
Rnd 6: Sc in each st around. (21 sts)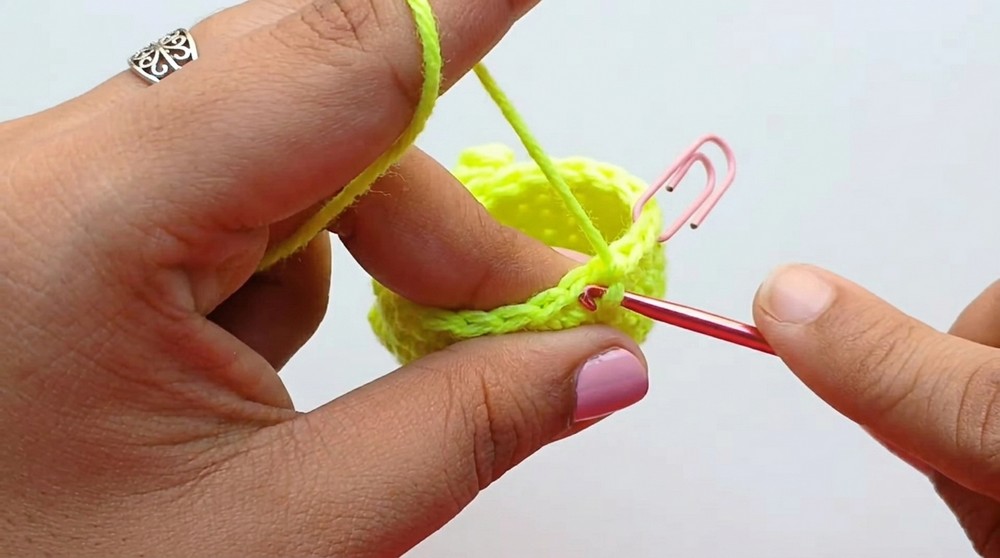
Rnd 7: (Sc in next 6 sts, inc) x3. (24 sts)
Arms (Bubble Stitch) – Rnd 8
Rnd 8:
- Sc in next 8 sts
- Bobble Stitch (see above) in next st (1st arm)
- Sc in next st
- Sc in next 5 sts
- Bobble Stitch in next st (2nd arm)
- Sc in remaining 9 sts
24 sts total (each arm is a bobble stitch; everything else is sc).
Rnd 9:
Sc in each st around (including tops of bobble stitches). (24 sts)
Legs (Bubble Stitch) – Rnd 10
Rnd 10:
- Sc in next 9 sts
- Bobble Stitch (1st leg) in next st
- Sc in next 4 sts
- Bobble Stitch (2nd leg) in next st
- Sc in remaining 9 sts
Place Eyes
Insert 4 mm safety eyes between rounds 5 and 6, aligning one eye just inside (towards center) of each arm, with three sts between them.
Body Taper & Finish
Rnd 11: (Sc in next 2 sts, inv dec over next 2 sts) repeat around. (18 sts)
Rnd 12: (Sc in next st, inv dec over next 2 sts) around. (12 sts)
Stuff body/Head firmly but gently.
Rnd 13: (Inv dec over next 2 sts) around. (6 sts)
Cut yarn, leaving long tail. Use needle to weave through front loops of last 6 sts. Pull to close. Bring tail out top for keychain attachment if desired.
Tail
Rnd 1: With main color, MR, ch 1, 4 sc in MR. (4 sts)
Rnd 2: (Sc in next st, inc in next st) repeat twice. (6 sts)
Rnd 3: Sc in each st around. (6 sts)
Rnd 4: Sc in next 2 sts; (inc in next st) x2; sc in last 2 sts. (8 sts)
Rnd 5: Sc in each st around. (8 sts)
Sl st in next st. Fasten off, leaving long tail. Lightly stuff tail.
Sew Tail:
Align on lower back of axolotl with curve facing up. Using yarn tail, sew tail to body, stitching evenly around base. Thread tail through base/stitches to secure. Bring end out through body—do not trim yet.
Gills (Make 3 on each side, using darker yarn)
- Join dark yarn one st away from eye, between Rnds 6 and 7, with sl st.
- Ch 3, sl st in 1st ch (picot).
- Sl st up one round, repeat picot.
- Sl st up one more round, repeat picot. Fasten off, leave tail.
- Repeat on other side to make 3 small “gills” each side, spaced evenly, always starting one st away from eye and working up toward top of head.
- Hide both start and end yarn tails inside body by pulling through with needle/crochet hook and trimming.
Tail Fins (Picot Frill on Tail)
Using dark yarn, join with sl st on side edge of tail (between Rnd 3 and 4).
Work 3 picots evenly spaced up side edge, third one on tip, then down the other side with 2 picots.
Fasten off, hide tails as above.
Embroidered Face
With separated black yarn or embroidery thread, embroider a smile between the eyes, 1–2 rounds down from the top. Stitch straight across 2 sts, then tack at mid-point for a smile shape. Hide knot and ends inside head.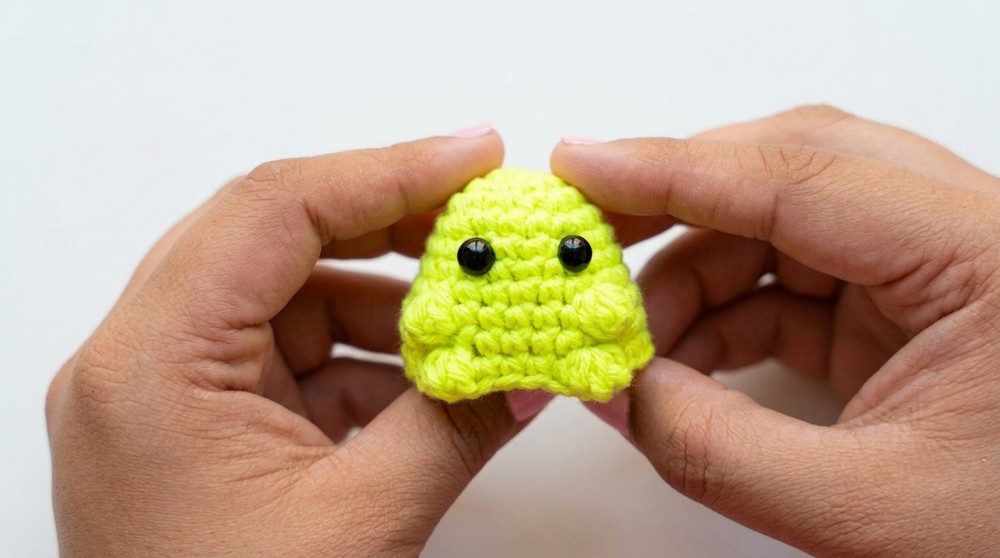
Keychain Attachment
Thread leftover yarn tail at top of head onto a needle. Pull through jump ring/keychain blank, pass needle back down through center of head and out side. Repeat for extra strength, knot with any other yarn tails, and hide inside head.
Assembly & Finished Size
- Stuff body and tail lightly for plumpness.
- Sew tail on center back, curve facing up.
- Create and fasten gills on both sides of head.
- Add tail fin frill with picots on either side of the tail.
- Embroider small smile between eyes using black thread.
- Secure safety eyes in place.
- Attach keychain at top using remaining yarn tail.
- Hide or trim all yarn ends inside body.
- Finished axolotl measures about 7–9 cm total (without keychain).

Quick Beginner Overview
- Crochet an oval body & head (amigurumi style) in a spiral, working increases/decreses as instructed.
- Make bubble stitch arms and legs in the indicated rounds.
- Attach safety eyes and embroider the smile.
- Crochet the tail and stuff lightly, then sew to the back.
- Add gills and tail fin using picot stitch on sides/tail.
- Attach keychain at the top with head yarn tail.
- Hide all ends securely inside.
Tips for Success
- Use a tight fabric so stuffing doesn’t show.
- Place and sew attachments symmetrically.
- Push out bubble stitches from inside if needed.
- Adjust hook/yarn for desired size or keychain proportion.
- Experiment with color for whimsical or realistic axolotls.
- Keep your stitch marker moving up each round for accurate counting.