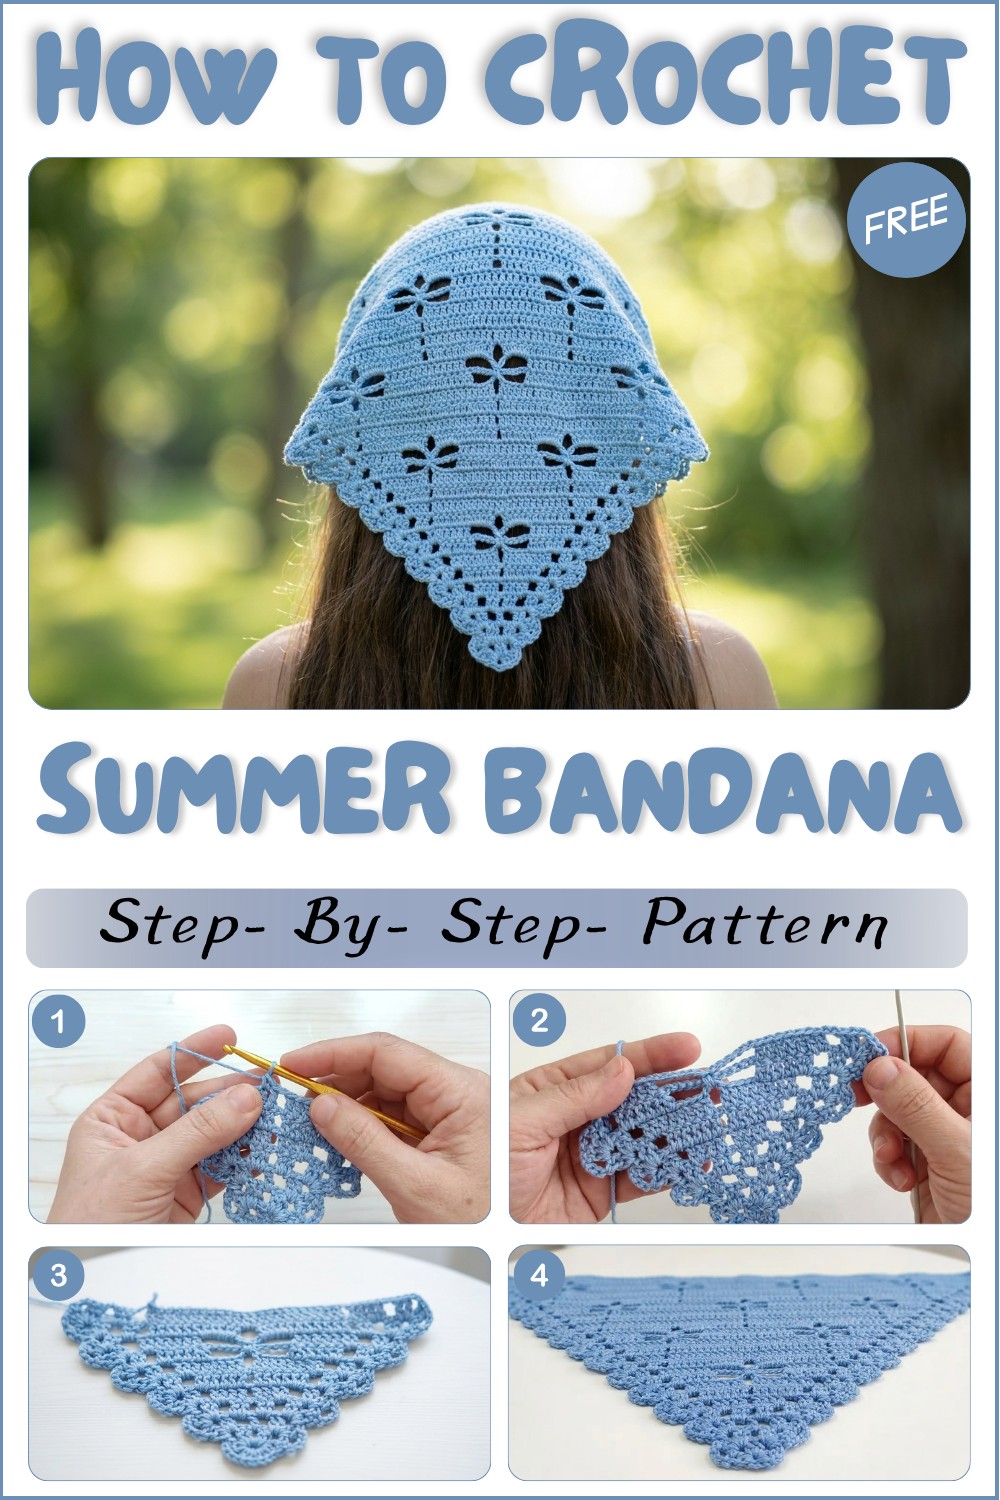
Quick Crochet Summer Bandana Free Pattern with Simple Steps
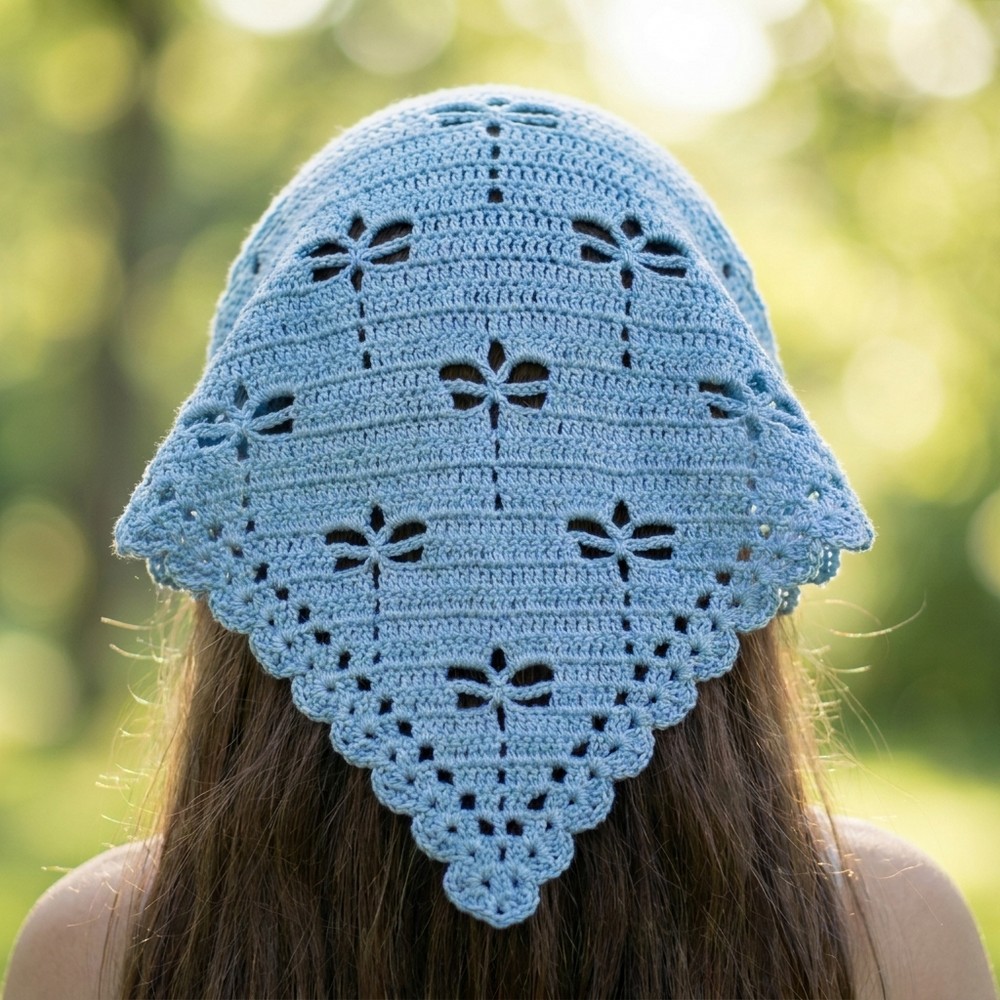
Stay stylish and cool with this Crochet Summer Bandana which is for creating lightweight accessories for sunny days and adventures.
I found a fun and light crochet project that instantly became one of my favorite accessories for warm weather. It’s a simple and stylish item that can be easily customized with just a few small changes. The Free Crochet Summer Bandana Pattern is perfect if you’re looking to add a handmade touch to your sunny-day outfits. By changing yarn colors or adjusting the size, you can also create matching headbands, scarves, or cute neckerchiefs, making this pattern very versatile.
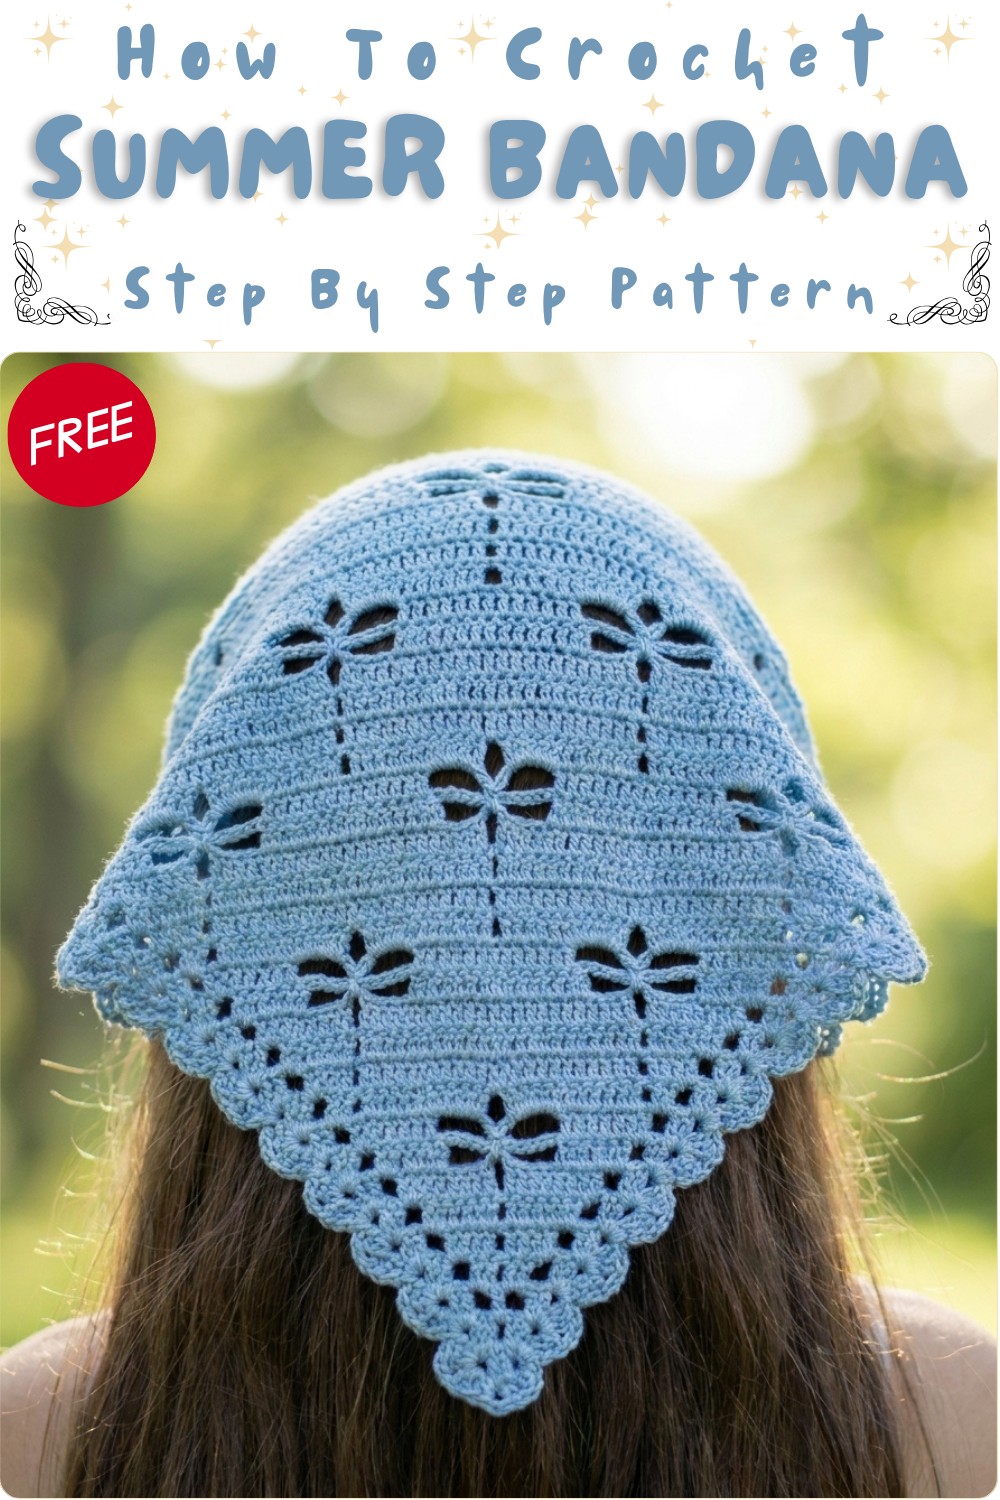
Free Crochet Summer Bandana Pattern with Easy Instructions
This summer bandana is both practical and beautiful. It features a fresh, airy look with an open, lacy texture that helps you stay cool while looking stylish. The shape is a classic triangle that fits comfortably around your neck or head, giving off a casual, beachy vibe. What stands out most are the clean lines and delicate stitch details that add a touch of elegance without being too fussy. The bandana is lightweight and breathable, making it perfect for outdoor activities or adding a splash of handmade charm to any outfit.
For those comfortable with basic crochet stitches, this project is very beginner-friendly. The main stitch usually involves simple techniques like double crochet or a mix of chains and single crochets, so it works up pretty quickly. It’s a great way to practice stitch patterns while creating something both useful and attractive.
This crochet summer bandana makes a lovely handmade gift for fashion lovers who appreciate a personal touch. It’s a practical accessory to keep on hand for sunny days, festivals, or casual outings. If you’re looking for a quick and easy project that adds style and function to your wardrobe, this pattern is definitely worth trying—you’ll enjoy making it as much as wearing it.
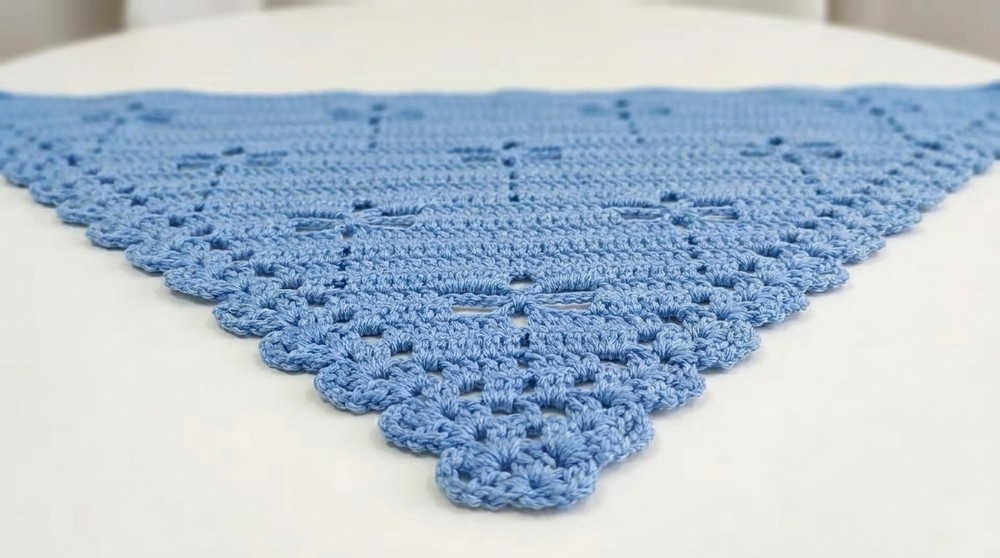
Triangular Crochet Bandana Pattern
This beautiful and versatile triangular crochet bandana is designed with a striking, textured shell and column stitch combination. Easy to size up or down, it works as a stylish accessory for both kids and adults. With straightforward core repeats and elegant increases, the bandana can even be enlarged to make a triangular shawl—just keep repeating the six-row motif.
Pattern Notes
- Project is started from the point and increased outward.
- Made in rows—not in the round.
- The foundational motif (the “stitch”) is a six-row repeat after the initial foundation section.
- The pattern is easy to adjust for any size: simply continue the repeats for a larger bandana/shawl.
- Ties are crocheted directly onto the corners at the end.
- It’s helpful to mark the center shell with a stitch marker in early rows for easier increases.
- All stitches are UK double crochet (dc), which is US single crochet (sc), and UK trebles (tr) which are US double crochets (dc).
- “Shell” = (2 dc, 2 ch, 2 dc) in the 2-ch space, unless otherwise stated.
Skill Level
Advanced Beginner
You should know basic stitches, how to start with a magic ring, work flat in rows, and carry out increases.
Materials
- Medium (worsted) weight cotton yarn (approximately 42g for a standard-sized bandana)
- 3.5–4 mm crochet hook (or size to match yarn and tension)
- Scissors
- Yarn needle
Measurements / Sizing
- Sample bandana: Approx. 26 cm along straight edge after two finishing rows, can be enlarged to shawl size as desired.
- Ties: Customizable in length, usually around 25–30 cm each.
Gauge
Gauge is not critical—just keep your stitches neat and even for best results.
Stitch Abbreviations (US Terminology)
- ch = chain
- sl st = slip stitch
- sc = single crochet
- dc = double crochet
- tr = treble crochet
- st(s) = stitch(es)
- sp = space
Special Stitches
Shell: (2 dc, 2 ch, 2 dc) in the same space.
Cluster (for shaping):
- (Yo, insert hook in st, yo, pull up a loop, yo, draw through two loops) twice,
- yo, draw through all loops on hook (two-part dc cluster).
The Crochet Pattern
Foundation Rows
Row 1:
Ch 4, sl st into 1st ch to form ring. Ch 3 (counts as first dc), work into ring:
- 1 dc, ch 2, 2 dc (first shell made, forming center point).
- Ch 2, 1 dc into ring. Fasten off yarn tail.
Row 2:
Ch 4 (counts as dc + ch 1), turn.
- In next ch-2 sp: (2 dc, ch 2, 2 dc) (shell made).
- Ch 1, dc in turning ch/top of starting chain. Turn.
Row 3:
Ch 4, turn.
- Shell in first ch-2 sp: (2 dc, ch 2, 2 dc)
- Ch 1, dc in ch-1 sp of previous row.
- Ch 2, shell in center ch-2 sp.
- Ch 1, dc in turning ch.
Row Repeats
You will now establish a repeating motif (“the stitch”) that consists of six distinct rows. The number of shells and columns will grow with each repeat.
Row 1 (of motif):
Ch 4, turn.
Shell in 1st ch-2 sp.
Ch 2, in next 2-ch sp: 2 dc.
Ch 1, 2 dc in next ch-2 sp.
Ch 2, shell in last ch-2 sp. (Edge shells at start and end.)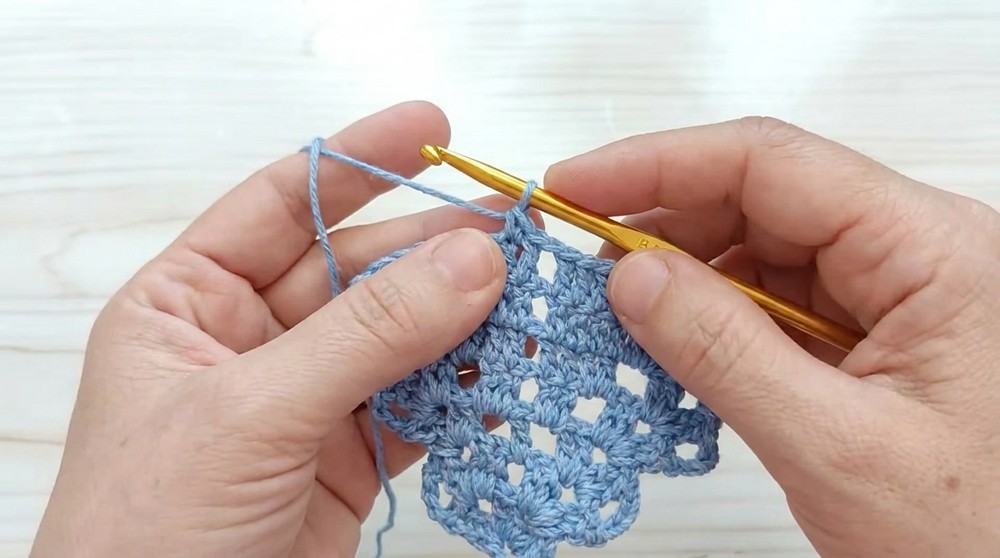
Row 2:
Ch 4, turn.
Shell in 1st ch-2 sp.
Ch 2, work 2 dc in each ch-2 sp or dc on each dc from previous row (number of dc increases to 4, then 6, then 8 each time this row is repeated).
Ch 1 between clusters.
2 dc in next ch-2 sp.
Ch 2, shell in last ch-2 sp.
Row 3:
Ch 4, turn.
Shell in 1st ch-2 sp.
Ch 2, dc in each dc across (number increases each repeat; e.g. 6, 8, 11, etc.).
Ch 1 between dc groups.
2 dc in next ch-2 sp.
Ch 2, shell in last ch-2 sp.
Row 4:
Ch 4, turn.
Shell in 1st ch-2 sp.
Ch 2, dc in each dc across, cluster stitches for shaping if needed, with ch-1 between groups.
Ch 3 for center (with increases; chains in the center grow to separate the rows and keep the triangle flat).
Dc in each dc across.
Ch 2, shell in last ch-2 sp.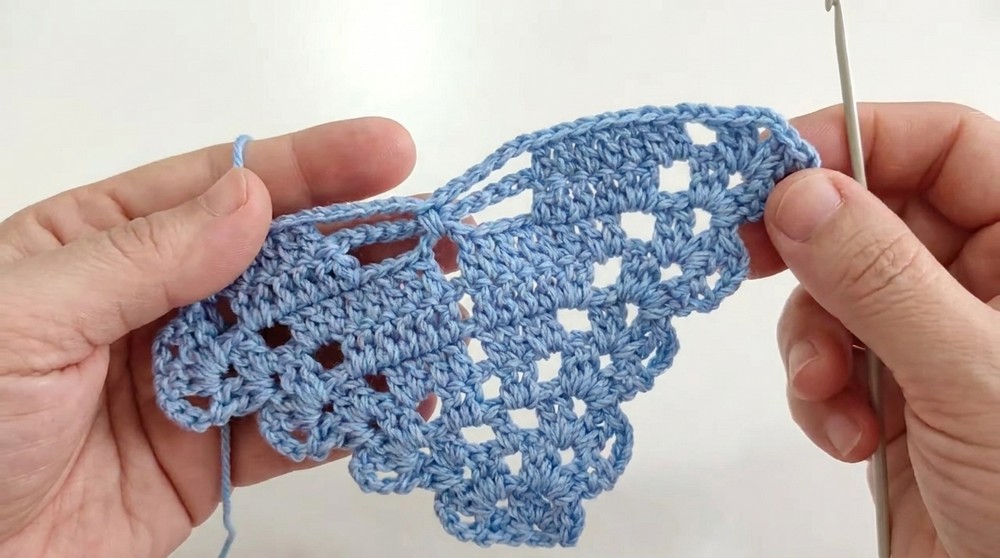
Row 5:
Ch 4, turn.
Shell in 1st ch-2 sp.
Ch 2, Cluster over two dcs for shaping (each side), then 11 ch for openwork center, then cluster again.
- Ch 2, shell in last ch-2 sp.
Row 6:
Ch 4, turn.
Shell in 1st ch-2 sp.
Ch 2, dc in each dc and cluster as before (number will now be 13, increases each repeat).
- Ch 6 for the space, sc into previous row ch-sp to anchor, ch 6, continue dcs, shell at the end.
Motif and Sizing
- Continue repeating the six-row motif until bandana is as large as you need (each repeat makes the center wider).
- For shawl: keep repeating.
- For a small bandana: around four repeats (approx. 24 cm along edge).
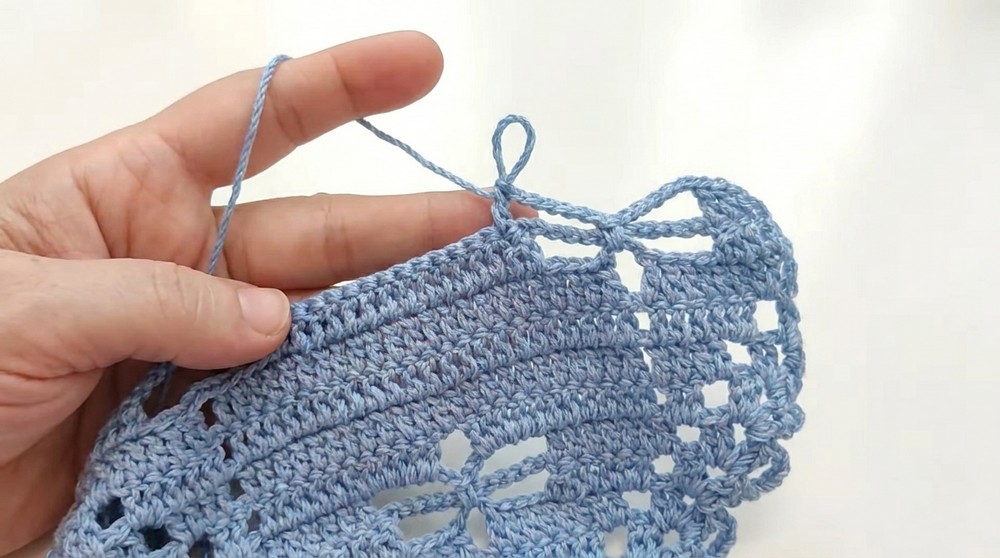
Finishing Rows (Straightening the Edge)
After reaching desired size, finish with these two rows:
- Row A: Work across, replacing all chains with double crochets on each st and into each chain—no more open spaces except over the previously worked large spaces, where you resume pattern as for center.
- Row B: Work one row of double crochet across, working 1 dc into every stitch and into every ch-sp to give a neat straight edge.
Ties (for Bandana)
- Attach yarn at one corner.
- Ch sufficient for desired tie length (e.g., 25–30 cm).
- Work 1 sc/htdc/dc (based on thickness preference) back along chain to base.
- Fasten off, weave in tail.
- Repeat for other side.
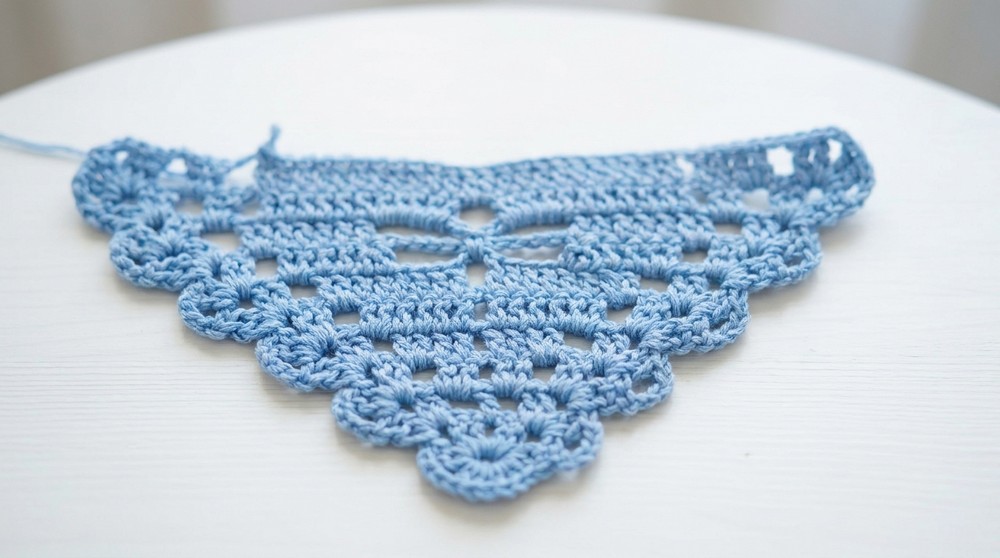
Assembly & Finished Size
- Bandana base will be an isosceles triangle after final row.
- Each tie is worked off the straight side at corners.
- Weave in all ends securely.
- Block for drape and definition if desired.
Finished Size:
- After blocking: about 26 cm along straight top edge (for standard bandana), or continue for a shawl.
The project finishes with neat woven-in ties for secure wearing. Whether you’re a beginner looking for a new challenge or an experienced crocheter seeking a customizable pattern, this bandana is the perfect blend of beauty and practicality.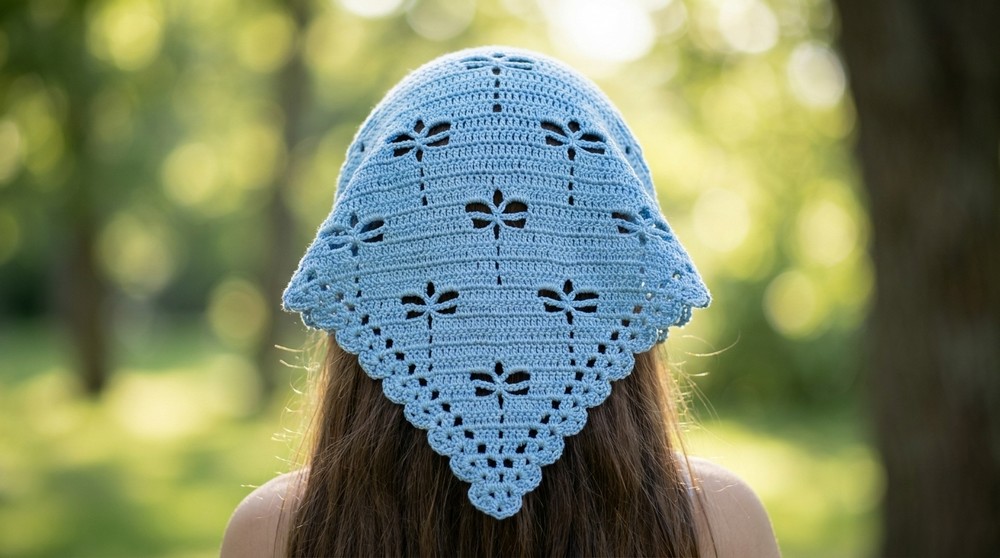
Quick Beginner Overview
- Start with a ring and basic shell pattern.
- Build triangle by repeating motif: shells at both ends, columns/dc and chain details in center.
- Repeat core 6-row repeat to widen (see pattern for chain counts).
- Work two straightening rows.
- Make two ties at corners, working back along chain.
- Weave in ends, block if desired.
Tips for Success
- Always start/end with a shell at the edge for symmetry and structure.
- Take care with chain and dc counts—they create the beautiful zigzag and mesh pattern.
- If using for a shawl, keep repeating the six-row motif until desired depth.
- For ties, count chains so both sides are equal.
- Blocking evens out stitches and enhances stitch definition.