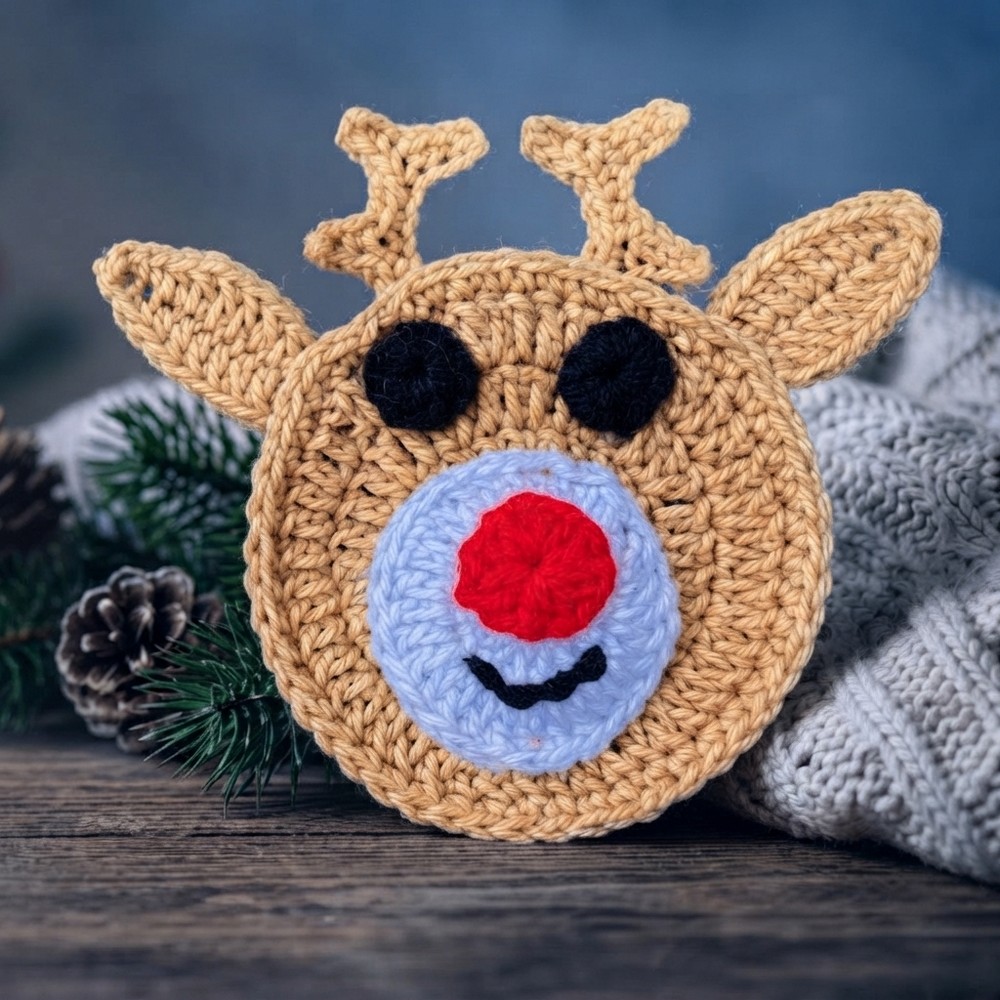
Adorable Free Crochet Reindeer Ornament Pattern for Tree Decorations

Handmade festive crochet reindeer ornament pattern brings charm and warmth to your holiday decor while showcasing your skills with a creative project.
Bringing holiday spirit into your home is always special with handmade decorations that reflect care and creativity. One delightful project to try is the Free crochet Reindeer Ornament Pattern inspired by the detailed video tutorial from Tukitaki. This pattern creates a charming little reindeer perfect for adding a cozy touch to your Christmas décor.
Free Crochet Reindeer Ornament Pattern with Tutorial
The reindeer ornament is a small but striking piece made with soft four-ply yarn and a 3.5 mm hook, which gives it a firm yet gentle texture. Its shape captures the essence of a festive reindeer, complete with neatly crocheted antlers, a rounded body, and a sweet face. Use of double crochets and single crochets worked into magic rings and careful stitch counts bring smooth curves and three-dimensional character to the design.
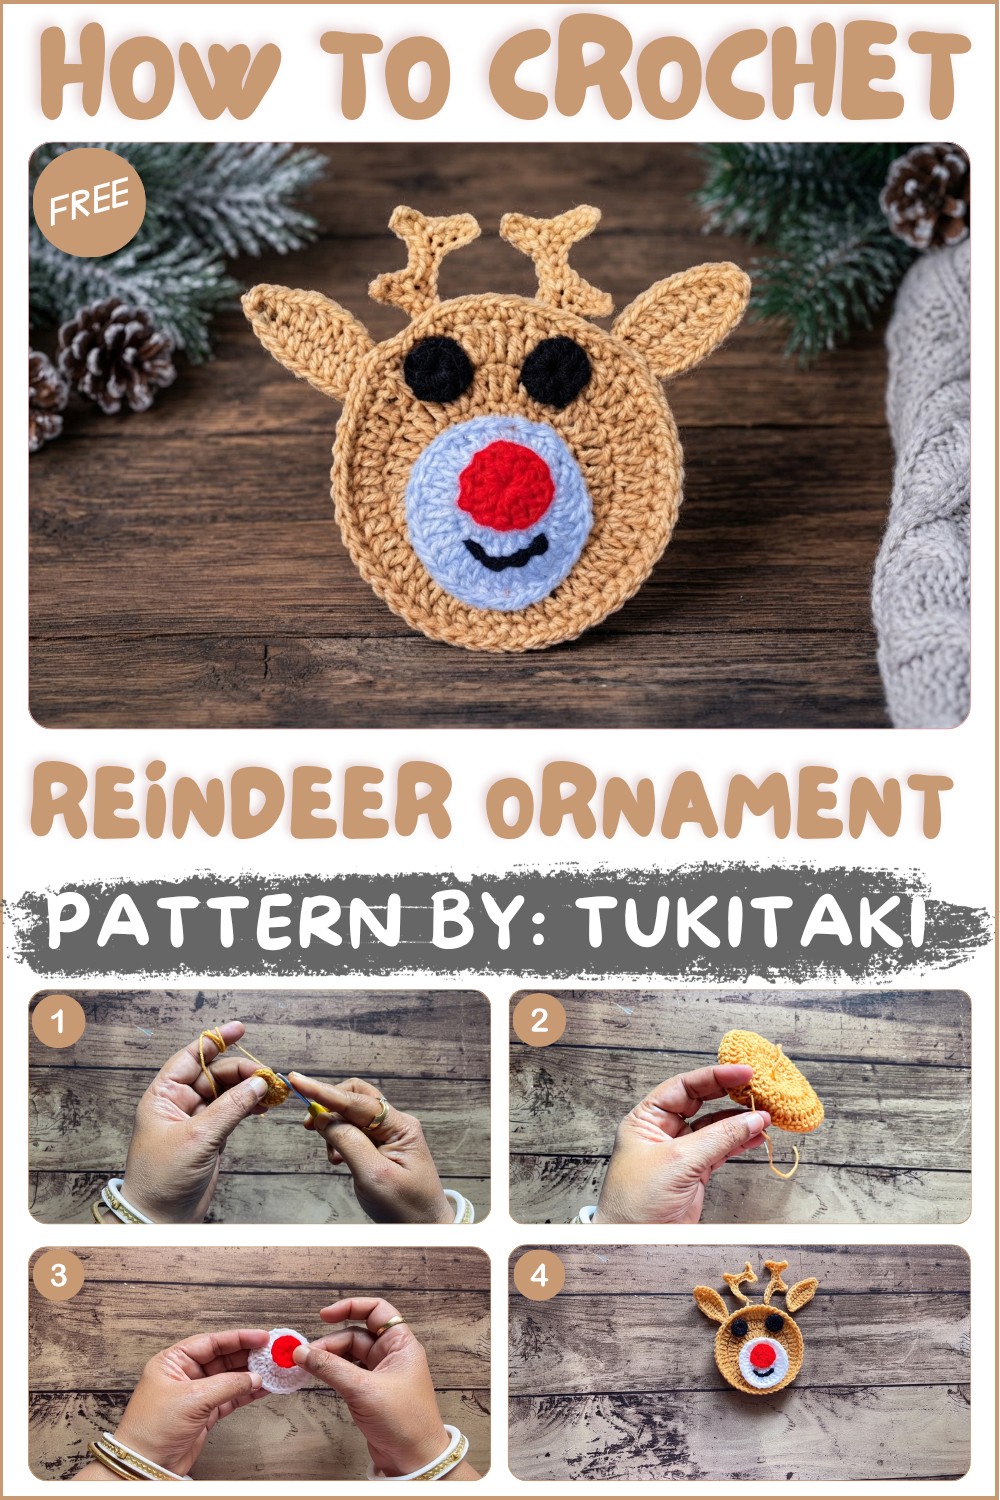
This handcrafted ornament can dress up your Christmas tree, hang on wreaths, or even top holiday gifts for a personal and heartwarming touch. Its compact size makes it versatile, while the sturdy stitch work ensures it stays intact through many celebrations. Making this ornament is a rewarding experience, blending simple crochet techniques with creative assembly, as the separate pieces like ears, eyes, and nose are joined thoughtfully.
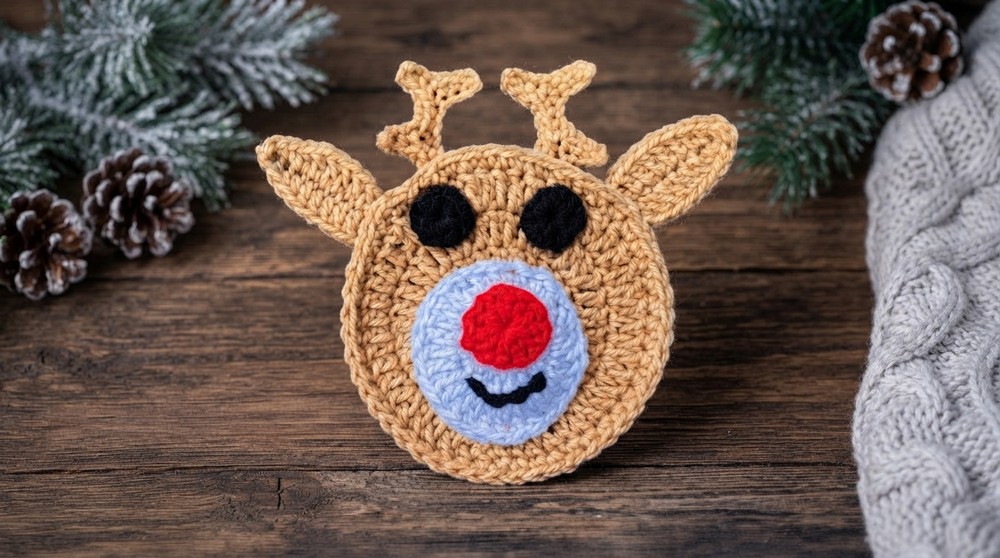
A standout feature in this pattern is the textured antlers and the use of back loop stitches that add subtle detail without complicating the process. The vibrant red nose crafted separately adds a pop of color that makes the reindeer come alive. Each piece is firmly glued or sewn together for a polished finish, giving the ornament a neat, professional look.
Enjoy the joy of creating this Free crochet Reindeer Ornament Pattern from Tukitaki to brighten your holidays with handmade charm. Its delightful style and tactile appeal make it an unforgettable addition to your festive season décor and gifts.
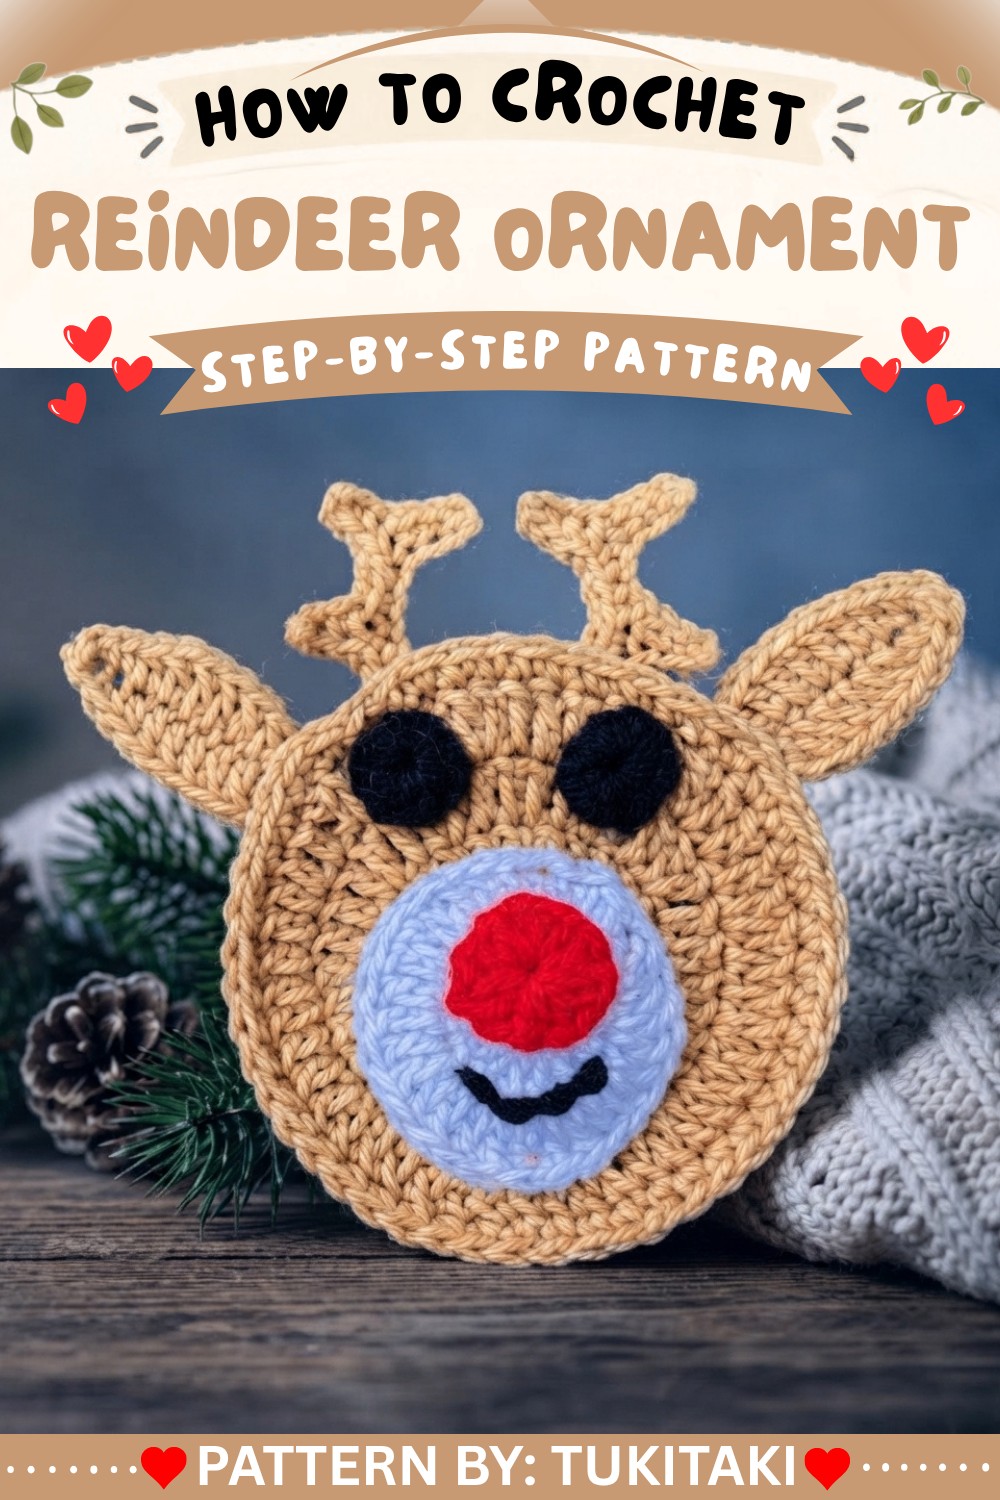
Crochet Reindeer Ornament Pattern
This charming crochet reindeer ornament is a delightful addition to your holiday décor, gifting traditions, or festive crafting. With clear rounds and accessible shaping techniques, even newer crocheters can enjoy building 3D detail as each element comes together. The layering of muzzle, nose, antlers, ears, and eyes atop a flat circular base means you can personalize your reindeer with color, expression, or extra sparkle. Instructions are methodically laid out and reference each part of the video tutorial, so you can confidently achieve a classic, whimsical reindeer that brings warmth to any holiday setting.
Pattern Basic Points
Project Structure
- Worked in rounds: Both the base and major features start from a magic ring and are expanded with evenly placed increases.
- Multiple components: Muzzle, nose, eyes, ears, and antlers are made separately and sewn or glued onto the base.
- Simple assembly: Final shaping, facial embroidery, and optional stuffing for a padded, 3D look.
- Customizable: Mix up colors or use decorative felt for details.
Main Techniques
- Magic ring to avoid holes in the center.
- Double crochet and single crochet for most major shapes.
- Antler shapes achieved through chains, slip stitches, and strategic branching.
- Flat, neat seams via slip stitch joins.
Special Notes
- Keep your rounds joined at the same point for the neatest circle.
- Work tightly for ornament durability, especially if stuffing.
- Embellish as desired: Add felt cheeks, safety eyes, tiny jingle bells, or glitter for extra character.
- To make an ornament: Loop yarn or add a hook to the back before final assembly.
Skill Level
Confident Beginner to Intermediate
Familiarity with magic ring, double crochet, single crochet, working in the round, basic shaping, and assembly recommended.
Materials
- Yarn: Medium size 4 acrylic yarn in:
- Brown (head, ears, antlers)
- Red (nose)
- Light blue (muzzle, eyes background)
- Black (details and embroidery)
- Crochet Hook: 3.75 mm
- Scissors
- Tapestry needle (for finishing and embroidery)
- Glue (optional, for attaching parts)
- Polyester stuffing (optional, for 3D effect)
- Sheet felt pieces (optional, for added detail)
Measurements / Sizing
- Approximately 9–11 cm (3.5–4.5″) from top of antlers to base and widest ear-to-ear, suited for tree décor or gifts.
- Size may vary depending on yarn, hook, and personal tension.
Gauge
- Gauge is not critical; aim for a dense fabric so stuffing won’t show through.
Stitch Abbreviations
- MR – Magic ring
- ch – chain
- sc – single crochet
- dc – double crochet
- hdc – half double crochet
- sl st – slip stitch
- inc – increase (work 2 stitches in 1 st)
- st(s) – stitch(es)
Special Stitches
- Magic Ring (MR): Adjustable loop for working in the round—prevents a hole at ornament’s center.
- Branched antler: Built with chains, returns, and branching via slip stitches and single crochet.
Start Your Pattern
BASE (Head, Brown Yarn)
- Row 1:
- Make a magic ring.
- Work 12 dc into the ring.
- Sl st to join. (12 sts)
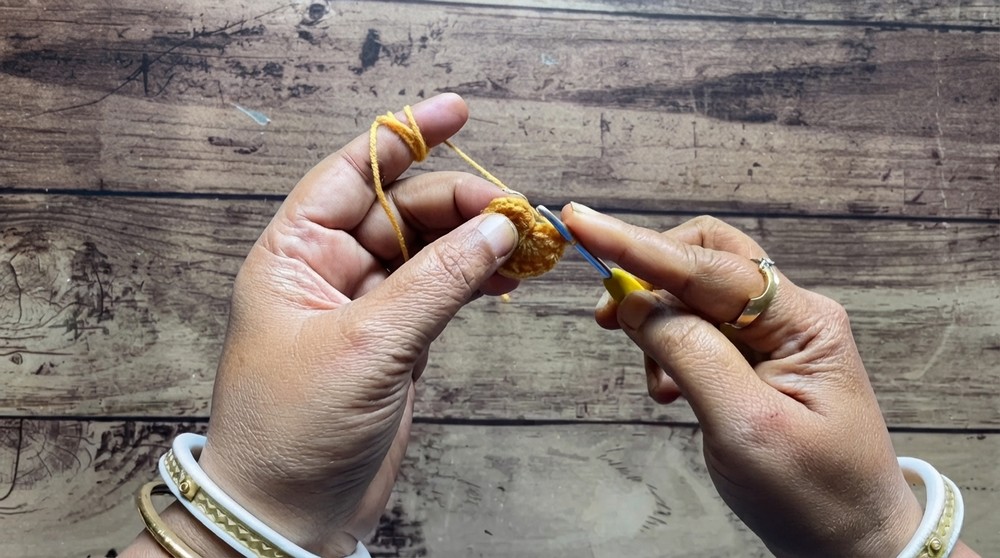
- Row 2:
- Ch 2, work 2 dc in each st around.
- (24 dc total.)
- Sl st to join.
- Row 3:
- Ch 2, (1 dc in next st, 2 dc in next st) repeat around.
- (36 dc total.)
- Sl st to join.
- Row 4:
- Ch 2, (2 dc in next 2 sts, 2 dc in next st) repeat around.
- (48 dc total.)
- Sl st to join.
- Row 5:
- 1 sc in each st around (48 sc total).
- Fasten off and set aside.
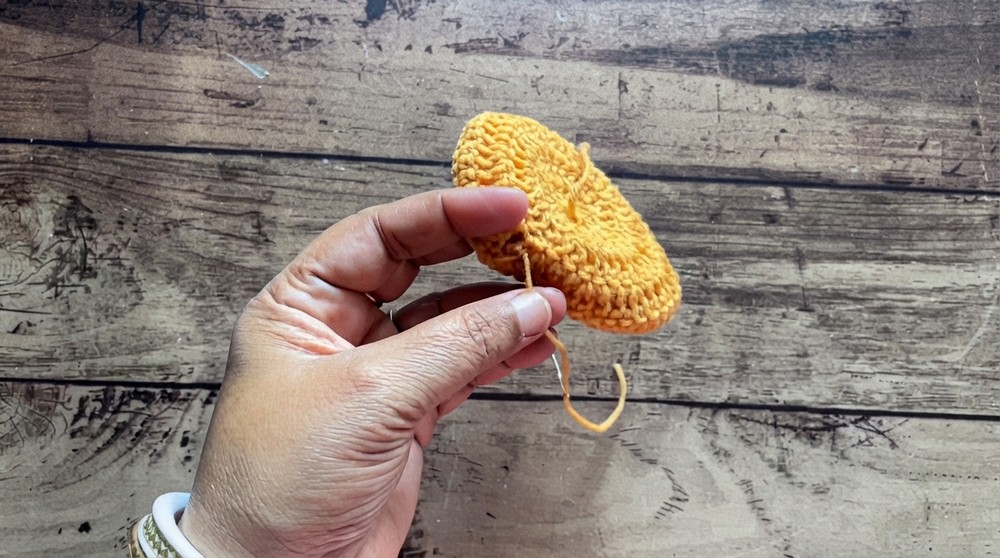
MUZZLE (Light Blue Yarn)
- Row 1:
- Make a magic ring, work 12 dc into the ring.
- Sl st to join.
- Row 2:
- 2 dc in each st around (24 dc total).
- Fasten off, leaving a tail for sewing.
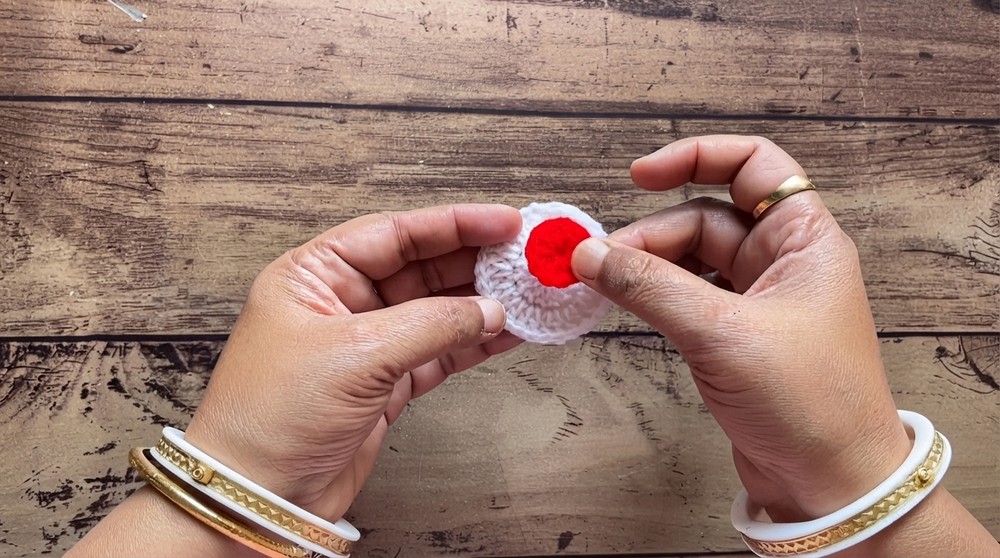
NOSE (Red Yarn)
- Make a magic ring, work 10 dc into the ring.
- Sl st to join, fasten off leaving a tail for attaching.
EARS (Brown Yarn; Make 2)
- Chain 12.
- Skip first ch from hook:
- Work 2 sc in next 2 chains,
- 1 hdc in next ch,
- 5 dc in the following 5 ch,
- 1 hdc in next ch,
- 4 sc in the final chain (goes around the end to form a curve).
- Now on the other side of the starting chain:
- Work 1 hdc,
- 5 dc,
- 1 hdc,
- 2 sc.
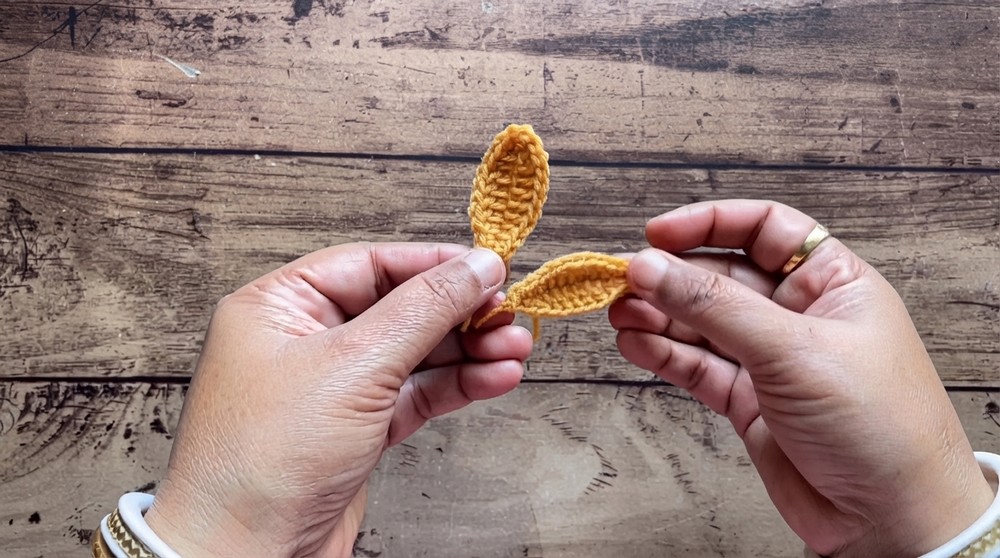
- Sl st to join, fasten off, leaving a yarn tail for sewing.
ANTLERS
Left Antler (Brown Yarn):
- Chain 12.
- Skip the first ch, sc in next 3 ch.
- First branch: Ch 4, skip 1, sc in next 3 ch.
- Continue with sc in the next 3 ch.
- Second branch: Ch 4, skip 1, sc in next 3 ch.
- Finish with sc in the remaining chains.
Right Antler (Brown Yarn):
- Chain 9.
- Skip the first ch, sc in next 3 ch.
- Long branch: Ch 7, skip 1, sc in next 3 ch.
- Continue with sc in next 3 ch.
- Smaller branch: Ch 4, skip 1, sc in next 3 ch.
- Finish with sc in the remaining chains.

- Leave ends for attaching to head.
EYES (Light Blue or Black Yarn; Make 2)
- Magic ring, work 10 sc into ring.
- Sl st to join.
- Fasten off with a tail for sewing.
Assembly & Finished Size
- Attach pieces using glue or a tapestry needle:
- Place the muzzle slightly below center on the base.
- Attach the red nose to the top center of the muzzle.
- Place and sew eyes above the muzzle, spacing evenly side to side.
- Position and sew ears to either side of head (curved edge facing out).
- Affix antlers just above each ear on the top curve of the base.
- Embroider the mouth with black yarn—create a small upside-down “Y” or simple cheery curve under the muzzle.
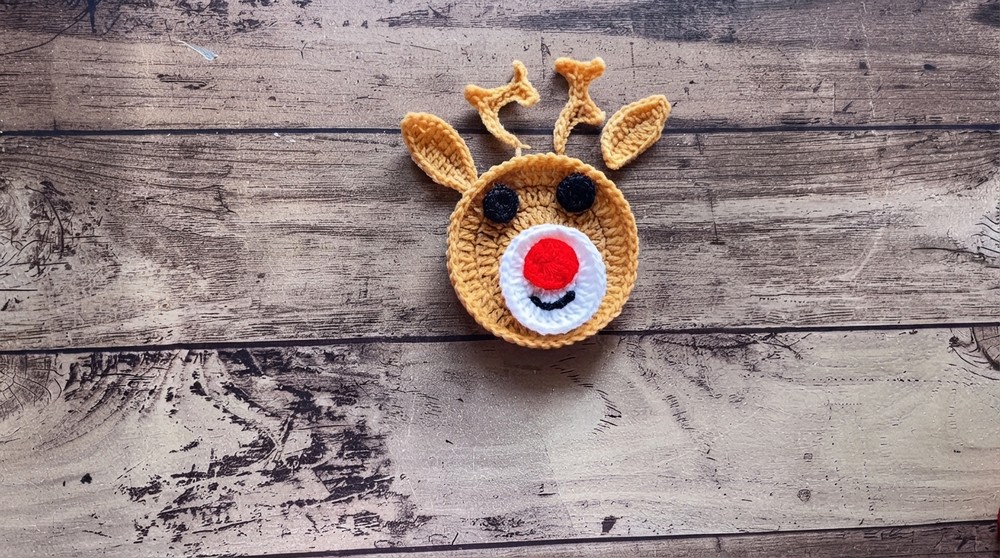
- Add stuffing behind the base before attaching all components (optional, for plush 3D effect).
- For a classic finish, attach a hanging loop, ribbon, or hook at the top.
- Weave in all loose ends securely on the back.
Conclusion
This crochet reindeer ornament is a beautiful fusion of classic circular motifs and imaginative 3D surface detail. Each round and component is designed to be both beginner-accessible and visually pleasing, making this a project to cherish, gift, or repeat for a festive herd! With options for embroidery, stuffing, and decorating, you can easily put a personal stamp on your reindeer—ensuring each one is unique.