Fun Free Graduation Bear Crochet Pattern

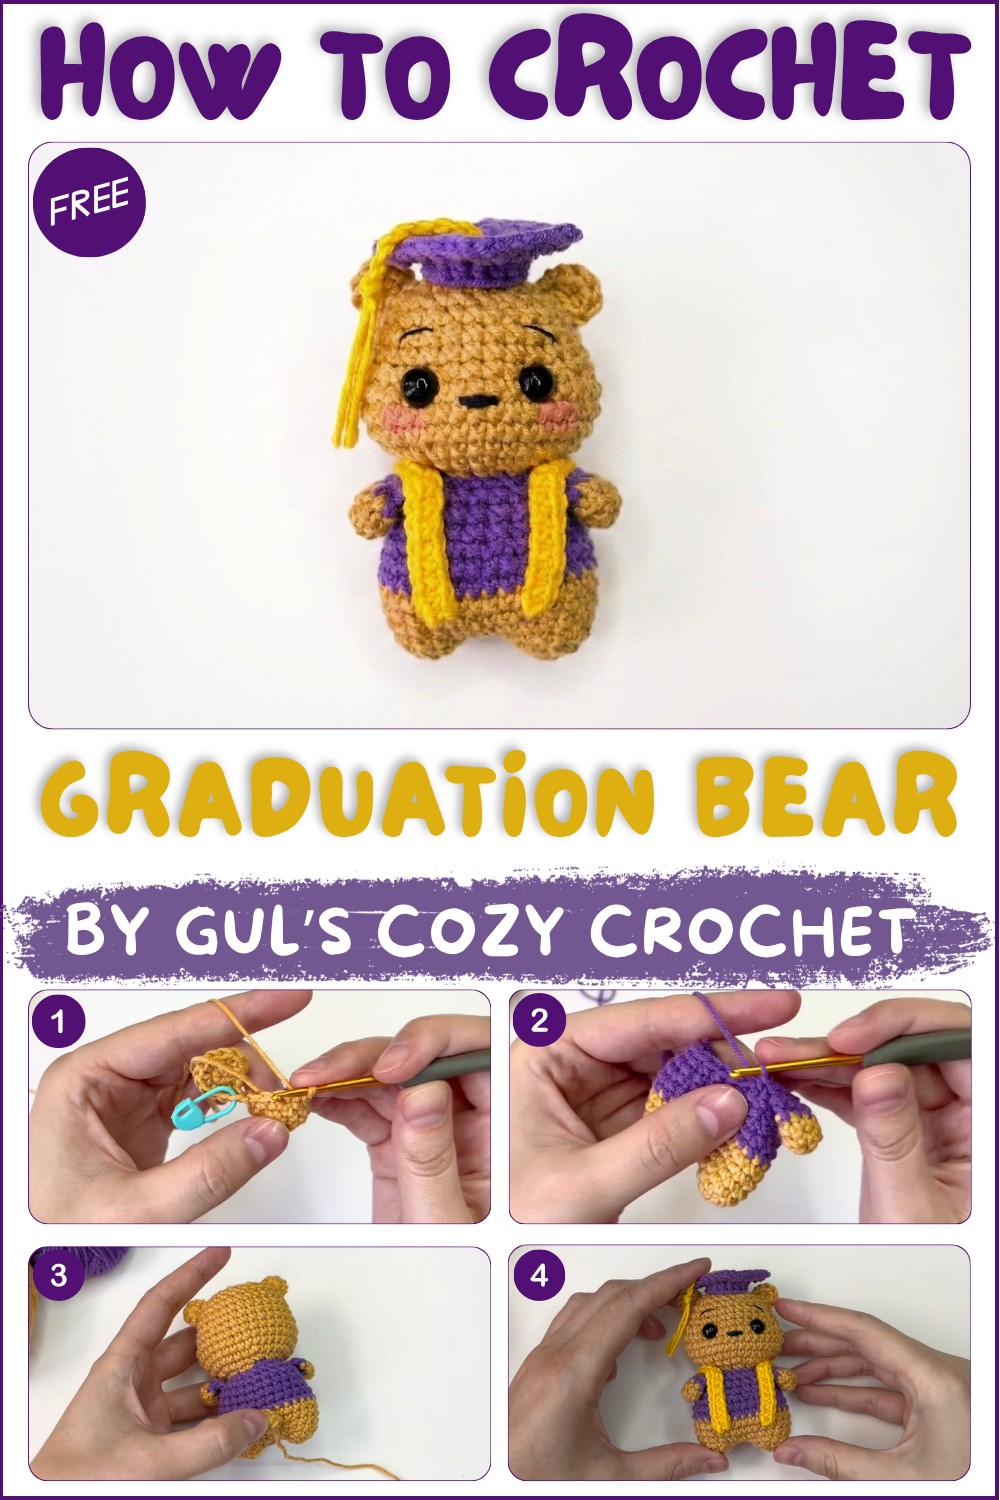
People will enjoy this crochet bear because it combines playfulness with meaning. It serves as a lasting reminder of an important milestone and adds a bit of fun to graduation celebrations. Whether used as decoration or a special token to hold, it spreads happiness and good feelings.
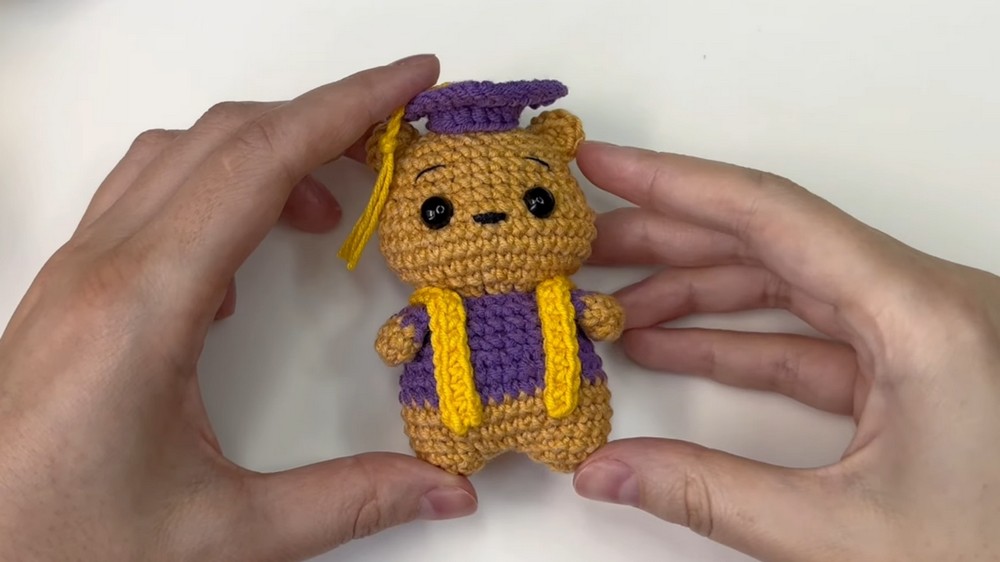
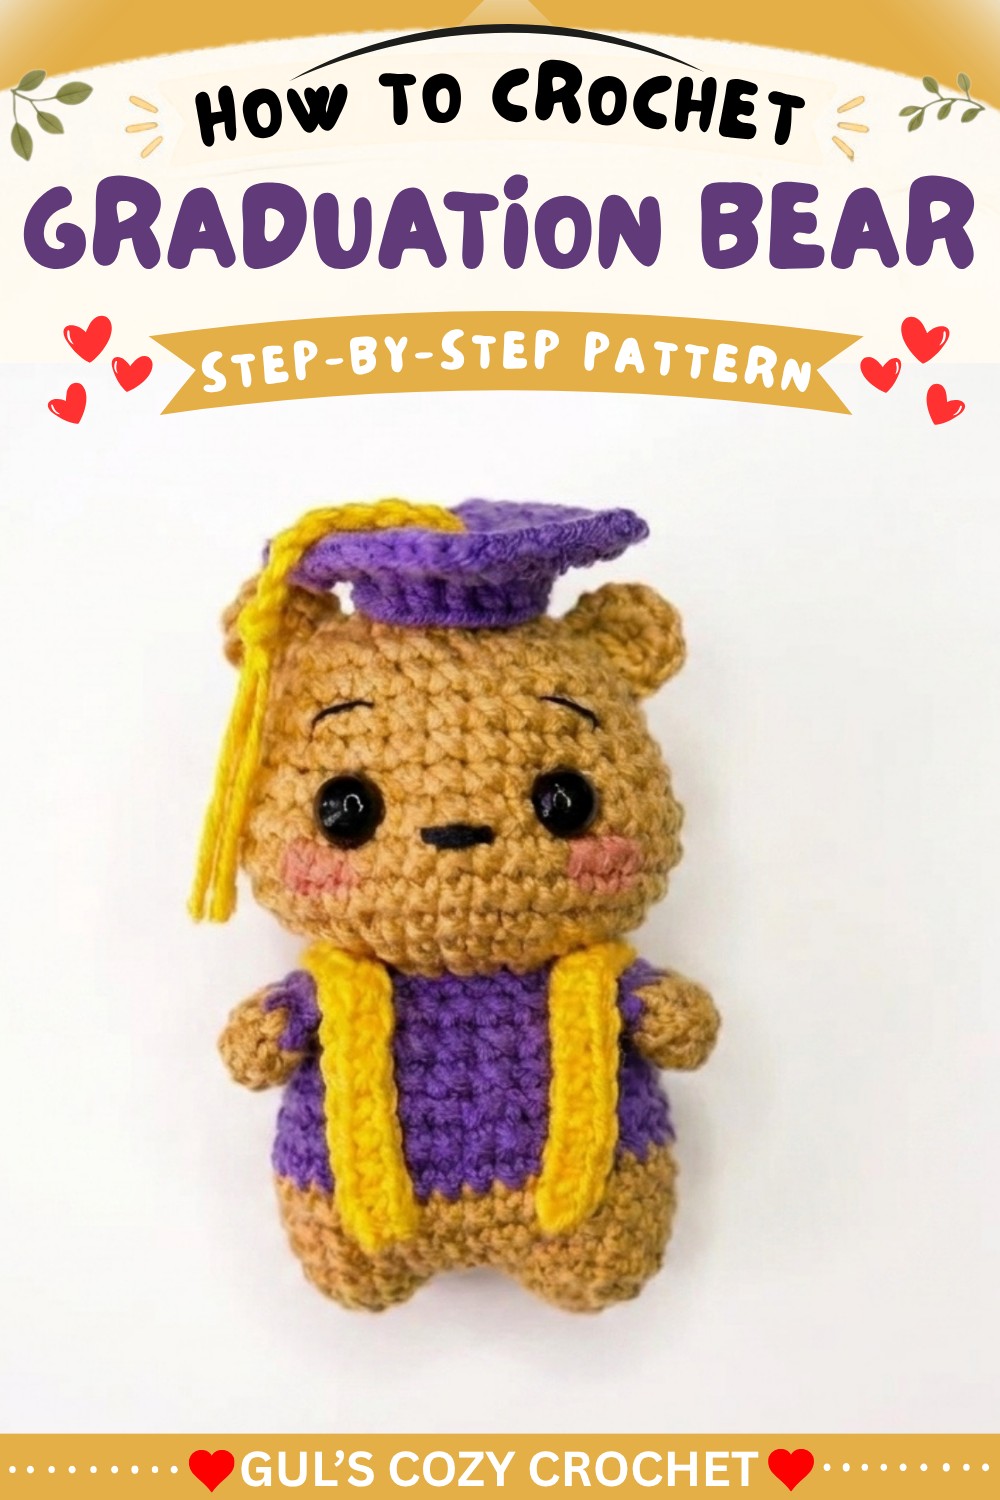
The Free Crochet Graduation Bear Pattern makes it simple to bring this little graduate to life. Thanks to the clear instructions shared by Gul on Gul’s Cozy Crochet, anyone can make this sweet item to celebrate achievements in style. It’s a wonderful way to honor hard work and add a heartfelt touch to any graduation event.
Tiny Graduation Bear Crochet Pattern
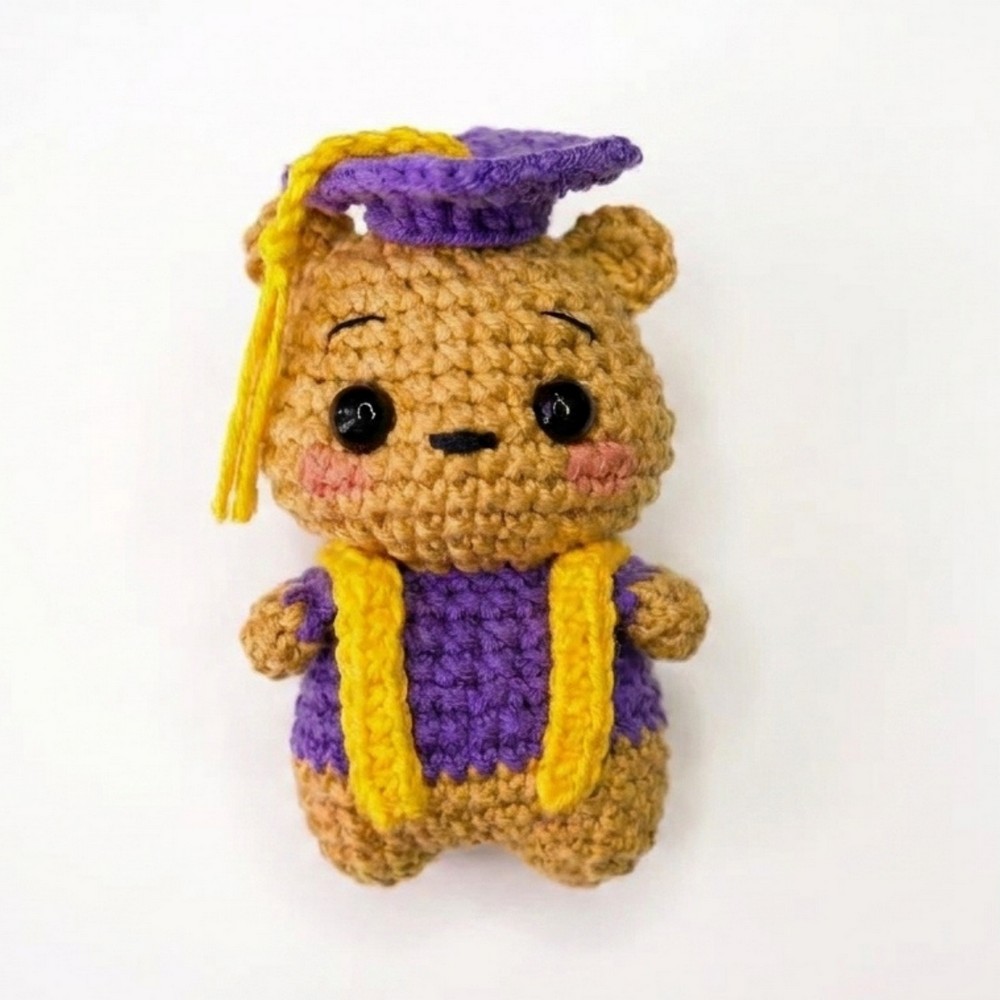
This detailed crochet pattern guides you through creating a tiny graduation bear, complete with its charming cap, scarf, and adorable facial details. Using basic amigurumi techniques combined with color changes, increases, and decreases, you will make a beautifully crafted miniature bear that is perfect as a keychain, gift, or keepsake for celebrating a graduation.
Quick Overview of Pattern
- Two arms and two legs, crocheted separately and joined to form the base of the body
- Joined legs and ongoing rounds to build the body, incorporating color changes to showcase a graduation gown look
- Head worked in the round with increased shaping, insert safety eyes, and stuffed firmly
- Additional features such as ears, embroidered face, tail, and a crochet scarf
- Finished with a well-structured assembly for durability and cuteness
Notes
- This pattern uses the magic ring (MR) start for minimizing holes.
- Stitches are worked in continuous rounds unless otherwise stated.
- Be sure to stuff limbs and body firmly for proper shaping.
- Color changes are specified for visual appeal linked to the graduation outfit.
- Make two arms and two legs, matching in size and tension for symmetry.
- Embroidery details add personality to the bear — practice neatness.
- Attach all parts securely to withstand wear.
Skill Level
- Suitable for Intermediate Beginners who have mastered single crochet, increases, decreases, working in rounds, and basic finishing techniques.
Materials
- Worsted weight yarn in brown (or preferred bear color), purple (graduation gown), and accent colors
- Crochet hook size 3.5 mm (or matching yarn)
- Fiberfill stuffing
- Safety eyes (recommended size: 6 mm)
- Yarn needle for sewing and embroidery
- Stitch markers (optional)
- Scissors
Measurements / Sizing
- Tiny bear stands approximately 8–10 cm (3–4 inches) tall when fully assembled
- Proportions can vary slightly depending on yarn thickness and tension
Gauge
- Gauge is flexible but aiming for about 6 stitches and 7 rounds per 2.5 cm (1 inch) in single crochet is suggested
- Consistency in gauge aids balanced limbs and smooth assembly
Stitch Abbreviations
| Abbreviation | Full Term | Description |
|---|---|---|
| MR | Magic Ring | Adjustable loop to start rounds tightly |
| ch | Chain | Yarn over, pull through loop |
| sc | Single Crochet | Insert hook, yarn over, pull through 2 loops |
| inc | Increase | 2 sc in the same stitch |
| dec | Decrease | Crochet 2 stitches together |
| sl st | Slip Stitch | Insert hook, yarn over, pull through loop |
| FLO | Front Loops Only | Work stitch only through the front loop |
Special Stitches
- FLO (Front Loop Only): Creates texture by working only into the front loop of the stitch, useful for shaping the head.
- Magic Ring (MR): Beginning technique to reduce center holes in circular pieces.
The Crochet Pattern!
1. Arms (Make 2)
- Round 1:
- Work 8 single crochets (sc) into a magic ring (MR).
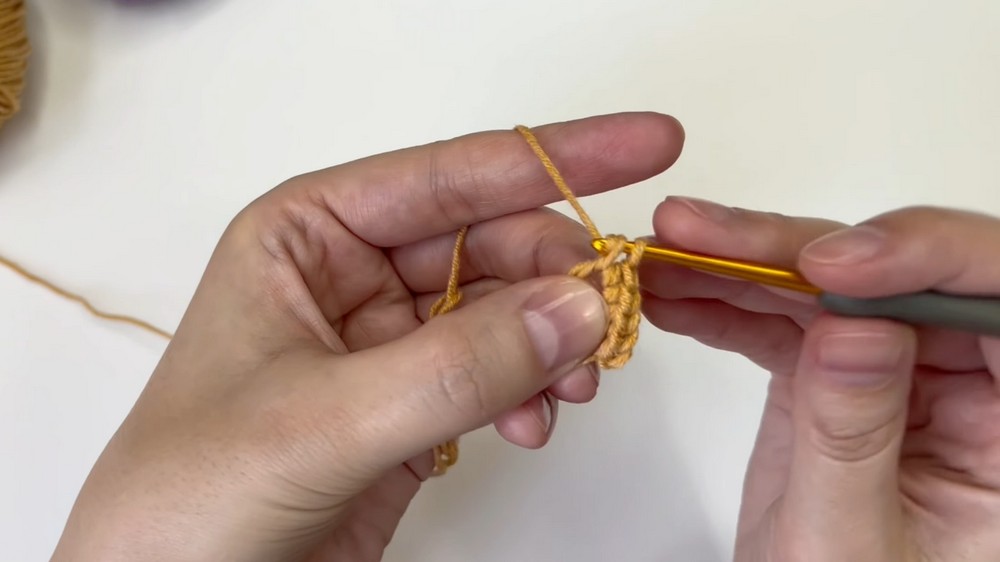
- Work 8 single crochets (sc) into a magic ring (MR).
- Round 2:
- Work 1 sc in each stitch around (8 sts).
- Round 3:
- Change to the bear’s gown color (purple).
- Work 1 sc in each stitch (8 sts).
- Round 4:
- Fold the arm piece in half and work 4 sc through both layers together to close the arm.
- Fasten off leaving a tail for sewing.
2. Legs (Make 2)
- Round 1:
- 6 single crochets (sc) in a magic ring (MR).
- Round 2:
- Make 1 increase (inc) in every stitch to double the stitches (12 sts).
- Fasten off leaving a long tail for joining.
3. Body
- Round 3:
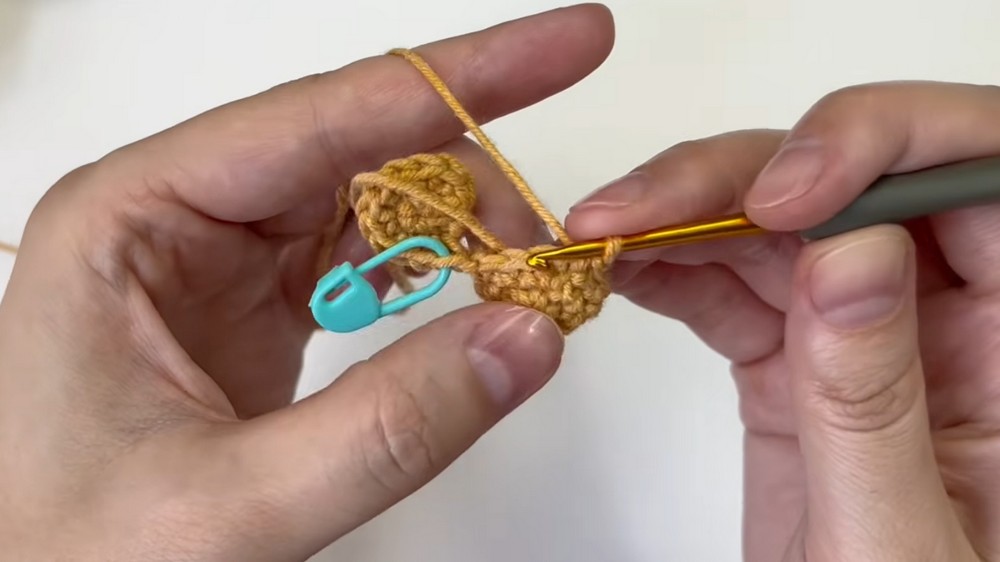
- Join the two legs with a chain 1 in between them to form the base of the body.
- Work 12 single crochets (sc) around the first leg,
- 1 single crochet (sc) in the chain (joining space),
- 12 single crochets (sc) around the second leg,
- and 1 single crochet (sc) into the other side of the chain (total 26 sts).
- Round 4:
- Work 11 sc,
- then 3 increases (inc) evenly spaced,
- 11 sc,
- and finish with 1 increase (inc) (30 sts).
- Rounds 5-6:
- Single crochet in each stitch around (30 sts per round).
- In the last stitch of round 6, change yarn to purple (gown color).
- Rounds 7-8:
- Continue with 30 sc rounds in purple.
- Round 9:
- Work 5 sc,
- then 6 times repeat (1 sc, 1 decrease),
- then 7 sc (24 sts).
- Rounds 10-11:
- Work 24 sc per round.
- Round 12:
- Work 5 sc,
- 4 sc through arm and body together (join arms here),
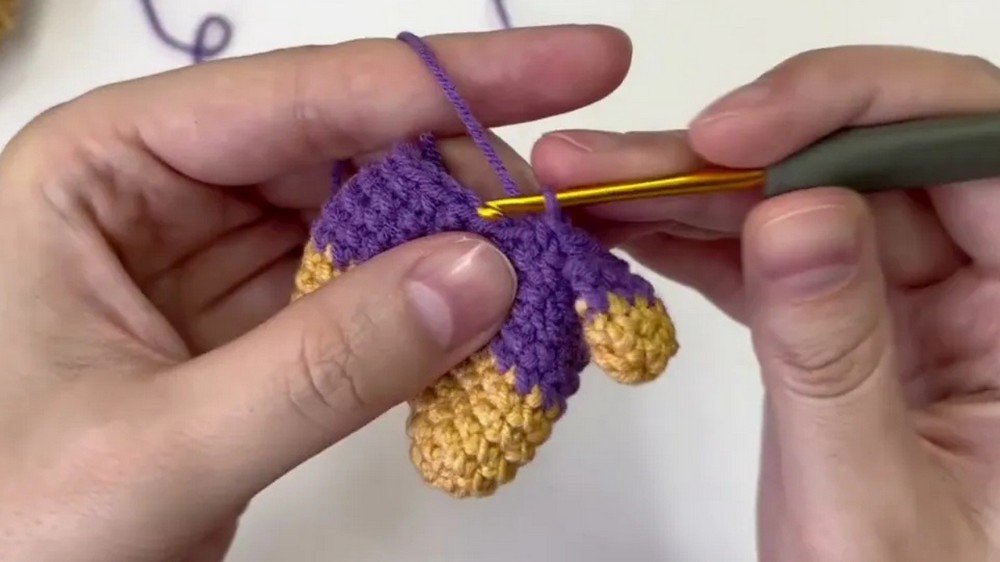
- 5 sc,
- 4 sc through arm and body together (other arm),
- finish with 6 sc (24 sts).
- Round 13:
- Work 12 decreases (dec) evenly spaced (12 sts).
- Stuff the body firmly.
4. Head
- Round 14:
- In front loops only (FLO), work 12 increases (inc) (24 sts).
- Round 15:
- Repeat (3 sc, 1 inc) six times (30 sts).
- Round 16:
- Work 7 sc,
- 4 increases (inc),
- 5 sc,
- 4 increases (inc),
- and 10 sc (38 sts).
- Rounds 17-19:
- Work 38 sc per round.
- Round 20:
- Work 7 sc,
- 4 decreases (dec),
- 5 sc,
- 4 decreases (dec),
- 10 sc (30 sts).
- Rounds 21-23:
- Work 30 sc per round.
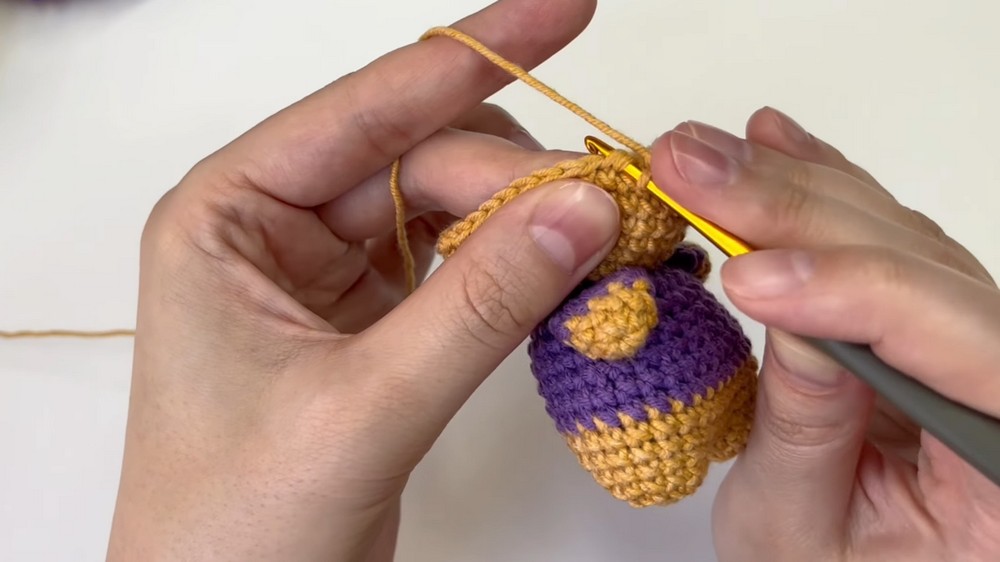
- Work 30 sc per round.
- Round 24:
- Repeat (3 sc, 1 dec) six times (24 sts).
- Insert safety eyes between rounds 19 and 20 at this stage.
- Round 25:
- Repeat (2 sc, 1 dec) six times (18 sts).
- Stuff the head firmly.
- Round 26:
- Repeat (1 sc, 1 dec) six times (12 sts).
- Round 27:
- Work 6 decreases (dec) to close the head (6 sts).
- Finish with a slip stitch (sl st), fasten off and weave in ends.
5. Finishing Touches
- Ears (Make 2):
- Work 6 single crochets (sc) in a magic ring (MR) per ear.
- Do not join at the end; flatten and sew as semi-circles.
- Face:
- Using yarn or embroidery thread, carefully embroider the nose and eyebrows to give expression.
- Tail:
- Work 6 sc in MR, then
- Round 2: 6 sc (continuing in the round).
- Stuff lightly and sew to the back of the bear.
- Scarf:
- Chain 35, then turn.
- Work 34 single crochets (sc) in the back bumps of the chain.
- Securely sew the scarf around the neck area.
Assembly & Finished Size
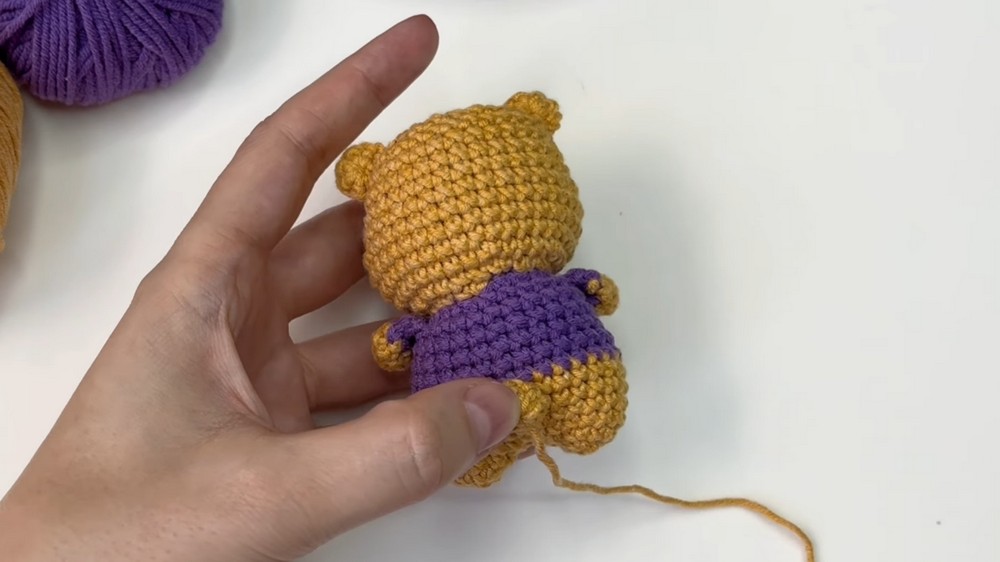
- After completing all parts, assemble by sewing limbs securely to the body and attaching ears and tail in appropriate positions.
- The small scarf visualizes the graduation theme effectively.
- Finished bear stands approximately 8–10 cm tall, perfect for a keychain, desk decoration, or gift topper.
Conclusion
The tiny graduation bear combines fundamental amigurumi techniques with color changing and textured stitches to create a charming miniature keepsake. This pattern provides comprehensive guidance from limbs through finishing details and assembly, ensuring a satisfying crocheting experience.
By following the structured rounds and incorporating thoughtful finishing, your crochet bear will not only look adorable but also be durable and expressive. Personalizing with embroidery adds character, making it an ideal gift or memento for graduation celebrations.