Free Crochet Turtle Pattern for Cute Amigurumi Toys

Keep your crochet time fun and relaxing with this Free Crochet Turtle Pattern that guides you step by step to create adorable soft turtles perfect for gifts and decor
If you’re someone who loves cozy and creative projects, crocheting a cute animal is always a joy to work on. One fun and charming item you can make is a turtle, and the Free crochet Turtle Pattern is a fantastic way to bring this little creature to life with yarn.
Cute Free Crochet Turtle Pattern with Easy Instructions
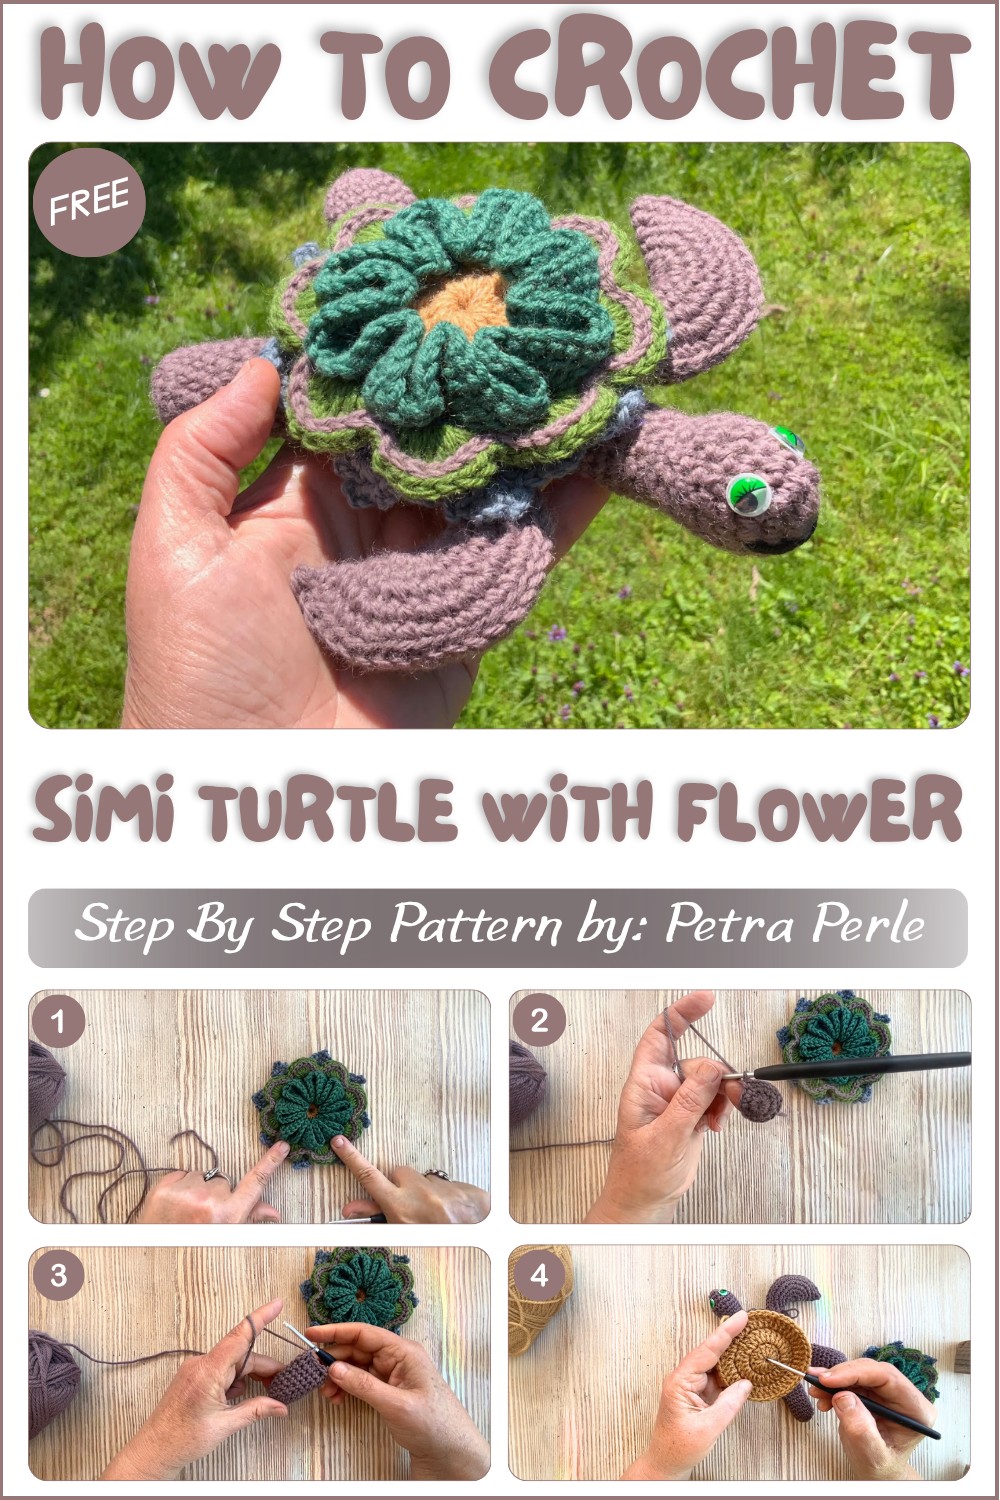
This pattern comes from the talented Petra Perle, a renowned crochet designer and manual author in the German-speaking world, whose colorful and sophisticated crochet ideas inspire thousands. You can easily start crocheting this adorable turtle by following her clear and friendly instructions on her YouTube channel, Petra Perle, where she shares daily videos that make crocheting engaging and accessible for all skill levels.
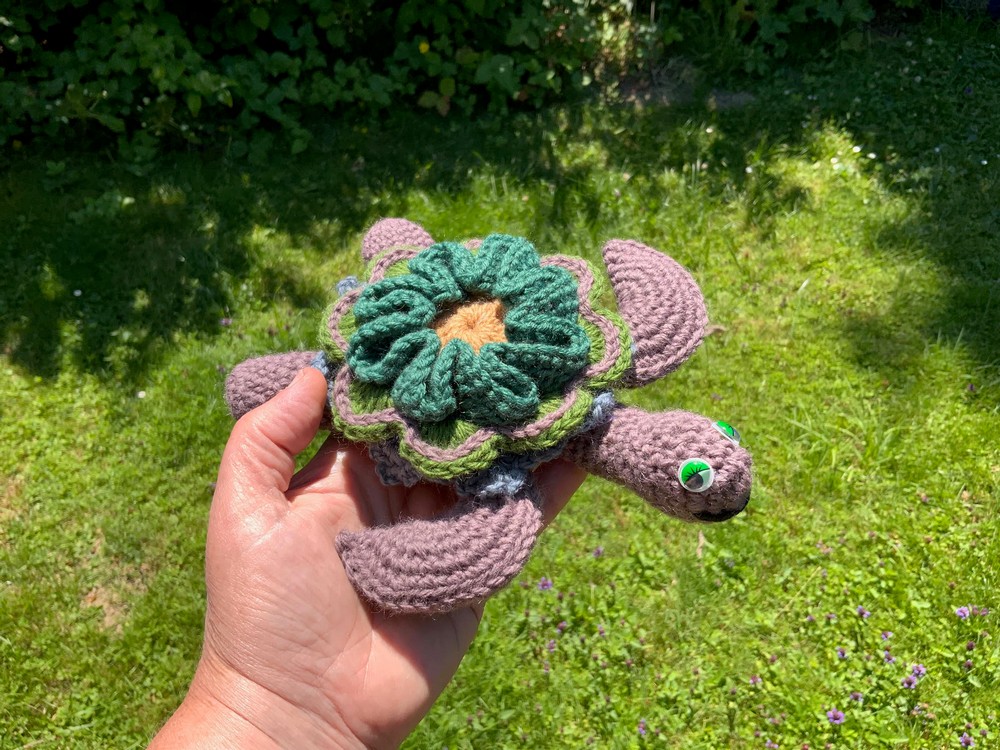
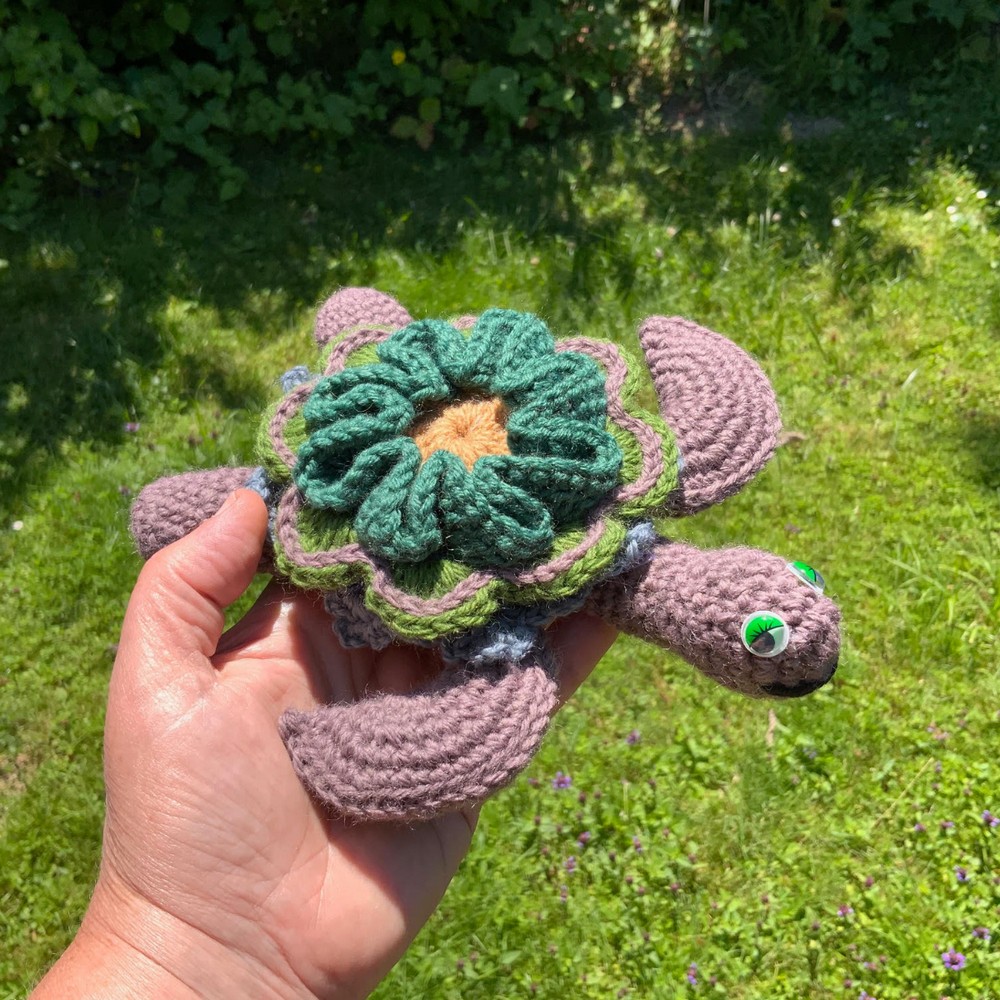
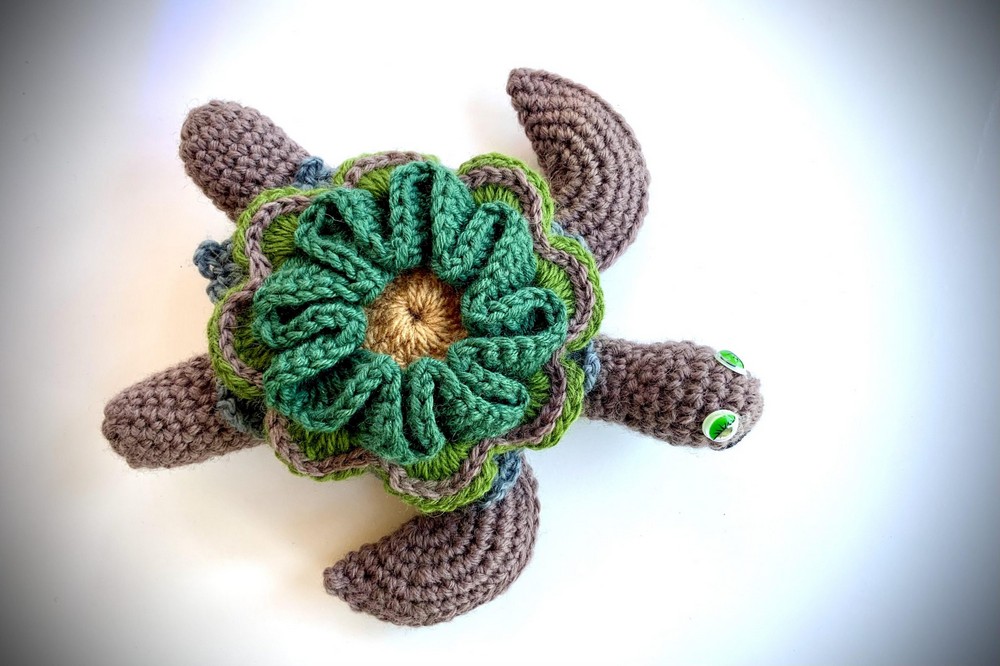
This crochet turtle is a beautiful and playful piece to add to your handmade collection. With its soft texture and well-shaped form, it captures the sweet roundness of a real turtle through neat stitches and clever design. The standout feature is its unique flower-like shell, which can be personalized with different colors, making each turtle one-of-a-kind.
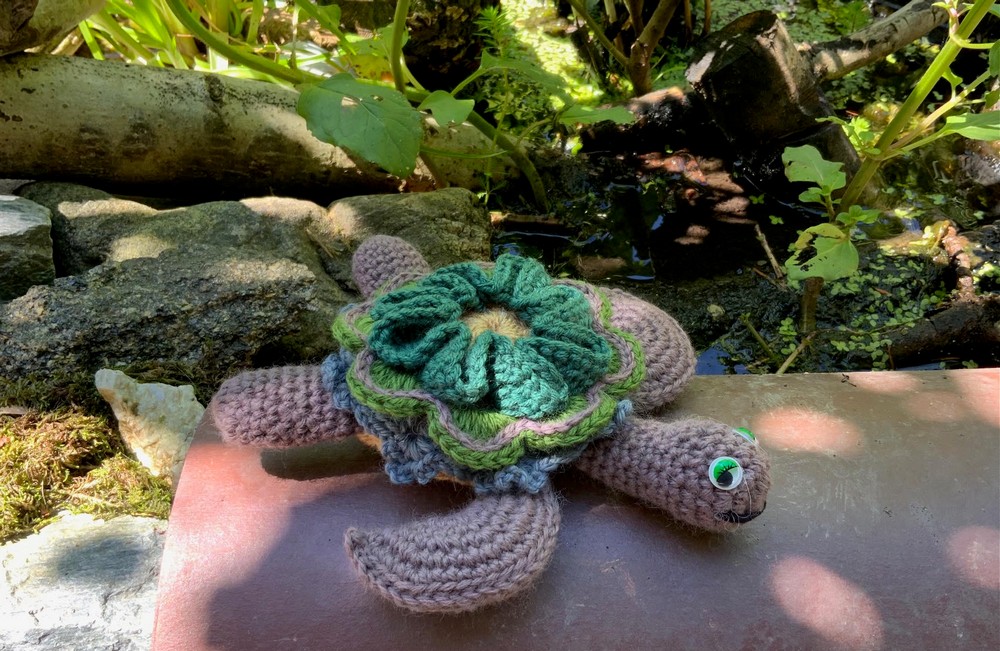
Its small size and cuddly feel make it perfect not only as a decorative item for your home or workspace but also as a charming gift for kids or crochet enthusiasts. It’s an ideal collectible or a lovely handmade toy that brings warmth and personality wherever it goes.
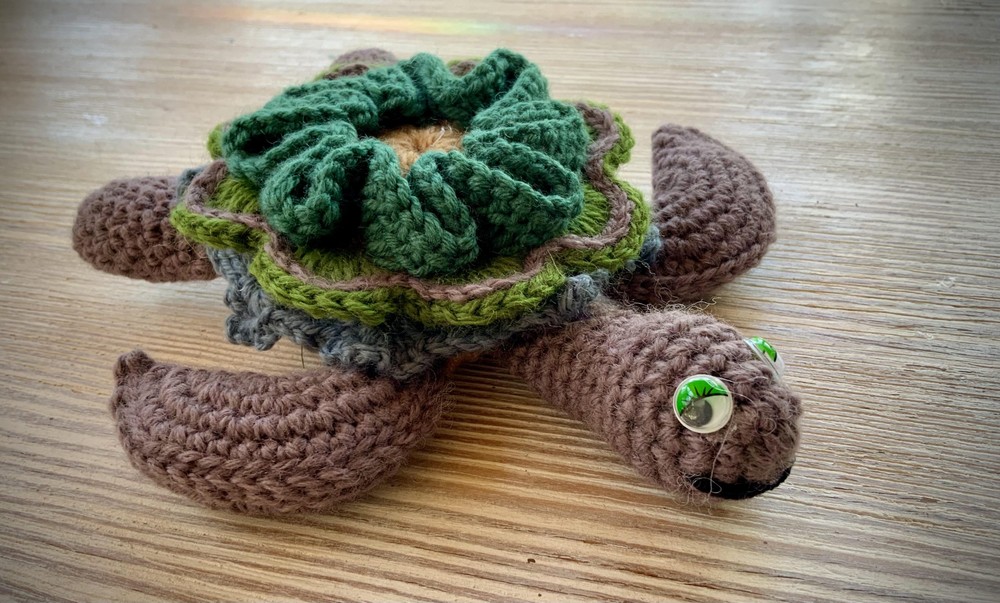
The pattern is approachable for beginners and intermediate crocheters alike. Using simple stitches like single crochet and crochet in the round, it guides you step-by-step through making each part of the turtle—the legs, head, and intricate shell.
Petra Perle’s passion for working with wool, combined with her expertise as a trained goldsmith, shines through in the careful construction and details of the design. Whether you are just starting out or looking for a rewarding project to improve your skills, this Free crochet Turtle Pattern offers a friendly and enjoyable experience.
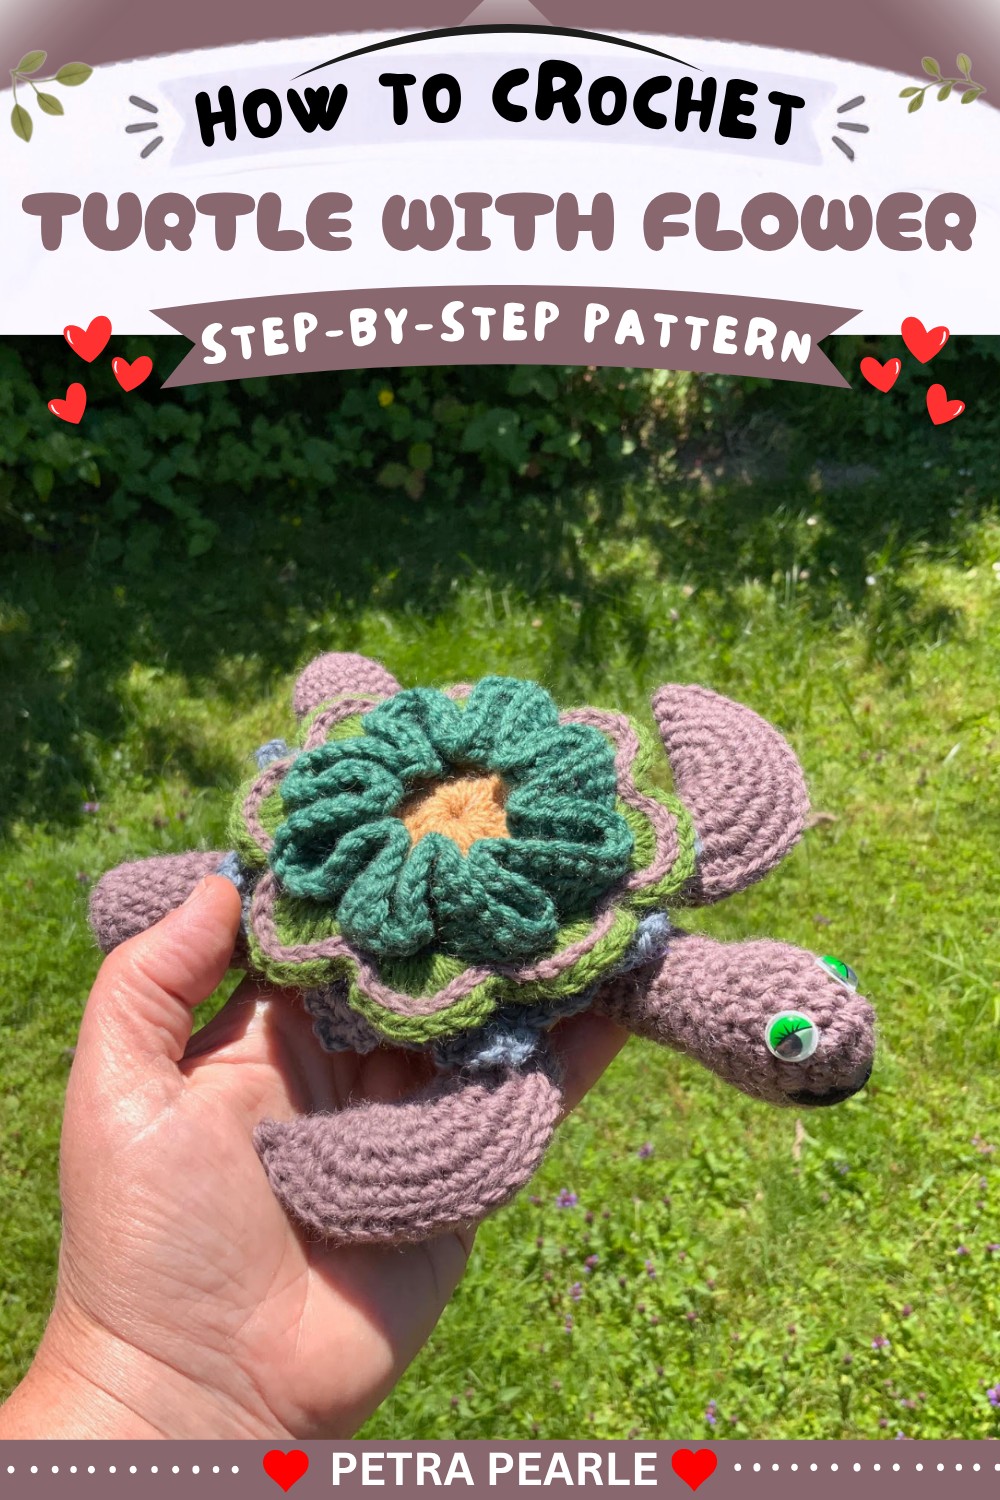
Crochet Turtle from a Magnificent Flower
In this pattern, we will crochet a charming turtle, combining a magnificent flower motif with simple amigurumi body parts. Inspired by a creative fellow crocheter, this project is a wonderful opportunity to use scrap yarn and play with color. I will guide you step by step through making your own turtle, which can turn into a cute hair clip, keychain, or desk companion.
Quick Overview Of Pattern
- Tortoise body features two circles (base and backing)
- A flower motif forms the turtle’s shell (referenced by video, linked separately)
- Head, two hind legs, and two front shovel legs are crocheted individually and sewn to the base
- All pieces are worked in-the-round for a neat, seamless look
- Stuffing is added to the limbs and body for soft shaping
Notes
- You may use leftover yarns for colorful results
- Adjust limb/proportion sizes to suit your flower motif and preference
- Use a stitch marker to keep your place in spiral rounds
- Fill parts lightly for best shaping
- The flower instructions are provided in a separate tutorial; use any suitable flower motif for the shell
Skill Level
Advanced Beginner / Intermediate
Understanding of working in the round, increasing/decreasing, basic sewing/assembly, and following a motif pattern.
Materials
- Worsted or DK weight yarn in turtle/flower colors (e.g., green, brown, or any leftovers for the shell)
- Crochet hook size 3 mm (Video specifies: 50g/120m yarn with 3 mm hook)
- Stitch marker or safety pin
- Scissors
- Yarn needle for sewing
- Fiberfill stuffing (use scrap yarn if desired)
- Optional: Glue (for attaching shell), hair clip or pin back (for making accessory)
Measurements / Sizing
- Final turtle size varies by yarn and flower motif; generally approx. 8–10 cm wide (flower shell), limbs 2–4 cm
Gauge
- Not critical for this project; use firm stitches to prevent stuffing from showing
Stitch Abbreviations
| Abbreviation | Stitch |
|---|---|
| ch | chain |
| sc | single crochet |
| inc | increase (2 sc in st) |
| dec | decrease (sc2tog) |
| sl st | slip stitch |
| st(s) | stitch(es) |
| MR | magic ring/circle |
| dc | double crochet |
Special Stitches
- Magic Ring (MR): Adjustable loop to start rounded pieces
- Spiral Rounds: Continuous rounds, no joining; use a marker to track your rounds
- Invisible Decrease (dec): Decrease for a neater finish in amigurumi
The Crochet Pattern
1. Flower Shell
- Work any large and decorative flower motif you like (magnificent flower) for the shell, using desired colors and size (tutorial referenced in the video; not repeated here).
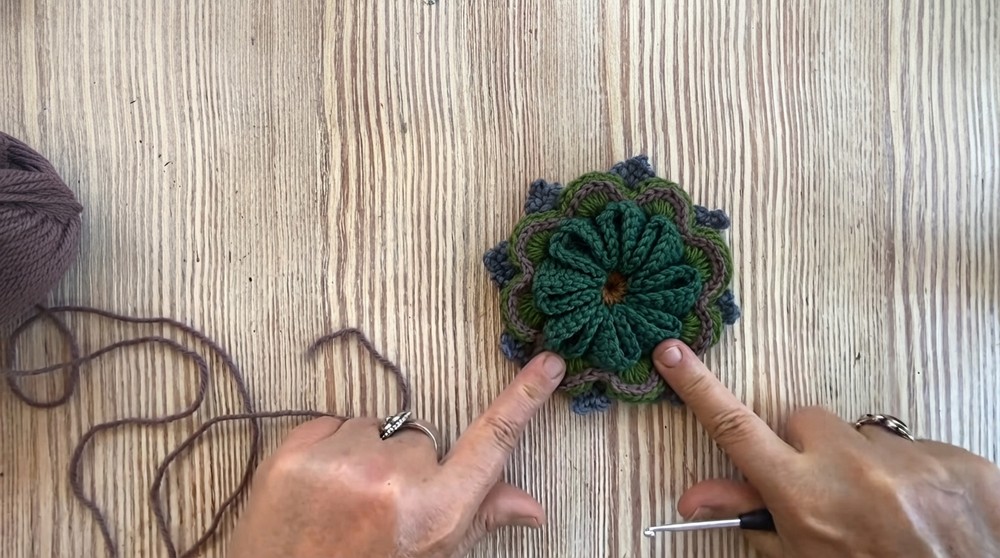
- Shape tip: To make the turtle tail, ensure one of the flower petals is oriented between the two hind legs.
2. Hind Legs (make 2)
- Using MR, crochet 10 sc into the ring.
- Pull tightly to close.
- Begin spiral rounds (do not join).
- In Round 2, add 2 increases:
- Make 2 sc in the first stitch, sc in next 4, 2 sc in 6th stitch, then sc around.
- Achieve 12 sc total.
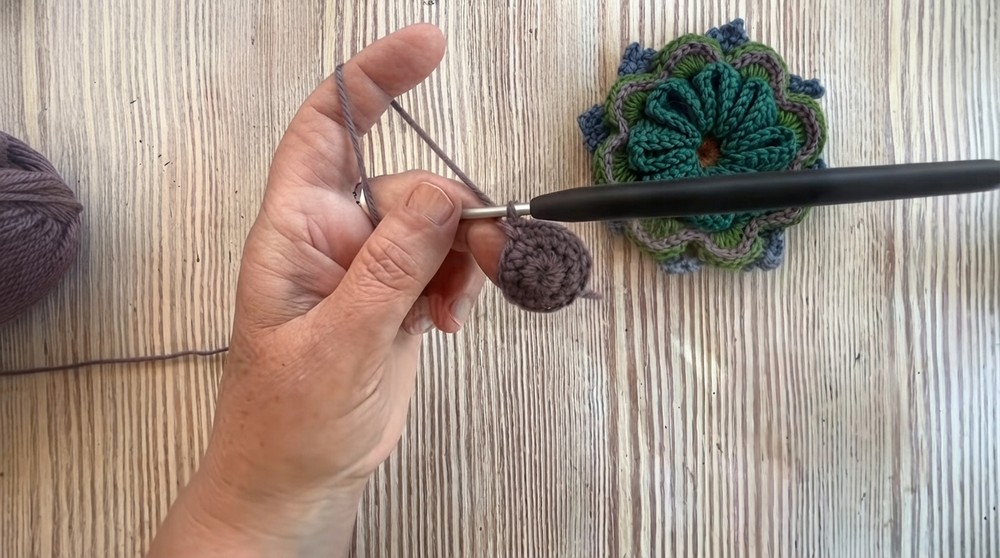
- Continue crocheting spiral rounds in sc, with no further increases, until the hind leg is as tall/bulky as desired (typically 4–6 rounds).
- Check size by placing under your flower motif.
- Fill lightly with stuffing or scrap yarn.
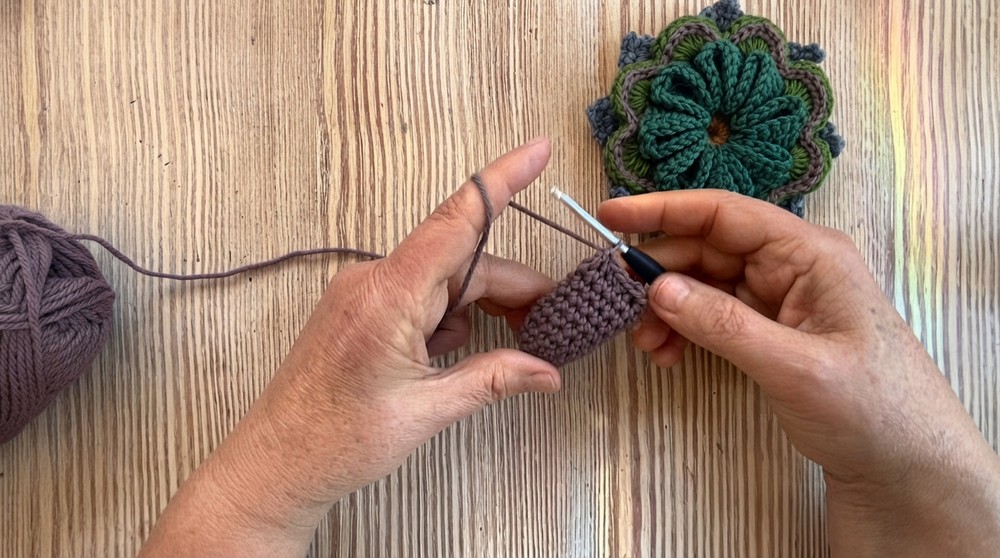
- Close the opening by flattening and working sc or slip stitches across to bind together.
- Leave a long tail for sewing, fasten off.
3. Tortoise Head
- MR, 12 sc into the ring. Close tightly.
- Work evenly in spiral rounds, with no increases, until the head is as long as you like (2–3 cm recommended).
- After desired length, shape the neck:
- Evenly decrease 4 times: Work 2 sc together at four points around the round.
- After each decrease, sc next stitch.
- Repeat for a rounded, thin neck effect.
- Crochet an extra 2–3 rounds of even sc for neck extension.
- Fill with stuffing to shape.
- Embroider eyes and optionally a small mouth.
- Leave a long tail for sewing, fasten off.
4. Front Shovel Legs (make 2)
- MR, 10 sc into the ring. Tighten.
- In same round, inc in two stitches:
- In the first stitch, work 2 sc; and again later in the round.
- Total 12 sc.
- Next round:
- For every third st, double:
- sc, sc, inc (repeat around; approx. 4 times).
- You will have 16 sts total.
- Work further rounds evenly (as desired for length—usually 2 or 3 more rounds).
- Fold circle in half, slip stitch or sc across to close—stuff lightly before fully closing.
- Leave long tail for sewing.
5. Base Circles (Make 2)
- Using shell or body color, ch 4, join with sl st to form ring.
- Ch 3 (counts as dc), 13 dc into the ring, join with sl st to top of beginning ch-3. [14 sts]
- Ch 3, dc in same st, 2 dc in each st around (28 sts).
- Join with sl st to top of ch-3.
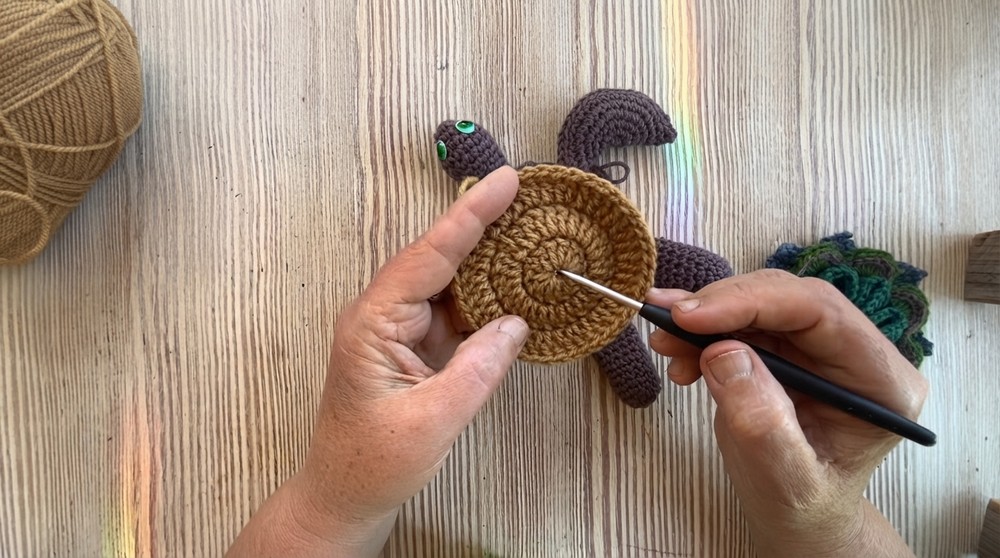
- Join with sl st to top of ch-3.
- Next round:
- Ch 3, dc in next st, 2 dc in next st (repeat: 1 dc, inc) around.
- Join. (Continue as needed for larger circles.)
Make two circles total; one of these forms the base to attach all limbs and head, and the other is placed on top for a finished backing.
Assembly & Finished Size
- Sew/stitch limbs and head neatly to the edge of one body circle (arrange evenly—hind legs at the back, front legs and head to the sides/front).
- Lay the second base circle on top, sandwiching all attachment points inside and aligning flower shell for tail orientation.
- Sew or crochet circles together, adding extra stuffing for fullness before closing.
- Place and sew (or glue) the flower motif shell on the upper side—angle a petal between the hind legs for a tail tip look.
- Shape the flower gently to form a domed shell. If making a hair clip or brooch, sew or glue hardware to the back.
- Add any finishing embroidery (eyes, smile, etc.).
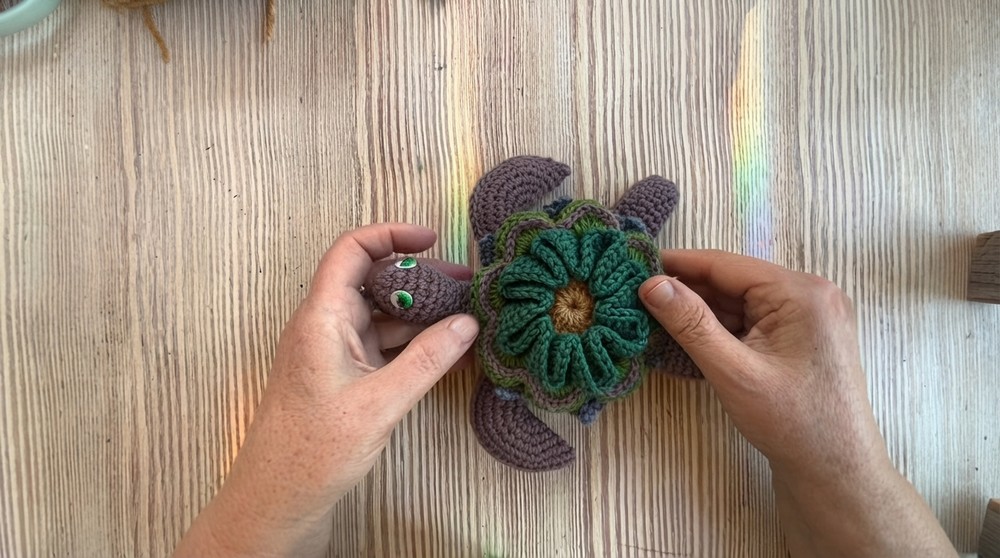
Conclusion and Ending Words
Your adorable turtle is now complete, a creative blend of flower motif and amigurumi! Adjust sizes and colors as you wish for a custom look. Whether as a cute accessory, gift, or cheerful desk friend, this turtle is sure to bring a smile. Thanks for joining the project and happy crocheting—feel free to share your creations and explore more with leftover yarn.
Learn more about Petra Perle