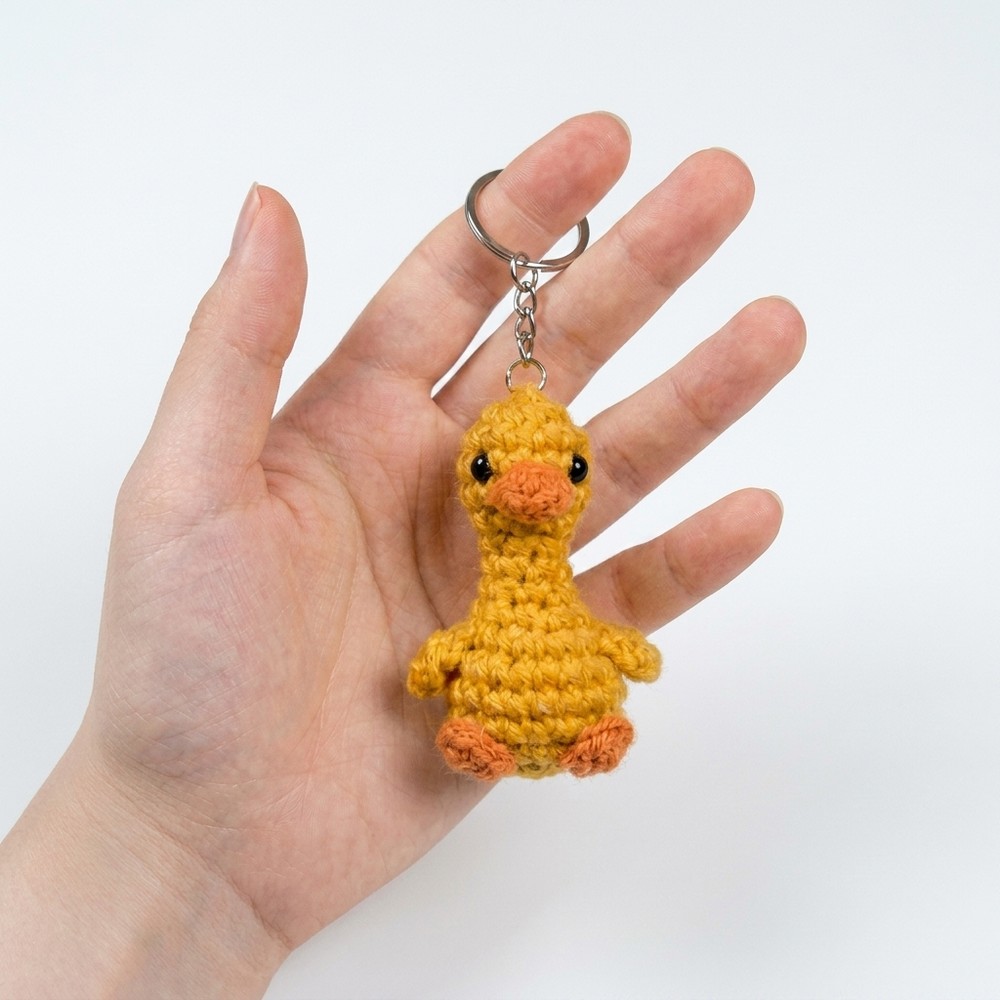
Crochet Goose Keychain Free Pattern For Charming Gifts

Creating small crochet animals has always been one of my favorite ways to relax and enjoy crocheting. One of the cutest pieces I’ve made is a small goose keychain that’s perfect for adding a touch of charm to your keys or bag. This free crochet goose keychain pattern is easy to follow and very enjoyable to make. With just a few small changes, like altering colors or size, you can also create other lovely bird designs or even switch it up into little animal charms like ducks or swans.
This crochet goose keychain is truly delightful with its simple and sweet look. Its round body and small neck give it a friendly and approachable shape. The texture is smooth thanks to the neat single crochet stitches, and the firm stuffing helps it keep a nice shape that feels soft yet sturdy. Using soft yarn in gentle colors makes this little goose extra adorable. It’s a perfect size for carrying around and can brighten up your keys, backpacks, or even be used as a cute zipper pull on a jacket or bag. The standout feature is the little beak and tail details, adding character to this charming bird design.
Free Crochet Goose Keychain Pattern For Kids
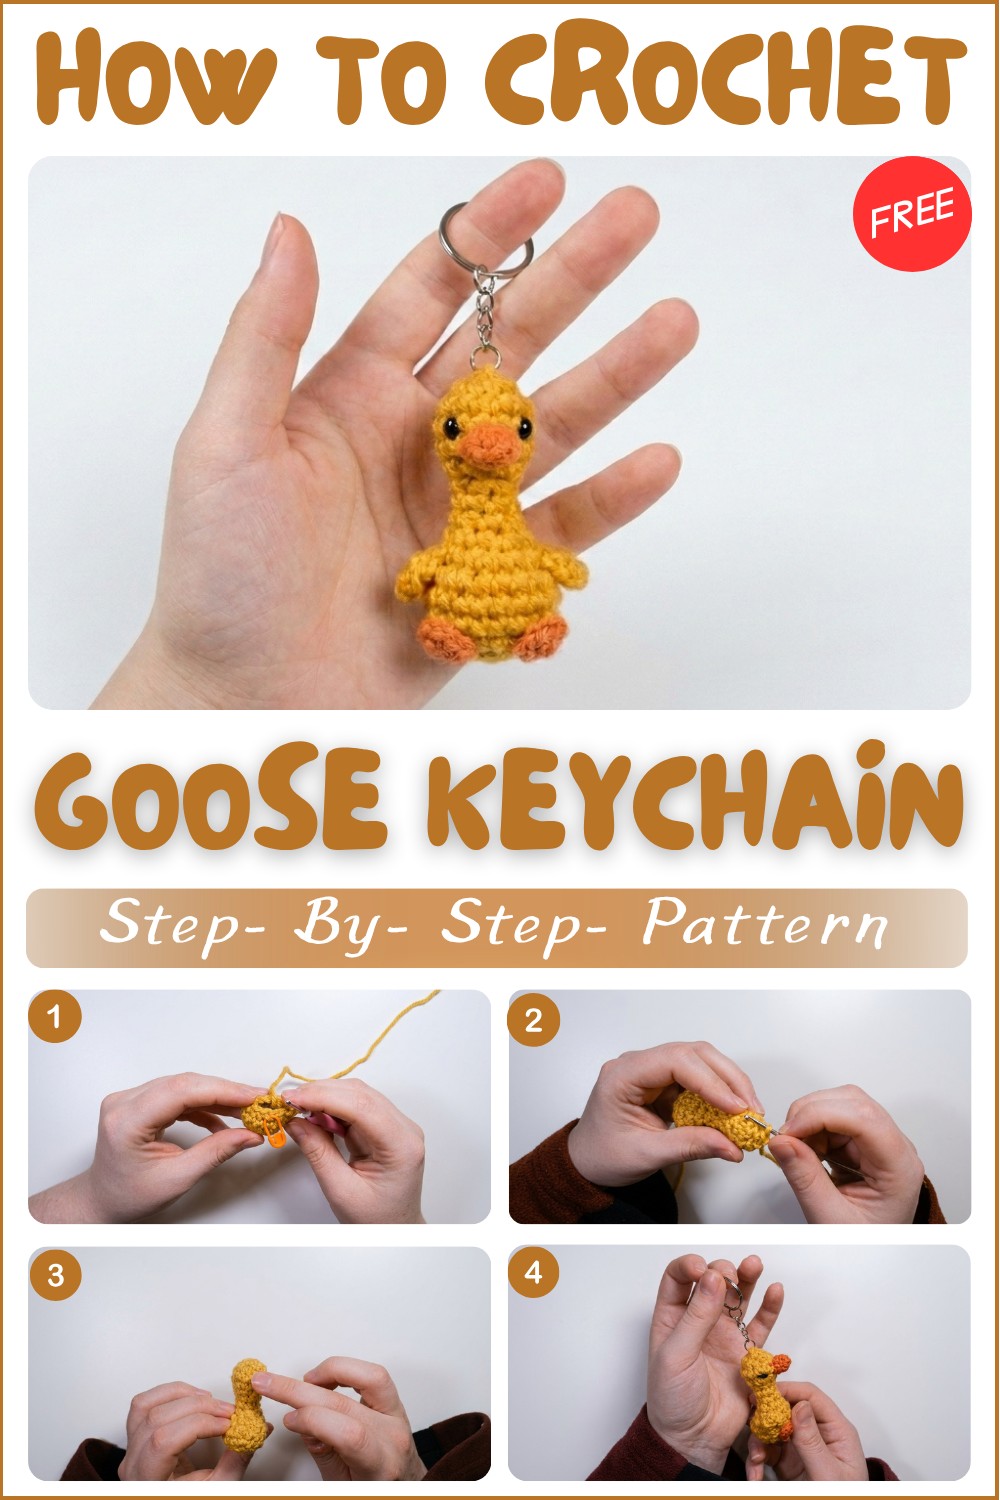
This project is great for beginners and those who know basic crochet stitches. The main stitch is single crochet, worked in rounds to create the goose’s shape. You’ll use simple increases and decreases to form the body and head, making it an excellent project to practice those techniques. Written instructions guide you carefully through each step, so you can enjoy making this sweet keychain without worry.
Materials
- Medium weight (worsted, #4) yarn in:
- Mustard color (main body, wings)
- Orange (beak and feet)
- Black (for eyes, embroidery)
- 3.0 mm crochet hook
- Stitch marker
- Yarn needle
- Small scissors
- Fiberfill stuffing
- Keychain ring (or scrap yarn to make a loop)
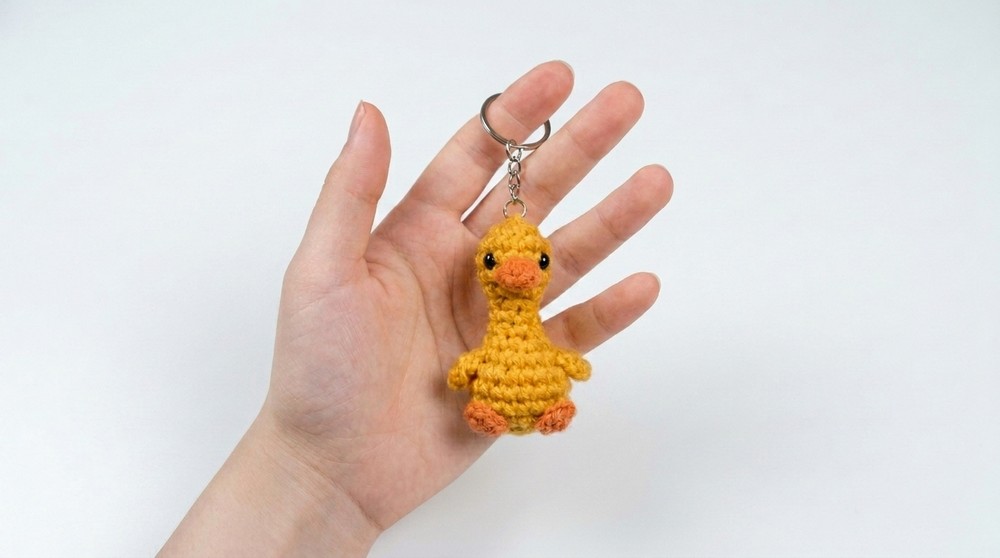
Whether you want to make a handmade gift, a cute decoration, or start collecting little animal keychains, this goose fits perfectly. It’s small, lovable, and easy to carry everywhere, making it a rewarding and fun project to try. If you enjoy simple, enjoyable crochet projects, this free crochet goose keychain pattern is definitely worth it.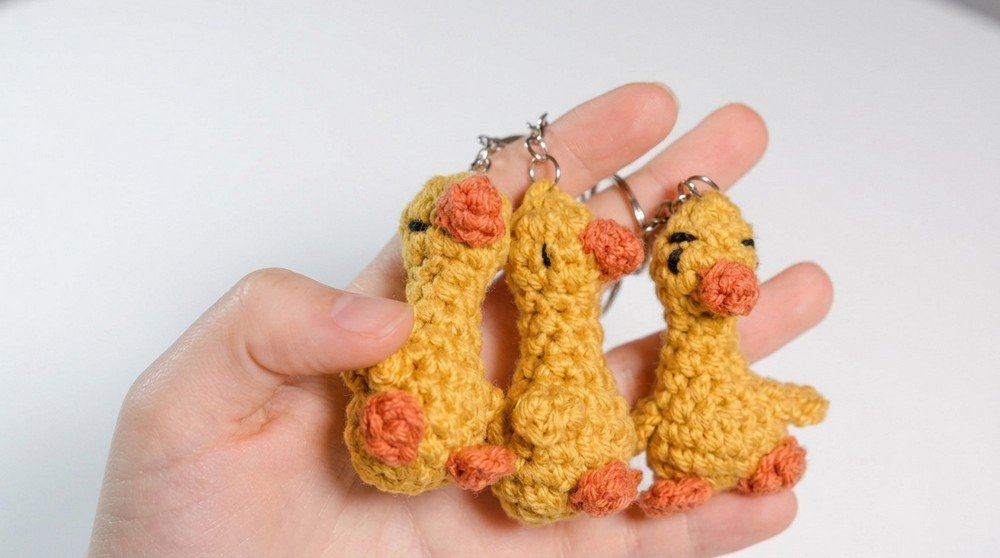
Why Love This Pattern?
- Adorable and Fast Project: The goose keychain is charming and can be completed within an hour, making it a quick and enjoyable project.
- Beginner-Friendly: The pattern is suitable for beginners, with straightforward instructions and basic stitches.
- Minimal Supplies Needed: You only need a small amount of yarn in Mustard color, orange, and black colors, a size 3 crochet hook, and basic tools like a yarn needle.
- Customization: You can be creative with the eyes, making the goose look happy, angry, sad, or sleepy.
- Functional and Fun: The finished product is a useful keychain that’s also fun to show off or give as a gift.
This goose keychain is an adorable beginner-friendly project that crochets up quickly—in about an hour or less! The pattern uses basic amigurumi techniques and offers plenty of potential for customization, making it perfect for gifts, market prep, or adding a cute touch to your own keyring. This step-by-step pattern guides you through creating the body/head, wings, feet, beak, facial embroidery, and keychain attachment for a finished, durable amigurumi goose.
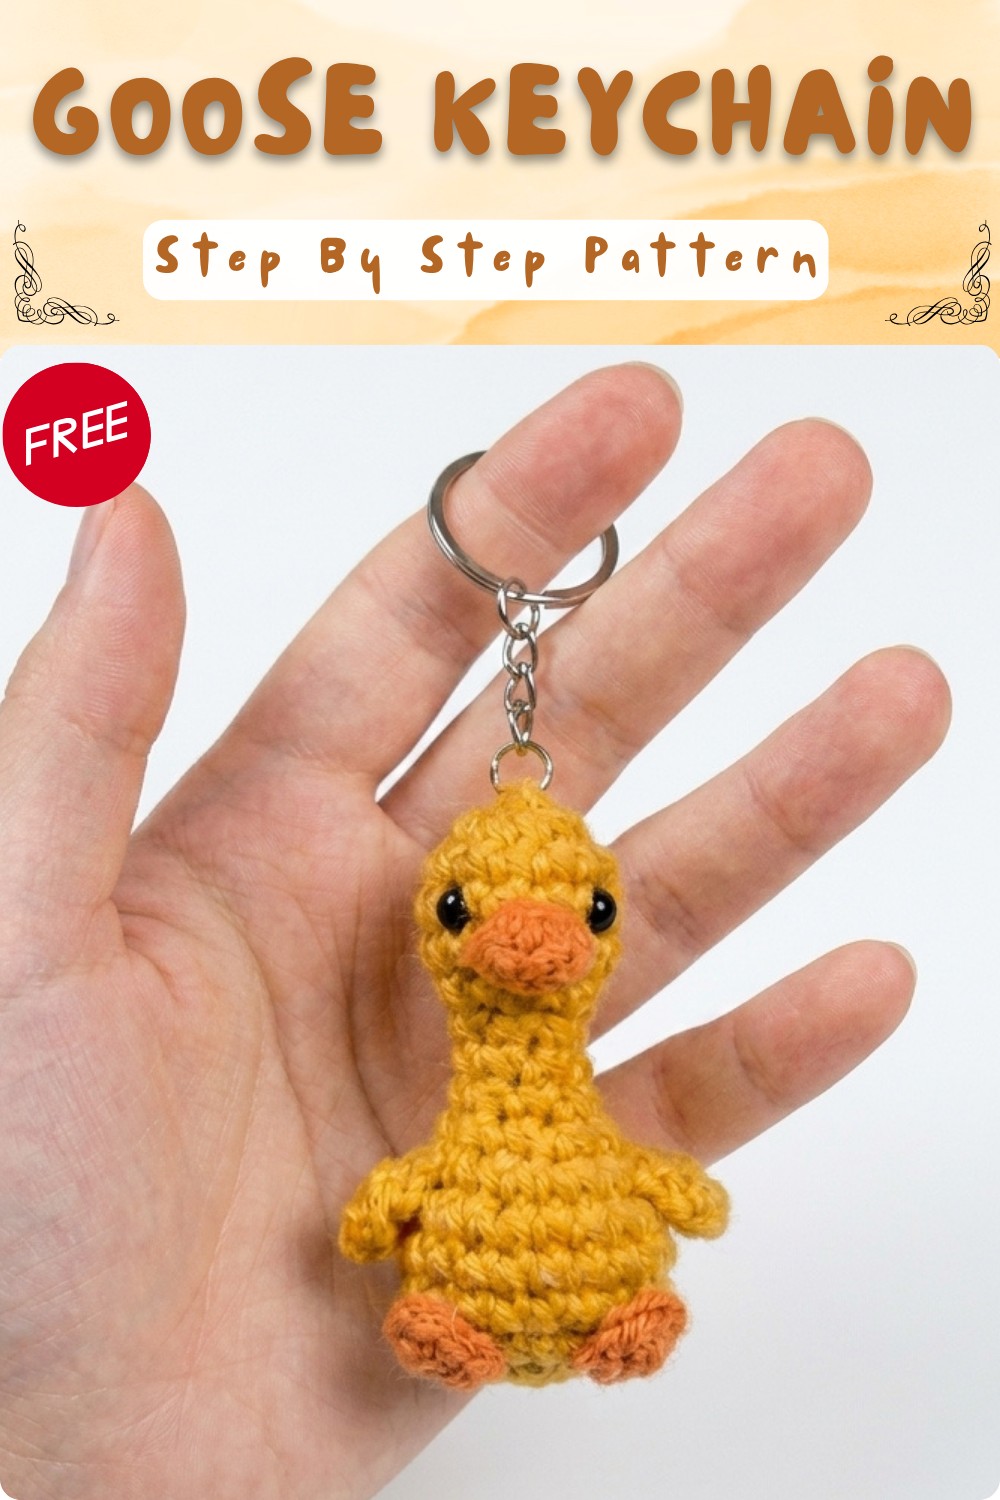
Goose Amigurumi Keychain Crochet Pattern
Pattern Notes
- The pattern is worked in continuous rounds (spiral) unless otherwise noted. Use a stitch marker to mark the first stitch of each round.
- The goose is made in one piece from the body upwards, with separate additions for the wings, feet, and beak.
- Stuff pieces firmly for a nice shape, but do not overstuff, especially for neck and head.
- Invisible decreases are recommended for a neater appearance.
- The size can easily be adjusted with a thicker/thinner yarn or different hook.
Skill Level
Beginner – basic understanding of single crochet in the round, increases, and invisible decreases required.
Measurements / Sizing
- Finished goose: approximately 6–8 cm (2.5–3”) tall (not including keychain ring).
- Perfect size for keychains, bag charms, or ornaments.
Gauge
- Gauge is not critical; ensure stitches are tight enough so stuffing won’t show through.
- For reference: 5 rounds of single crochet in a spiral ≈ 2.5 cm (1”).
Stitch Abbreviations
| Abbreviation | Term |
|---|---|
| MR | Magic ring |
| ch | Chain |
| sc | Single crochet |
| inc | Increase (2 sc in same st) |
| dec | Decrease (sc2tog) |
| sl st | Slip stitch |
| st(s) | Stitch(es) |
| FO | Fasten off |
Special Stitches
- Invisible Decrease: Insert hook into front loop of next two stitches, yarn over, pull through both front loops, yarn over again, pull through remaining loops.
- Magic Ring: Wrap yarn into a loop, work designated number of stitches into ring, then pull tail tight to close.
The Crochet Pattern
Body & Head (worked in one piece, Mustard color)
Rnd 1:
MR, 4 sc into ring. (4)
Rnd 2:
inc in each st around (2 sc in each st). (8)
Rnd 3:
sc in next 2 sts, inc in next st. Repeat (4 times). sc in next 2 sts, inc x4, sc in next 2 sts. (12)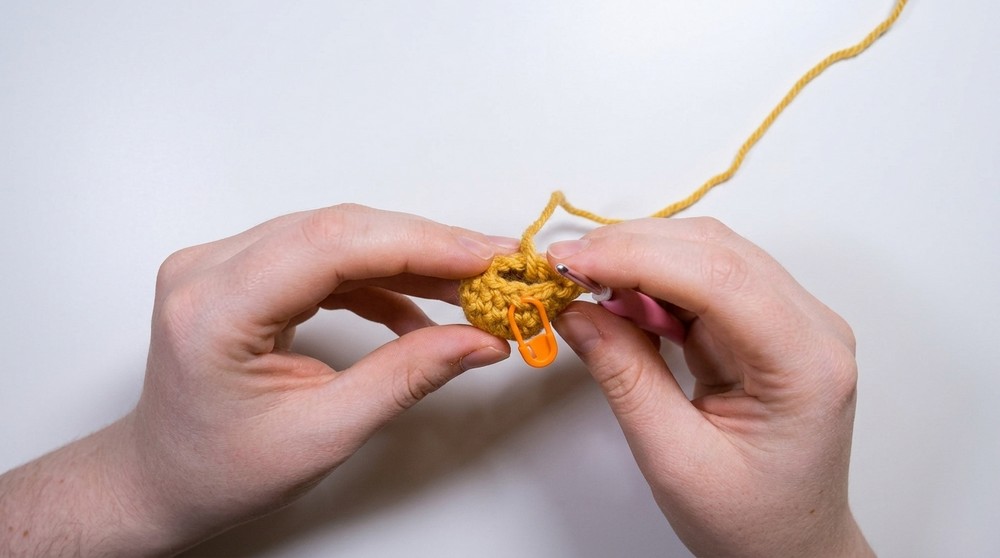
Rnd 4:
sc in next 2 sts, then for 4 reps: (sc in next st, inc in next st). End with sc in last 2 sts. (16)
Rnd 5:
sc in each st around. (16)
Rnd 6:
sc in next 2 sts, then (sc, inv dec) x4, then last 2 sc. (12)
Rnd 7:
sc in next 2 sts, inv dec x4, sc in last 2 sts. (8)
Rnd 8:
sc, (sc, inv dec) x2, sc, inv dec, sc (6)
(Stuff the body now; shape as you go.)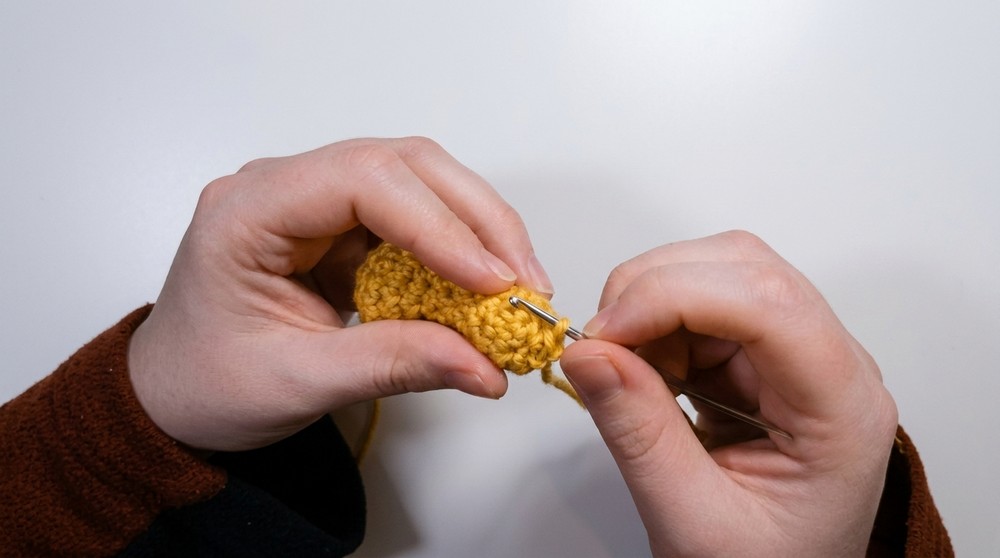
Rnd 9-11:
sc in each st around (forms neck). (6 per round; 3 rounds total)
(Add a bit more stuffing into the neck after round 11.)
Rnd 12:
inc in each st around (2 sc in each st). (12)
(This round starts the head.)
Rnd 13:
sc in each st around. (12)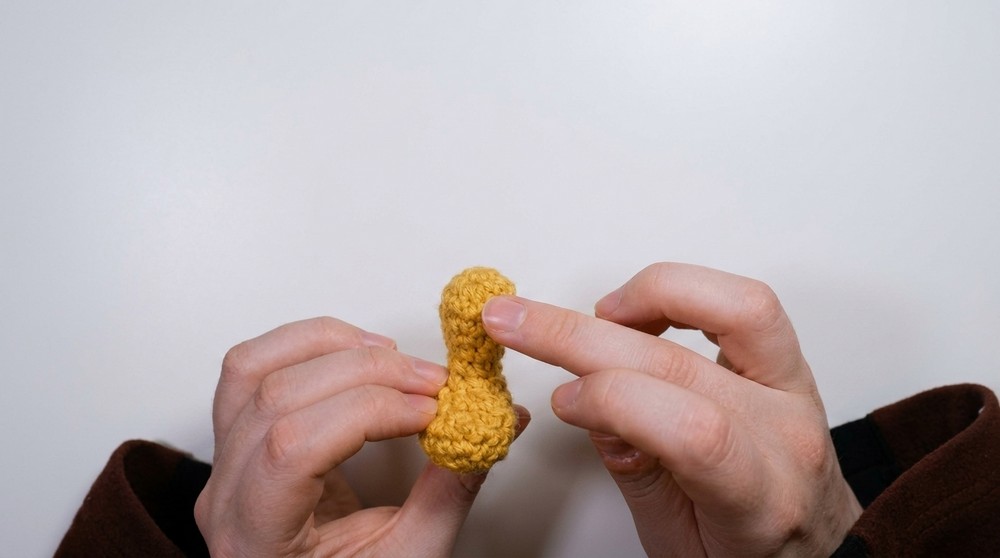
Rnd 14:
dec in each st around (6)
Stuff head firmly.
Finish:
FO, leave a long tail. Using needle, weave through front loops of each st and pull tight to close. Weave in end.
Wings (make 2, Mustard color)
- Ch 3
- In the 2nd ch from hook, sc 1
- In next ch, sl st 1
FO, leave a tail for sewing.
Feet (make 2, Orange)
Rnd 1:
MR, 4 sc in ring. (4)
Sl st to first sc to close.
FO, leave a tail for sewing.
Beak (Orange)
Rnd 1:
MR, 3 sc in ring. (3)
Rnd 2:
sc in each st around. (3)
Sl st to first st to finish.
FO, leave a tail for sewing. Shape to a mini beak point.
Assembly & Details
Assembly Steps:
- Beak: Sew beak just above where the neck widens for the head, aligning so beak faces same direction as body.
- Feet: Attach feet underneath body at “base,” spaced evenly for stability.
- Wings: Sew wings to sides of body about 2-3 rounds above the feet.
- Eyes:
- Embroider eyes using black yarn (French knot, straight stitch, or preferred style). Place above beak, spaced evenly.
- Tie off black yarn inside head.
- Keychain:
- With Mustard color yarn, thread through top of goose’s head, then through key ring. Reinforce by threading back and forth twice. Tie knot, hide yarn ends inside head.
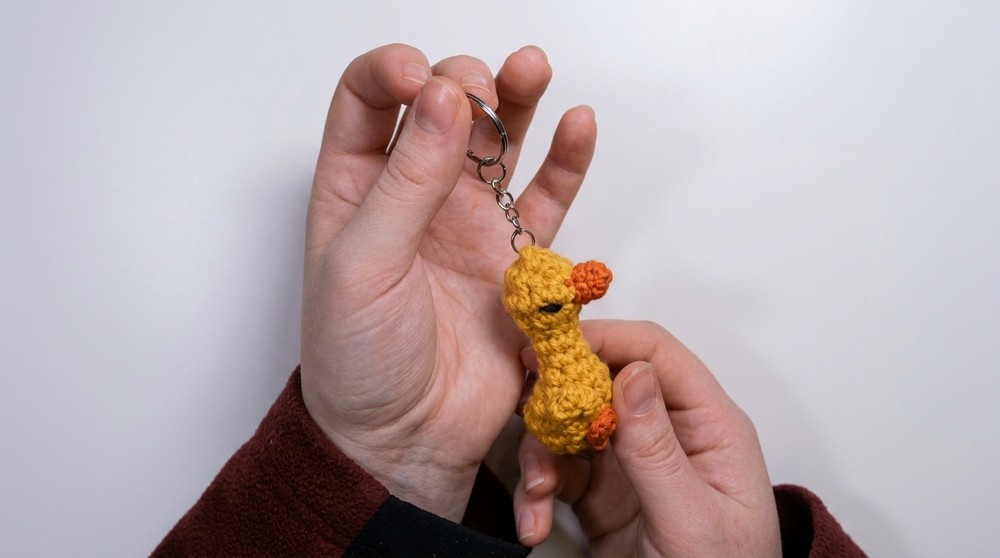
- With Mustard color yarn, thread through top of goose’s head, then through key ring. Reinforce by threading back and forth twice. Tie knot, hide yarn ends inside head.
Finished Size
- Goose: 6–8 cm tall (excluding keychain ring).
- Customizable by changing yarn/hook size.
- Compact, sturdy, and ideal for keychains, bag charms, or little gifts.
Congratulations! Your goose keychain is finished and ready to use or gift. This pattern is perfect for beginner amigurumi artists and can be easily customized with different colors, facial expressions or accessories.