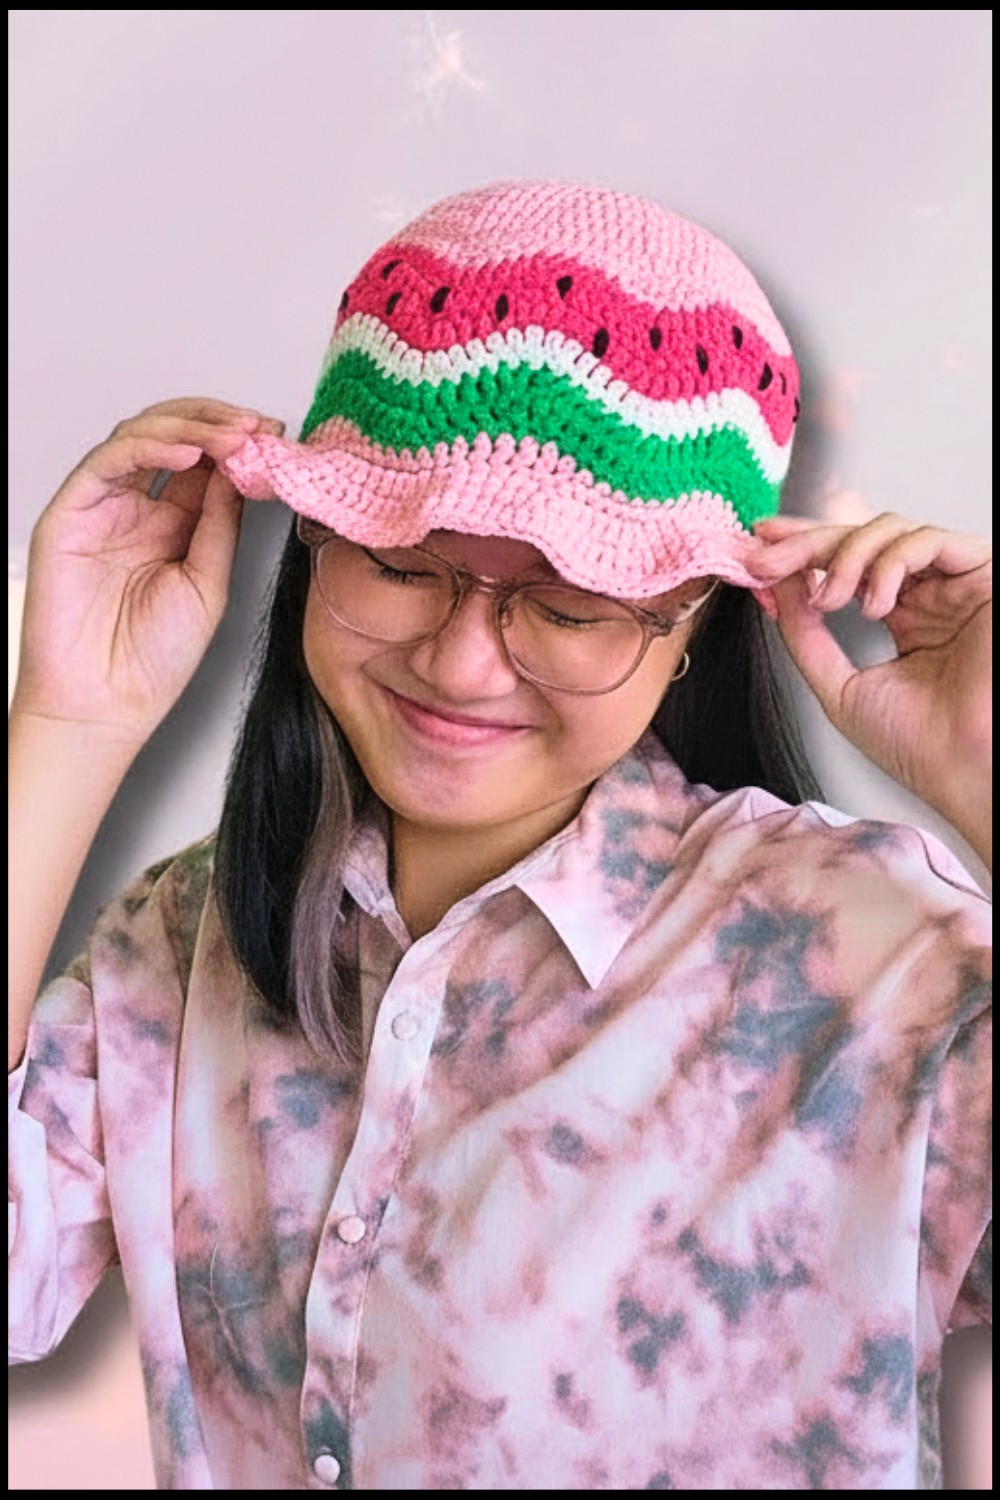
Free Wavy Bucket Hat Crochet Pattern
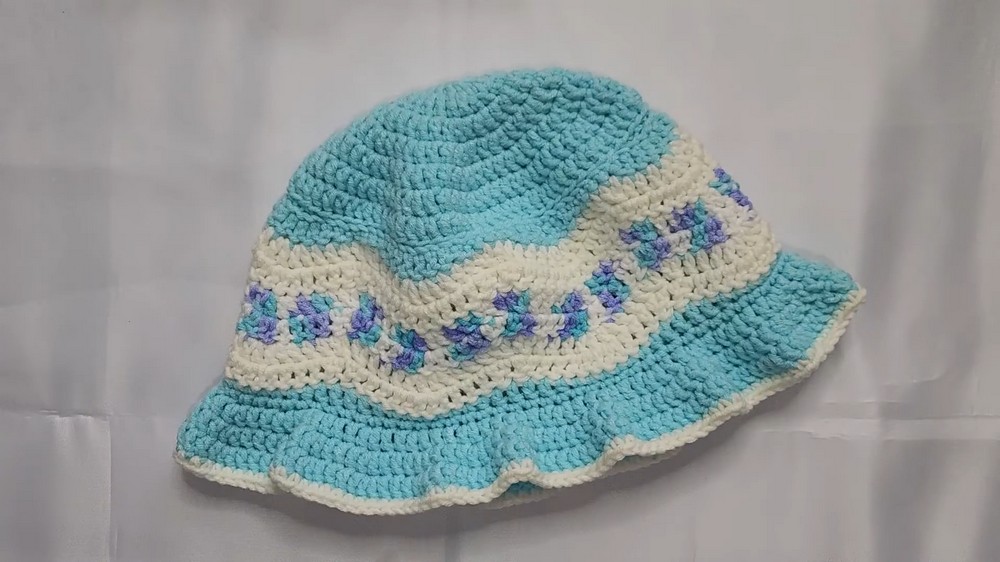
Slip on wave of color with this free crochet wavy bucket hat pattern that gives your style a fresh twist while keeping you cool all day long.
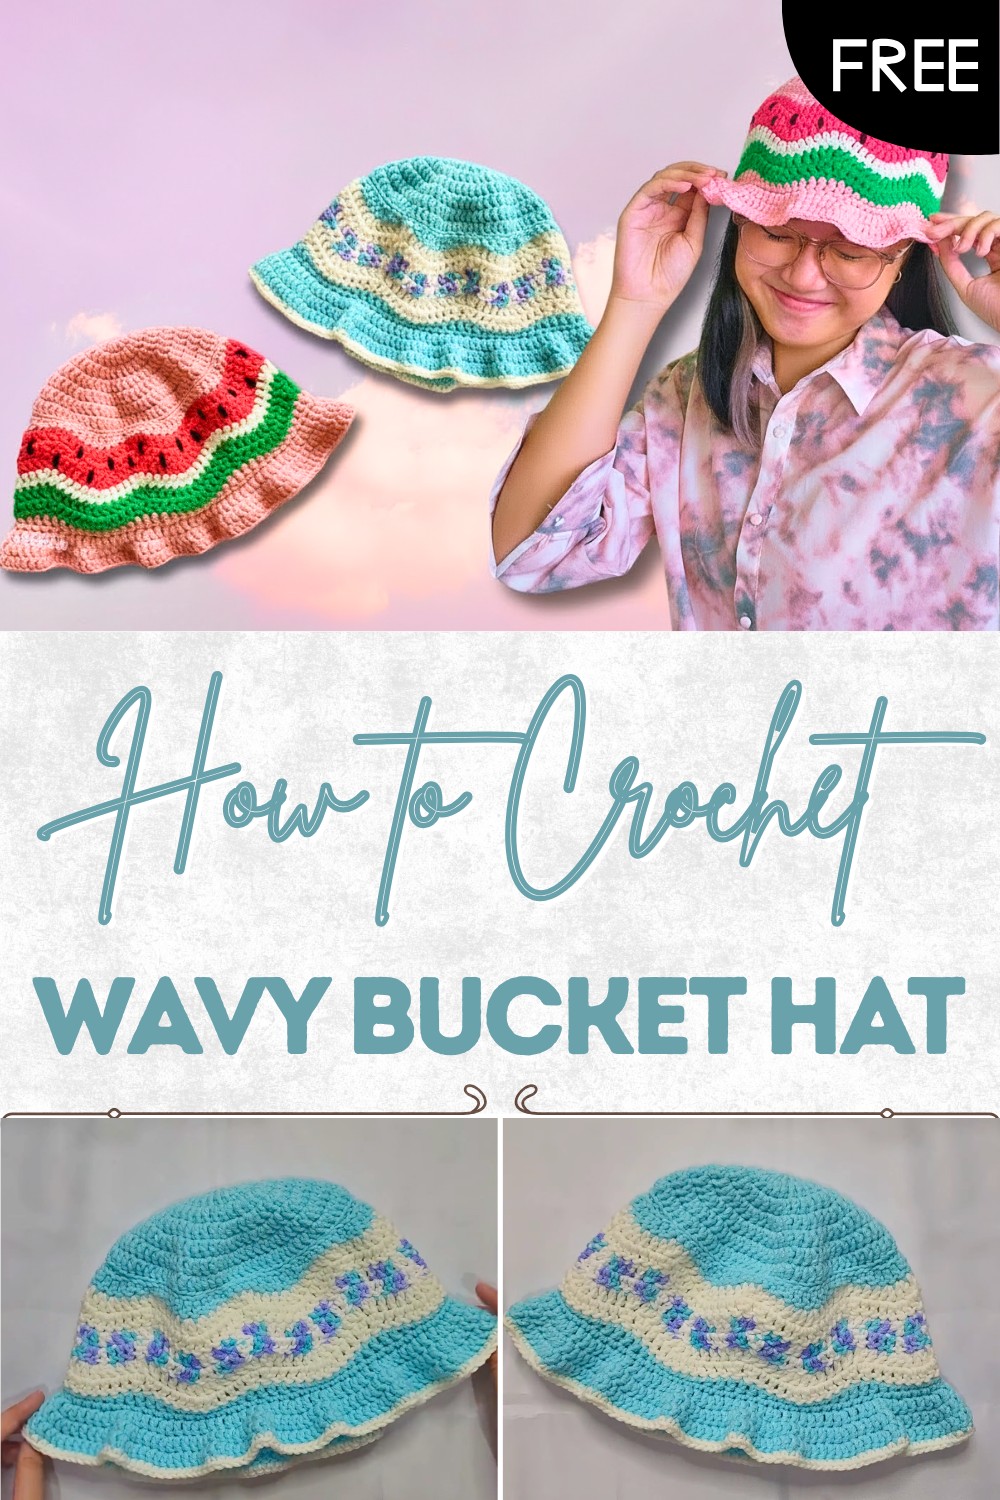
A wavy bucket hat made with crochet stands out as a vibrant and creative accessory, bringing together eye-catching style and practicality in one unique piece. The crochet wavy bucket hat pattern features flowing waves that wrap all around, making the hat look joyful and lively from every angle. This cheerful hat is not only fashionable but also offers gentle shade, protecting your face during sunny days while feeling soft and light on your head.
Crochet the Trendy Wavy Bucket Hat—Free Pattern
Its wonderful texture and bright colors can turn any simple outfit into something special, and it’s easy to customize to match your personal taste. Whether you use it for outdoor adventures or just to add fun to your daily look, this design keeps you looking cool and feeling comfortable. With every use, you can enjoy the blend of fashion, usefulness, and a dash of happiness that this playful wavy hat brings.
Wavy Design Bucket Hat — Step-by-Step Crochet Pattern
Materials
- Yarn: Light worsted (DK/#3 or worsted/#4) weight yarn in at least two colors:
- Main color (e.g., light blue)
- Contrast colors for waves and brim accent
(Cotton or acrylic yarns recommended for structure)
- Hooks:
- 4.0 mm crochet hook (main construction)
- 5.0 mm crochet hook (for the “side” strip, optional but recommended for easier assembly)
- Notions:
- Darning/tapestry needle
- Scissors
- Optional: Stitch markers, measuring tape
Key Abbreviations (US Terms)
| Abbreviation | Description |
|---|---|
| ch | chain |
| sl st | slip stitch |
| sc | single crochet |
| hdc | half double crochet |
| dc | double crochet |
| st(s) | stitch(es) |
| BLO | back loop only |
| FL | front loop |
| rep | repeat |
| inc | increase (2 sts in same st) |
| dec | decrease (stitches together) |
| dc2tog | double crochet 2 together |
Special Notes
- The top is worked in a seamless circle. All rounds begin with ch 2, which does not count as a st.
- Each round’s increases are staggered for an even circle.
- The wave pattern is worked flat as a strip, then joined to form the sides.
- Use color changes to create bold or playful wave effects.
- Brim is flared by strategic increases and working in front loops.
Step-By-Step Pattern
Measurements
- Hat crown: Customizable; sample is 7 rounds, 84 dc (fits most adult heads)
- Side band height: 6 rows of ripple stitch
- Brim: 3 rows dc, 1 final round sc
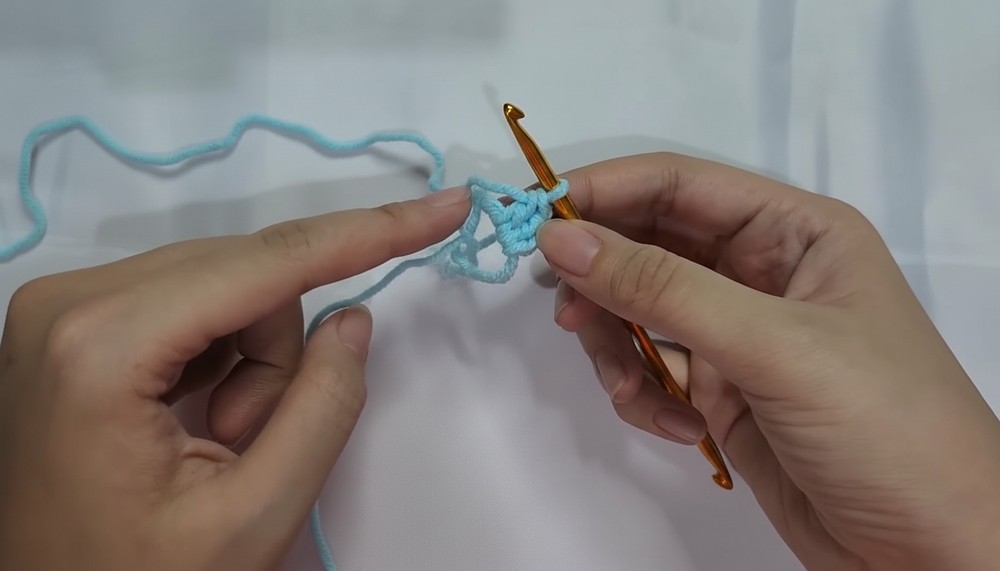
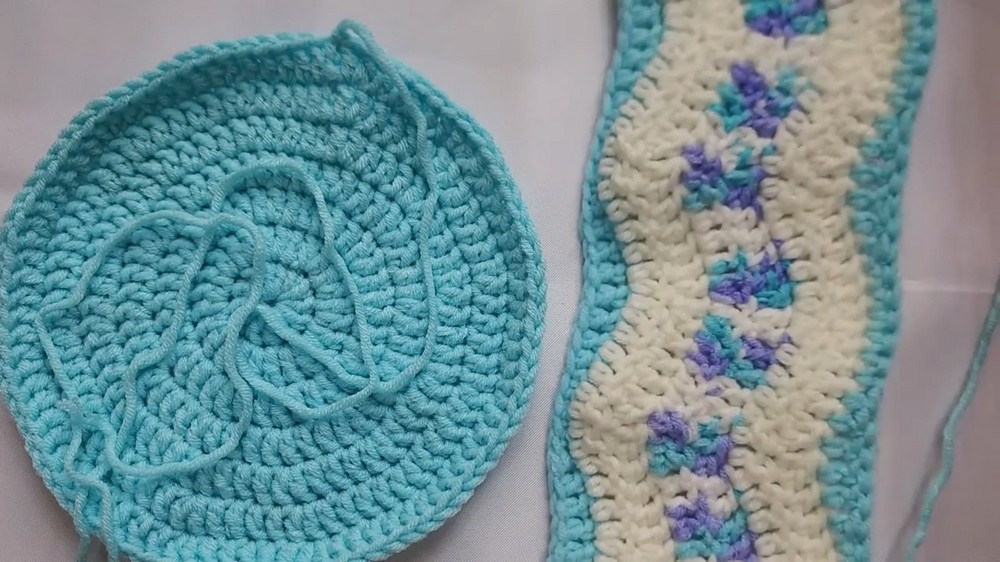
1. Top of the Hat (Crown)
- With Main Color and 4 mm hook:
- Make a magic ring.
- Rnd 1: Ch 2 (does not count as a st here and throughout), 12 dc in ring. Sl st to first dc. (12)
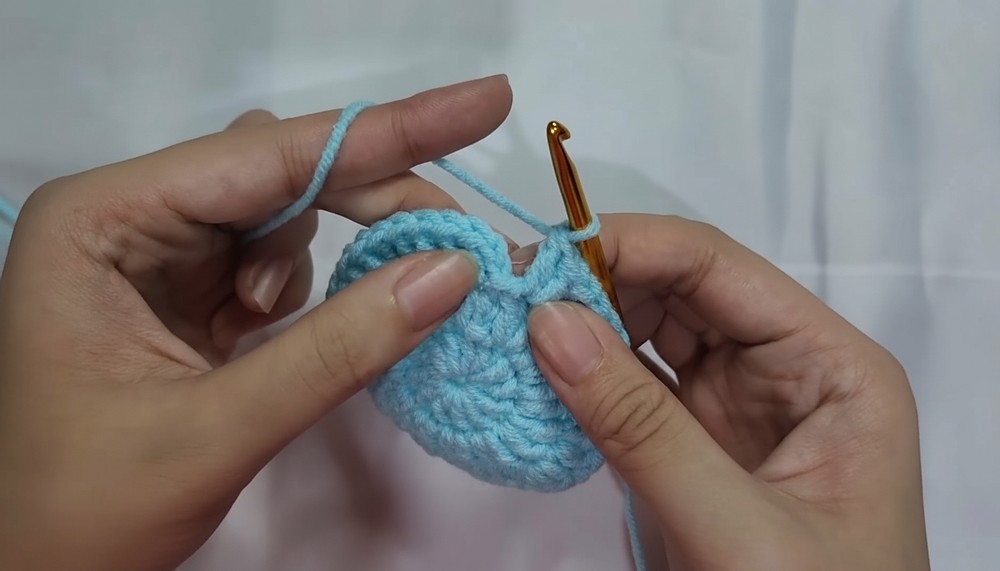
- Rnd 2: Ch 2, 2 dc in each st around. Sl st to first dc. (24)
- Rnd 3: Ch 2, [1 dc in next st, 2 dc in next st] around. Sl st. (36)
- Rnd 4: Ch 2, [1 dc in each of next 2 sts, 2 dc in next st] around. Sl st. (48)
- Rnd 5: Ch 2, [1 dc in each of next 3 sts, 2 dc in next st] around. Sl st. (60)
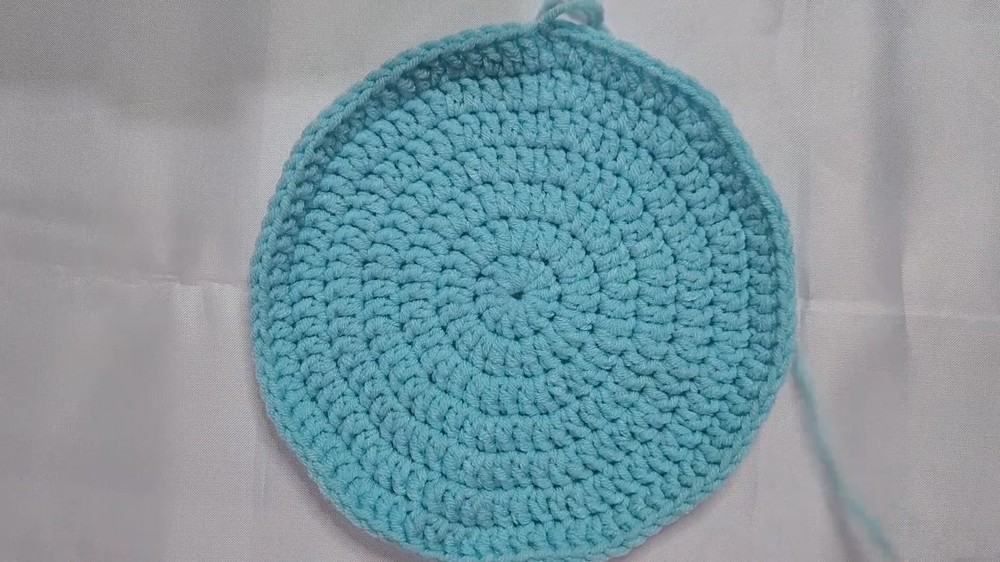
- Rnd 6: Ch 2, [1 dc in each of next 4 sts, 2 dc in next st] around. Sl st. (72)
- Rnd 7: Ch 2, [1 dc in each of next 5 sts, 2 dc in next st] around. Sl st. (84)
- Adjust the number of rounds for your head size; each round increases by 12 sts.
- Finish Off: Cut yarn, leaving a long tail for sewing, and pull through to fasten.
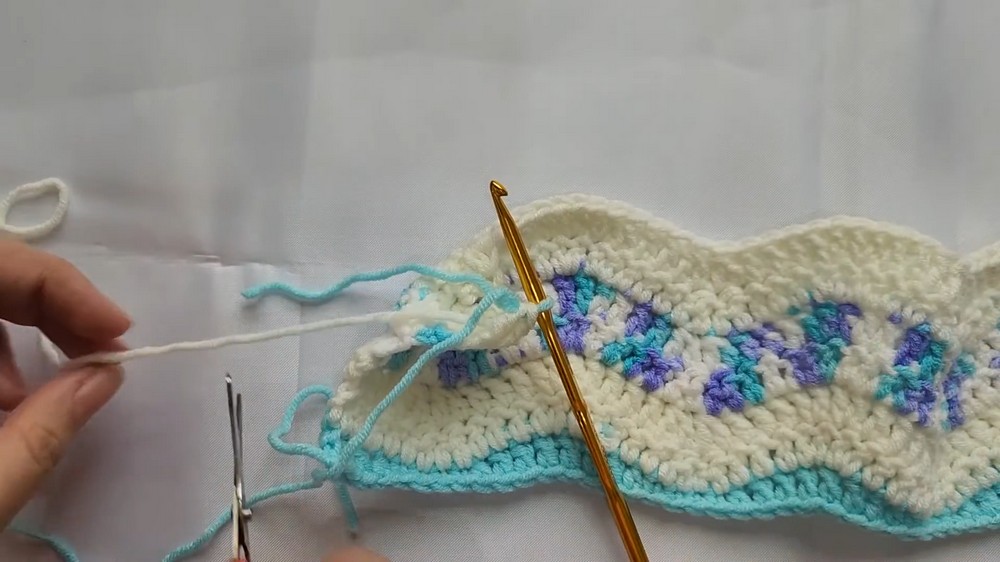
2. Wavy Side Strip
- Switch to 5 mm hook (optional): Ch number of sts equal to last hat rnd (e.g., 84).
- Switch back to 4 mm hook.
- Foundation Row:
- Ch 2 (does not count as a st), turn.
- In BL/back “bump” of ch, work as follows:
- 3 dc
- 1 hdc
- 4 sc
- 1 hdc
- 6 dc
- Repeat the above sequence to the end, finishing with 3 dc.
- Tip: Adjust proportions to fit your wave pattern fully over the st count.
- Change Color for Waves: Finish last dc by pulling new color through.
3. Ripple Stitch (Waves) for Sides
Ripple/chevron waves are made with double crochet increases and double crochet decreases.
For each row:
- Row 1 (first wave row):
- With new color, ch 3 (counts as dc), turn. Dc in same st (inc).
- 3 dc
- [Dc2tog] twice (2 decreases for dip)
- 3 dc
- [2 dc in next st] twice (2 increases for peak)
- Repeat the [3 dc, 2 dec, 3 dc, 2 inc] segment across.
- End with 2 dc in last st (increment).
- Rows 2–6:
- Ch 3, dc in same st.
- 3 dc
- [Dc2tog] twice
- 3 dc
- 2 dc in next st twice
- Continue pattern to end; always inc (2 dc) in last st.
- Change color every 2 rows for vibrant stripes, or as desired.
4. Wave Band Row for Straightening Edge
- With Main Color:
- Ch 1, turn.
- [Sc in next 3 sts, hdc in next st, dc in next 4 sts, hdc in next st, sc in next 6 sts] repeat to end, ending with 3 sc.
- This flattens out the wavy edge for assembly.
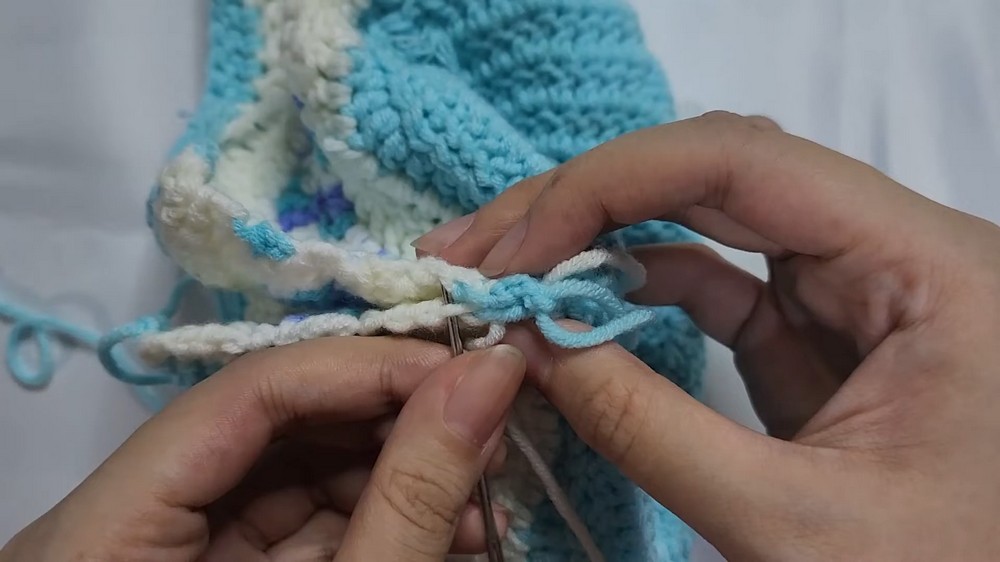
5. Joining the Side Strip
- Join short ends of strip (side seam):
- Place right sides together, use matching yarn to sew along the short edge, forming a ring (the side of the hat).
- Place right sides together, use matching yarn to sew along the short edge, forming a ring (the side of the hat).
- With RS together, sew strip to crown:
- Align wavy “edge” to the edge of the crown, matching increases.
- Using a darning needle and the long tail from the crown, whip stitch or use invisible seam method through outer loops only for flexibility and neatness.
- Weave in all ends.
6. Brim
- Attach yarn at seam, RS facing.
- Rnd 1:
- Ch 1, sc evenly around, sl st to first sc.
- Rnd 2 (Brim Flares):
- Ch 2, work in FRONT LOOPS ONLY:
- [Dc in each of next 2 sts, 2 dc in next st] around. (Inc every third st for wavy brim. For less wave, inc every 4th or 5th st.)
- Sl st to first dc.
- Rnd 3 (and 4, if more flare/length desired):
- Ch 2, dc around, increasing directly above previous inc stitches (or every fourth st, etc.).
- Sl st to first dc.
- Rnd 4 (optional final color border):
- Change color, ch 1, sc in each st around (both loops). Sl st to first sc.
- Fasten off, weave in ends.
7. Finishing
- Fasten off, thread tail through first sc to create a neat edge.
- Weave in all ends on the inside.
- Flip hat right side out and shape as desired.
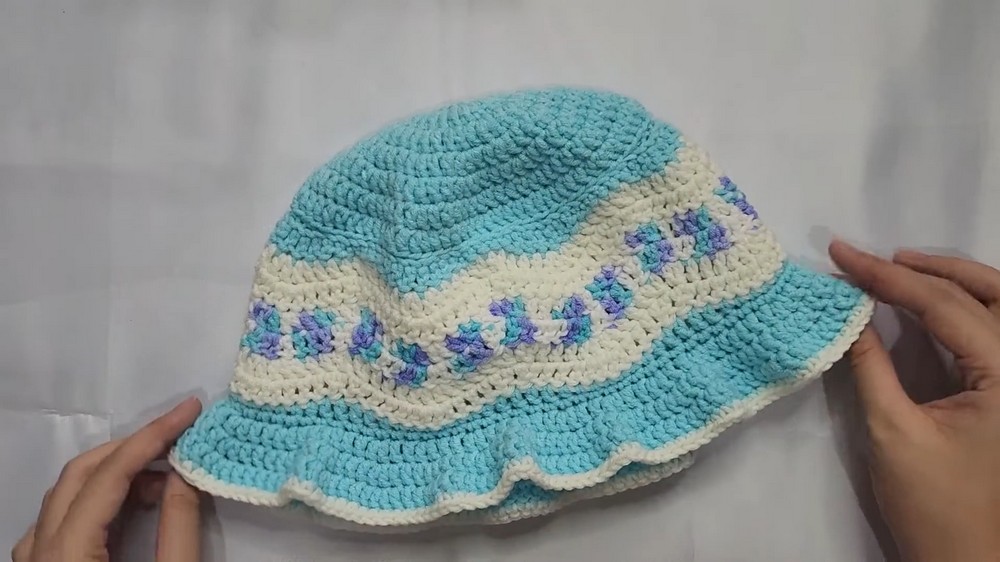
Conclusion
This stylish, wavy bucket hat is both playful and modern. The pattern is highly customizable with color changes and wave heights. Experiment with other palettes for fun or seasonal looks!
Pattern Correction
- Always increase by 12 sts per round for the hat crown.
- Match side strip and crown circumference stitch-for-stitch to maintain smooth assembly.
- If you have more/less stitches, adjust the wave repeat pattern to fit your exact stitch count.
Tips
- Use a larger hook for the wave strip if your crochet is tight to avoid curling.
- For a rigid brim, use cotton yarn and block the hat after finishing.
- Try color pooling, gradients, or thematic colorwork for custom designs (e.g., watermelon hat with black “seed” embroidery).