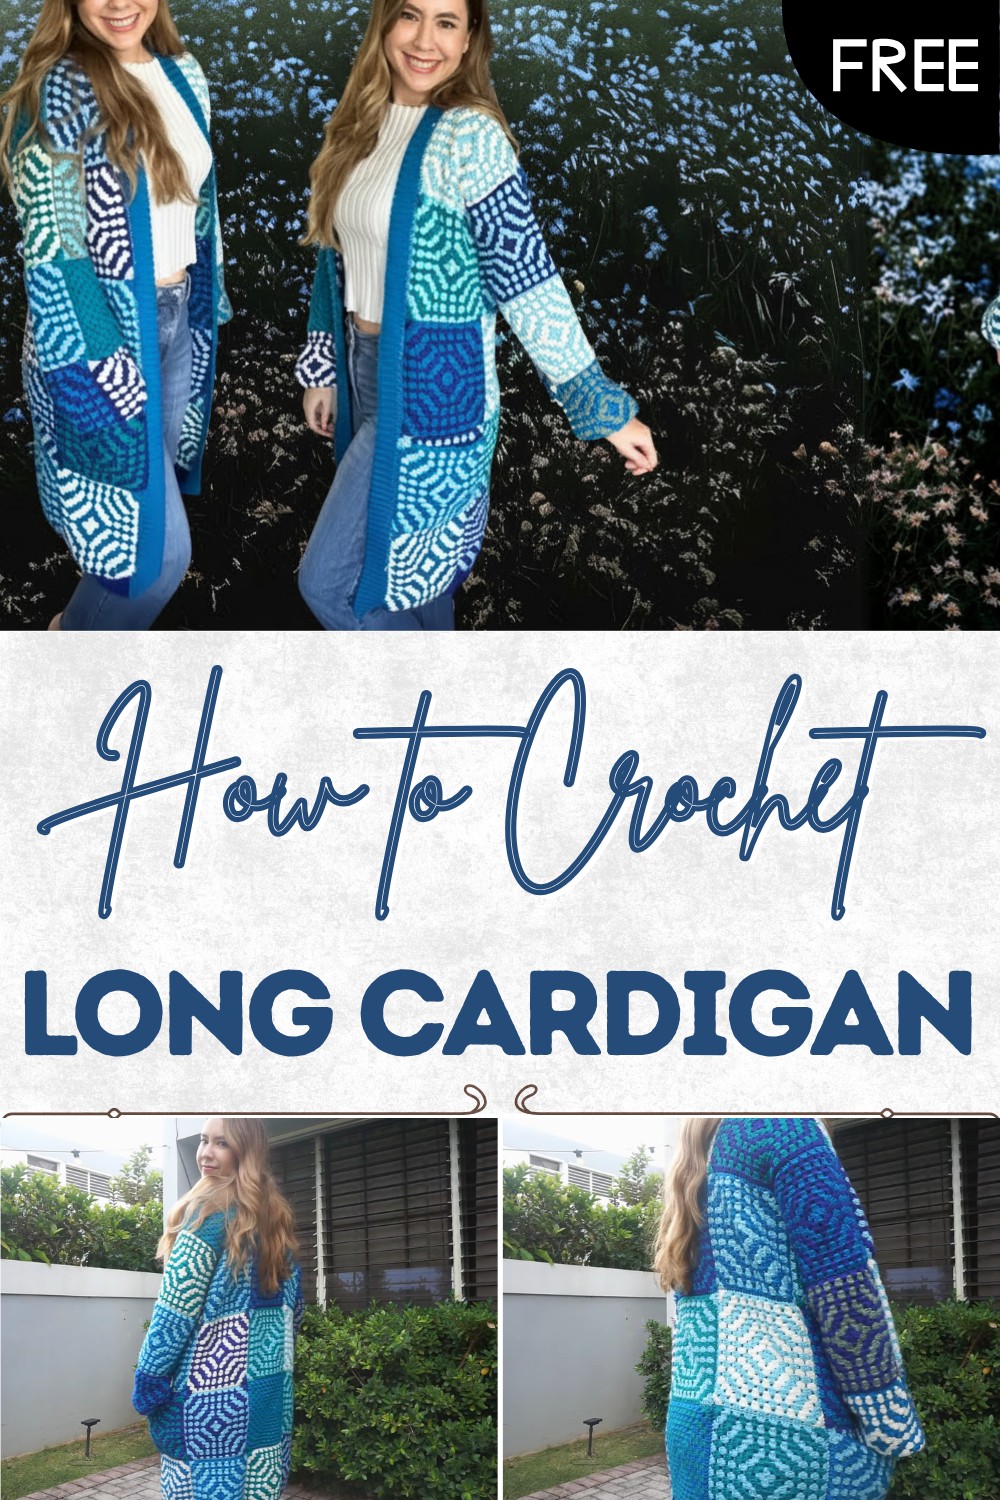
Easy Free Crochet Long Cardigan Pattern
Stay stylish and warm with free crochet long cardigan pattern, for all skill levels that adds comfort and beauty to your everyday outfits.
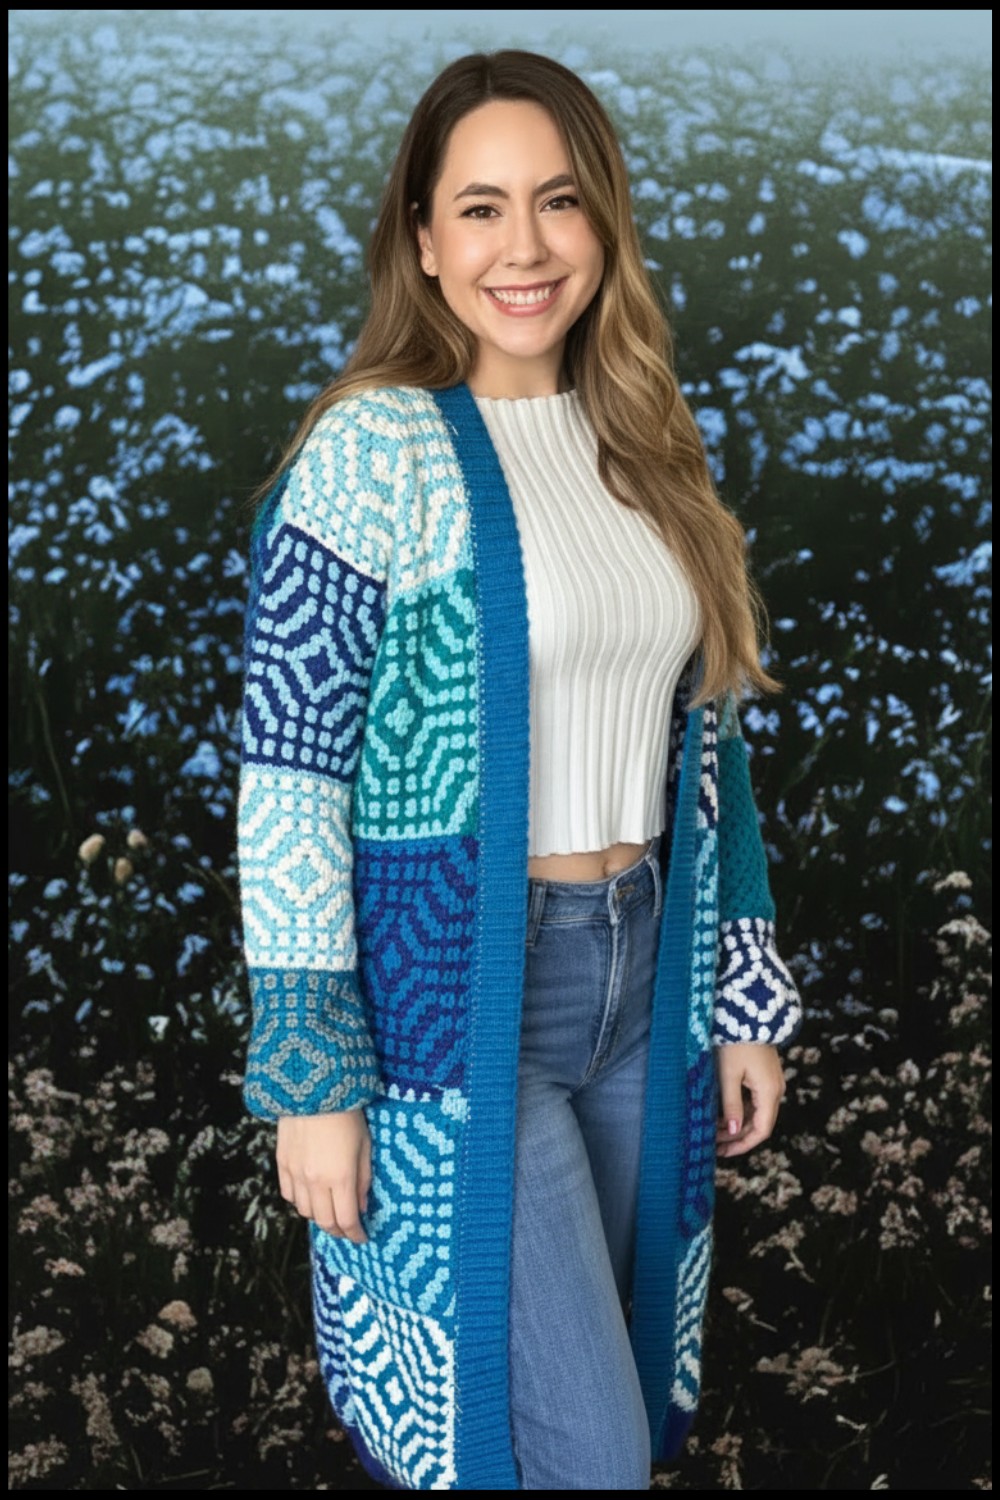
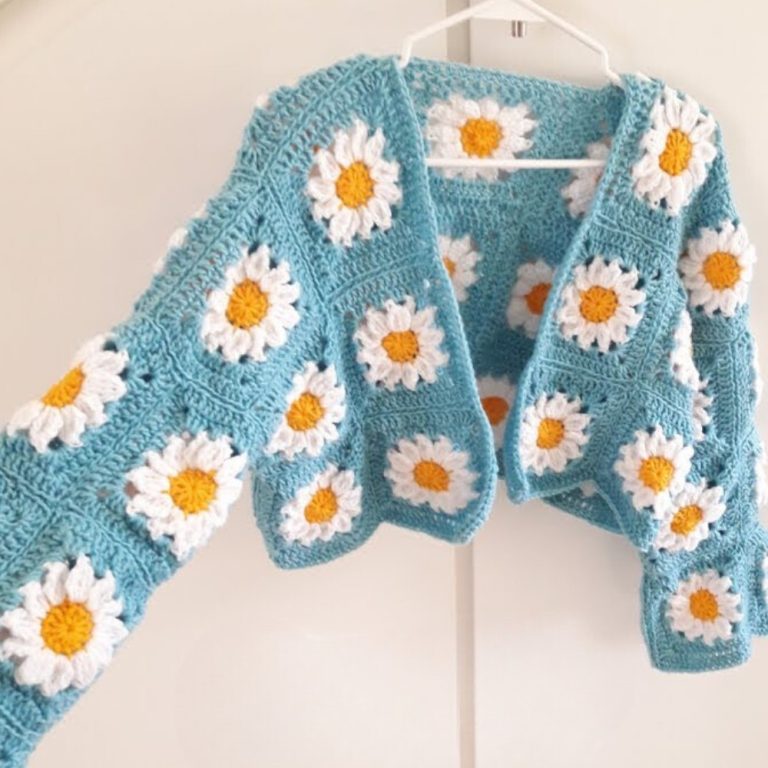
Imagine wrapping yourself in something soft and cozy that stretches down your legs keeping you warm everywhere you go and looking wonderful at the same time. A crochet long cardigan pattern lets you create a special sweater with extra length that feels like a gentle hug each time you wear it. This piece is easy to match with any outfit and makes you feel stylish whether you are at home or outside. The long shape stands out nicely and brings a touch of beauty to your wardrobe, flowing as you walk and offering warmth on chilly days.
Free Crochet Long Cardigan Pattern with Pockets
It is also roomy so you can move freely without feeling tight or uncomfortable. You can choose bright colors or soft tones to fit your mood making each cardigan unique to you. With this pattern you get a useful garment that covers more of your body while letting you stay fashionable. Making a cardigan with a crochet long cardigan pattern is fun and gives you something you can love and use all the time.
Granny Square Cardigan Crochet Pattern
Materials
- Yarn: Mighty Stitch (worsted weight, multiple colors; pattern uses assorted blue tones, but any color combination works)
- Hook: 4.5 mm crochet hook
- Yarn Needle: For joining squares and weaving ends
- Stitch Markers: (optional) For assembly
- Scissors
- Pins and Foam Board/Cardboard: For blocking squares
- Measuring Tape
- Steamer or Spray Bottle: For blocking (optional, but recommended)
- Buttons (optional): If adding a closure
Key Abbreviations (US Terminology)
- ch: chain
- sl st: slip stitch
- sc: single crochet
- dc: double crochet
- blo: back loop only
- st(s): stitch(es)
- RS: right side
- WS: wrong side
Special Notes
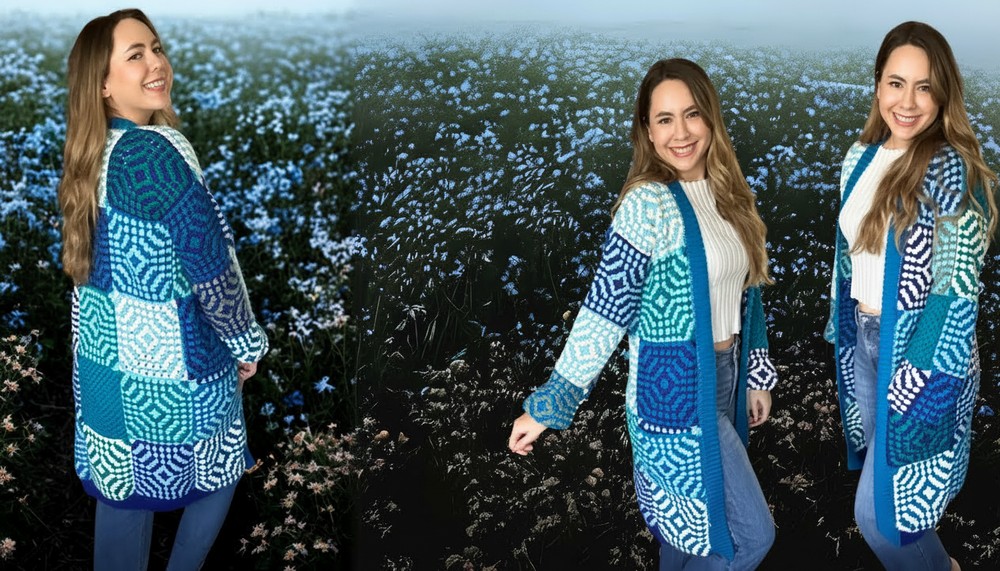
- The pattern produces an oversized, knee-length cardigan. It is easily customizable for different lengths and widths by adjusting the number of squares.
- You will make multiple granny squares, sew them together using mattress stitch for a seamless look, and then add ribbed edges and (optional) pockets.
- Each granny square as described uses 10 rounds; adjust more or fewer for the size you want.
- Blocking your squares is recommended for an even, professional look.
Step-by-Step Pattern
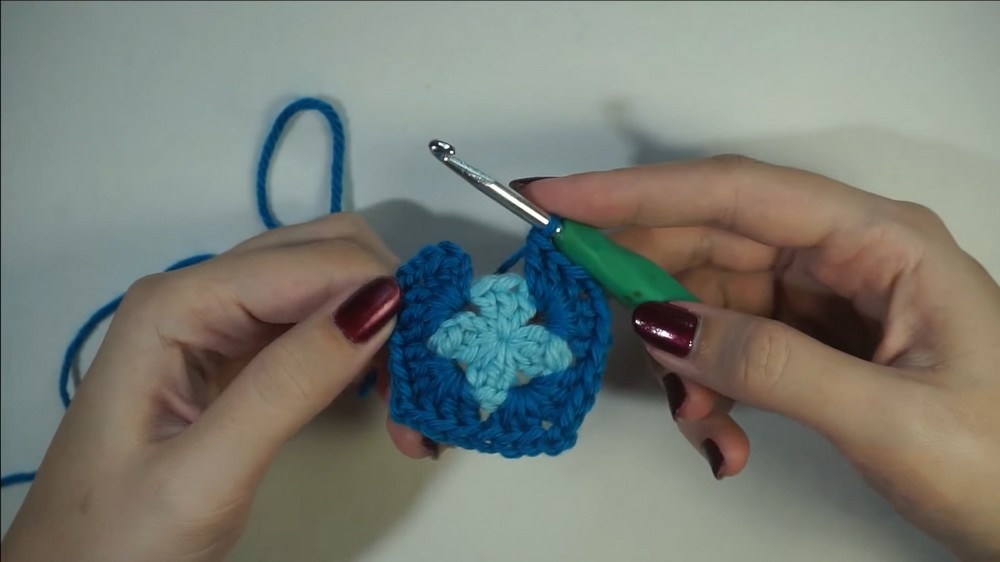
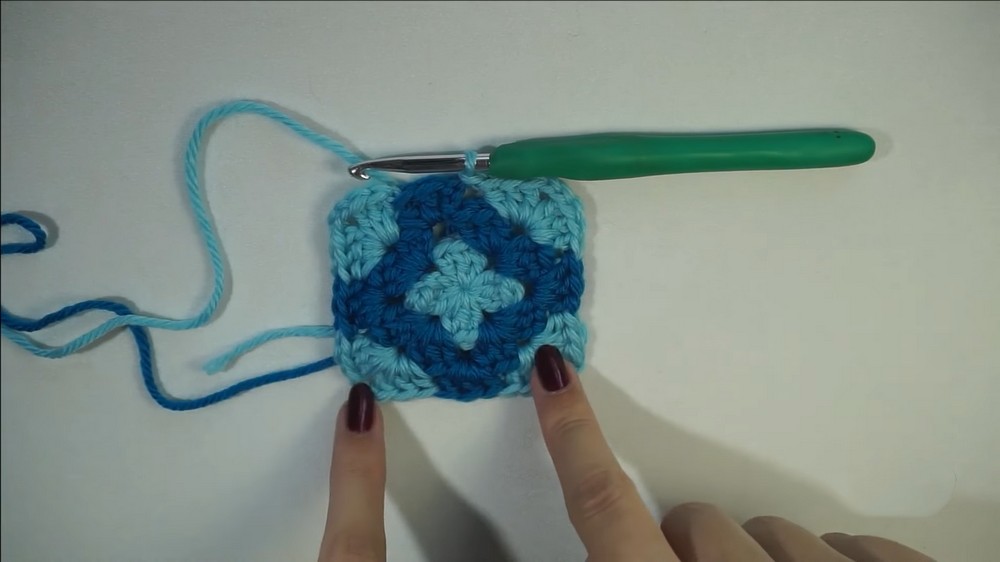
1. Making a Classic Granny Square
Make a total of 37 granny squares (or your preferred number for your size and fit).
Round 1
- Make a magic ring.
- Ch 3 (counts as first dc), 2 dc in ring, ch 2.
- (3 dc, ch 2) three times in ring. (You’ll have four groups of 3 dc, separated by ch-2 corners.)
- Pull tail to close the ring.
- Sl st to top of beginning ch-3 to join.
- Ch 1, fasten off, and cut yarn.
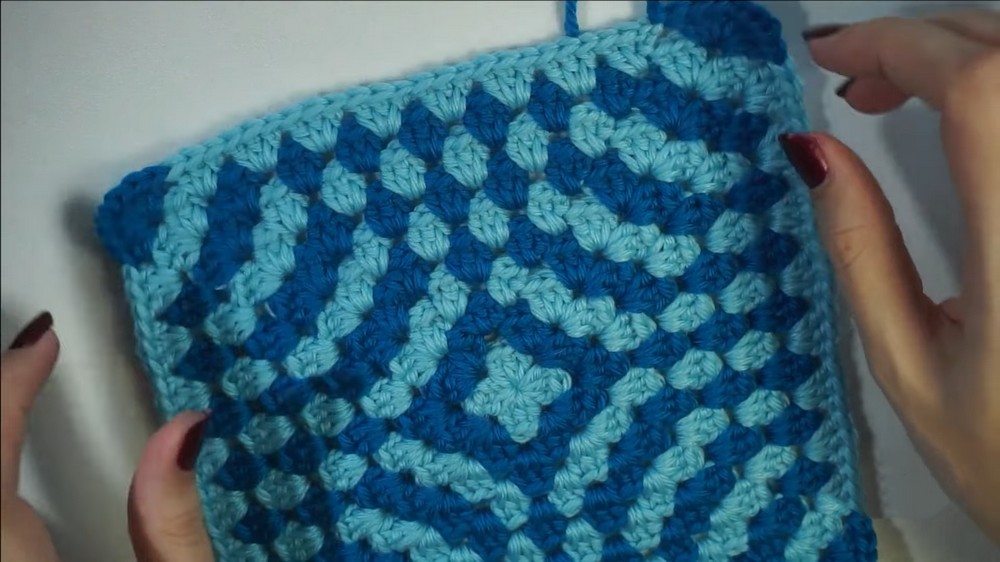
Round 2 (and all other rounds)
- Join new color in any corner sp, ch 3 (counts as dc), 2 dc in same sp, ch 2, 3 dc in same sp (corner made).
- In each corner around: (3 dc, ch 2, 3 dc) in same ch-2 sp to make corners.
- At the end, sl st to top of beg ch-3.
- Ch 1, fasten off, and cut yarn or use the color-changing method provided (change color at last dc by picking up new color before final yarn over).
- Repeat for each round, alternating colors as you wish.
- For every round after Round 2, in each side space between corners: 3 dc in space. In corners: (3 dc, ch 2, 3 dc).
Recommended: Make 10 rounds per square for oversized fit.
2. Block Your Squares
- Pin each square to a foam board or cardboard to measurements.
- Steam lightly or mist with water and allow to dry for even size.
- This step is optional but helps maintain shape.
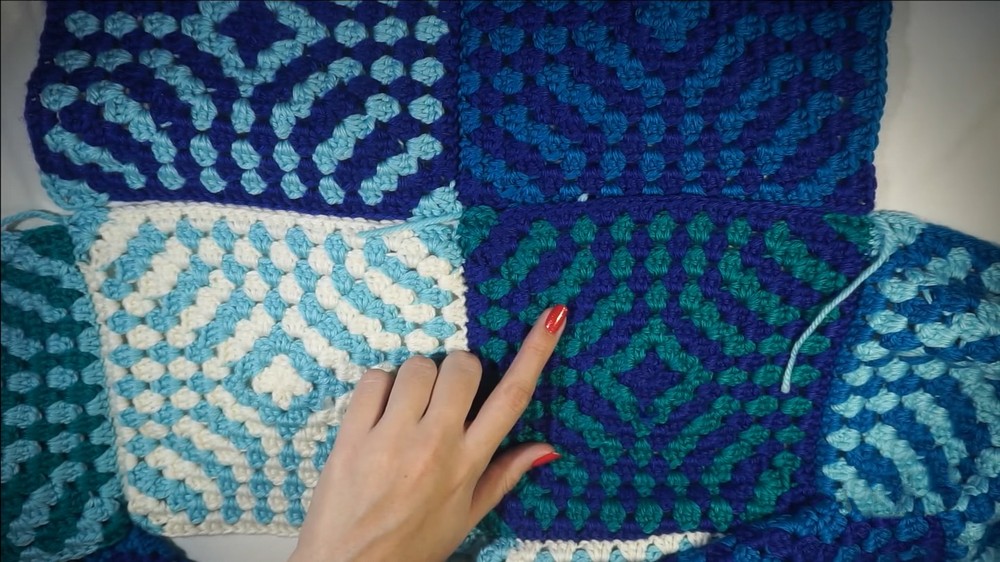
3. Assemble Panels
Layout (Standard, for 37 squares):
- Back Panel: 3 squares across x 5 squares down (15 squares)
- Each Front Panel: 1 square across x 5 squares down (2 panels, 10 squares)
- Each Sleeve: 2 squares wide x 3 squares long (for a generous, puffy fit; 6 per sleeve)
- (Pockets: 2 squares, see below)*
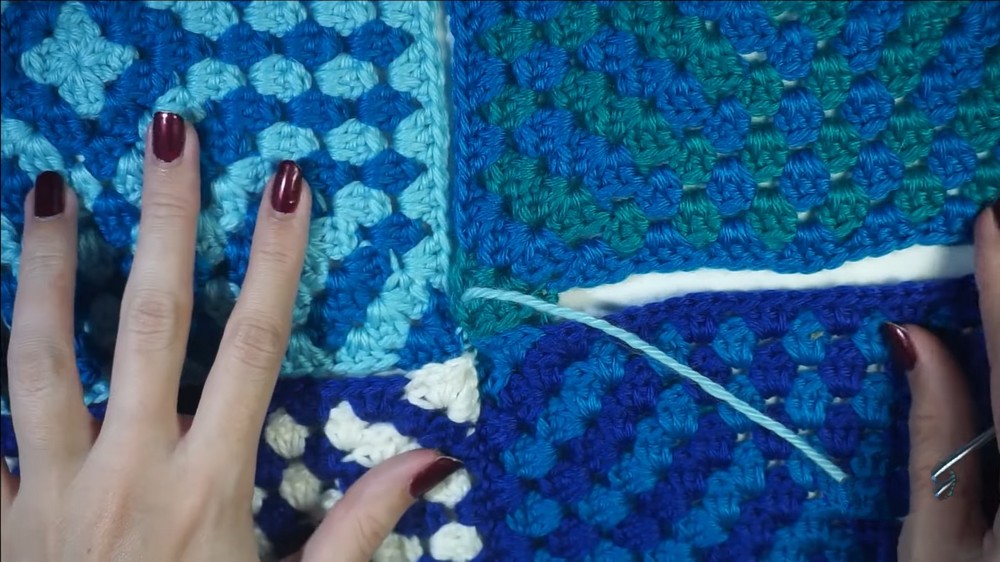
Joining Squares
- Use mattress stitch (or slip stitch/single crochet if preferred) and a yarn needle.
- With WS facing, join squares into strips/panels per layout above, then join panels to form the cardigan body.
- Leave openings for the sleeves.
- Assemble front panels and align to back at the shoulders; mattress stitch across.
- Attach sleeves (the rectangle made from squares) at arm openings.
- Fold the sleeve rectangles in half lengthwise and sew along the long edge to form a tube, then sew to cardigan.
- Sew underarm and side seam in one go, for a neat join.
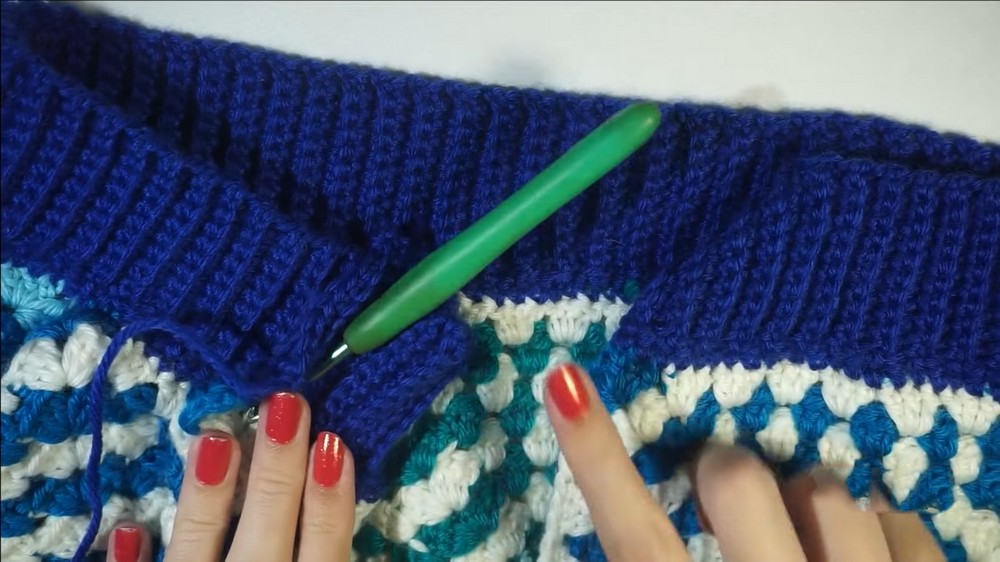
4. Edging and Ribbing
Main Border (Bottom + Front Edges)
- Attach yarn at bottom front corner.
- Single crochet evenly up the front, around the neck, down the other side, and across the bottom.
- When you return to the starting point, slip stitch to join.
- Do not fasten off.
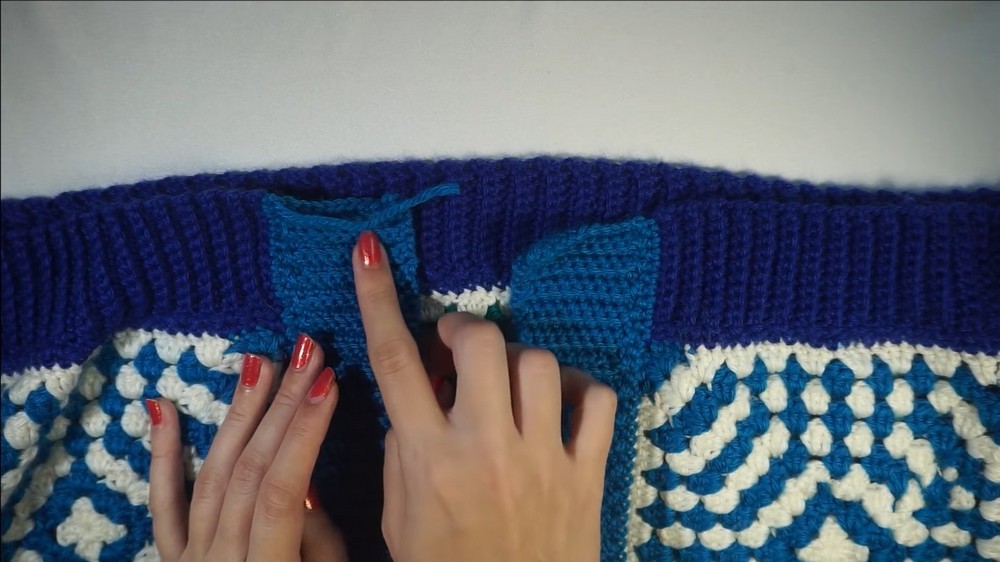
Main Ribbing (Bottom)
- Ch 11 (or preferred rib thickness).
- Begin in 2nd ch from hook: sc in each ch back to edge (10 sts).
- Sl st in next 2 sc along the cardigan edge to anchor.
- Turn, sc (blo) in each st of the ribbing. Ch 1, turn.
- Continue: sc (blo) to end, sl st in next two sc along edge, turn and repeat.
- Work this way around all bottom and front edges for a continuous rib.
Side Ribbing (Front Panel Edges)
- Repeat the above process for each front edge (may be worked in another color).
- Attach yarn, ch desired rib length (match or coordinate with bottom ribbing).
- Work as with main ribbing, in single crochet back loop only.
Cuffs (Optional for reducing sleeve width)
- Attach yarn at wrist edge.
- Work sc evenly around.
- Next round: sc2tog around to decrease fullness (repeat as needed).
- Test fit; add more decrease rounds if needed until slightly smaller than your wrist.
- Ch 6 (or preferred), work ribbing as for edges: sc back through ch, sl st into next st of round, sc (blo) on rib, repeat around. Sew ends together for a continuous cuff.
5. Optional: Pockets
- Make 2 additional granny squares.
- Place and pin to front panels as desired (before bottom ribbing).
- Sew down 3 sides using yarn needle and mattress stitch, leaving top open.
Conclusion
This cardigan is a modern, cozy twist on the classic granny square. Its modular construction allows custom sizing and color arrangement, and mattress stitch seaming ensures a seamless, professional finish. The ribbed edges, cuffs, and optional pockets add style and function. Blocking your squares results in a garment that holds shape beautifully. Enjoy your spectacular, hug-like cardigan!
Pattern Corrections & Tips
- Adjust number of granny squares and/or rounds according to preferred fit—fewer or smaller squares for a snug or cropped cardigan.
- Always count your chains and double crochets for even sides.
- Blocking is strongly recommended for alignment and professional finish.
- Mattress stitch provides the least visible seams, but slip stitch/single crochet can be substituted for ease.
- Hide yarn tails as you go for a clean finish.