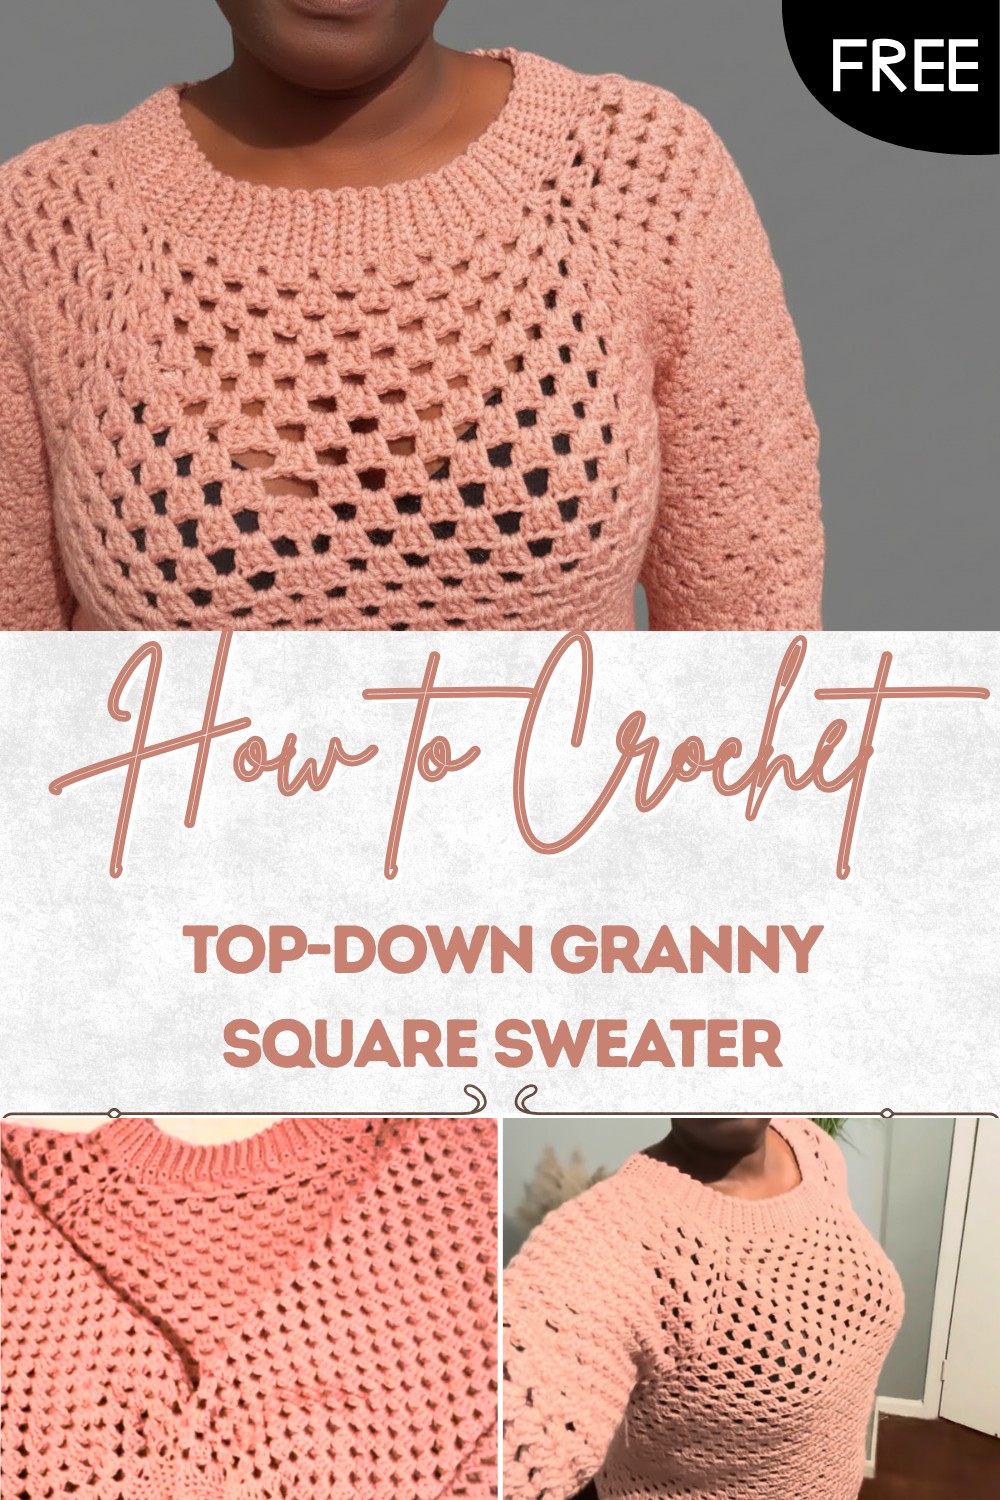
Free Crochet Pattern for Top-Down Granny Sweater
Radiate cozy charm with this free crochet top down granny sweater pattern that guides you to fashion a soft eye catching and stylish layer.
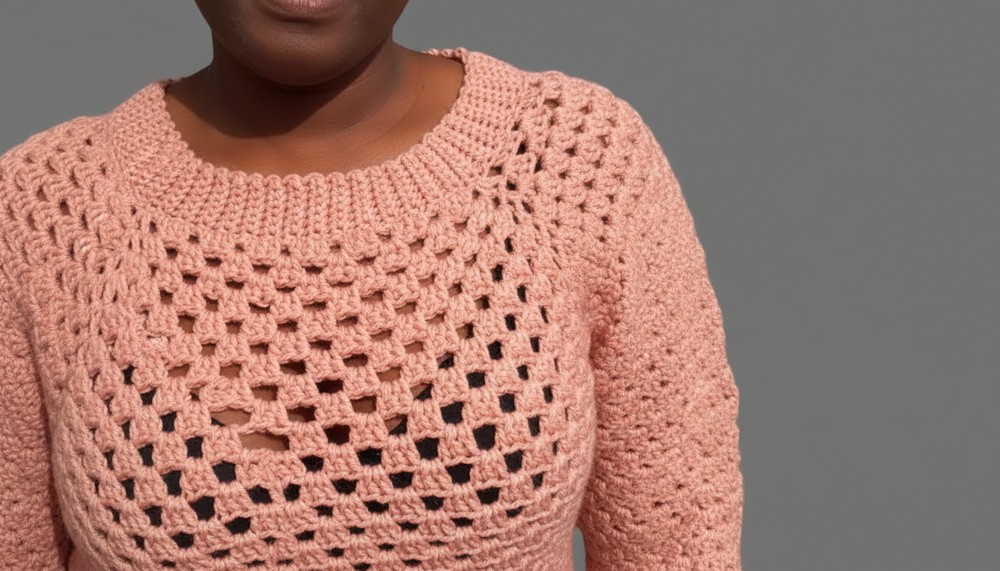
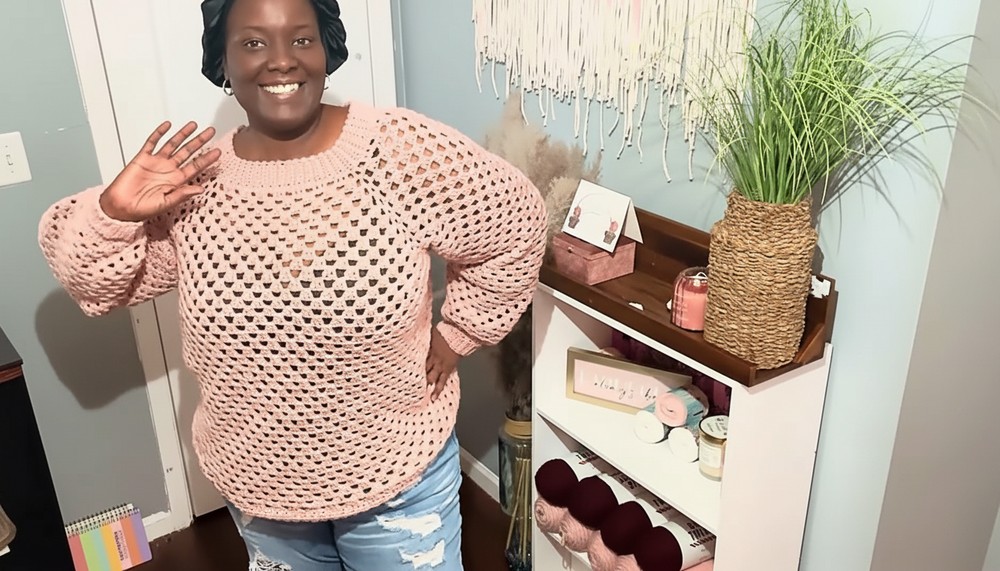
Colorful granny squares and cozy yarn come together in the crochet top-down granny sweater, creating a wearable piece of art. Each hue finds its place, forming a tapestry that brightens any chilly day and invites conversation wherever you go. Every stitch adds a bit of love, and when finished, the sweater is perfect for adding a burst of comfort during chilly weather or making regular days feel a bit more special. Far more than just practical clothing, this sweater carries a bit of your story in its threads.
Modern Crochet Top-Down Granny Sweater Pattern Free
The playful mix of patterns and shades makes it a standout whether you’re celebrating with loved ones, visiting friends, or just enjoying a quiet moment to yourself. People often notice the different colors and unique designs, making it a fun choice for gatherings or casual outings alike. Combining style and usefulness, the sweater keeps you warm while letting your creativity shine. Best of all, when you select your own palette, every finished piece is unlike any other—a personal expression woven right into every row and stitch.
Top-Down Granny Stitch Crochet Sweater Pattern
Materials
- Yarn: “I Love This Yarn” (worsted weight, #4); approx. 4 skeins (quantity varies by size)
- Hook: 5.0 mm (H/8) crochet hook
- Notions:
- Scissors
- Tapestry needle
- Stitch markers (recommended)
- Measuring tape
Key Abbreviations
- ch – chain
- st(s) – stitch(es)
- sl st – slip stitch
- sc – single crochet
- dc – double crochet
Special Notes
- Sizing is easily adjustable by changing row counts. Sample is for 2X (use fewer rows for smaller sizes).
- For ribbed bands, work first & last stitches of each row through both loops; middle stitches are worked in back loop only.
- Stitch markers are very helpful for keeping your work straight and marking important points (shoulders, sleeve start, etc.).
- Sweater is worked in rounds except for rib bands, which are worked in rows.
Instructions
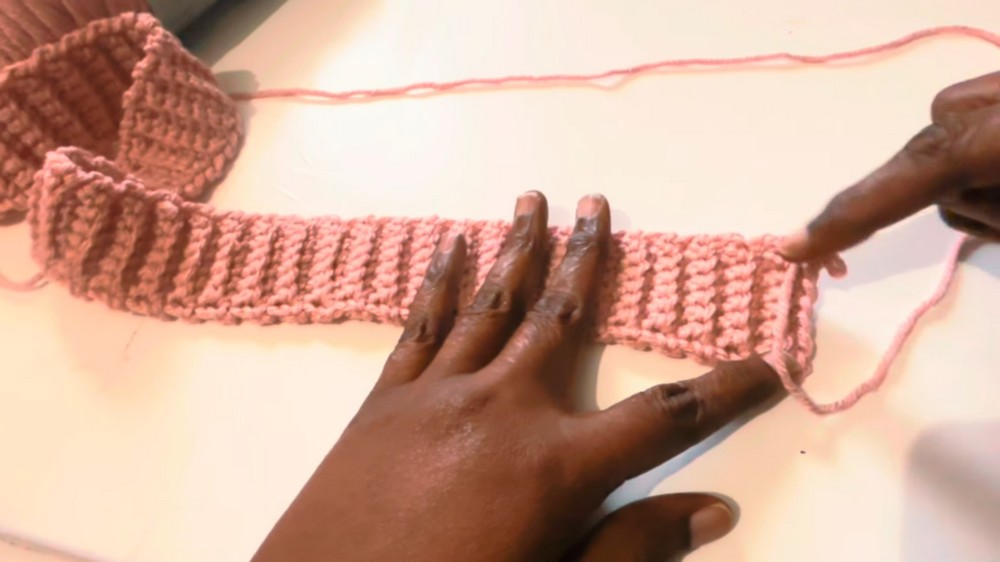
1. Neck Band (Ribbed Collar)
- Ch 8.
- Row 1: Beginning in second ch from hook, sc in each ch across. (7 sc)
- Row 2:
- First st: sc through both loops.
- Next 5 sts: sc through back loop only.
- Last st: sc through both loops.
- Ch 1, turn.
- Repeat Row 2 for 100 rows (or to desired neck circumference, stretching as you measure).
- Join ends: With right sides together, sew or sl st up the seam to form a band. Turn to the right side.
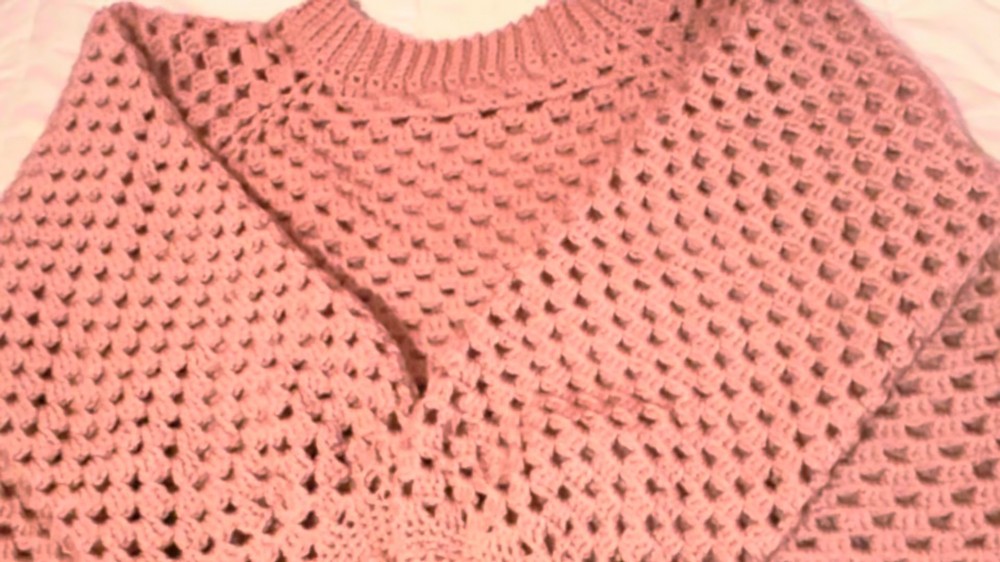
2. Yoke (Shoulder and Chest Setup)
- Work sc evenly around the neck band. You should have the same number of sc as your neck band rows (100).
- Join with sl st, ch 3.
- Setup Row (Granny/V Stitch):
- In same space as join: dc, ch 1, dc (first V-stitch).
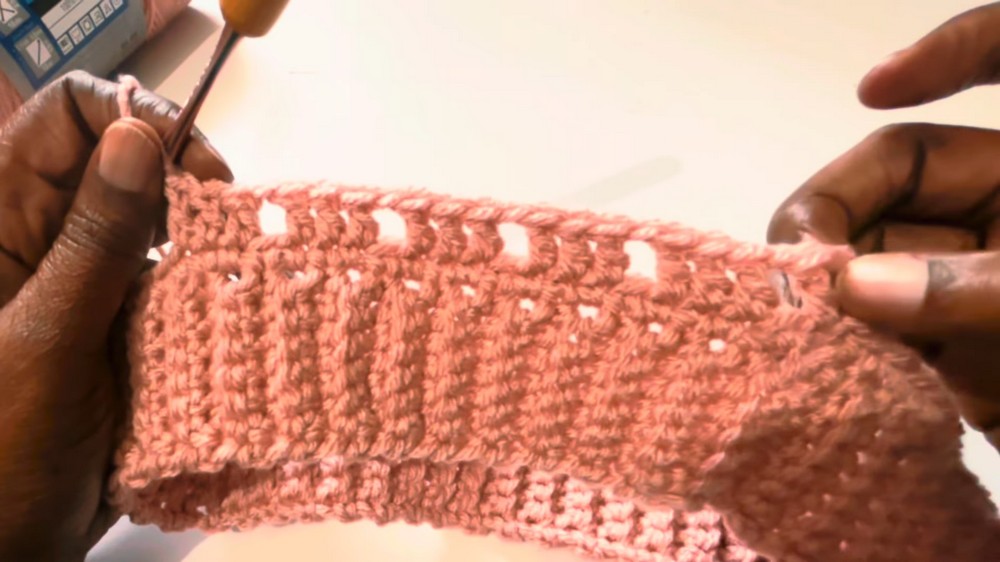
- Skip next st; dc in each of next 3 sts (shoulder cluster).
- Chain 1, skip next st; dc in next 3 sts. Repeat to create 5 granny clusters for shoulder, then continue with instructions for chest, back, and second shoulder, dividing as described in transcript.
- Each section (shoulder, chest, back) will be separated by a V-stitch, with granny clusters between.
- Mark V-stitches at shoulders and sides with stitch markers—they will be important for arm shaping.
- In same space as join: dc, ch 1, dc (first V-stitch).
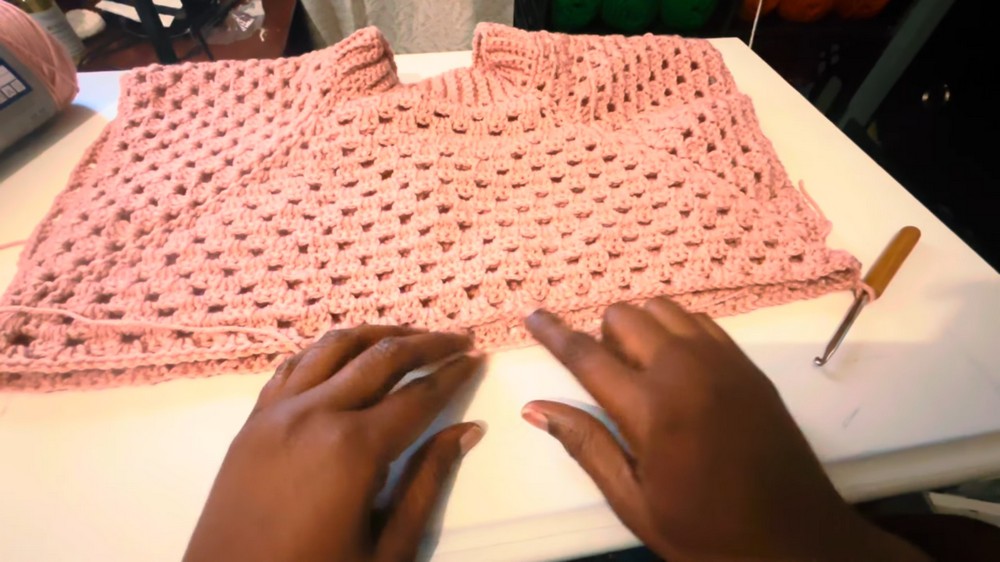
3. Yoke Rows (Expanding Yoke)
- Turn work at end of each row.
- Work in spaces only, not in stitches.
- In each V-stitch: (dc, ch 1, dc) to create new V-stitch.
- In each chain-1 space: 3 dc (granny cluster).
- Chain 1 between granny clusters and V-stitches.
- Continue for a total of 14 yoke rows (or as needed to reach underarm area), trying on as you go.
- At underarm: The V-stitch lines should match up under your arms. Adjust row count as needed for your size.
4. Join for Body
- No more V-stitches from this point forward.
- At the V-stitch locations under arms, join with slip stitches to connect front and back, closing yoke.
- Begin working body in continuous rounds.
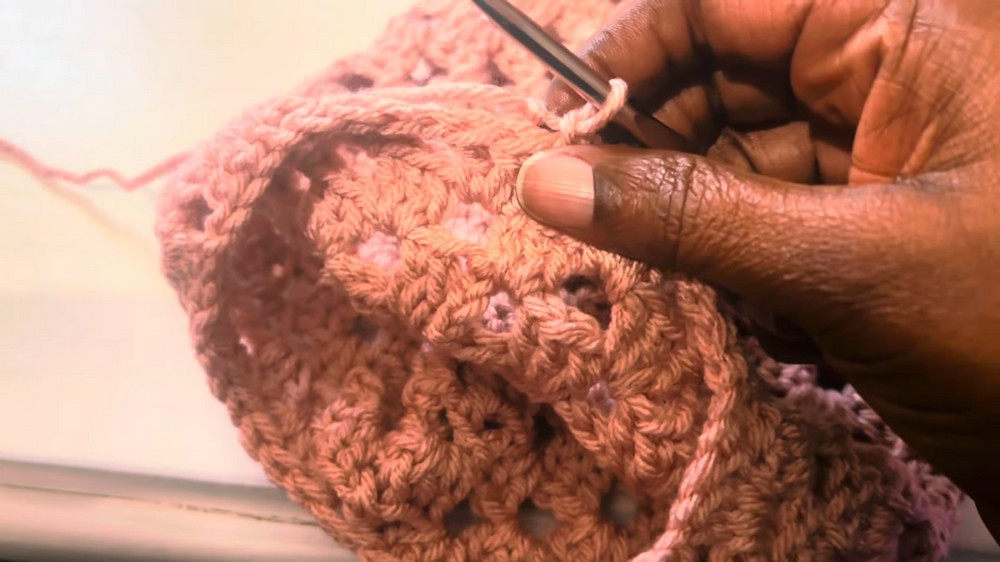
5. Body
- Ch 3 at start; work in rounds.
- Granny Stitch Only:
- In each chain space: 3 dc; ch 1 between clusters.
- Continue in spiral or join rounds as preferred.
- Work evenly until sweater reaches desired length (waist or hip). Sample is hip length.
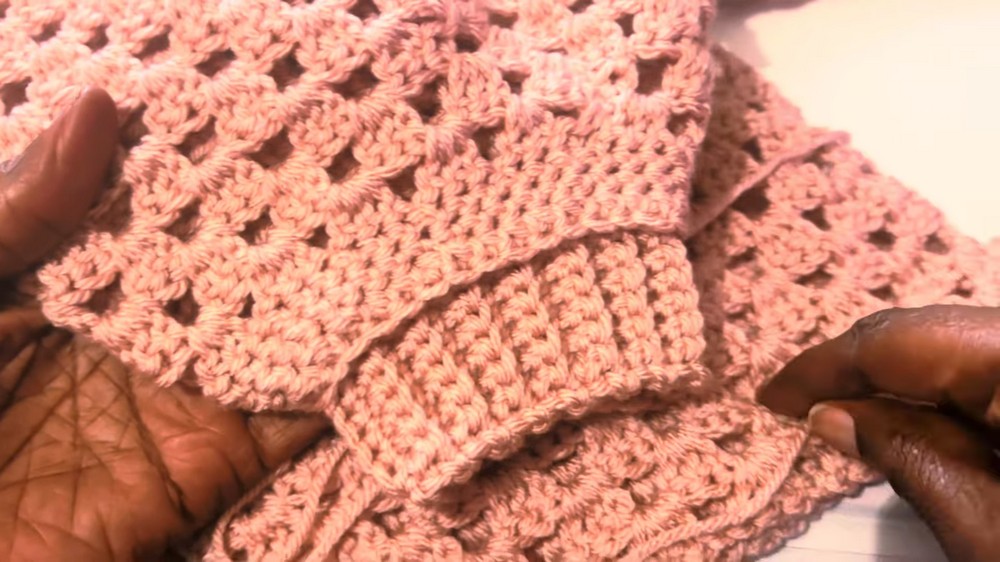
6. Bottom Rib Band
- Ch 8 for new rib band.
- Row 1: Sc in second ch from hook and each across (7 sc).
- Rows 2–31 (or as needed for your wrist/waist):
- First and last st: sc through both loops.
- Middle sts: sc through back loop only.
- Ch 1, turn.
- Make rib strip to match circumference of sleeve or body (e.g., 164 rows for waist for 2X).
- Sew/attach rib band to base with sc, matching each row to one st in body/sleeve (use slip stitch or single crochet join).
7. Sleeves
If excess armpit space: Close with slip stitches up to armhole marker for neat finish.
- Join yarn at sleeve opening. Ch 3.
- Granny Stitch for Sleeves:
- Work 3 dc in each chain space, ch 1 between clusters.
- Work in continuous rounds from underarm down.
- Sample: Work 30 rounds.
- For last three rounds (to shape wrist), decrease:
- 28th row: decrease in every 5th cluster,
- 29th row: decrease in every 6th cluster,
- 30th row: decrease in every 7th cluster.
- Decrease by working partial double crochets then finishing together as described in transcript.
- Optional: Add 3 rows of sc before rib band for a neat edge.
- Make rib band as for neck (8 ch wide, 31 rows or to wrist circumference).
- Attach rib band to sleeve edge with sc or sl st join.
8. Finishing
- Weave in all ends neatly on the inside.
- Turn sweater to right side.
- Try on and enjoy your new top-down granny stitch sweater!
Pattern Corrections & Tips
- If sizing, always try on as you go (especially after yoke division).
- Neck, wrist, and waist rib bands are worked identically; measure each for best fit.
- Shoulder shaping and stitch markers are critical for proper fit—don’t skip them if you’re new!
- If your V-stitches seem off, double-check cluster and V counts for each section.
- You can add three rows of sc at sleeve ends before rib band for a neater finish.
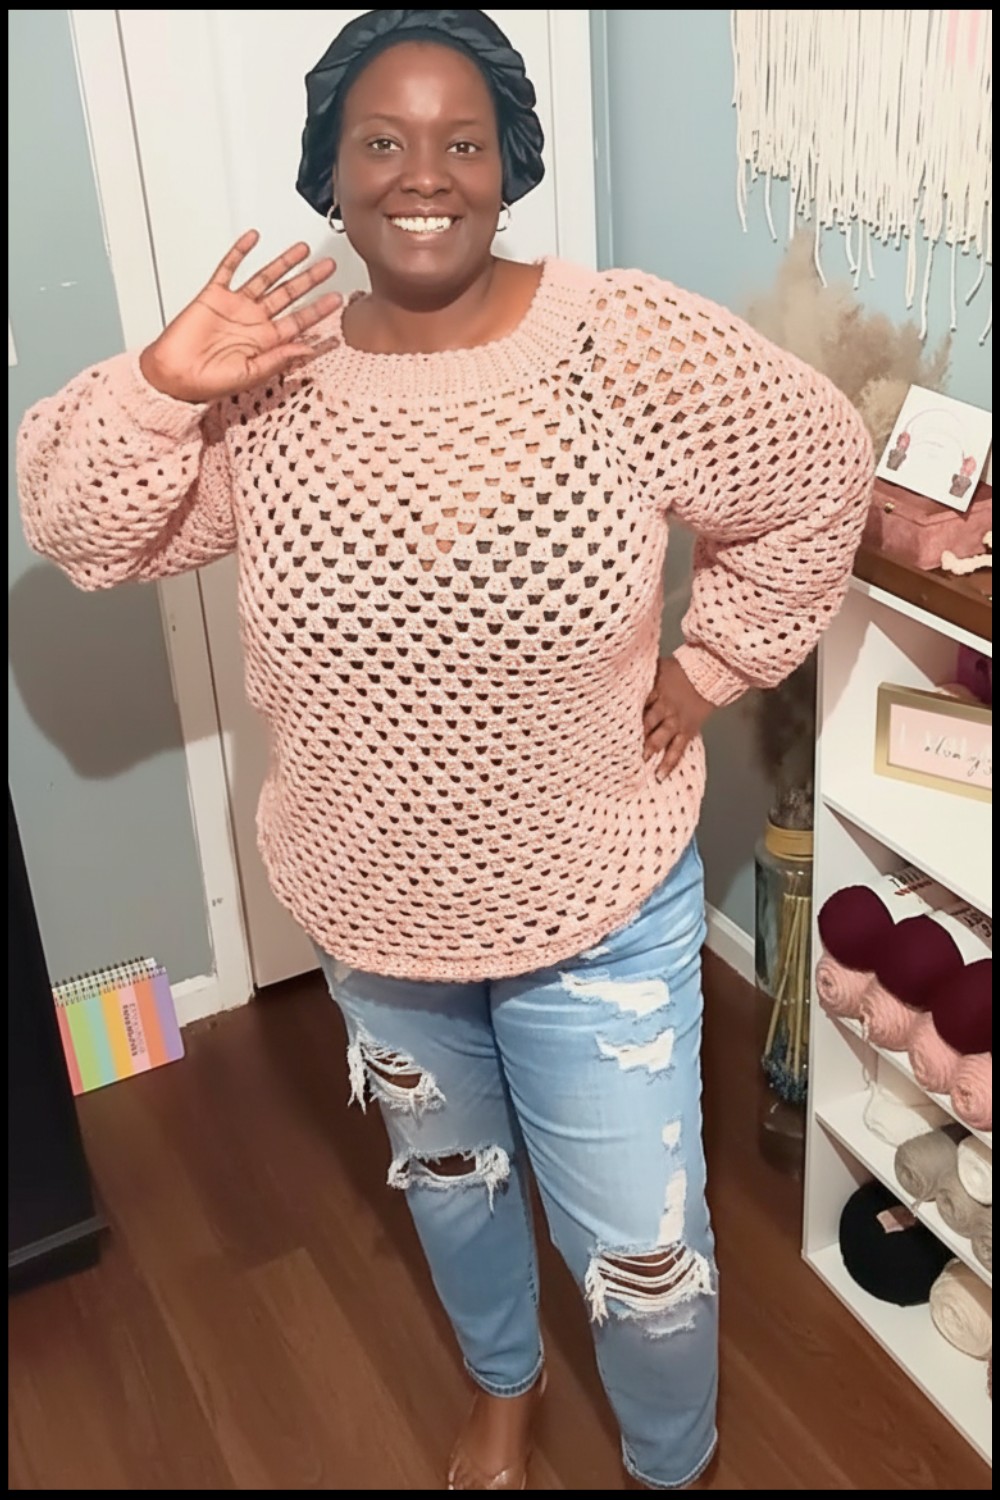
Conclusion
This adaptable top-down sweater uses granny clusters and ribbing for a comfortable, classic look. Easy to fit as you go, it’s a great project for building confidence with sweaters. Try different colors or lengths for your own style!