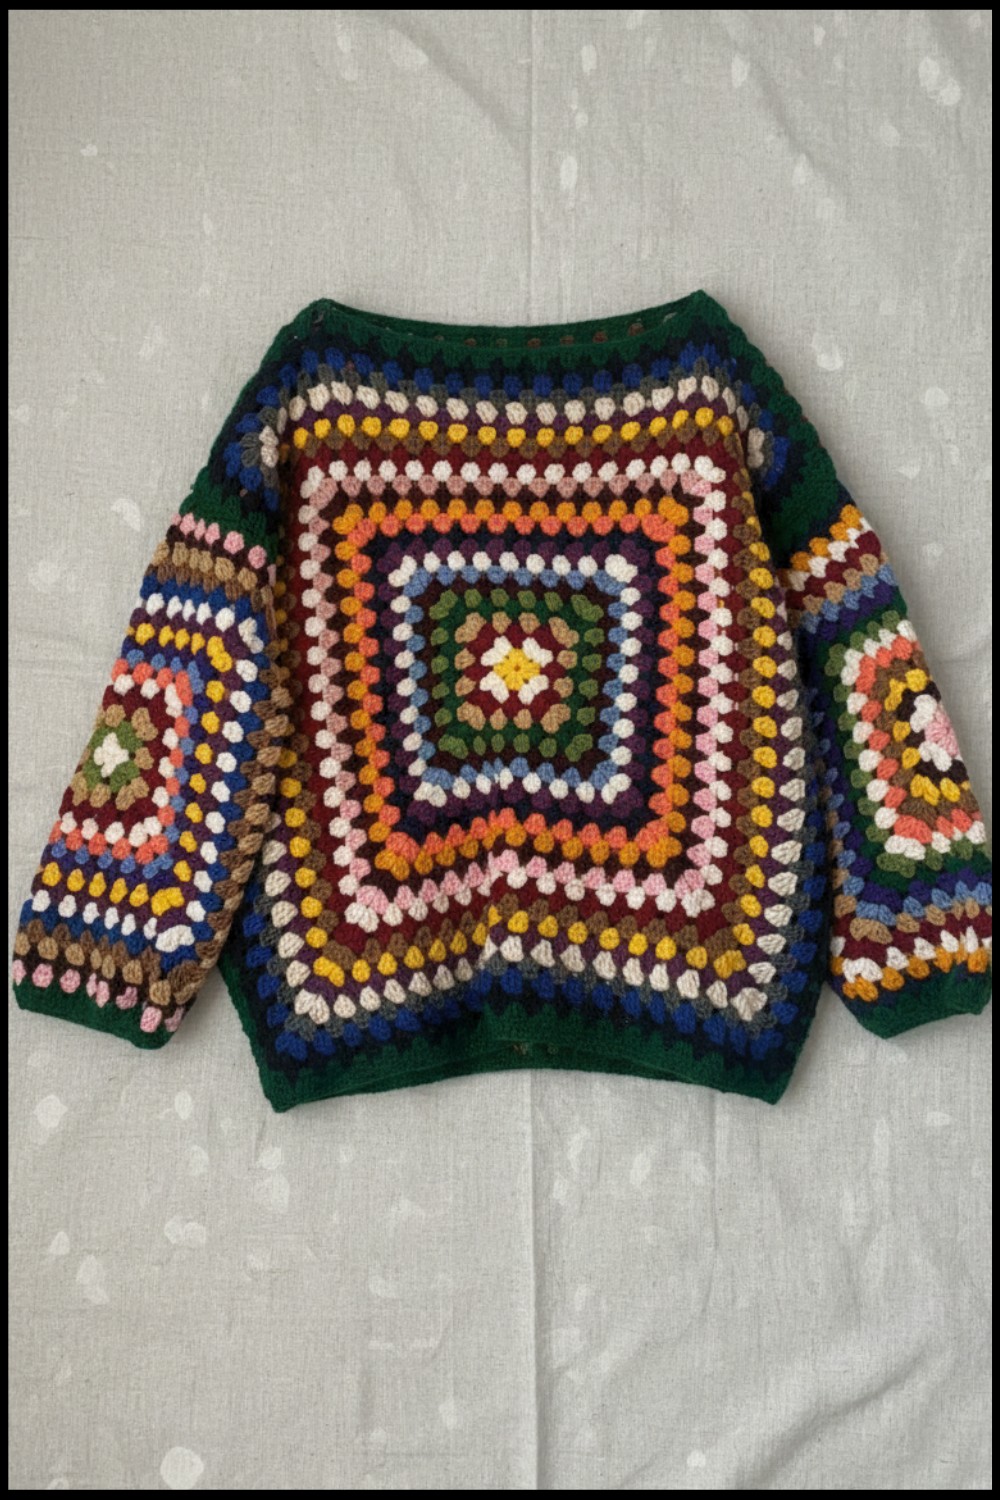
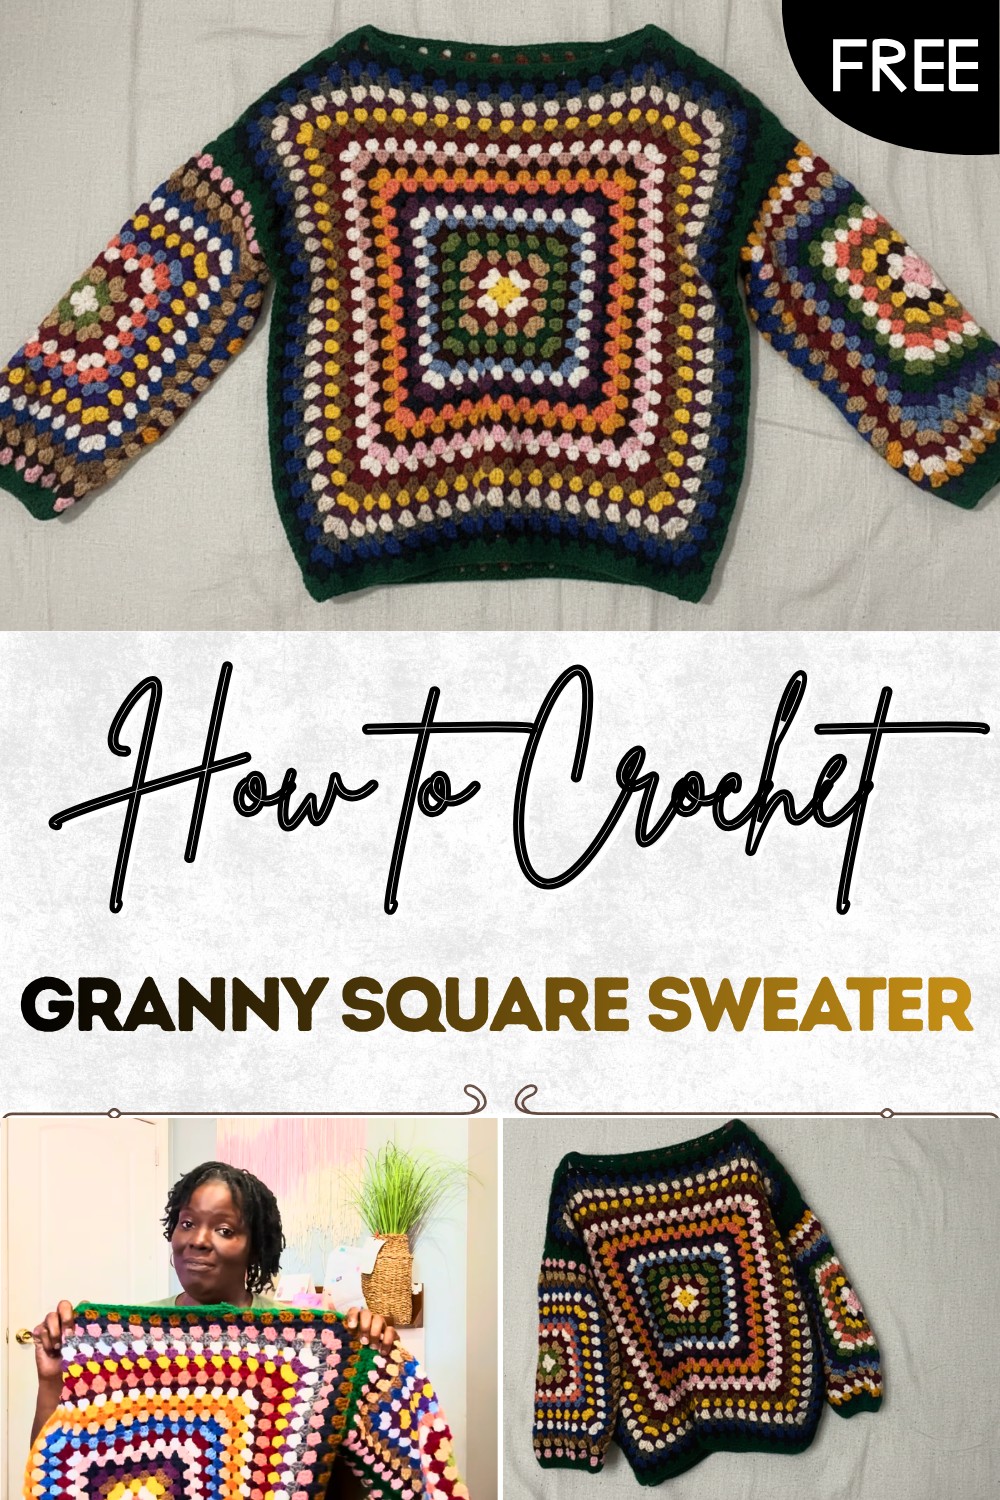
Crochet Granny Square Sweater – Free Pattern Inside
Warmth meets color with this free crochet granny square sweater pattern perfect to cozy up your style and brighten every day with comfort.
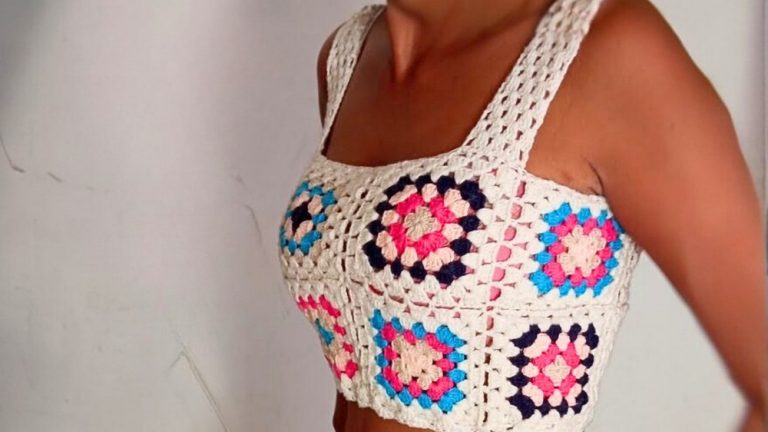
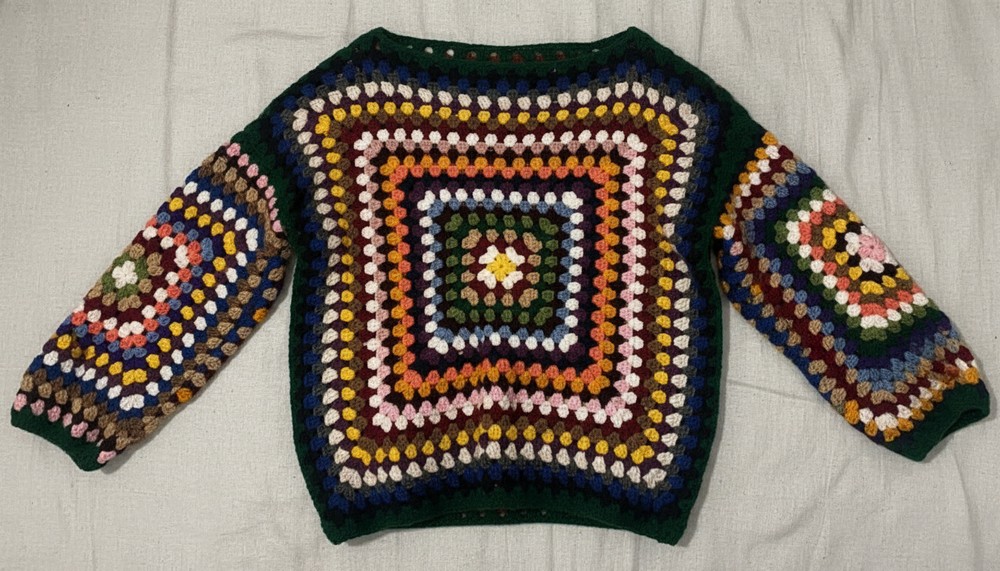
Missing out on something cozy might leave your days a little less bright and cheerful. When gentle colors join together in the crochet granny square sweater pattern they create a look that is warm and friendly offering soft comfort and eye-catching beauty to everyone who wears it. Each square is a simple masterpiece letting you use favorite shades and turning each sweater into a joyful expression that suits any style or age.
Free Crochet Granny Square Sweater Pattern for Stylish Comfort
This sweater is made to be easy so anyone can enjoy making it as a gift or for themselves without needing hard skills. Every granny square blends into a beautiful design full of personality and happiness. The sweater works for chilly mornings or breezy afternoons and is perfect for layering or standing out on its own. Giving or wearing a crochet granny square sweater pattern adds a soft hug of warmth and a pop of color to everyday life.
Easy Repurposed Granny Square Sweater Pattern
Materials
- Yarn: Worsted weight (#4), multiple colors (variegated recommended for beginners)
- Each granny square can use scraps/oddments for “scrapghan” look or coordinated color theme.
- Sample used upcycled/leftover yarns including green from a previous project (skirt).
- Hook: 5.0 mm (H) or 5.5 mm (I) crochet hook (adjust for gauge)
- Notions:
- Scissors
- Tapestry needle
- Stitch markers
- Measuring tape (recommended)
- Optional: Extra yarn for seaming and border
Key Abbreviations
- ch – chain
- sl st – slip stitch
- sc – single crochet
- dc – double crochet
- sp – space
- st(s) – stitch(es)
Special Notes
- Pattern assumes you know how to make a granny square. (Beginner? See this video tutorial )
- Increase/decrease body/sleeve size by adjusting the number of granny square rounds.
- Sample for size 2X–3X:
- Body panels: 26 rounds each (would recommend 23 rounds for a closer fit)
- Sleeves: 17 rounds each (was originally 20, but fits better with 17)
- You can use different colors for each square, or a variegated yarn for a seamless color-changing effect.
Instructions
1. Make (or Prepare) Granny Squares
A. For the Body (Front & Back Panels):
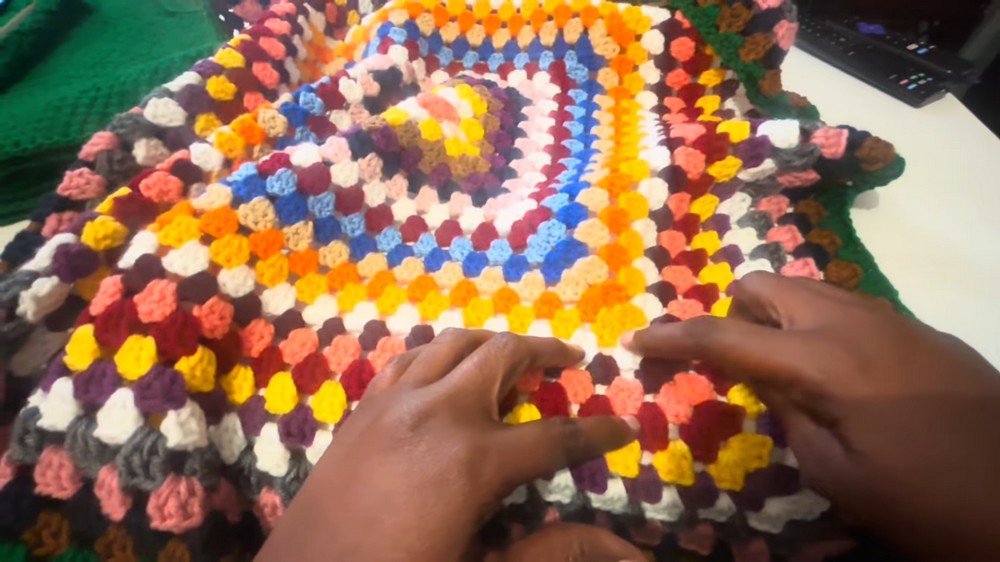
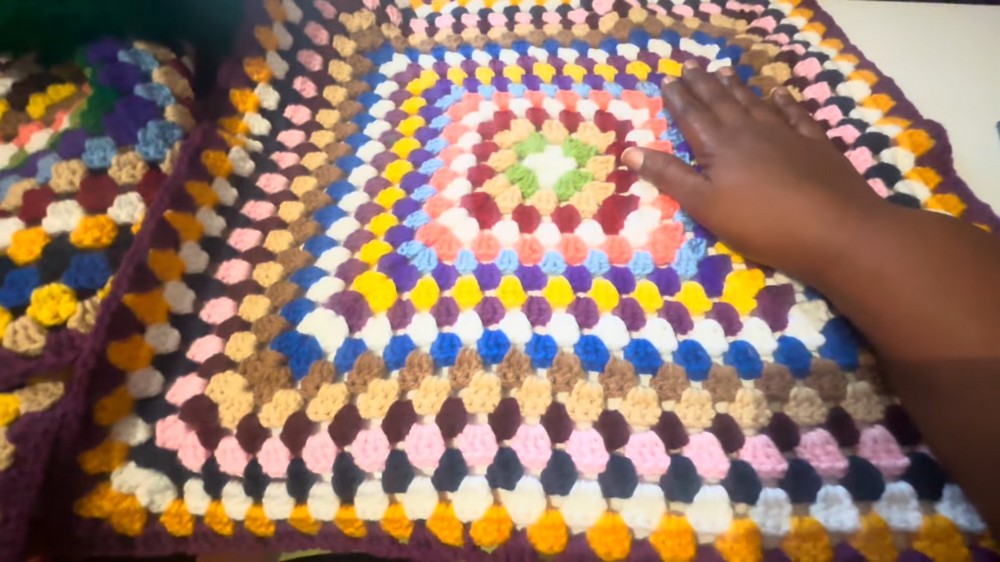
- Make 2 large granny squares, each with 26 rounds (or your preferred measurement for length/width).
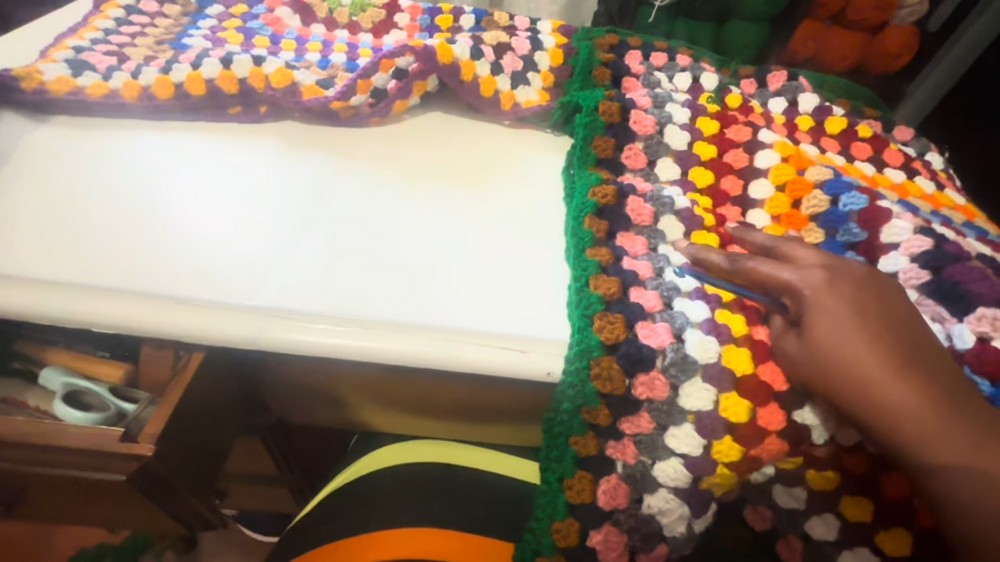
- Final round in a unifying color (e.g., green) for a framed look.
B. For the Sleeves:
- Make 2 medium sized granny squares, each 17 rounds (or to your arm length preference).
- Use the same color for the last round as the body for visual cohesion.
Basic Granny Square (start in center):
- Ch 4, sl st to form a ring. Ch 3 (counts as first dc).
- (2 dc, ch 2) into ring, repeat from ( to ) for a total of 4 clusters/3 corners, join with sl st to top of ch 3. This completes Round 1.
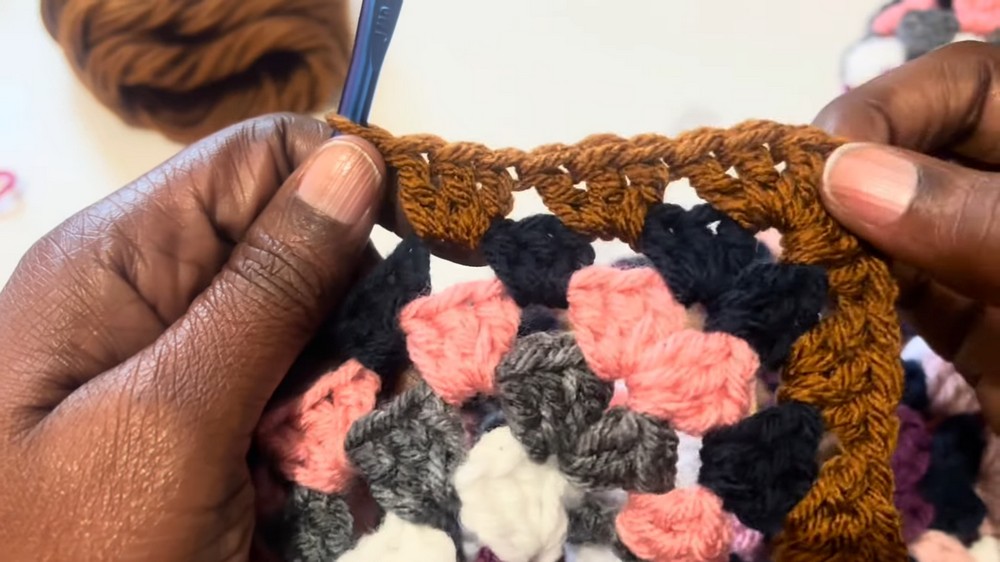
- For each round:
- Corners: (3 dc, ch 1, 3 dc, ch 1) in each ch-2 space of prior row.
- Sides: (3 dc in ch-1 spaces, ch 1)
- At end, sl st to join.
- Change colors as desired.
- Continue until desired size is reached.
For help with color changes or corners, see the “How to Make a Granny Square” tutorial.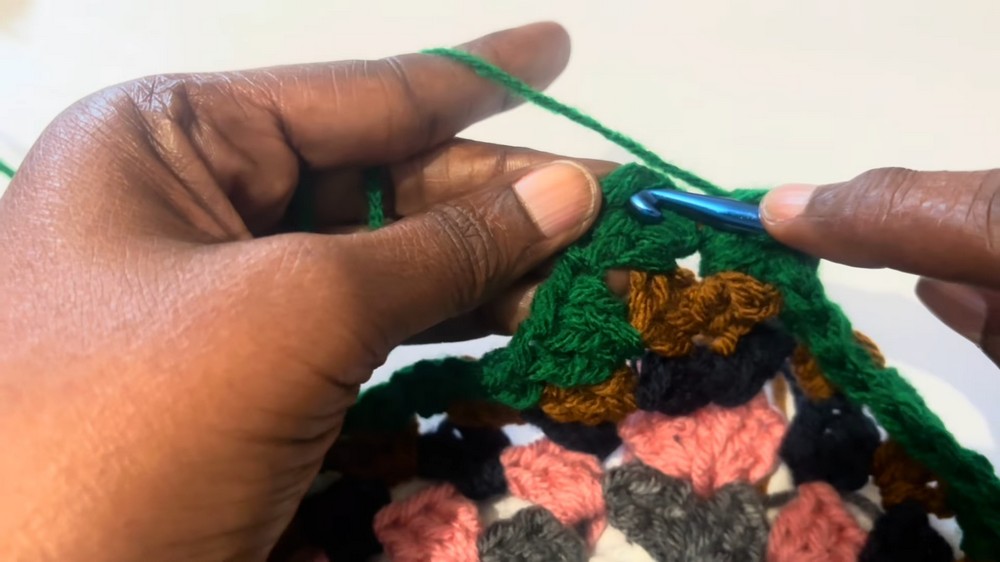
2. Join the Squares: Constructing the Sweater
Body Panels
- Lay out your two large squares (front & back), align edges.
- Decide which sides will be the neckline/shoulders and which are arm openings.
- Neck Opening:
- Use stitch markers to hold corners at the shoulder.
- Adjust opening for preferred width and style; try on as needed.
- Seam (sl st or sew) across top edges from outer corners inward, leaving neck opening unseamed.
- Sample garment is slightly off-the-shoulder—adjust as you wish.
- Side Seams:
- Place panels wrong-side out.
- Attach yarn; seam from lower edge up to underarm opening, leaving space for desired armhole depth.
- Repeat on both sides.
- Weave in ends.

Sleeves
- Fold each sleeve granny square in half to find the center.
- Align sleeve center to shoulder seam. Use stitch markers to anchor placement.
- Right sides together, attach sleeve to body at armhole opening, easing as needed for fit.
- Seam (sl st or sc) along the arm opening to attach sleeve square to body.
- Repeat for second sleeve.
Underarm and Side Seams
- With sweater wrong-side out, seam from inner wrist to underarm, and continue down the side to the bottom hem in one continuous seam for each side.
- Finish all seams and weave in loose ends.
3. Edging / Borders (Optional but recommended)
- Add a single or double crochet border, or another row of granny clusters, around neckline, hem, and sleeve cuffs for a cohesive look and durability.
Pattern Corrections & Tips
- Correction: If your sweater feels too loose, reduce the number of rounds on your body and sleeves (designer suggests 23 for body panels, 17 for sleeves for a 2X–3X).
- Tip #1: Try using variegated yarn for less weaving-in of ends and a unified look.
- Tip #2: Block your granny squares before joining if possible for neater seaming.
- Tip #3: Adjust fit by changing where you start/stop your seams for neck and armhole size.
- Tip #4: Always “try on” as you go—granny square sweaters are very forgiving and easy to adjust.
Conclusion
This pattern is a fun, forgiving, and colorful way to repurpose large granny squares into a sweater that’s as unique as you are. Customize with any yarn, color, or size you like. For a neat finish, add matching borders or experiment with closures and decorative stitches.